Dragonhawk1066
-
Posts
3,509 -
Joined
-
Last visited
Content Type
Profiles
Forums
Events
Gallery
Everything posted by Dragonhawk1066
-
Thank you! I think it's kind of like an evolution of humor. I think back then we were maybe a little less "sophisticated", and found silly things funny, where now we seem a bit more serious and need more "thoughtful" humor. It seems like we've gone through many different "eras" of humor. Just my thoughts.
-
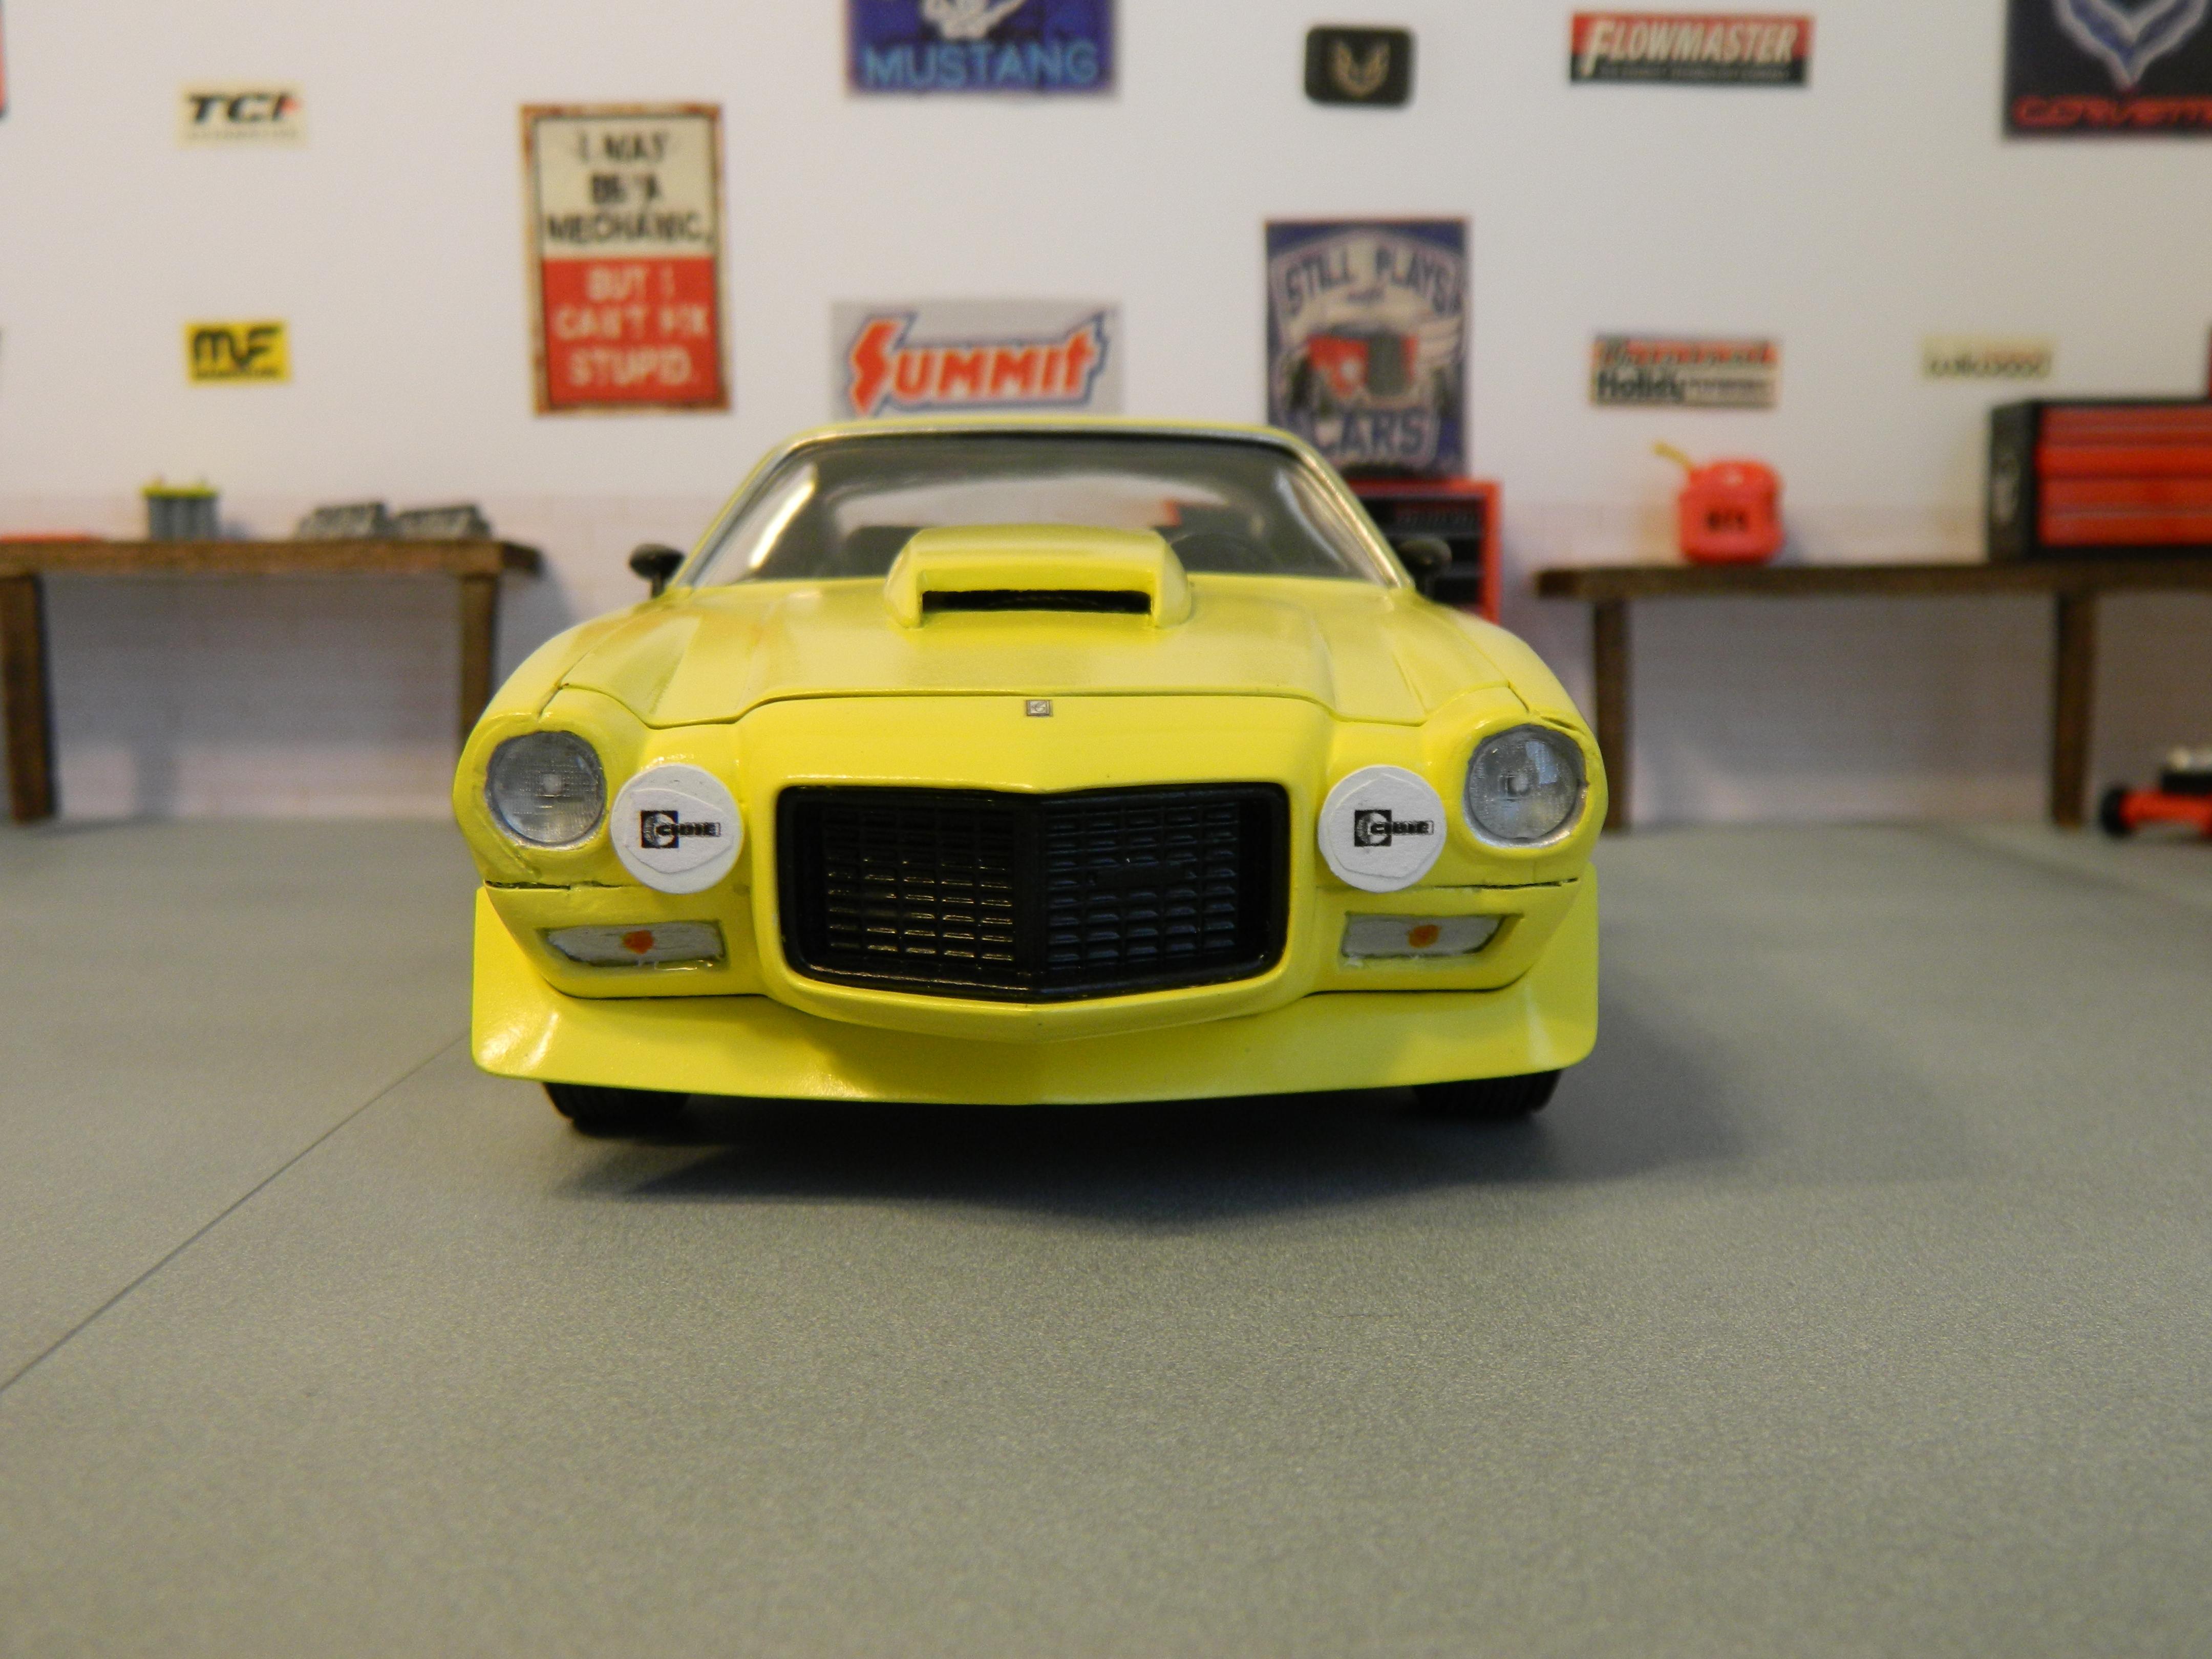
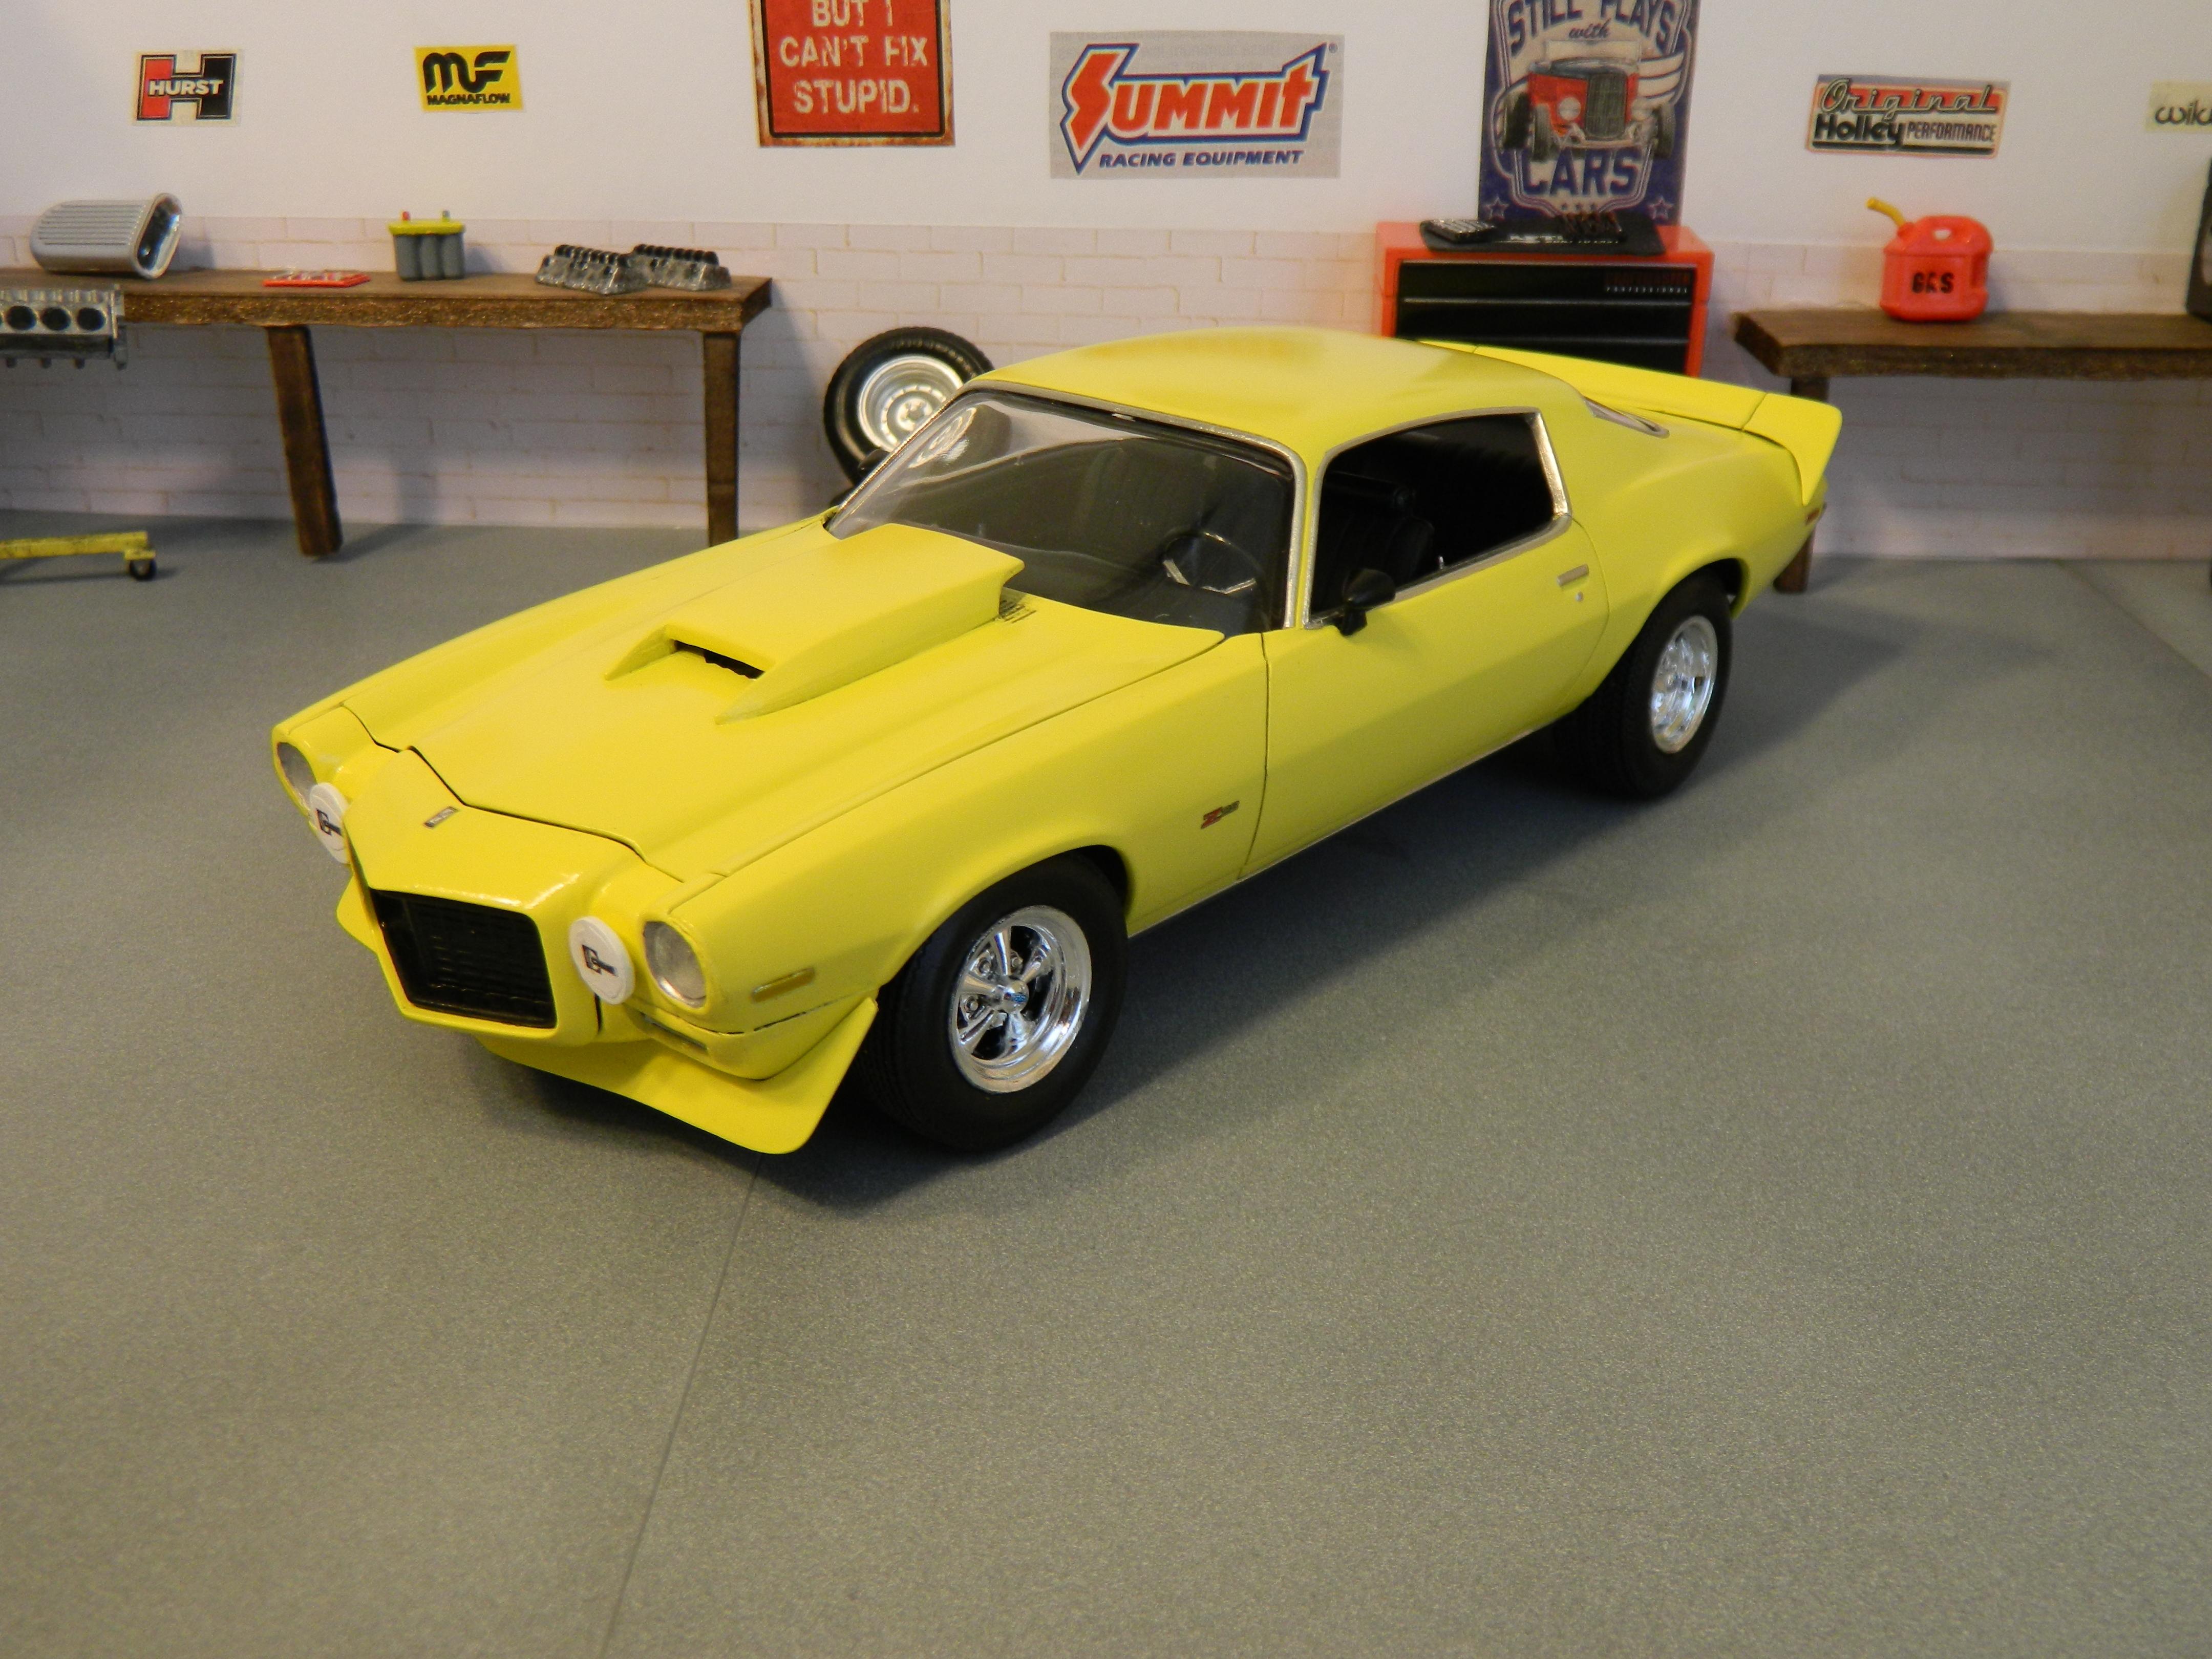
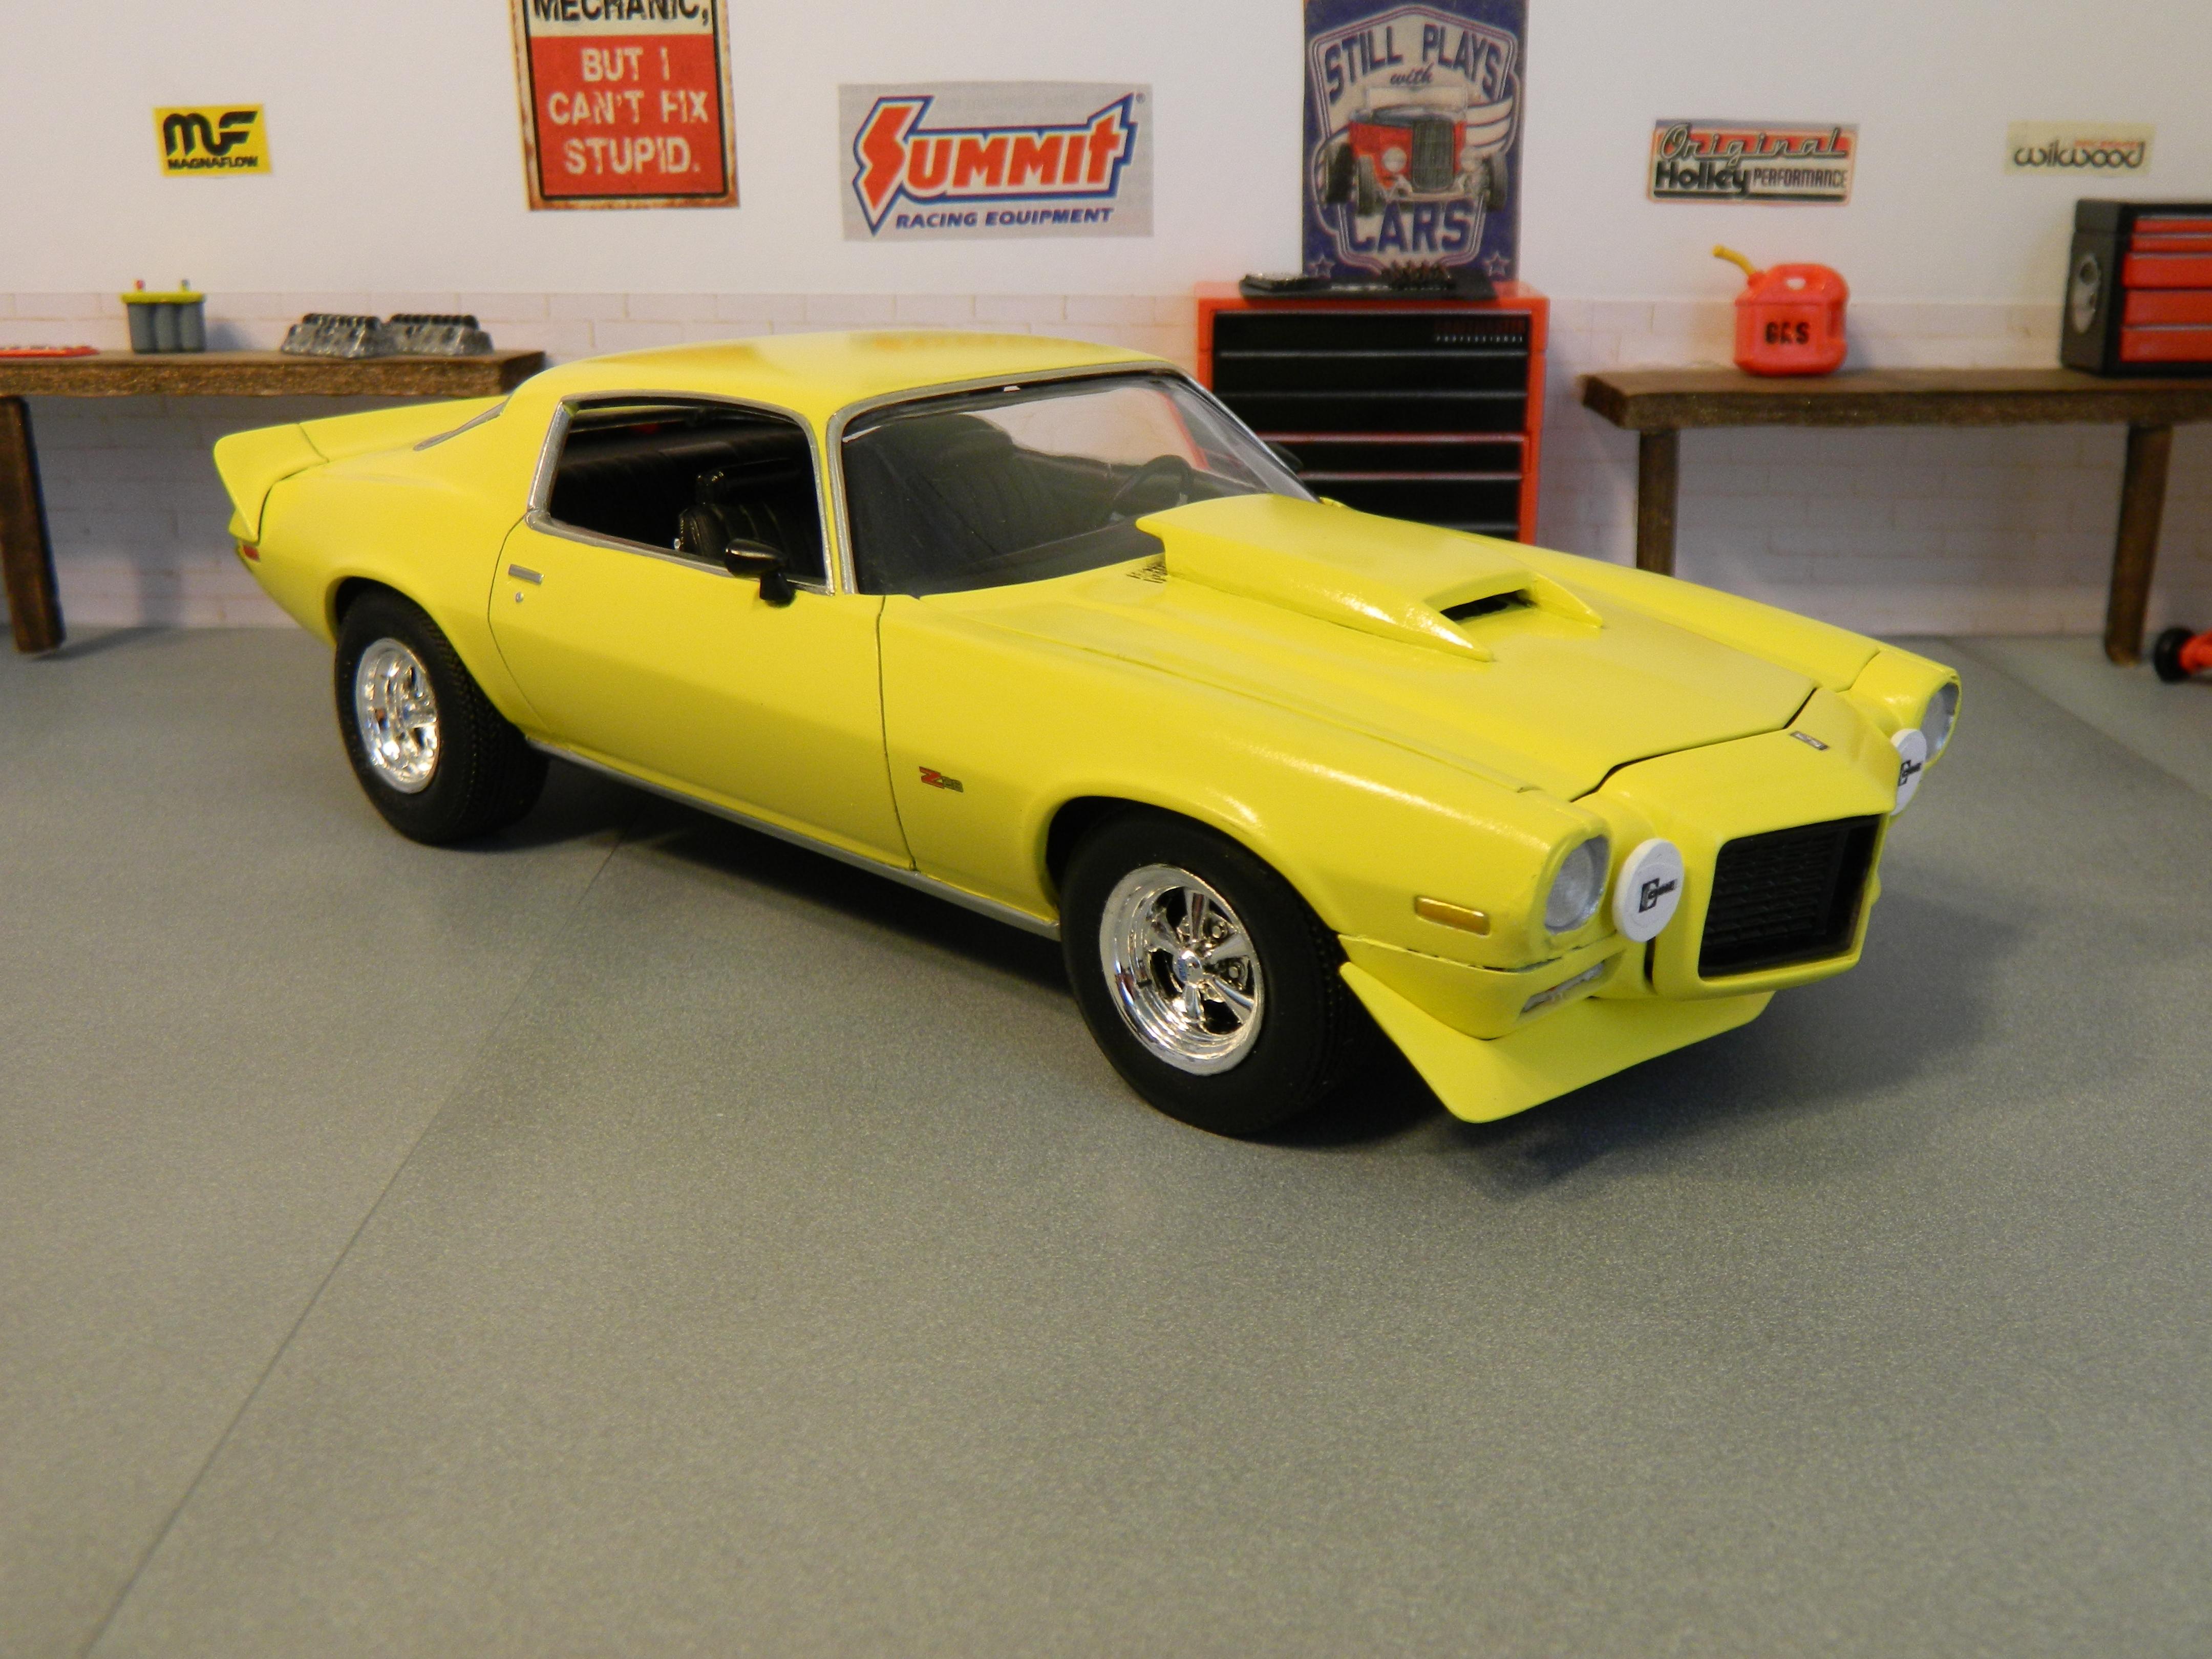
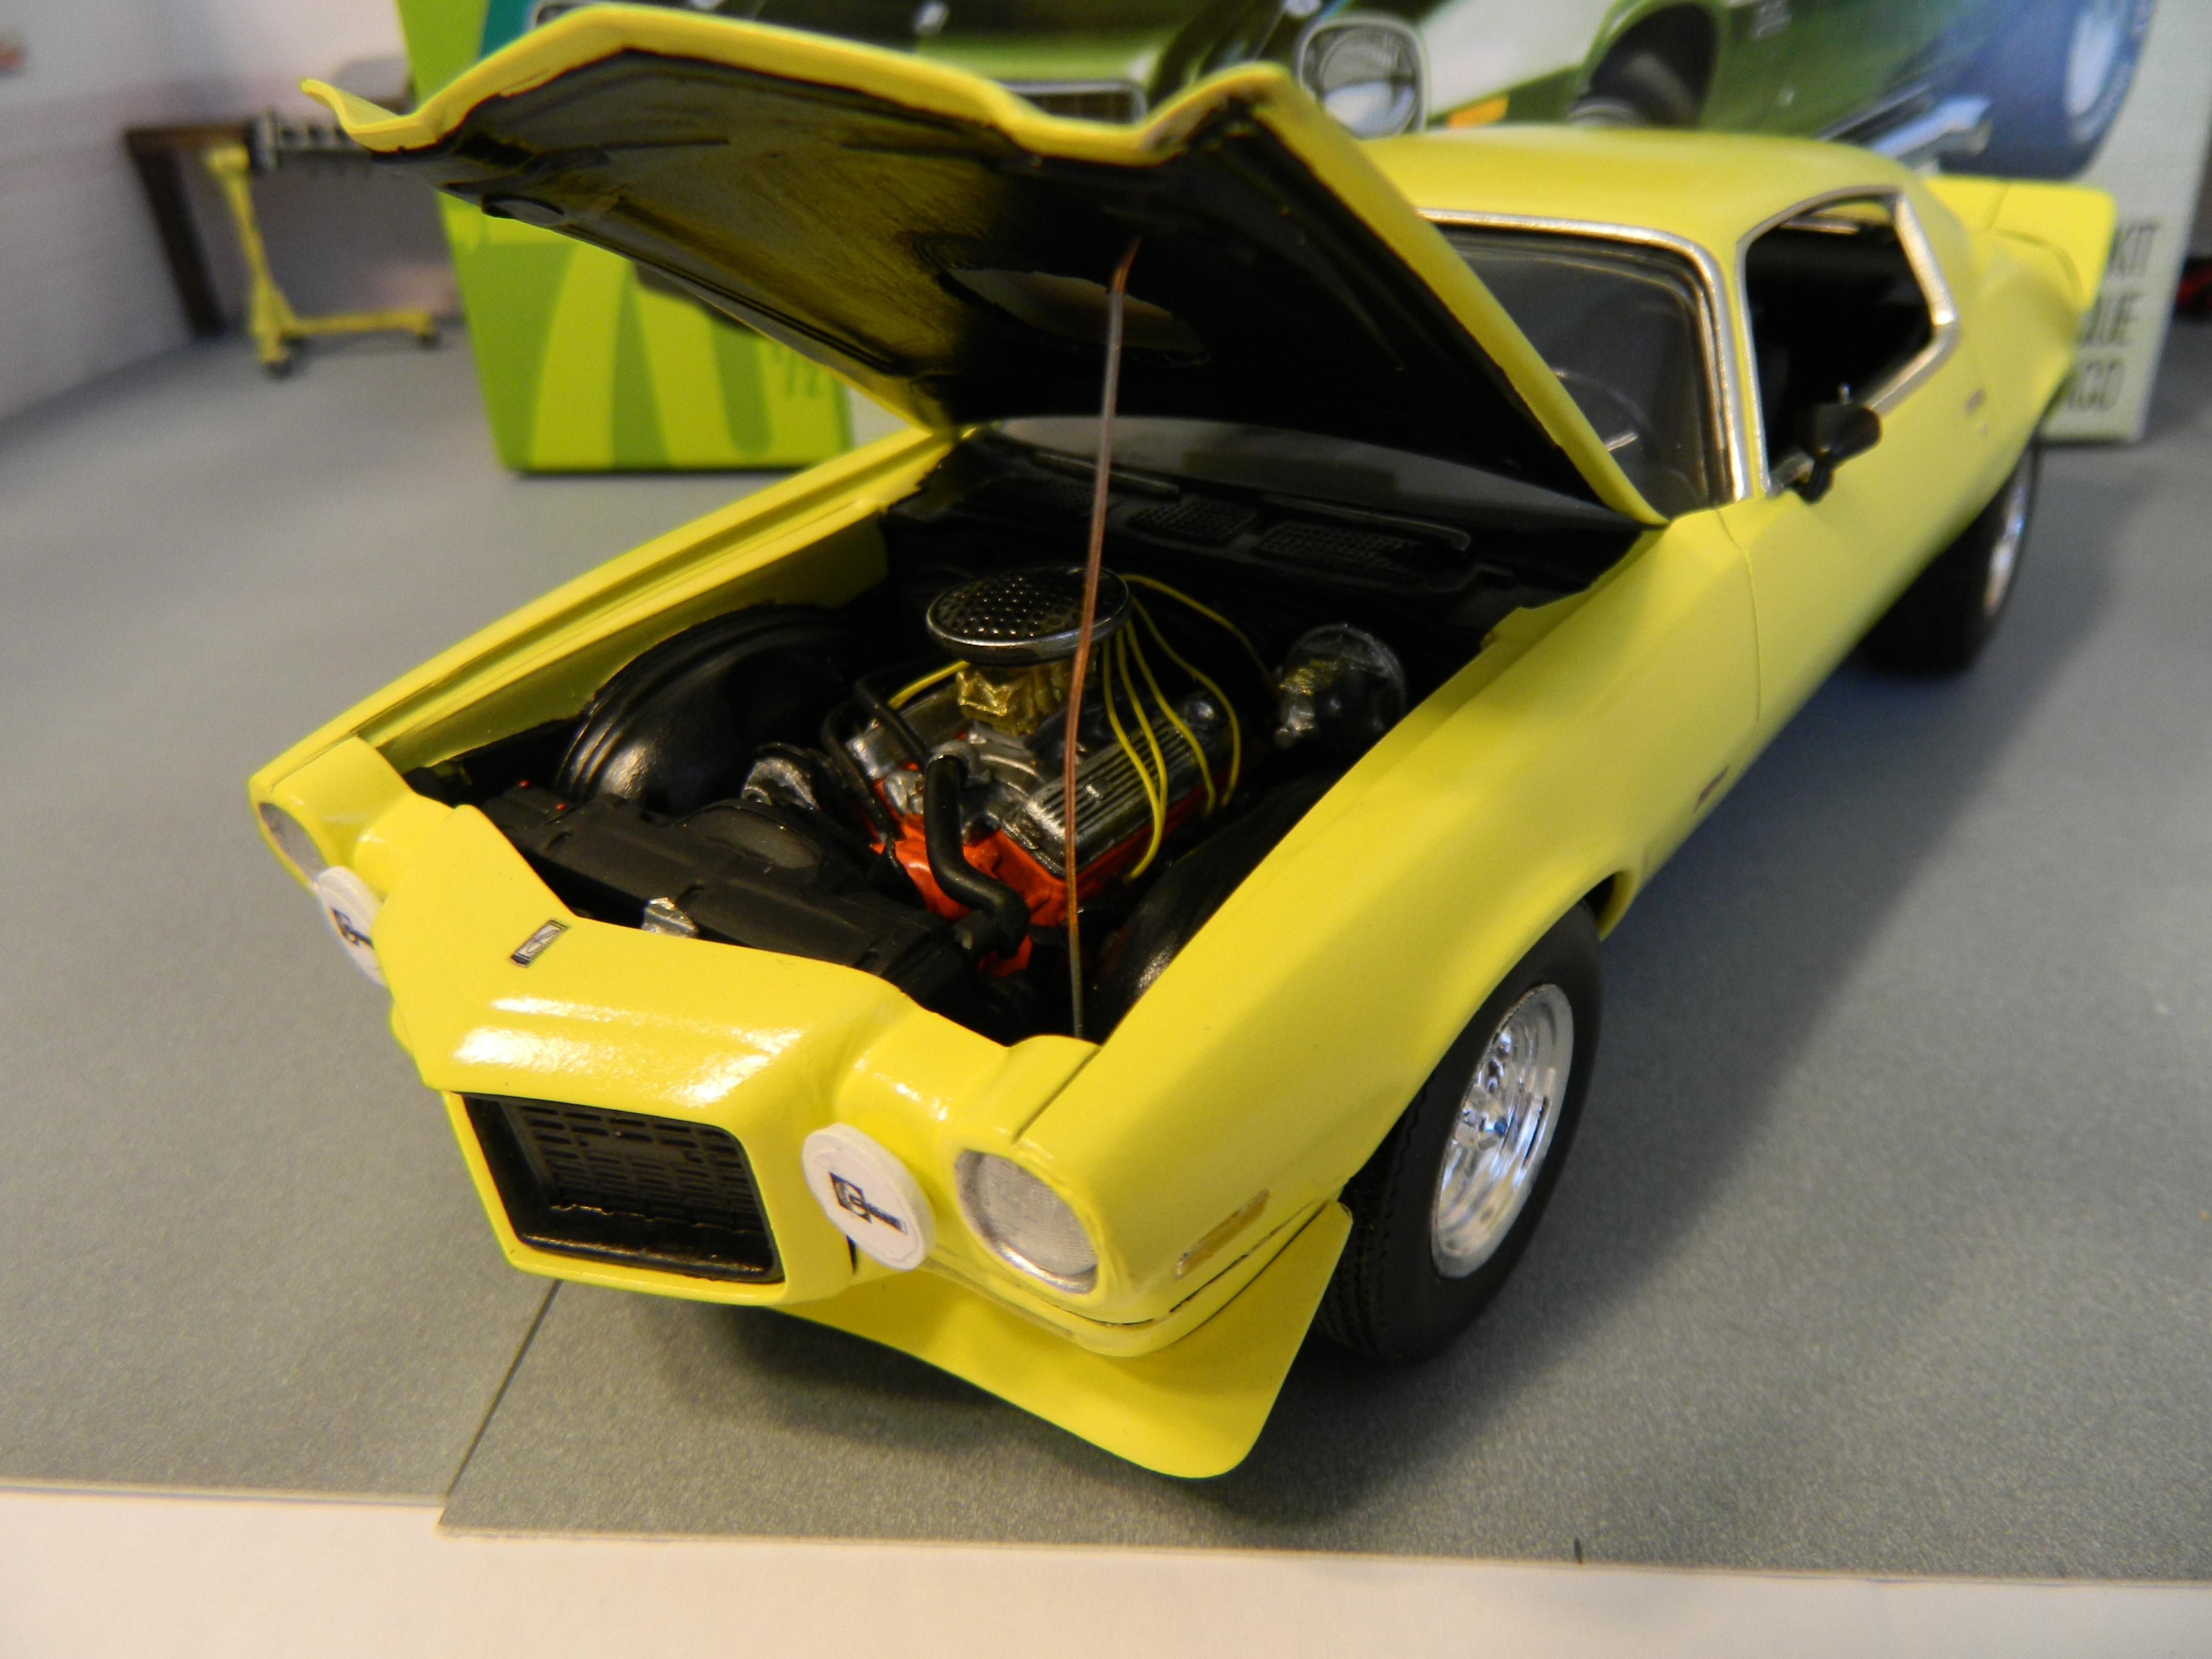
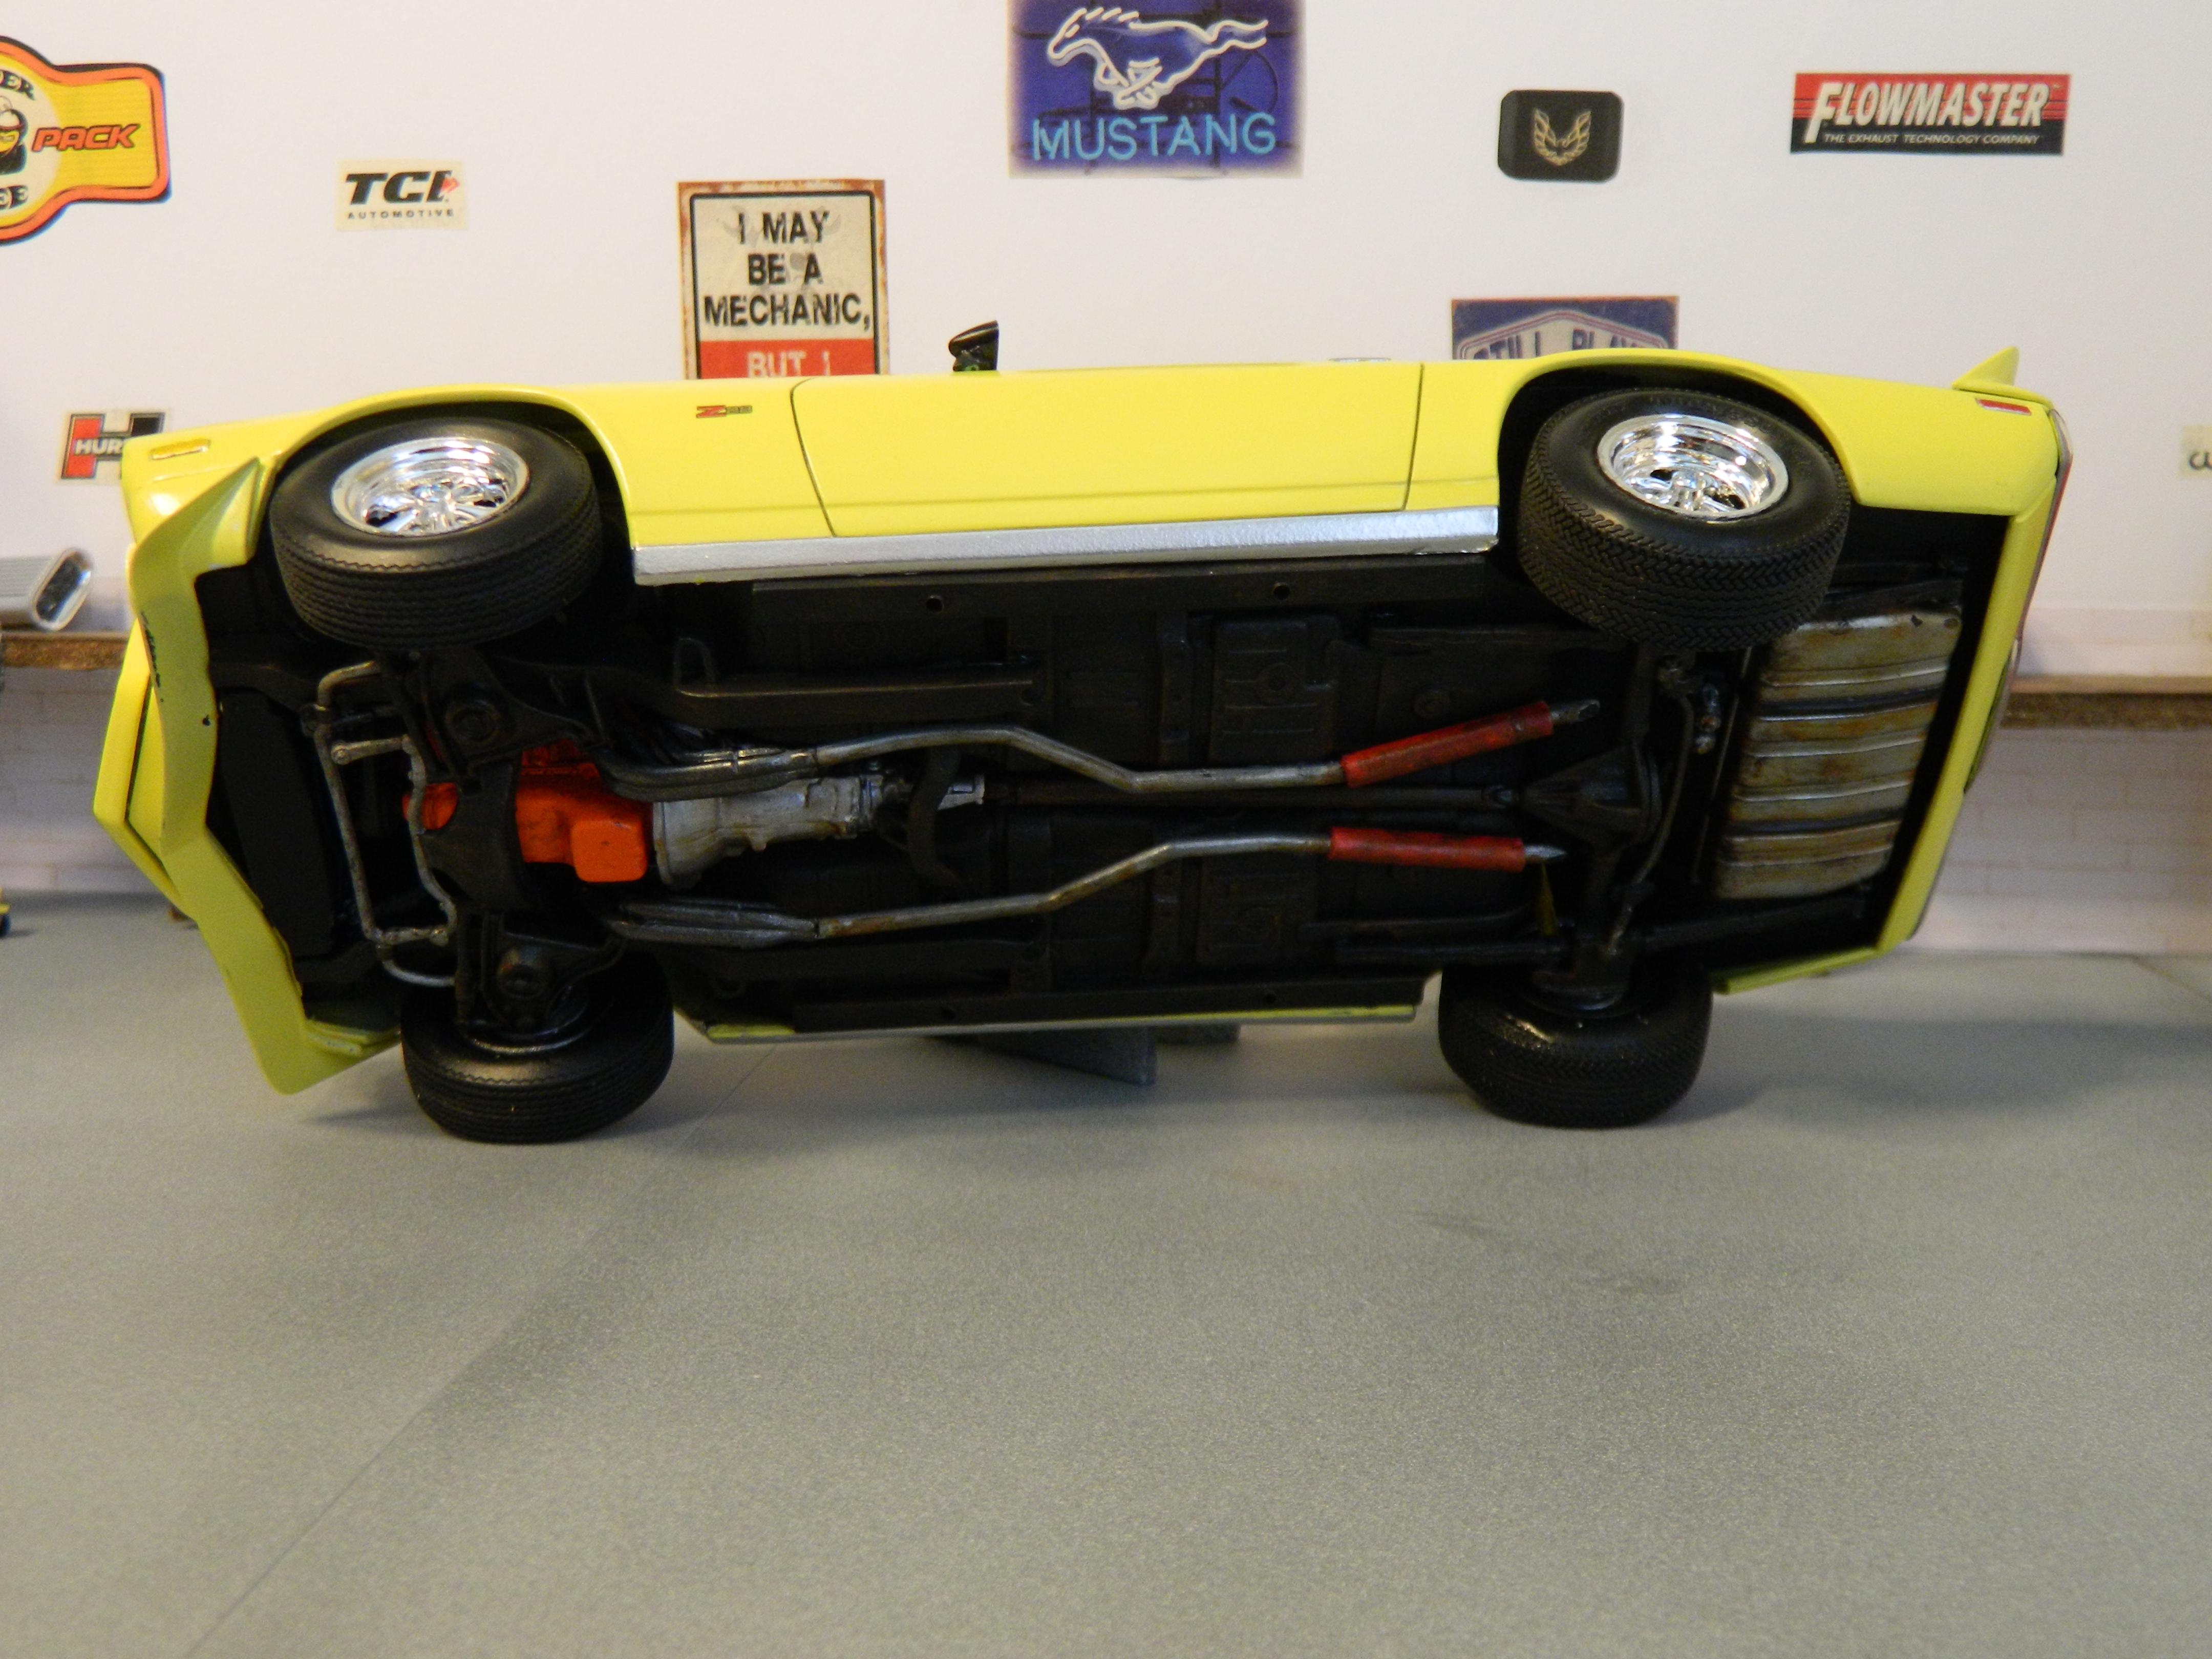
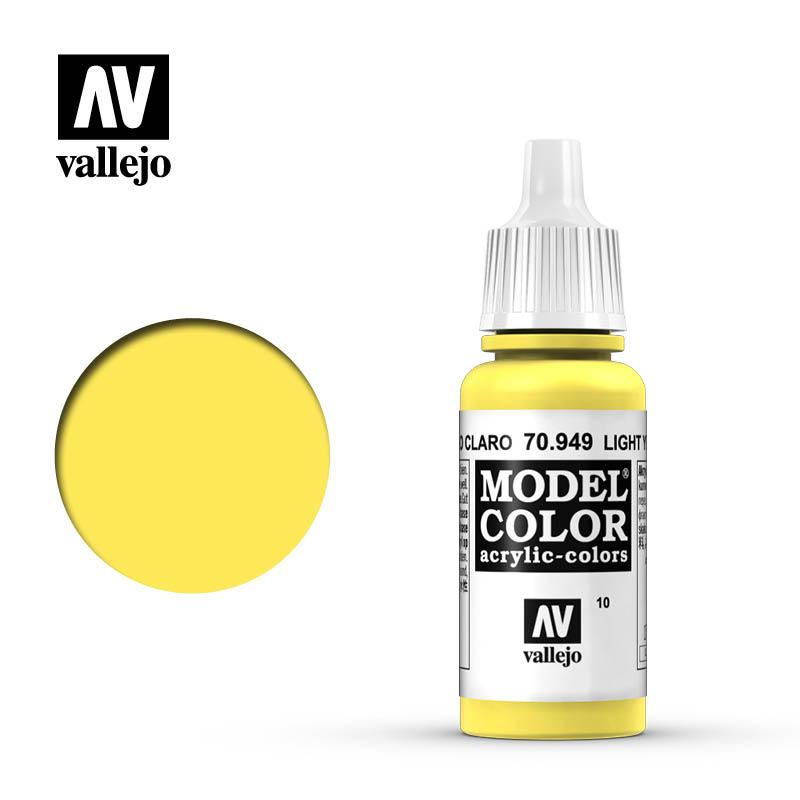
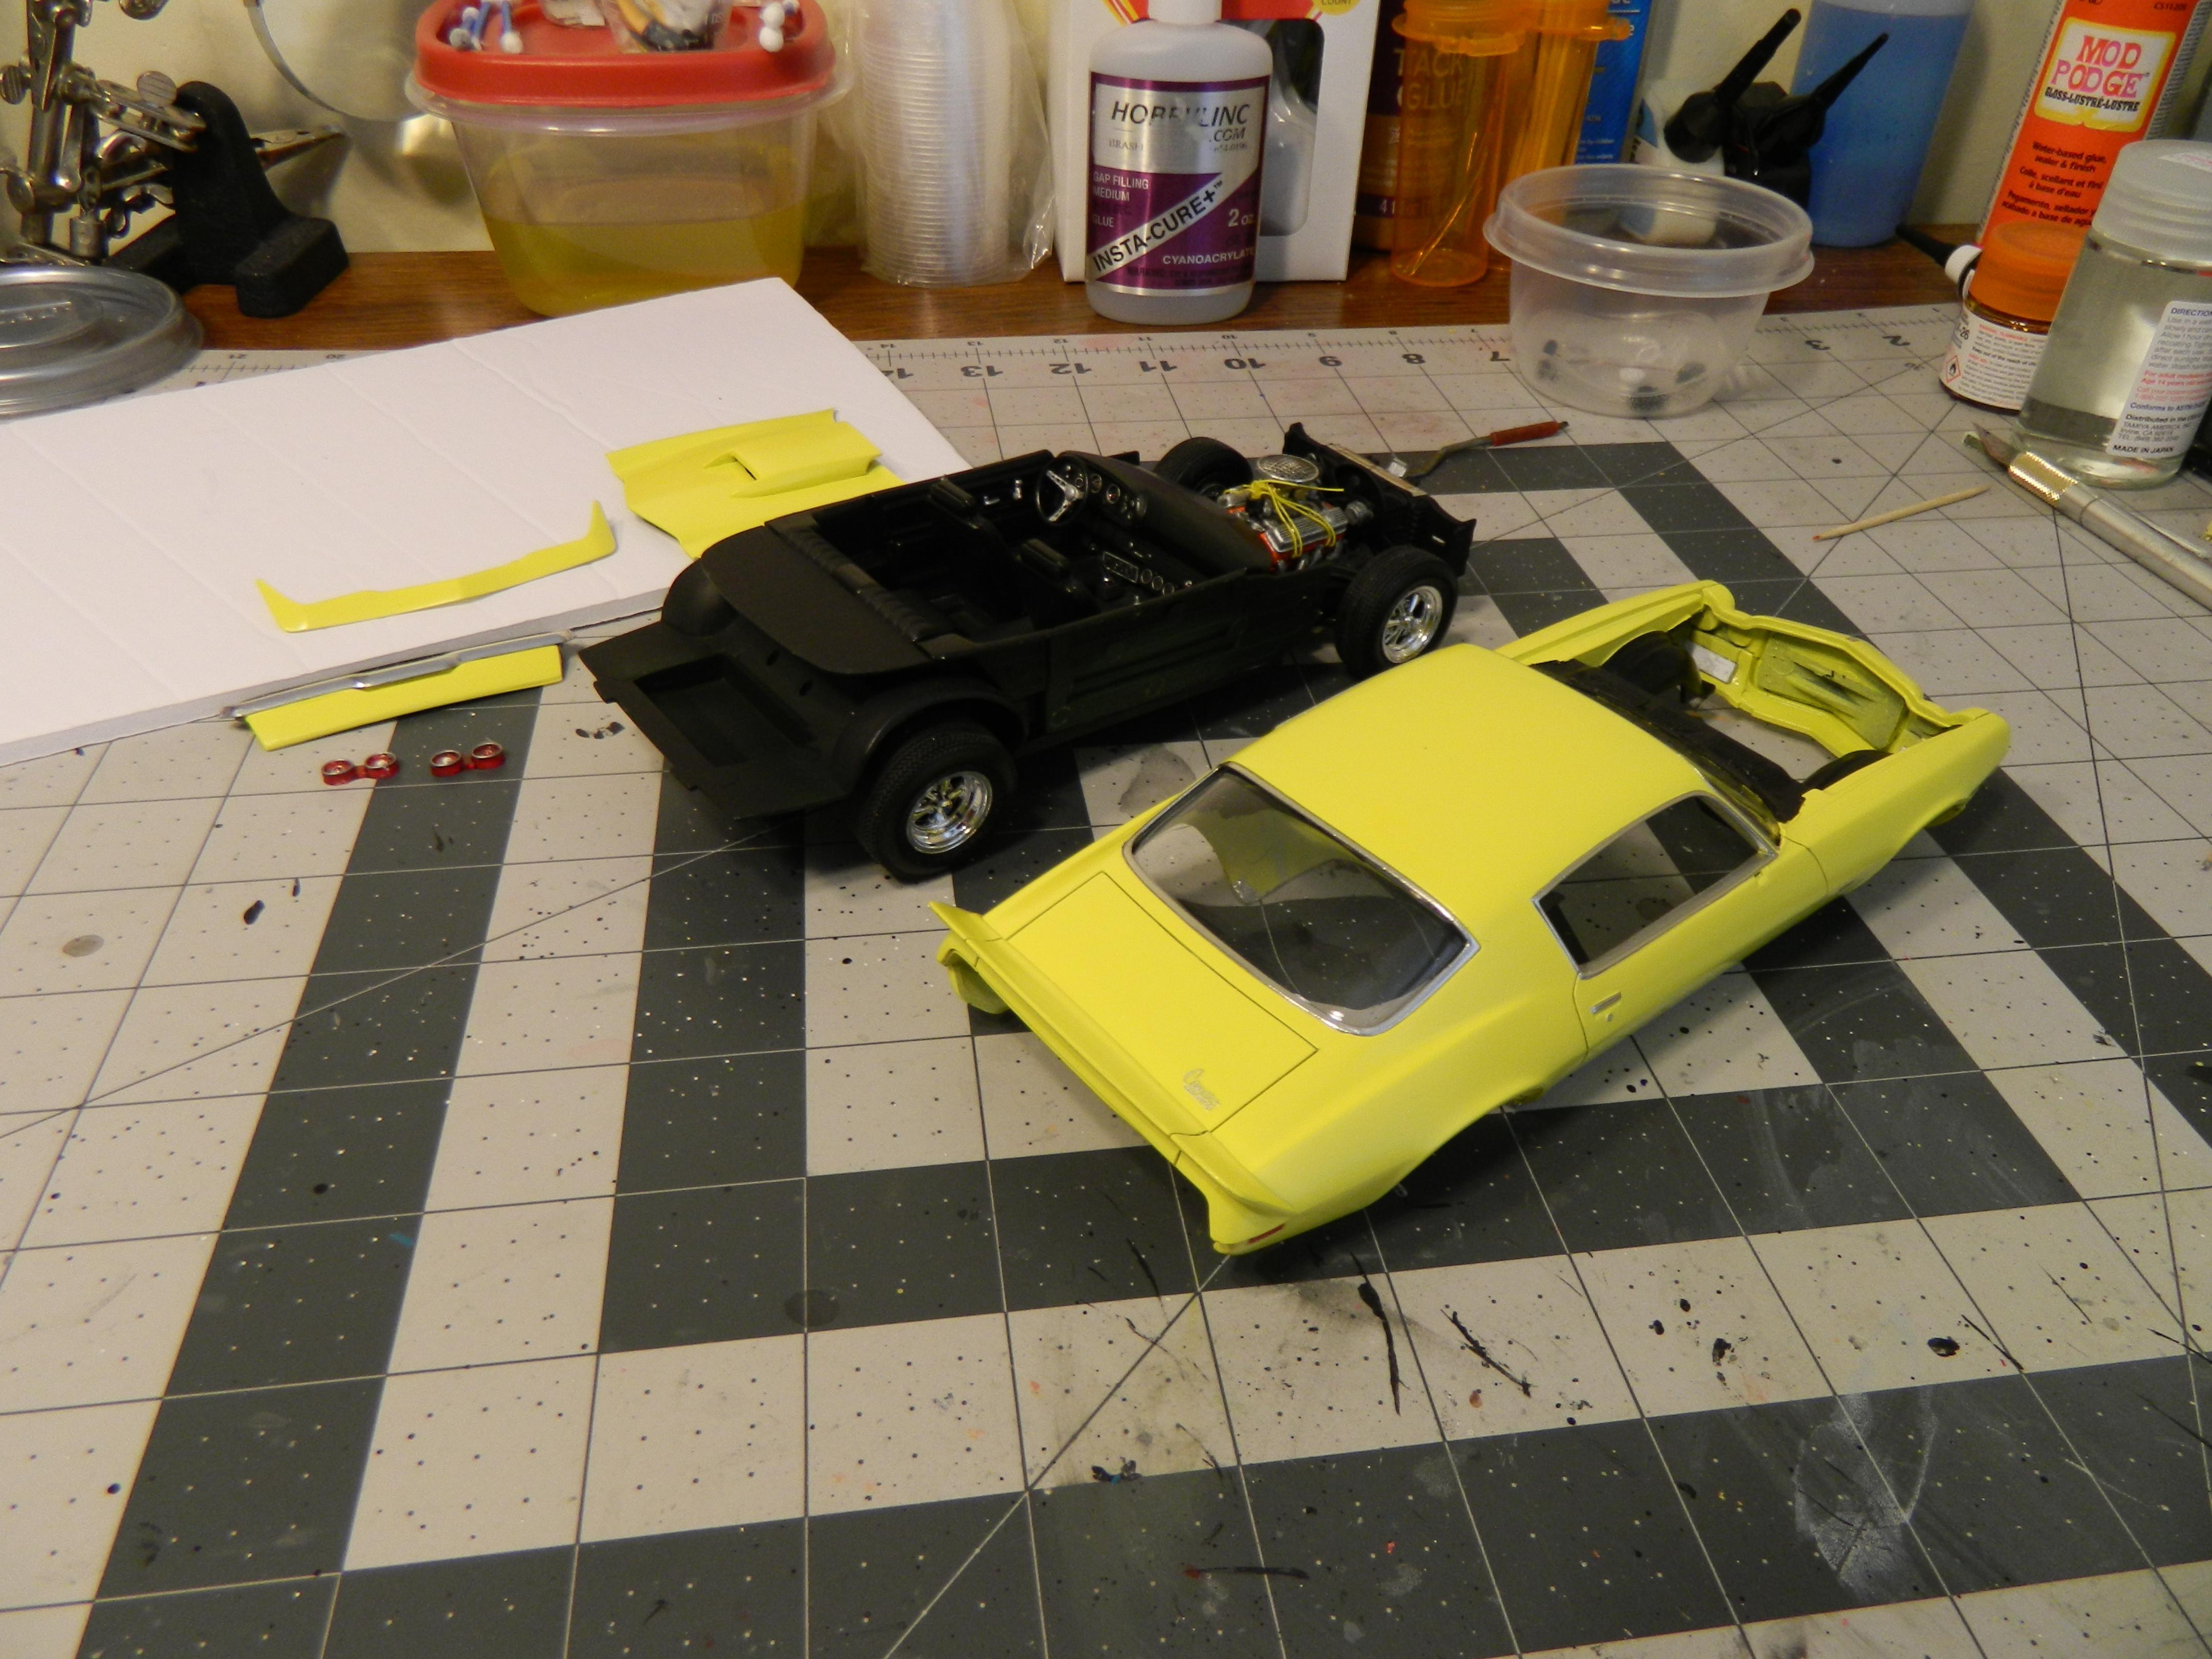
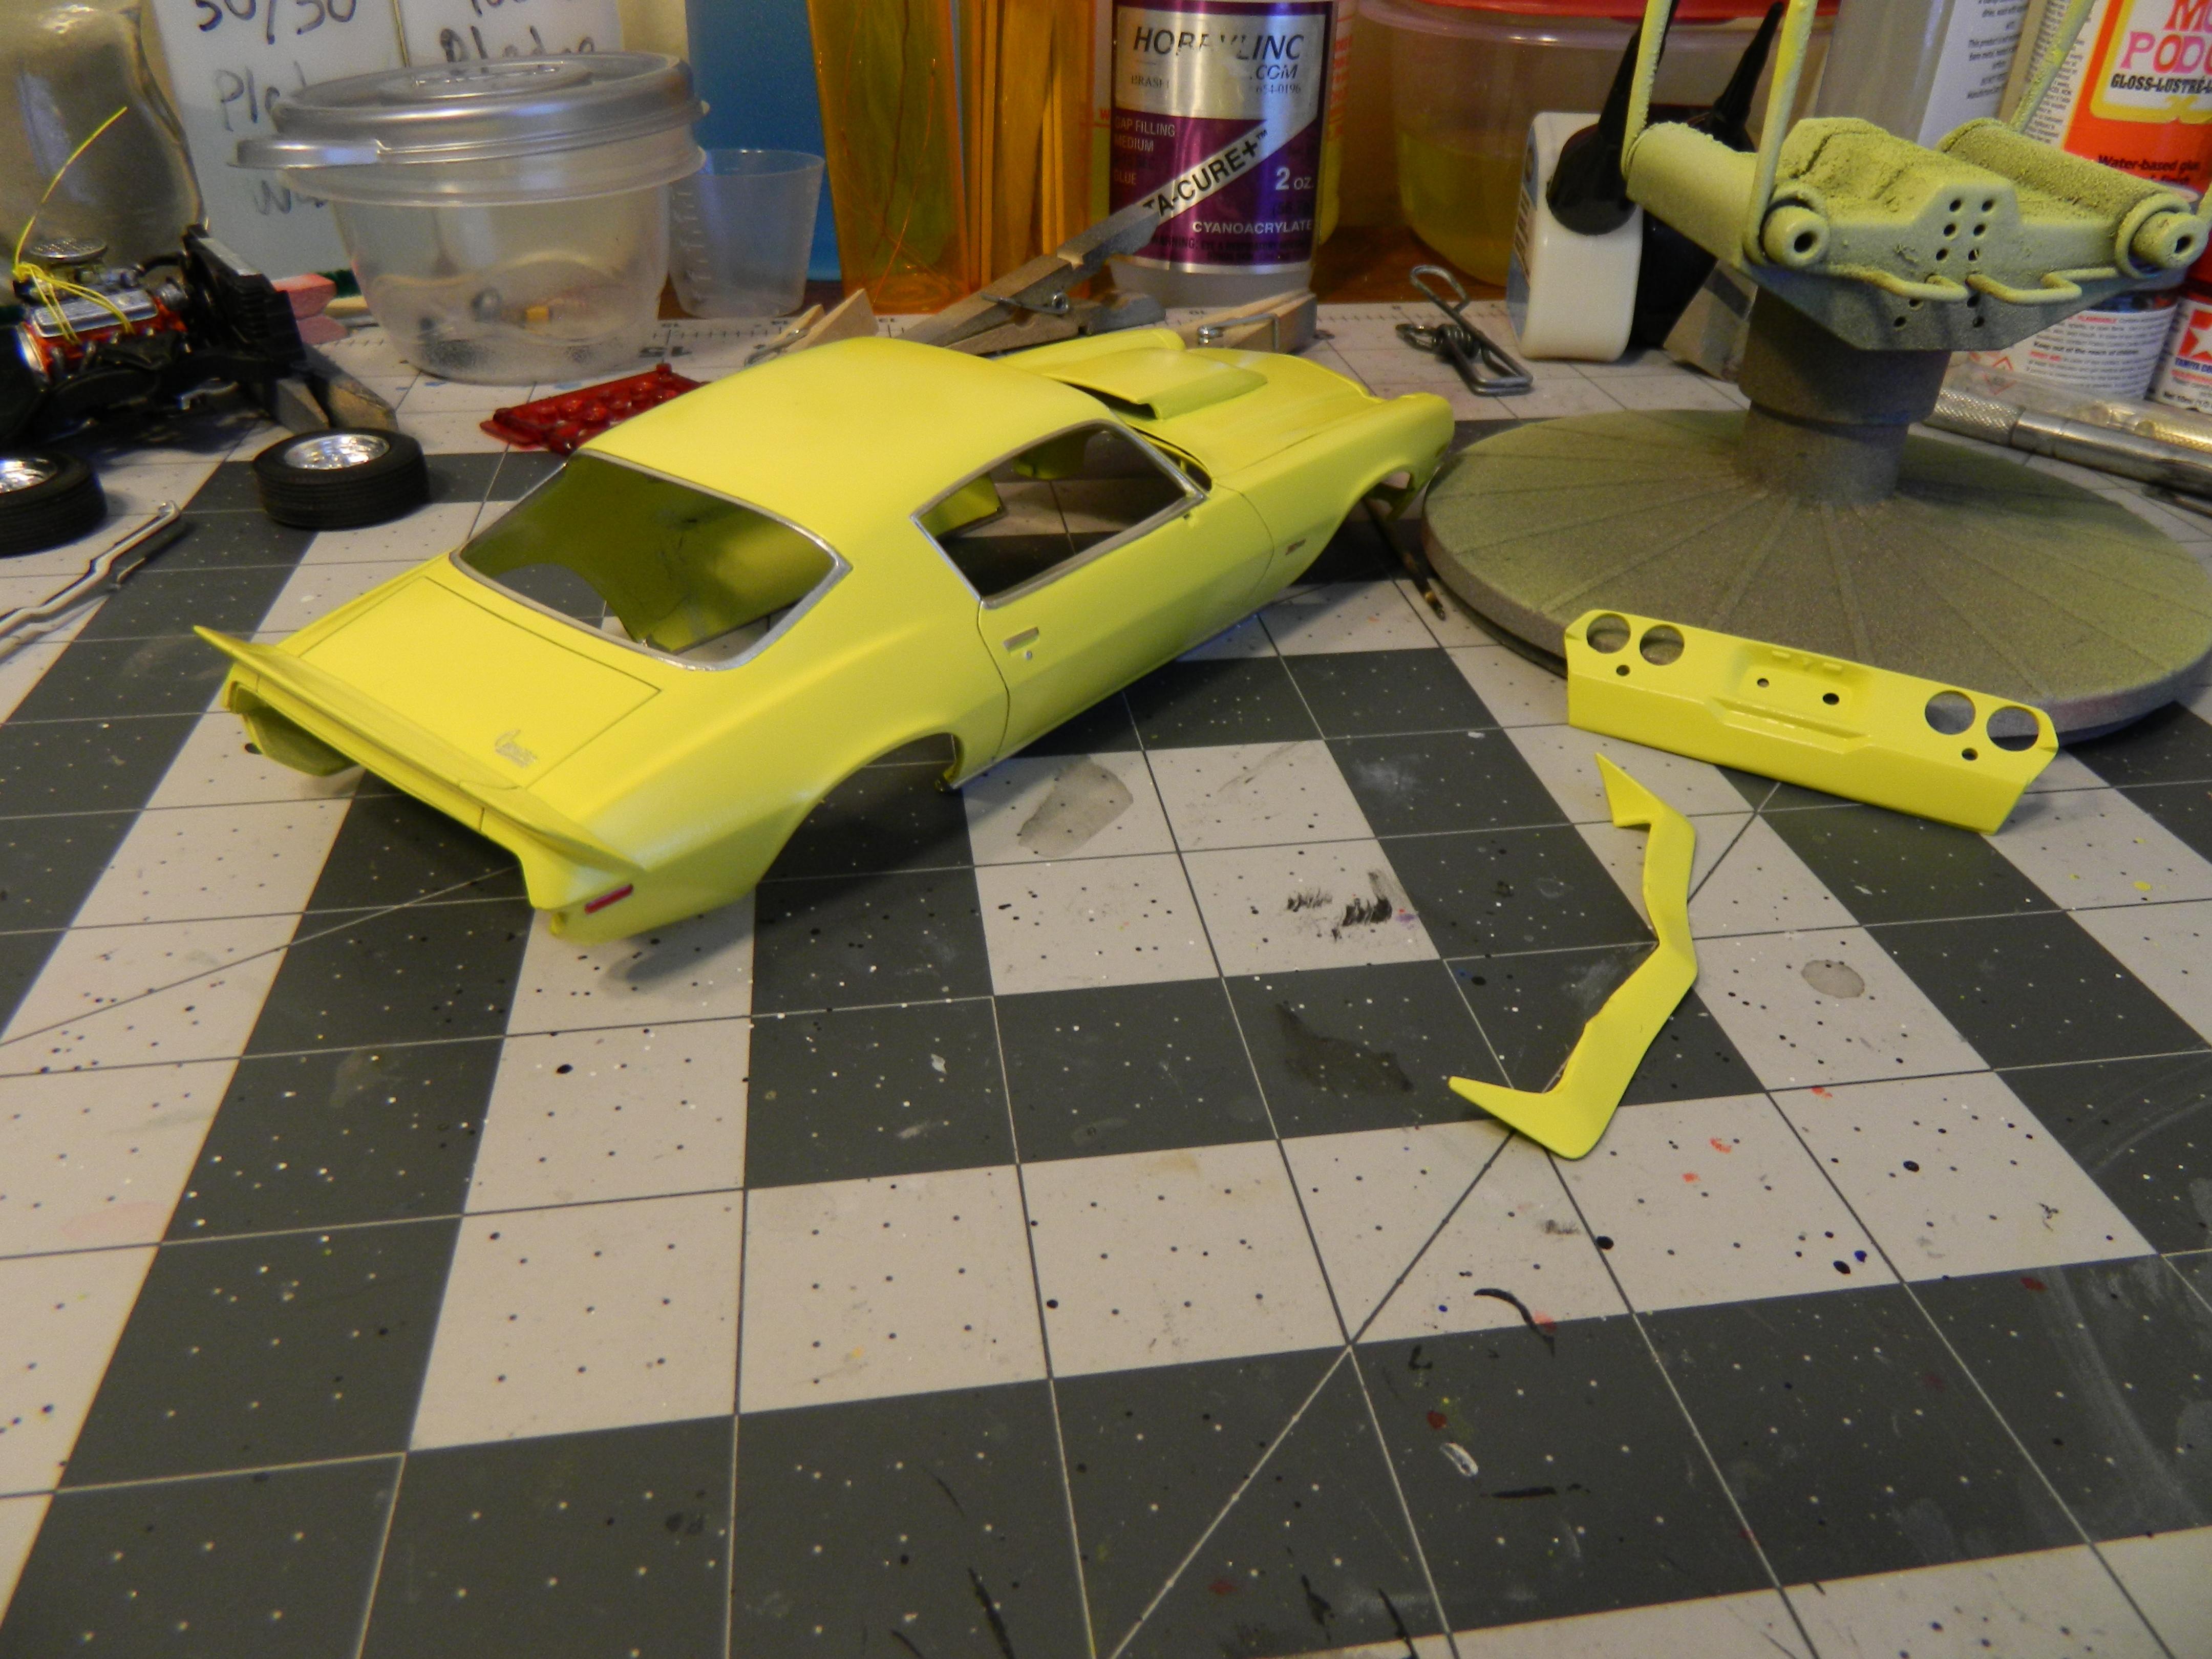
 All finished with the Yellow Camaro from one of my all time favorite movies, The Gumball Rally. This one includes a few firsts for me building and detail wise. I kit-bashed my own custom hood, cut out the front valance for the parking lights, and added heater hoses, all for the first time. I also used a lot of parts from other kits to get the most accurate representation that I could. The body is done in Vallejo Model Colors Light Yellow that didn't turn out as pale as I had hoped, but still looks fairly close to the movie car. I used pledge/future for my clear, and added BMF for the window trim and did other various details. The hood was made with the stock hood from the AMT '70 1/2 Z28 kit and the scoop from the Revell '67 Nickey Camaro kits' stinger hood. The interior is actually just done in Stynylrez black primer for the seats, with Jet Black craft paint for the dash, door panels, and seat trim, with a satin varnish giving some gloss. The CB radio and underdash gauge cluster were "borrowed" from unstarted kits that I didn't plan on using them for anyways. The motor is also from the Z28 kit, as I needed a small block for this project. I added plug wires and heater hoses for some extra detail. The headers came from the Revell '67 Chevelle Pro Street kit. The chassis is also just Stynylrez black primer with Jet Black suspension pieces. I made the "cherry bombs" from parts of an unused roll cage in my parts box. I did have to lower the front end to get a decent ride height, and tried my hand at doing some weathering that I think turned out fairly decent. I could have done a little better on the hood, the scoop sits a little high and isn't as smoothly done as it could have been. I don't know if I'm completely happy with the headlights and parking lights, either. All in all though, I am very happy with the overall results and still just need to exercise more patience to do a better job. Although I was initially a little disappointed with the mold issues on the passenger side of the body that I think I was able to fix fairly well, this kit was a pretty good and fun build and I really enjoyed it. I can't wait to get started on the Z28 kit that I plan on doing as a pro touring car, and I'll probably buy more so I can do some stock-ish versions as well, since this is my favorite Camaro body style. Sorry for the long post, thanks for looking!
-
Thanks! I'm really happy with the way that turned out. Their Model Colors need to be thinned. I used their thinner and mixed it maybe 60% paint 40% thinner, basically just like other non-airbrush ready paints, until you get the right consistency. It dried flat, as I'm sure most of their Model Colors do, so I cleared with pledge/future. Their Model Air colors are airbrush ready out of the bottle. I bought the Aluminum, but haven't tried it yet.
-
Well done!
-
Great save! That one cleaned up very nicely!
-
Very nice!
-
That it is, so much can go wrong?. Thankfully the modeling Gods were on my side this morning and it was a success?, lol.
-
I used Vallejo Model Colors Light Yellow and cleared with pledge/future.. It didn't turn out as pale as I was hoping for, but it still looks pretty close to the movie car.
-
Looks good! I like your color choice.
-
Outstanding!! Great color choice! Excellent details and a very clean build. I'm trying to figure out what color to paint mine so I can start it, lol.
-
Nice job!!
-
Looks pretty good! That Mystic Emerald is a very nice color, I used it on my '34 Ford Roadster Pickup.
-
Looks great! That's actually a pretty sharp color!
-
Nearing the home stretch on this one. Got the glass installed, engine bay painted, and re-set the ride height. Just have to delicately put the body on the interior/chassis assembly hopefully one last time, and add the final pieces.
-
Very nice! Love the color!
-
Looks good! Great color combo and wheel choice!
-
Love the two-tone interior. Will be very interesting to see this one done in black.
-
Very nice! Looks great in that color.
-
Looks good! That color combo works well with the El Camino.
-
Made a little more progress this weekend. Got it cleared with pledge/future, foiled it and painted the side marker lights. I just need to paint the cowl area, fender wells, headliner, and tail light panel black and it'll be ready for final assembly. I also need to find some Cibie decals for the driving lights, and make my license plate.
-
That would have made me cry if you'd have lost that paint job, lol. Sorry about the two-tone one though, it sucks losing any paint job, especially after you go through all of those steps. I've been interested in the Createx line as I'm getting more and more used to my airbrush, as opposed to using the Tamiya and Testors spray cans in the shed during the summer. I've seen and heard that they were a little tricky to deal with at first until you get more used to them.
-
That looks fantastic! I sure hope this isn't the paint job you said you screwed up.
-
Looks fantastic!
-
Outstanding! Great color choice/combo and paint job. That engine and turbo setup...WOW!
-
That's a beauty! Great color and paint job.