Bills72sj
-
Posts
4,586 -
Joined
-
Last visited
Content Type
Profiles
Forums
Events
Gallery
Everything posted by Bills72sj
-

Congrats Steve Guthmiller
Bills72sj replied to Classicgas's topic in General Automotive Talk (Trucks and Cars)
I agree with the others. Your attention to detail and more importantly, your execution, deserves recognition by your peers. -
Thank you for the suggestion. This build has had enough of a challenge already that I'll just run with the kit tail panel.

-
Thank you Dan and Gareth.
-
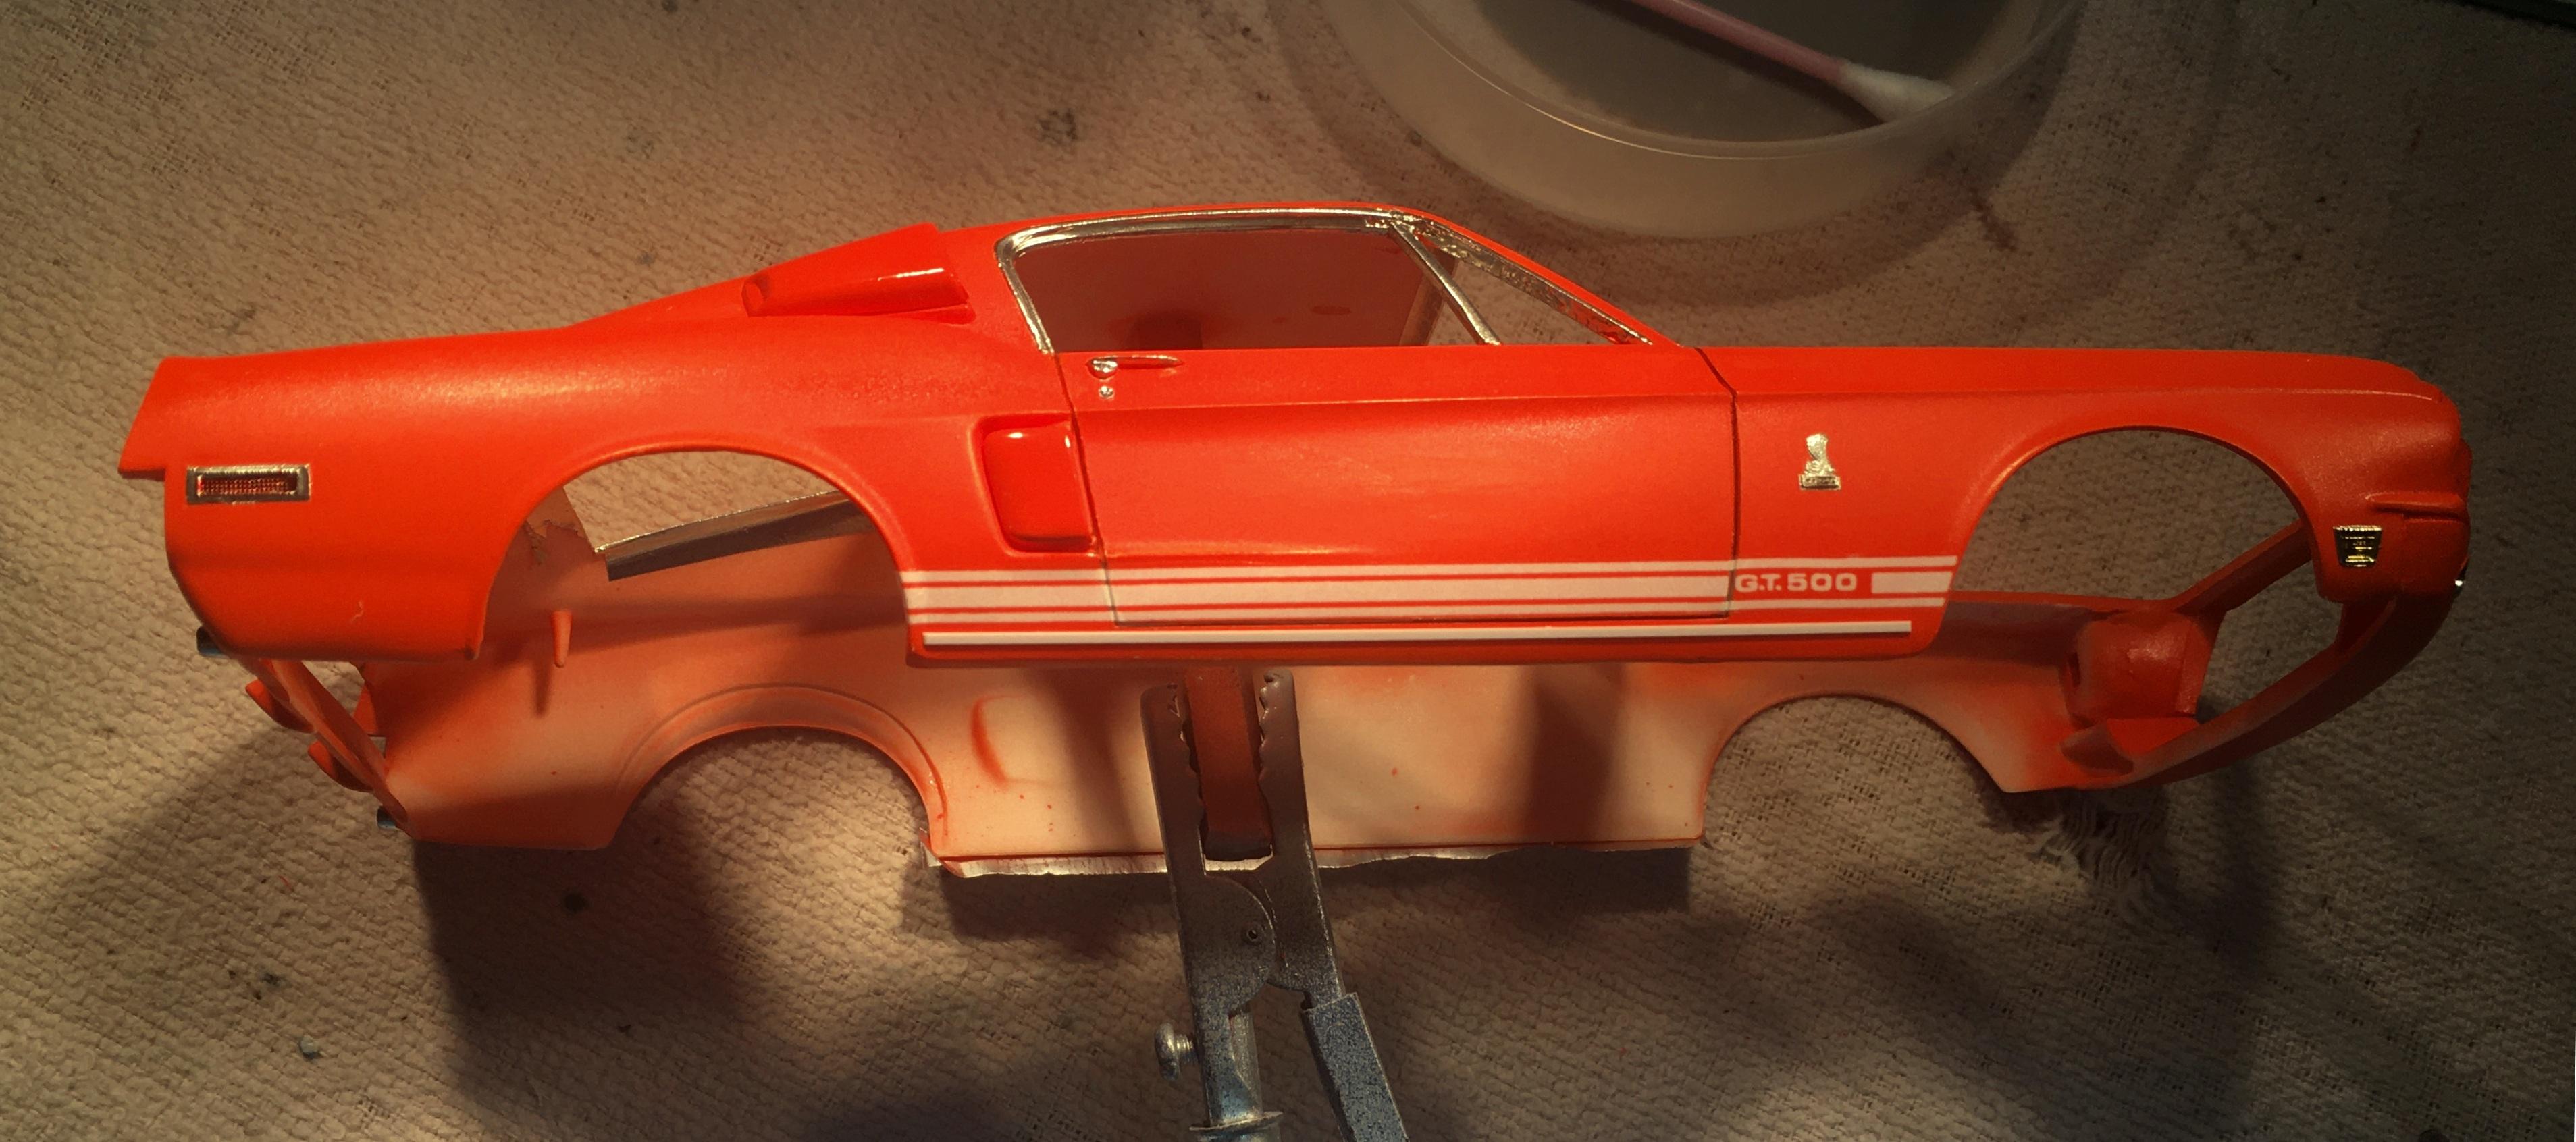
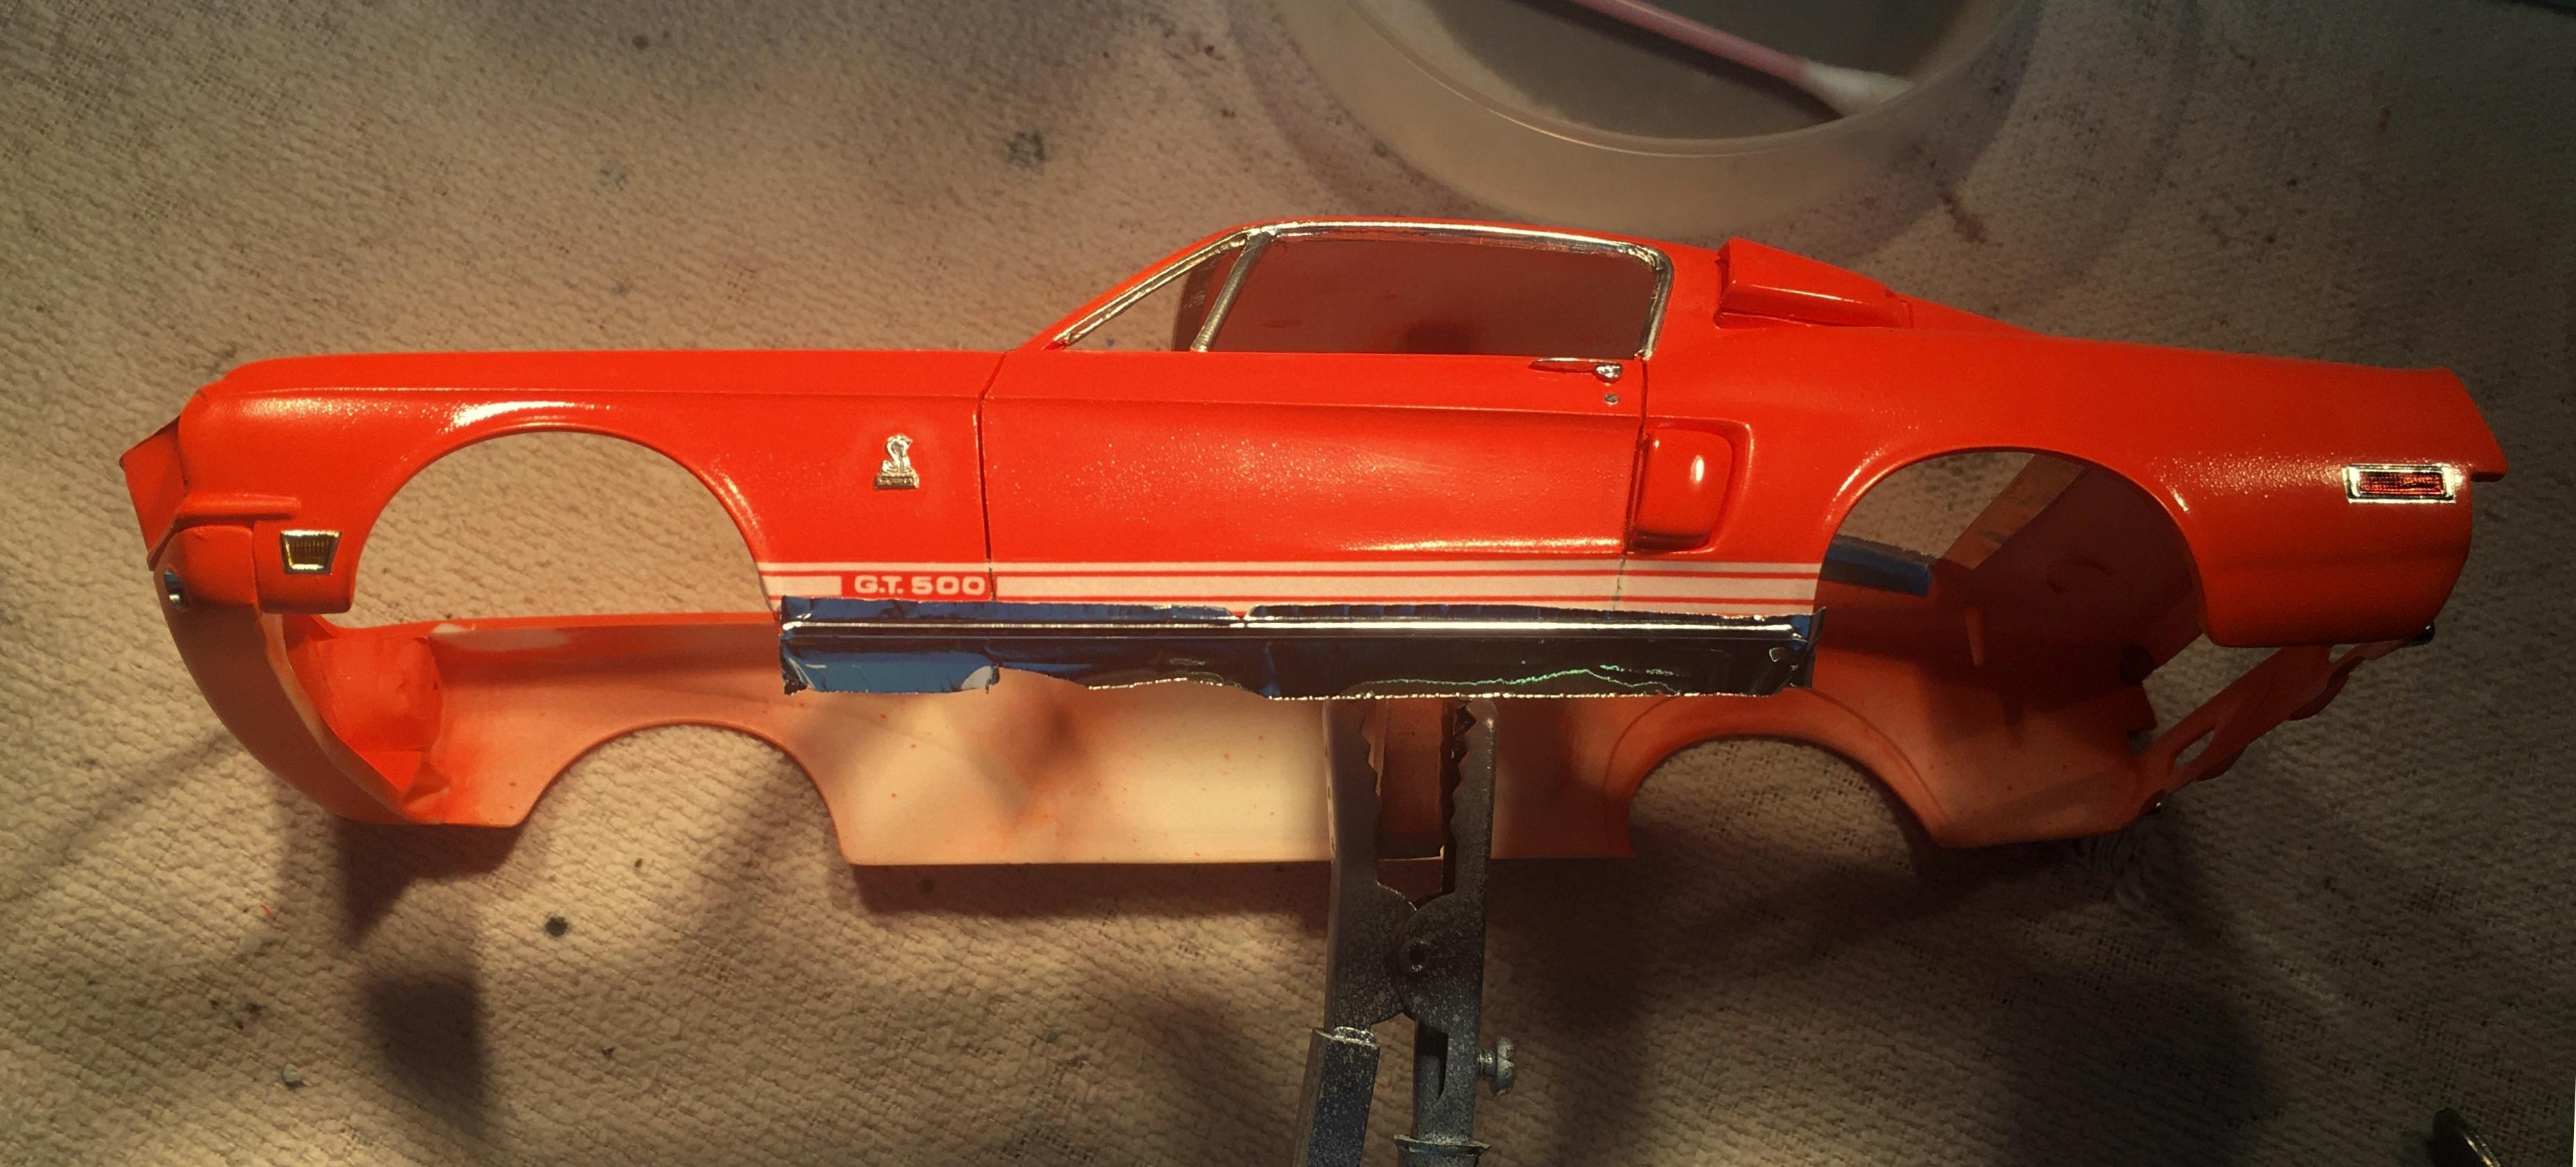
After managing to add BMF, panel line detail and some miraculous Molotow application, the paint is hanging in there with minimal touch ups. After rechecking my reference photos, I noticed the kit has no rocker trim that the 1:1 has. I had to figure out a way to add it without screwing up the paint on the rockers. Most all adhesives have some sort of solvent which was way too risky to use to put on a very thin strip of evergreen. Testors window maker could work but mine is old and not very thin any more. Since the whole body is soon to get painted with Future, I figured I would use it as an adhesive for such a light piece. It worked fantastic with no boo boos on the paint. After a day to cure I applied BMF to simulate the trim. It turned out reasonably decent.
-
Crown Jewel hmmm, I have a couple of older builds that are special but my skillset then is not what it is now. I am still nowhere near some of you master builders but my results have improved. So, I submit my first diorama, my latest big rig and my best (to date) paint job.
-
New source for 3D parts: Canuck 3D...
Bills72sj replied to john sharisky's topic in Car Aftermarket / Resin / 3D Printed
I just read through his whole website. Interesting read from a car enthusiast. -
Who can make decal copies?
Bills72sj replied to RichCostello's topic in Model Building Questions and Answers
Do you need white letters on clear paper or another color on white paper? -
The engine swap looks great. Were the front bumper and tail panel actually from the F&F kit?
-
1969 Super Bee - Time for updates and more POWER
Bills72sj replied to carl63_99's topic in WIP: Model Cars
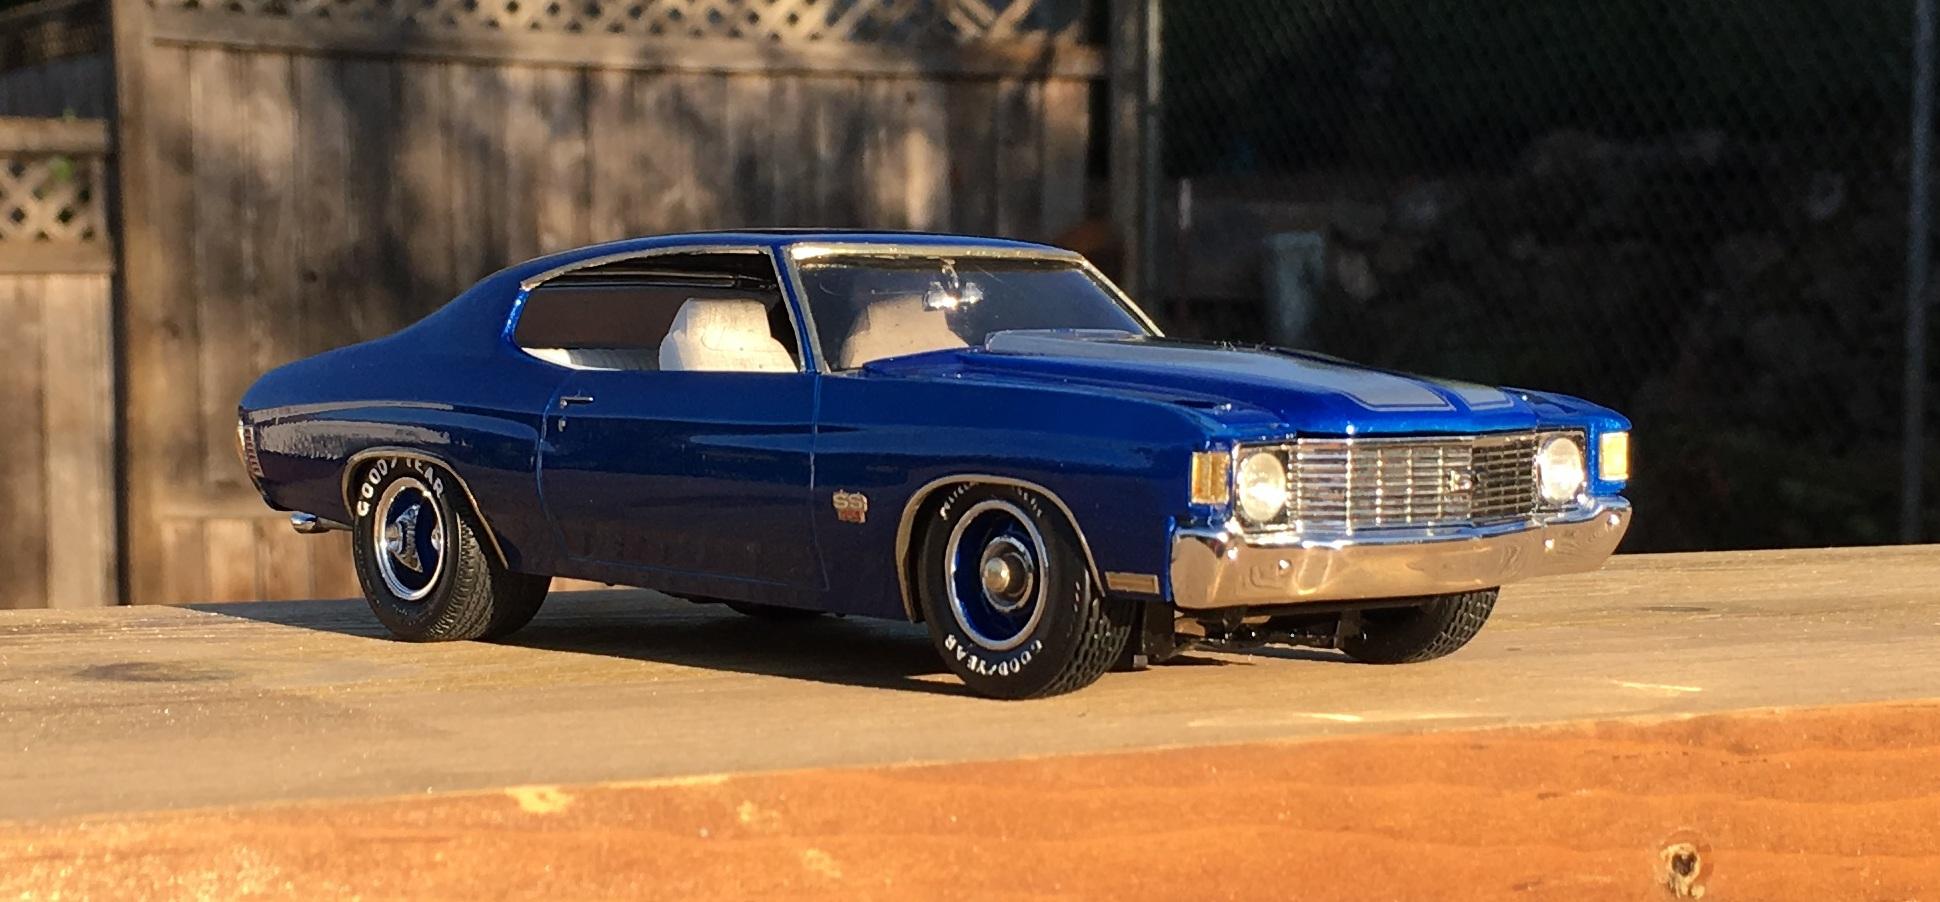
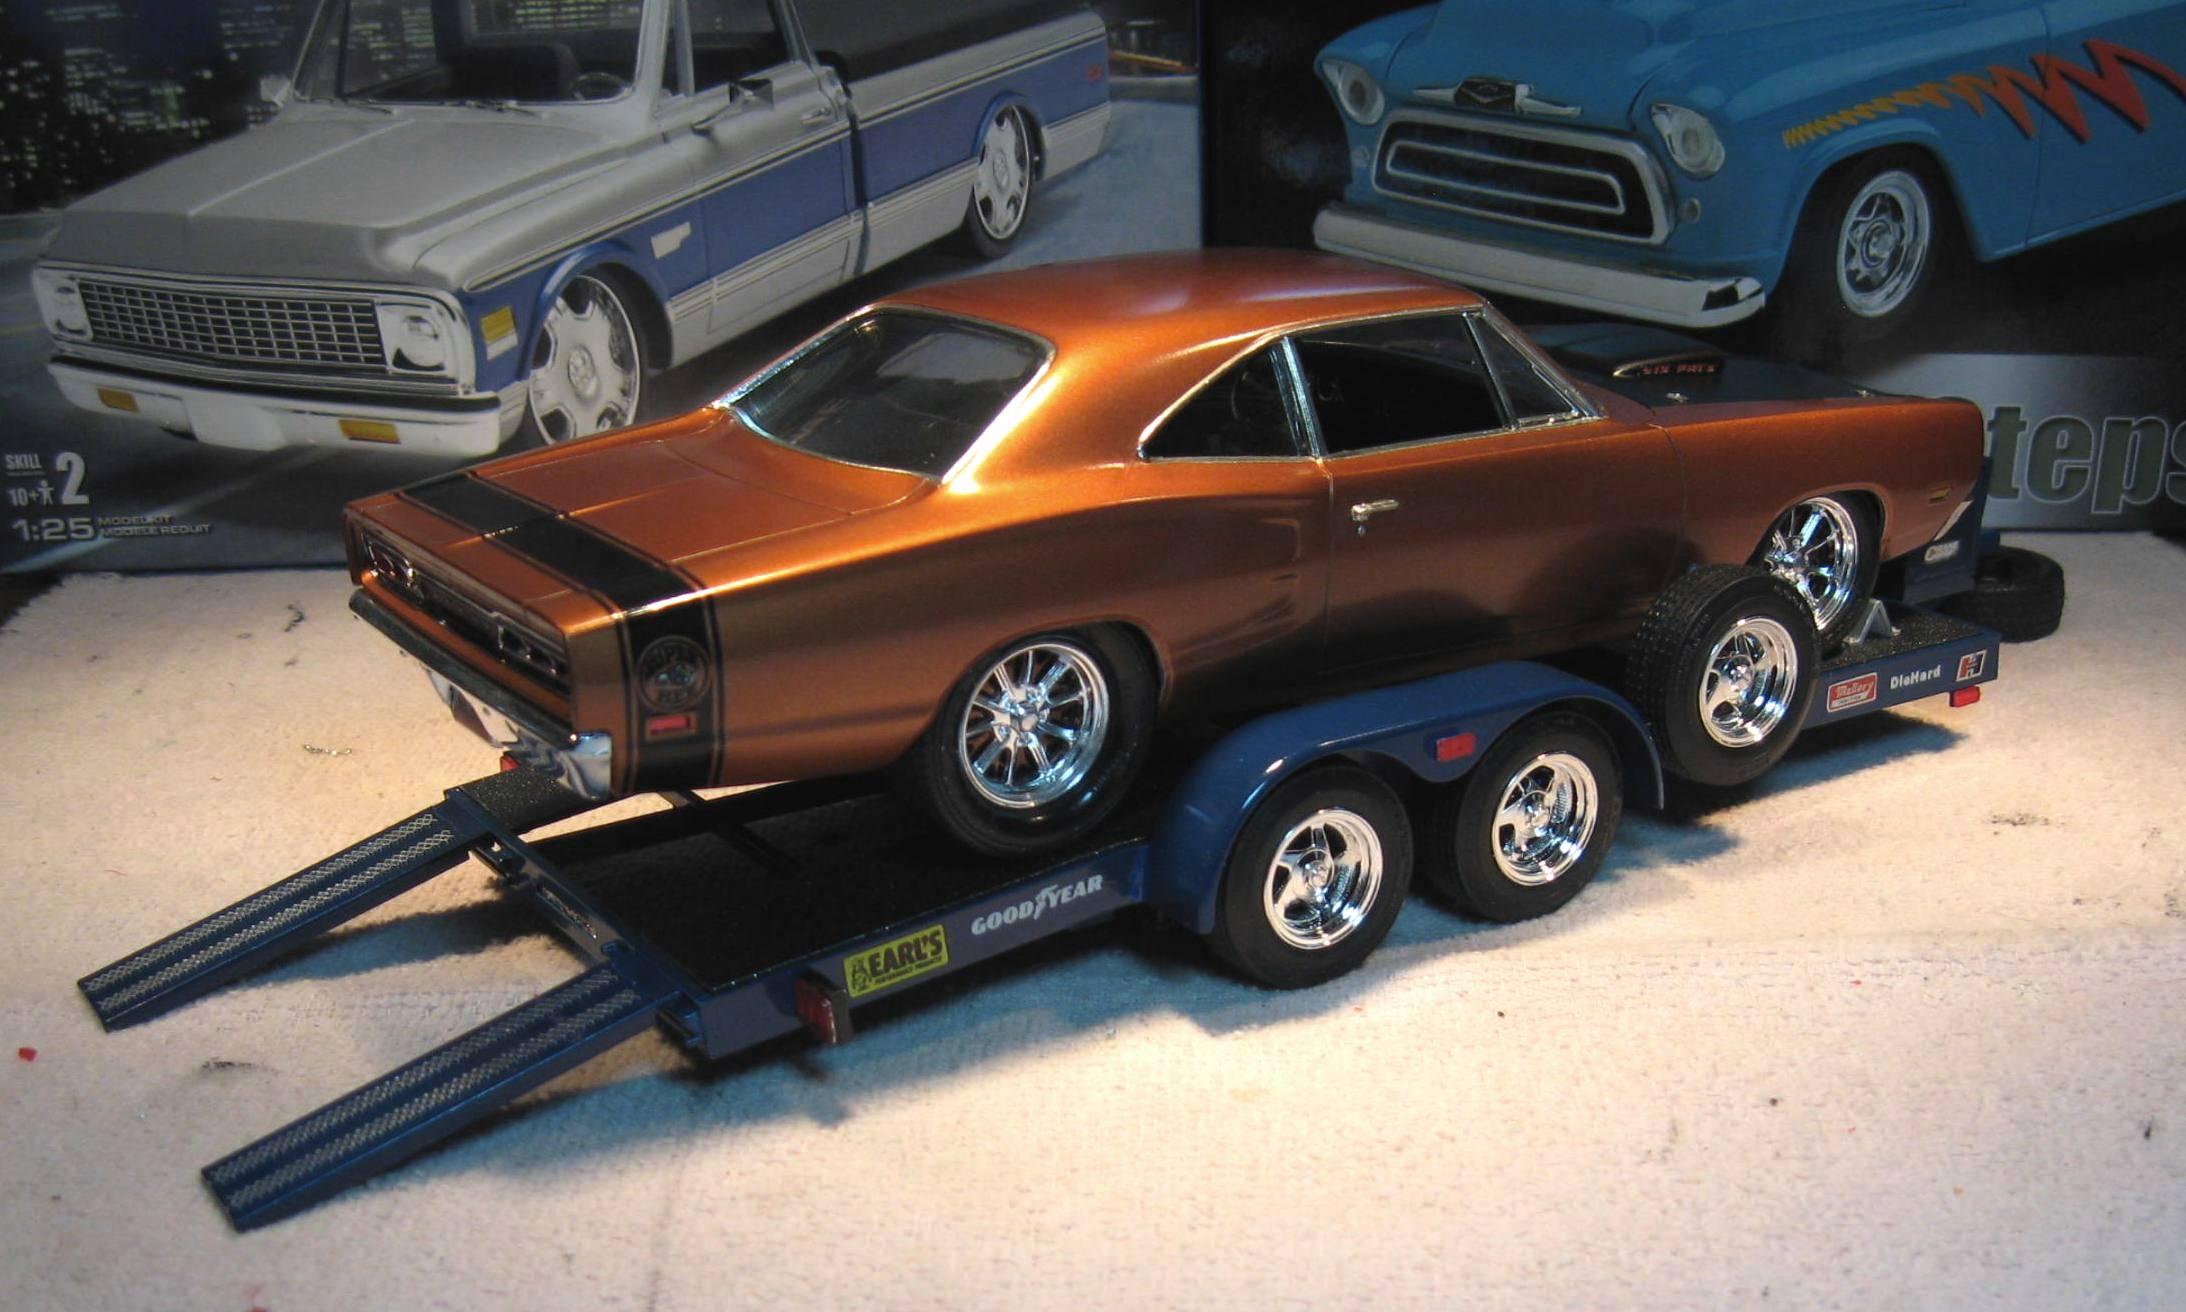
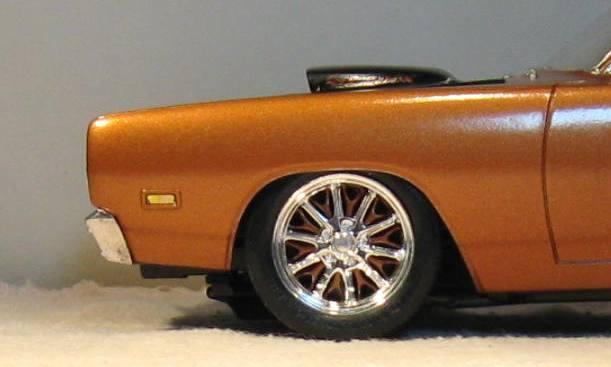
One of my favorite builds. Yours looks good in dark blue. I did mine in copper with custom rims before 3D printers.
-
How does one paint/highlight badge scripts?
Bills72sj replied to doorsovdoon's topic in Model Building Questions and Answers
I have done the foil under the paint then sanding method. I have not tried the foil then thinner method. Sounds risky. I have done some with the 1mm Molotow pen and a VERY VERY light touch/drag. -
In and Out Burger Peterbilt
Bills72sj replied to Dutzie's topic in Model Trucks: Big Rigs and Heavy Equipment
Well done and unique. I would be proud to have it in my fleet. -
AMT. 352
Bills72sj replied to Vettegasser's topic in WIP: Model Trucks: Big Rigs and Heavy Equipment
I have a rebuilder 352 from Sam in the stash. I picked up a minty fresh cab body from ebay awhile back. I will be following your build. -
Very nicely done Cougar. I have done the same technique on occasion. Here is one.
-
Slammed GMC Squarebody
Bills72sj replied to Fish_65's topic in WIP: Model Trucks: Pickups, Vans, SUVs, Light Commercial
I'll be following too. -
I know Vedero Green. A good friend in HS had a similar color on his 67 Firebird 400. Bronze? I could see that. Enjoy.
-
High quality details. Well done.
-
BRBO21 Ford CL9000
Bills72sj replied to Dutzie's topic in Model Trucks: Big Rigs and Heavy Equipment
Very very nicely done. I like the two hole wheels. Are the stripes decals or masked and painted. -
Thank you Jeff.
-
Your trailer turned out very nice. Are the red and white reflector stripes decals or tape?
-
Nice GTX. I built the hardtop years ago.
-
Following. Love the two door. I vote for the 2nd set of wheels depending on color. Nice engine choice.
-
Most Involved Part of Building?
Bills72sj replied to JollySipper's topic in General Automotive Talk (Trucks and Cars)
I'm with you Steve. I find the foil work very gratifying. I still have a steady hand, though my aging eyes requires a lot of light. -
Most Involved Part of Building?
Bills72sj replied to JollySipper's topic in General Automotive Talk (Trucks and Cars)
John, Thank you for the tutorial. I am currently working on some engine swapped Mustangs. None of the supplied exhausts are going to work. Especially the 427 SOHC in an AMT 67 Mustang GT or the Boss 429 in an AMT 69 Mach 1. -
Most Involved Part of Building?
Bills72sj replied to JollySipper's topic in General Automotive Talk (Trucks and Cars)
Snake, I am with you brother. I was fortunate enough to buy multiple boxes of just wheel and tire lots on ebay when they could be had for $10-20 in the early 2000's. I now have 3 FULL model boxes of tires and one full model box of rims. Many of which you would like. My problem has been lately I am out of deep dish rims to sacrifice to make deep dish rears for the 'Street Machine' look. I have actually purchased a mini-lathe expressly for the purpose of making hoops to mate styrene mags with wider tires. To me STANCE is everything. -
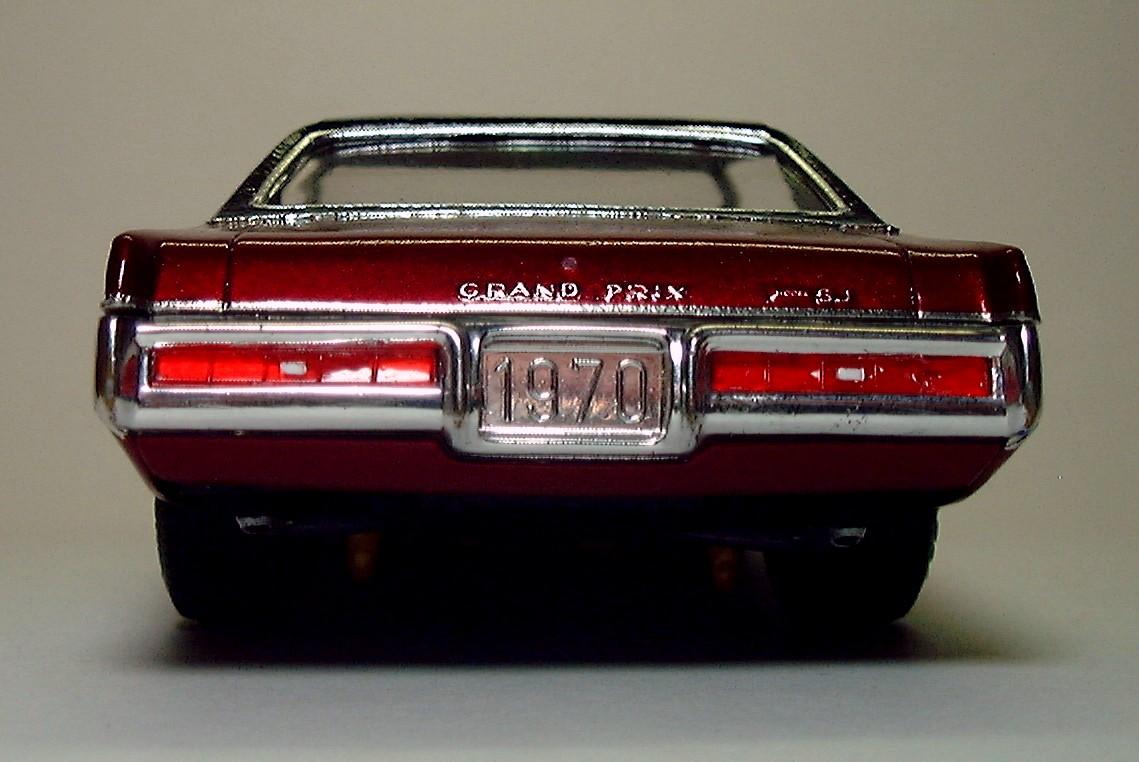
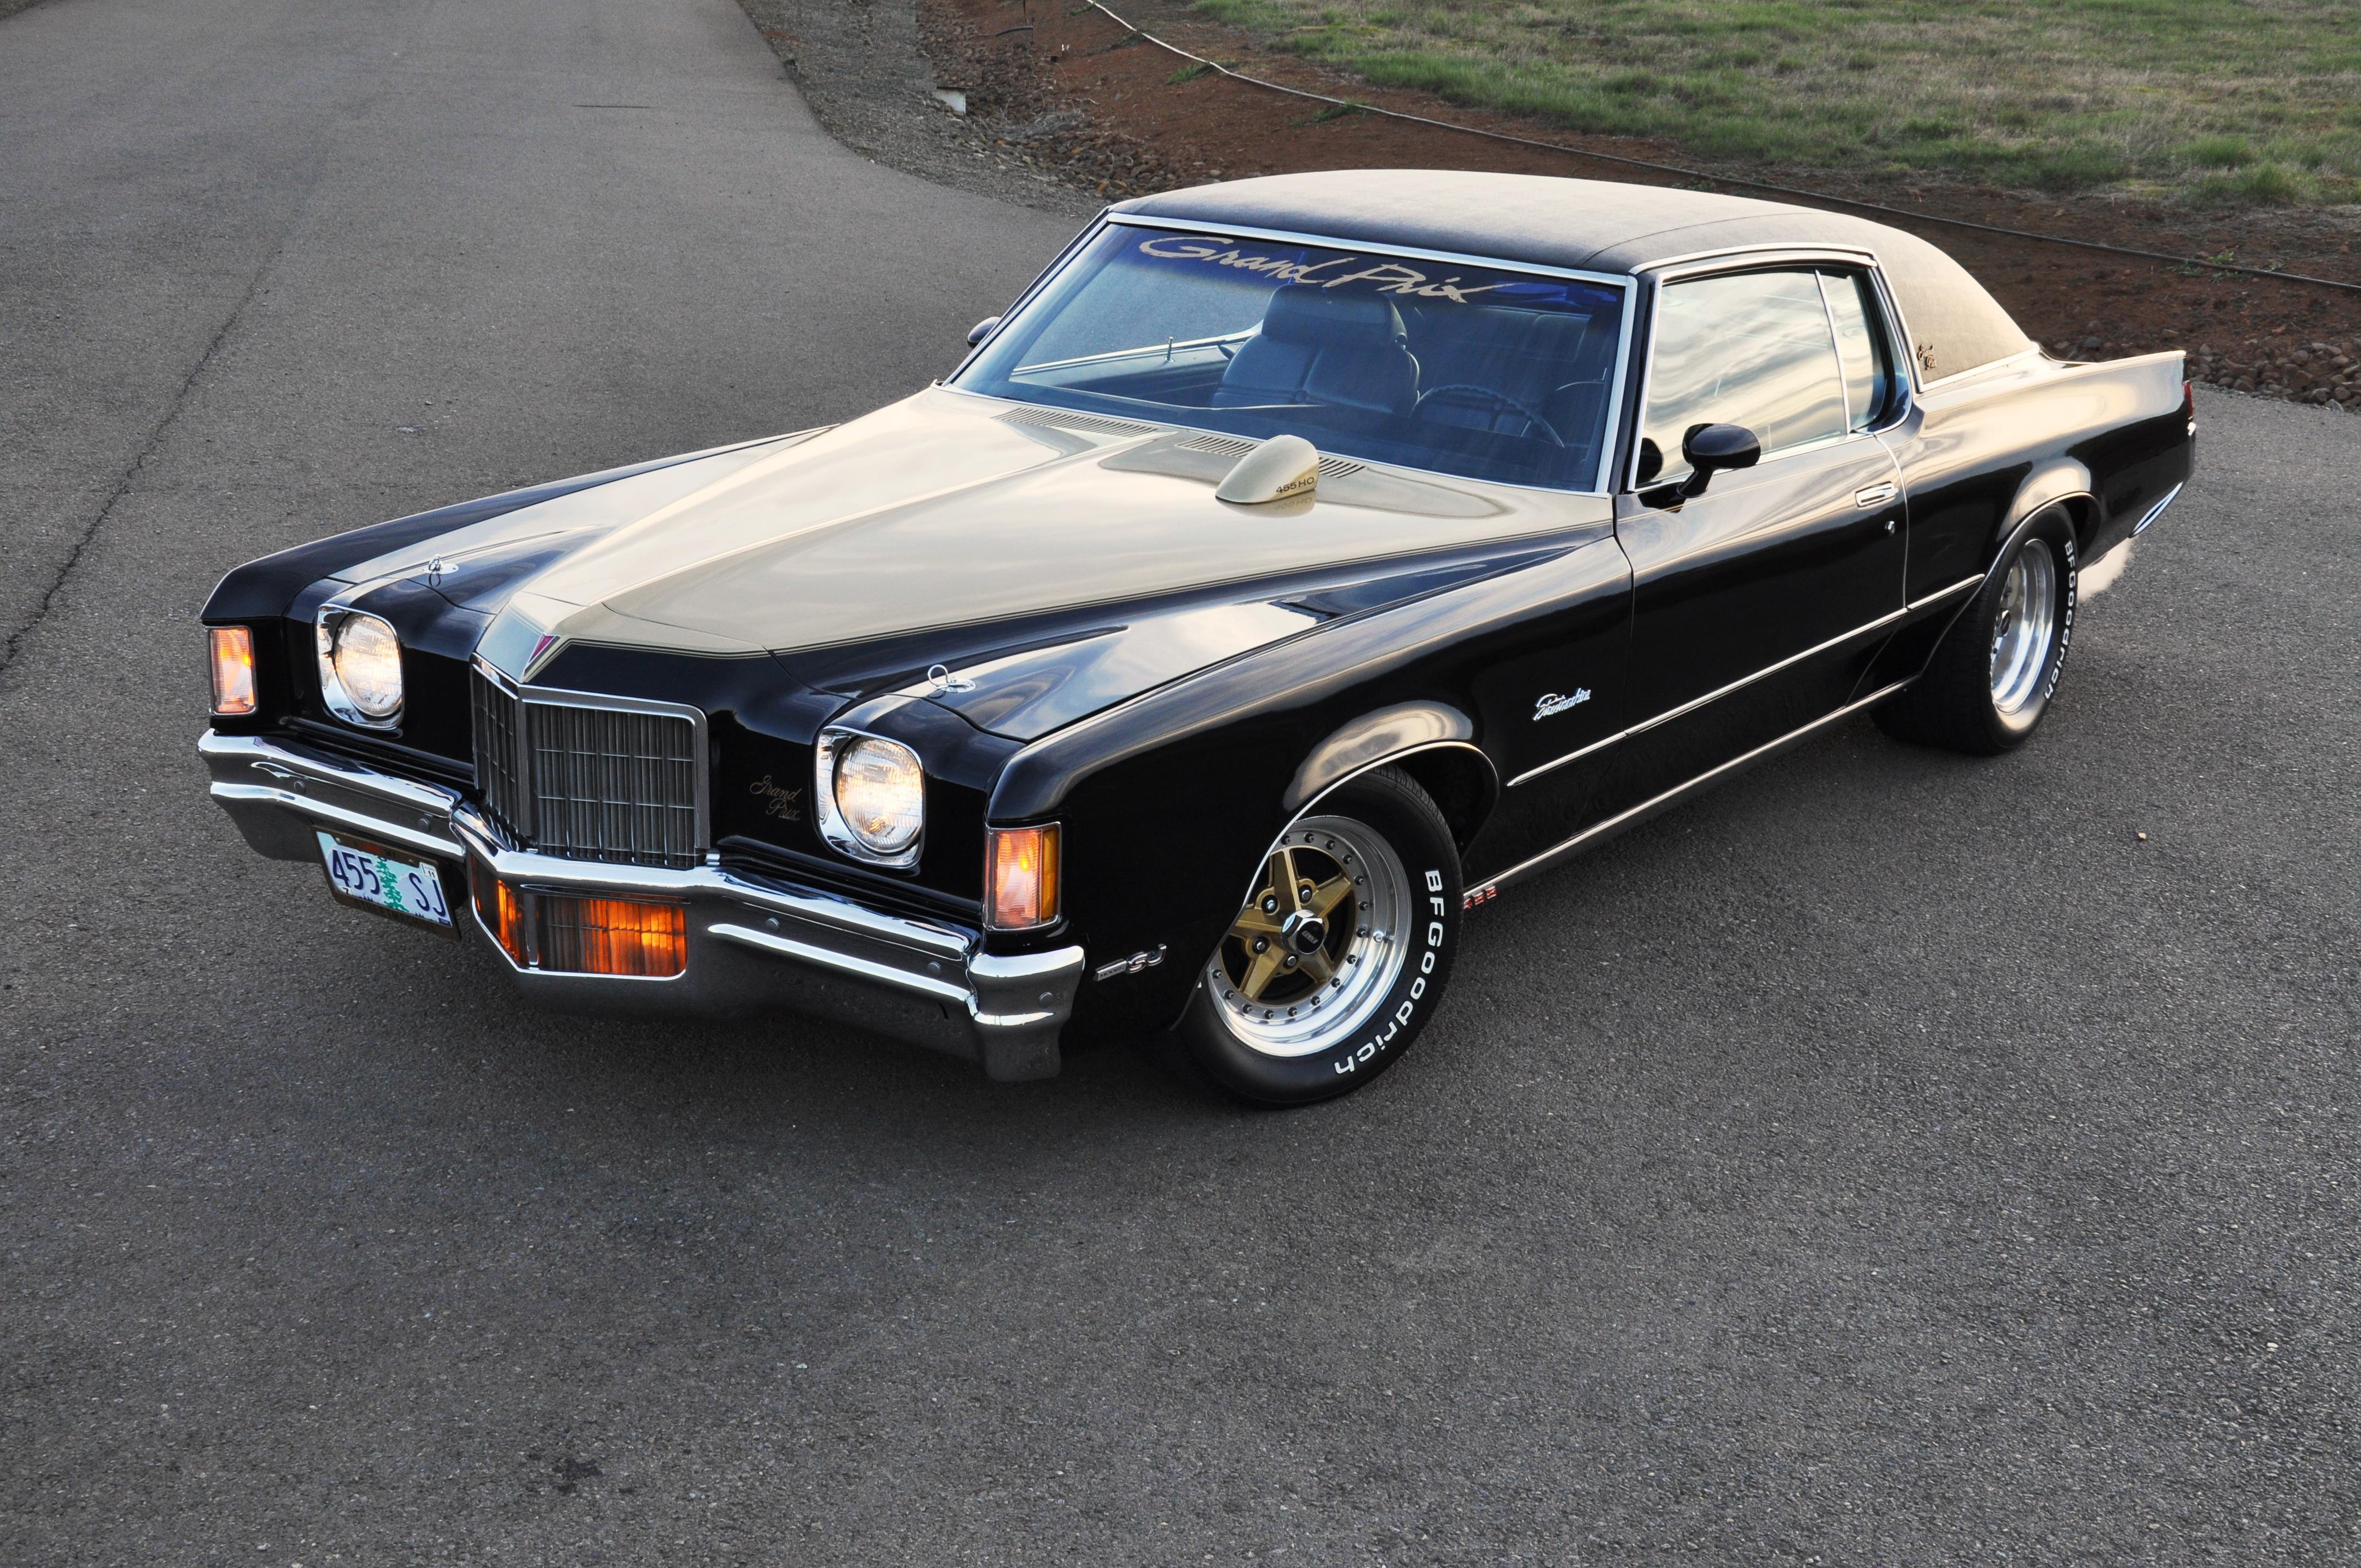
I have been a gearhead all my life. My Dad drag raced a 34 Plymouth coupe with a 33 Hemi and zoomies. In grade school I knew virtually every make an model of car from the mid 50's to the mid 70's by sight. I built models as a kid well into my teens. I have owned a few classic Grand Prixs from 1982 on including my current ride a 1972 SJ with a 455 TH400 12 bolt posi. Having a family and raising kids precluded me from owning a whole fleet of 1:1's so I dived back into the hobby about 20 years ago. I now build in scale what I would like to have if I were to win the lottery. Here are my first my best and my last Grand Prixs.