Bills72sj
-
Posts
4,586 -
Joined
-
Last visited
Content Type
Profiles
Forums
Events
Gallery
Everything posted by Bills72sj
-

AMT 1968 Chevy Camaro Z28 in Nassau Blue Metallic.
Bills72sj replied to Dragonhawk1066's topic in Model Cars
That turned out very nice. -
Nice progress on a rarely seen subject. Following.
-
Autocar/ Challenge Transit Mixer
Bills72sj replied to Mopar - D's topic in WIP: Model Trucks: Big Rigs and Heavy Equipment
Looks like a cool match up. Following. -
Alfa 158 Mistercraft
Bills72sj replied to Michael jones's topic in Other Racing: Road Racing, Salt Flat Racers
WOW! It looks like a speeding bullet in a beautiful shade of red. -
Everybody above have used all the adjectives I know. So I'll just say WOW!
-
Wow! That whole rig is simply AWESOME!
-
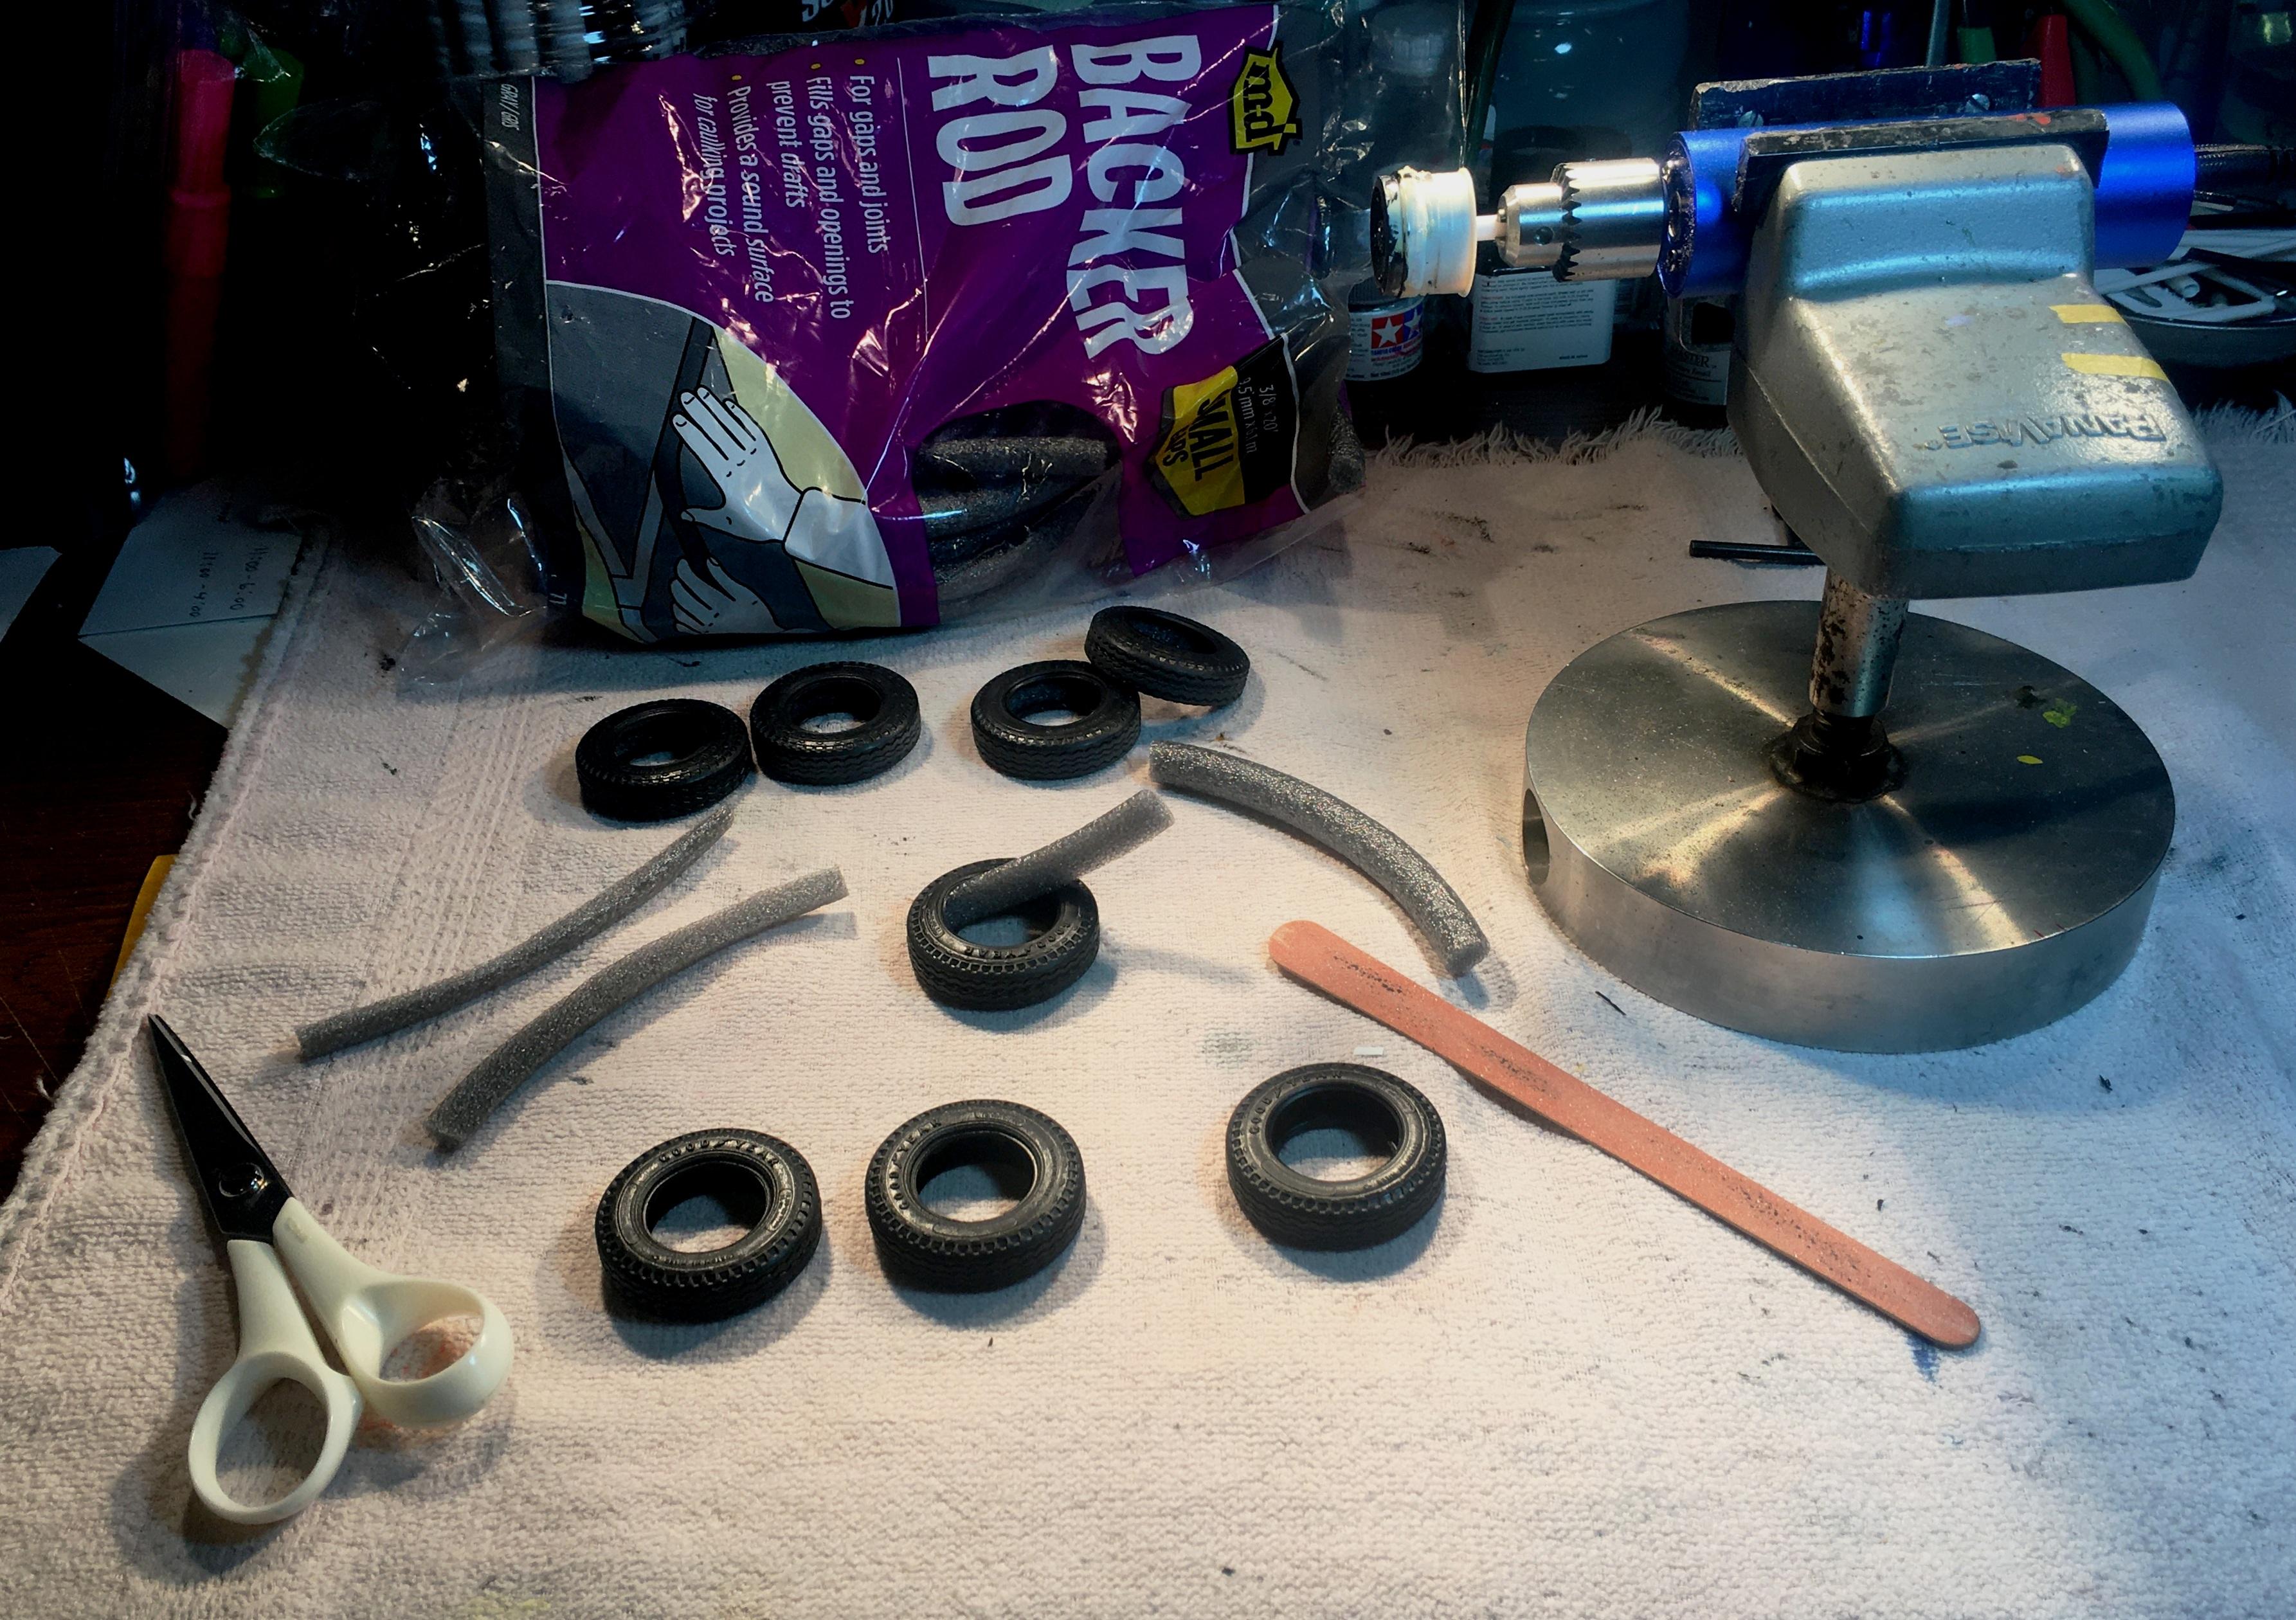
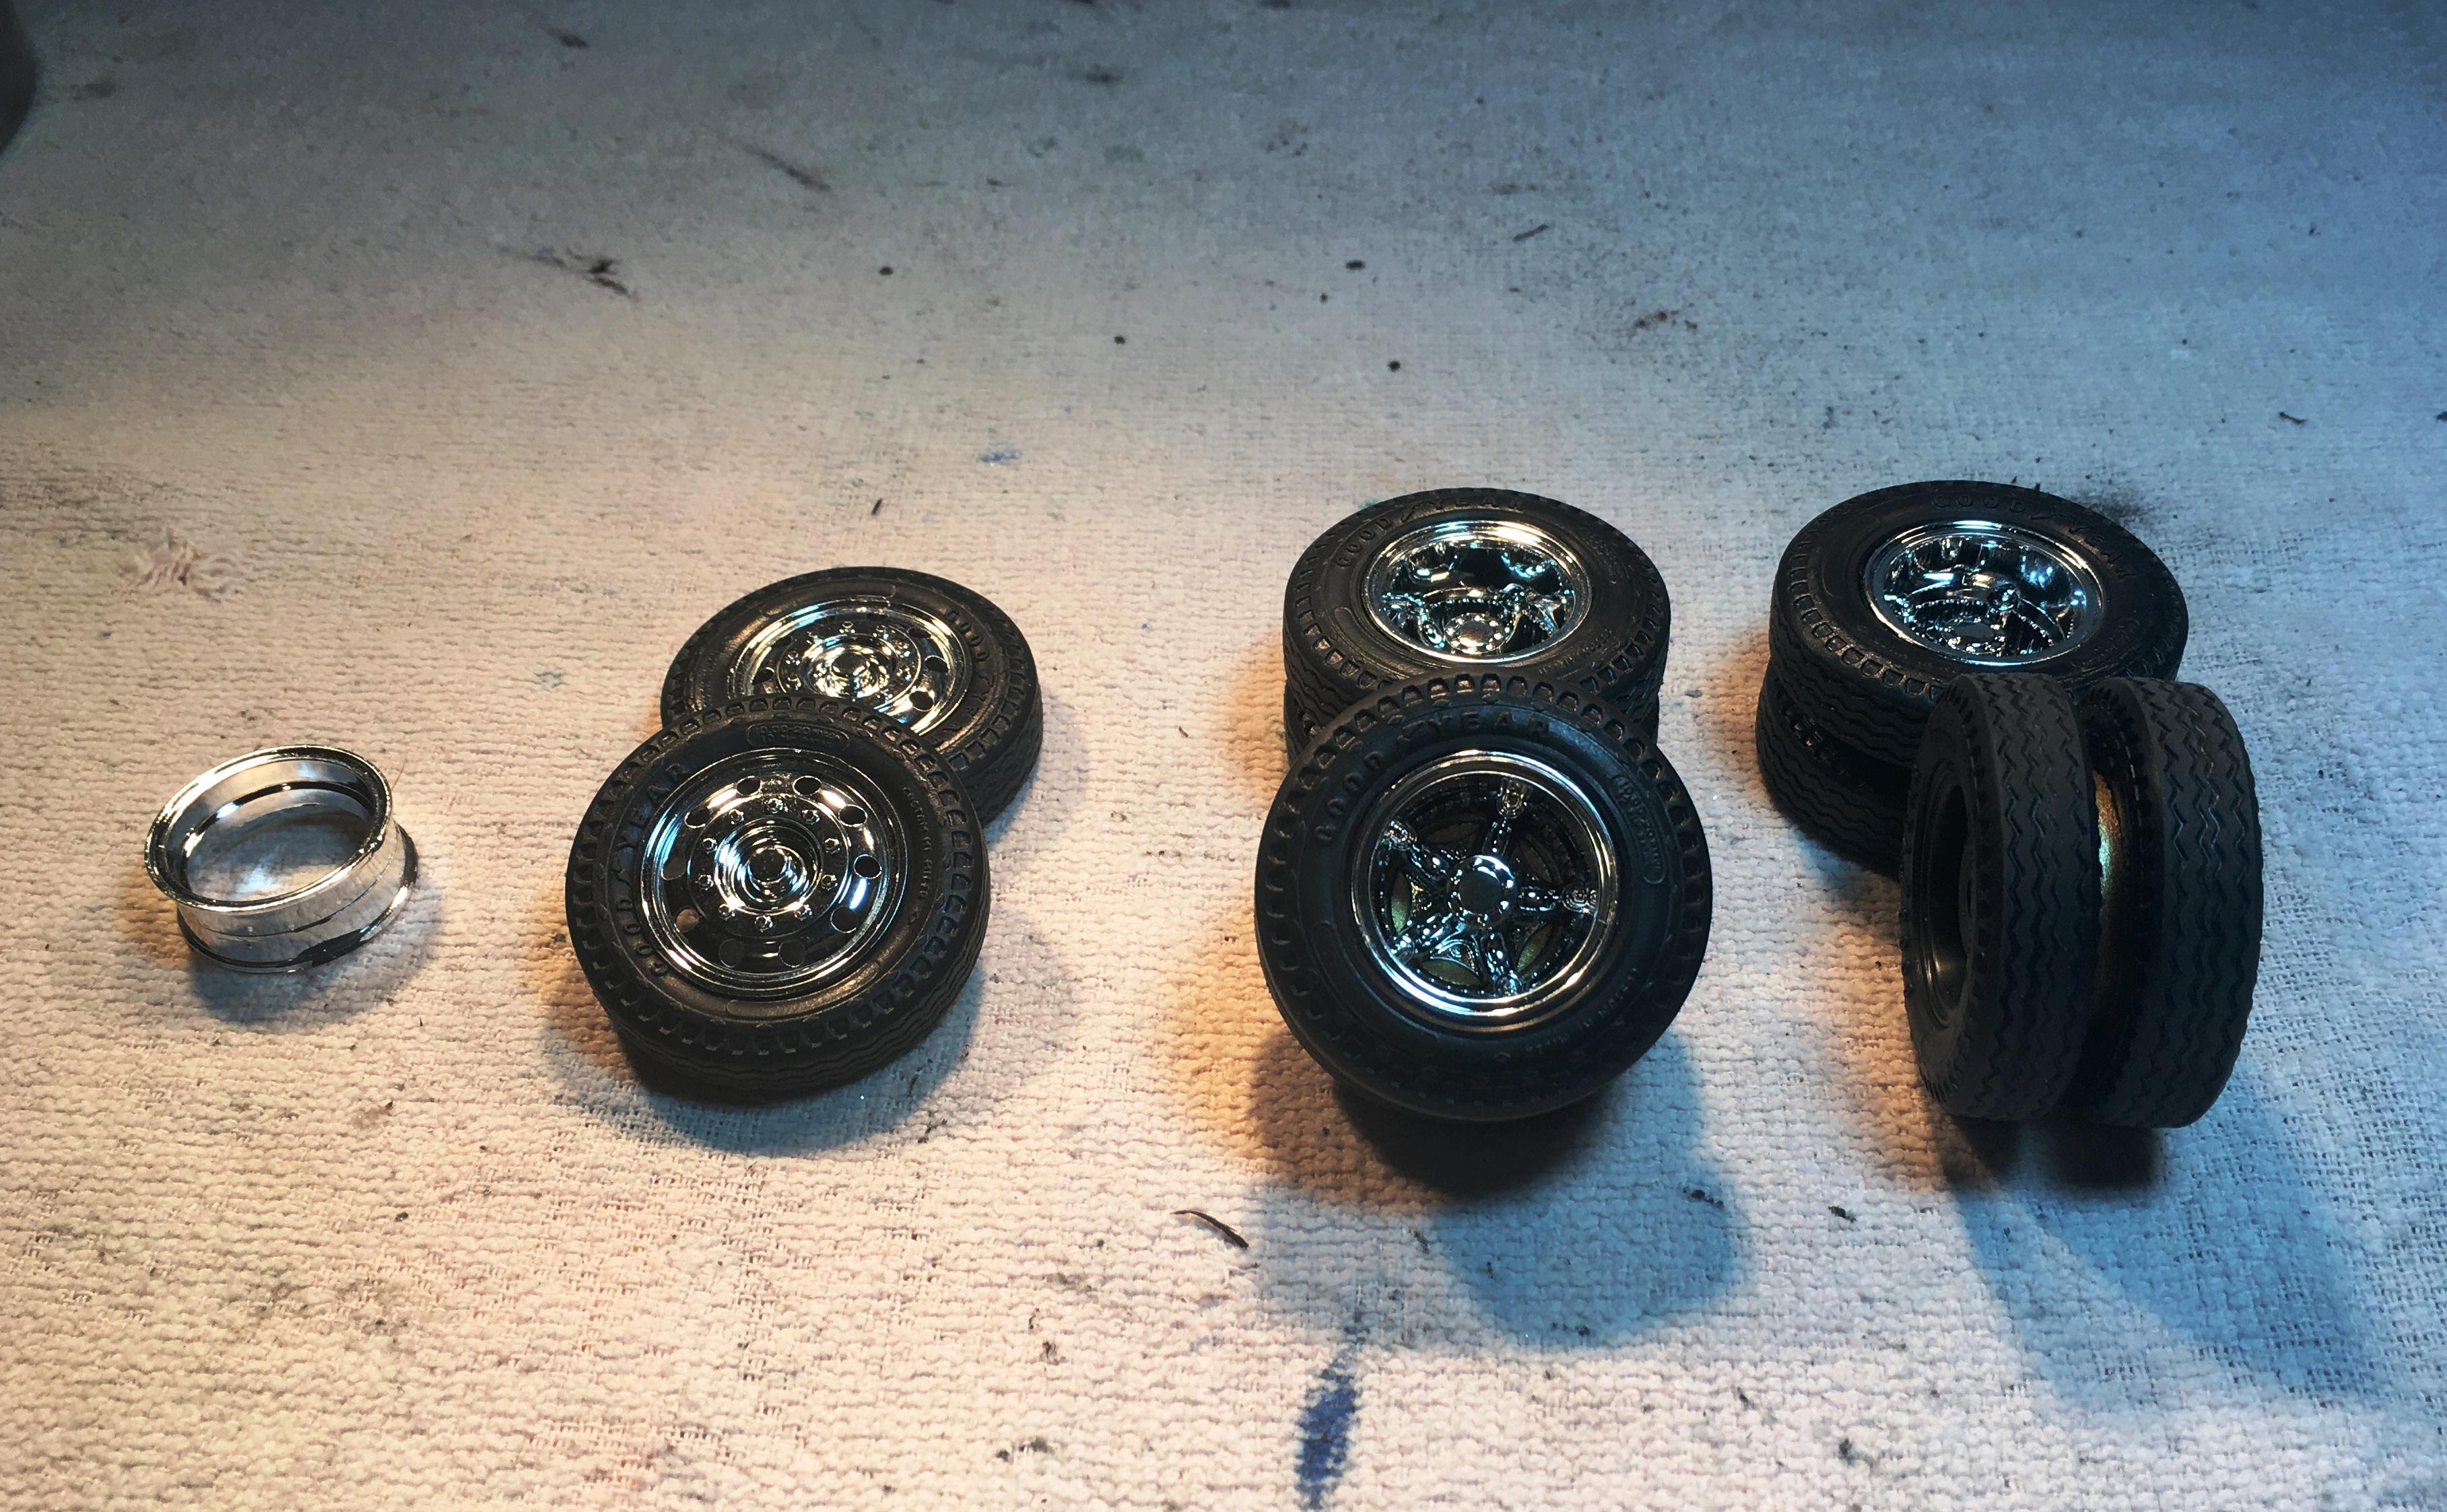
Stuffed the tires with backer rod to keep AMT's wimpy tires full in the rims. Sanded the tread for a touch of realism. Painted the brake drums gold for a subtle hint of color. Added tag axle wheels from the parts box. However, I am now one tire short for the spare rim.

-
Nice project. Thanks for sharing.
-
Fuel oil service rig
Bills72sj replied to Amtronic's topic in Model Trucks: Big Rigs and Heavy Equipment
I agree, that is a pretty cool looking rig. -
I love the Torinos. I have one to build. Following yours.
-
I like the black wash on the alternator. Following.
-
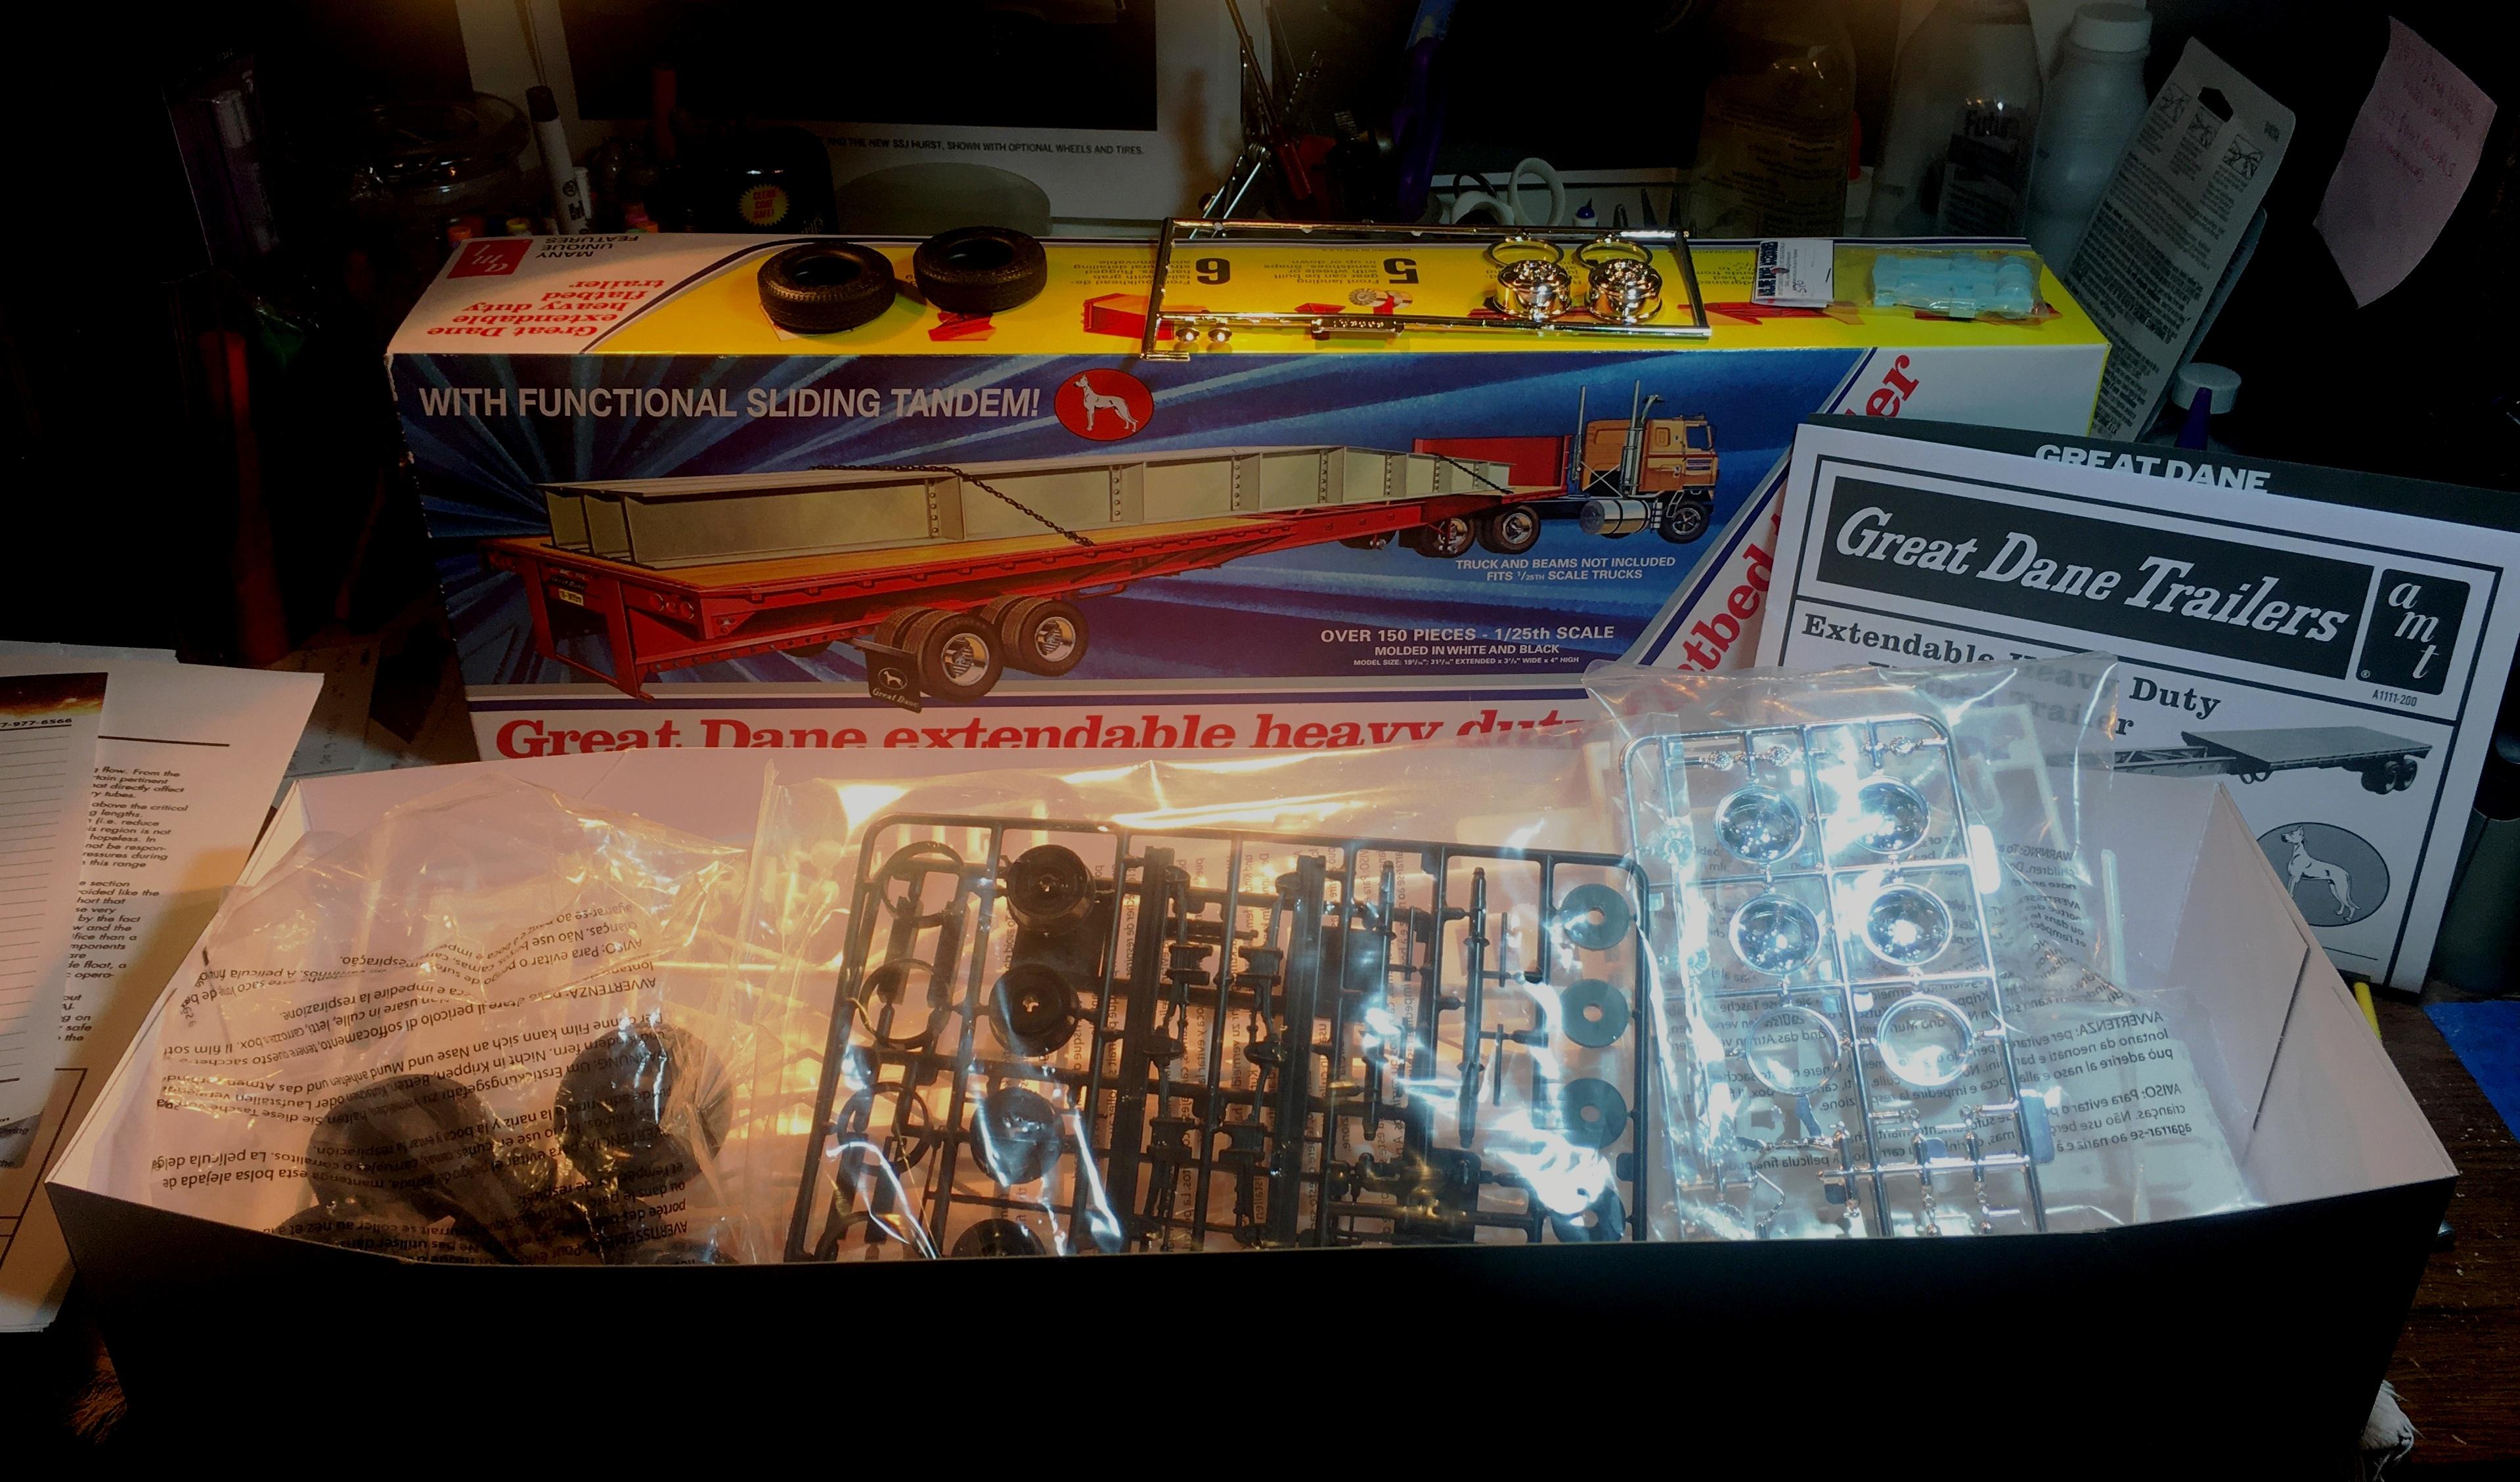
Starting on this trailer to go with my black and gold Freightliner. I am going to see if I can extend the deck and maybe add a tag axle.
-
GMC General
Bills72sj replied to Bronzekeg's topic in WIP: Model Trucks: Big Rigs and Heavy Equipment
Nice GMC. Thanks for sharing. -
Nice save. Keystone Klassics are a good choice.
-
Very nice build. I hope to make one too someday.
-
My comment? All of the above. Great build.
-
I love all the work you have done so far.
-
Thank you for sharing.
-
I really like what you have done with this one.
-
Nice build. Thank you for sharing. I have one of those MPC Charger 500's to build some day. It is my understanding it is one for the few kits where the recesses in the hood are in the correct place.
-
This is so gorgeous! I can only dream of being as proficient a builder as you. You are my inspiration.
-
I love them all! The only one I have obtained so far is the 71.
-
This is looking nice. Following.
-
Nice Nova and nice diorama. Do you have a link to the dio WIP?
-
1963 Chevy Nova Wagon Street Rod FINISHED 3/20/22
Bills72sj replied to Dennis Lacy's topic in WIP: Model Cars
Excellent work on the whole interior. I especially like the amps you fabricated. I have a killer stereo in my 1:1 so I can relate. Below is a block diagram of the revised install I did this Summer.