Bills72sj
-
Posts
4,586 -
Joined
-
Last visited
Content Type
Profiles
Forums
Events
Gallery
Everything posted by Bills72sj
-

Revell Bronco Baja Kit
Bills72sj replied to Hawk5.0's topic in WIP: Model Trucks: Pickups, Vans, SUVs, Light Commercial
Awesome craftsmanship. Love the details! -
OMG!!! The creativity blows me away. You have so many beautiful color schemes going on! The imagination and the craftsmanship and the HOURS invested! The whole thing is truly AMAZING! Thank you for slowly panning the camera so that is can all be taken in visually.???
-
72 BUD MOORE/DONNIE ALLISON TORINO
Bills72sj replied to gks1964's topic in Stock Cars (NASCAR, Super Stock, Late Model, etc.)
Instead of gluing it on, I have a suggestion. Attach it with a little ball of white sticky putty. It will stay put, you can align it perfectly and you can still take it off when ever you want to show the carb. -
Well done. My BFF has a 75 Vette. I need to build it for him one of these days.
-
Very impressive. Thanks for sharing.
-
Patriot Hauling/Automotive
Bills72sj replied to k357's topic in Model Trucks: Big Rigs and Heavy Equipment
Very creative.? I like the color scheme. -
Easy, Cheap Wire Axle Replacement
Bills72sj replied to Snake45's topic in Tips, Tricks, and Tutorials
I rarely use the axles because the ride height is generally not to my liking. I actually have a baggie with at least a dozen metal axles. -
Revell 1968 Dodge Dart GTS 1/25 Scale 2'n1 Kit.
Bills72sj replied to Dragonhawk1066's topic in Model Cars
That turned out SWEEET! -
1/25 AMT 1965 Pontiac Bonneville Sport Coupe
Bills72sj replied to Casey's topic in Car Kit News & Reviews
This will be a kit I will purchase. I will likely play a little mix and match with these...
-
It is good to see your excellent craftsmanship rewarded. Congrats.
-
Let's See Some Glue Bombs!
Bills72sj replied to Snake45's topic in General Automotive Talk (Trucks and Cars)
I humbly apologize for my incorrect entry. -
Tandem Haul Away car transporter
Bills72sj replied to Mopar - D's topic in WIP: Model Trucks: Big Rigs and Heavy Equipment
If I were to attempt that many holes, I would have used a soldering iron. Heat, push, trim. (Stinky though) -
Let's See Some Glue Bombs!
Bills72sj replied to Snake45's topic in General Automotive Talk (Trucks and Cars)
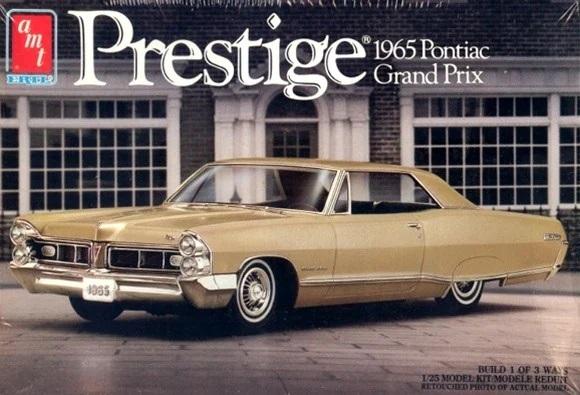
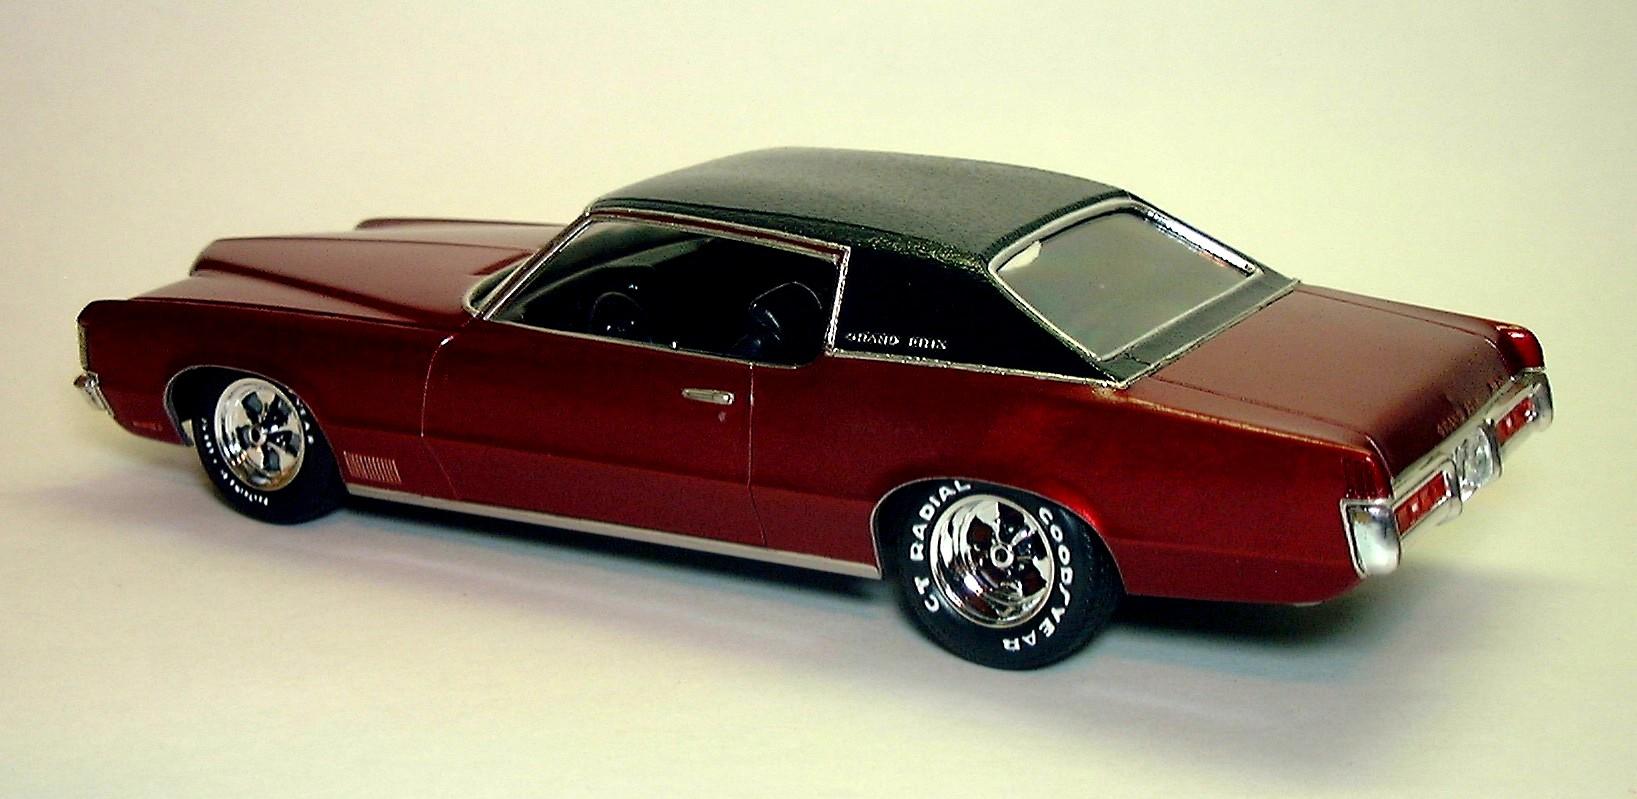
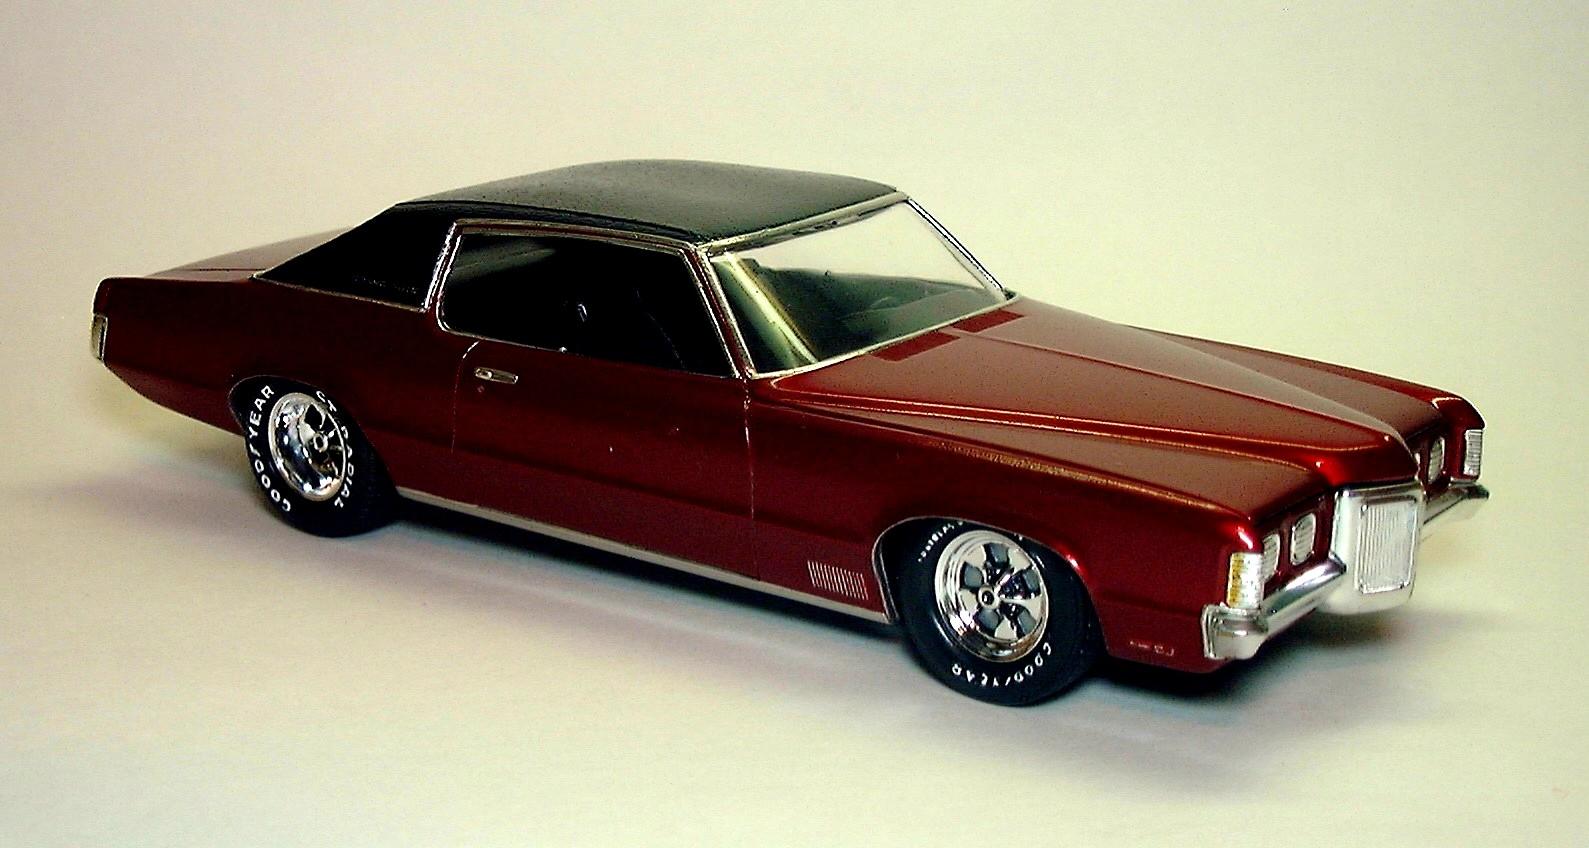
Here is my 2008 vintage description of my 1st Glue Bomb. This model was built to loosely resemble a black over red 70 Grand Prix I owned for a number of years in the late 90's. It started out as a built-up glue bomb purchased on ebay. It was brush painted blue and looked pretty bad at first. After a dip in the "purple lake" I surveyed what was salvageable. The body, bumpers and interior were fair but the engine was a blob. Fortunately, I had a Revell Parts-Pack Pontiac 421. I soaked it in Westly's to dechrome it and sourced the stock air cleaner and other items from the parts bin. I actually made my own wired distributor from supplies picked up at Radio Shack and Hobbytown USA. I used a technique I learned on Drastics about BMFing emblems BEFORE painting and then scraping off the paint on the raised areas to expose the letters. It actually worked quite well. Especially since the "Grand Prix" emblems are separate block letters. It did a fair job on the front fender louvers as well. The interior is pretty basic, with just some minor detailing. The underside being an old MPC offering with chassis screws, is nothing to write home about. I did do my signature red mufflers (a throw back to the Cherry Bomb glass pack days). The engine compartment is anatomically all wrong compared to a real GP. Especially in the fan shroud/radiator areas. I did not have the parts to correct it though, so it is what it is. The mags are Modelhaus Keystone Klassics which have been painstakingly detailed. I performed my signature rear tire widening technique to fill in the rear wheel wells. The tires have been lettered with a "Gelly Roll" pen from a local stationary store. The windows were boogered up but, using progressively finer grit polishing cloths, finished off with a coat of Future, they look as good as new. Sharpie markers applied here and there round out the small details. I am pretty pleased at how my first restoration turned out.
-
What kits do you collect?
Bills72sj replied to carbuilder1950's topic in General Automotive Talk (Trucks and Cars)
I also, am not a collector for the sake of collecting. I fully INTEND to build what I have acquired. I avoid duplicates but am open to additional versions of a make and model that I like. My interests are Muscle cars which fortunately (or unfortunately) there are plenty available. My other interest is Semi trucks triggered by the Movin' On show in the 70's. This was right when I was no longer challenged by building cars at the time. I have 23 tractor trailer rigs to build and all are unique. I have over 150 cars from 1953 to 1978. -
I am digging the trailer and the detail. It is actually the next one in my queue.
-
Amt 352 Peterbilt
Bills72sj replied to TruckerAL's topic in Model Trucks: Big Rigs and Heavy Equipment
Very nice. I would be proud to add it to my fleet. -
Basic work truck White Freightliner
Bills72sj replied to TruckerAL's topic in Model Trucks: Big Rigs and Heavy Equipment
SA-WEET!!!! Thanks for sharing. I built 2 last year from the same 75th anniversary kit. -
You might want to consider these. They are even big and biggers.
-
Very nice. A friend of mine in HS had one in bright red with Cragar SS mags.
-
Nicely detailed. Thanks for sharing.
-
AMC cross ram intake
Bills72sj replied to Bob Warfield's topic in Model Building Questions and Answers
Bob, please share a WIP post for those of us who would like to follow along. -
Admirable job you have done there.
-
Kudos to you for getting it done.
-
Those valve covers are drool worthy. Did they come in the kit? I has a set on my 1:1 Pontiac 469.
-
Very nice GTO! I agree, you need to send the car back to the detailer to clean up the engine bay. Your engine is great. I would be interested in outsourcing mine to get results like that.