David G.
-
Posts
11,324 -
Joined
-
Last visited
Content Type
Profiles
Forums
Events
Gallery
Everything posted by David G.
-
 Looking great Ray! I've always wanted to build a ship model of some sort. It seems that one like this would be a good starting point. Thanks for sharing your work with us. David G.
 -
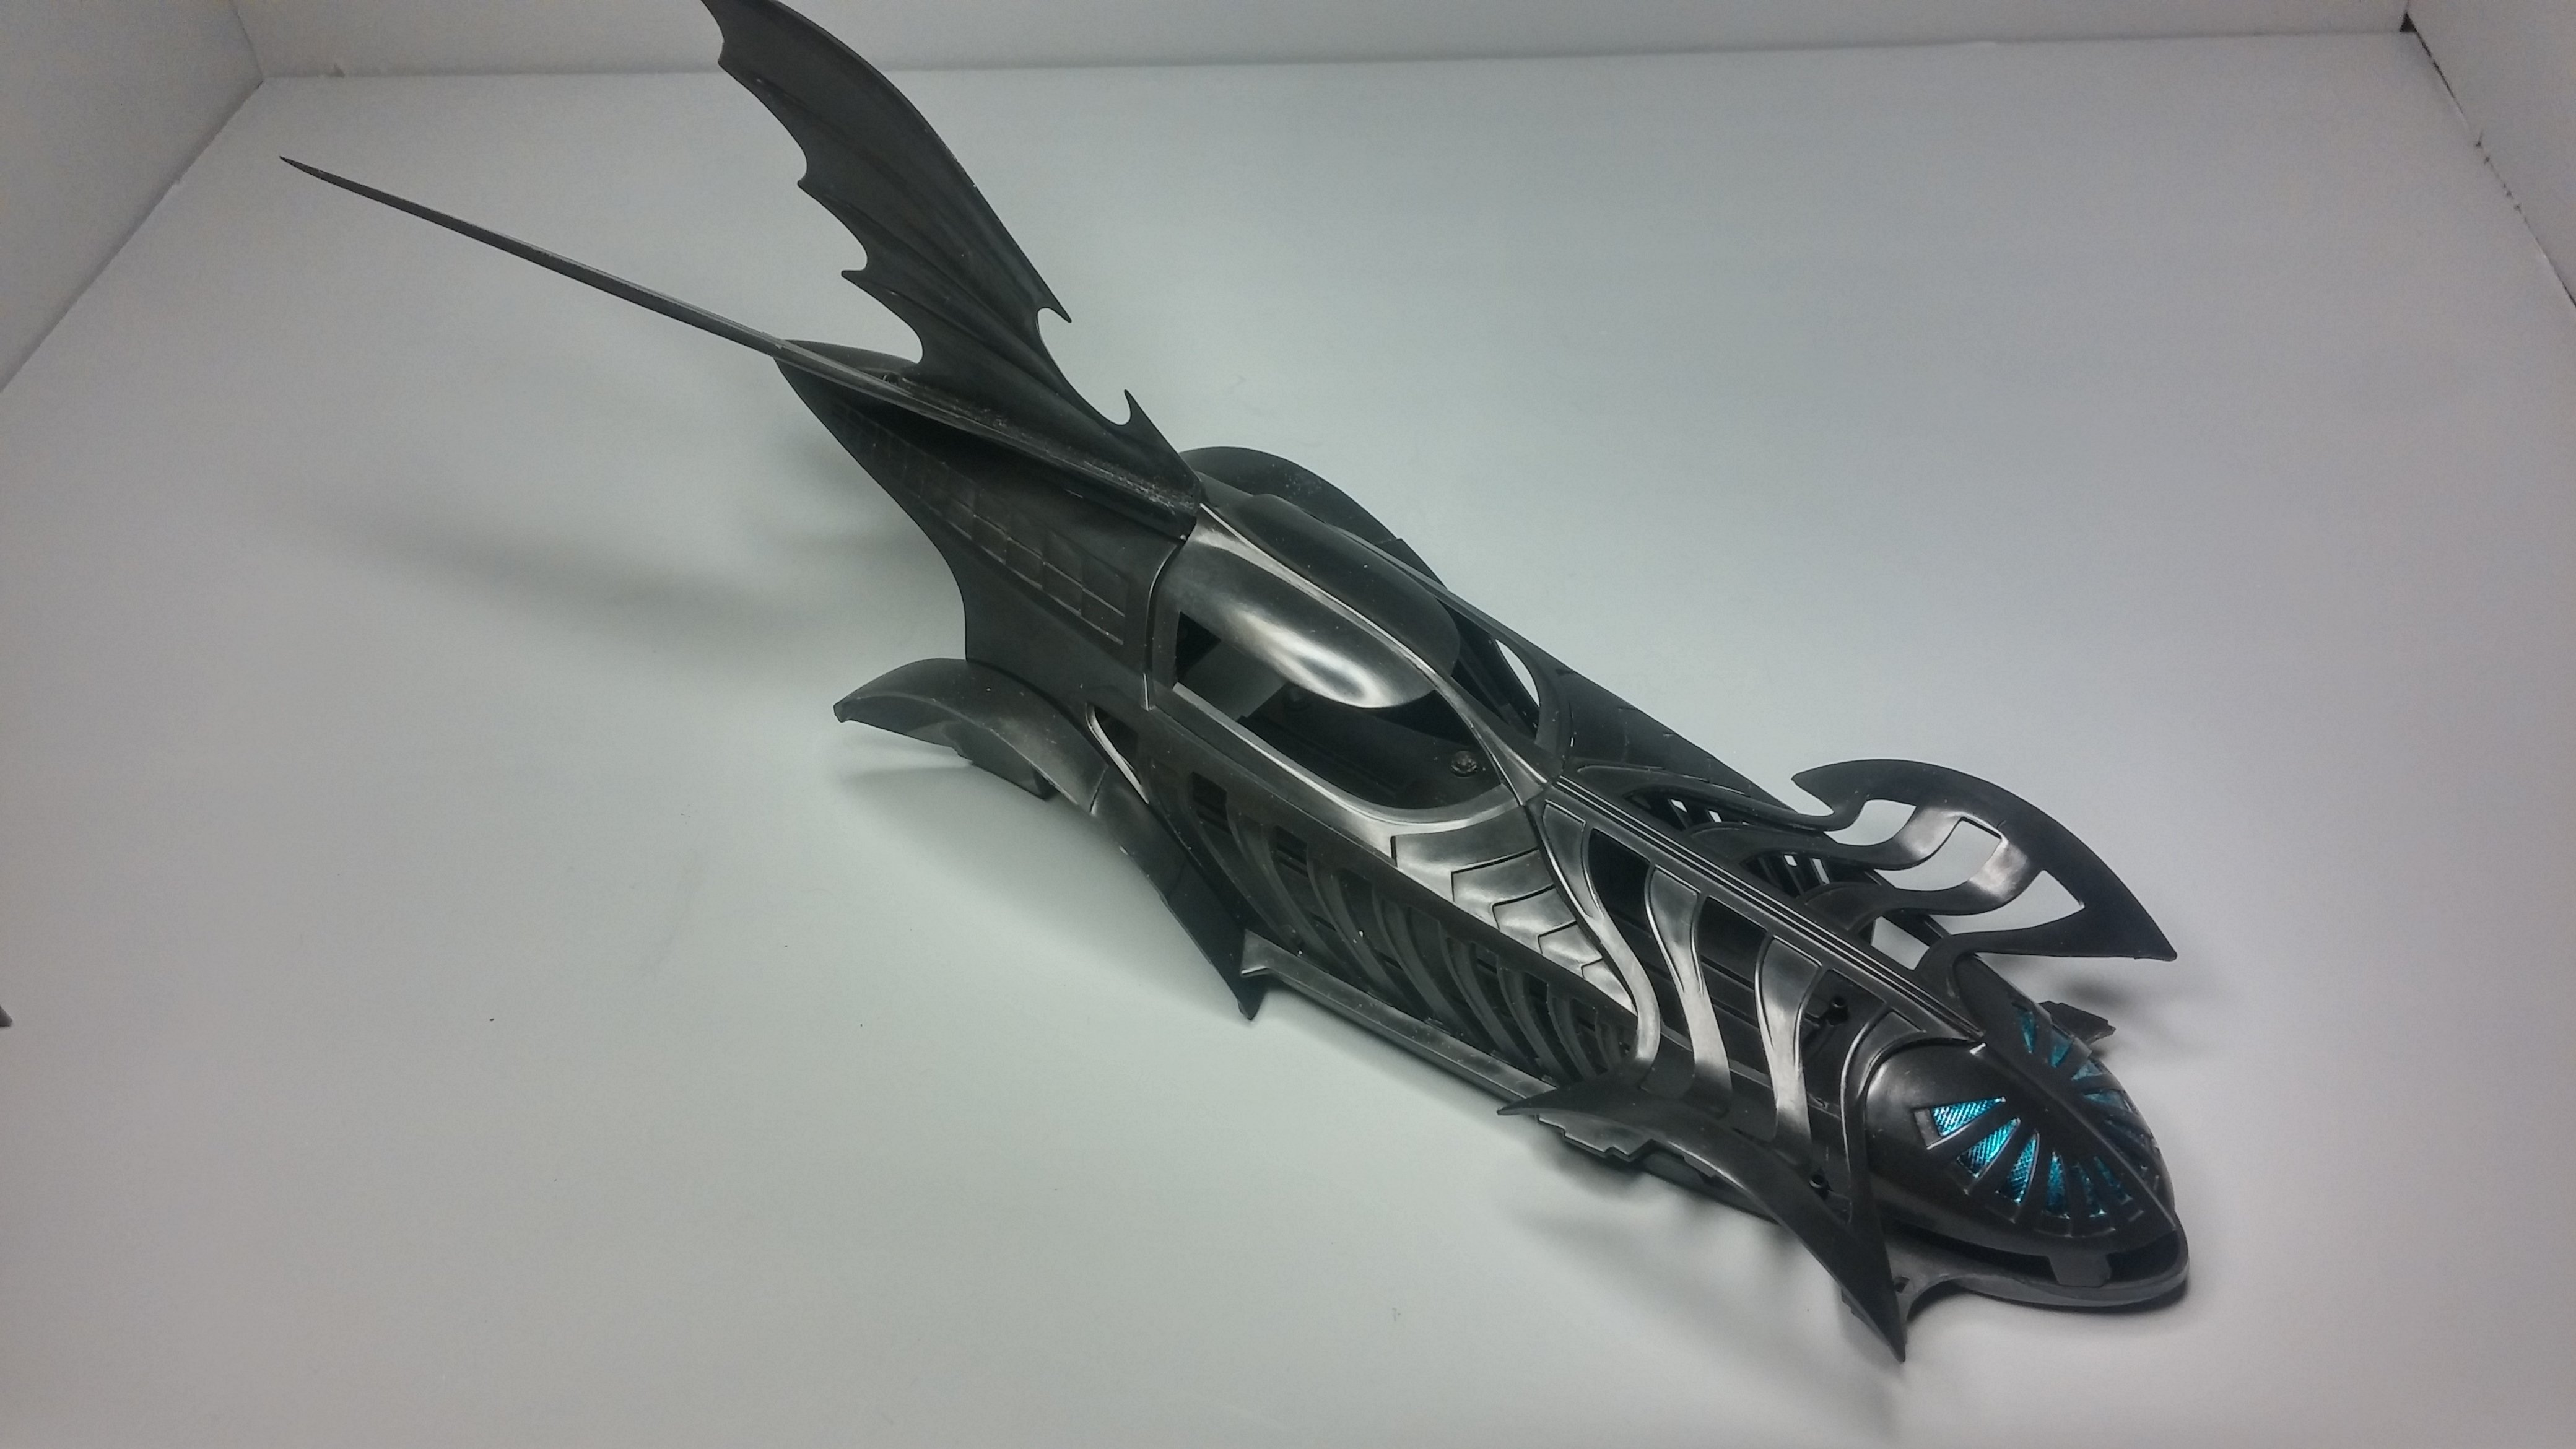
OK, in the home stretch on this one. Seeing it this way, I think it would make an interesting Formula 1 car. Nearly completed- Just need to add the fenders and some other bits. Gha, this thing is huge! Alright. Next time you see this one, it'll be in the Under Glass section. Thanks again for all the comments and encouragement. David G.

-
Best. Vega. Ever. David G.
-
Nicely Done! All the subtle touches add up to one great diorama. David G.
-
Thanks for all the encouraging remarks. I'll have more photos ready soon. David G.
-
Clean and tight- well detailed. Excellent all around. David G.
-
Spectacular Work! David G.
-
Nicely Done! David G.
-
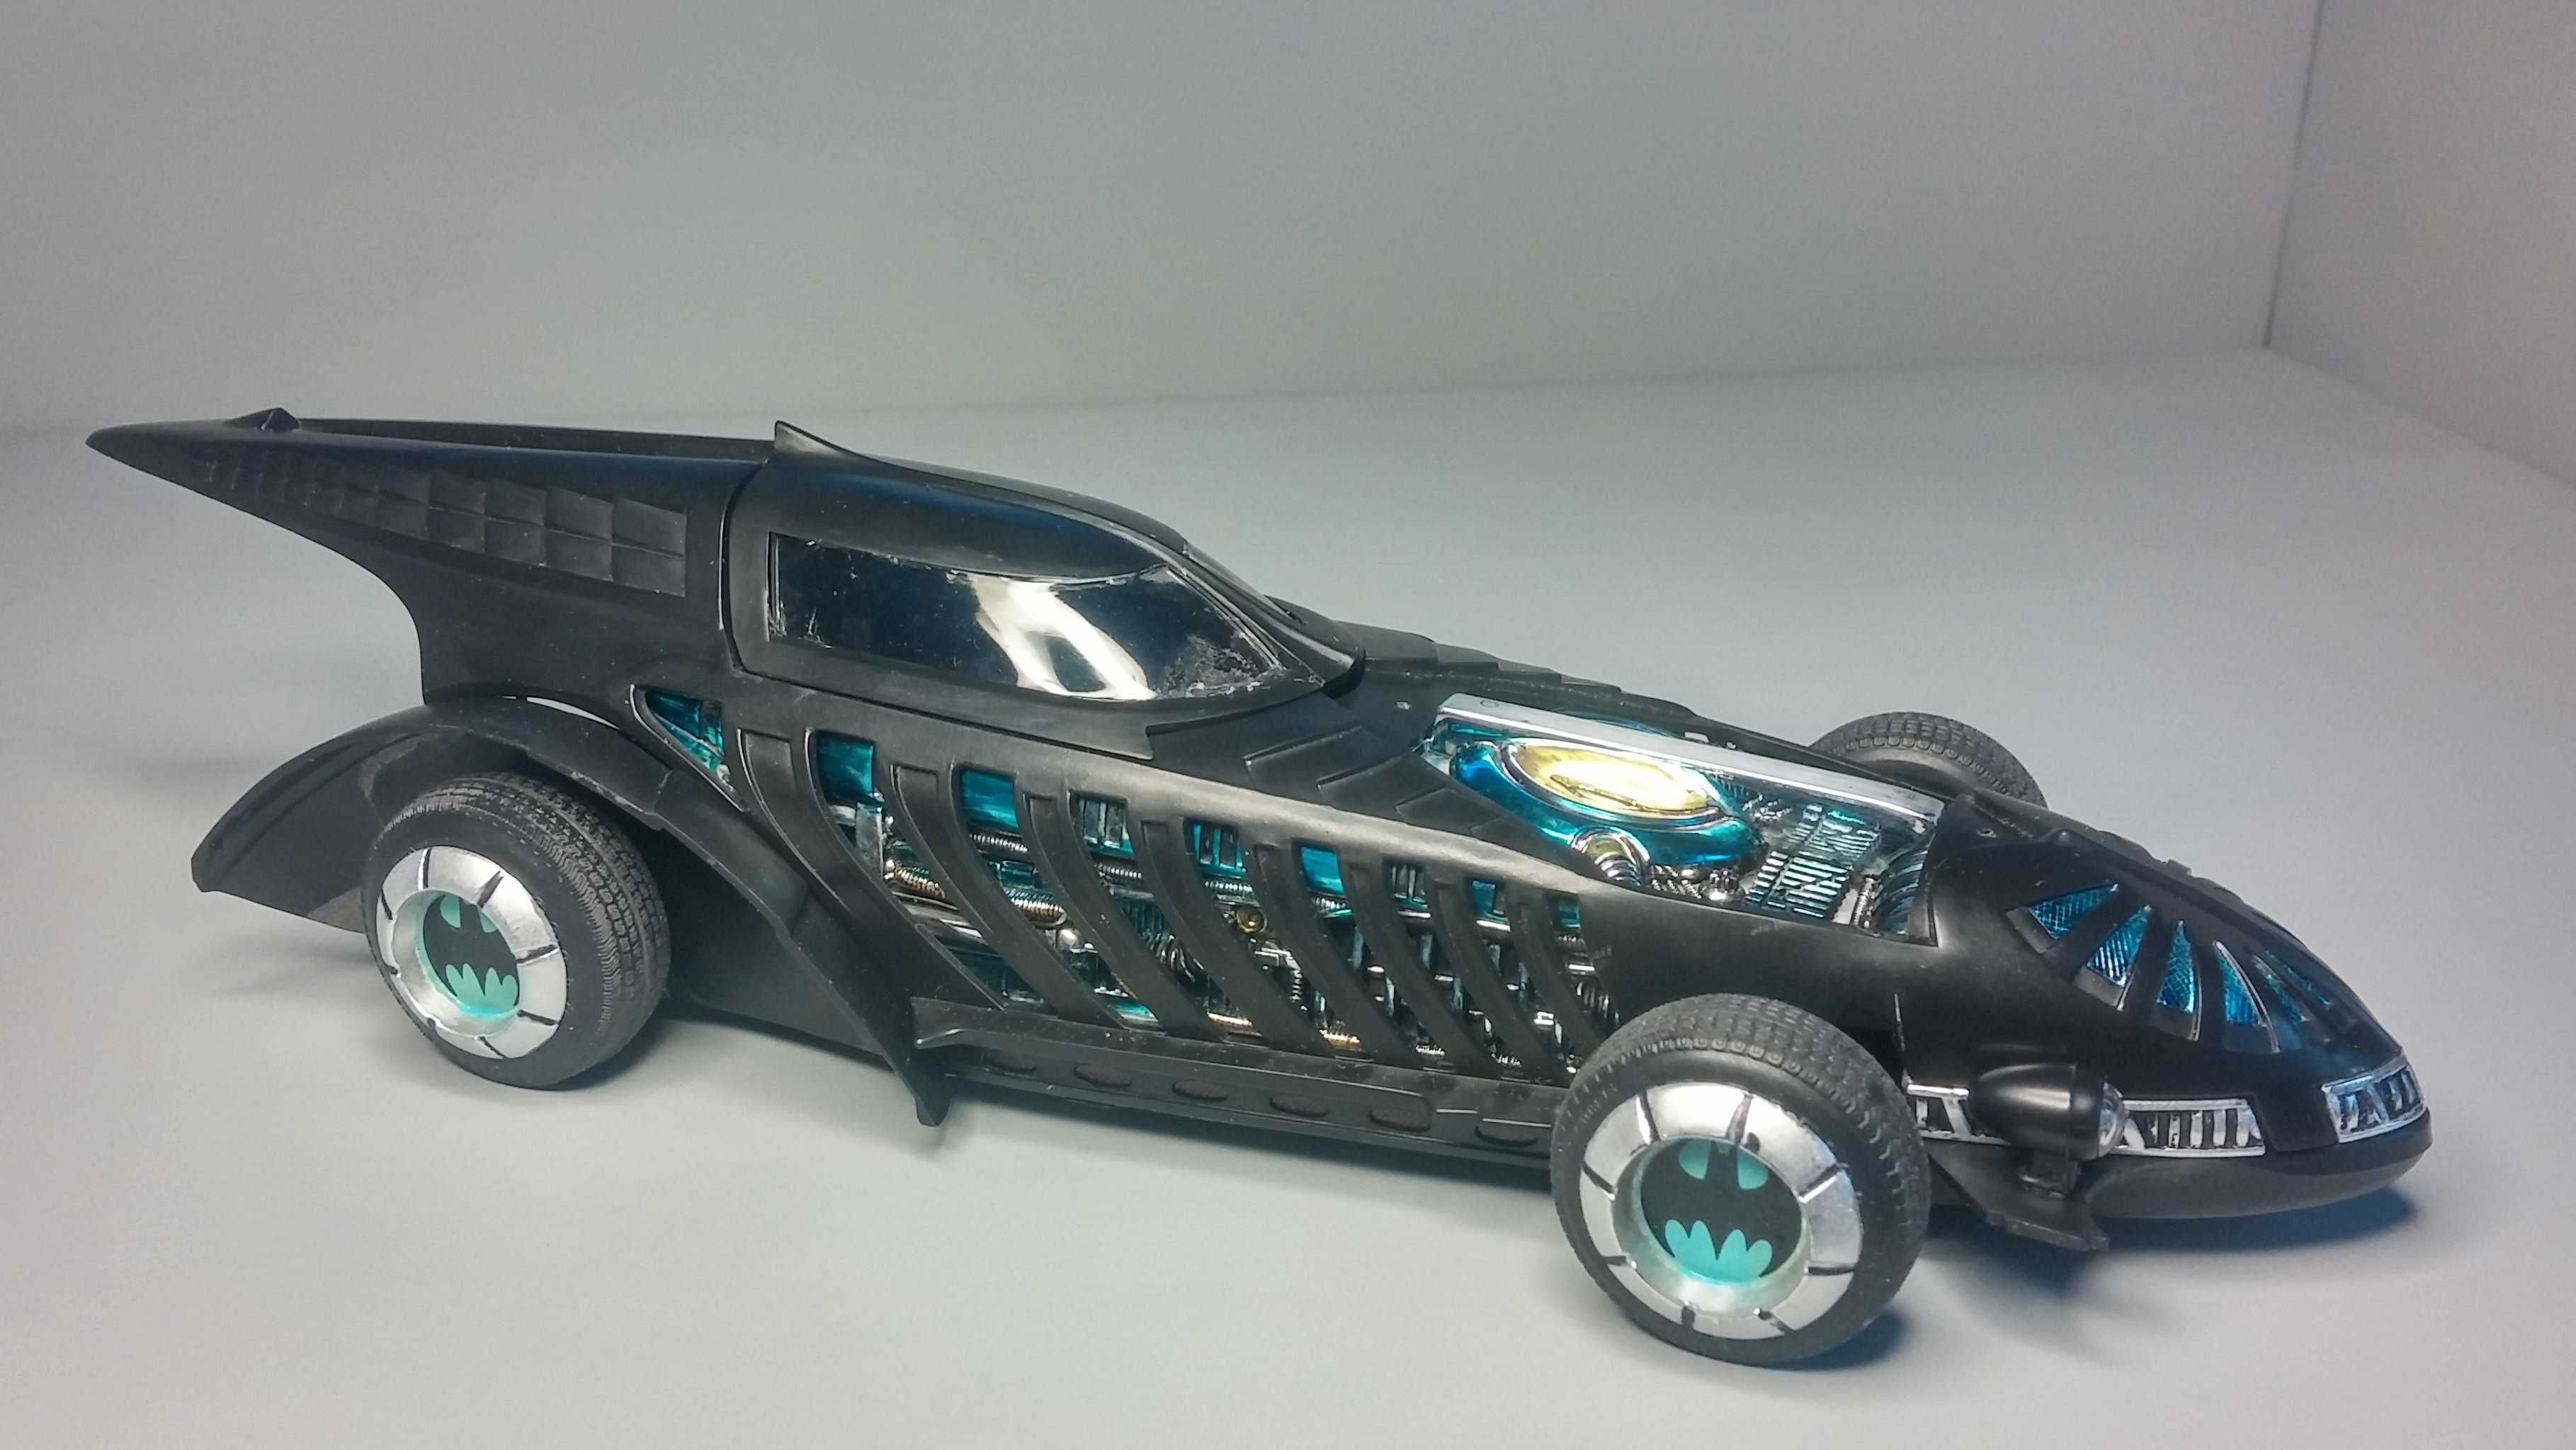
OK. I've polished the plastic and I'm rather happy with the way it came out. Wheels! In my mind, getting wheels on the ground is a model building milestone. It's the point at which the completion becomes a very real possibility. Although I'm still not sure about that bat-wing on the back. Thanks for watching! See you next time- Same Bat-Time, Same Bat-Channel! David G.
-
I've built two of the five pictured in the first image. Add this one and a Tumbler waiting in the wings (so to speak) and that would make four of the five. The chart is cool, thanks for posting it. I'm not that ambitious, though. David G.
-
Well, there seems to be a consensus: Worst. Batmobile. Ever. Thank you all for the tips and comments. Rob, I'd like to see the photos of your build. If you have some posted on the MCM forum, feel free to slap a link on this page. If not, then you can PM some to me. I don't plan to do any special mods or detailing on this one. I just want to do a decent job on it and get it done. The year's almost half over and I have yet to complete a build. I should be able to post a few new photos soon. As always, thanks for taking the time to look and comment. David G.
-
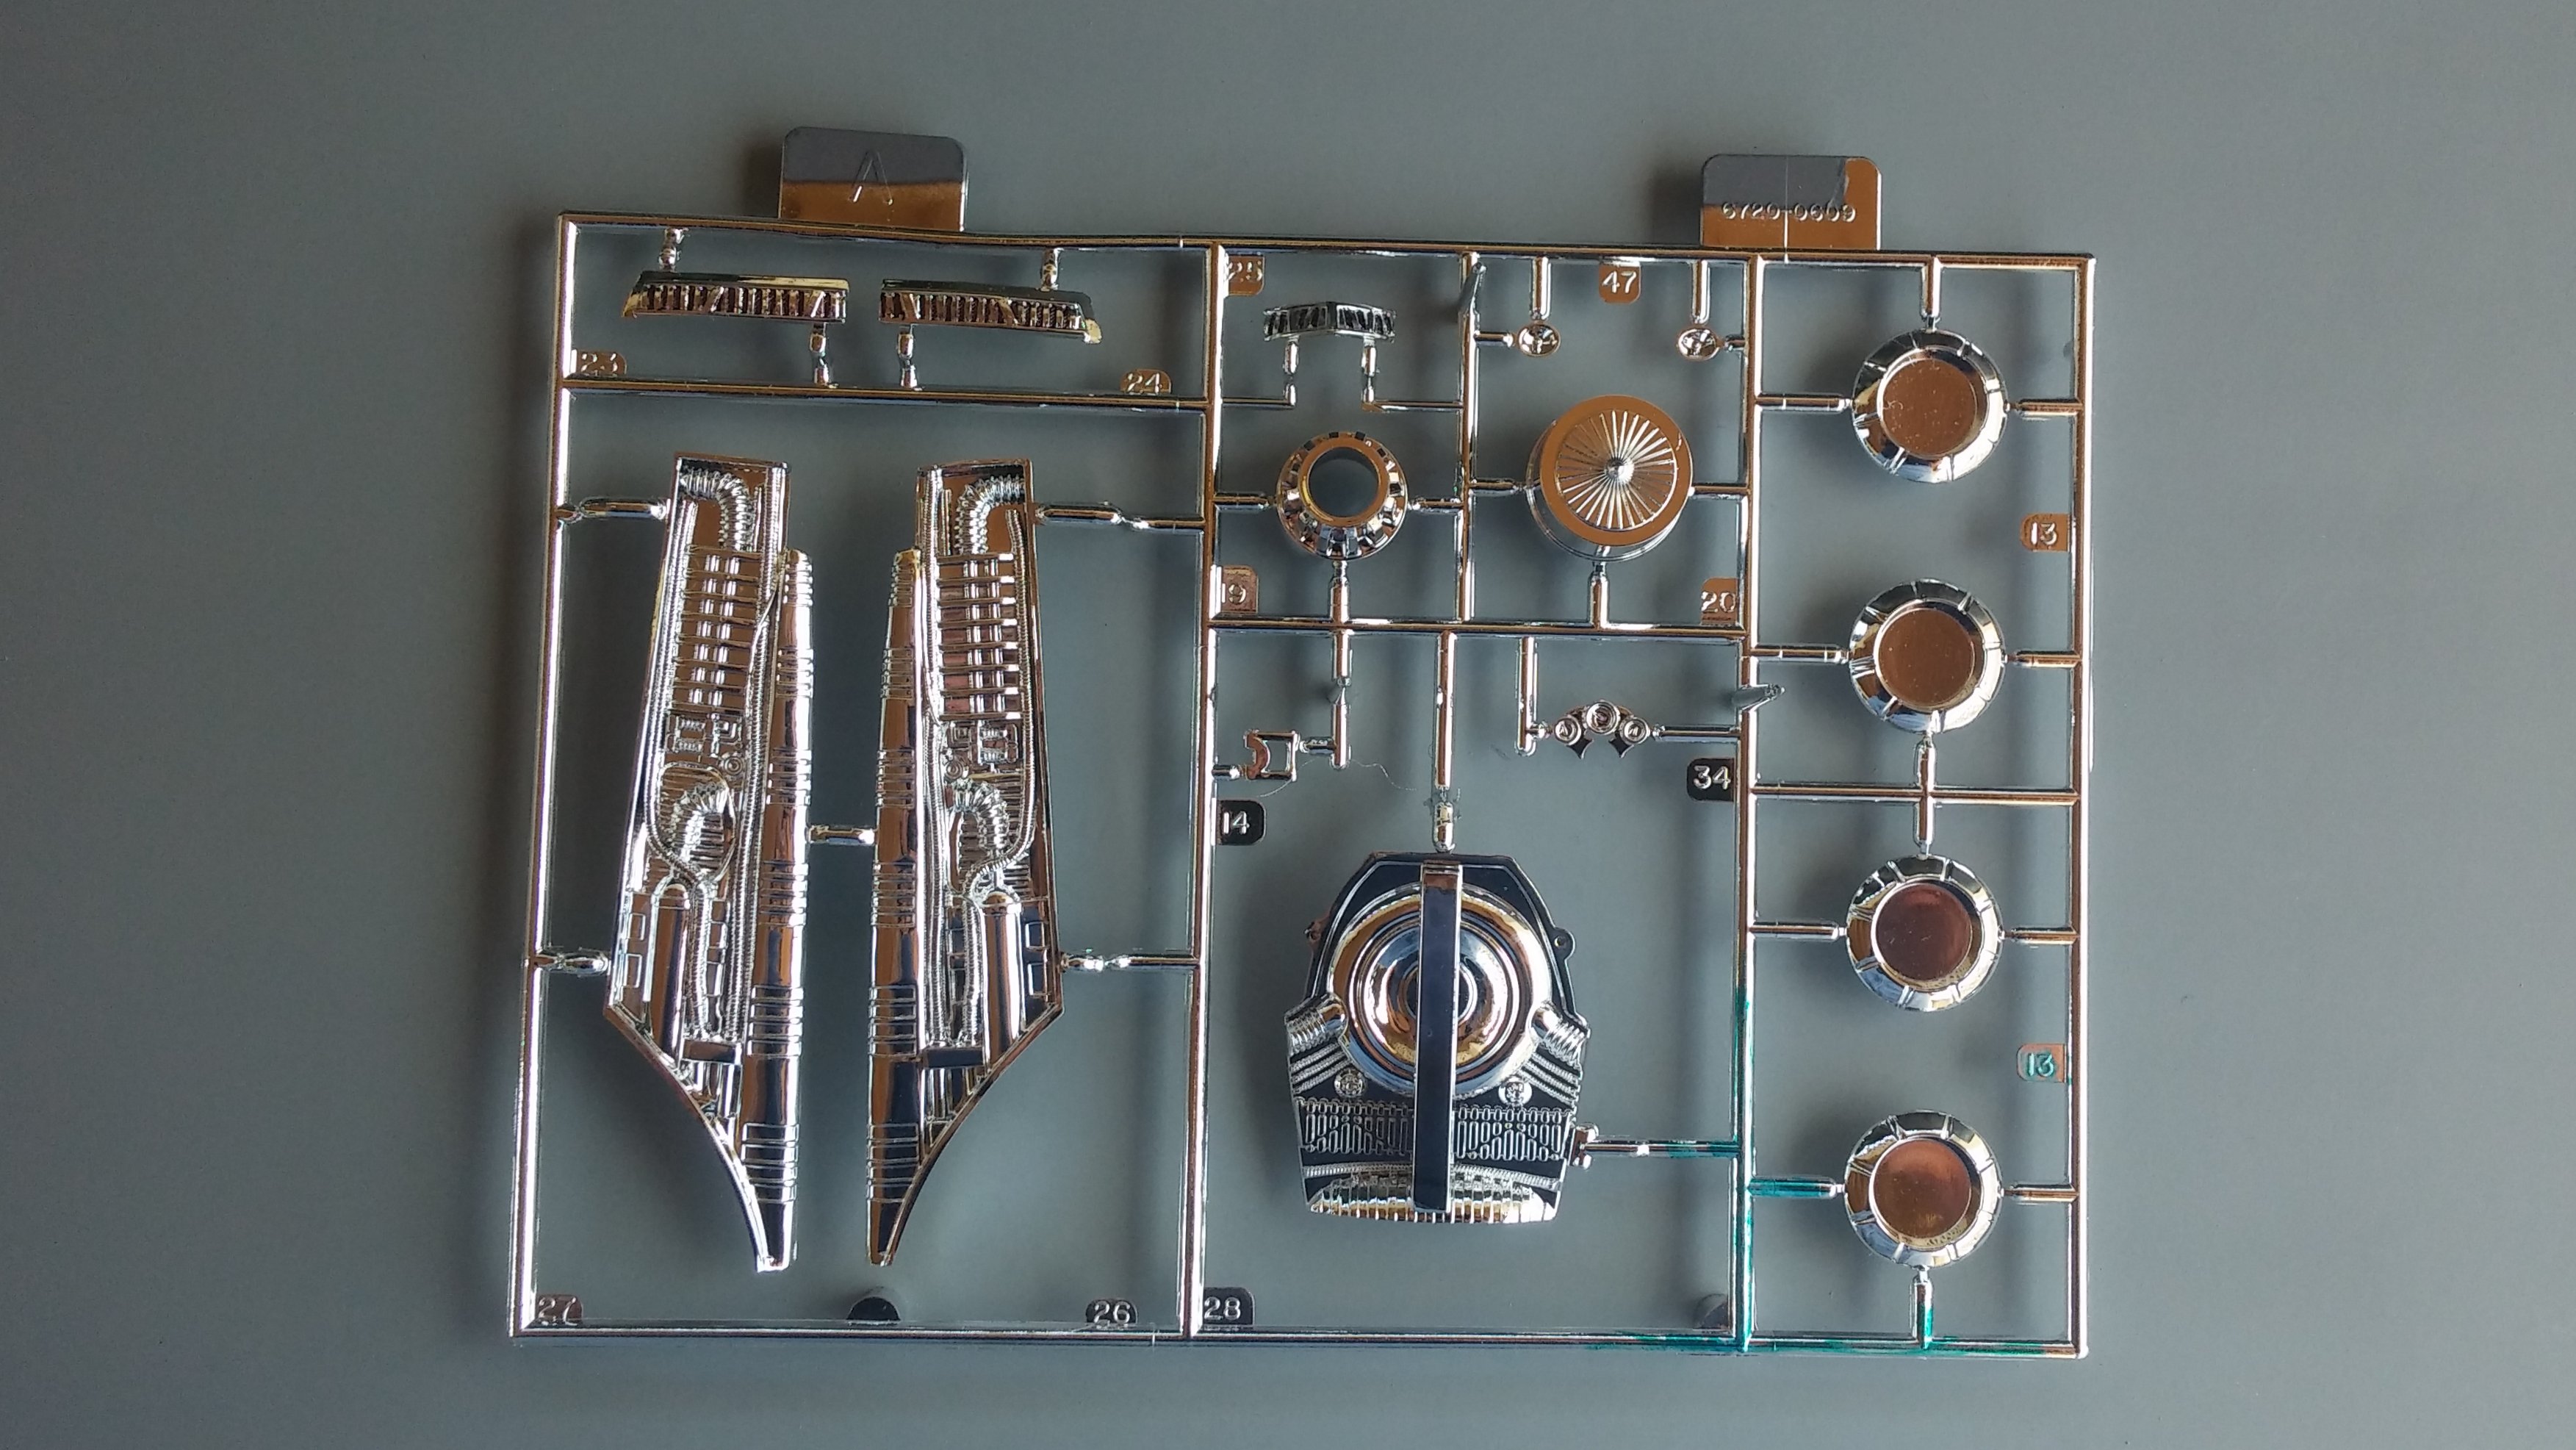
So far this year, I've started three projects. This is the third, started about a month ago. I bought this at the most recent Desert Scale Classic. This is my absolute least favorite Batmobile. It's too flashy, too glitzy and way too over the top. It's more Bat-glam than Batman. But technically, it is a Batmobile and I would like to build as many of the different varieties as I can. Here's the chrome tree. This thing has more chrome than a '59 Chrysler. I used Sharpie pens to tone the chrome down a bit and try to capture the blue glow from the movie car. Some test fitting to get a feel for the appearance and assembly. This car is huge! My eye estimates it, in scale, at a little more than 20' long and almost 10' tall. Initially, I wasn't completely happy with the plastic-y sheen of the plastic so I sprayed it with a dull coat and liked that even less. While the body soaked in the "purple pond", I went on to build the interior. It's fairly simple but it gets the point across. As always, thanks for taking the time to look and please feel free to comment. David G.
-
1953 Hudson Farm Truck
David G. replied to Chuck Most's topic in Model Trucks: Pickups, Vans, SUVs, Light Commercial
Very Cool! David G. -
Let's See Some Glue Bombs!
David G. replied to Snake45's topic in General Automotive Talk (Trucks and Cars)
It's hard to believe that's the same car! David G. -
Let's See Some Glue Bombs!
David G. replied to Snake45's topic in General Automotive Talk (Trucks and Cars)
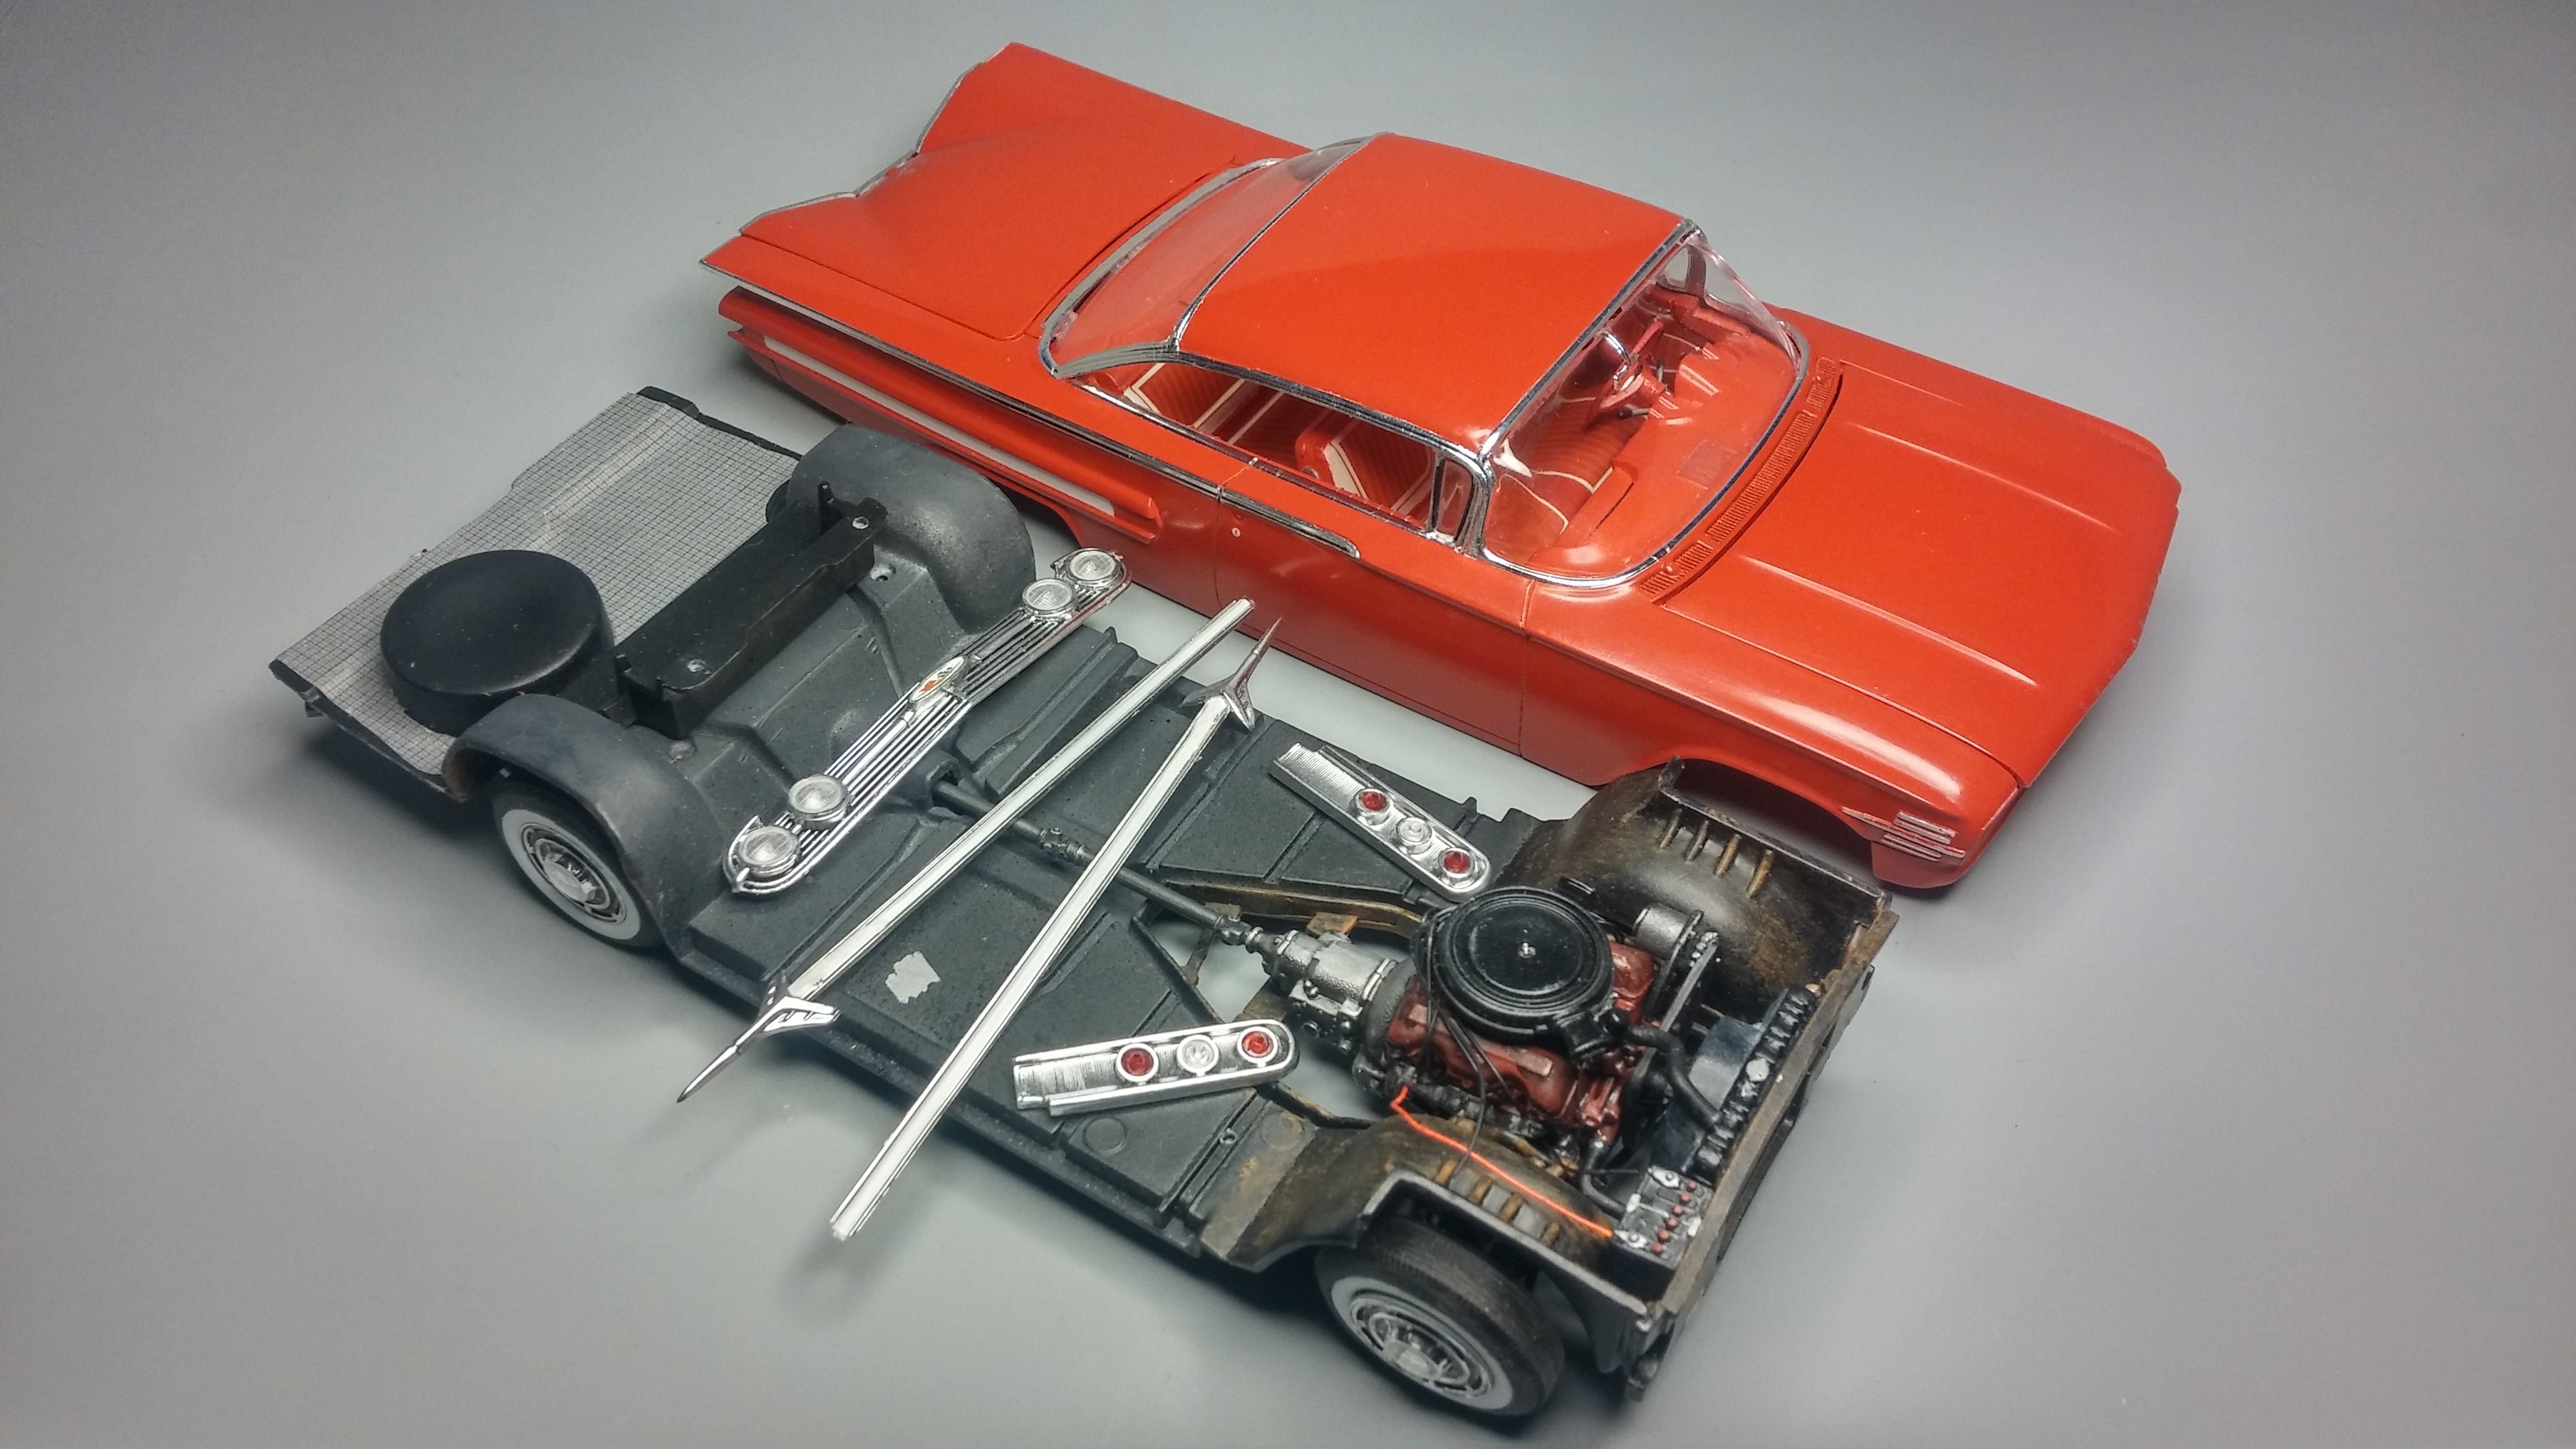
Here's one I restored a few years ago... David G.
-
Nicely done, love the paintwork and wheel treatment. David G.
-
Thanks for all your encouragement. I feel like I'm finally in the home stretch with this one. I got the foil work complete and finished some of the detail bits. There's just a bit more to do, then I should get it finished this weekend. Thanks again for all your kind words. David G.
-
Spectacular work on a rough kit! I built this one in the Gotham City PD livery- I know your pain. David G.
-
Good work, very convincing. I'd like to think that it's on its way to the shop for restoration rather than the scrap yard. David G.
-
Excellent work! It reminds me of the ones I used to see featured in the VW magazines in the 80s. David G.
-
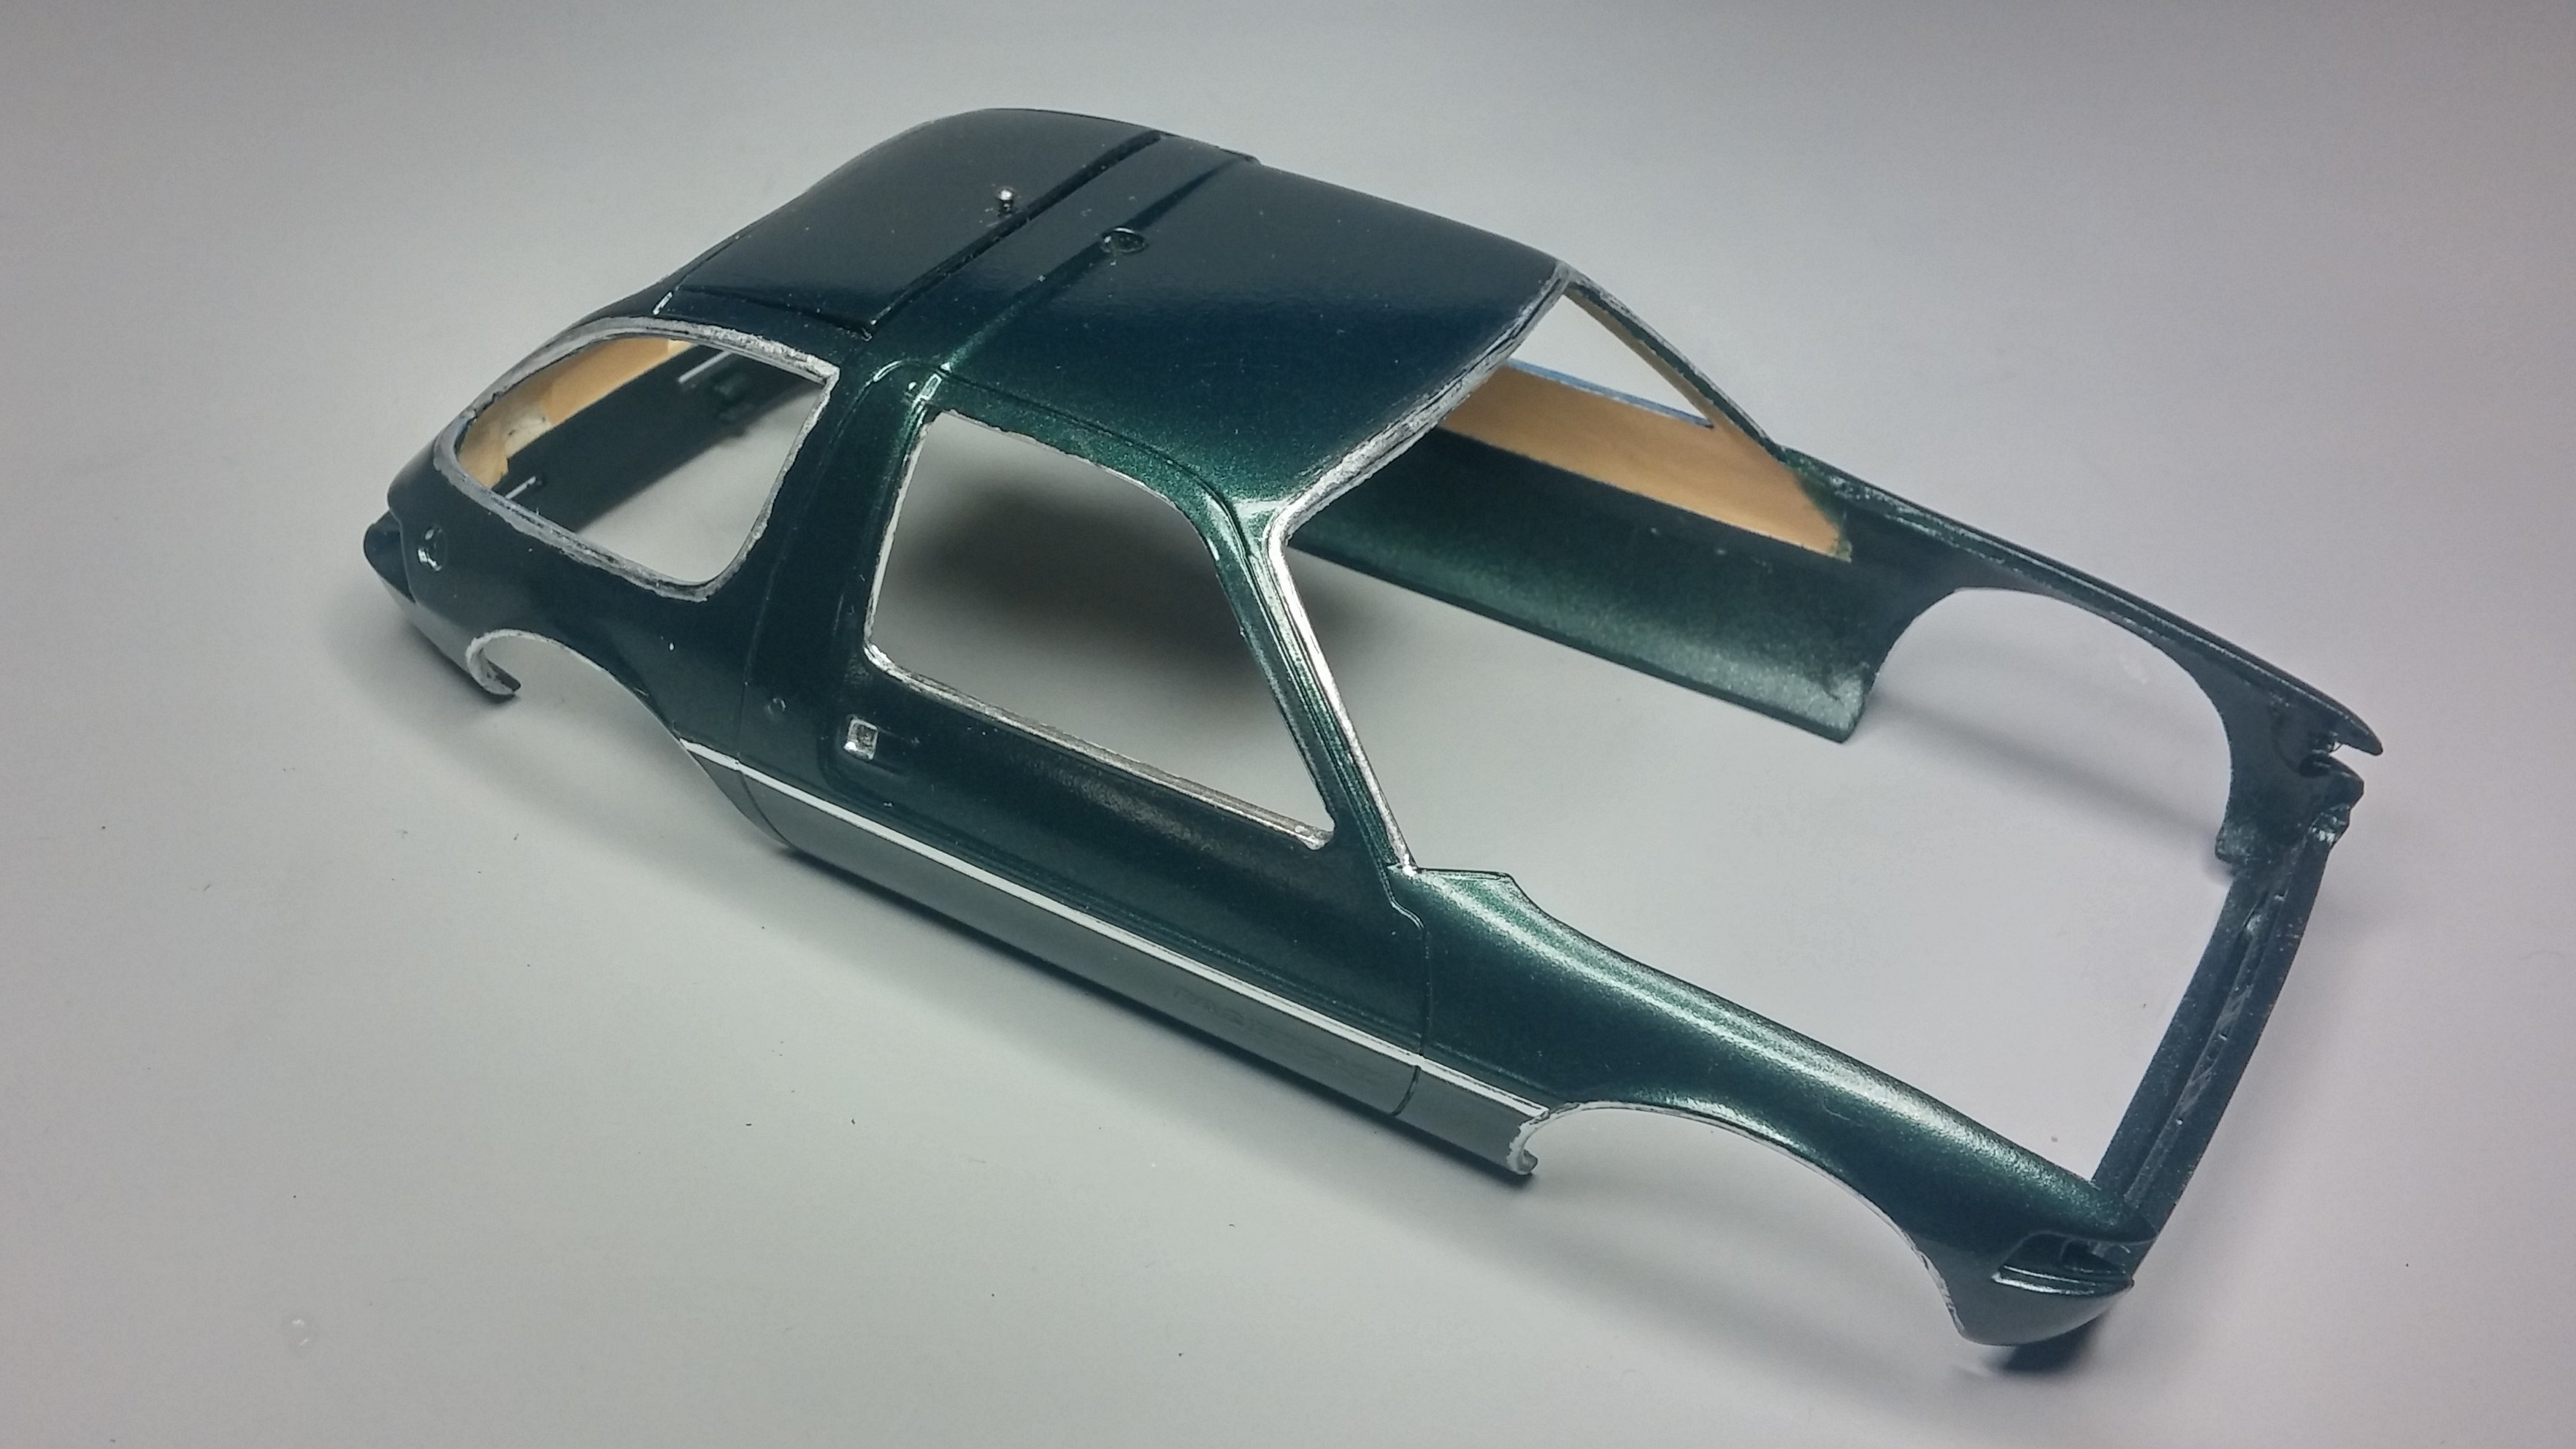
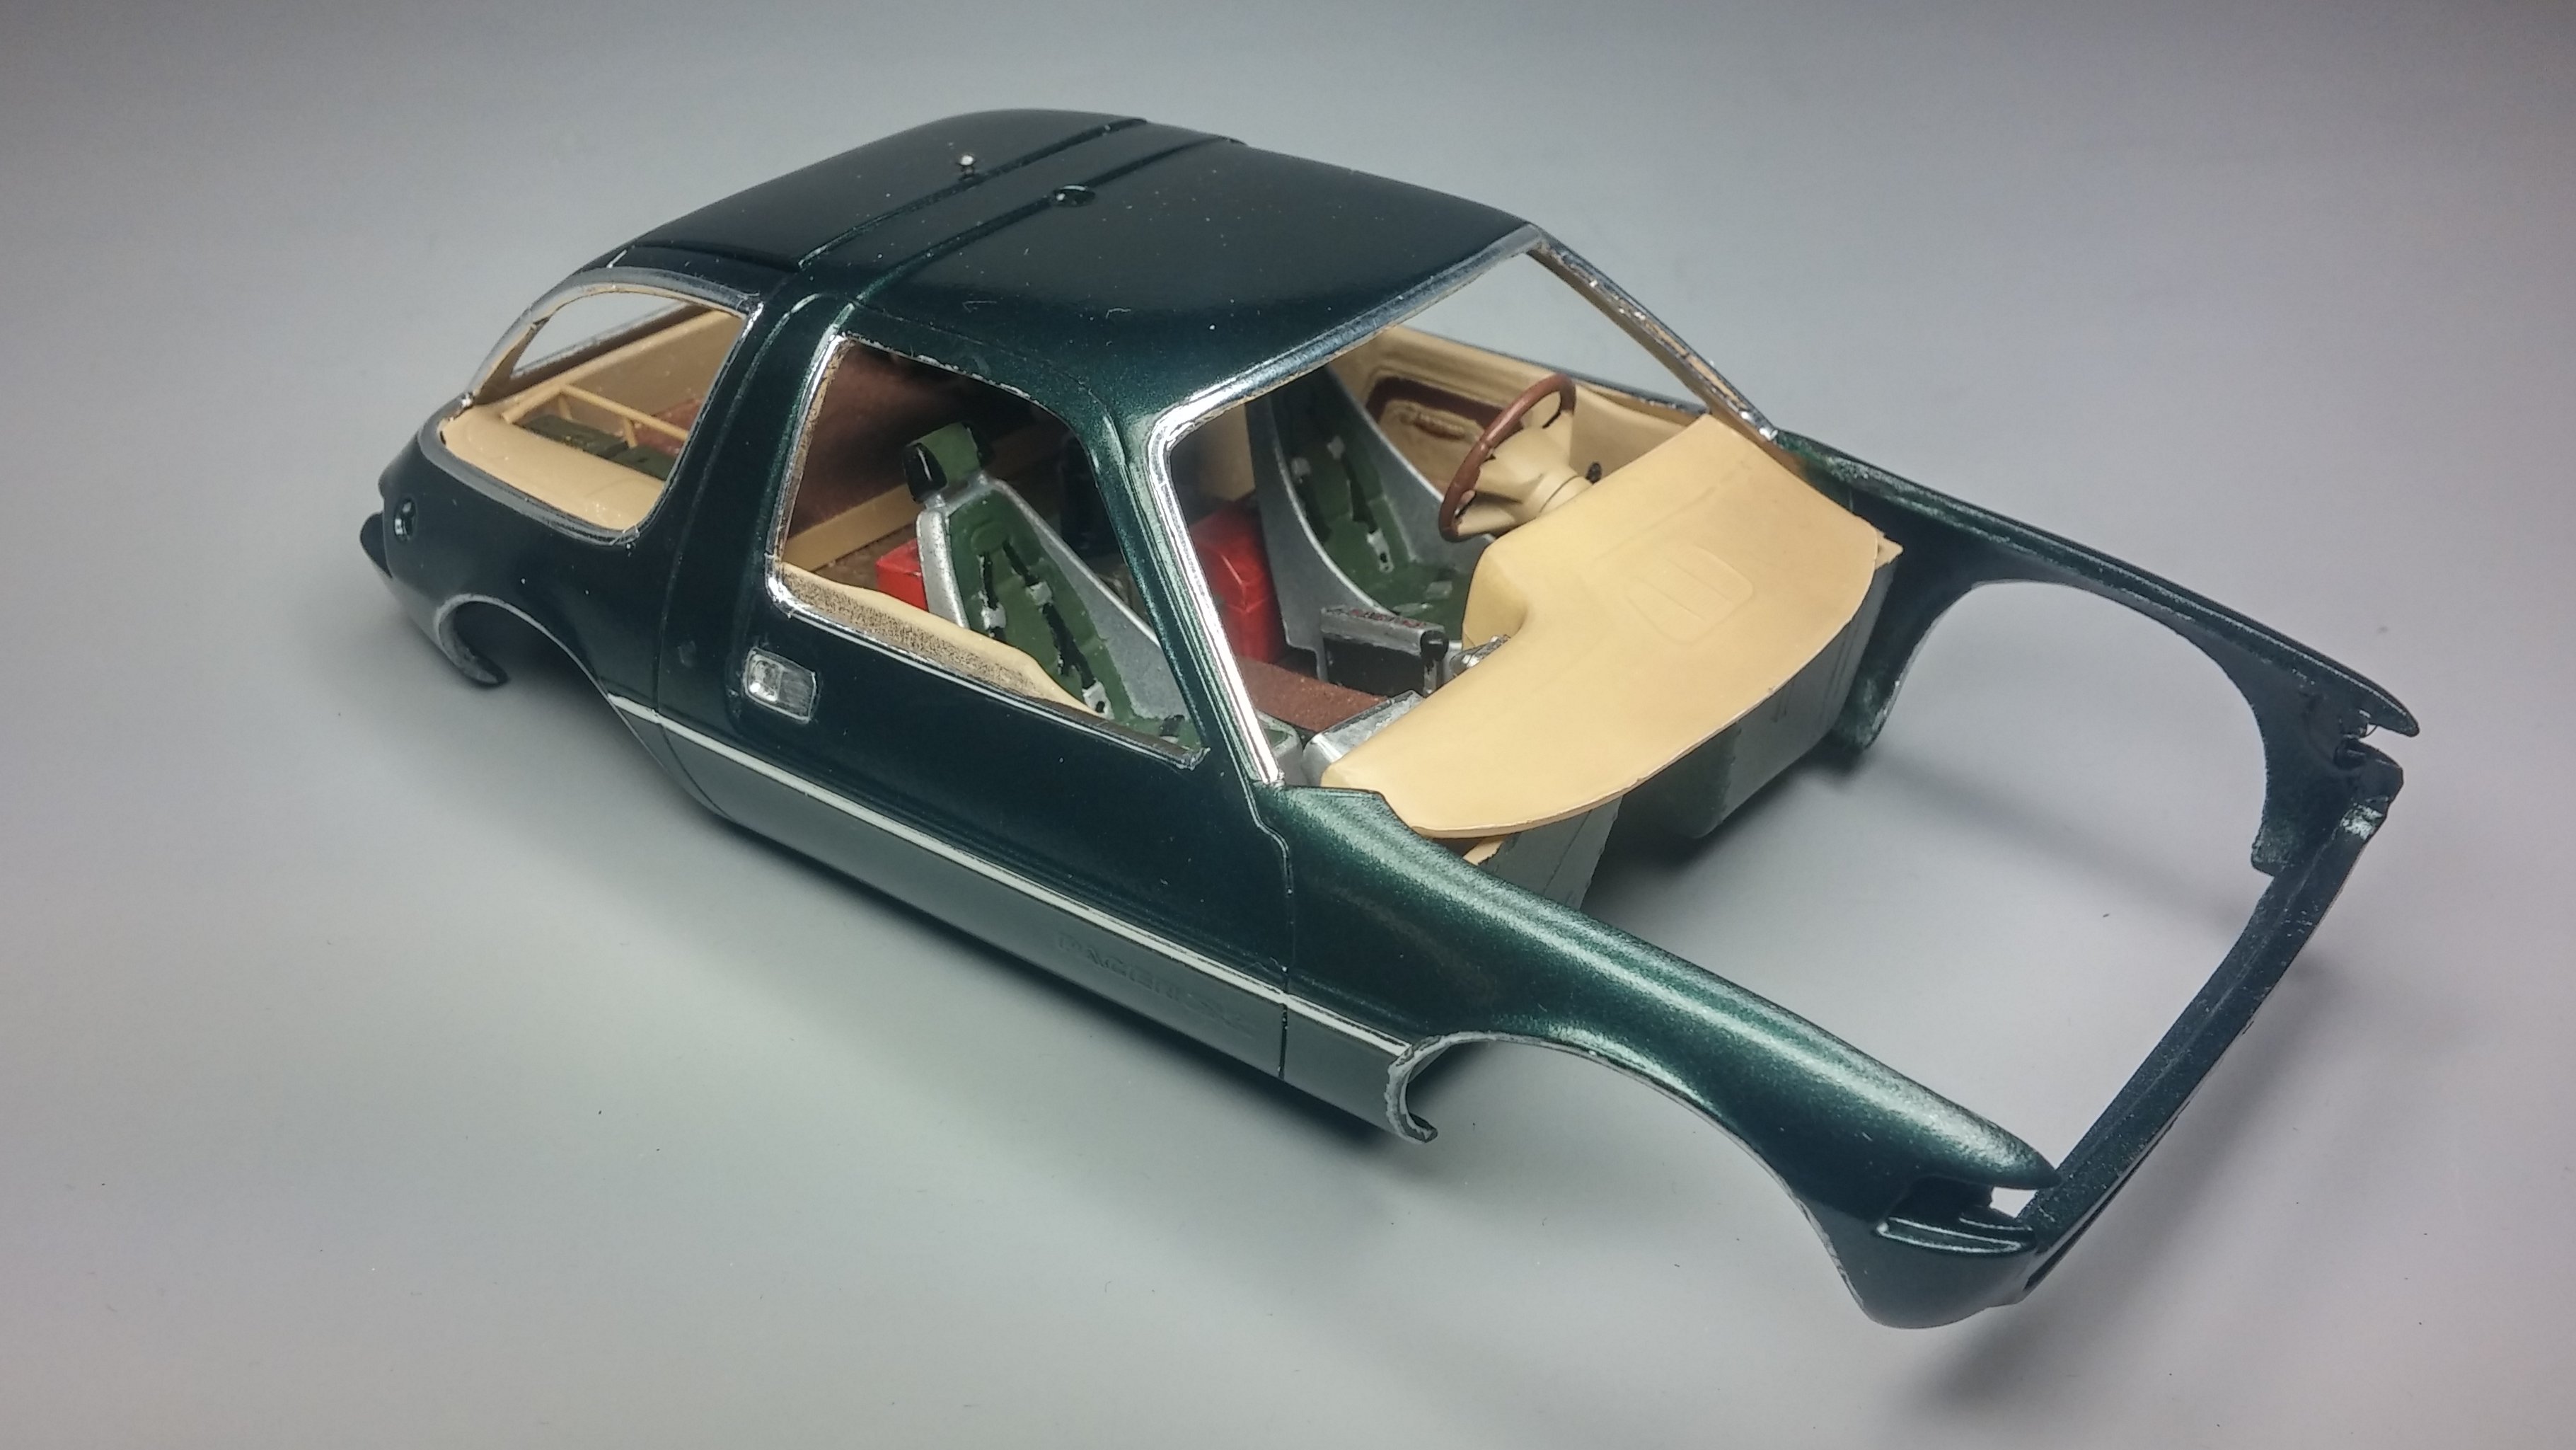
OK. I wanted to try Molotow chrome pens on this build, so I ordered some. When they came in I got to work using them on the trim around the windows where I would normally use BMF. I was less than pleased with the results. The Pens work beautifully, it's my lack of skill that is the problem. I need more practice in surface prep and application. Luckily, the Molotow paint is water based and I was able to remove most of it and apply BMF in its place. Once I find my own best way to use these pens, I'm sure to find them very useful. Thanks for looking and please feel free to comment. David G.
-
Astoundingly realistic! David G.
-
Fantastic work! I love the whole Dystopian-Retro-Future-Steampunk style. David G.
-
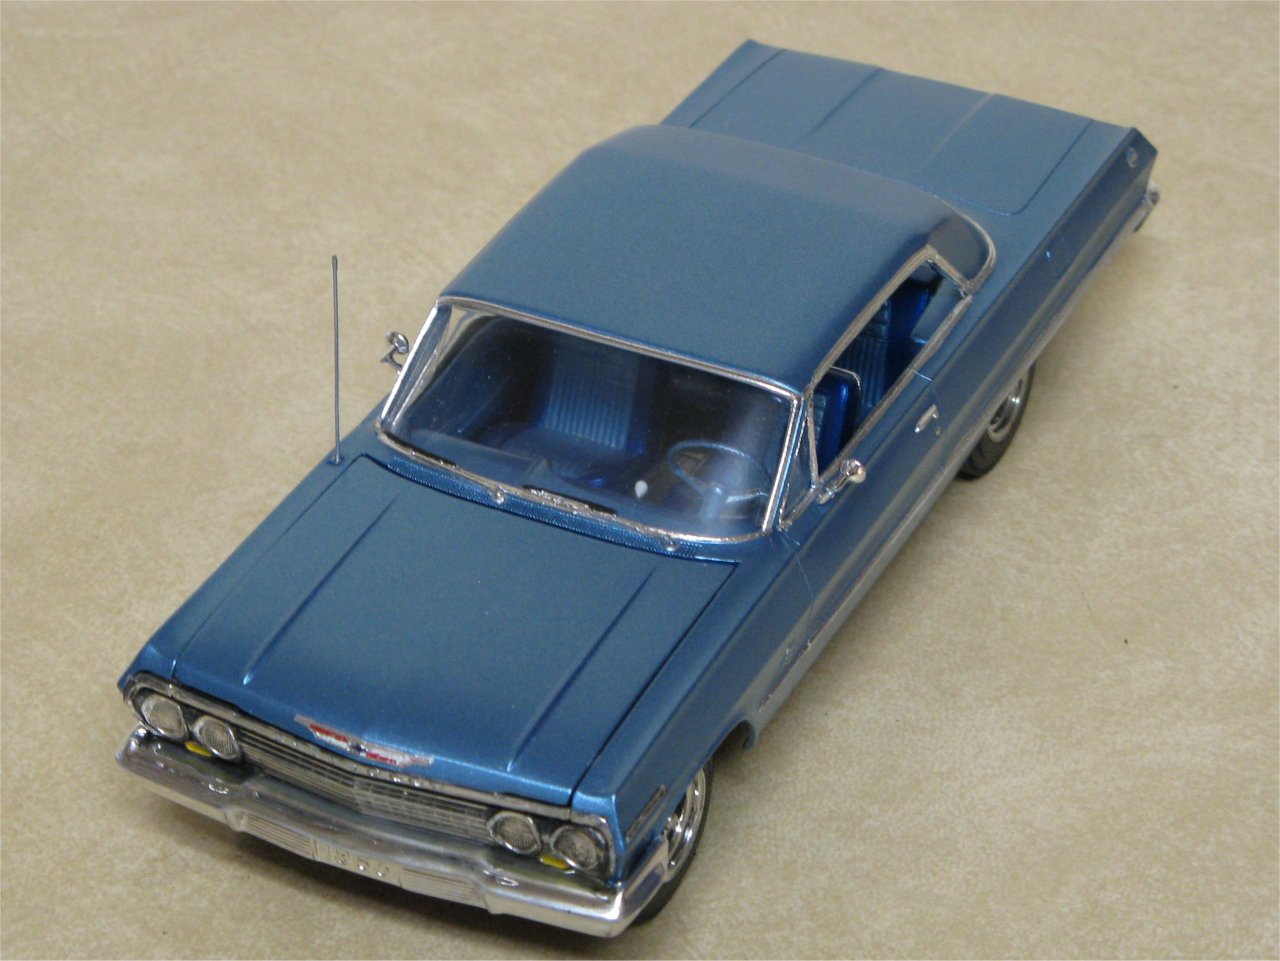
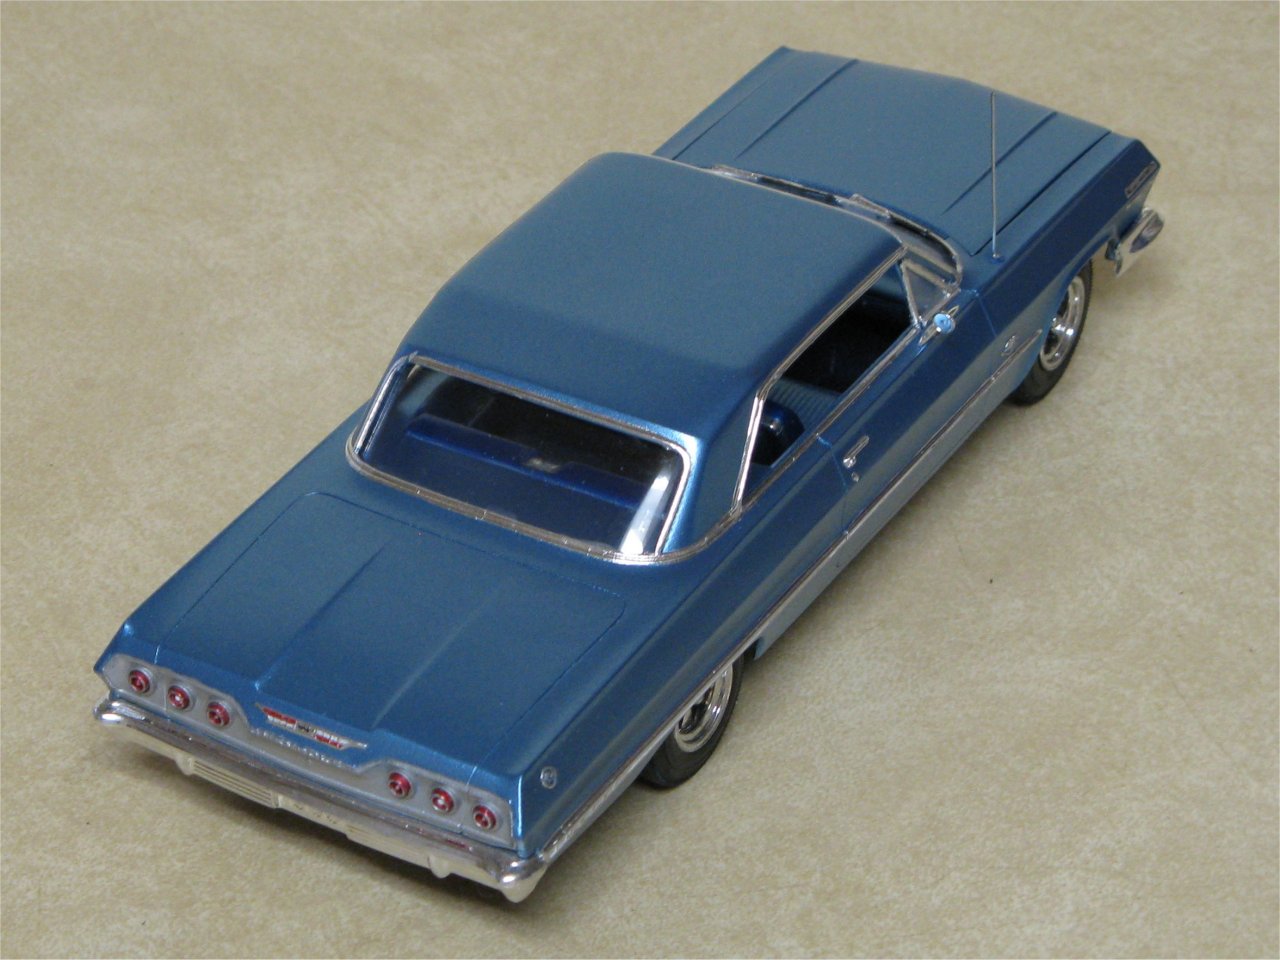
Thanks James, I think that I may finish 'er up this time. That's a nice Impala Dennis. Do you remember what kit it is? Thanks Marty. David G.
-
Nicely done. David G.