Search the Community
Showing results for tags 'monogram'.
-
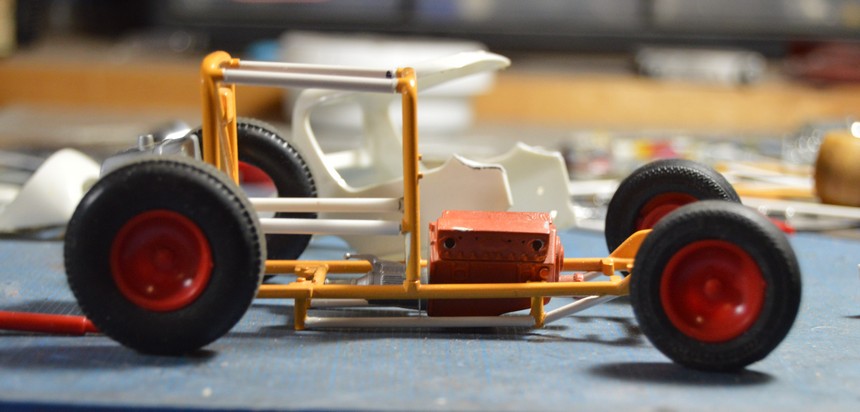
The ancient Monogram Green Hornet kit, a show car fashioned after the Grasshopper, became one of my favorite kits when it was reissued many years ago. We don't know why Monogram didn't simply call it "The Grasshopper" since it would have been more recognizable to that generation of builders. There has to be a story! Anyway... I didn't build the above model. I saw it sitting on a dealers table at a show many years ago. It was built by Tom Trementano of the Liars Club in New York. It's a clean box stock build and I couldn't grab it quick enough for the $8 asking price. I got it home and saw great possibilities. Like the original Grasshopper, the body comes off the chassis revealing a very cool, but simple, assembly that could be used under nearly any Ford body of the 1920s through 1934 era. The kit is 1/24 scale, but the chassis seems to fit everything. The car was a '23 T roadster with an Oldsmobile 461 blown engine. And here's the original Grasshopper. Note that the original car didn't have the fenders or headlights found in the kit. I am not a fan of the single seat with the fuel tank sitting in the passenger area. I have added a passenger seat in my builds. I understand the car is long gone, but someone has built a 1:1 replica. And here's the hobby shop display base that Monogram sent out back in the day! So I started to play and I was amazed at how well it fit onto bodies in my junk box... I believe this was an old AMT Model A. Although a Model T is narrower than the later models, the fact that the chassis is 1/24 scale plays well with the fender spacing on 1/25 scale bodies. An old Model T Phaeton And one I just fell in love with... The old AMT '29 Ford pickup just looks sinister on this chassis. The next post will go into some more build ideas!
- 11 replies
-
Time to start getting them done. This kit was painted and polished on 1/11/11. Color on this was Testors Laquer 1845M and clear coated with their Wet Look clear. I go throuigh phases where I paint a lot of cars and them put them back in the box. I have a lot of these after all these years. Sometimes i will do 8-10 of them at a time and this one of these. So here it is. Build info is in the picture captions. thanks for looking and feel free to comment. Lots of ooooh/aaah factor here. Revell put a lot of effort into this 5litre V8. So much detail but most of it is hidden. Red letters on the engine cover was done by bare metal foiling them before painting with Tamiya x-18 Semi blk. Then the letters were exposed with a paper towel and some solvent. Finally a red magic marker provided the color. Kit was done mostly box stock except for my signature steering wheels. Body fit was exceptional. Polished paint attracts dust like a magnet. I keep and dust brush on the photo stand but in this case it was to no avail. Rear veiw had some nice detail. Tailights and markers were cast in red plastic. Interior is Tamiya LP Nato Black. Stance on this kit was very good so no adjustments were necessary. The C5 Corvette was a landmark car and featured many new innovative features. The car was almost totally re-designed and marked the beginning of making the Corvette into an American super car.
-
My friend Jimmy asked me to build his 1941 Ford out of a '40 kit that he has had for quite some time. Although started, I was able to carefully take it apart... This is his truck From the looks of it the only thing I will need to add are the extra chrome strips up the front of the hood, and take the bumperettes from the front bumper, and get rid of those louvers on the hood,... but if anyone sees anything else feel free to comment. He tells me it's a Jaguar colour, but I keep bugging him saying 'why a Chevy colour on a Ford.'?..lol More to follow as it happens Cheers
-
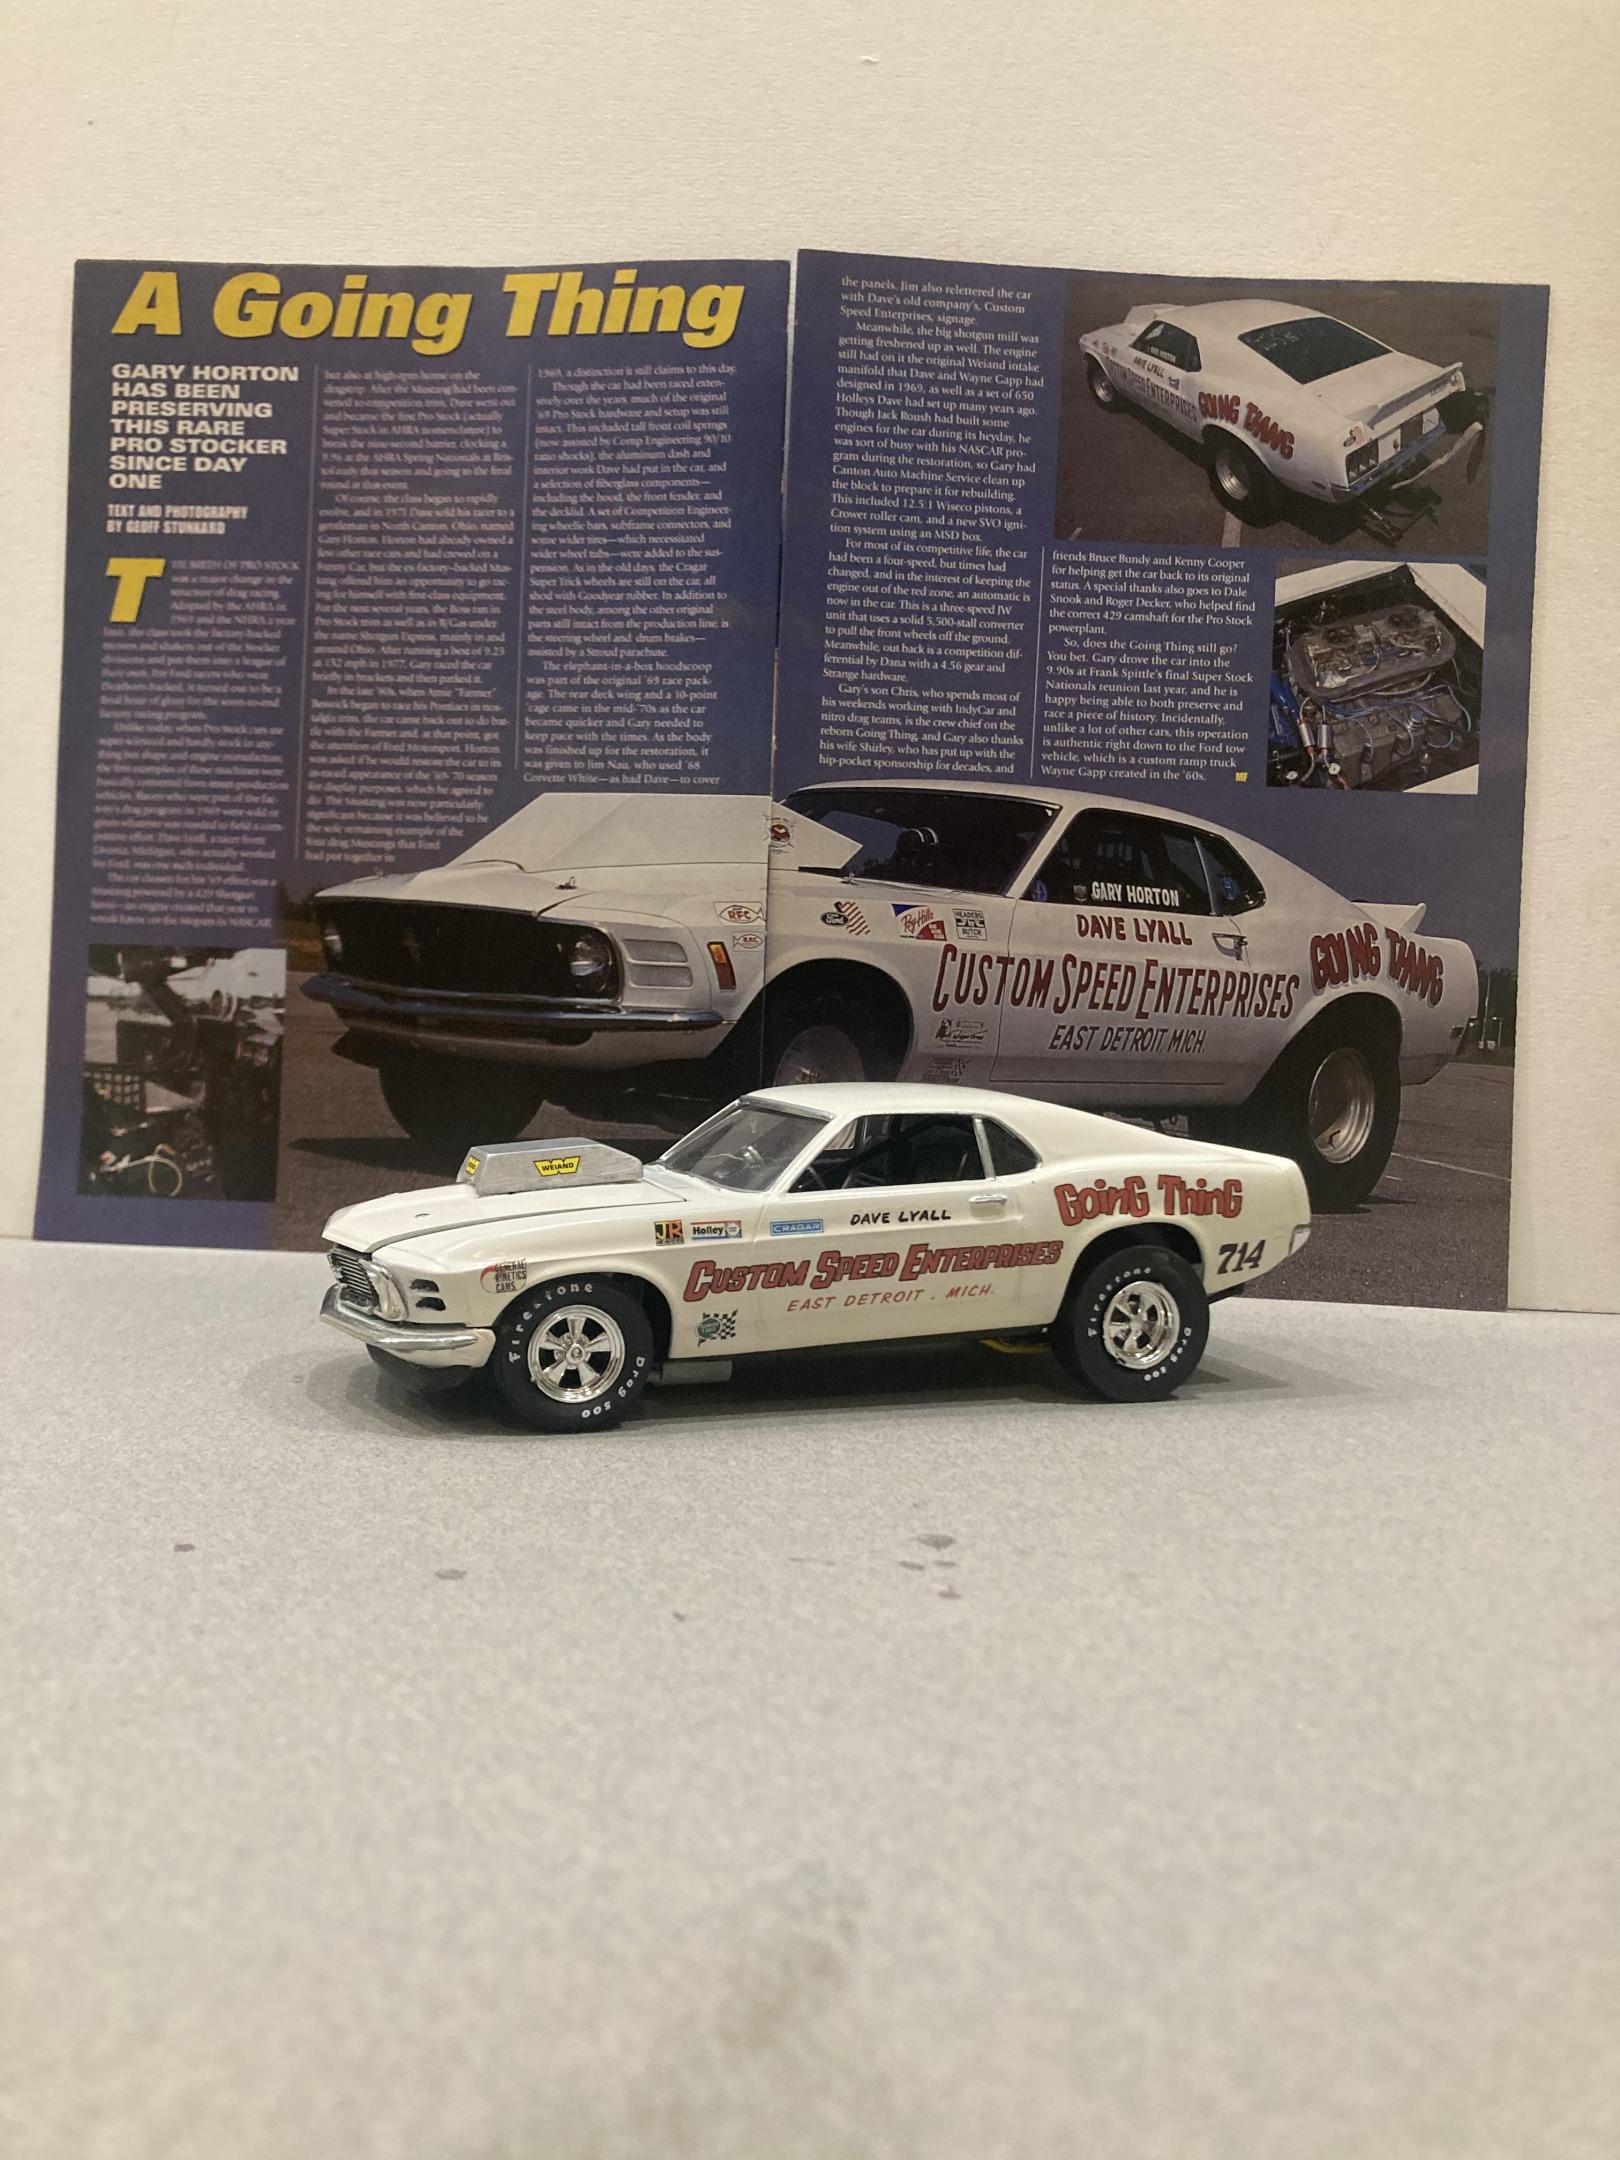
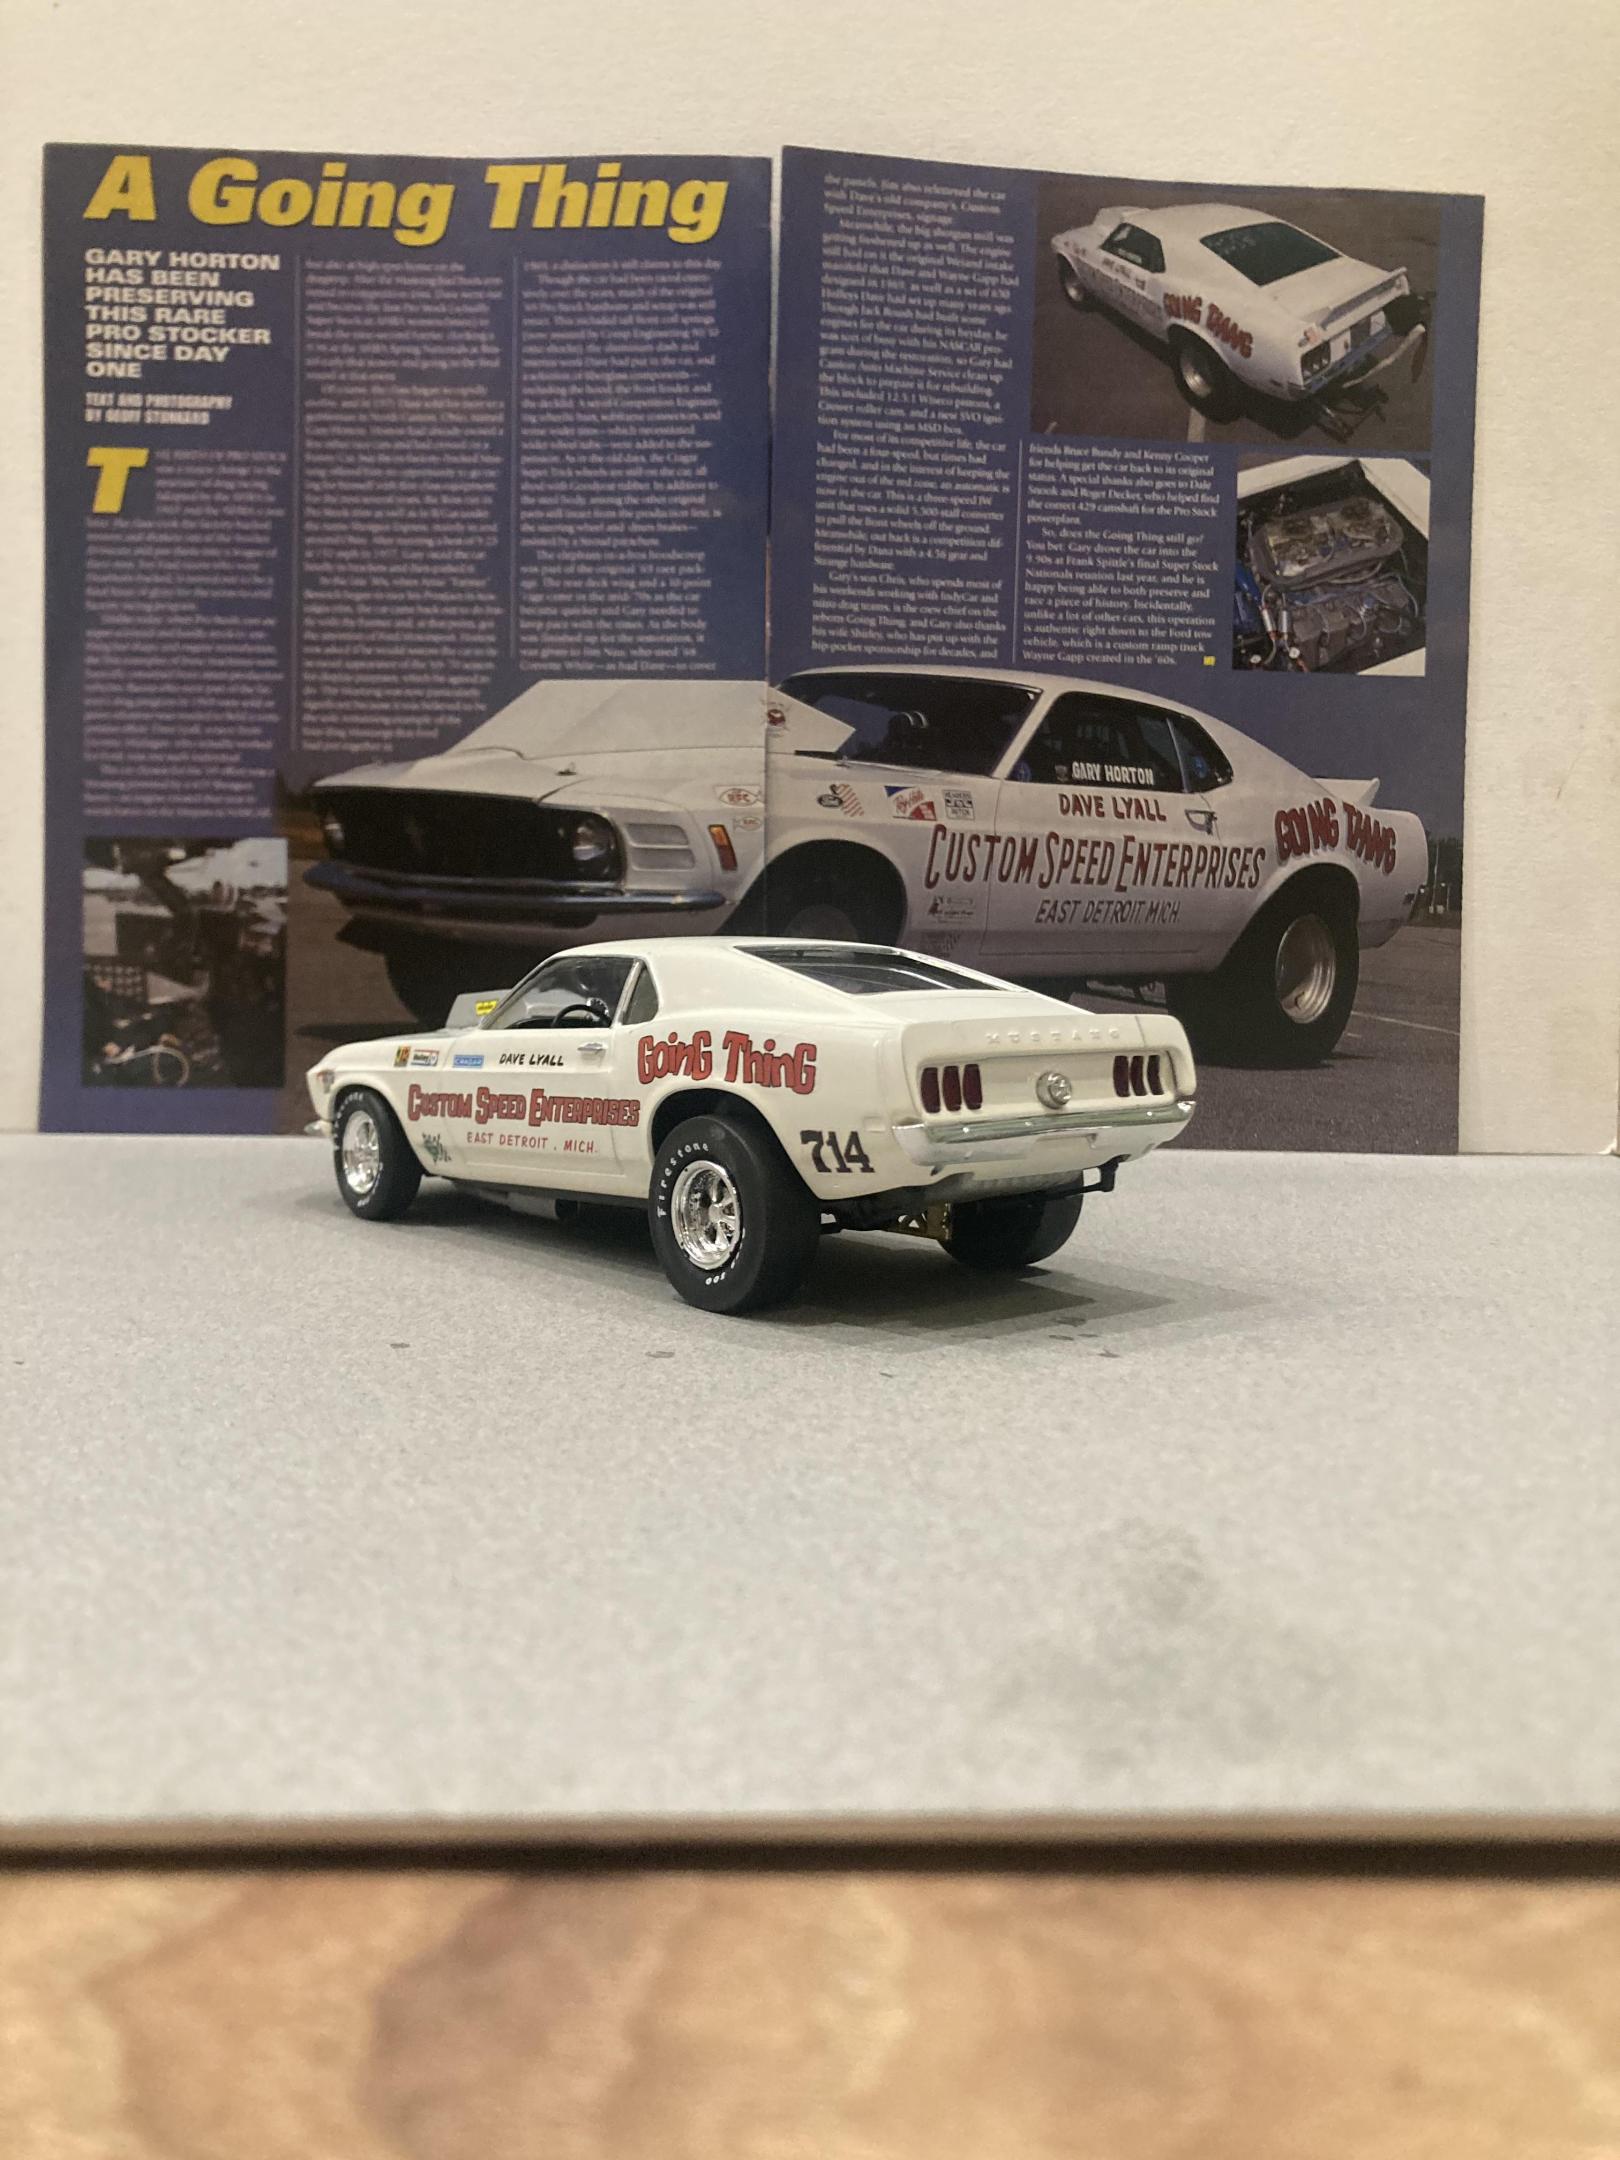
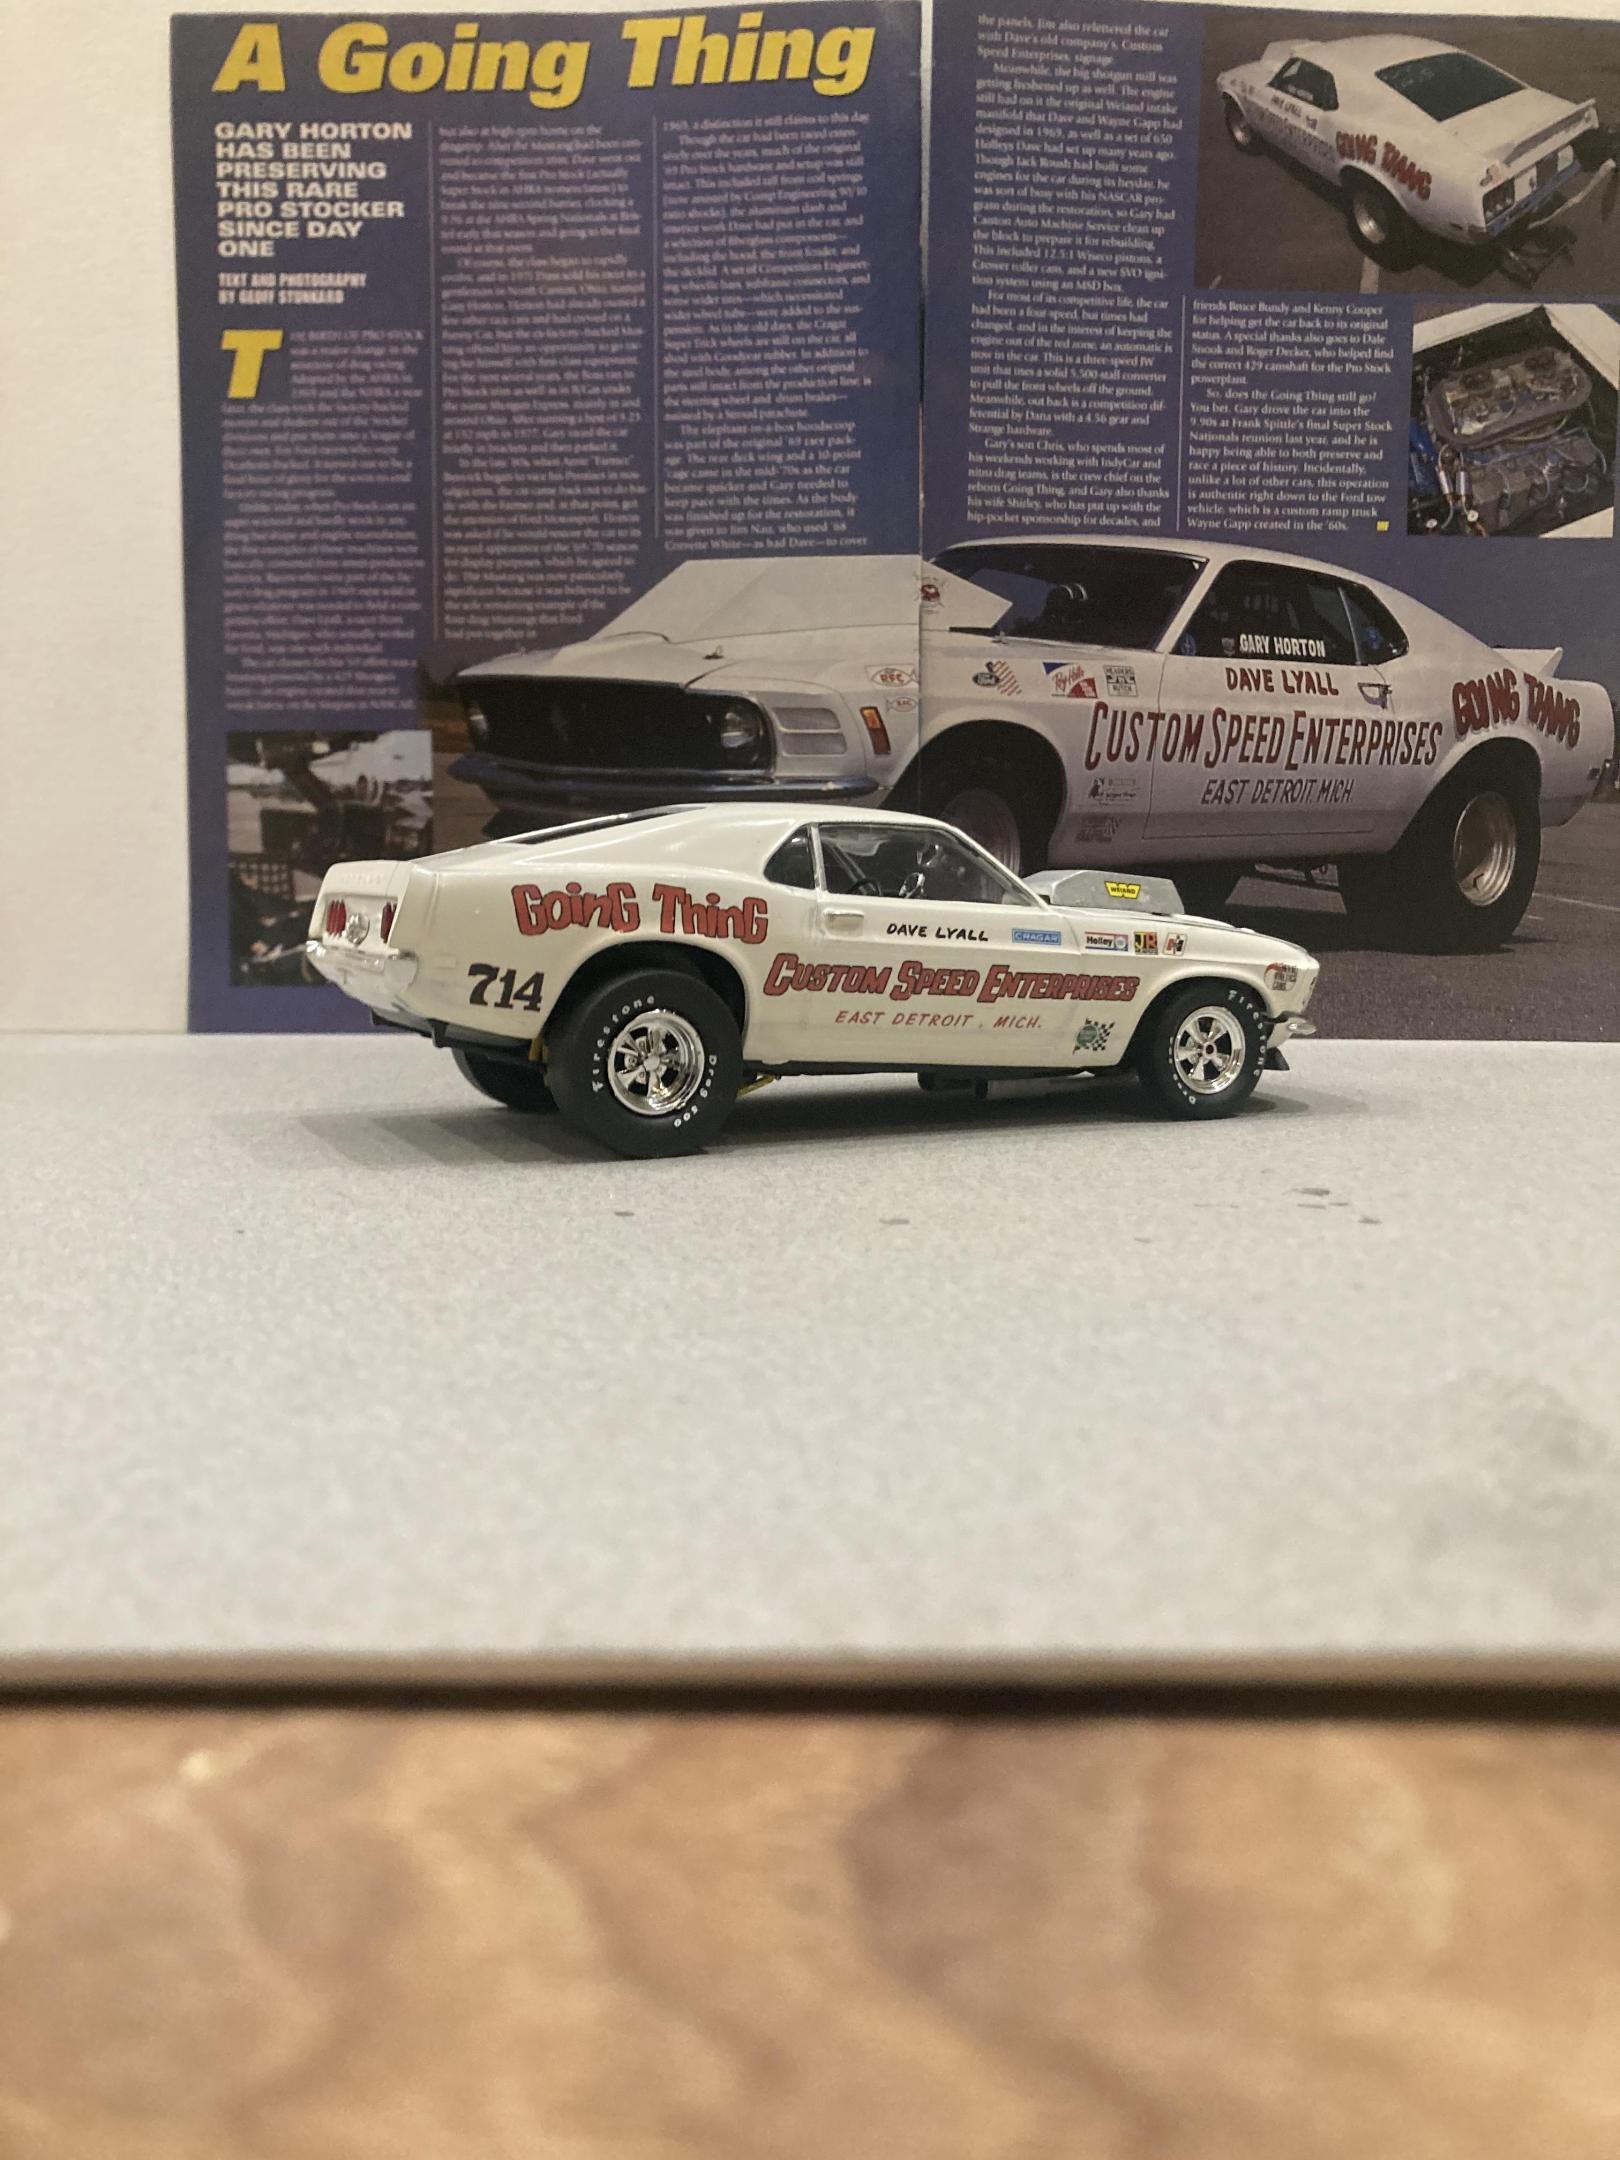
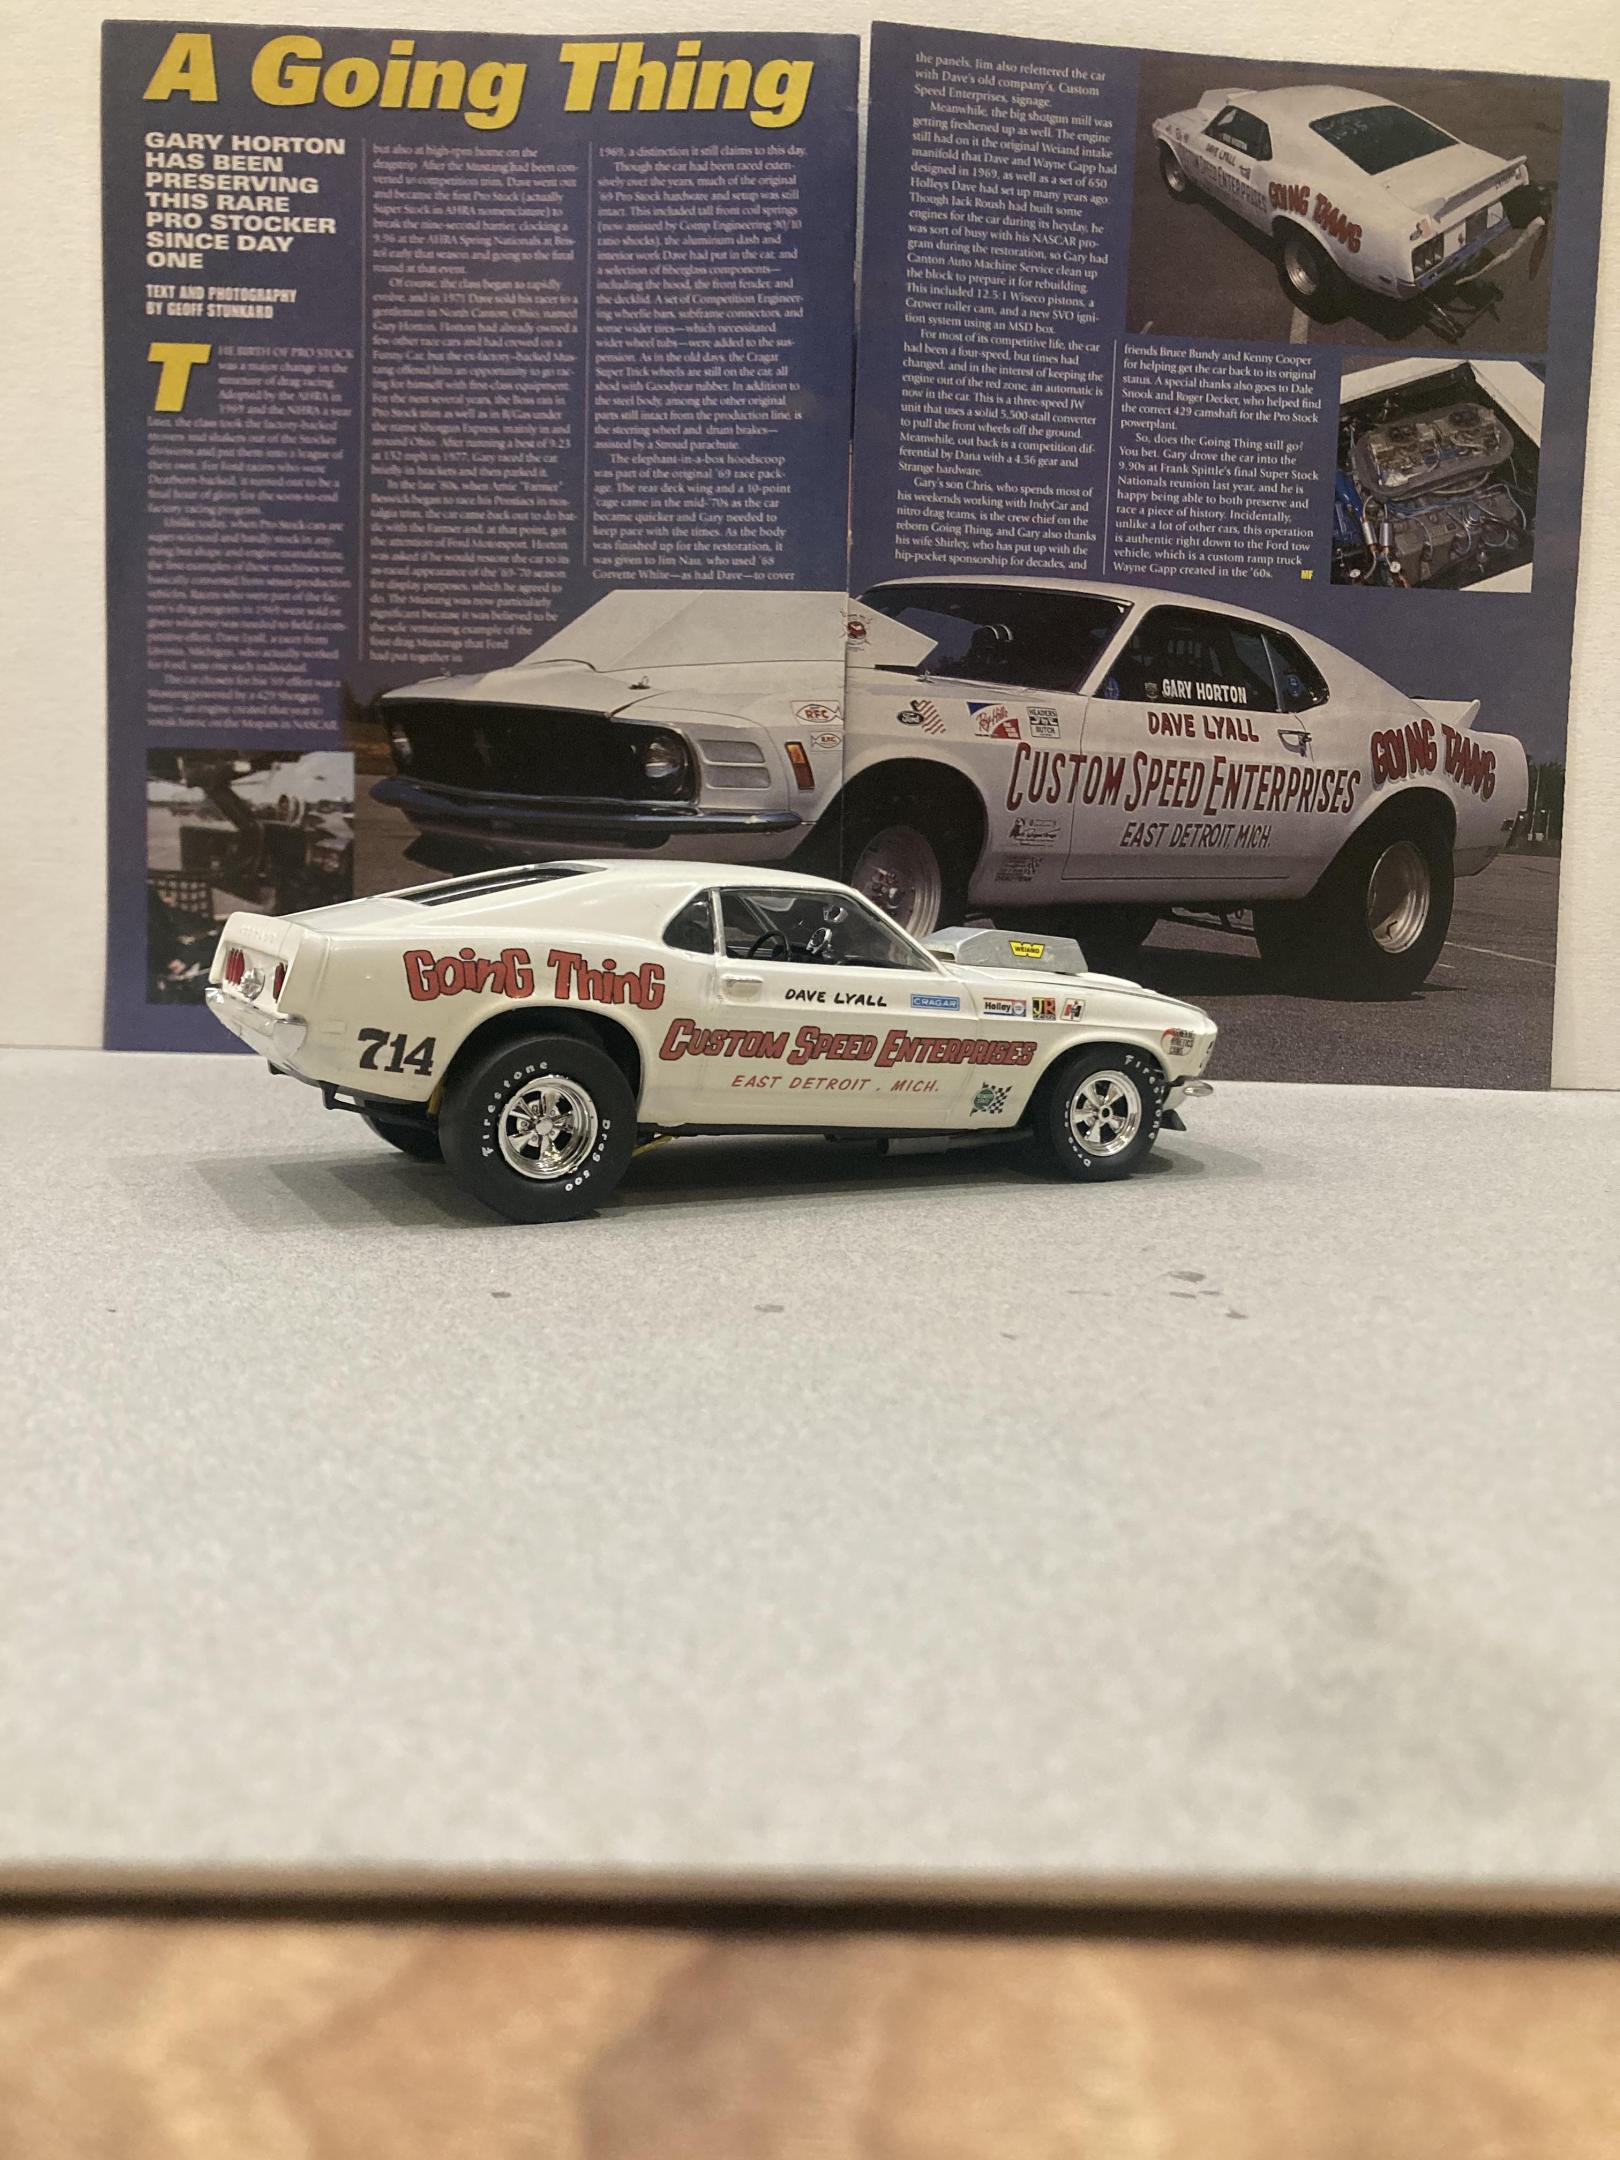
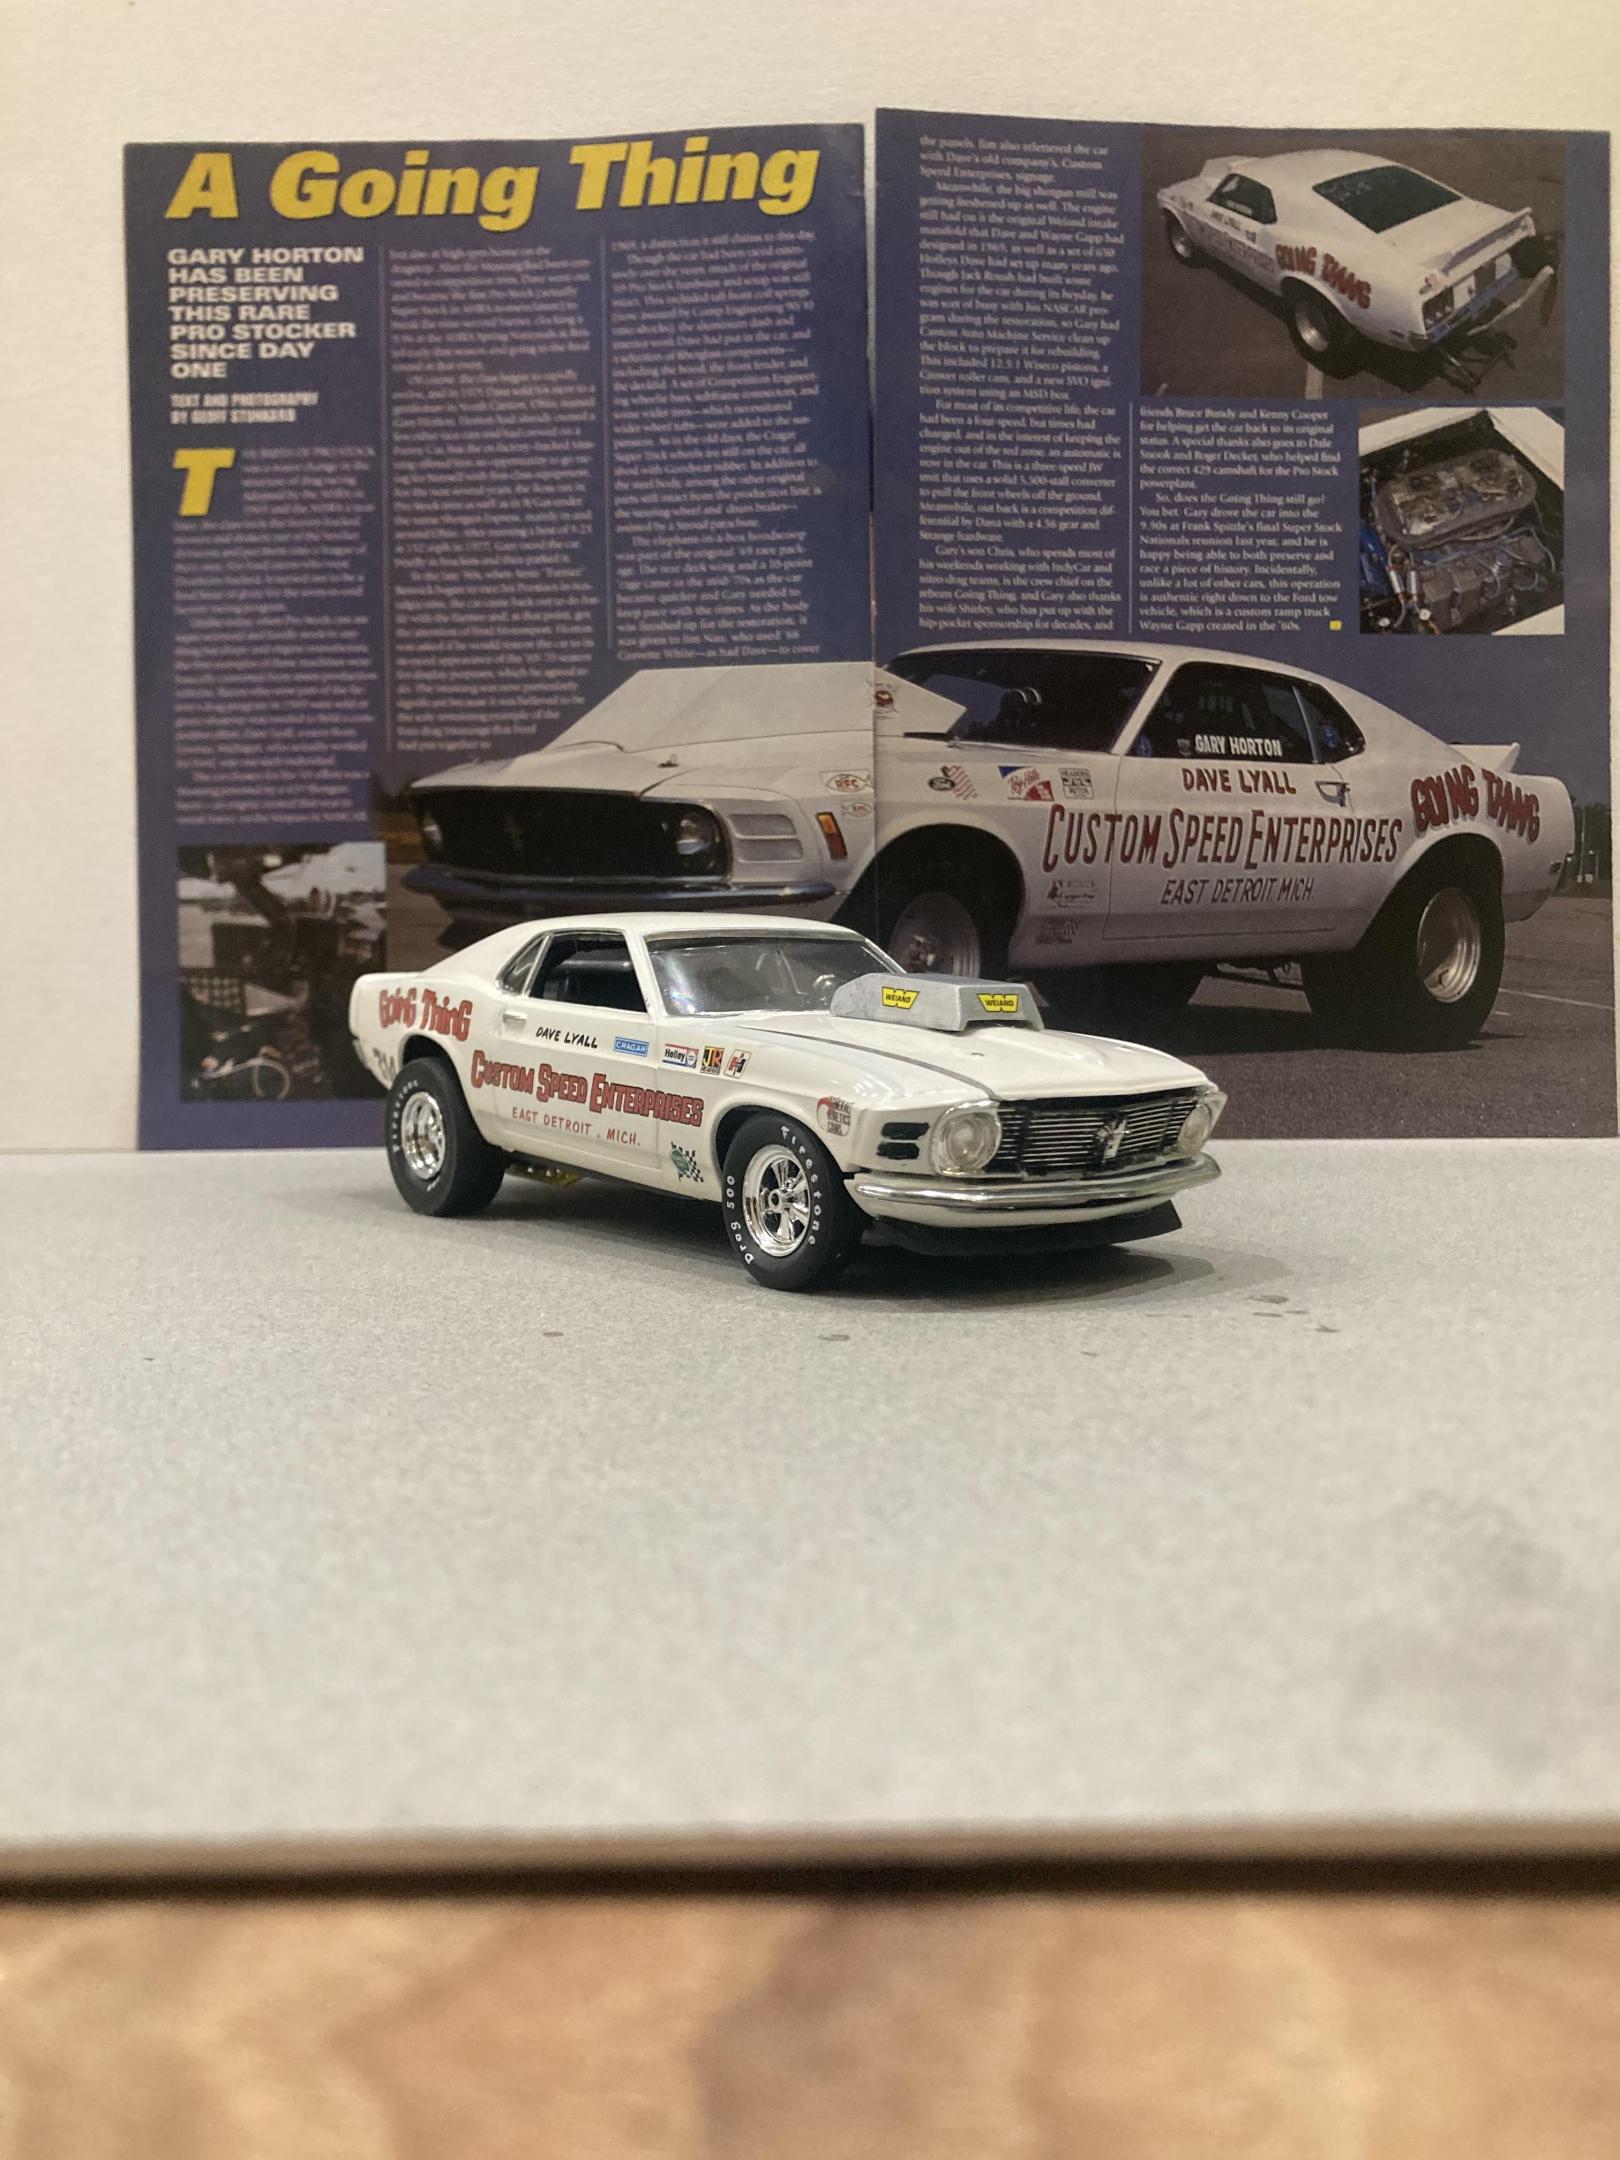
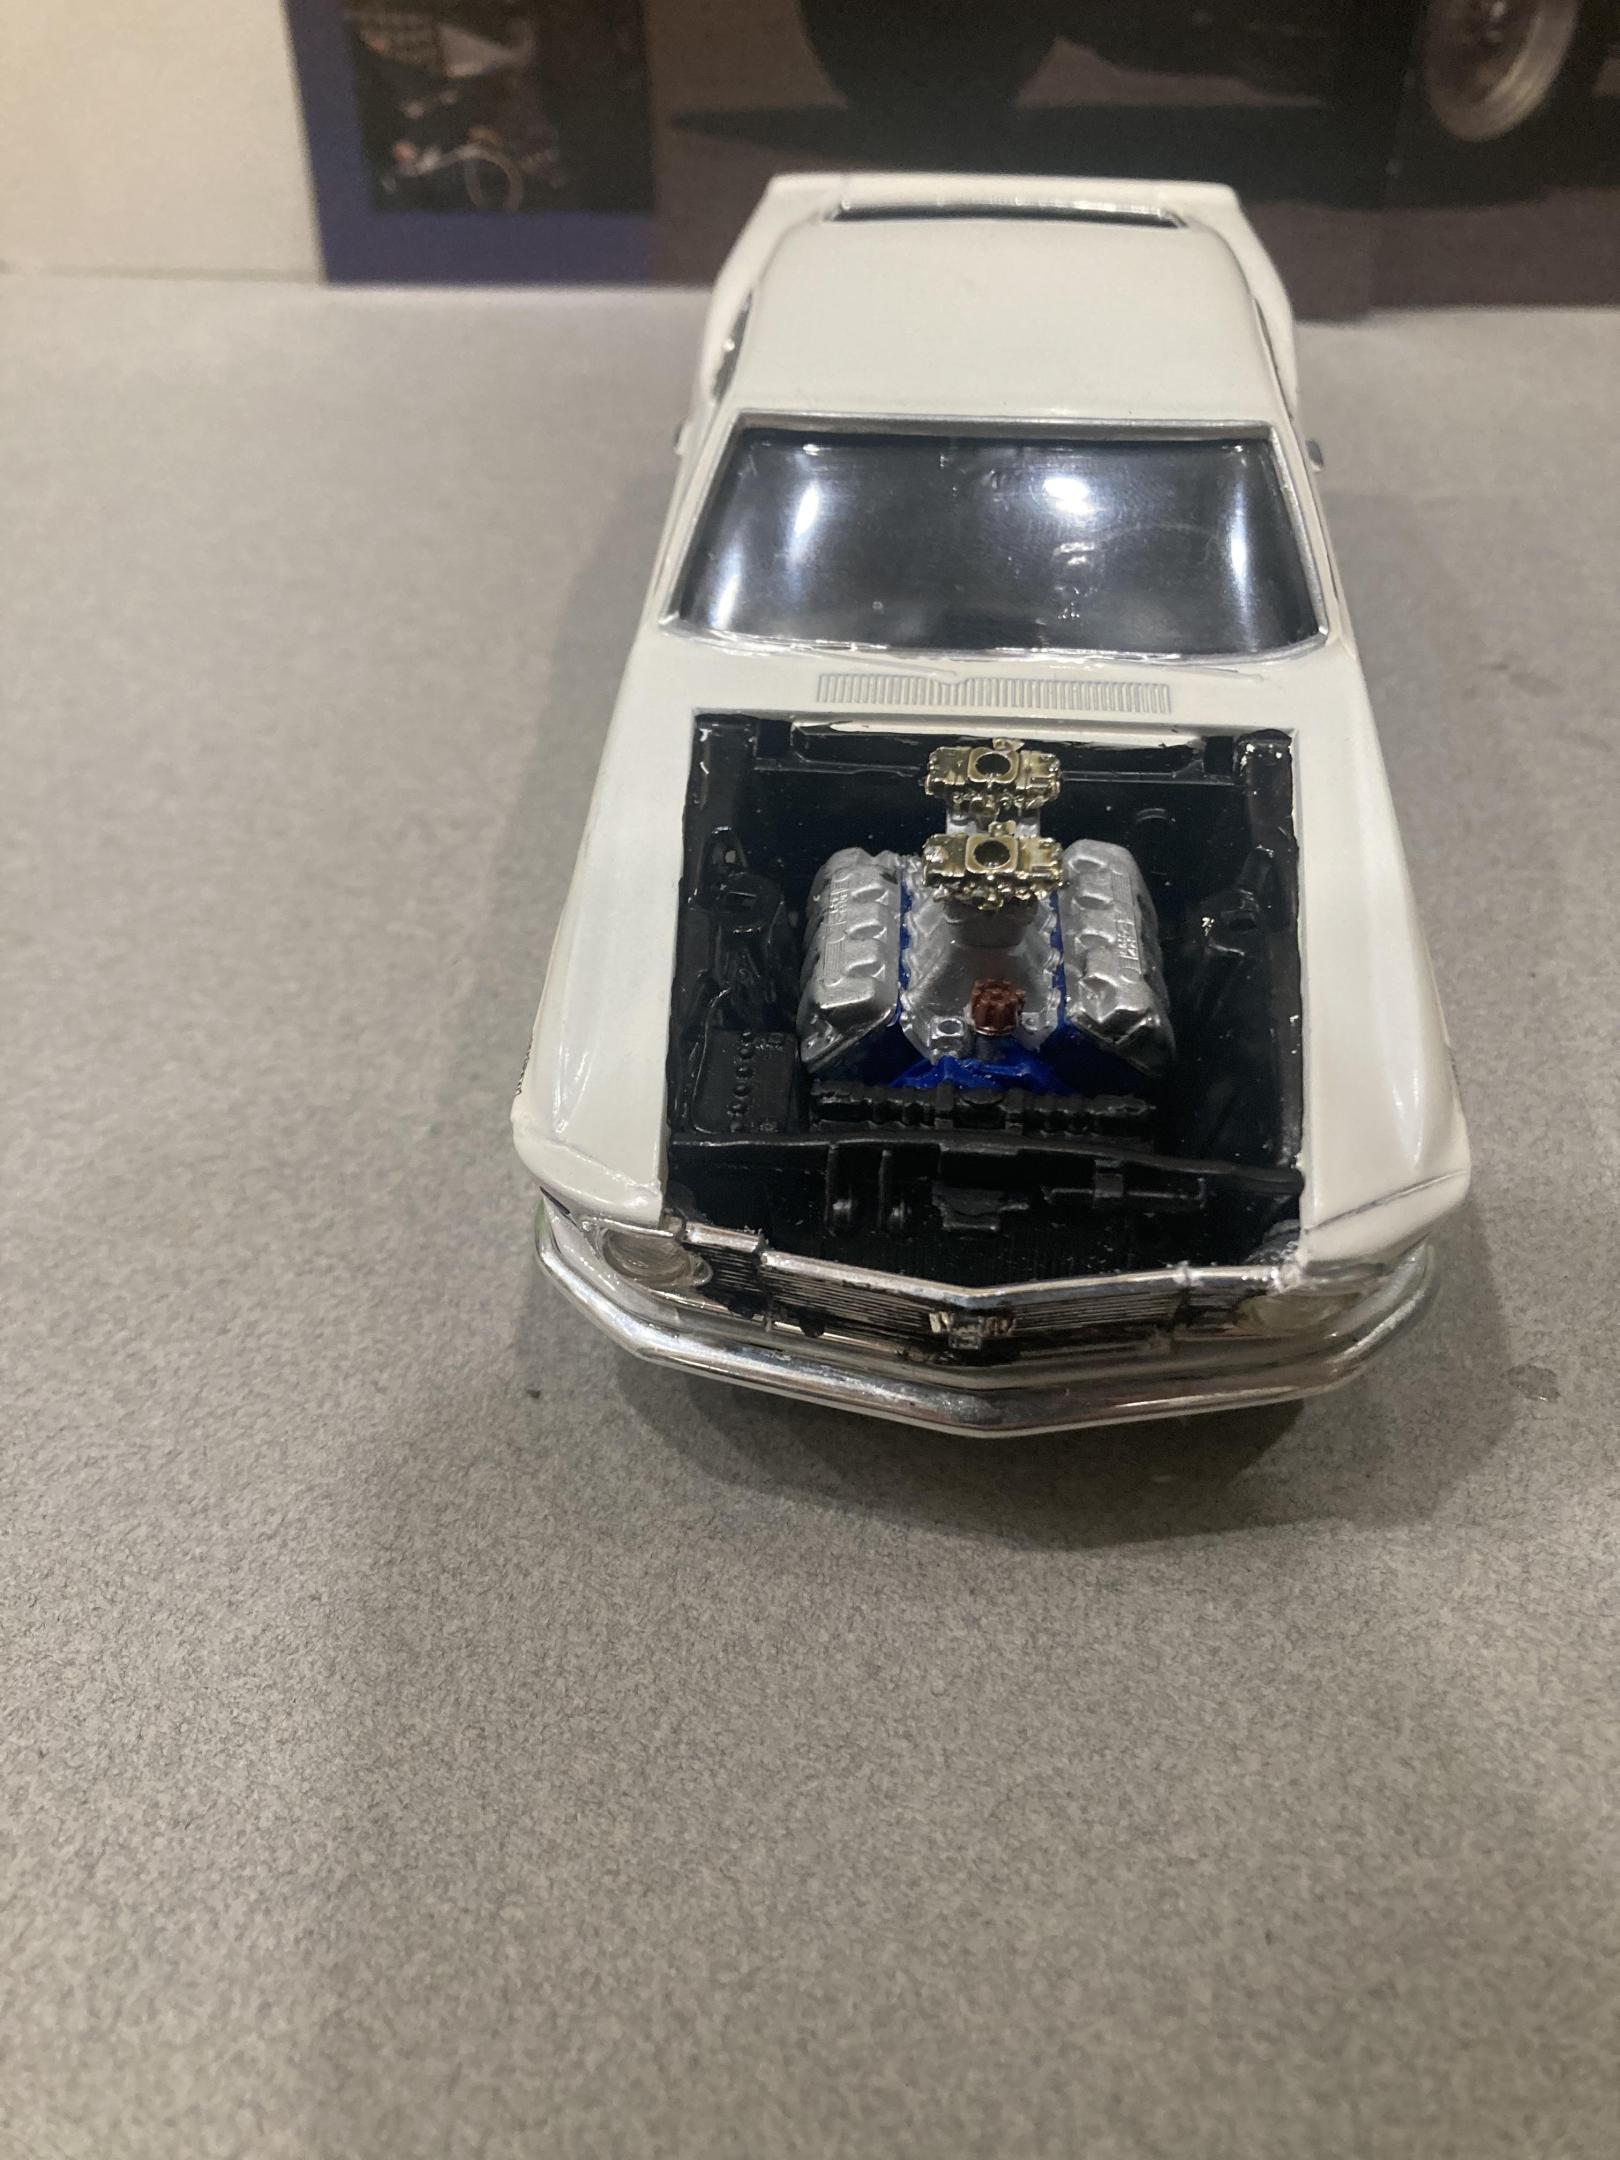
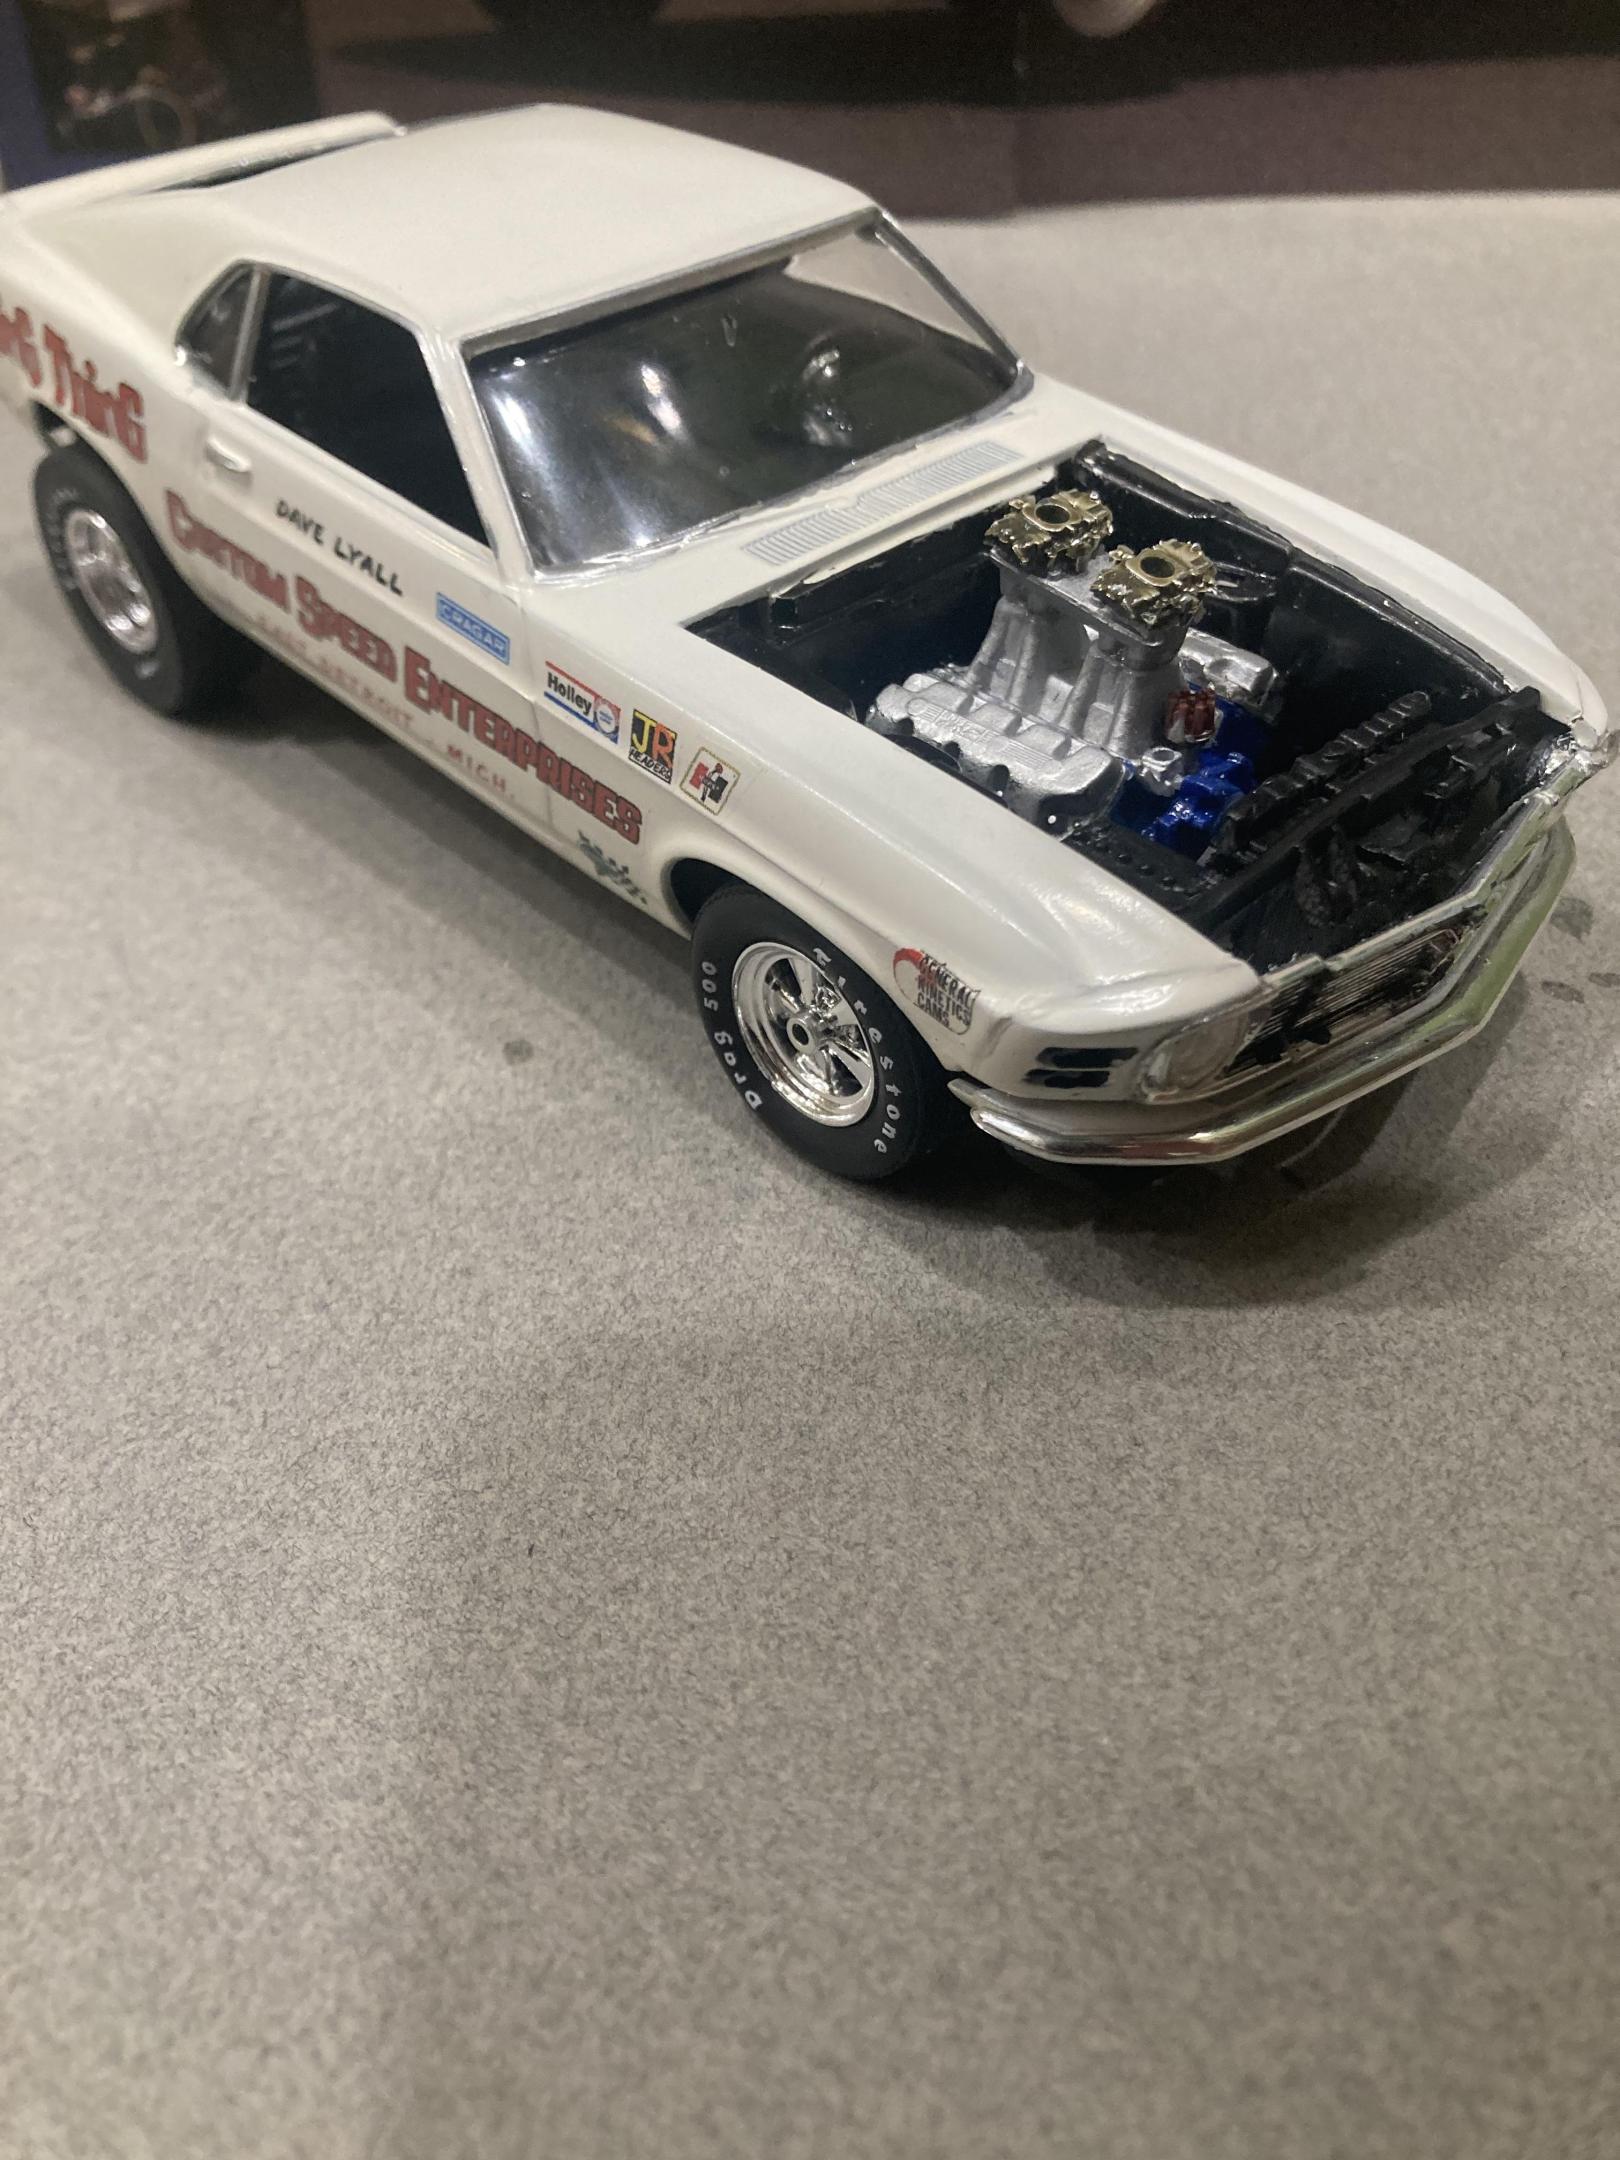
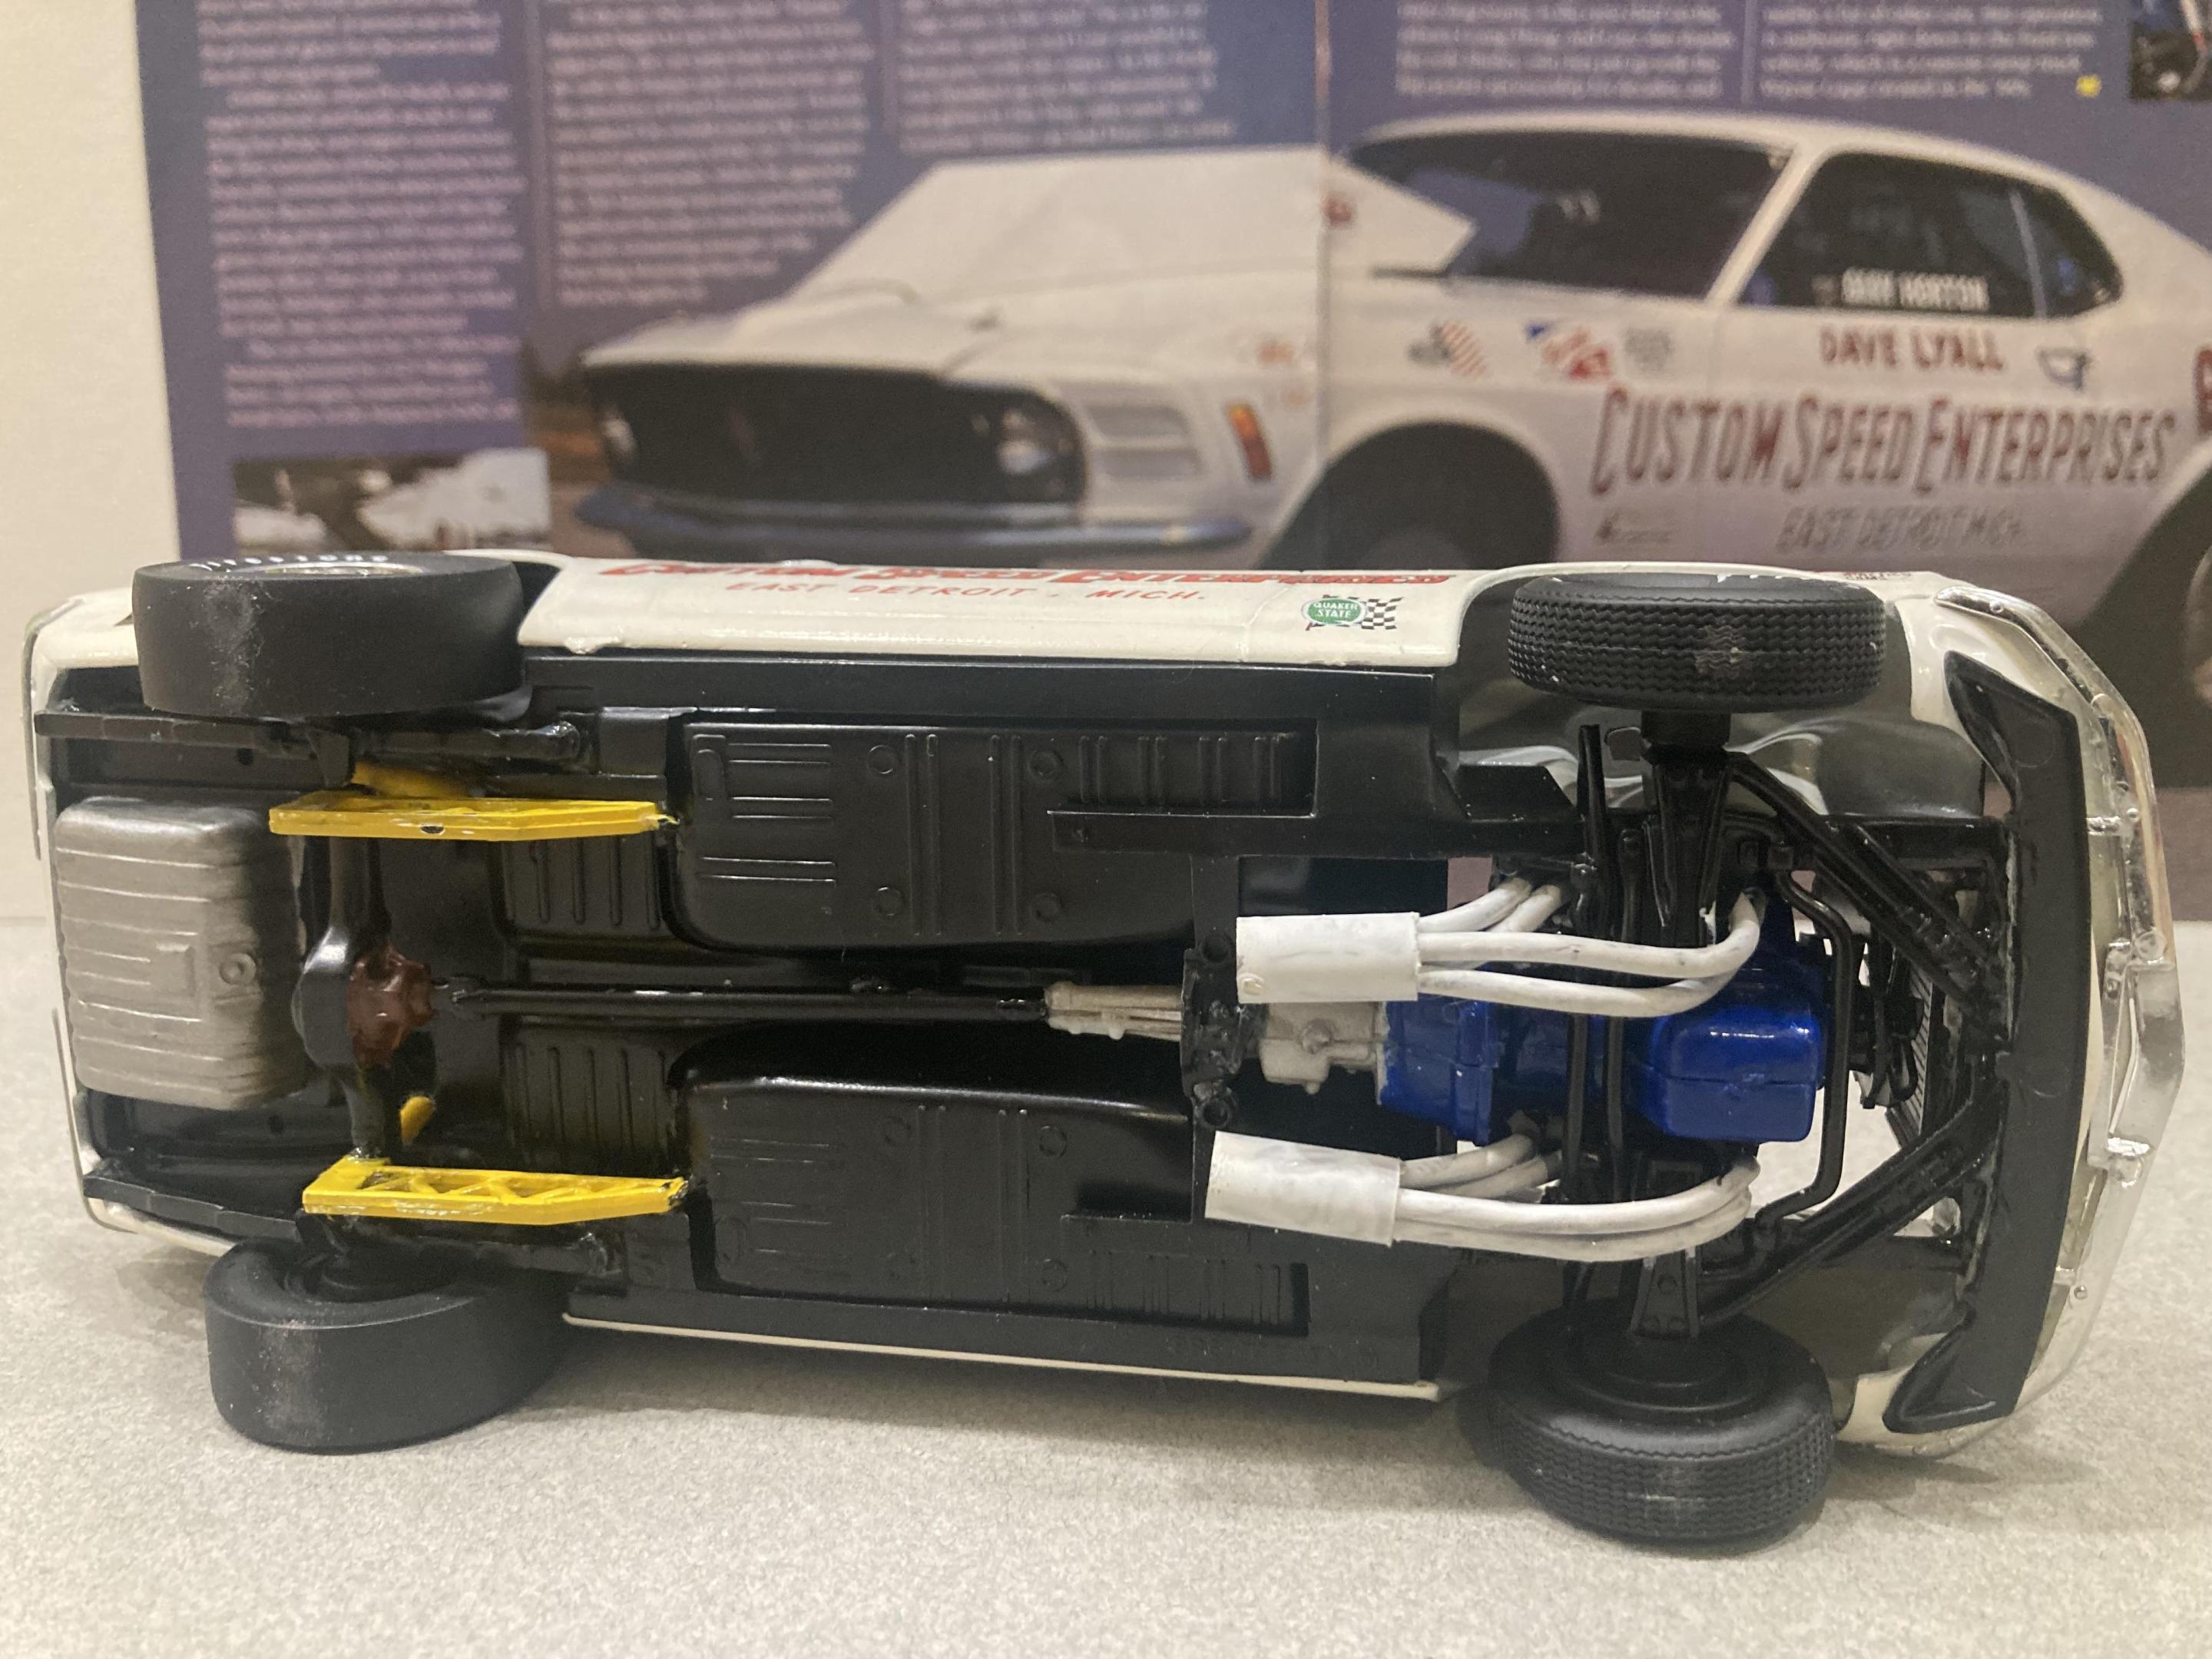
I’ve been really enjoying building mustangs and torinos lately. This one was on the todo list for quite some time as I really like building the early let’s call them the four speed years pro stock cars. Let’s get down to this build. It’s a kit bash car starting with the revell 69 cobra jet mixed with parts from the monogram 70 boss 429 mustang along with a few trips to the parts box . crager ss wheels back - amt 66 Galaxie , front - polar lights funny car ladder bars- old pro nova slicks and front tires- AMT parts pack dash mount gauges- polar lights funny car engine - monogram mustang shifter- monogram mustang front air vents next to the grill- monogram mustang grill - cut down from the monogram mustang decals - smp & parts box paint - testors enamel headers - solder and aluminum tubing roll bar - 0.80 plastic rod hood scoop - comp resin I cut some square tubing to raise up the rear spring perches. If I was to build this again I would definitely use the body from AMT’s MACH ONE kit .until next time thanks for looking, Mike
-
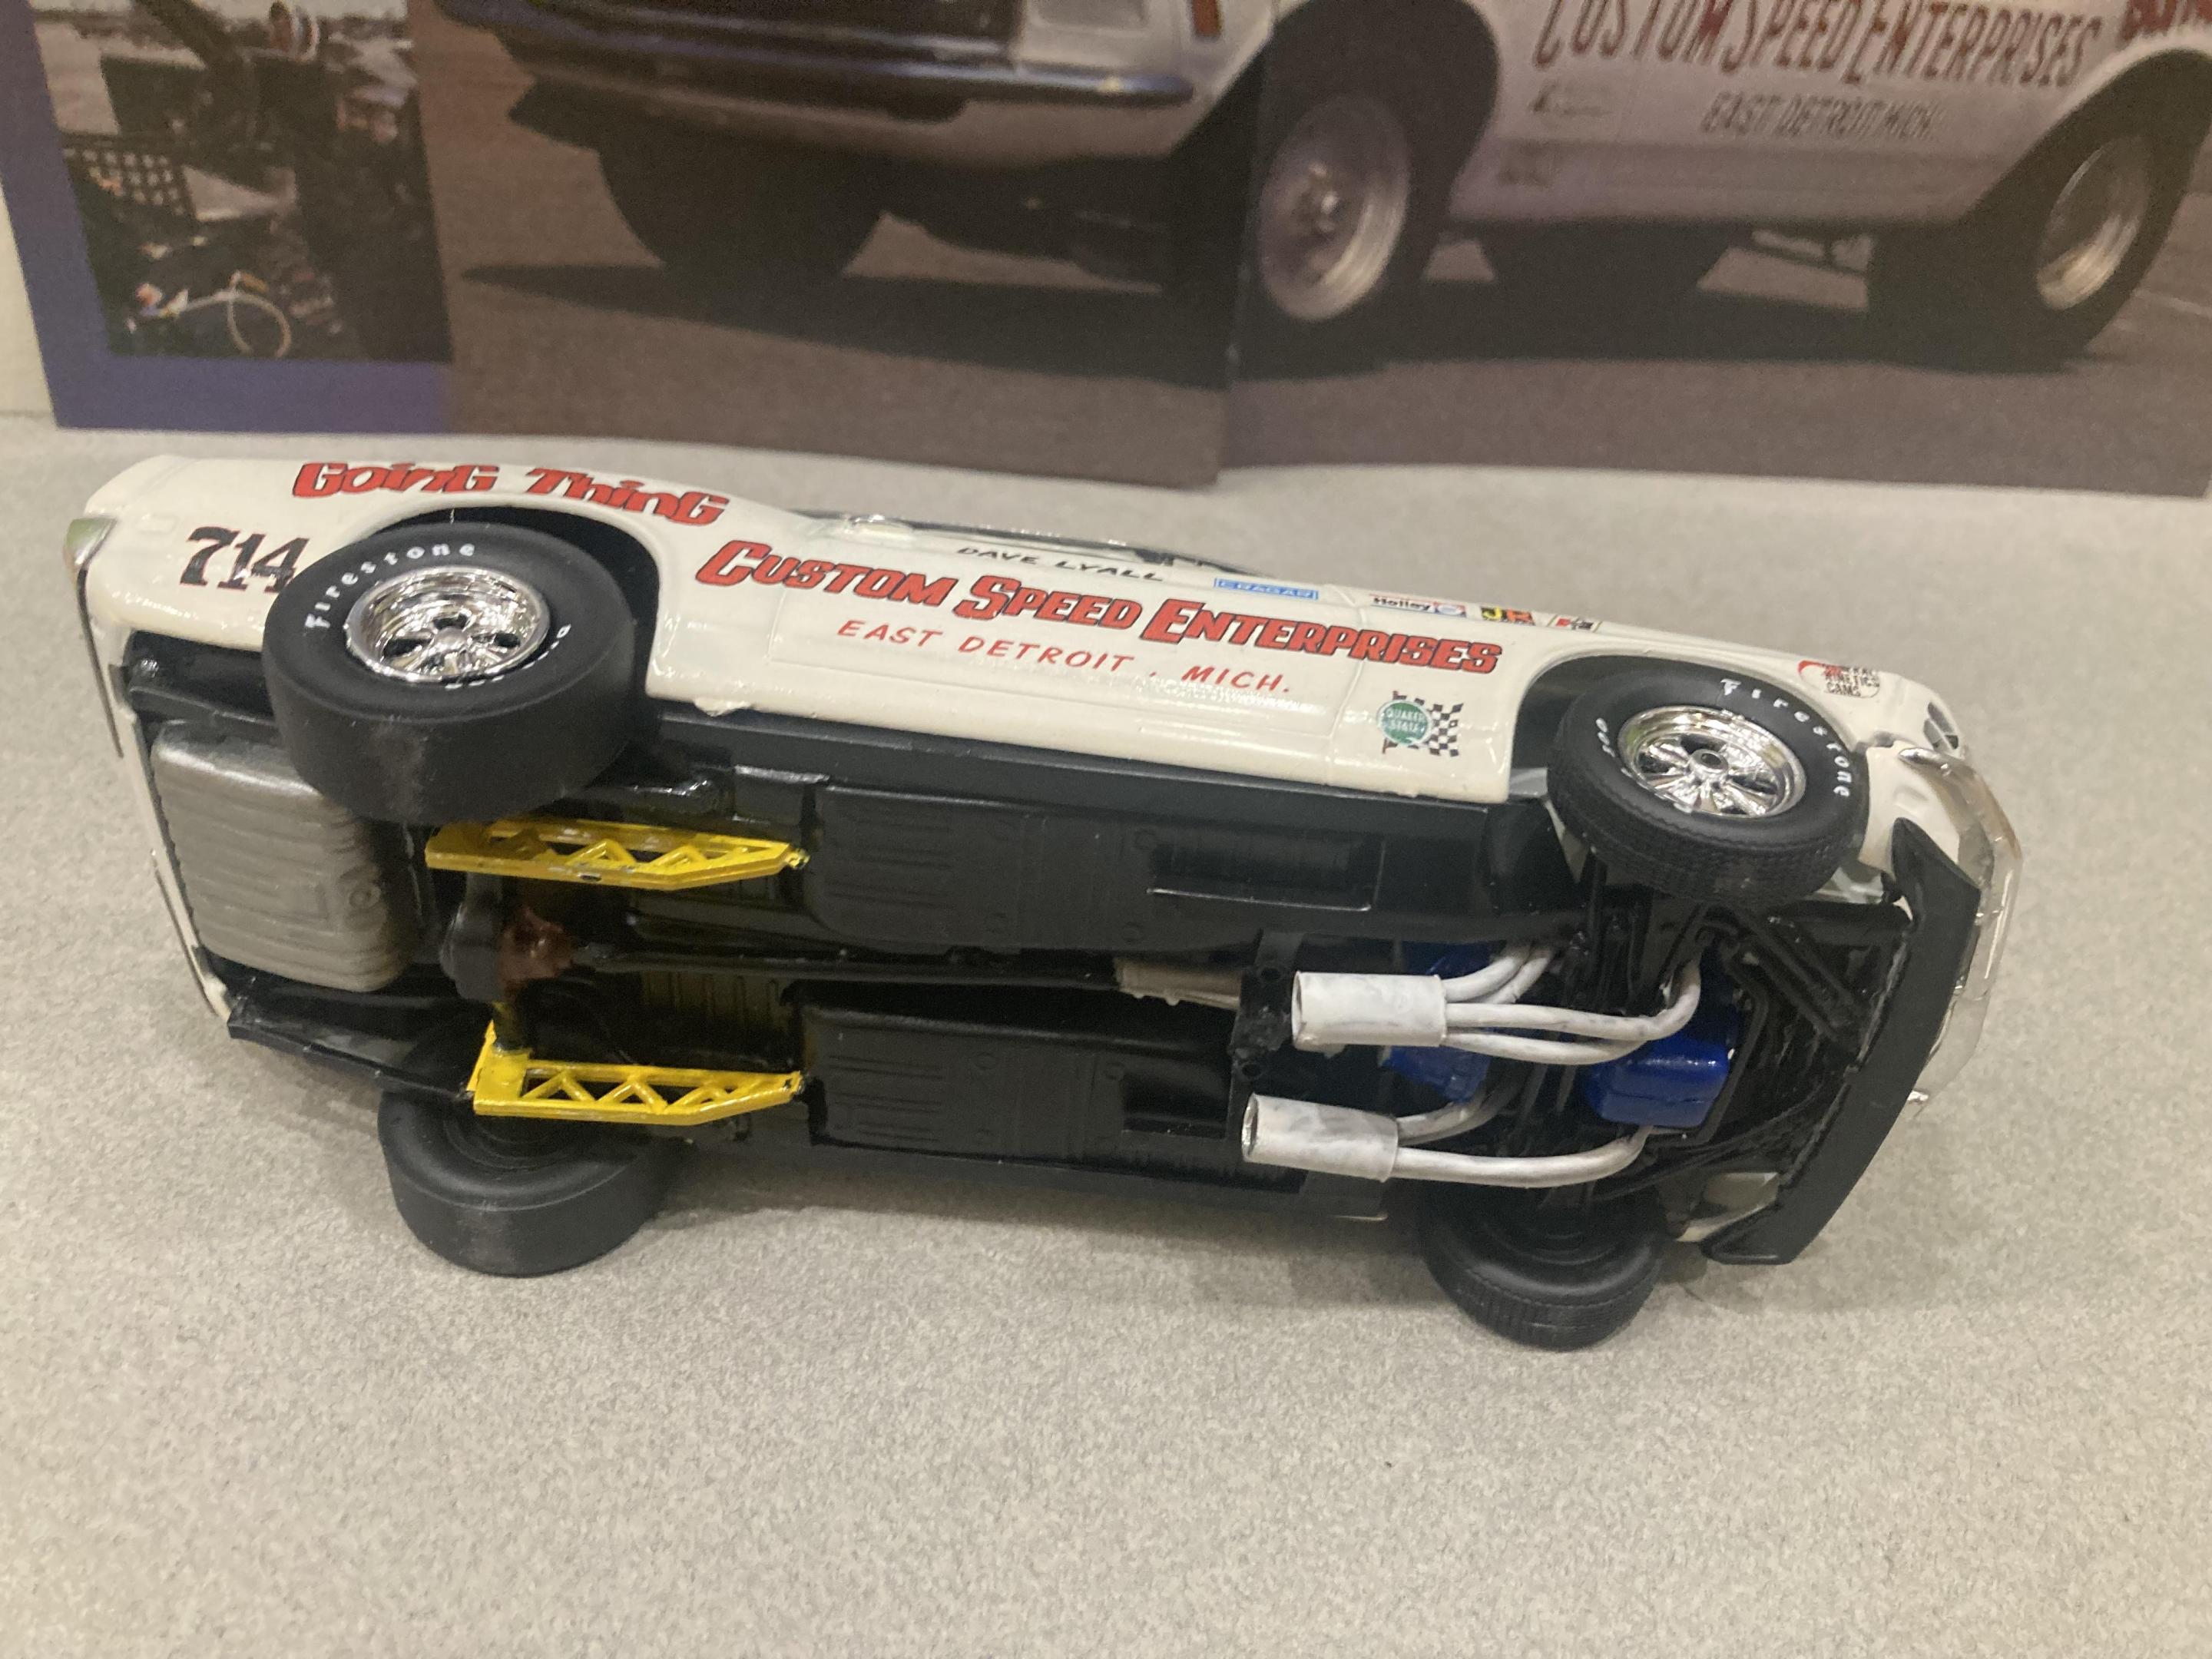
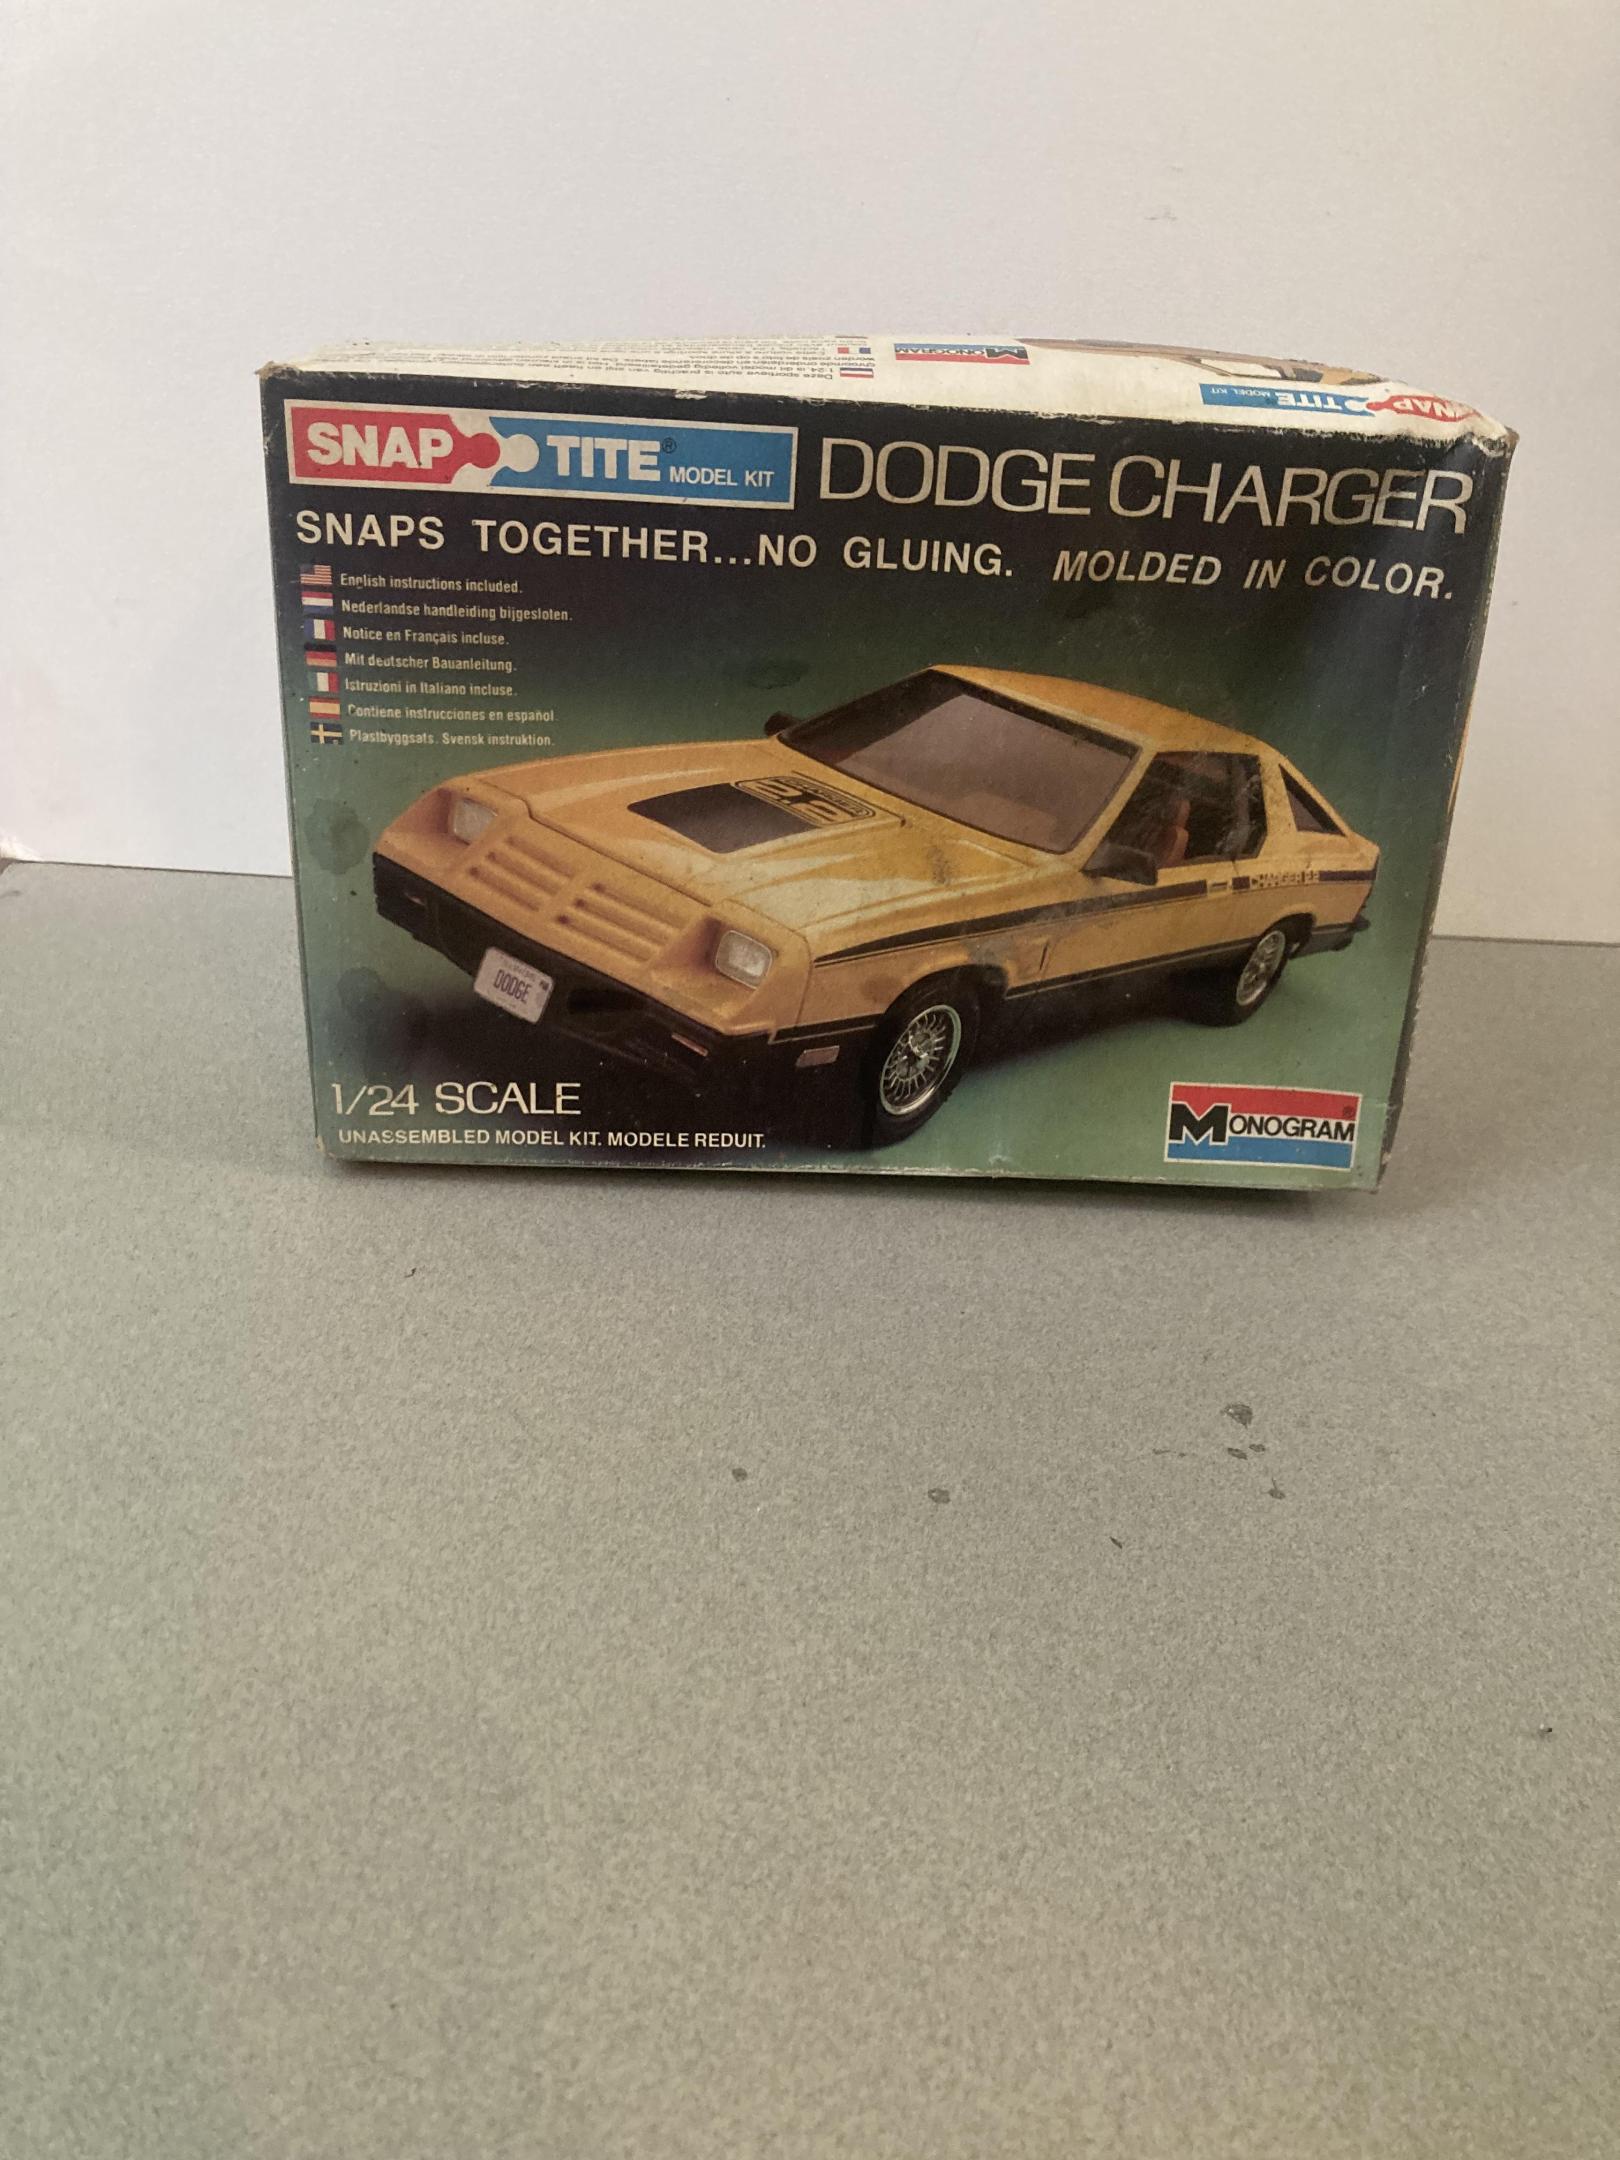
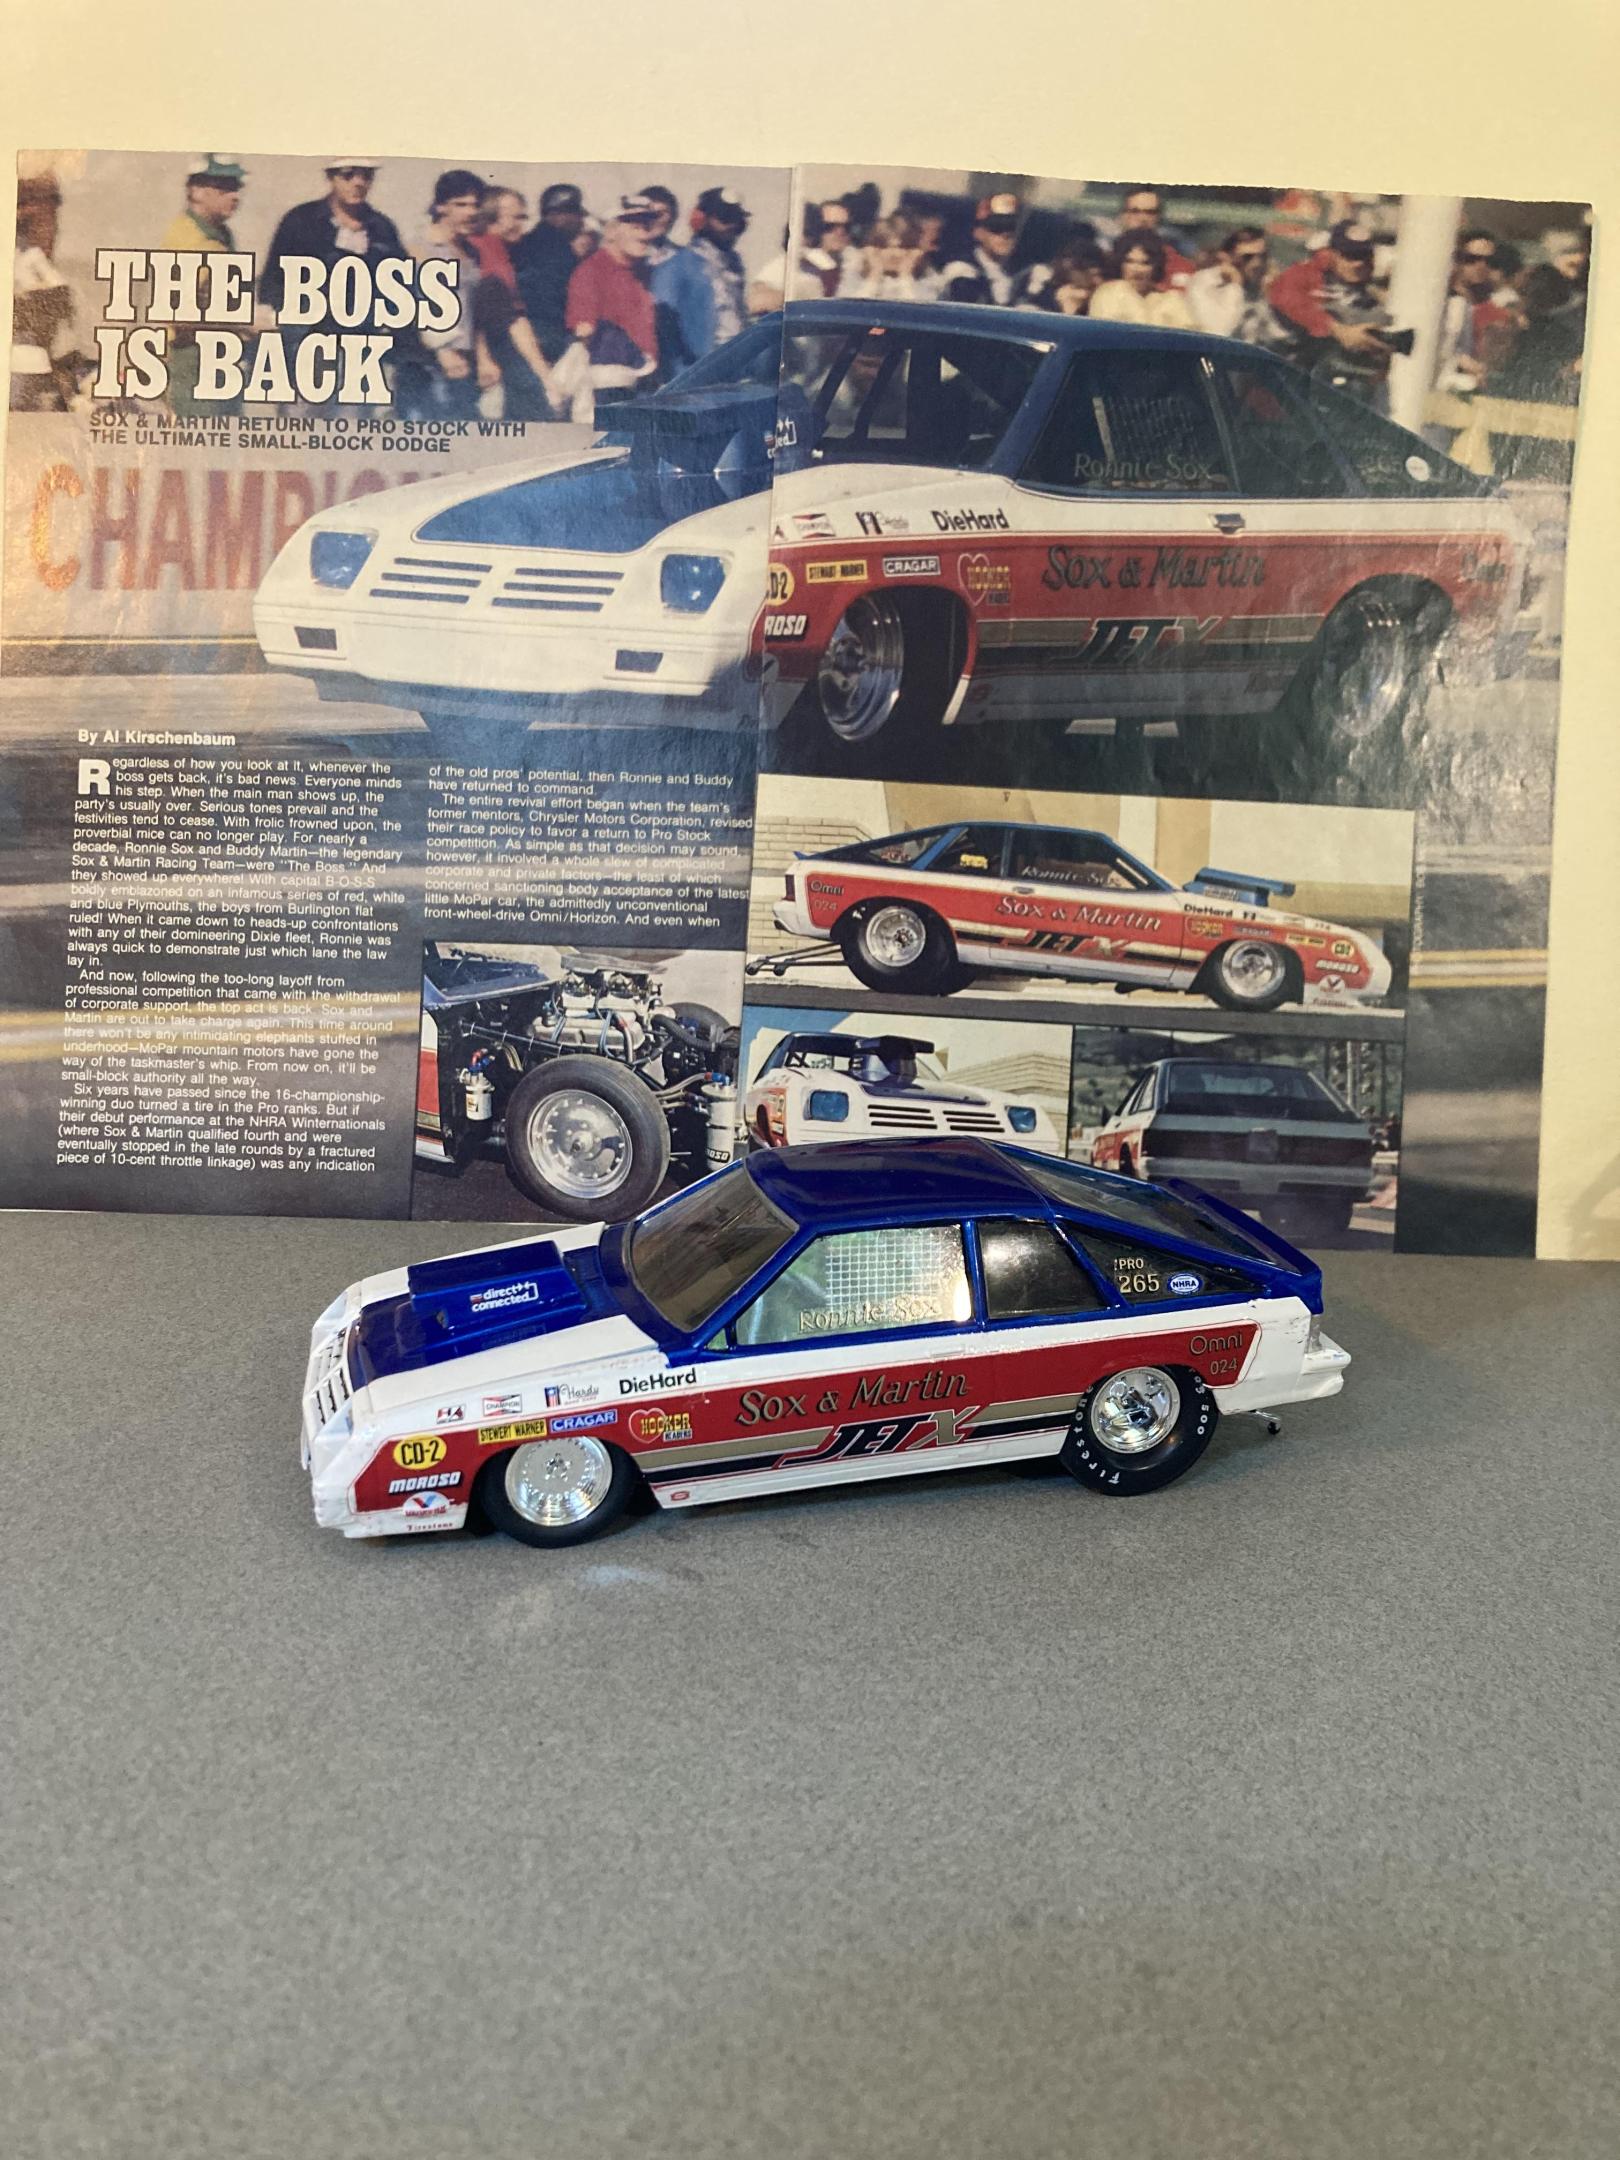
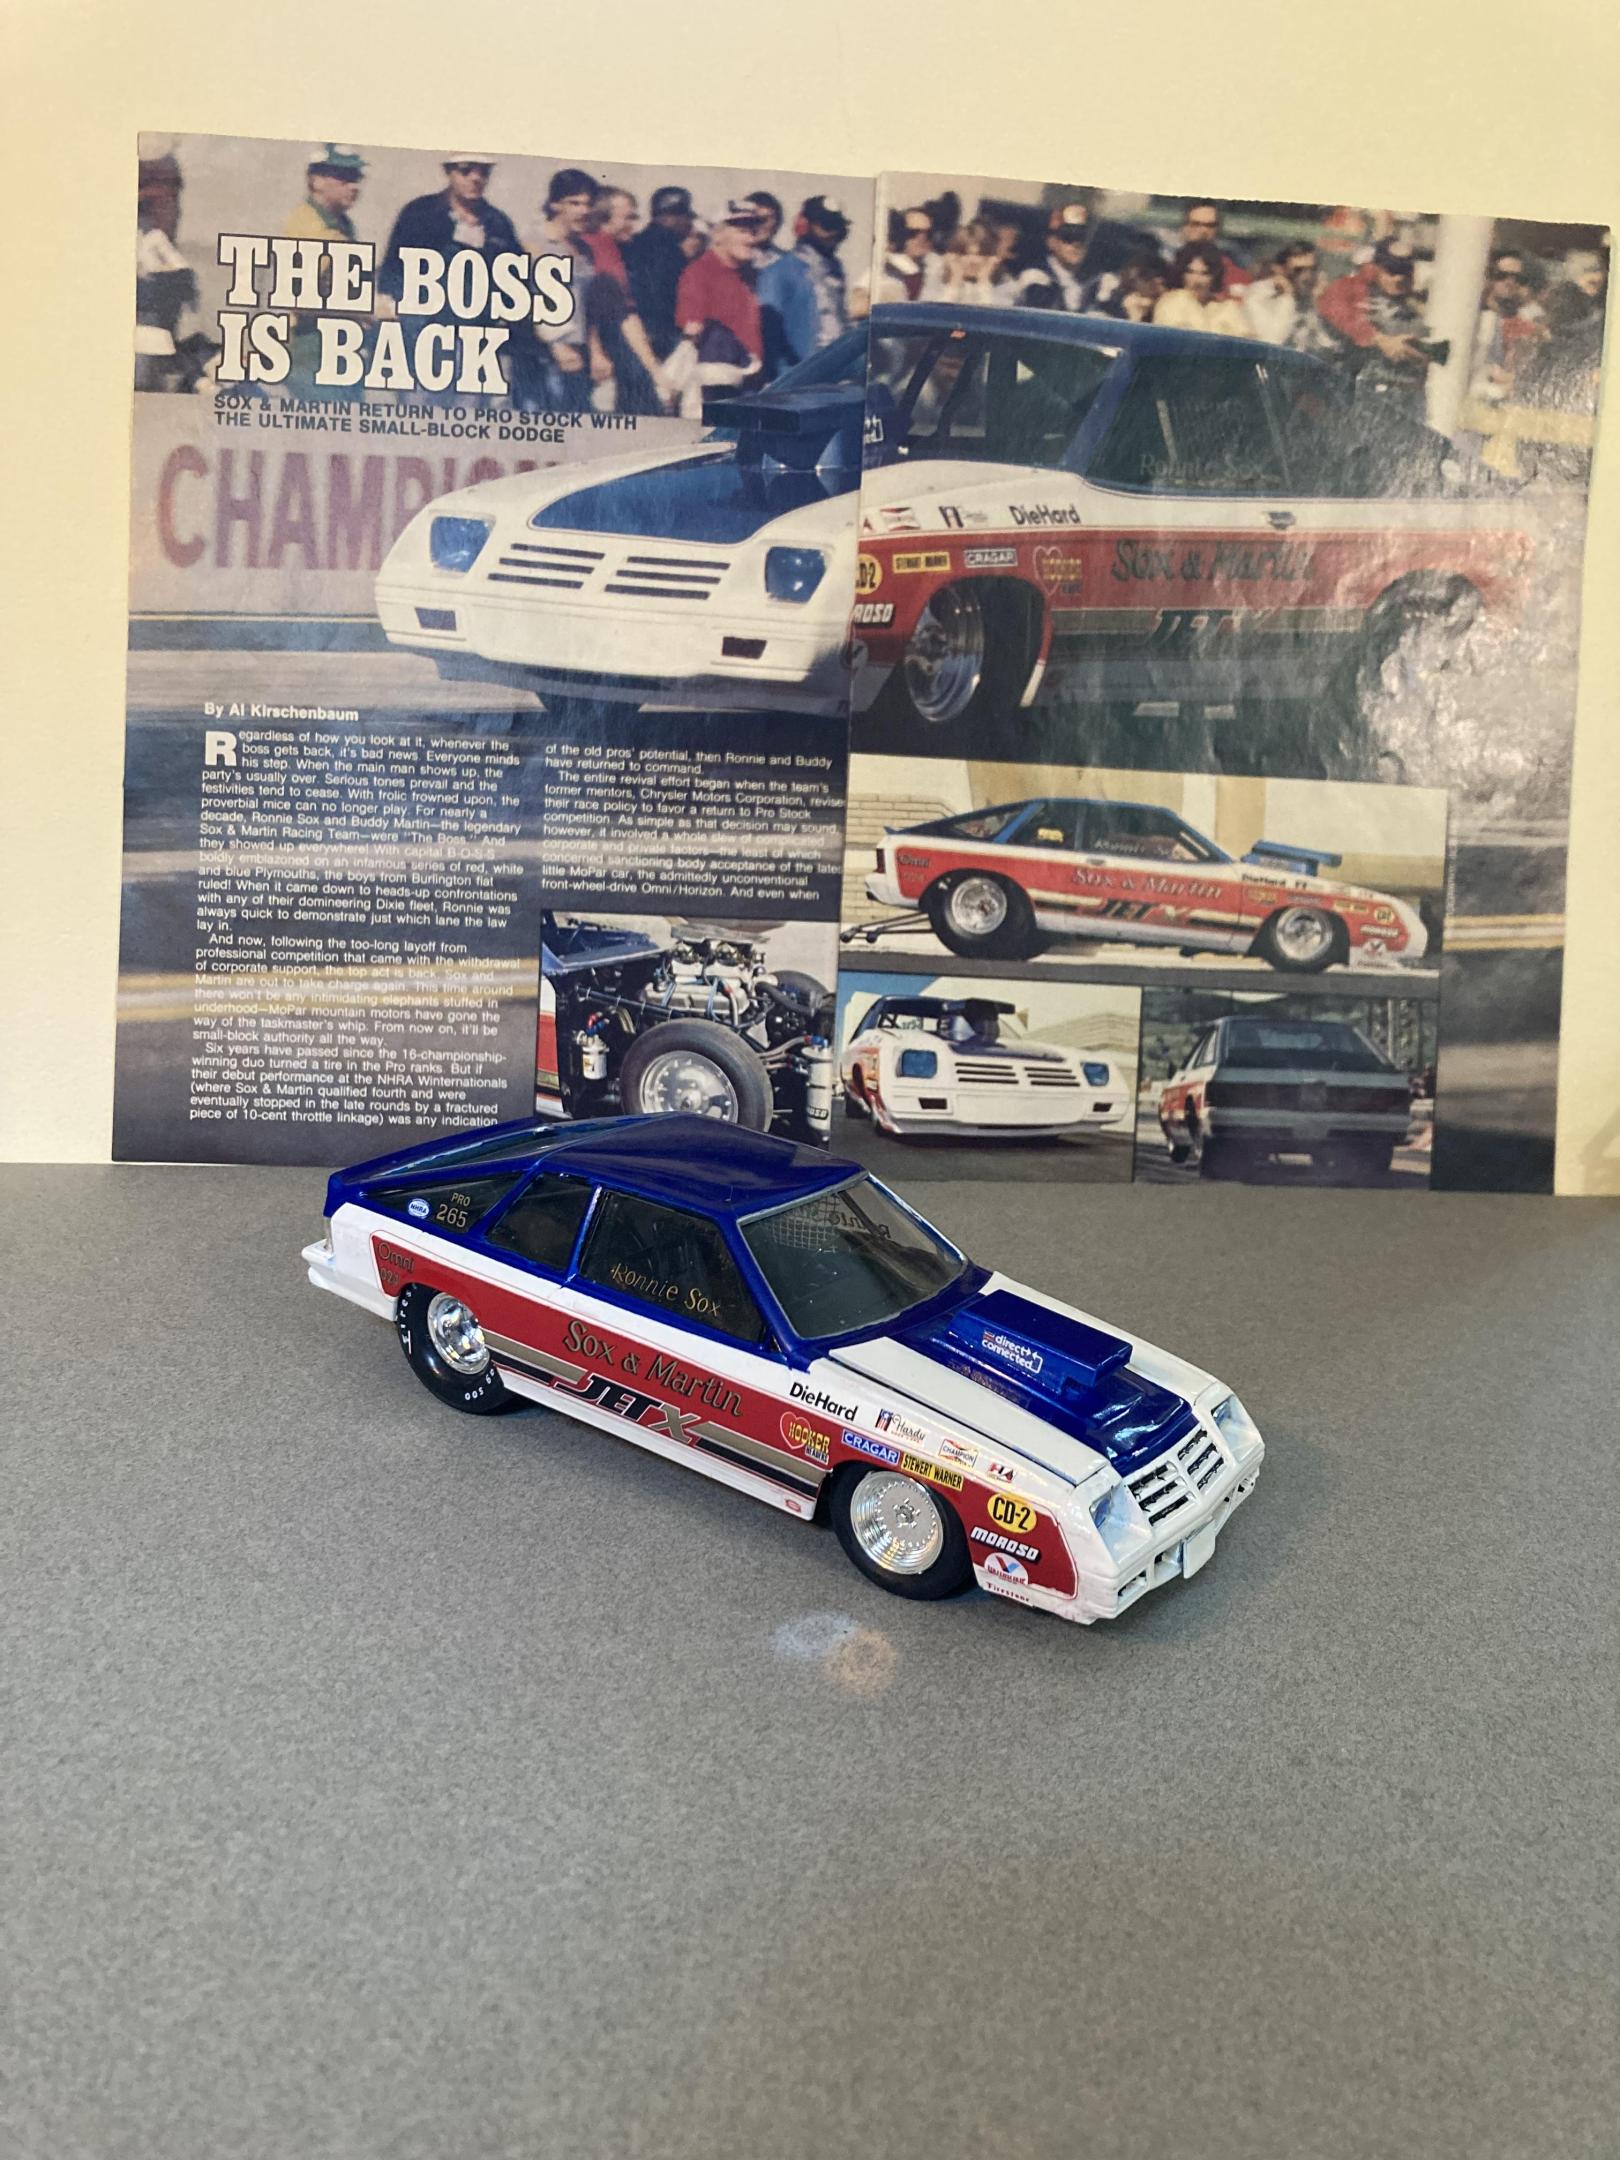
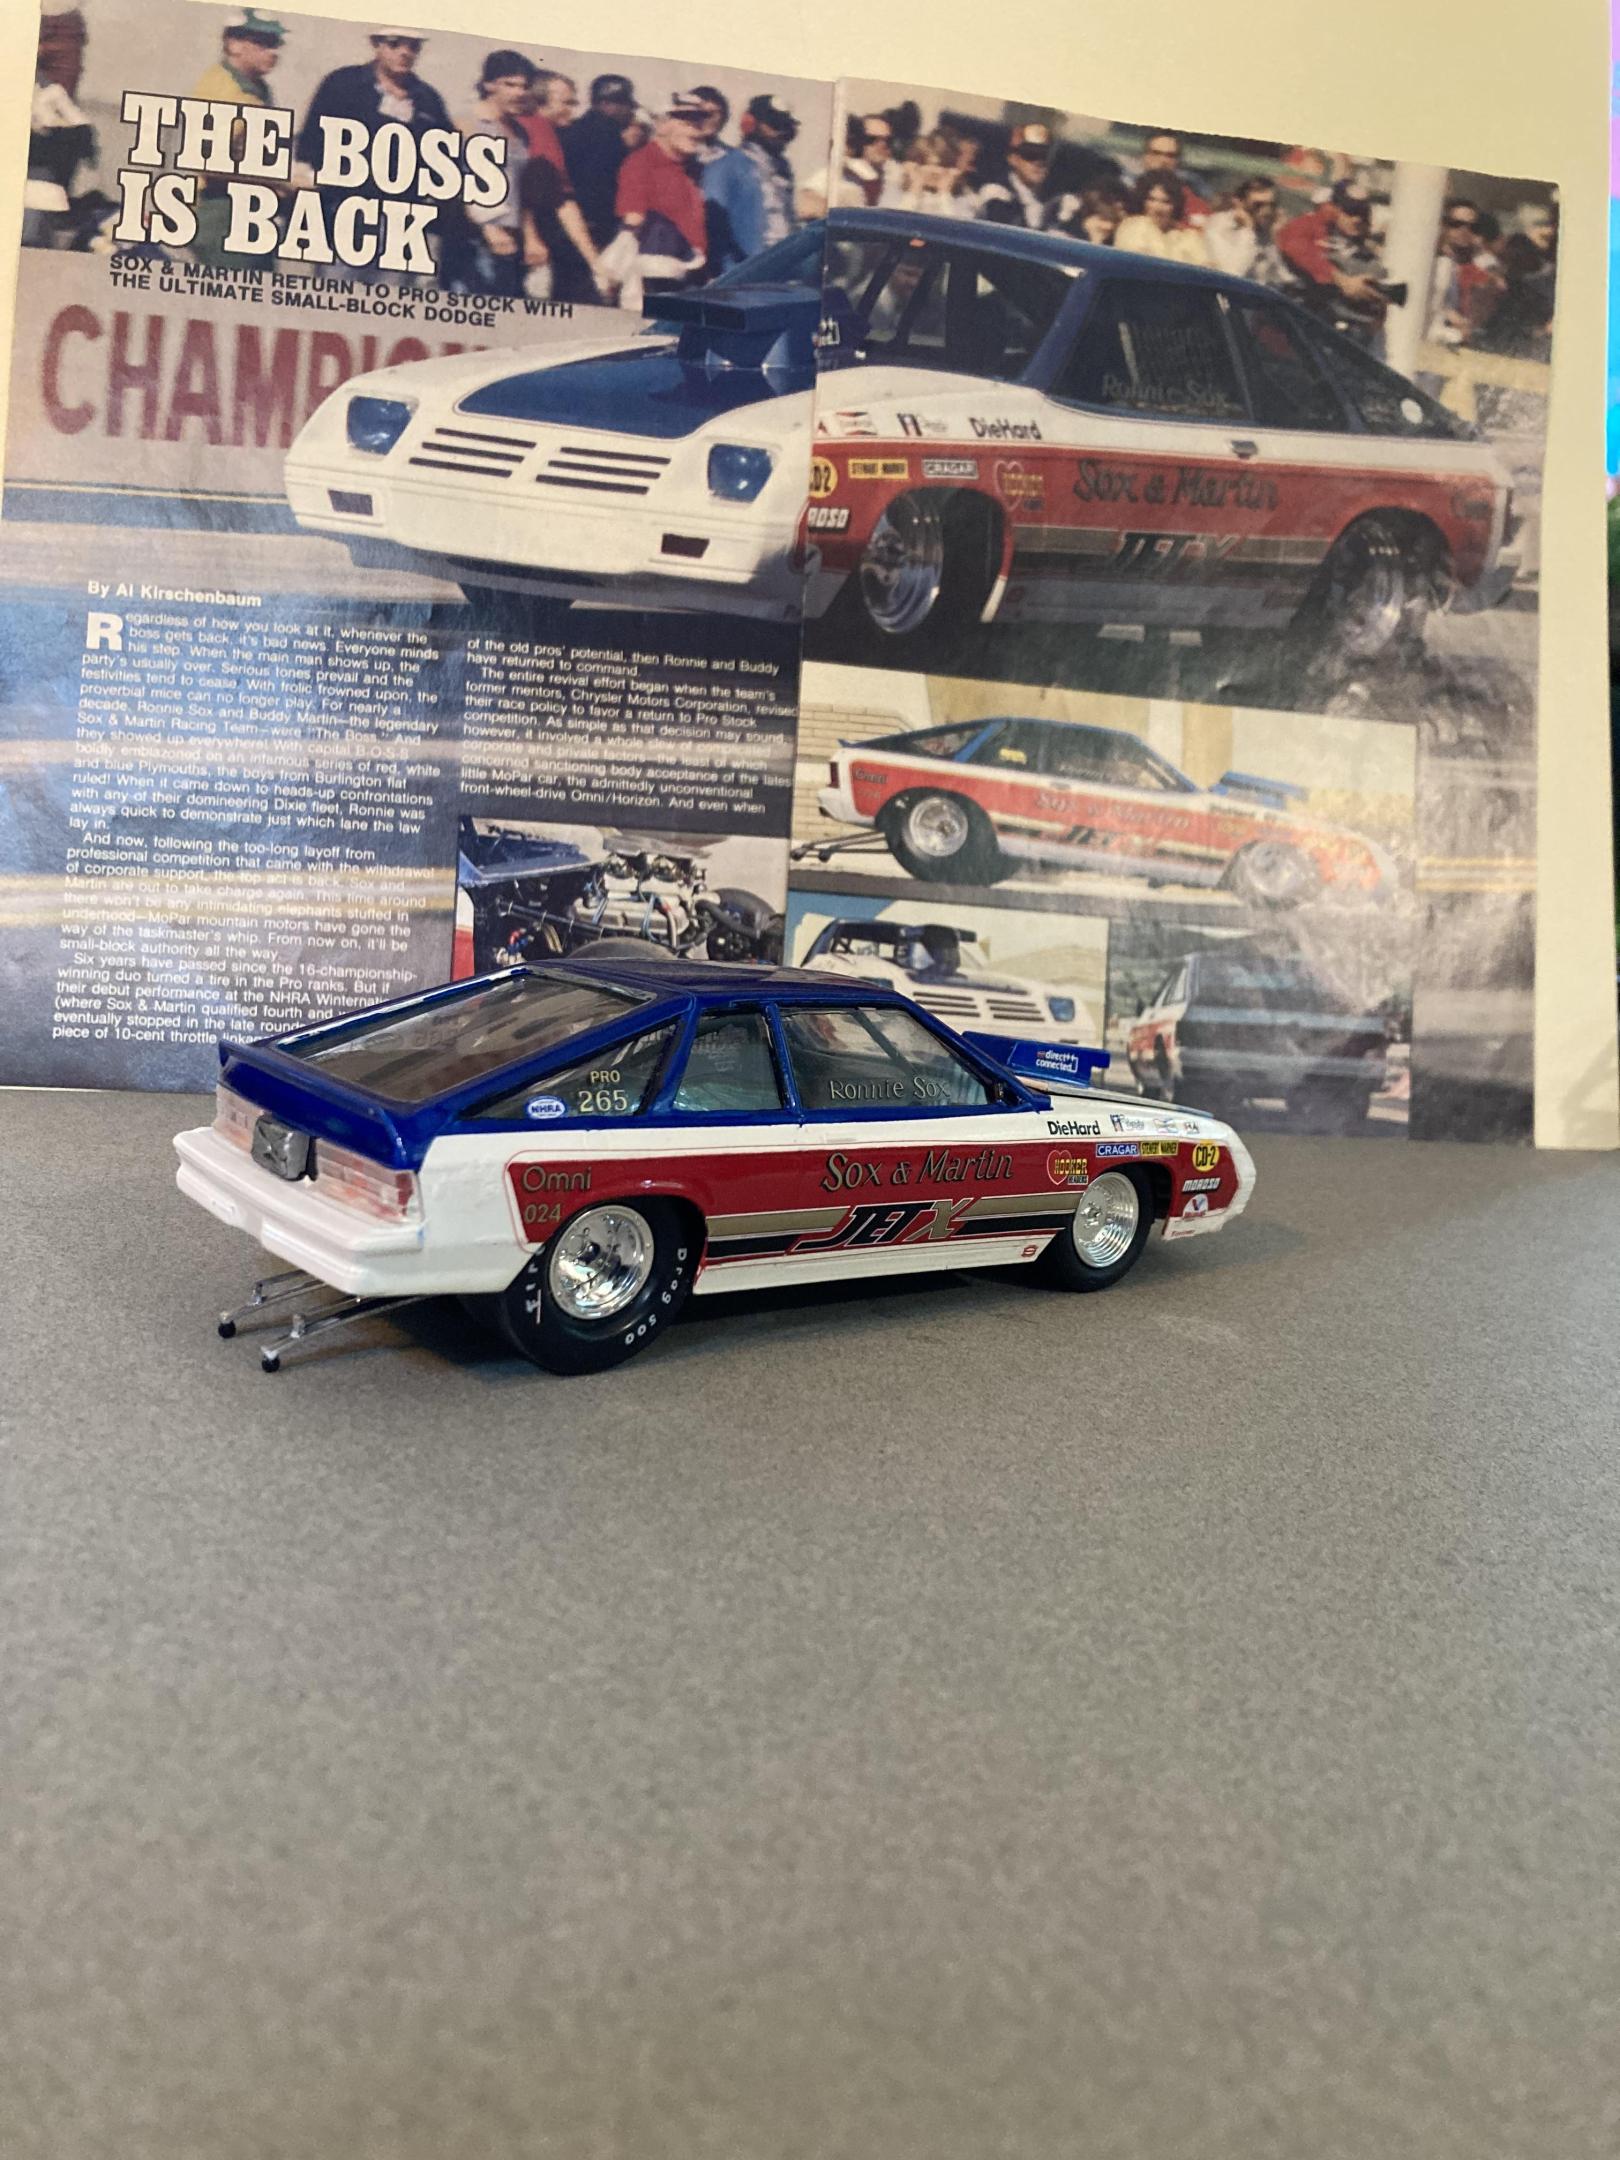
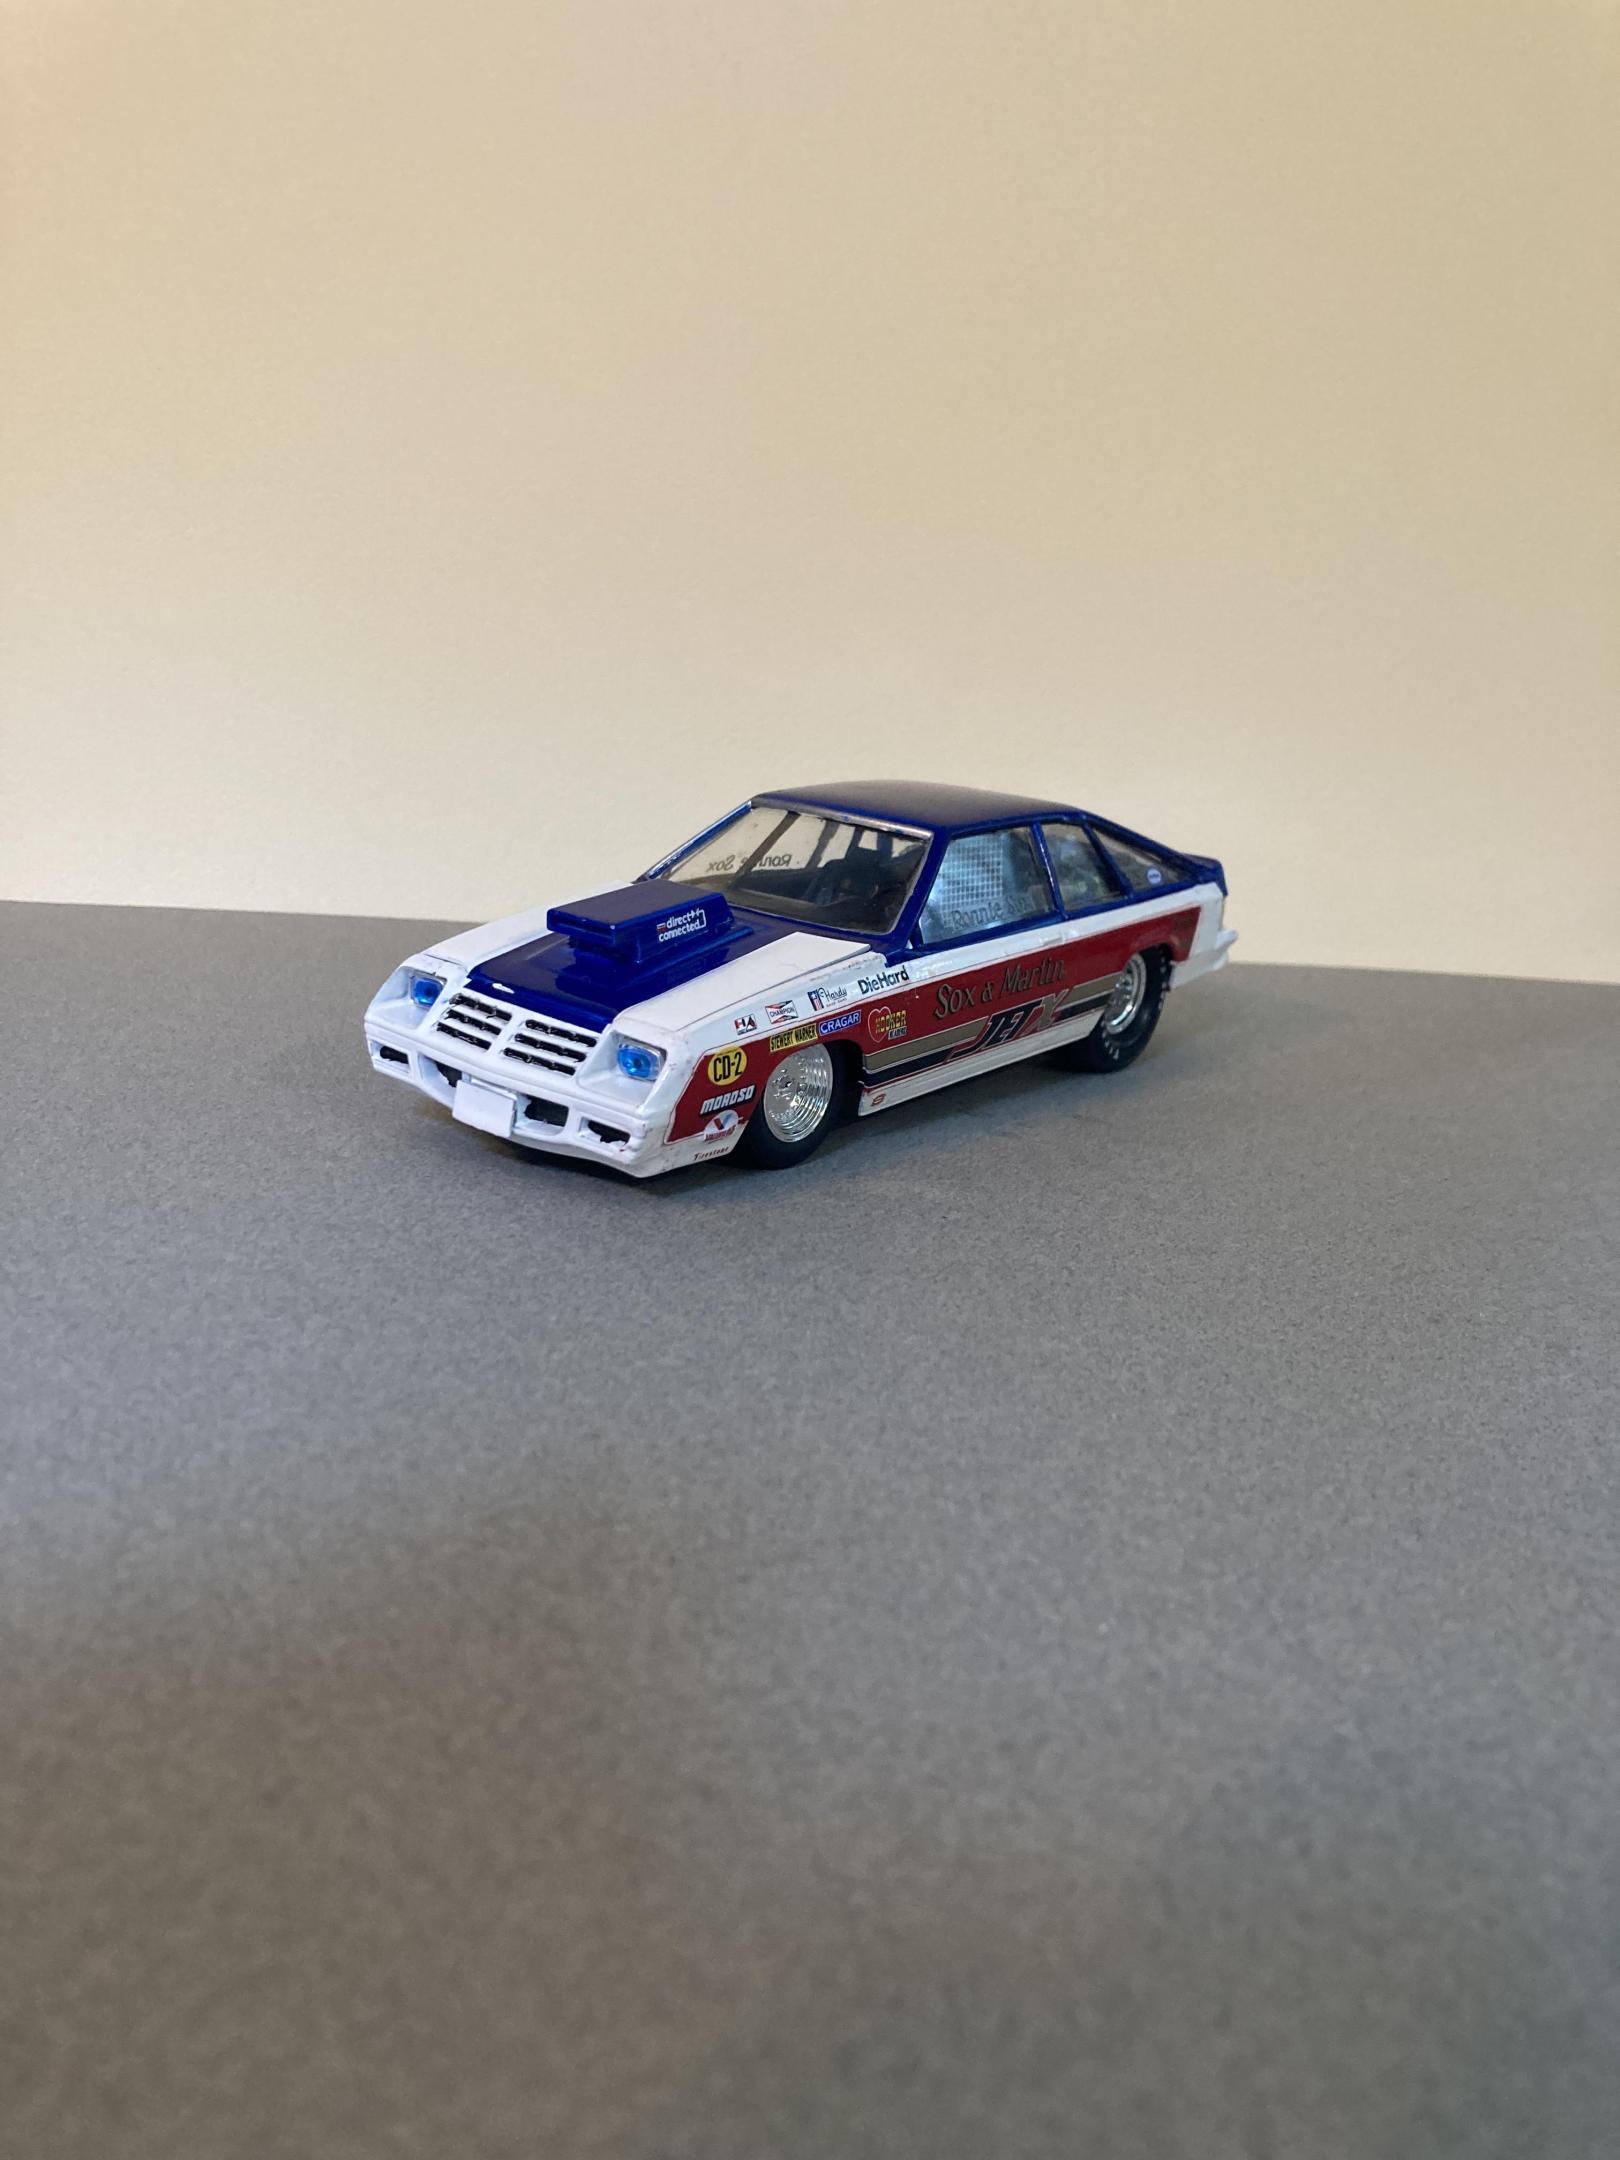
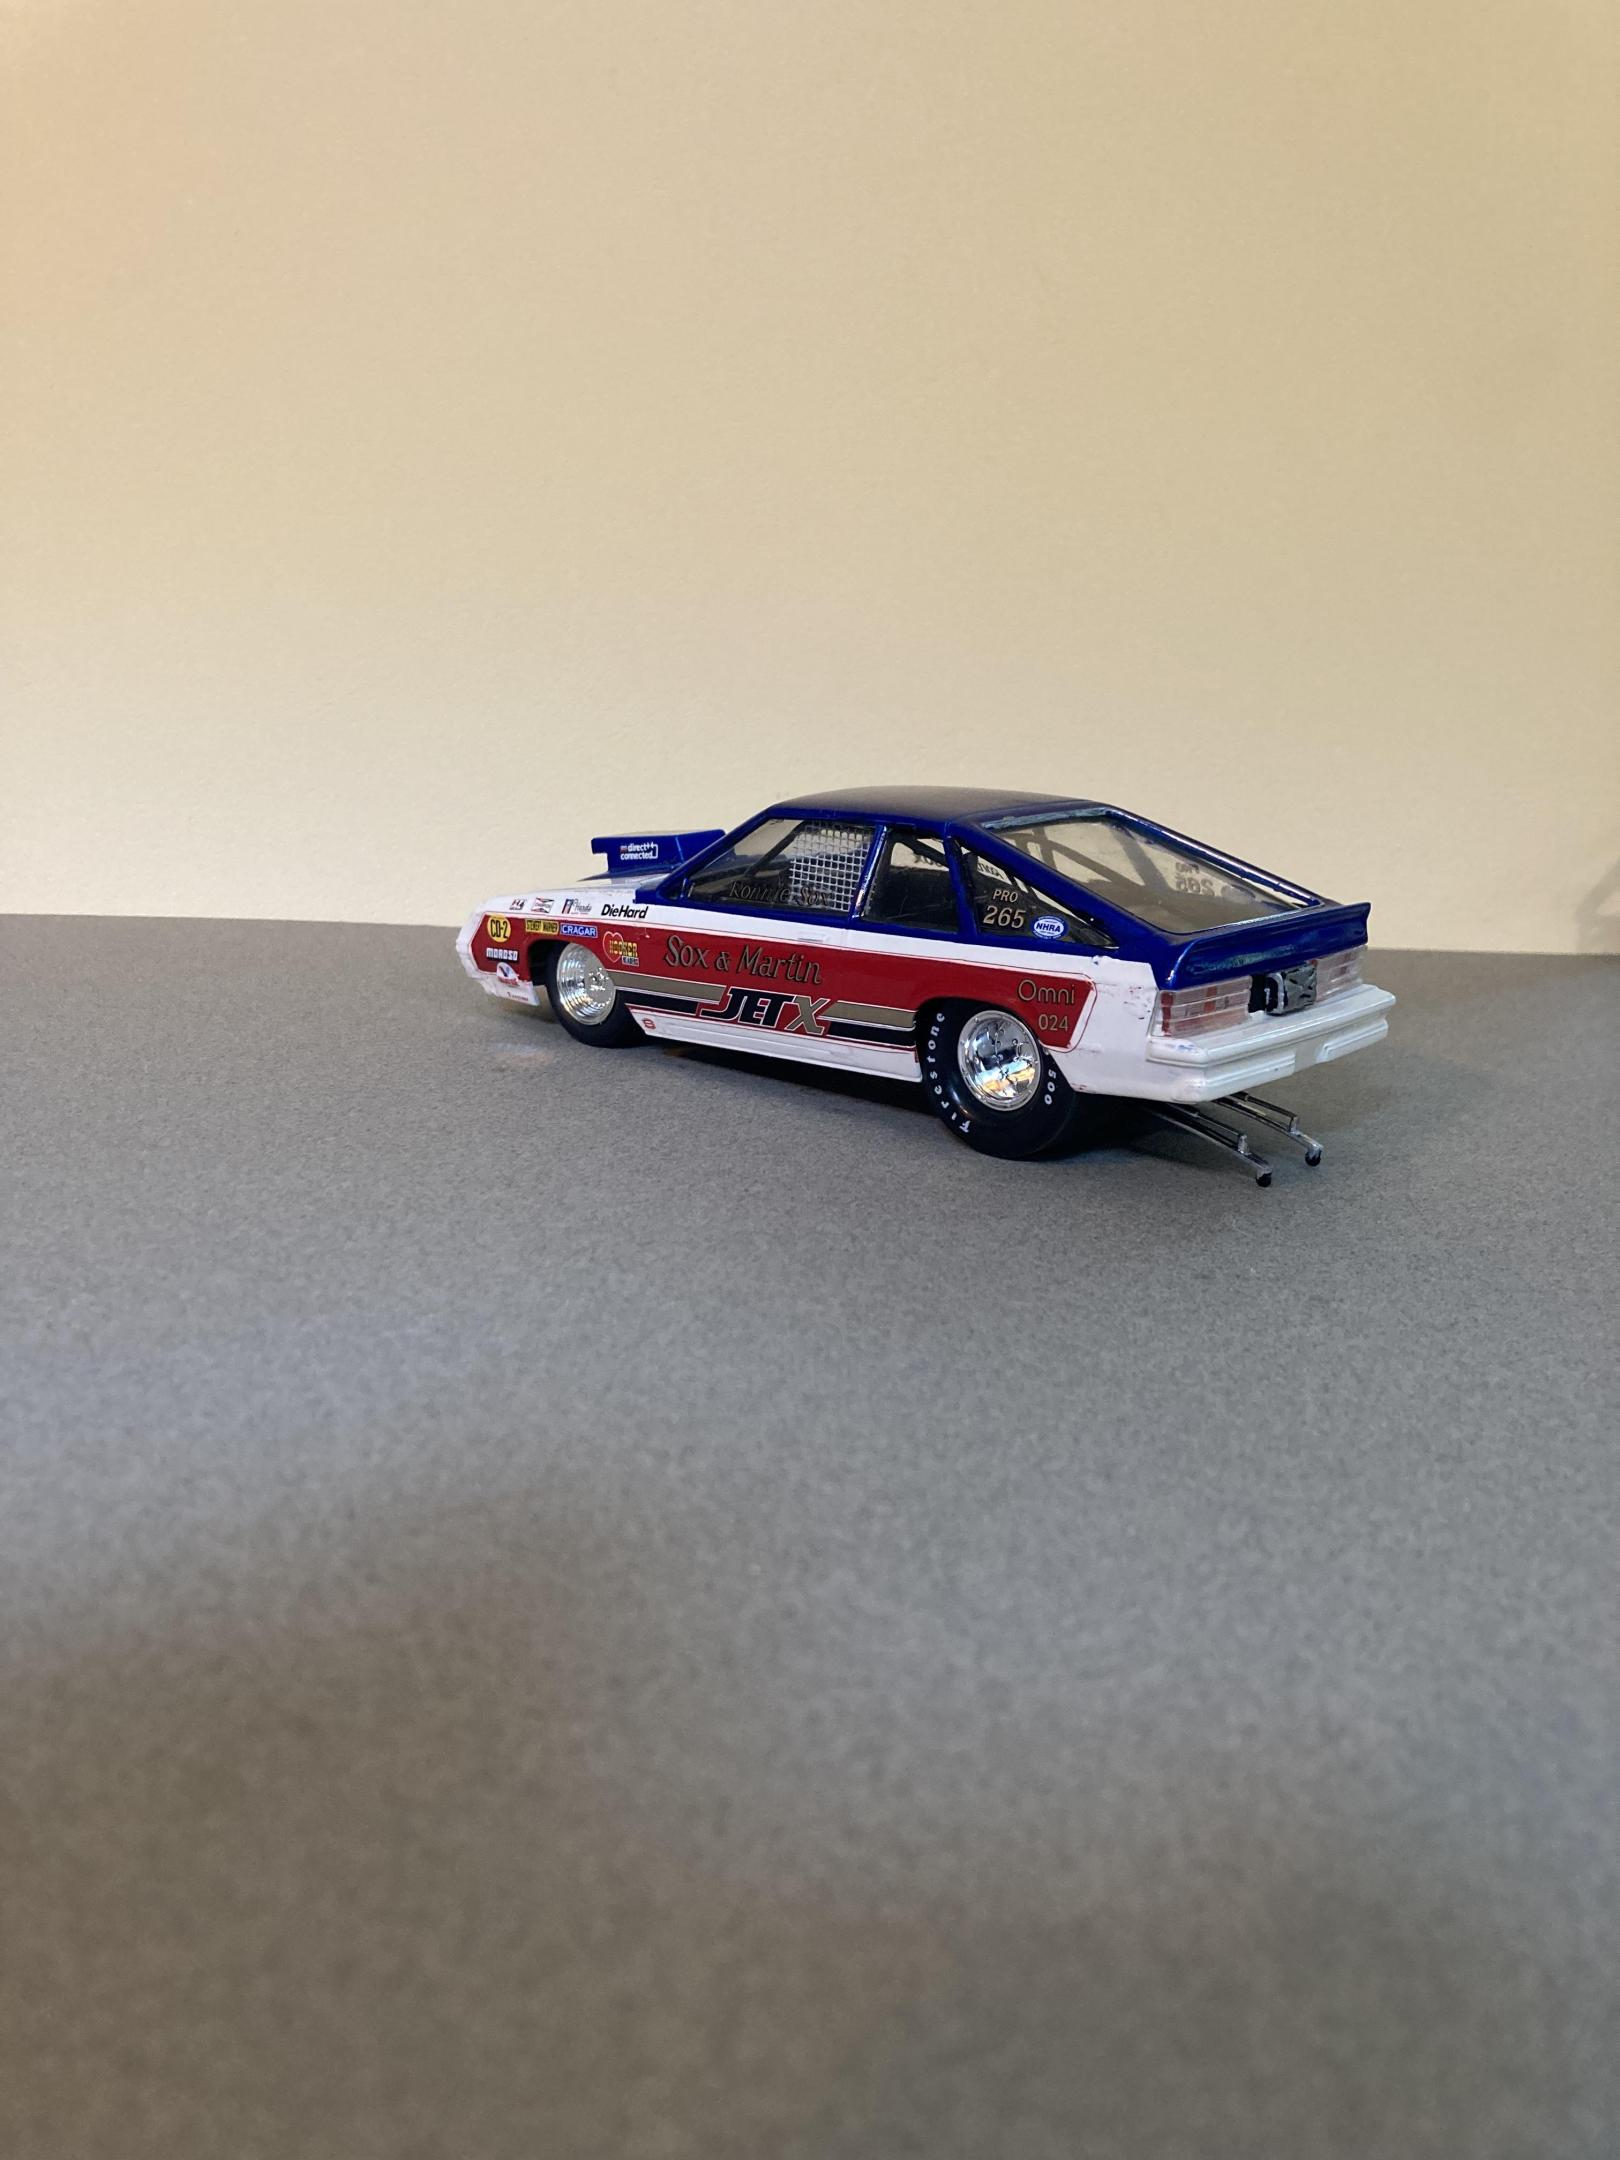
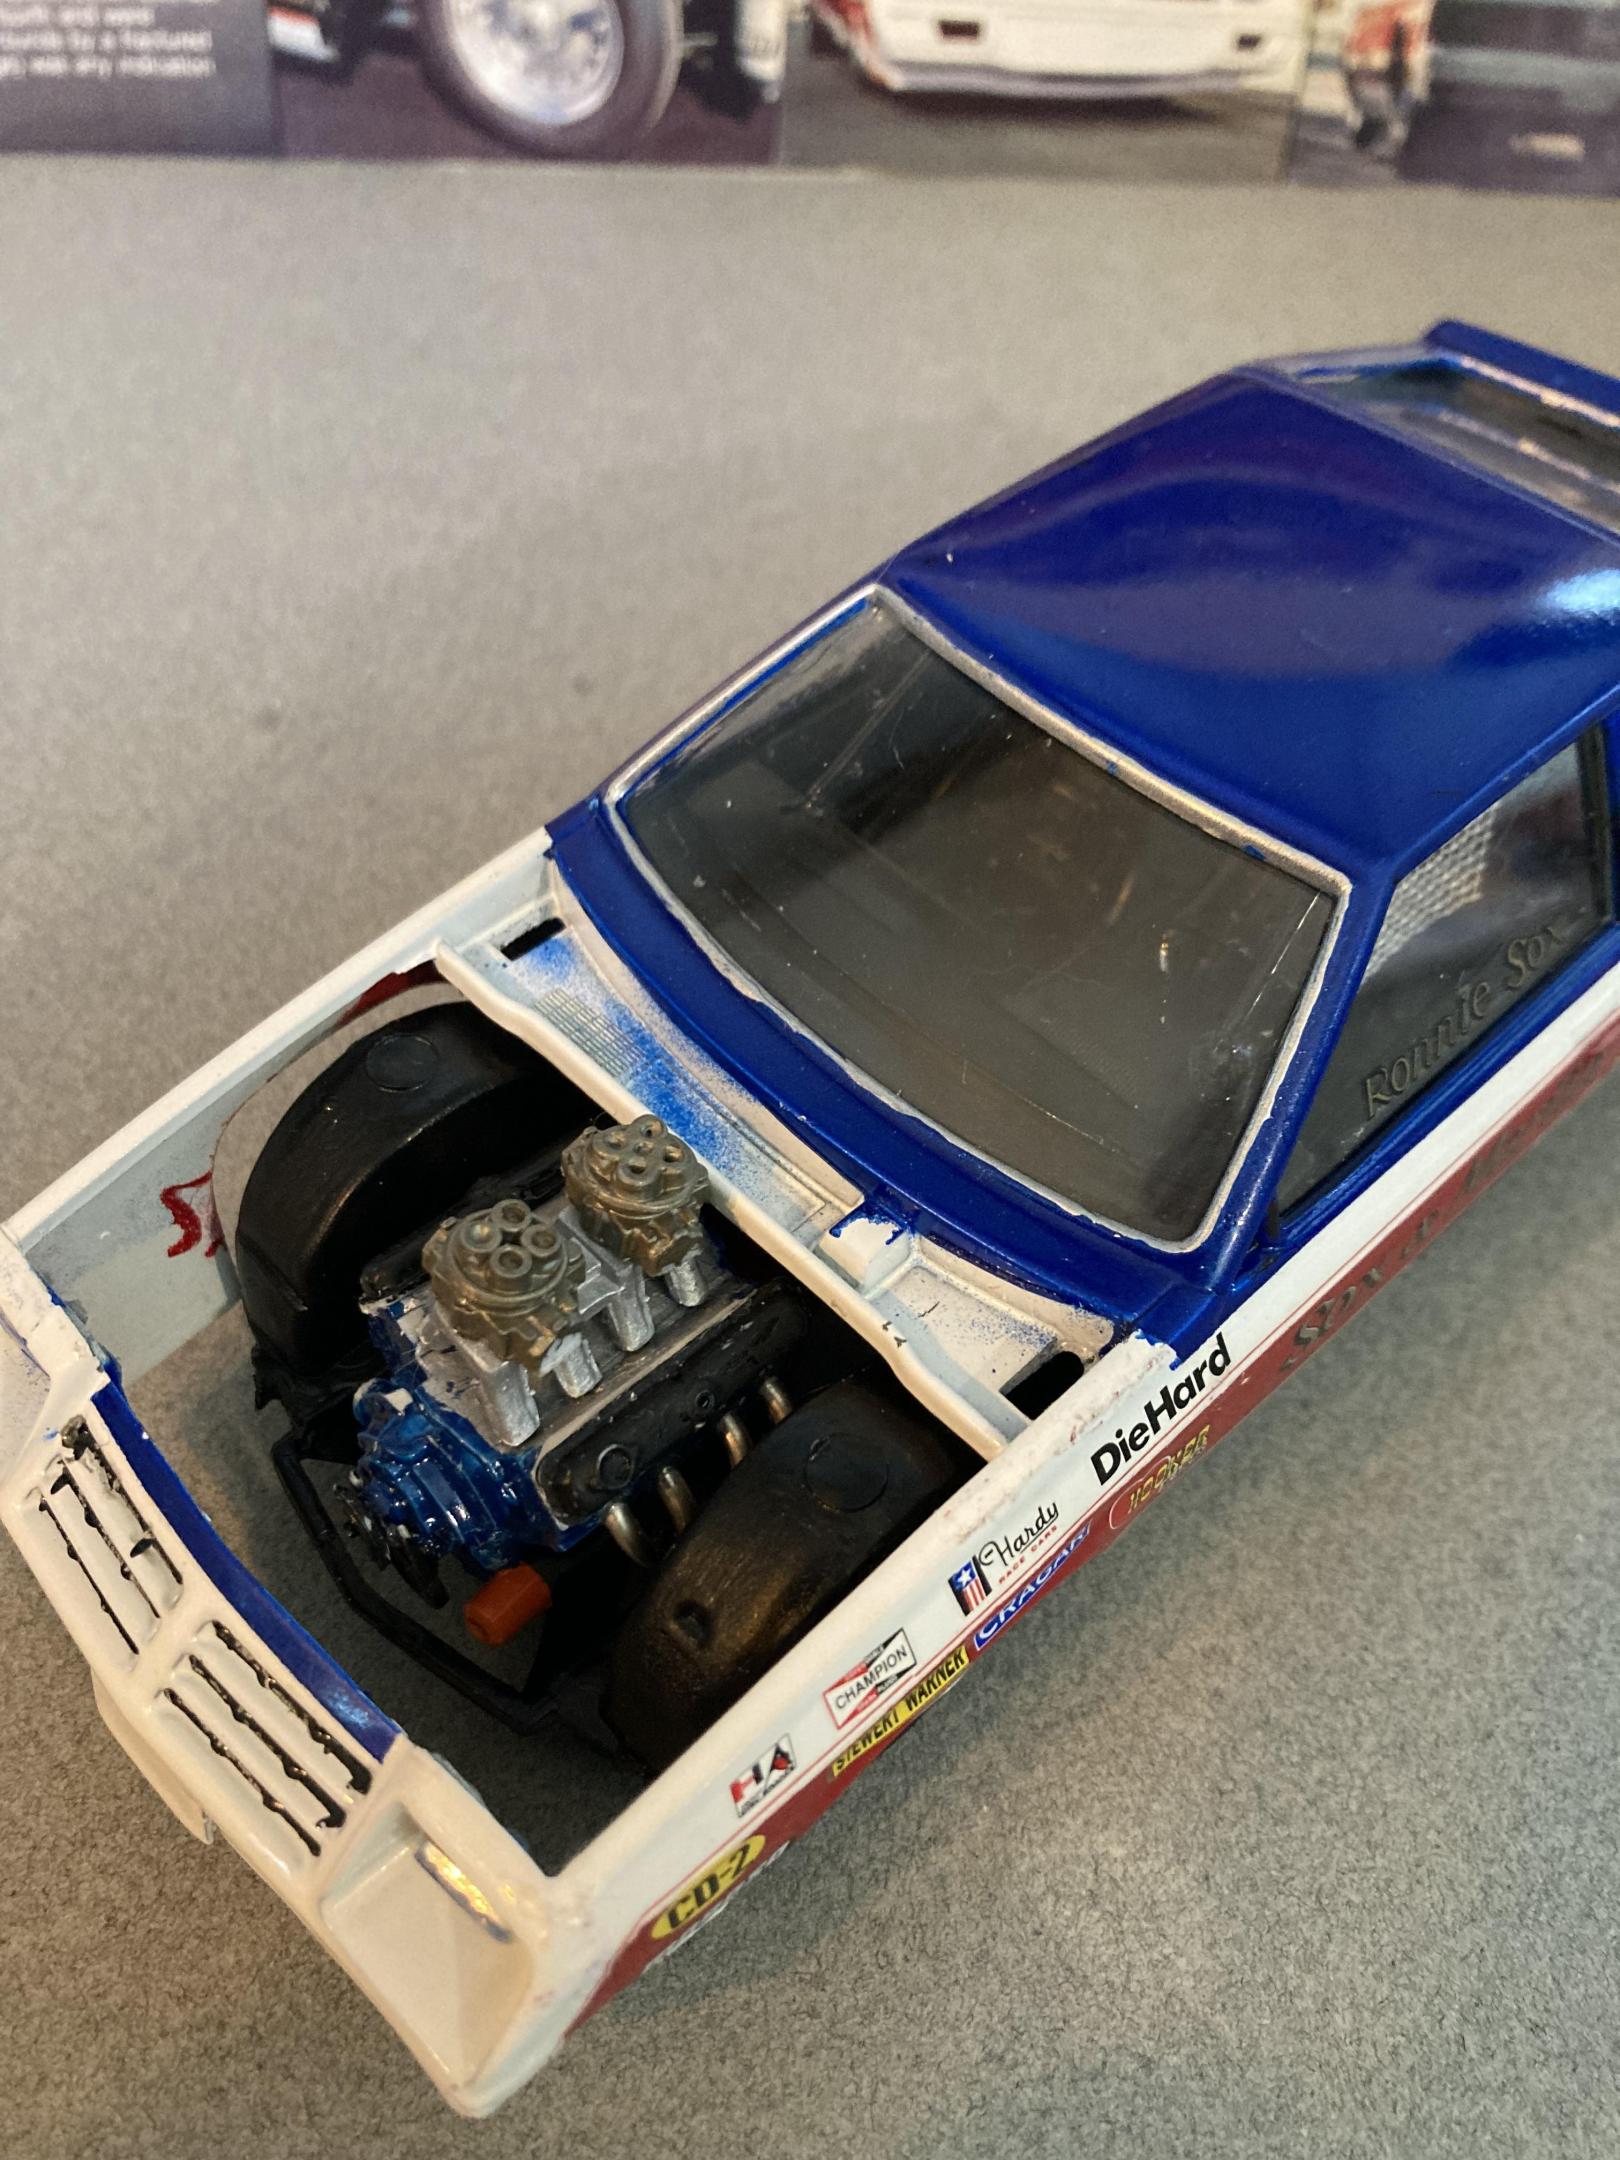
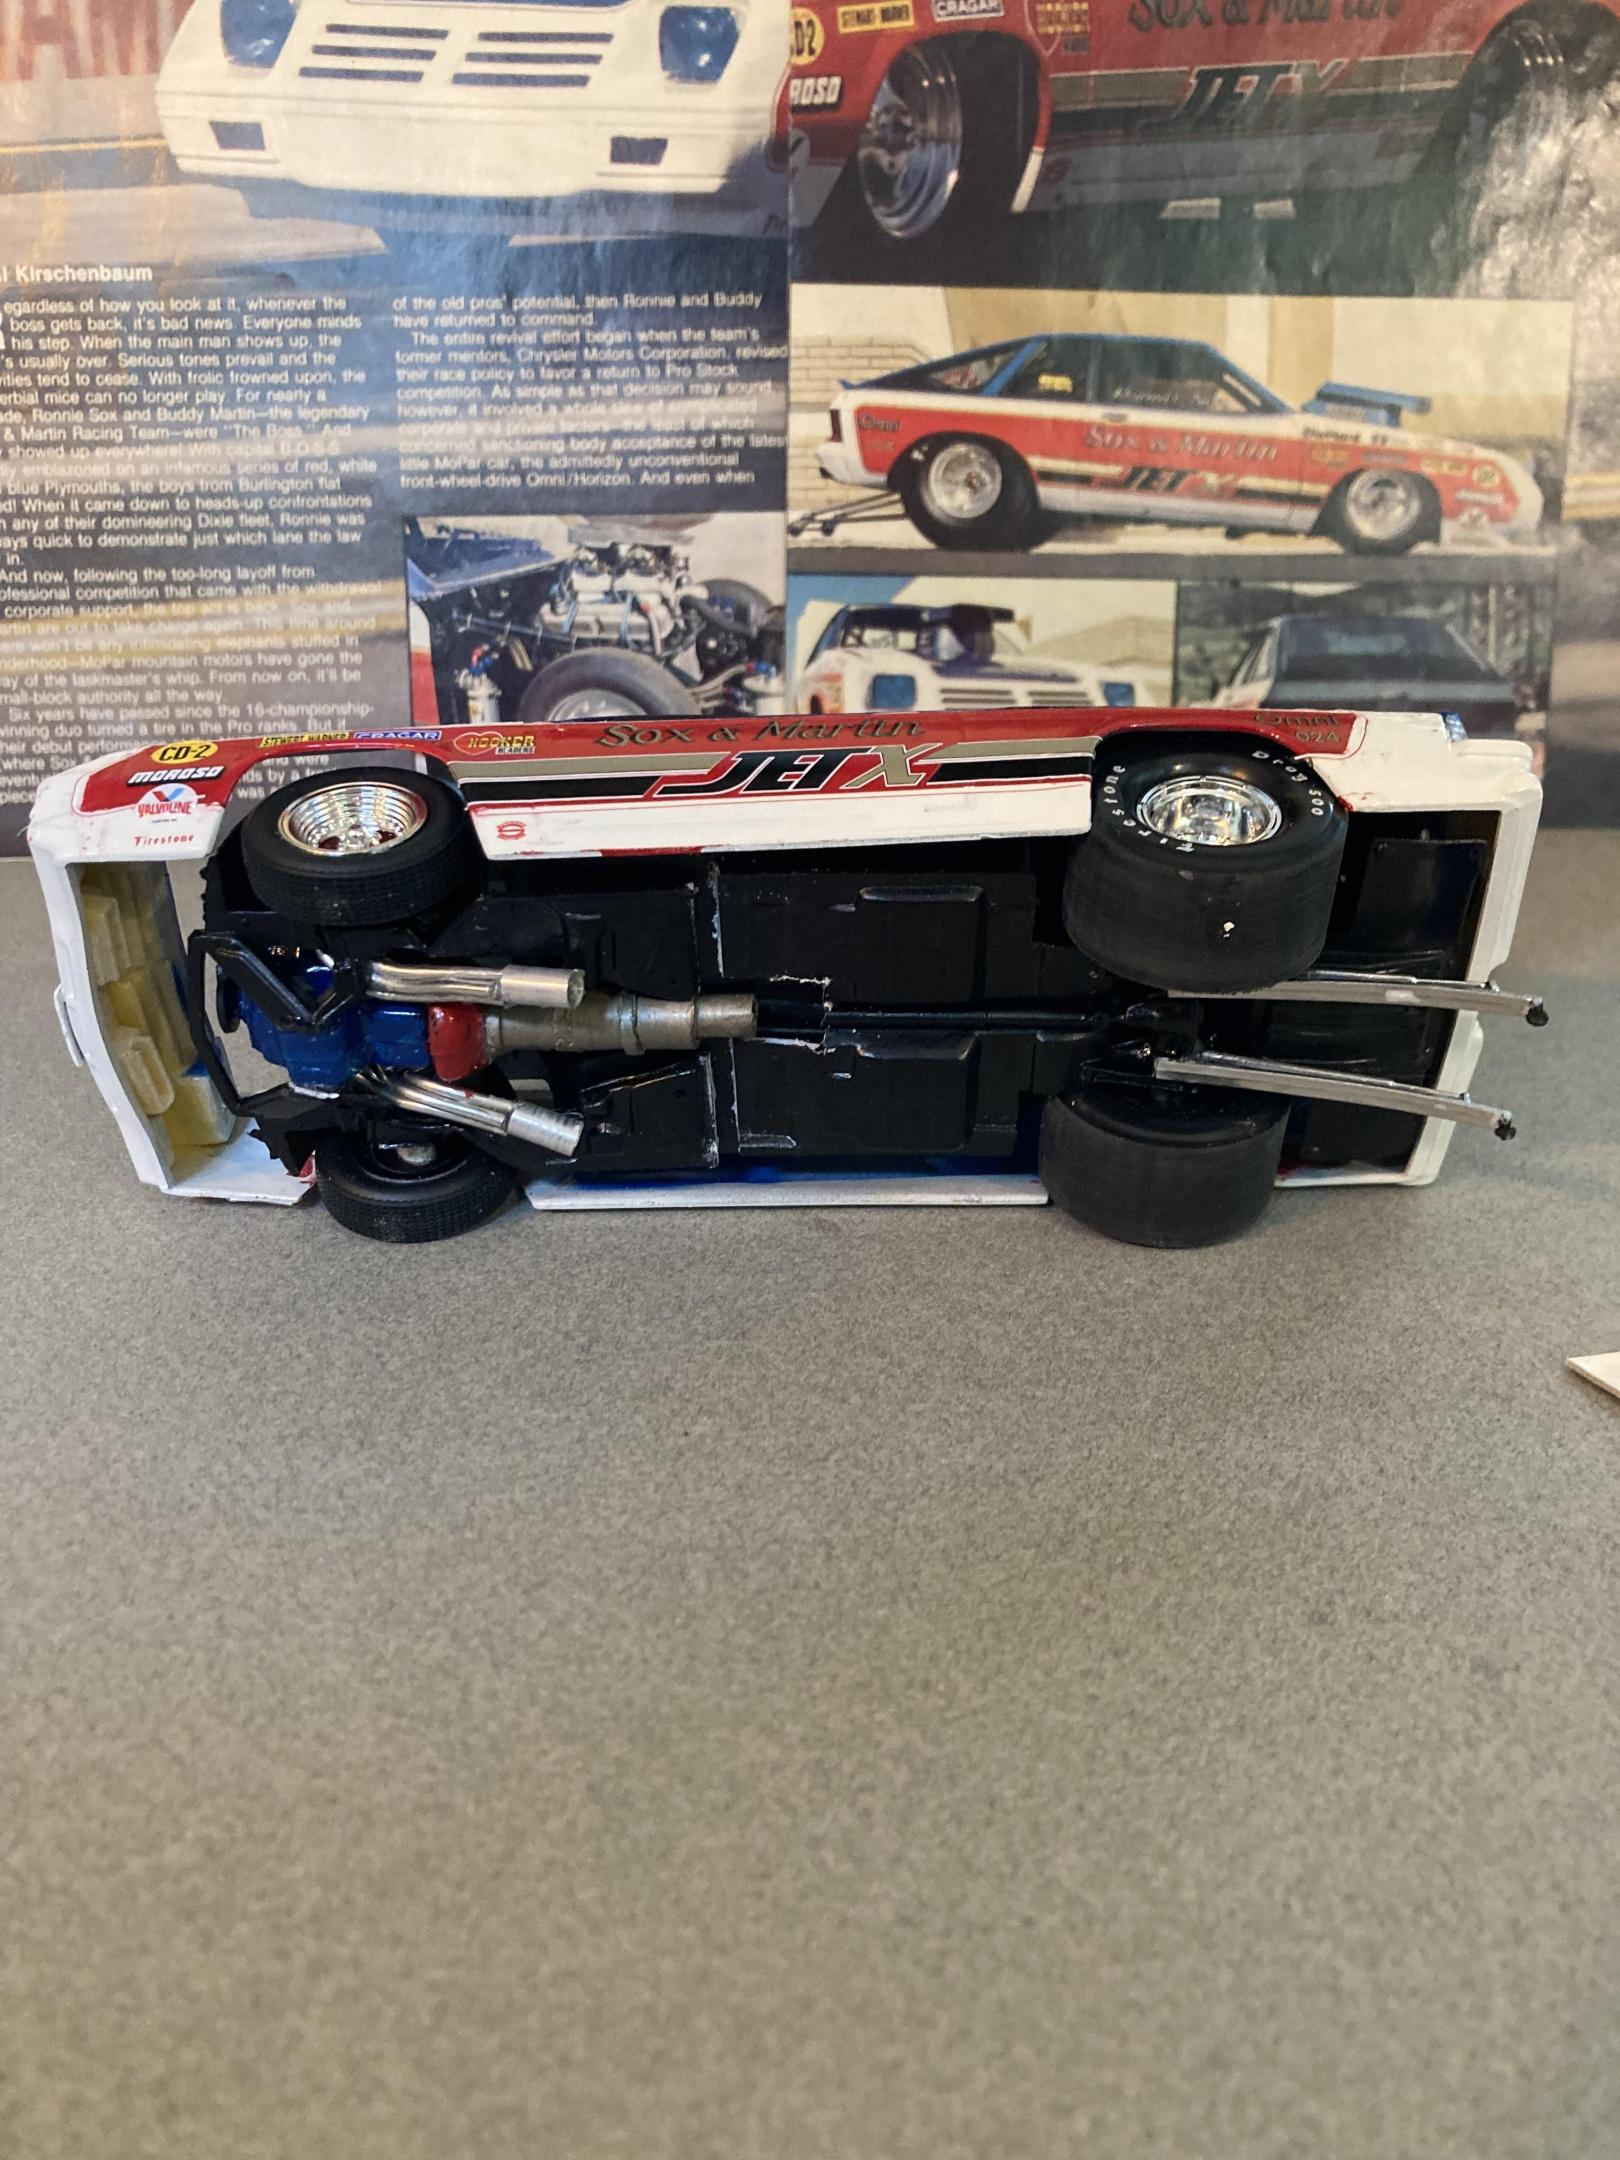
I built this from a combination of the monogram of snap kit that I found on eBay for real cheap. I used the interior and the chassis plate along with the wheels and tires from the grumpy’s toy pro stock Vega . I cobbled together a small block mopar engine from my parts box I also used the tunnel ram and carburetors from the grumpy Vega the headers are fabricated from sauder and aluminum tubing.The only body modifications made were cutting out the side window panels that were behind the door windows and adding a hood scoop also from the grumpy Vega donor kit .the chassis plate also had to be cut and shortened I made the window net from some old window screen.At some point it the future I will have to go back and add the radiator . I gave it a testors paint job of white and red enamel with star spangled blue lacquer all topped off with wet look clear. The decals came from slixx. Overall this was a very easy kit bash project Until next time thanks for looking, Mike
-
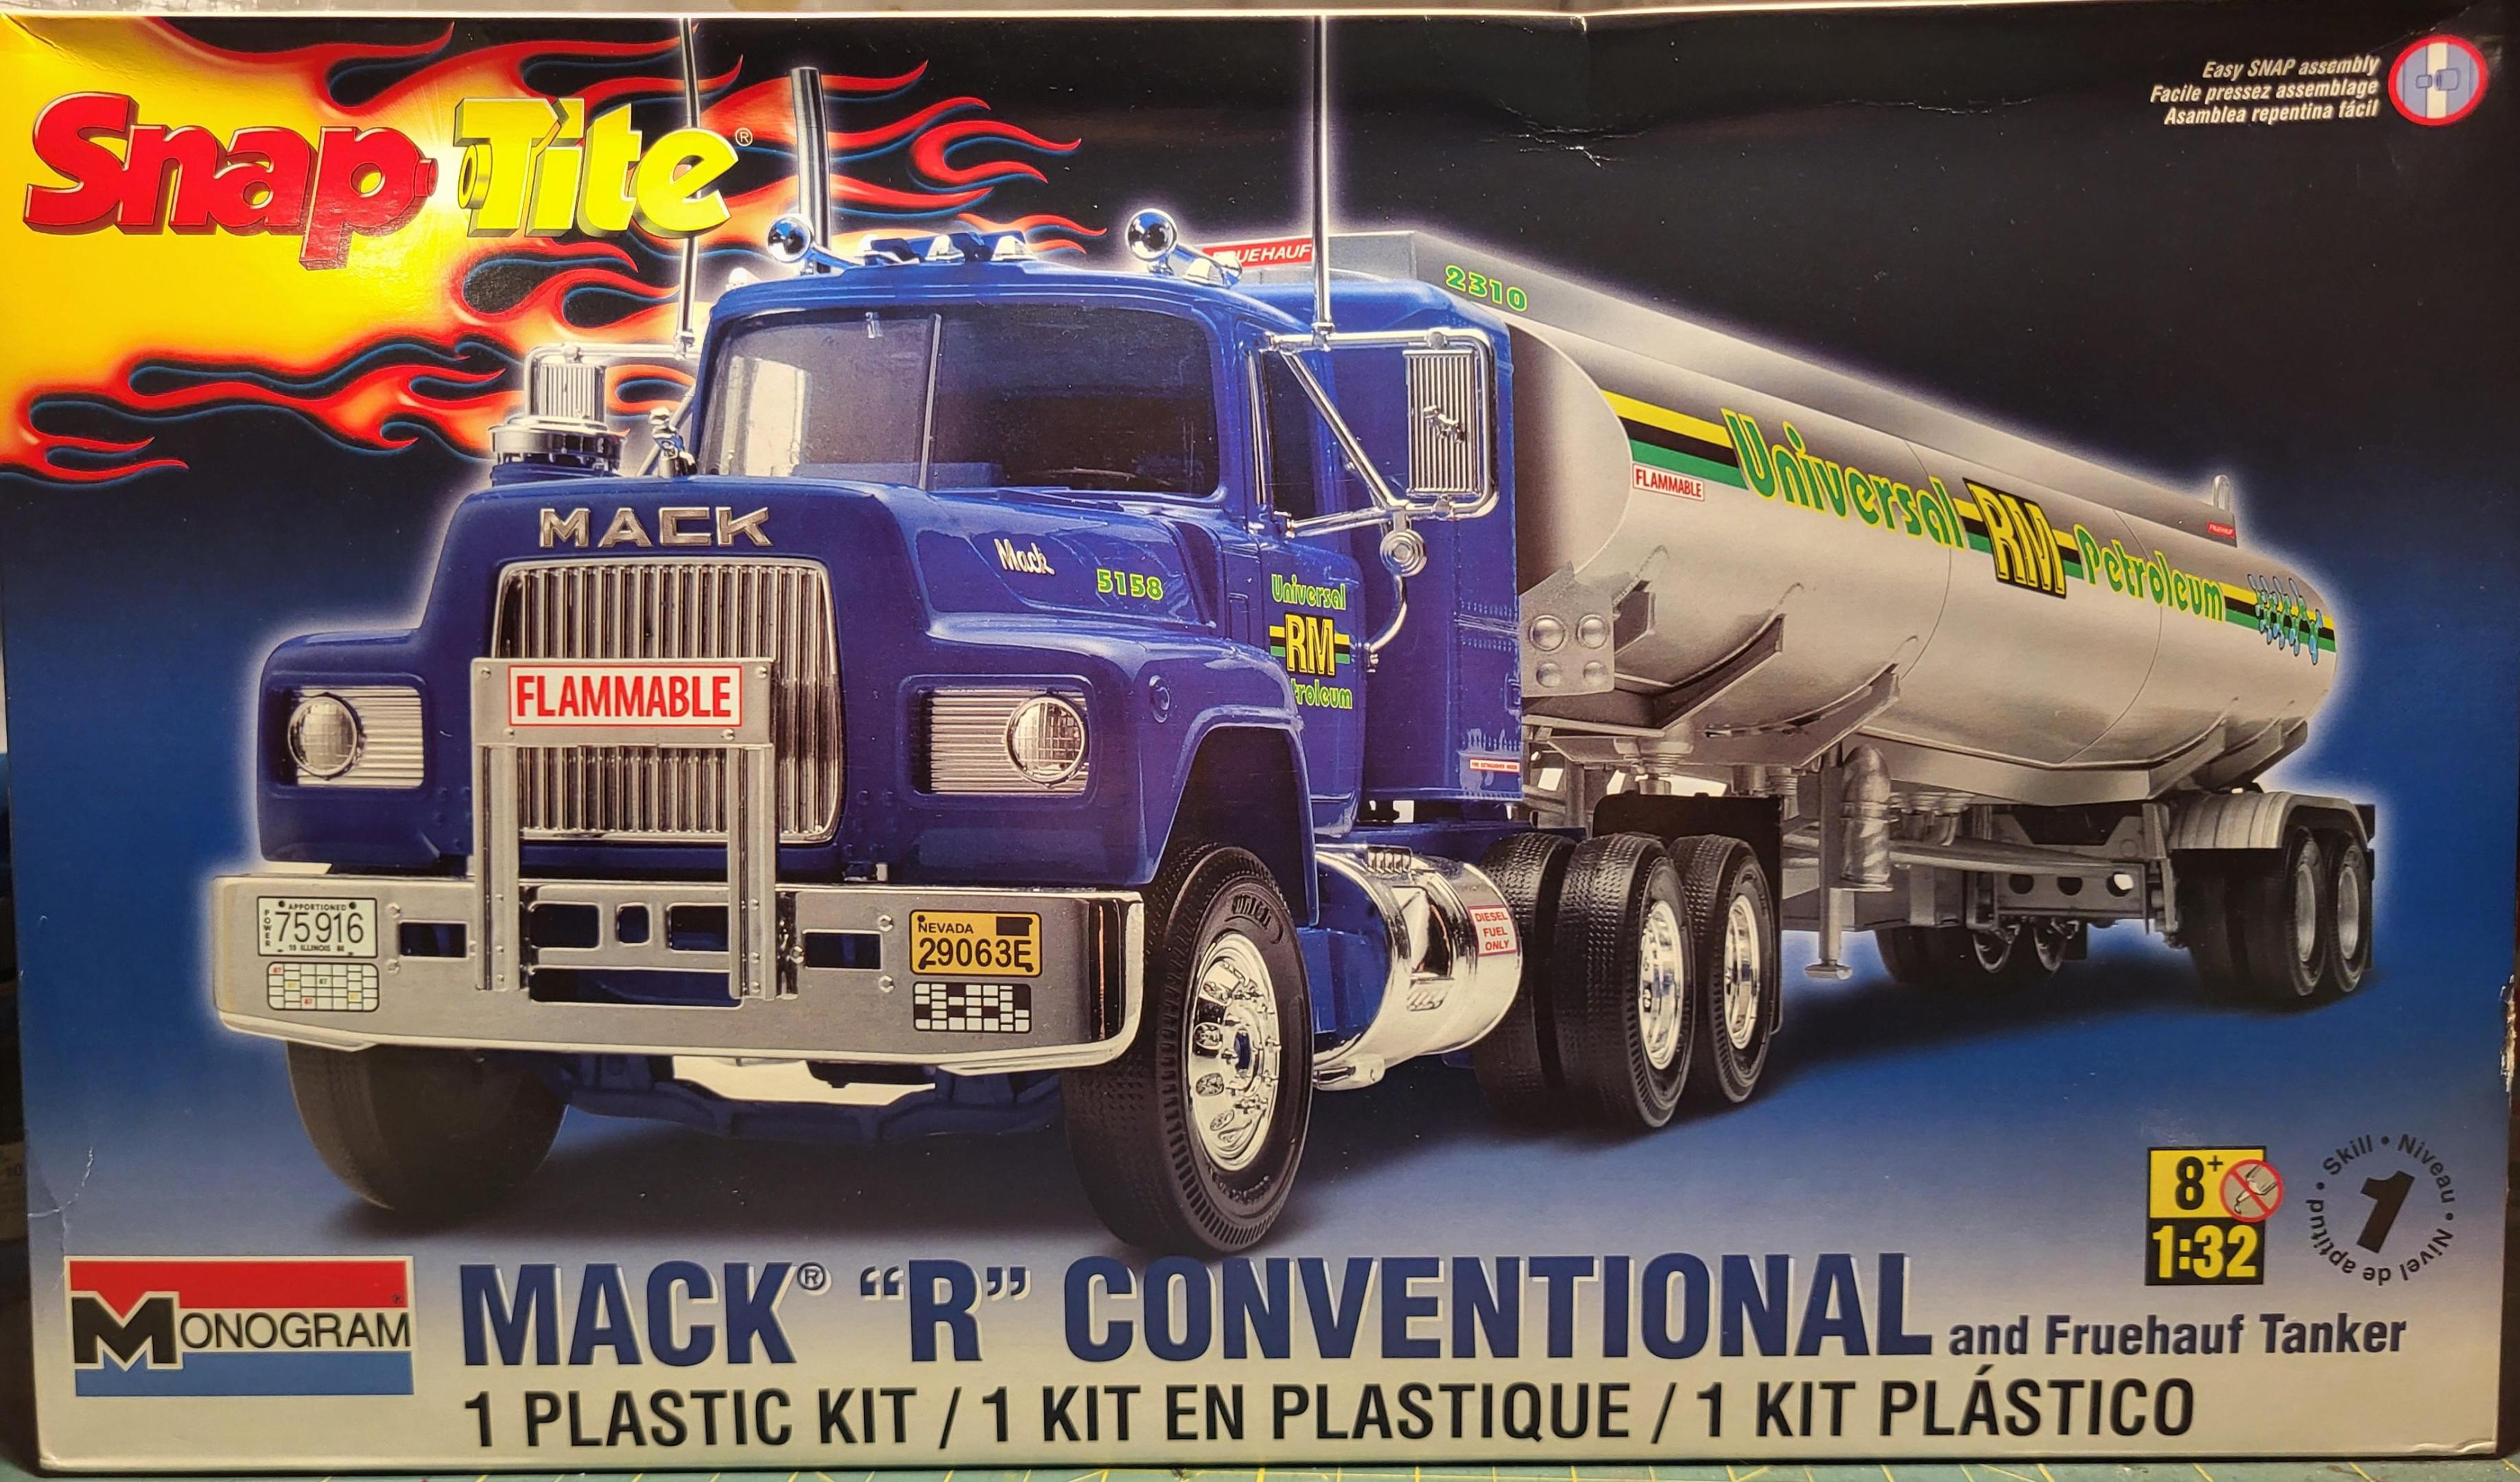
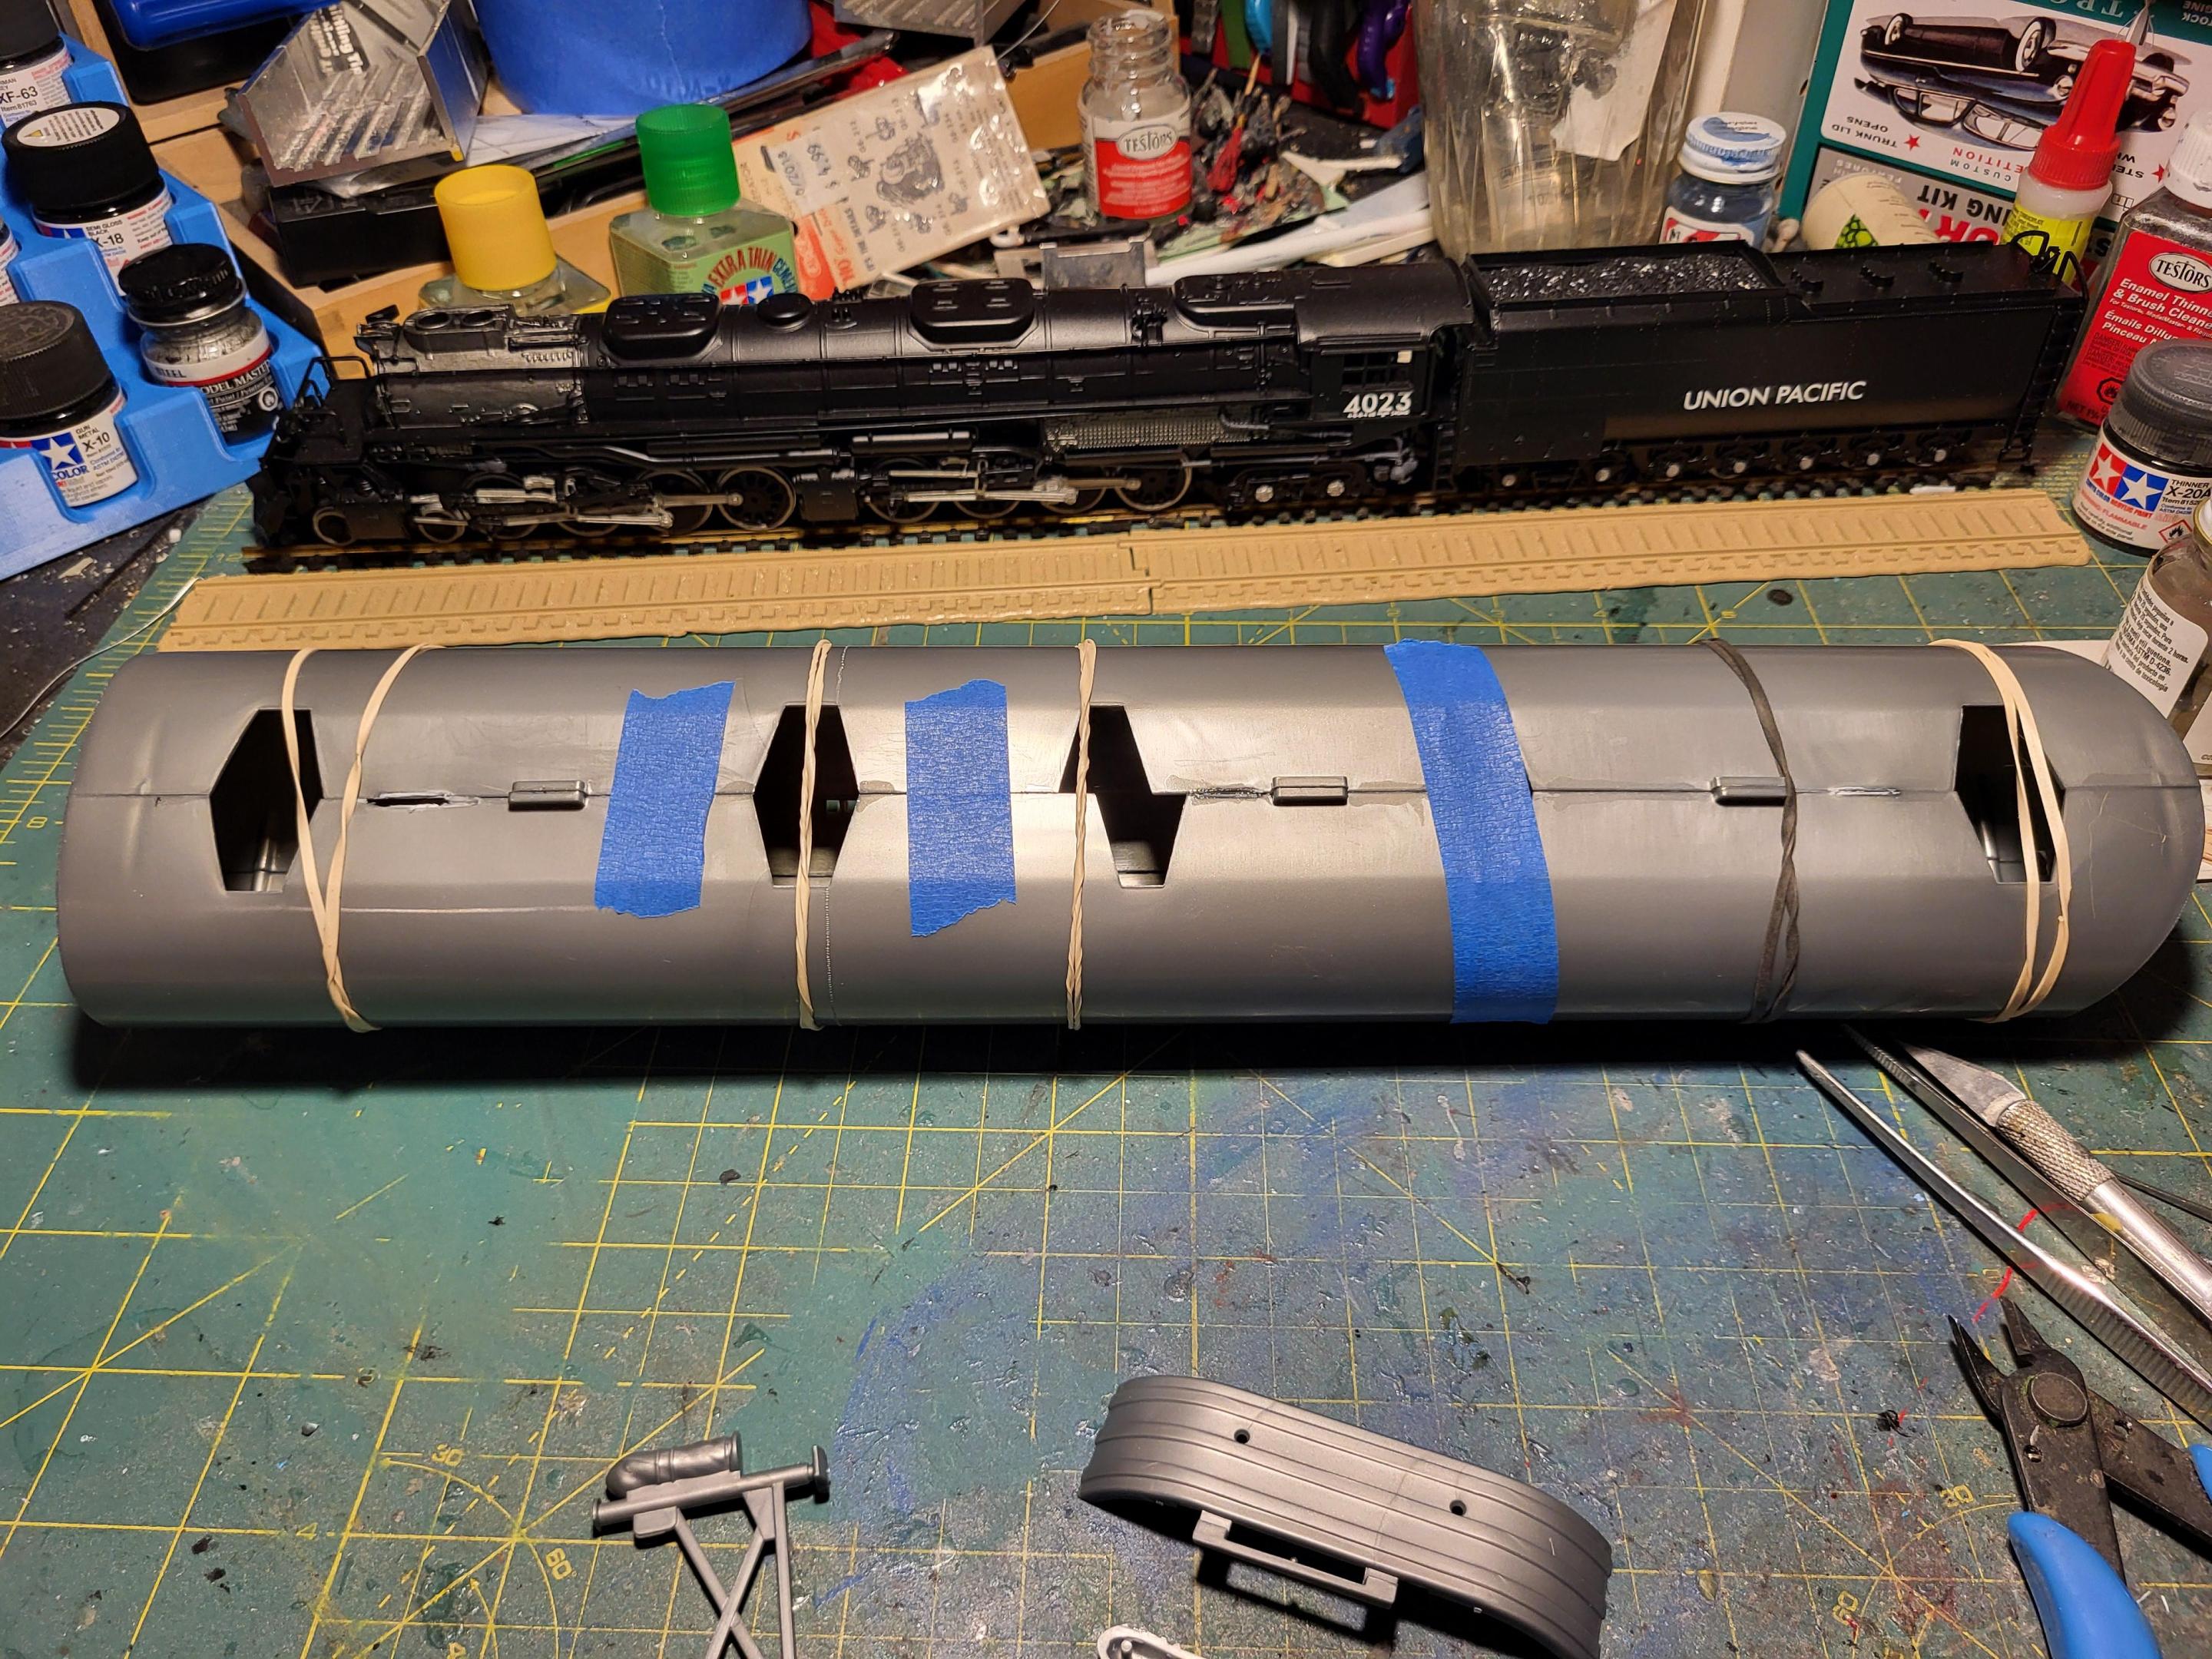
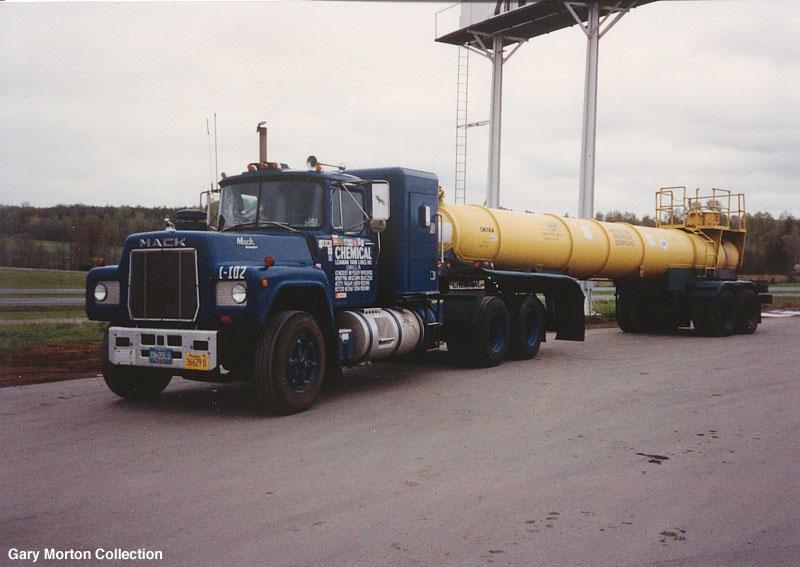
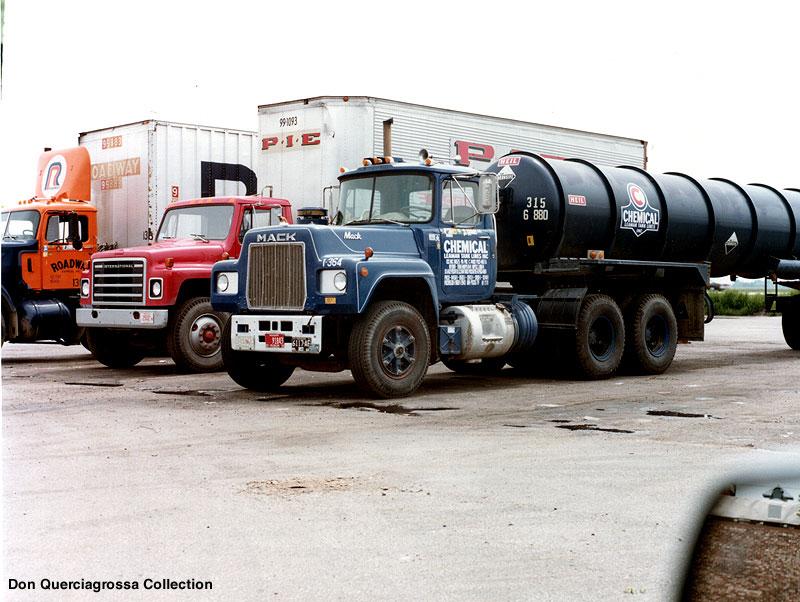
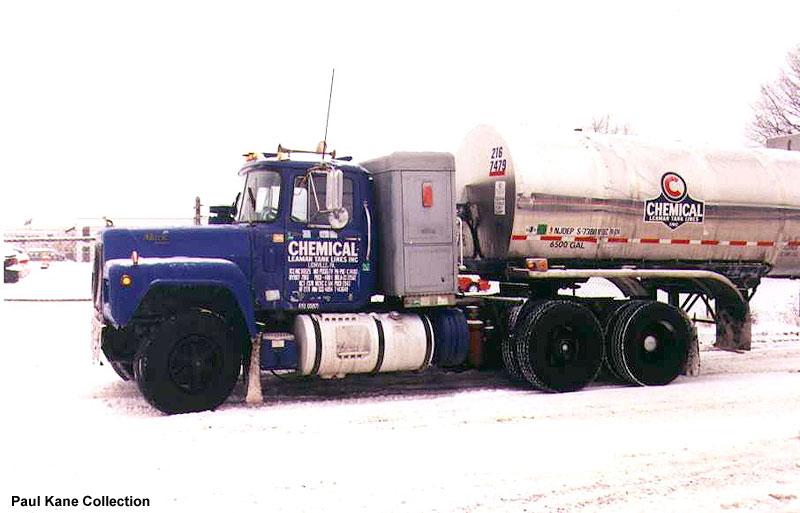
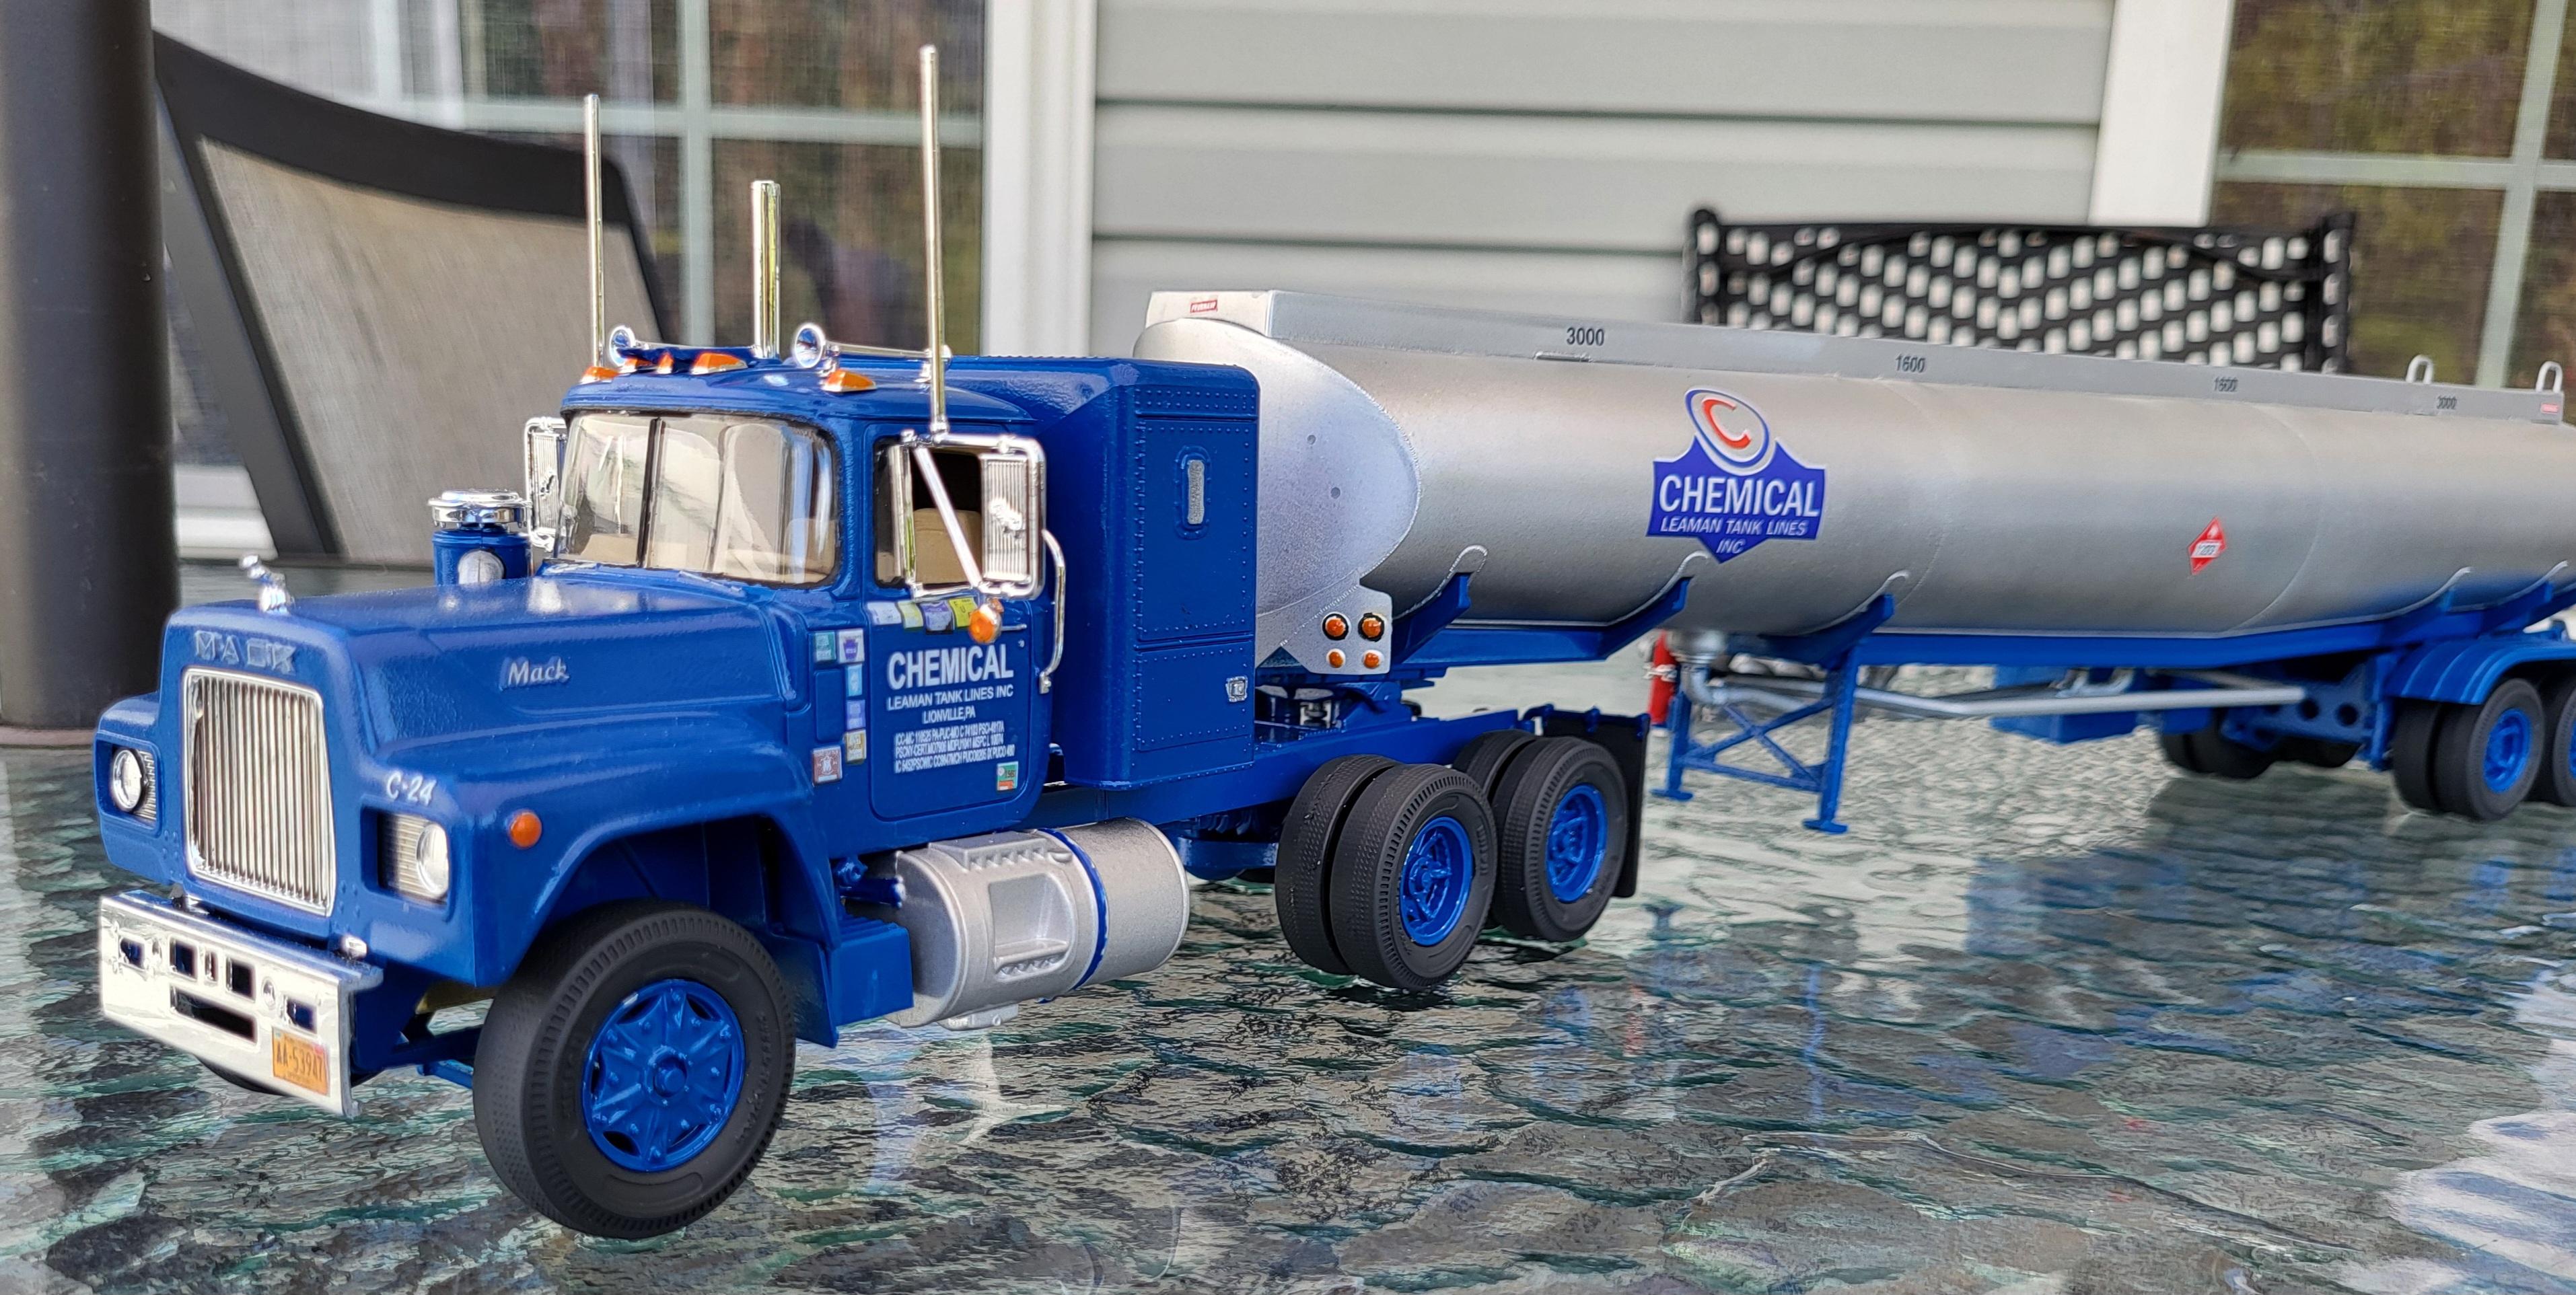
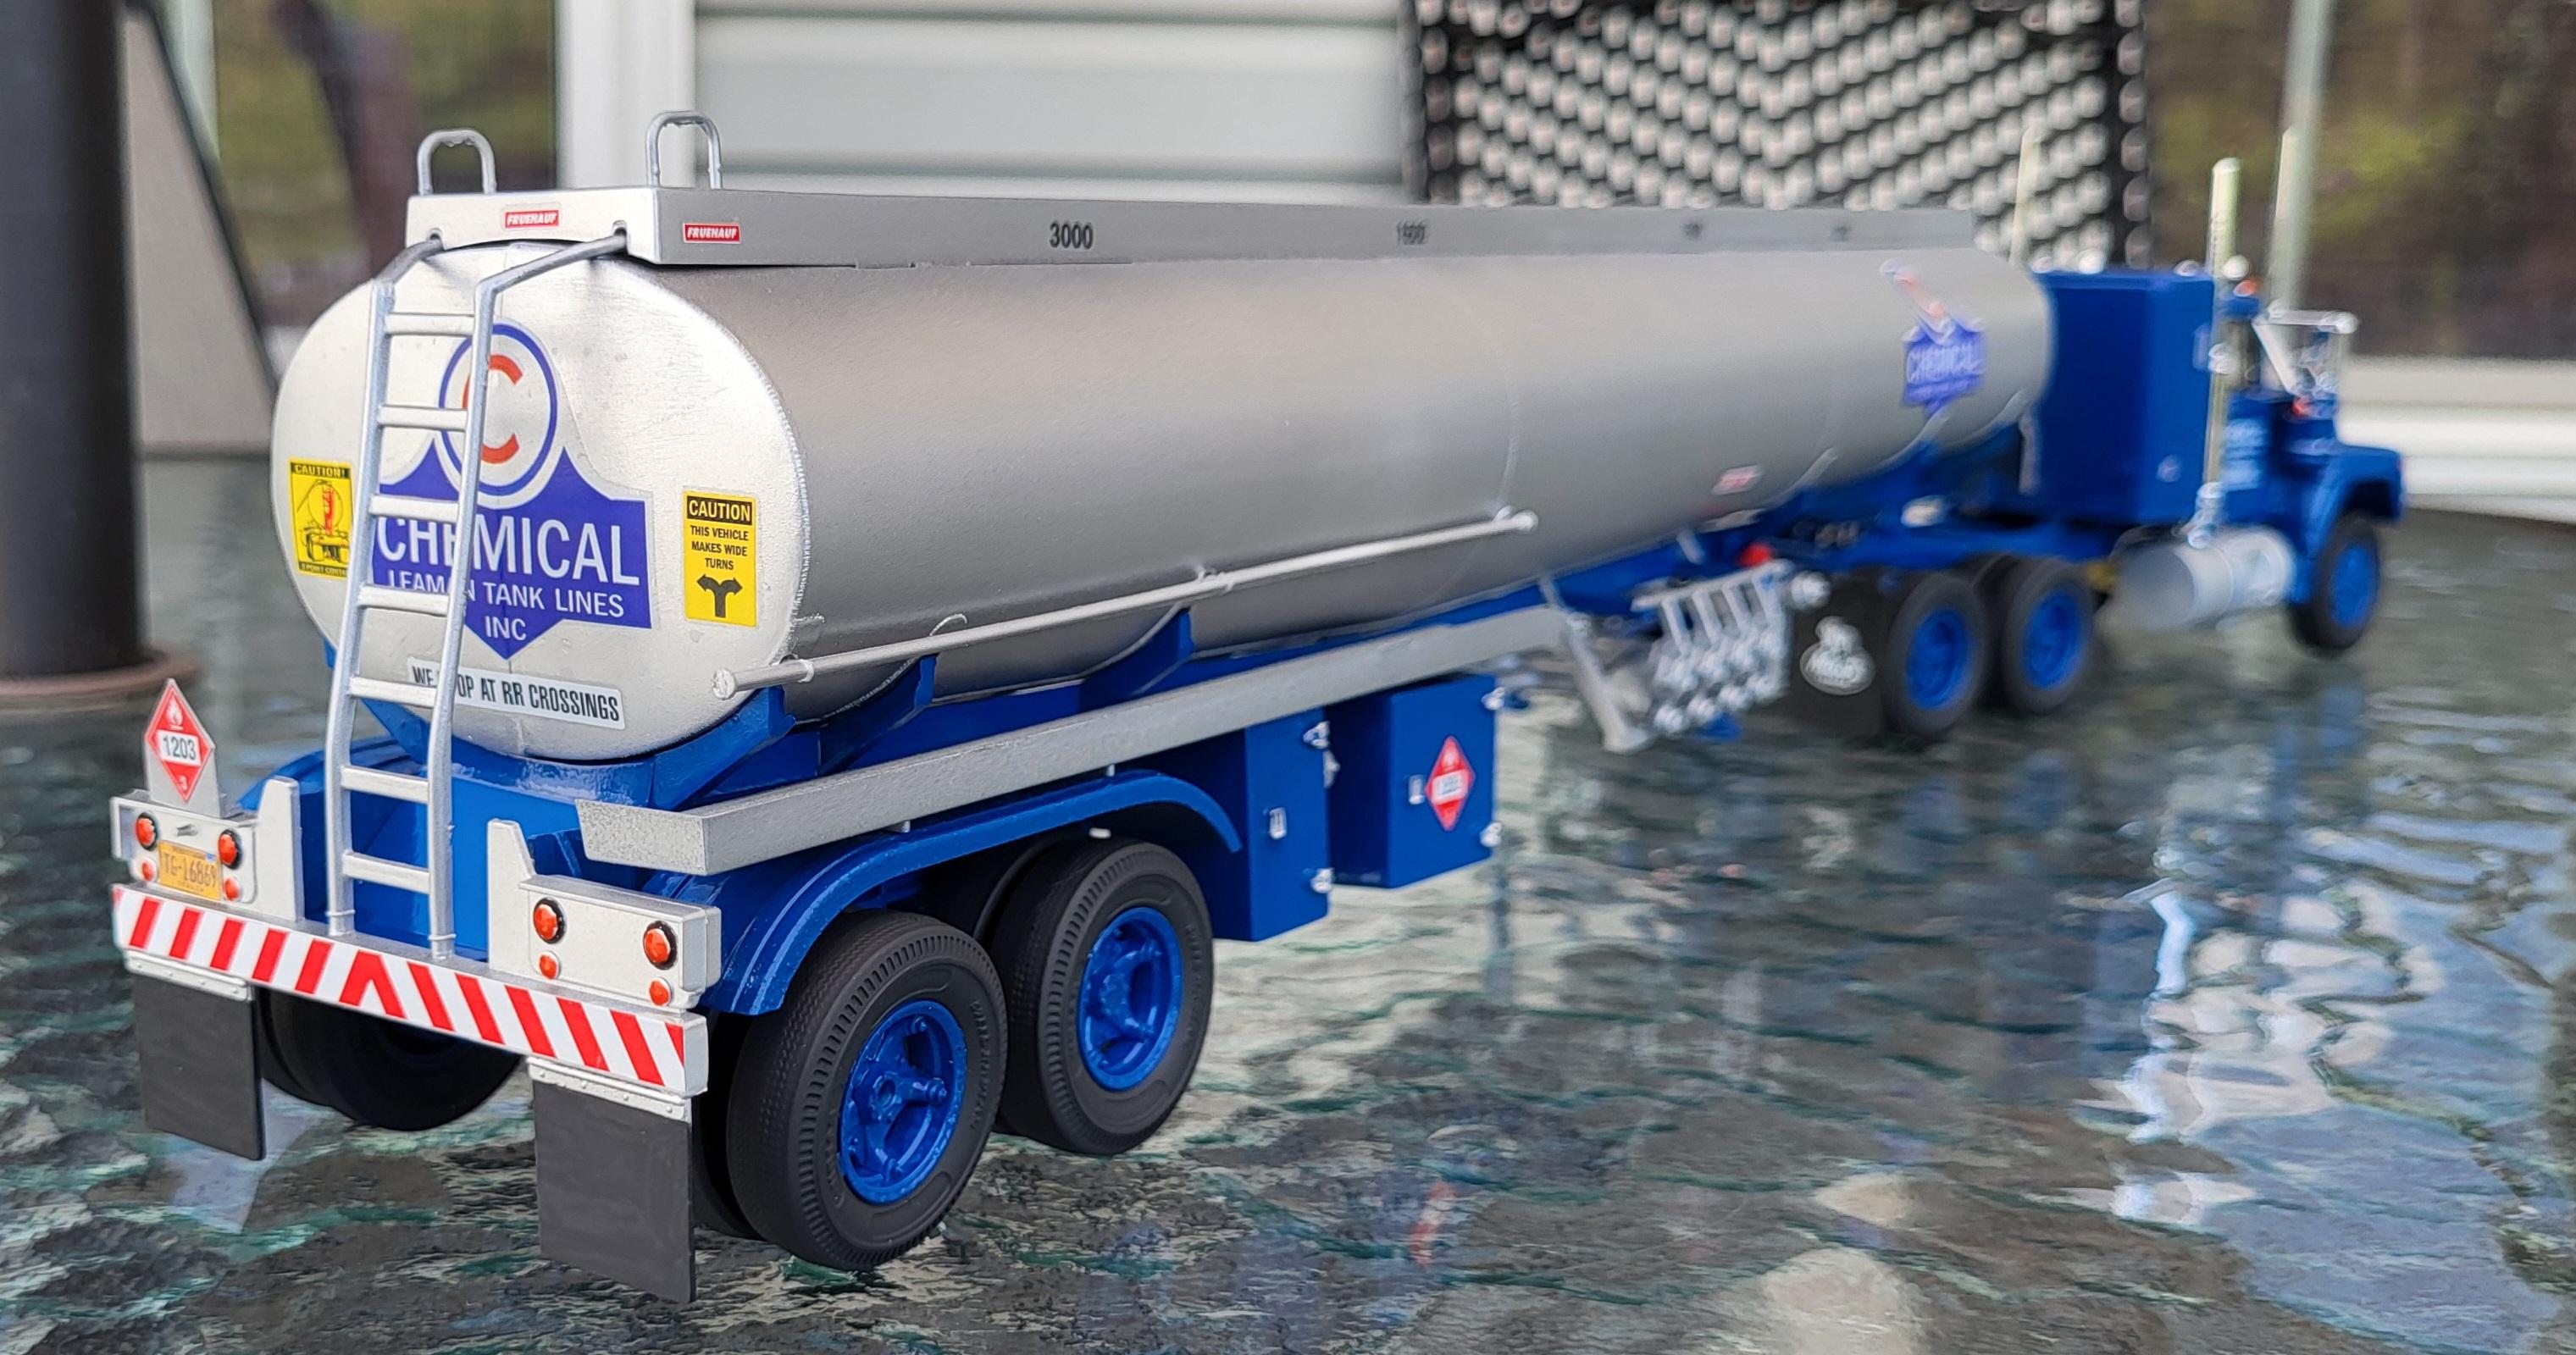
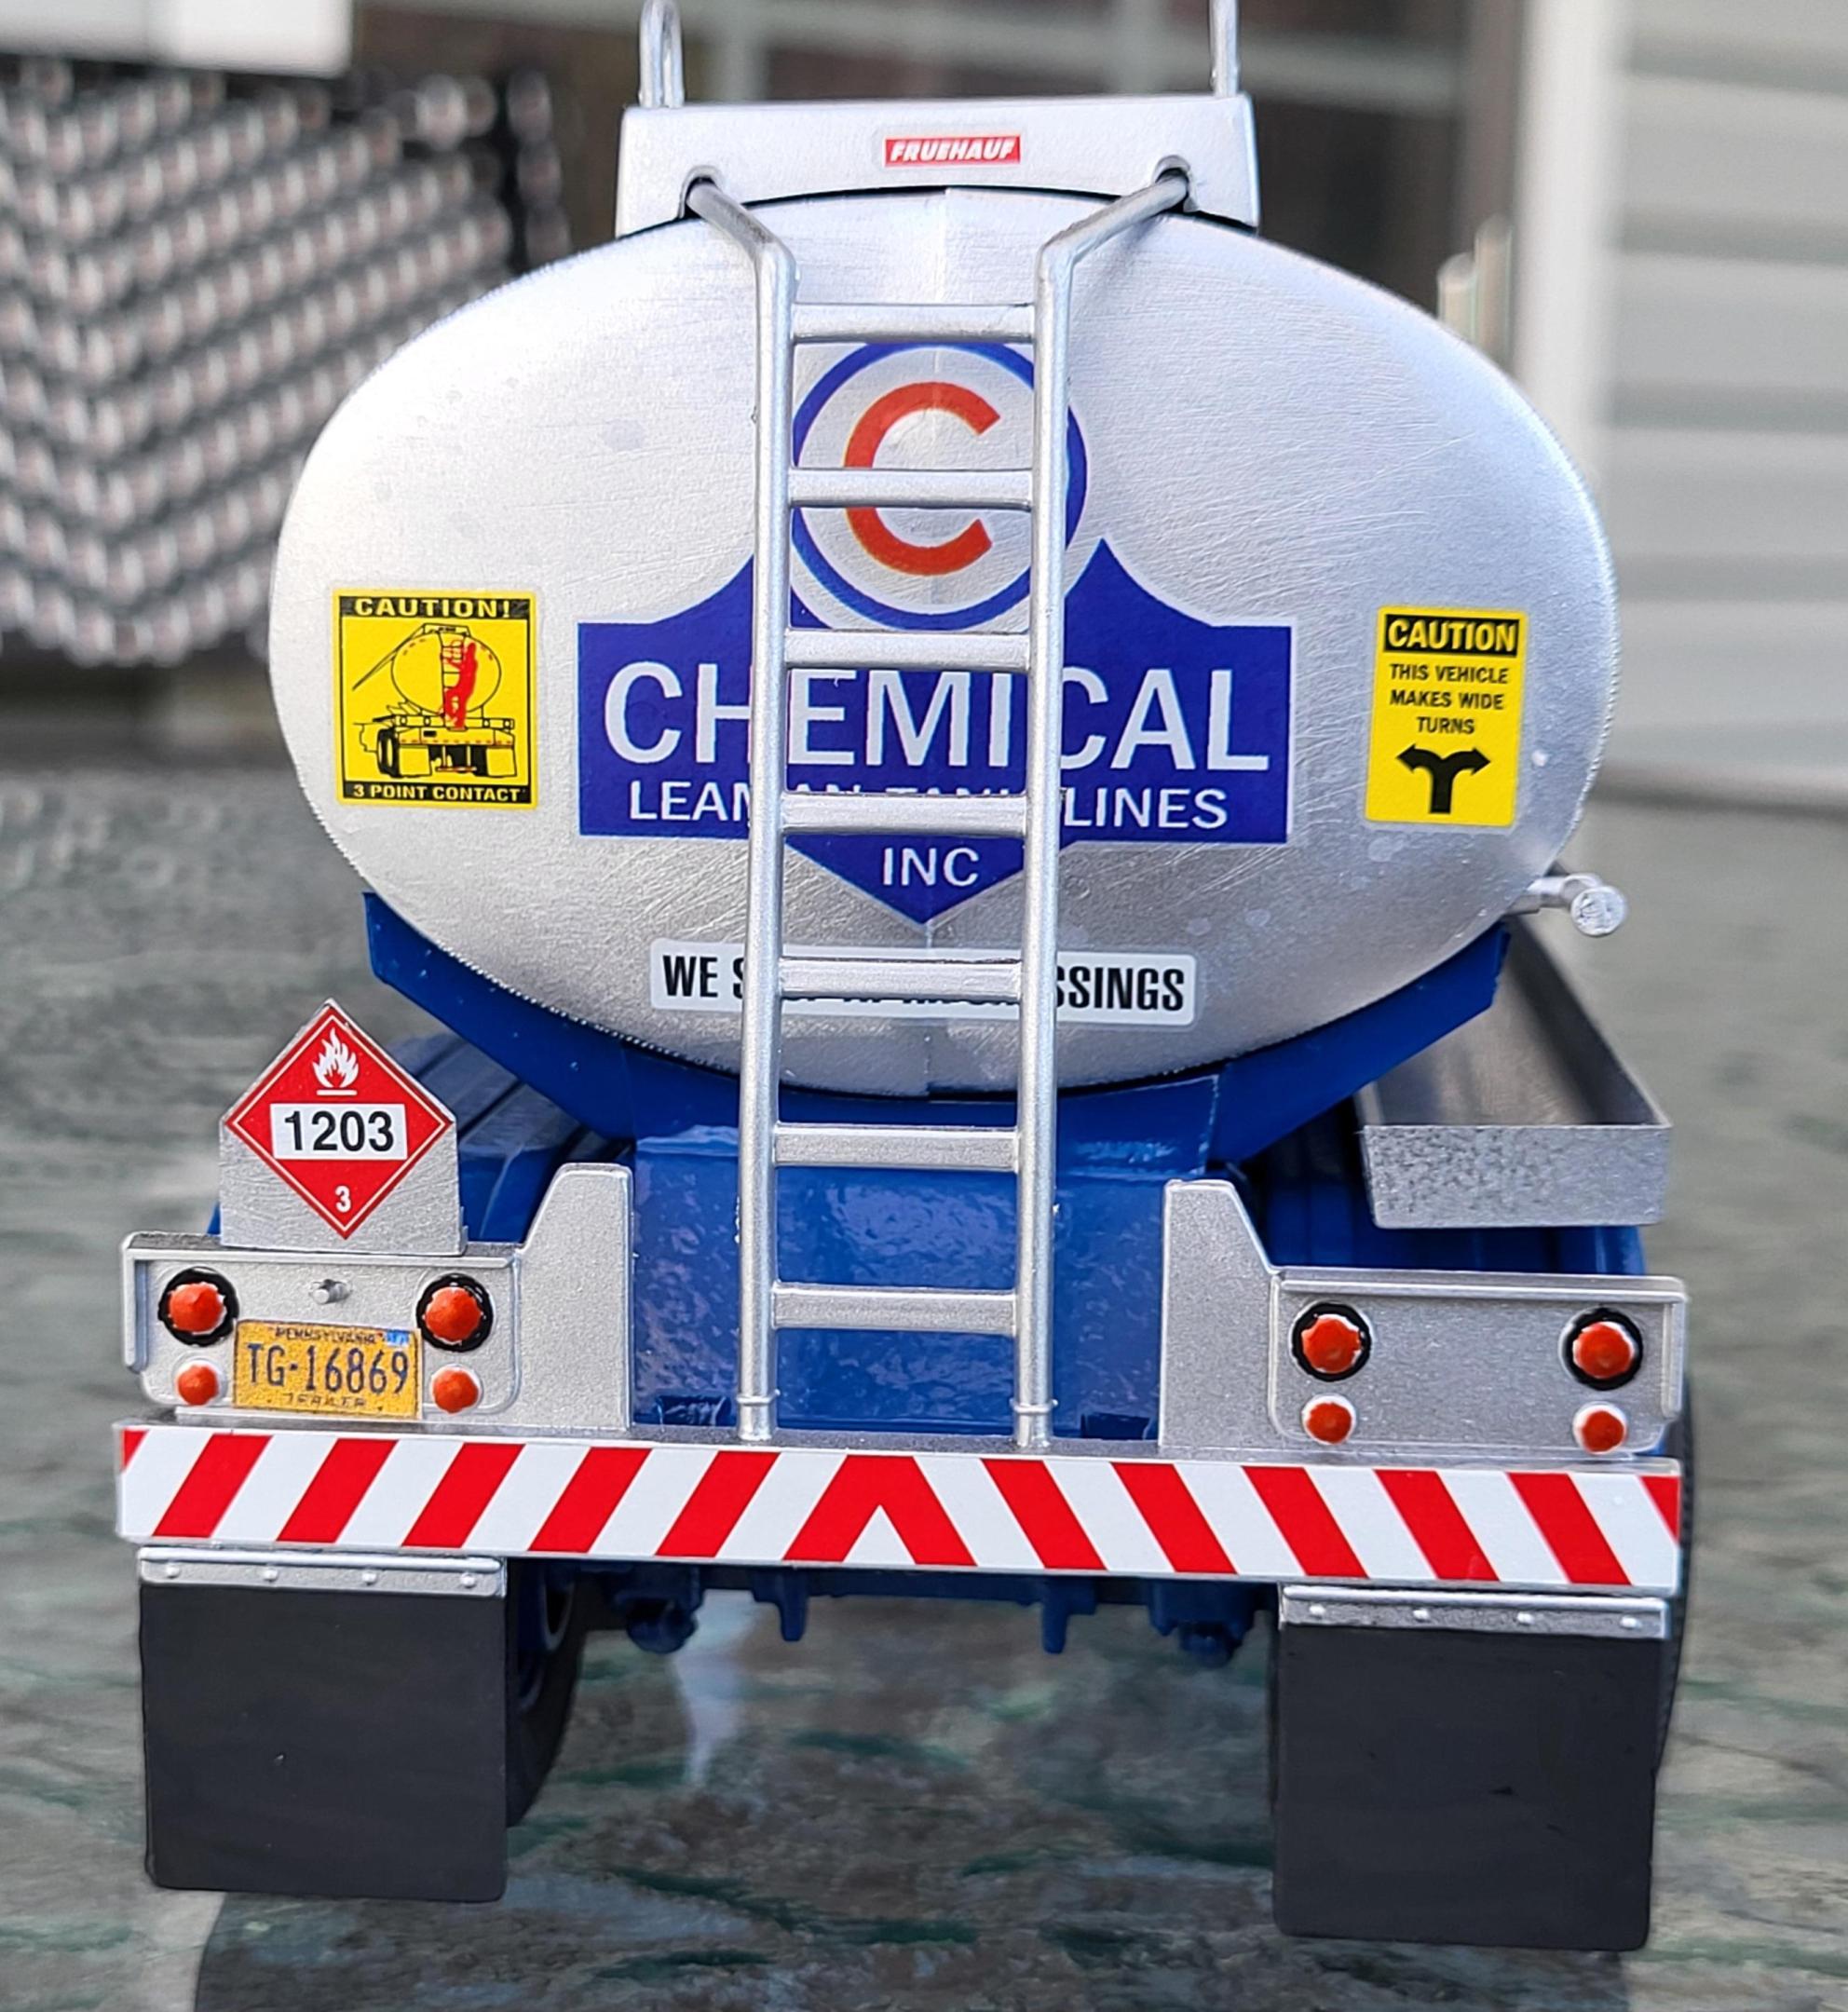
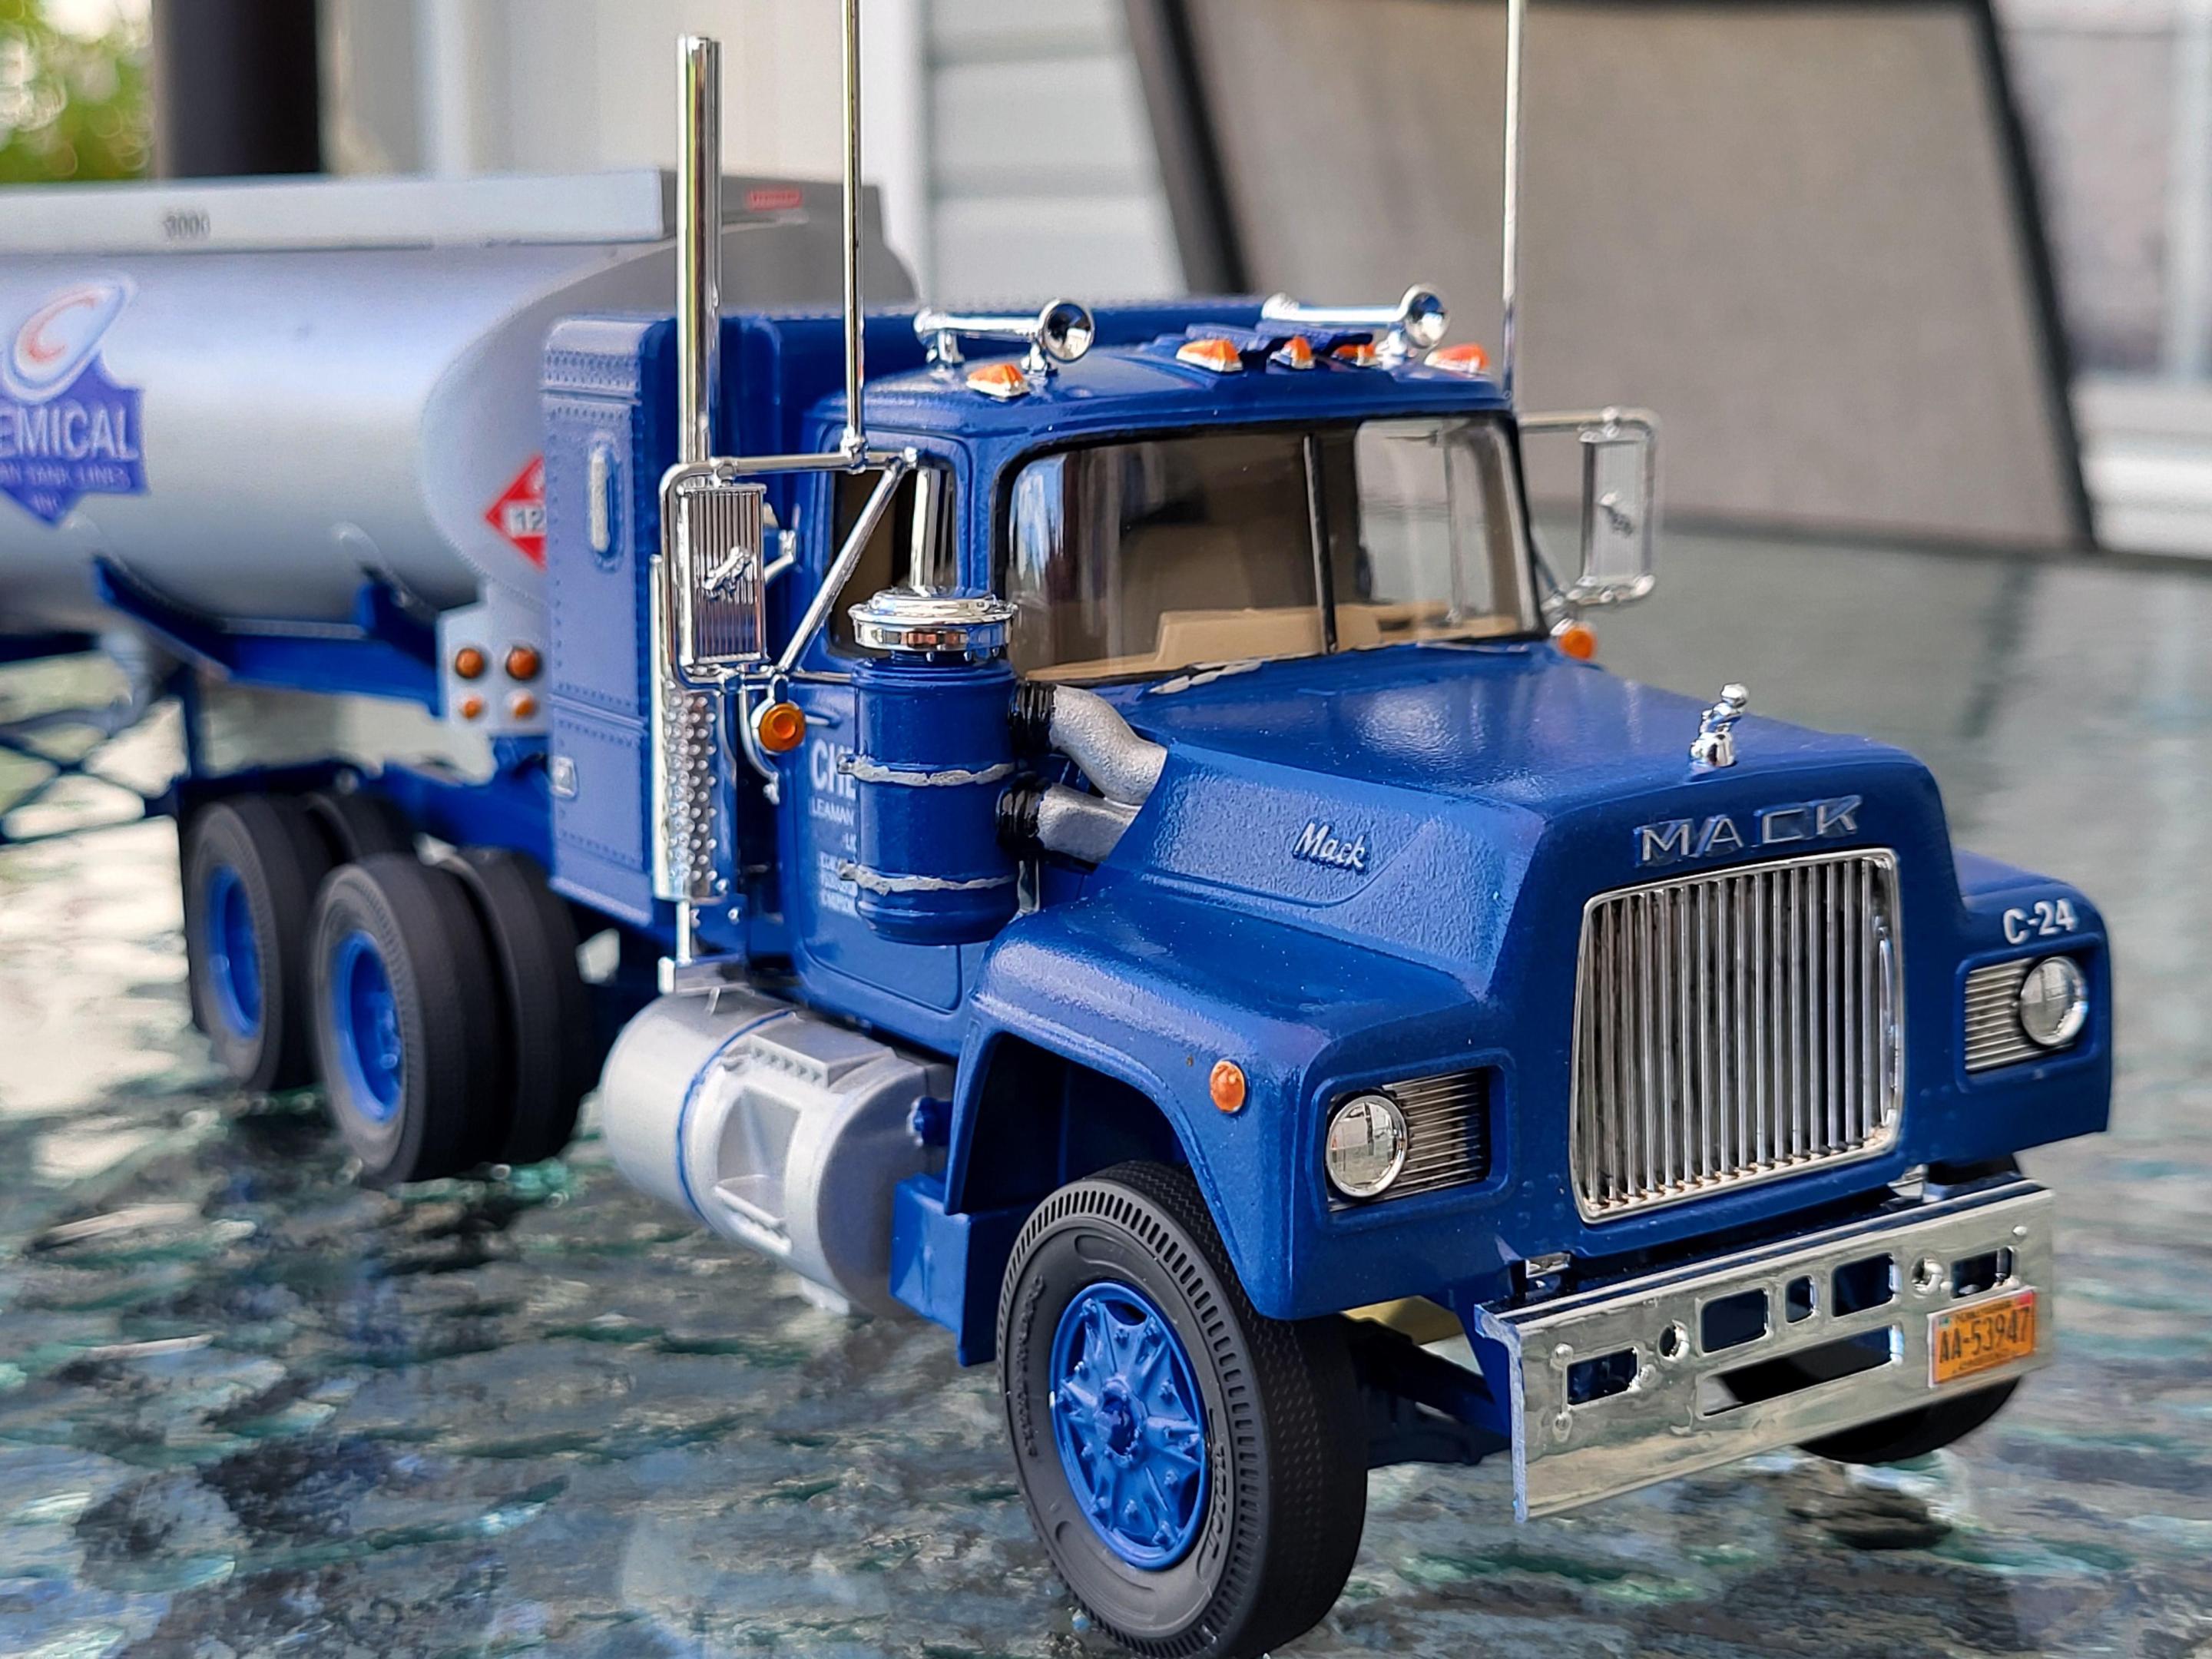
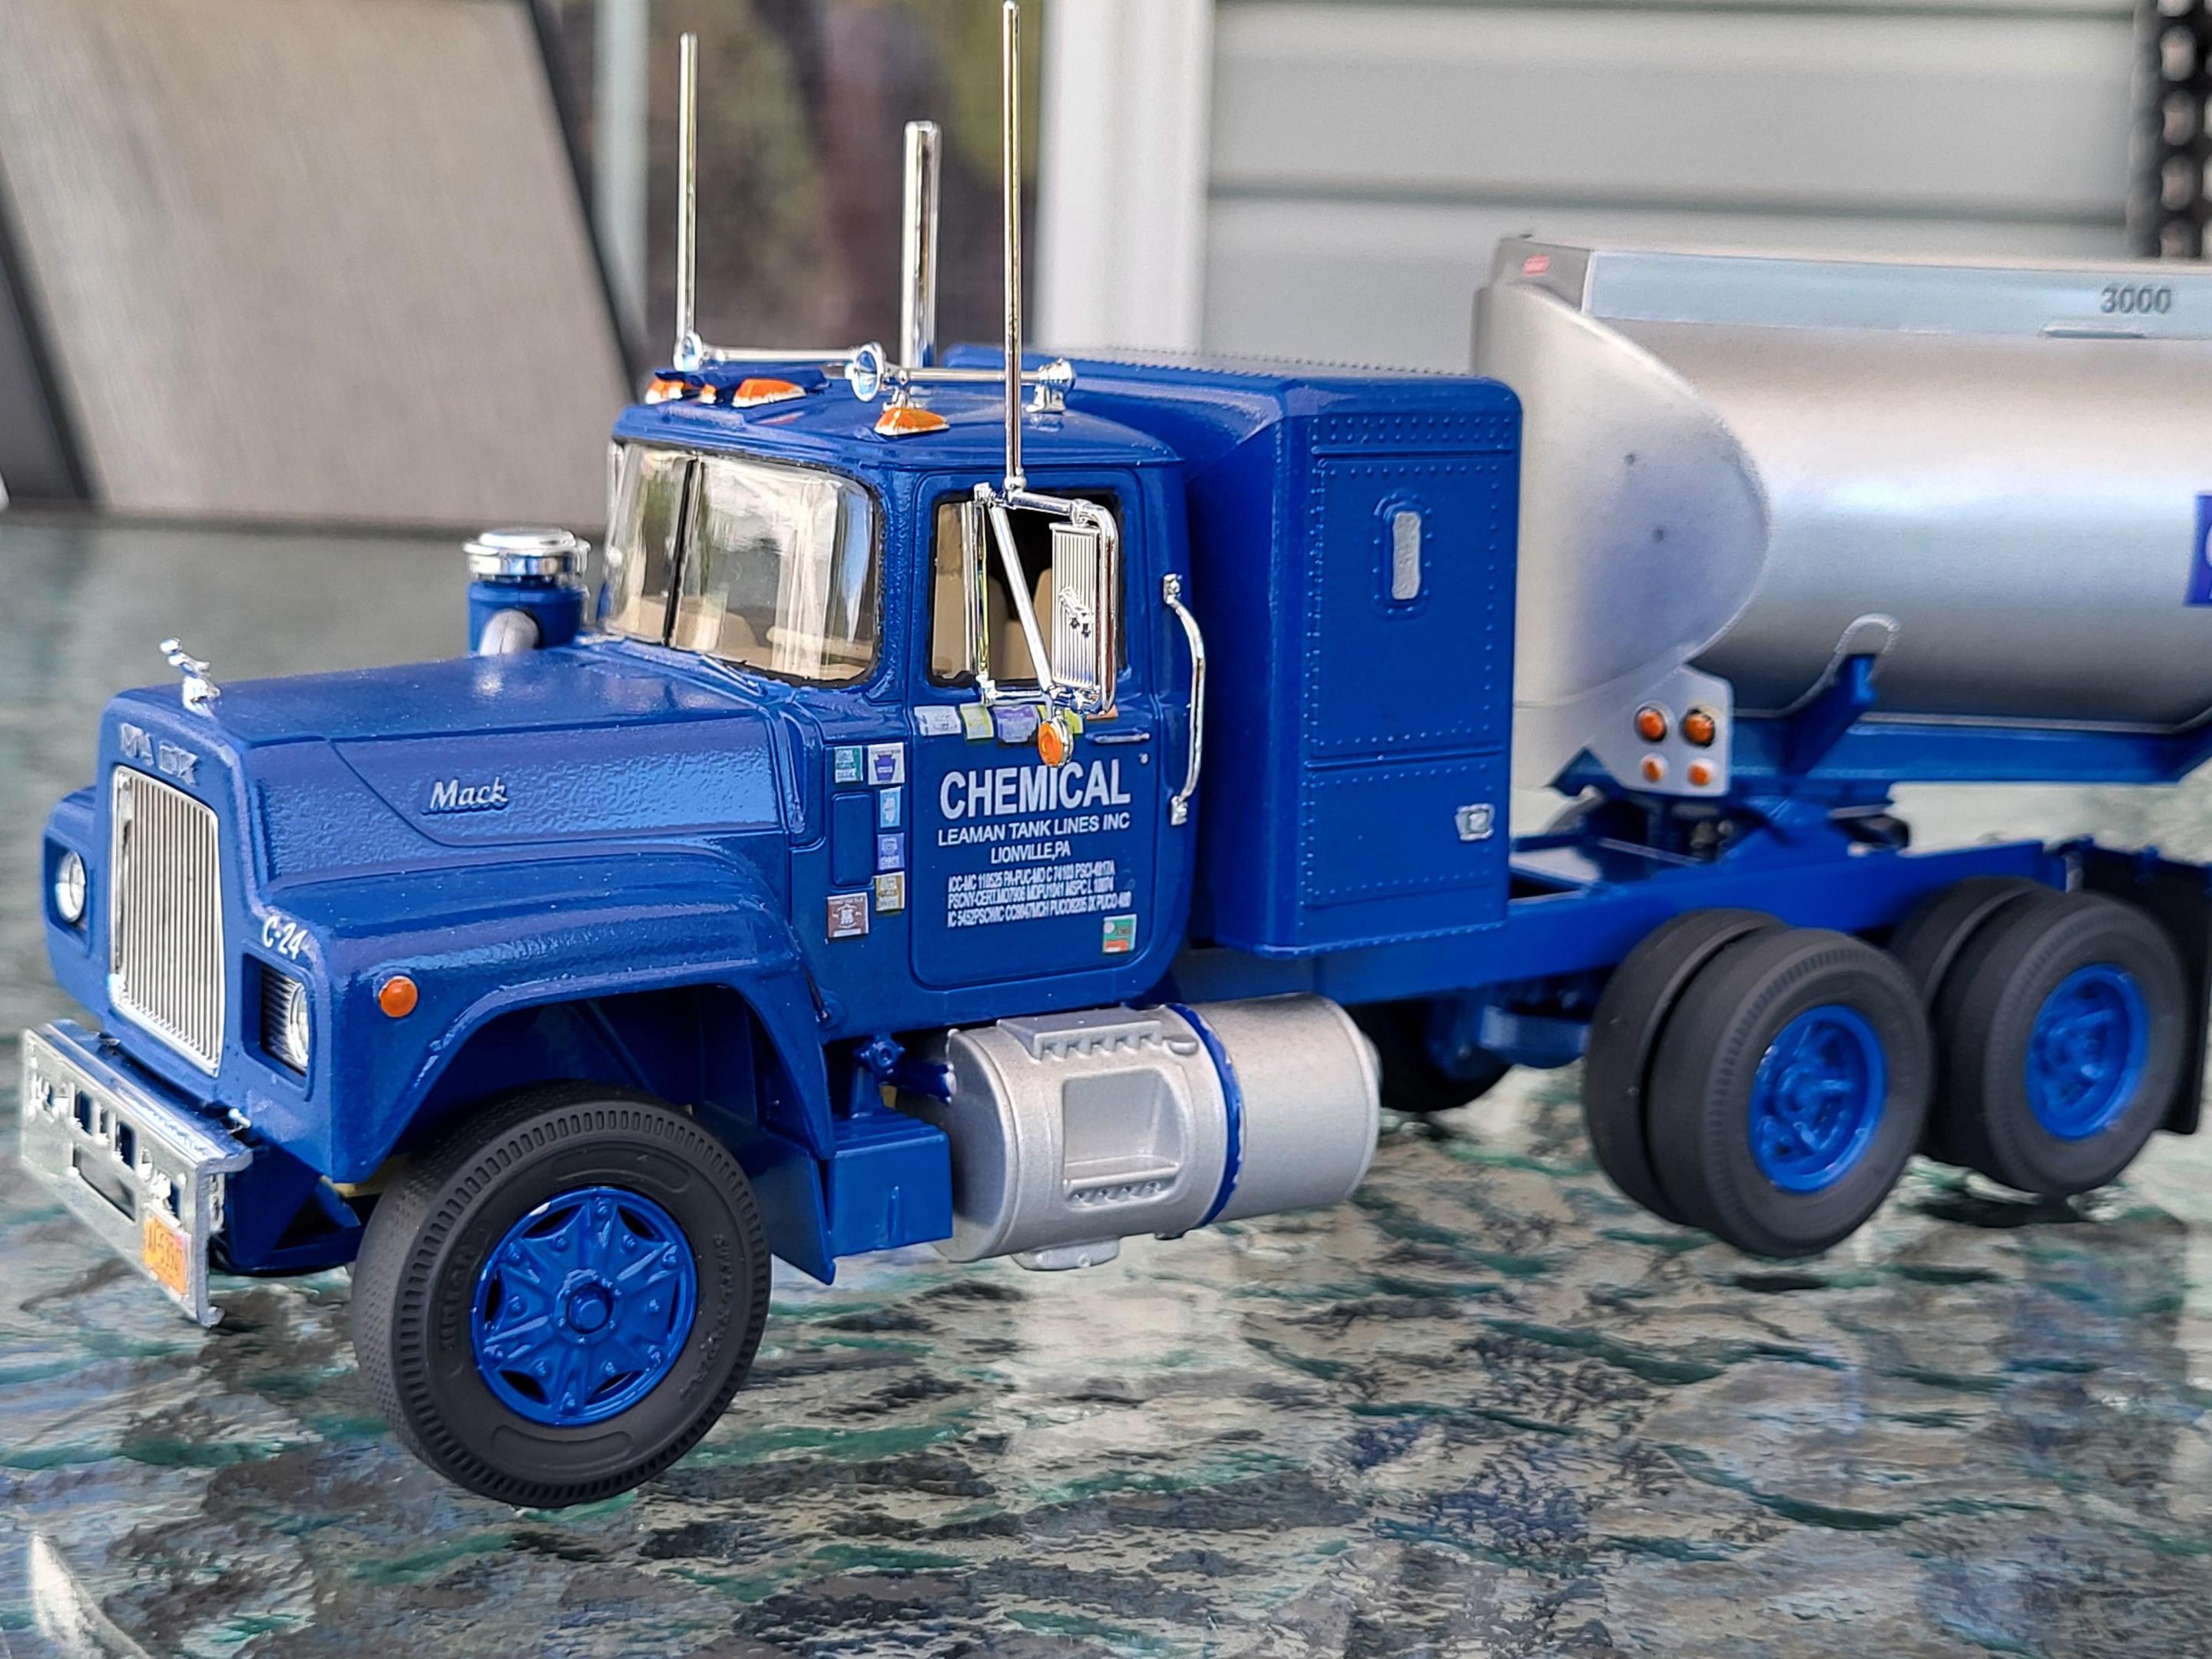
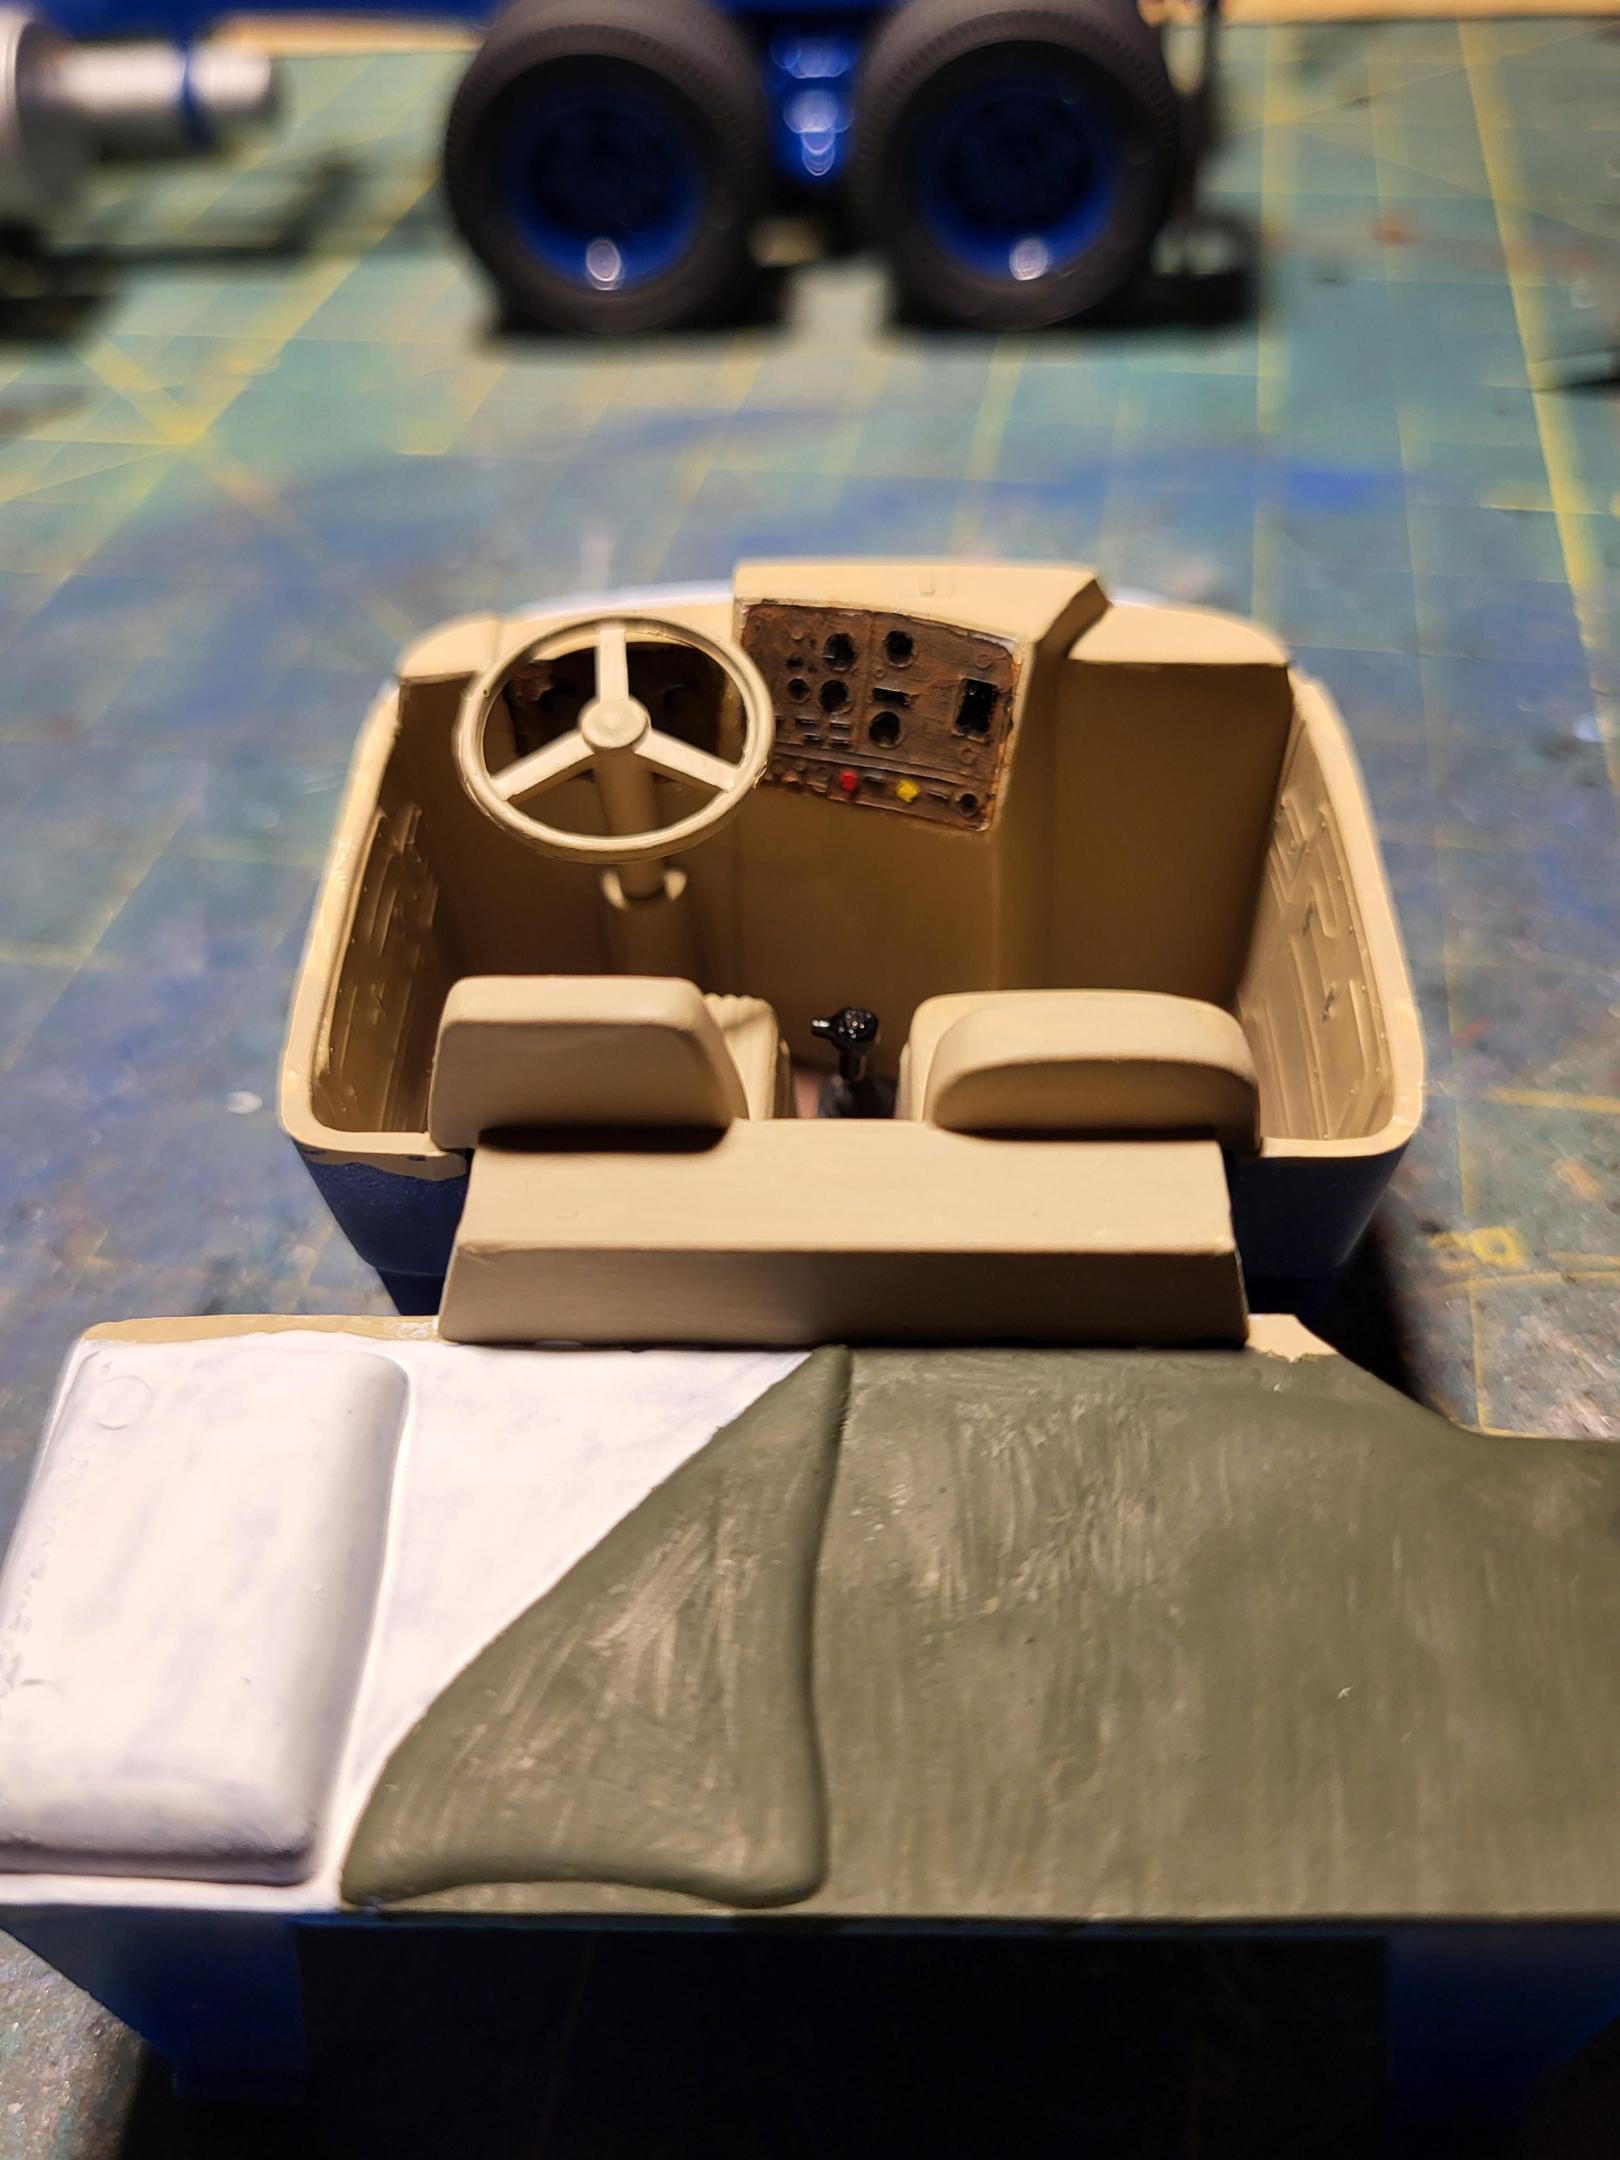
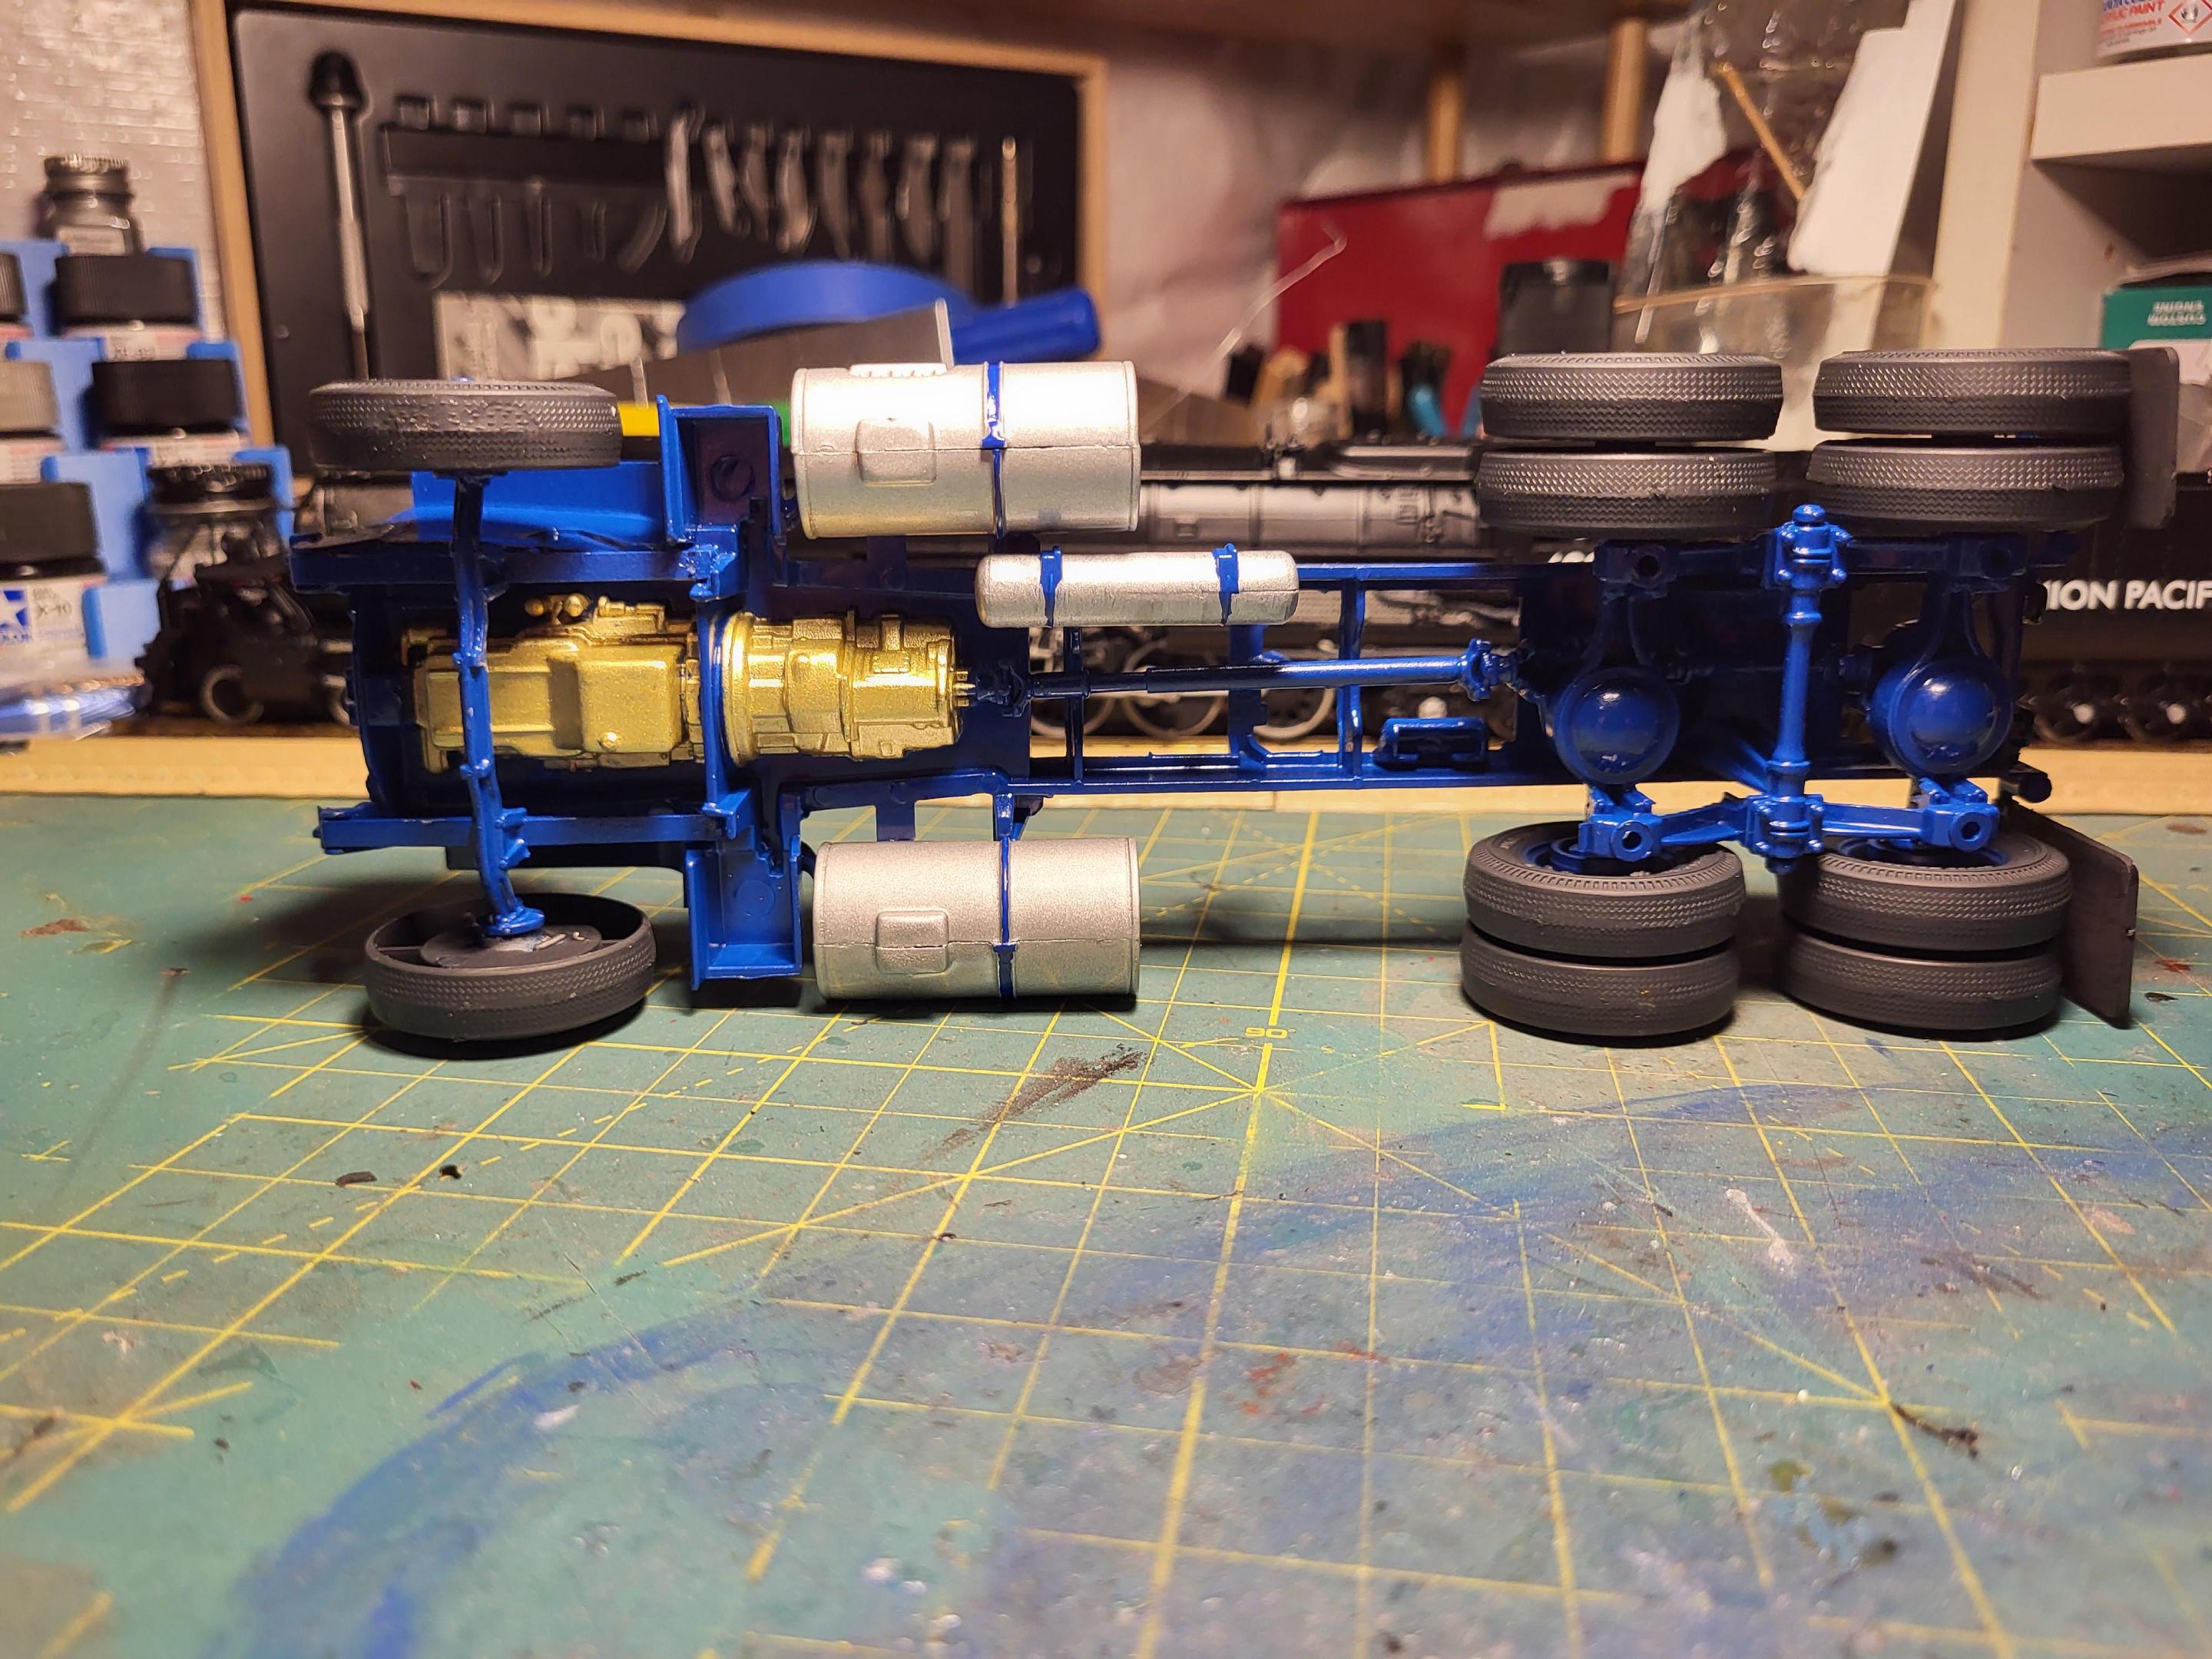
A very long time ago, I purchased the Monogram 1/32 Mack “R” Conventional & Fruehauf Tanker. It’s a nicely detailed snap kit, and for the most part went together well. That’s an awful lot of tape, glue, & rubber bands for a snap kit. The kit came with stickers to detail the tractor & trailer, so those had to go. I picked up some Chemical Leaman decals from Model Truckin’, & I was in business. Revell graciously provided the decal sets from their recent reissues of the Mack & tank trailer. The kit came with 10-hole disks all around, so I swapped them for spokes from the Mack C600 fire truck (Thanks, Greg.) & the Fruehauf reefer. I also bobbed the front bumper & corrected the fit of the rear mud flaps. Fleet Unit Number on the tractor is from Microscale, the Pennsylvania license plate on the tractor was downloaded from Rick Kretschmer’s License Plate Archive, and the Pennsylvania plate on the trailer is from The License Plate Shack. I also made the little bracket for the DOT hazmat placard on the rear of the trailer. I don’t know if Chemical Leaman ever hauled gasoline, or used this type of trailer, but they do now! Color is Testors Dark Blue. Here are some of my inspiration photos from Hank’s Truck Pictures (remember them?): Here is the model. Enjoy! Interior: "Engine:
-
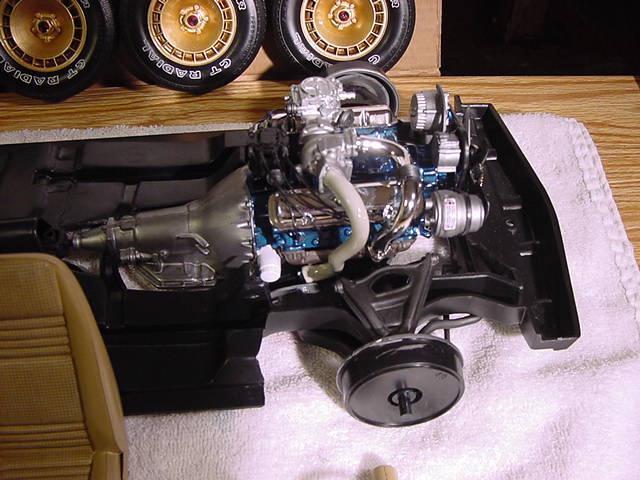
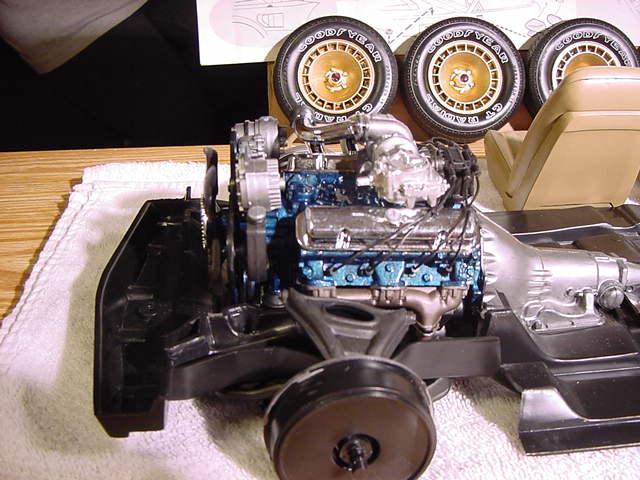
I wanted to have a large scale model which would hopefully breathe some new excitement into the scale car modeling profession. As a kid in the 1970s and 1980s, scale modeling was quite popular. Video games on a regular television was even a new concept (i.e., Pong, Atari 2600). There were also no iPods or X-Boxes, and both the Apple home computer and cable television industries were then in their infancies. So the kids of the day, myself included, were quite interested in building scale models and slot car racing, and I wanted to bring some of that excitement back into today's interconnected world. I found this forum yesterday, and I think it will become among my favorites to visit! Behold is my partially assembled Monogram Turbo Trans Am model in 1/8 scale. I cannot take credit for this build. My friend Randy is a scale modeler whom I met with on eBay about 14 years ago! I was so impressed with his builds that I had asked him to create this custom build for me. He generously agreed. These are the original photos which Randy emailed me years ago as he was building the model! I'll upload photos of the finished model in a subsequent post!
-
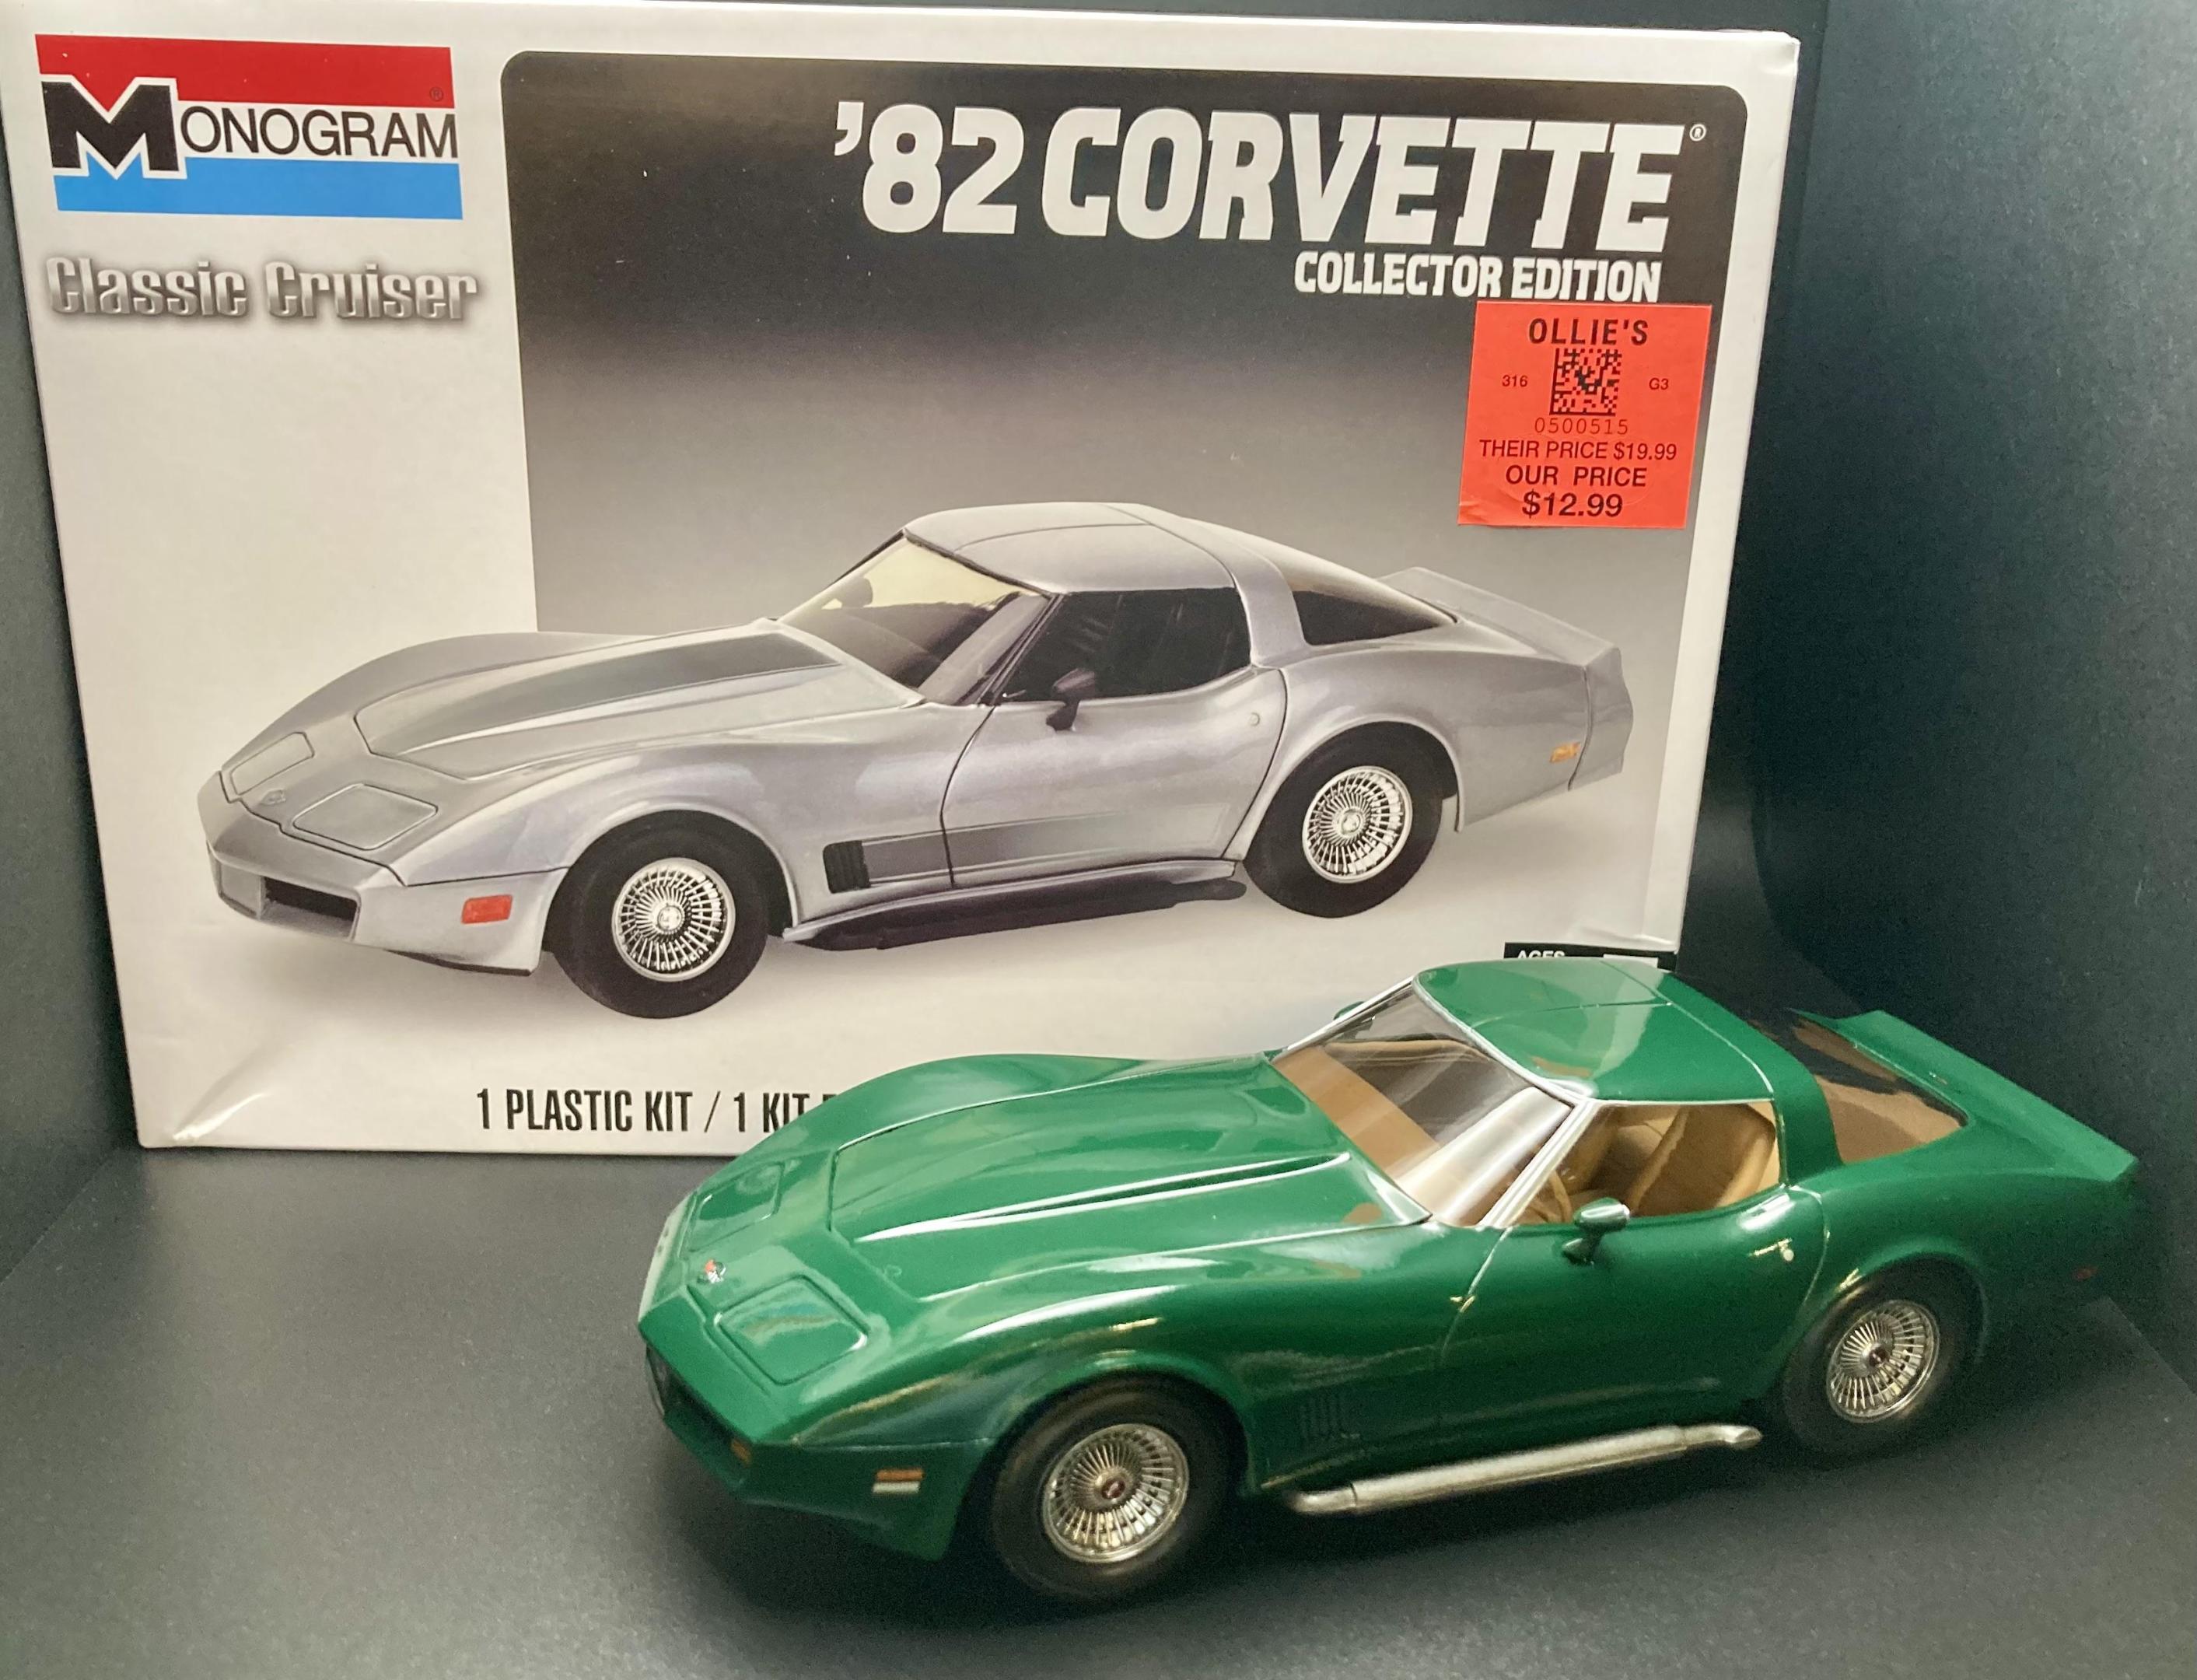
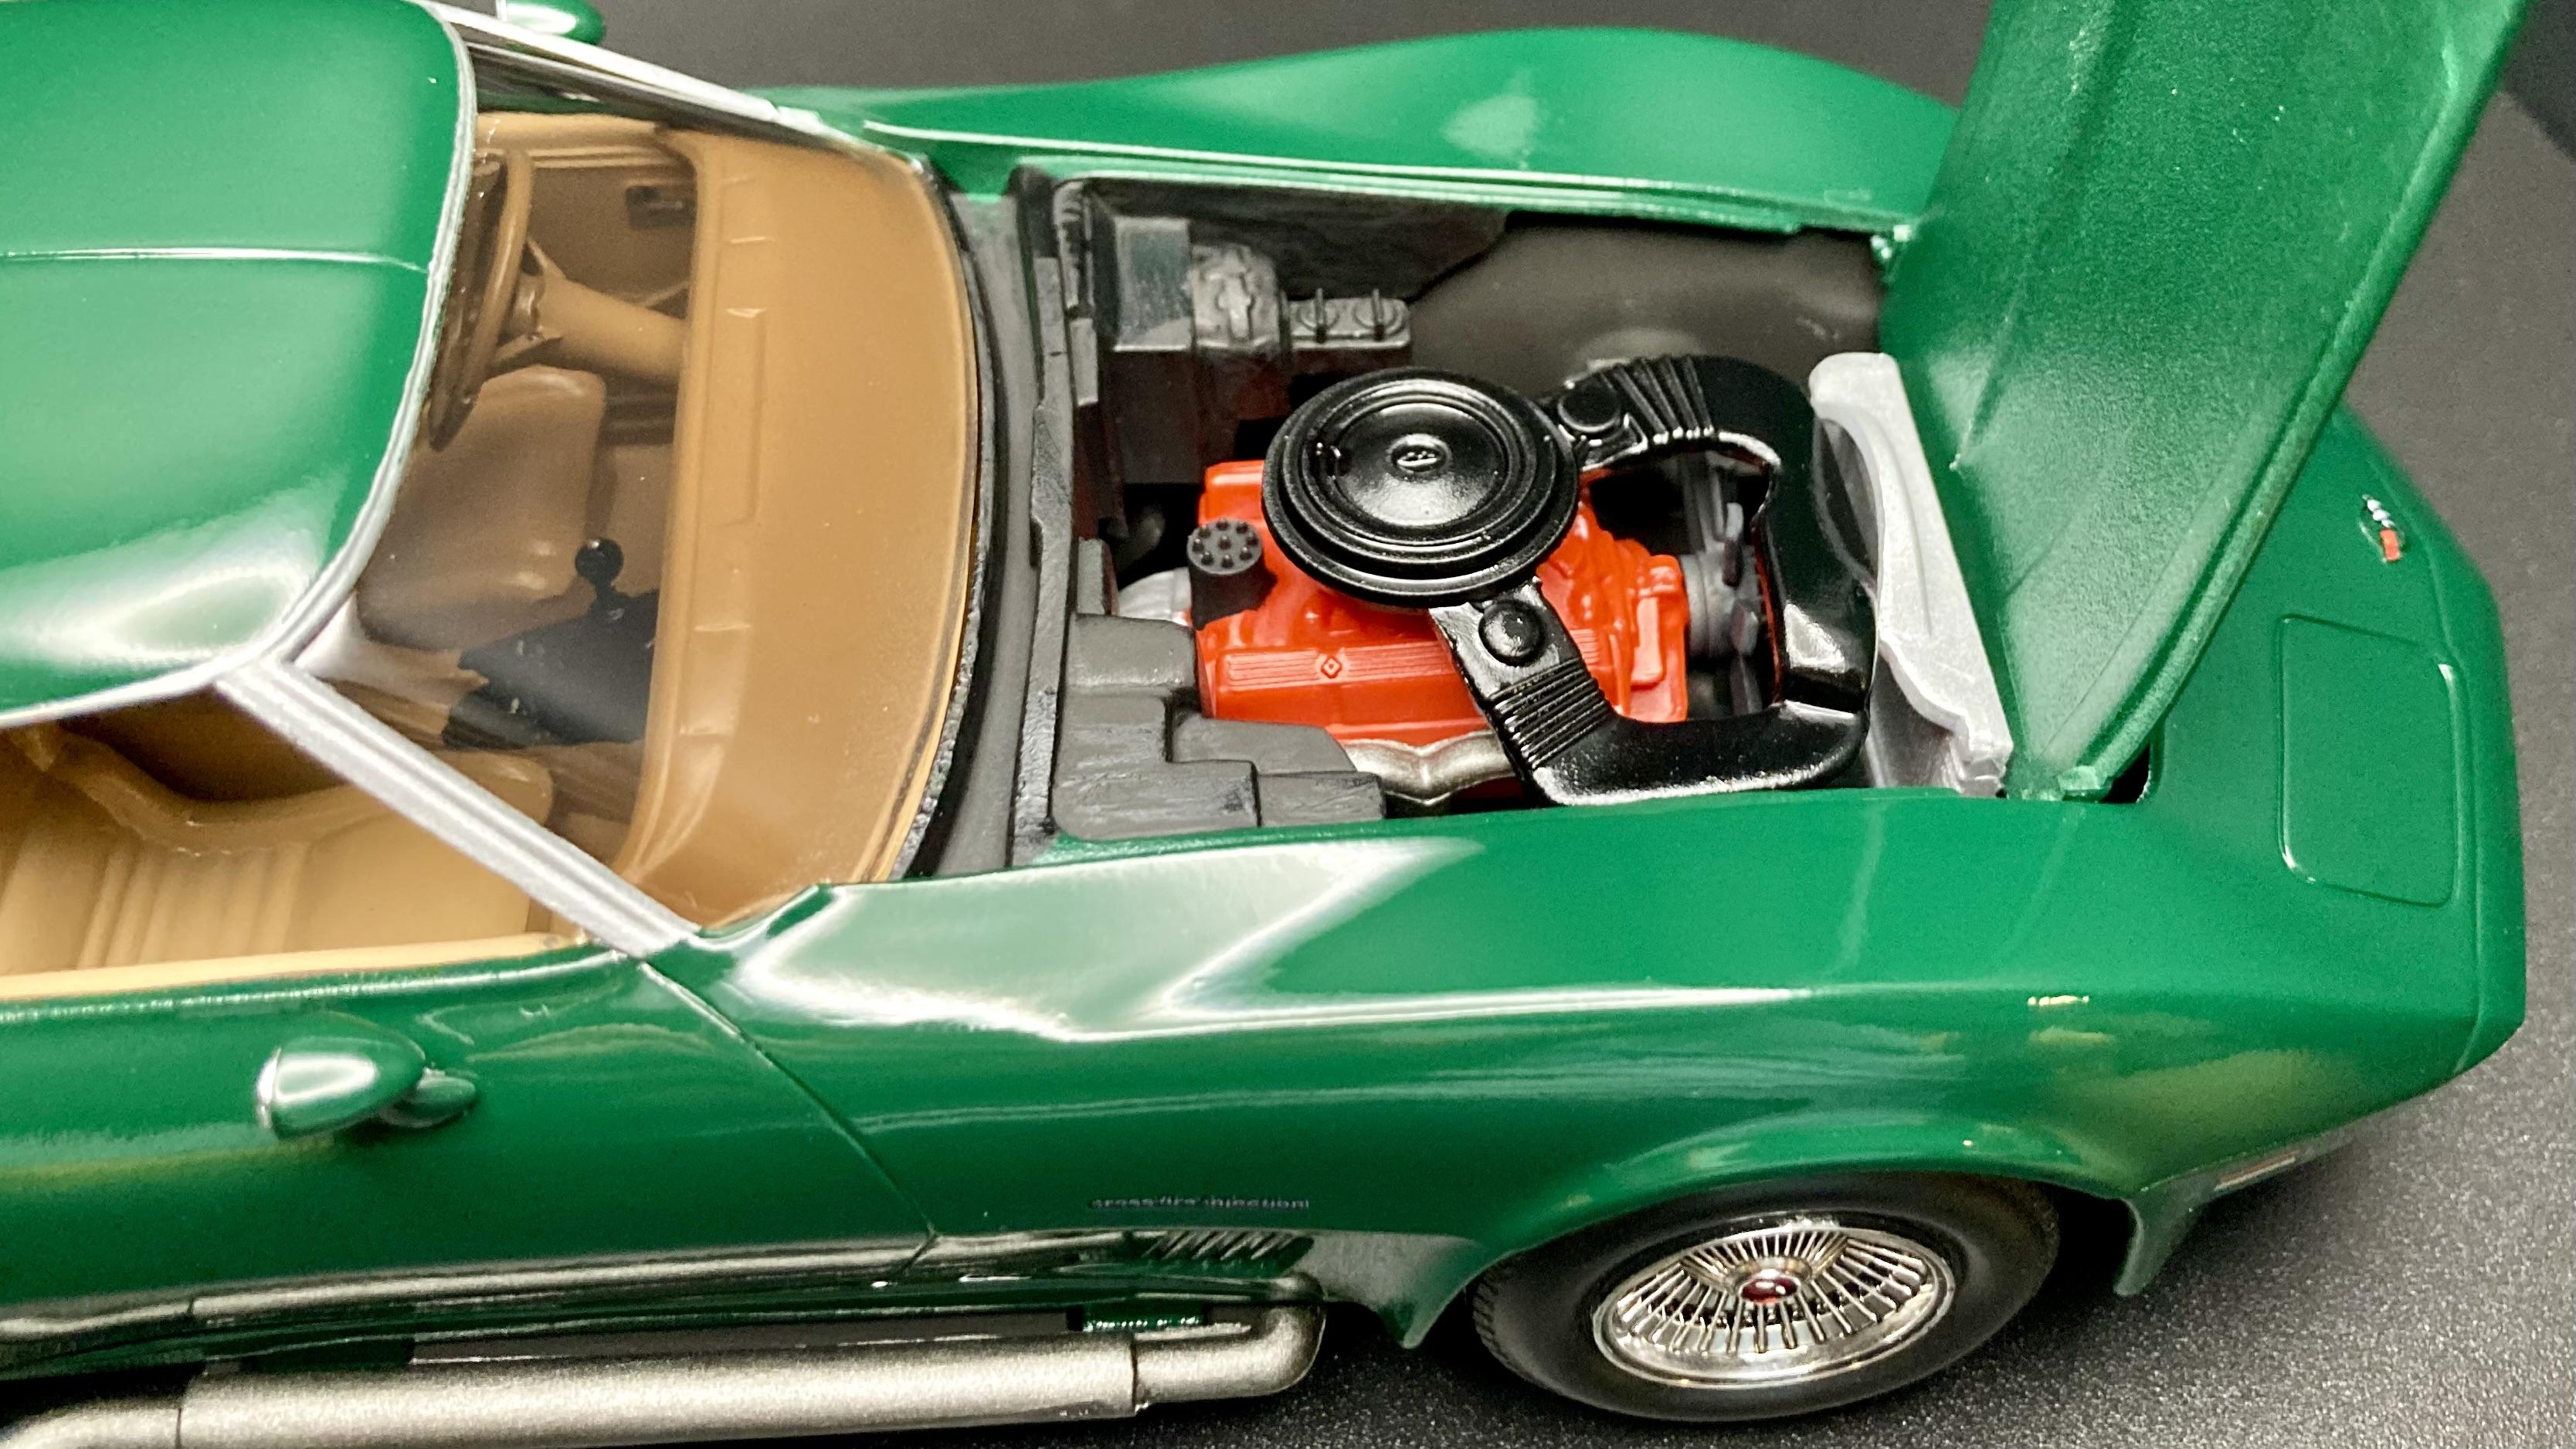
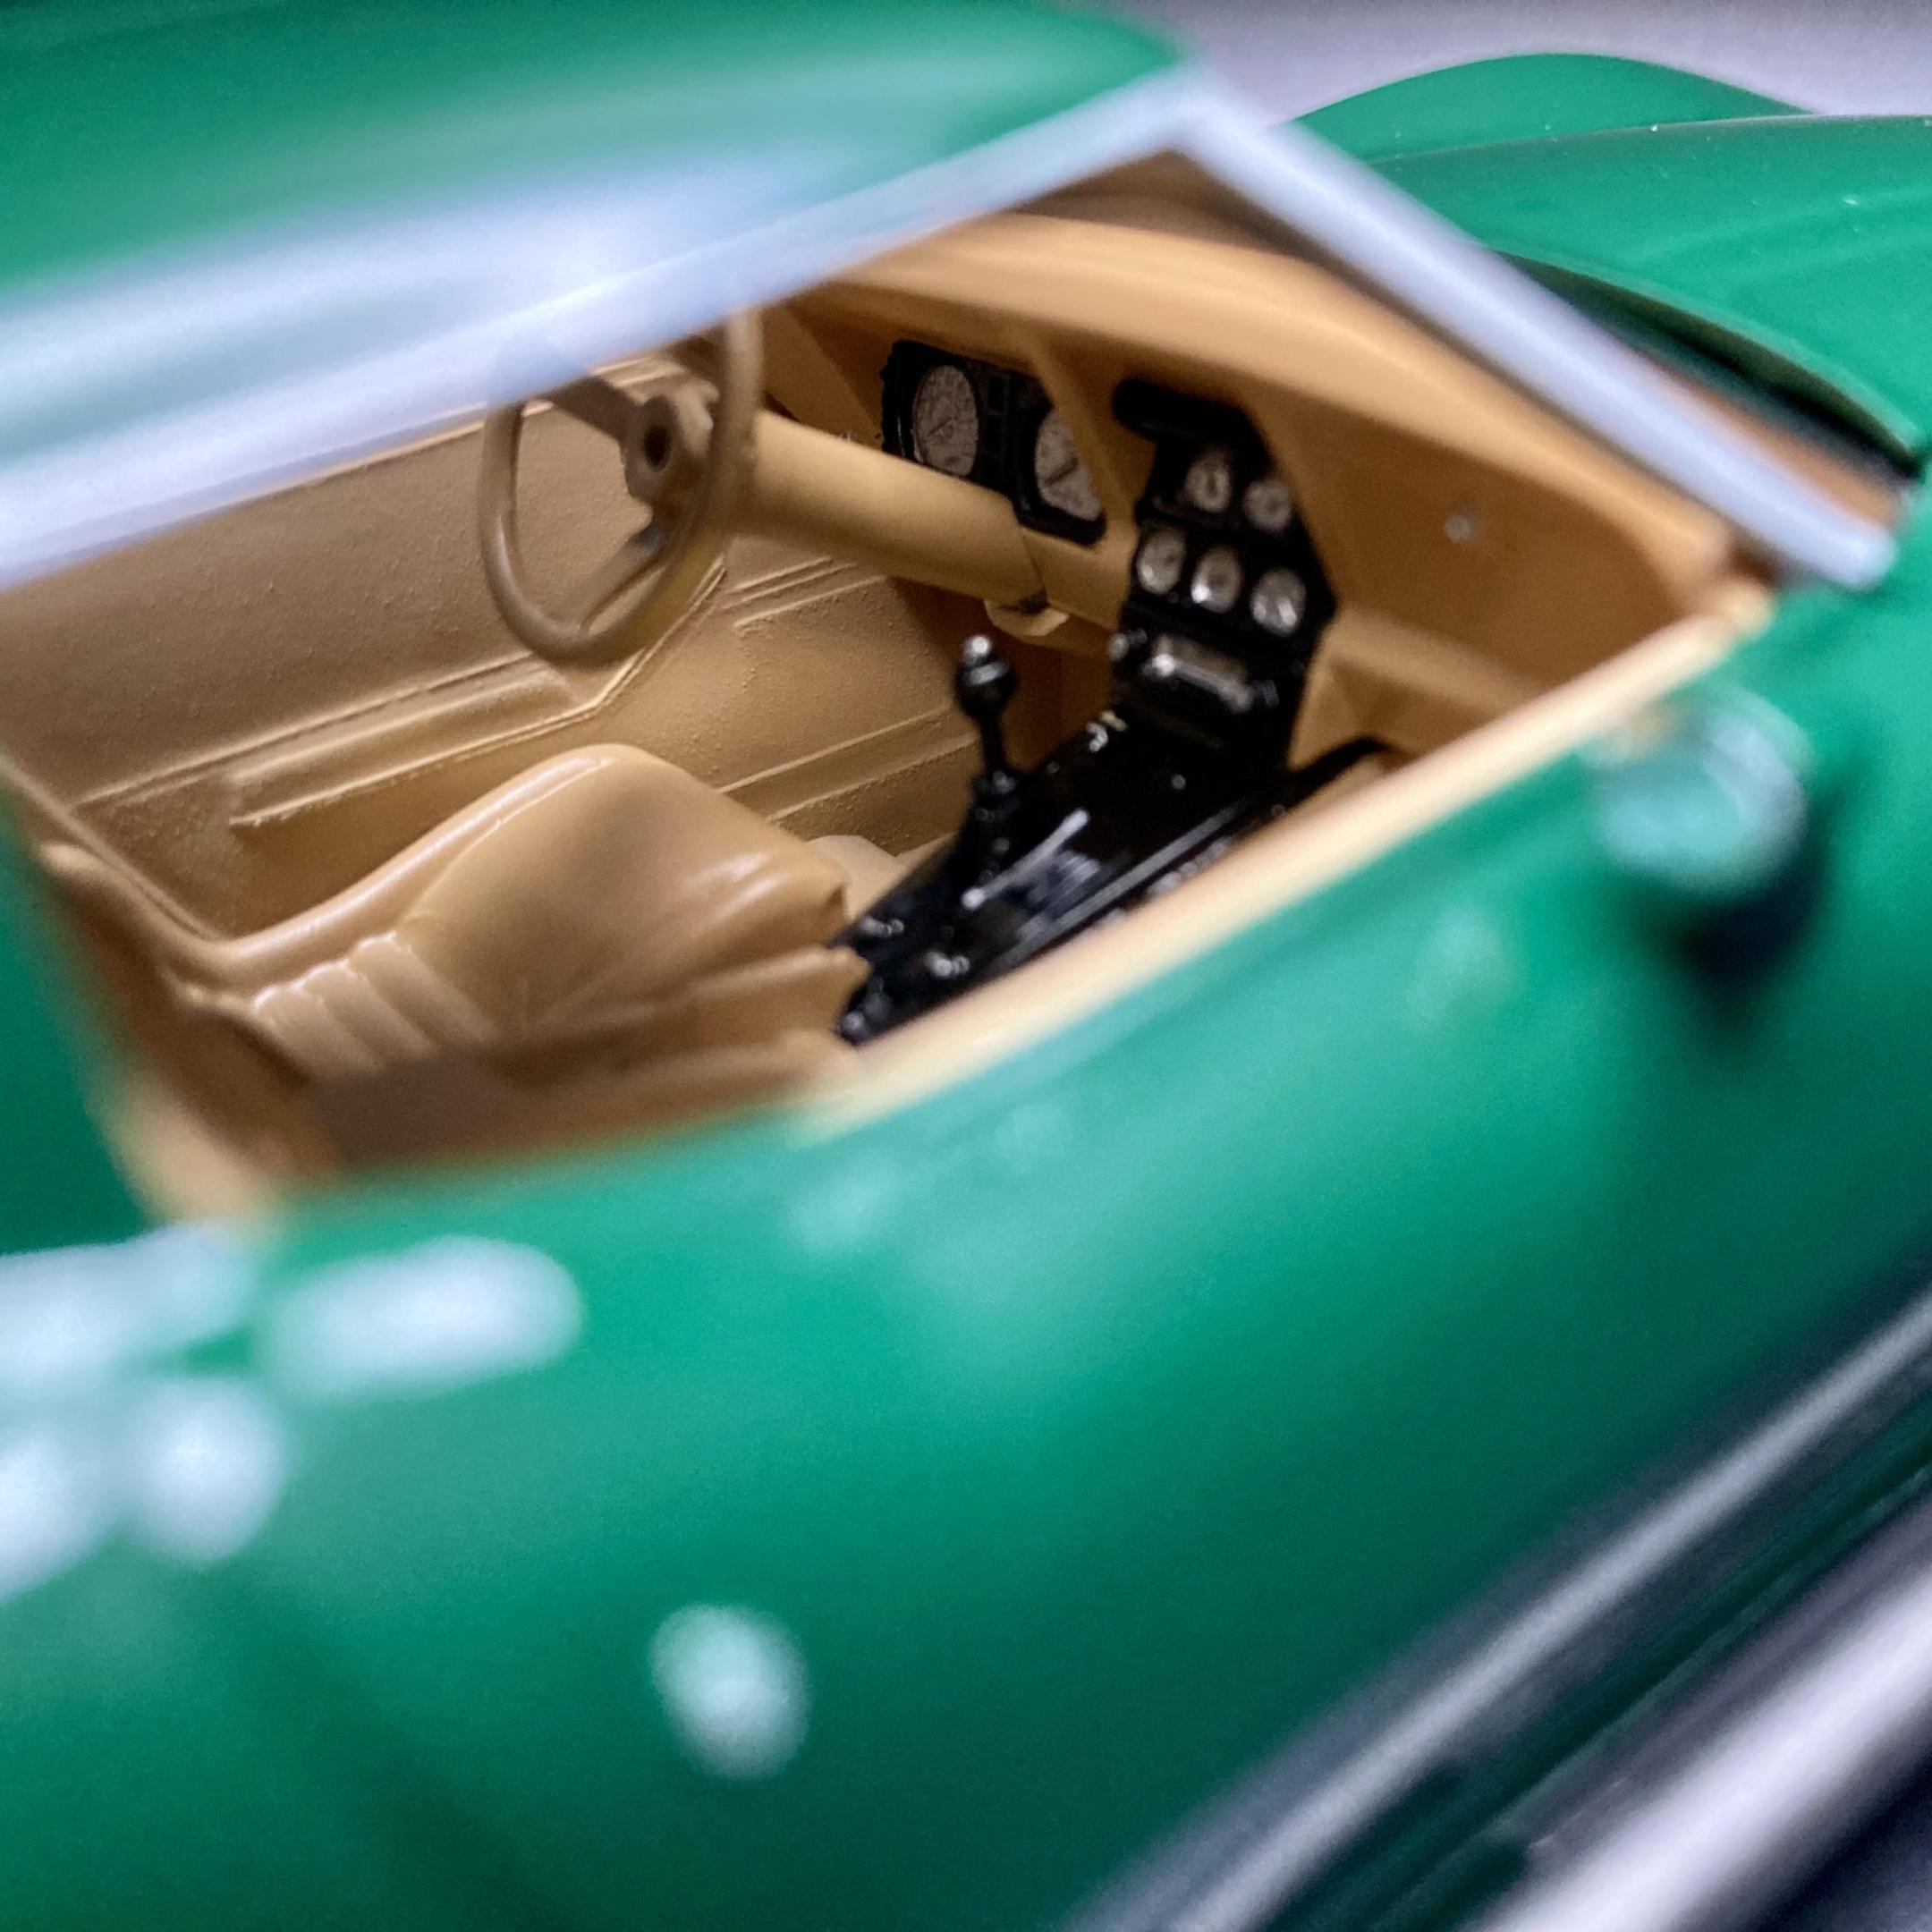
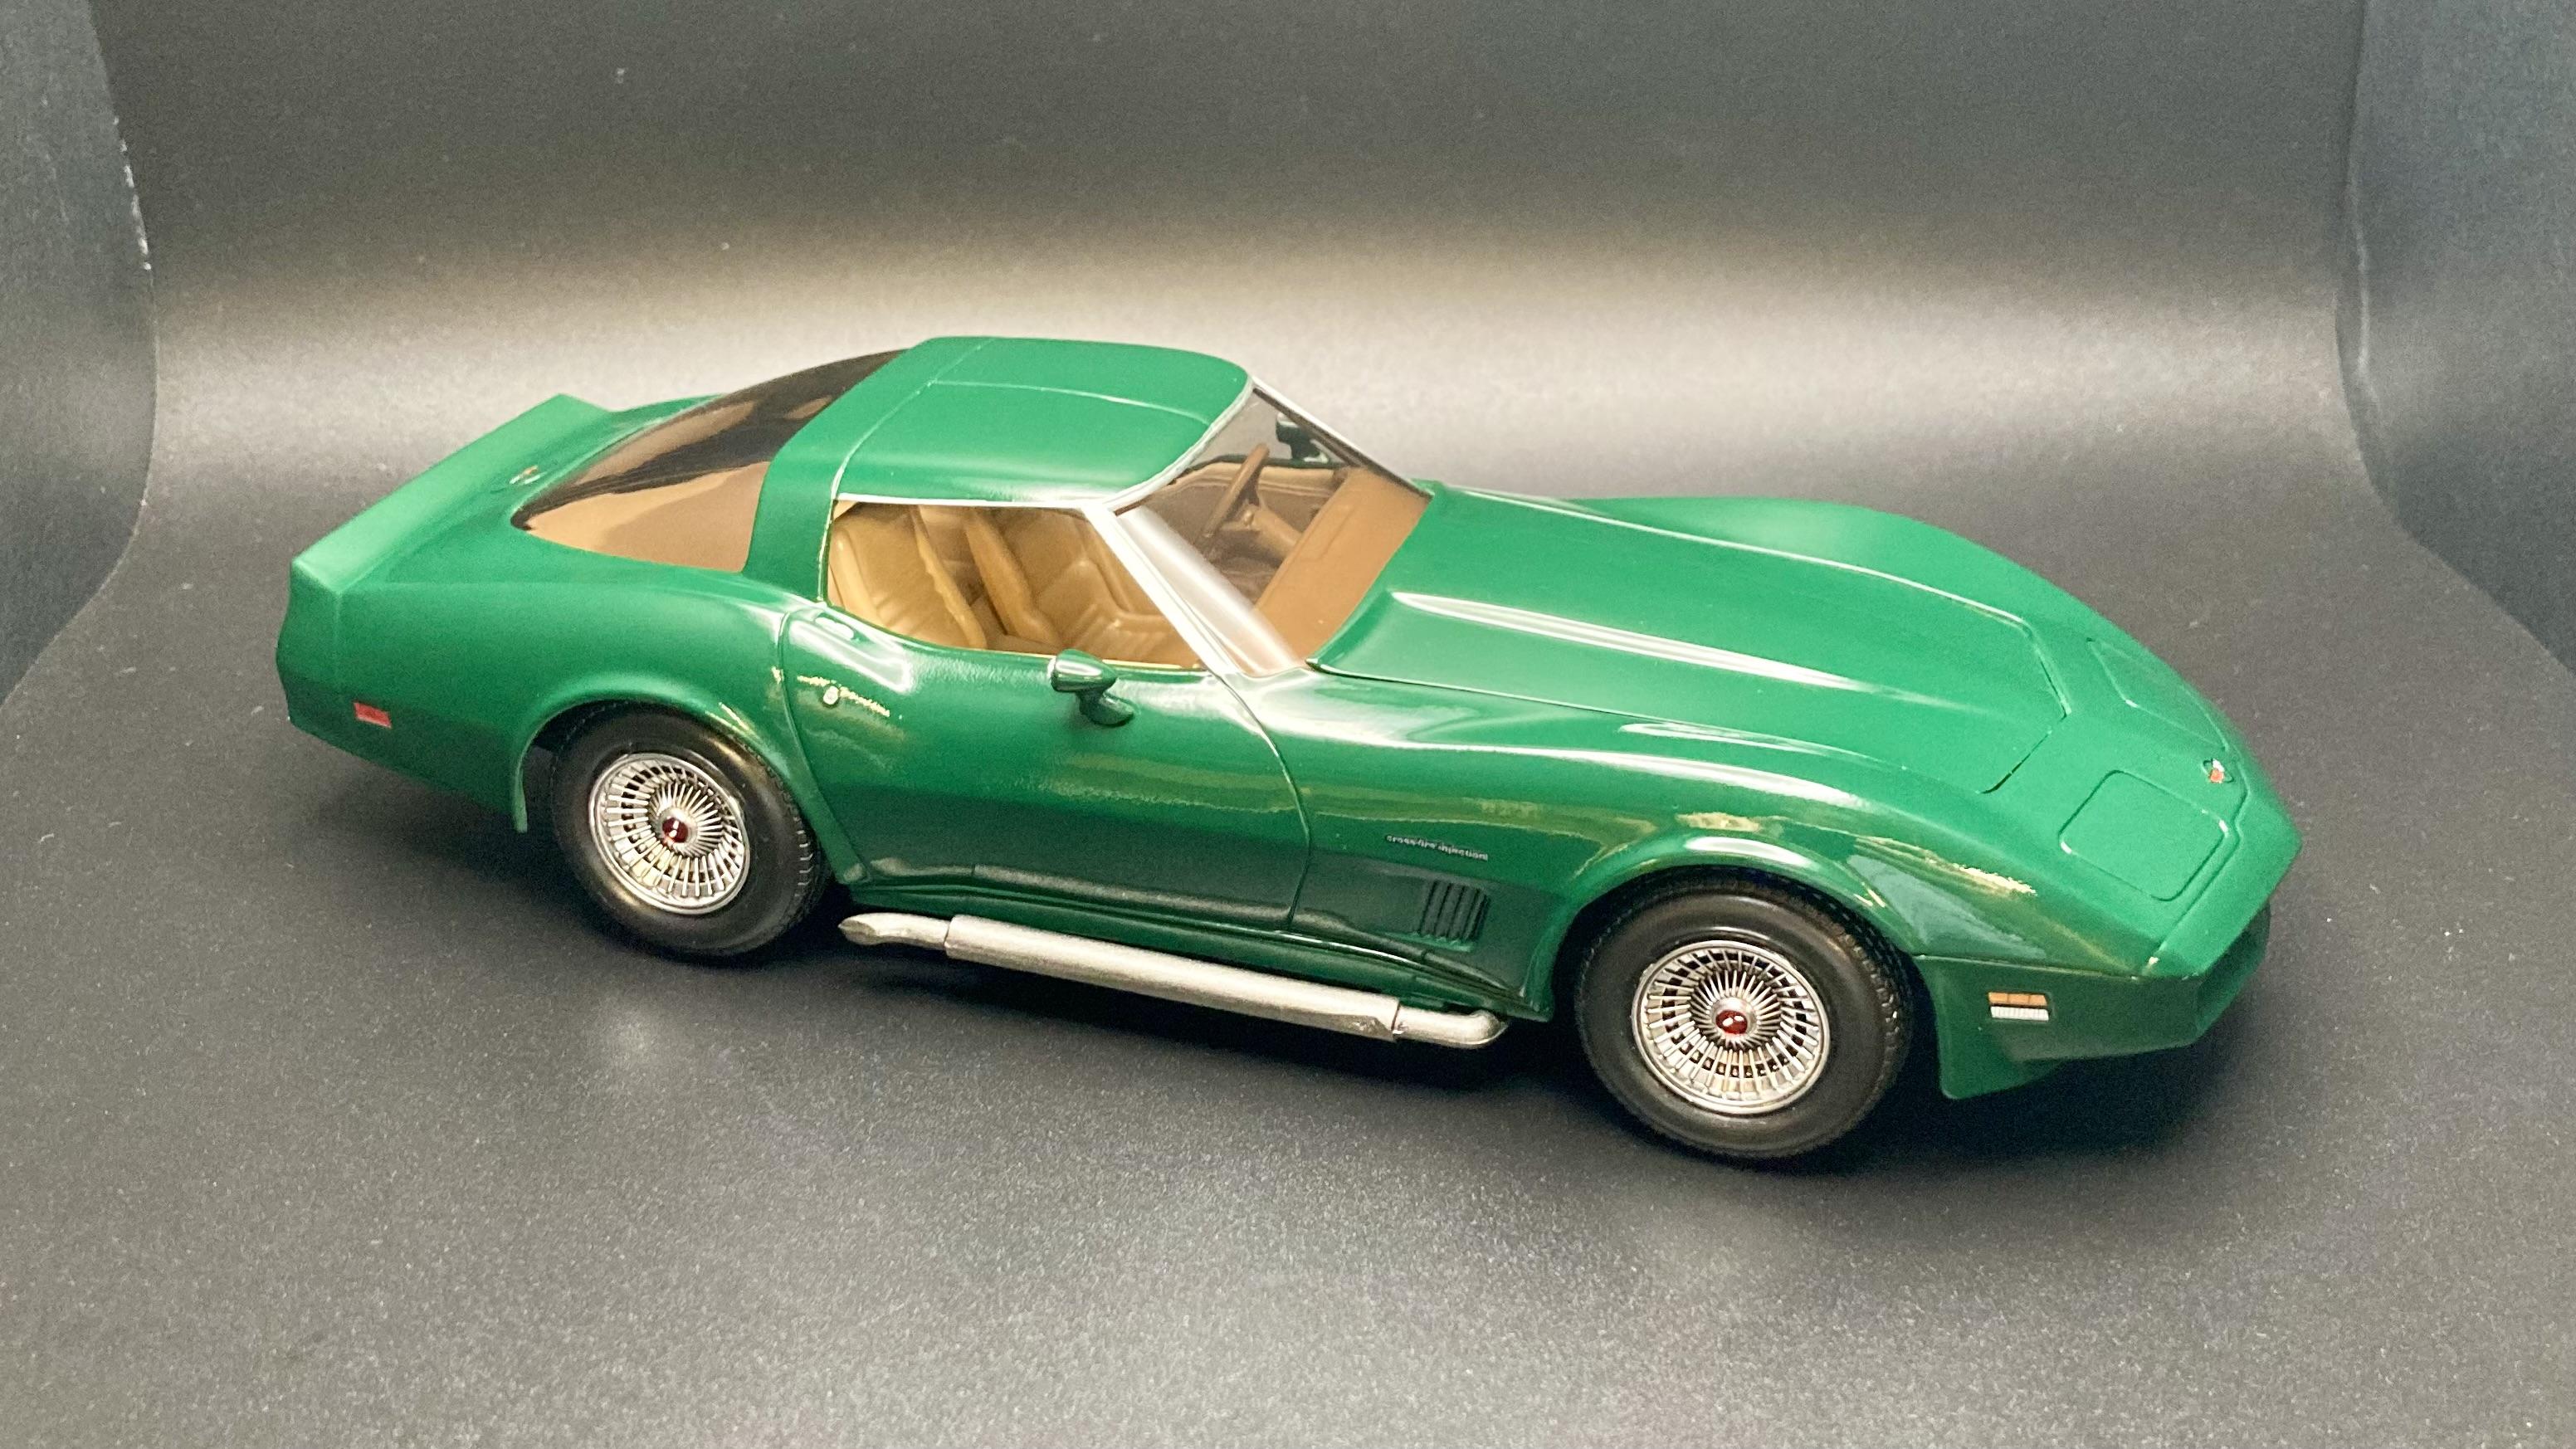
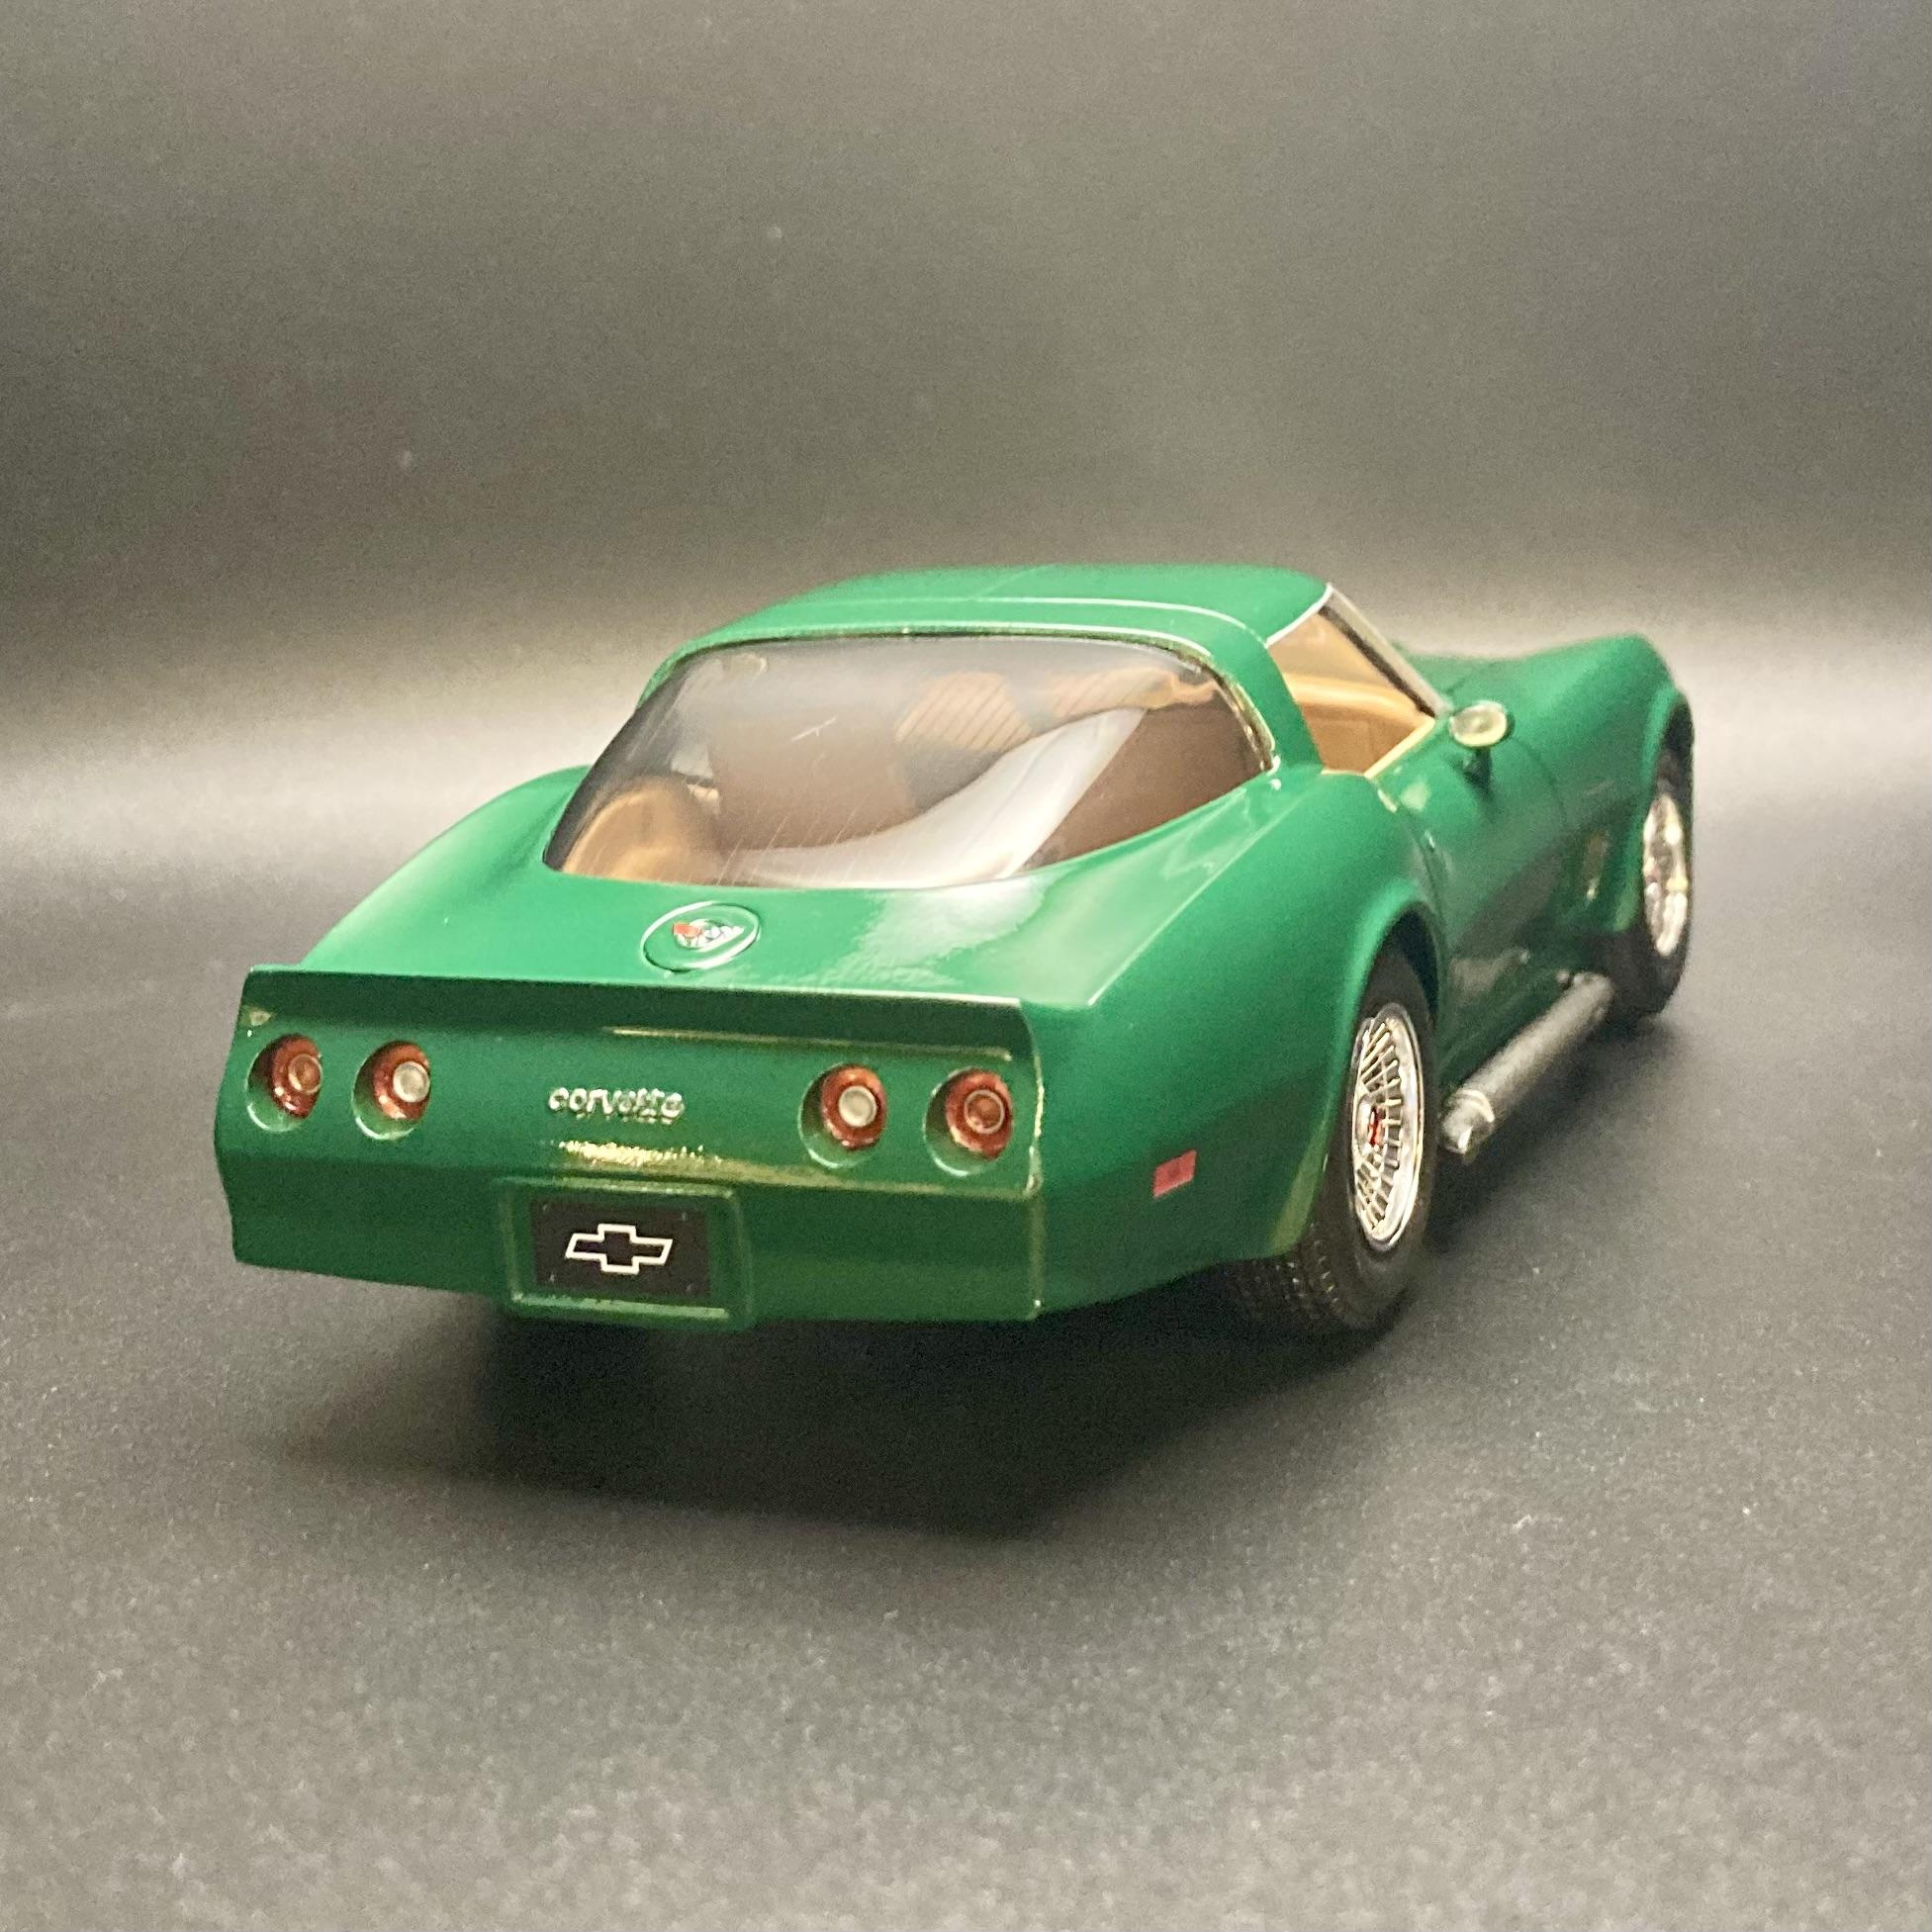
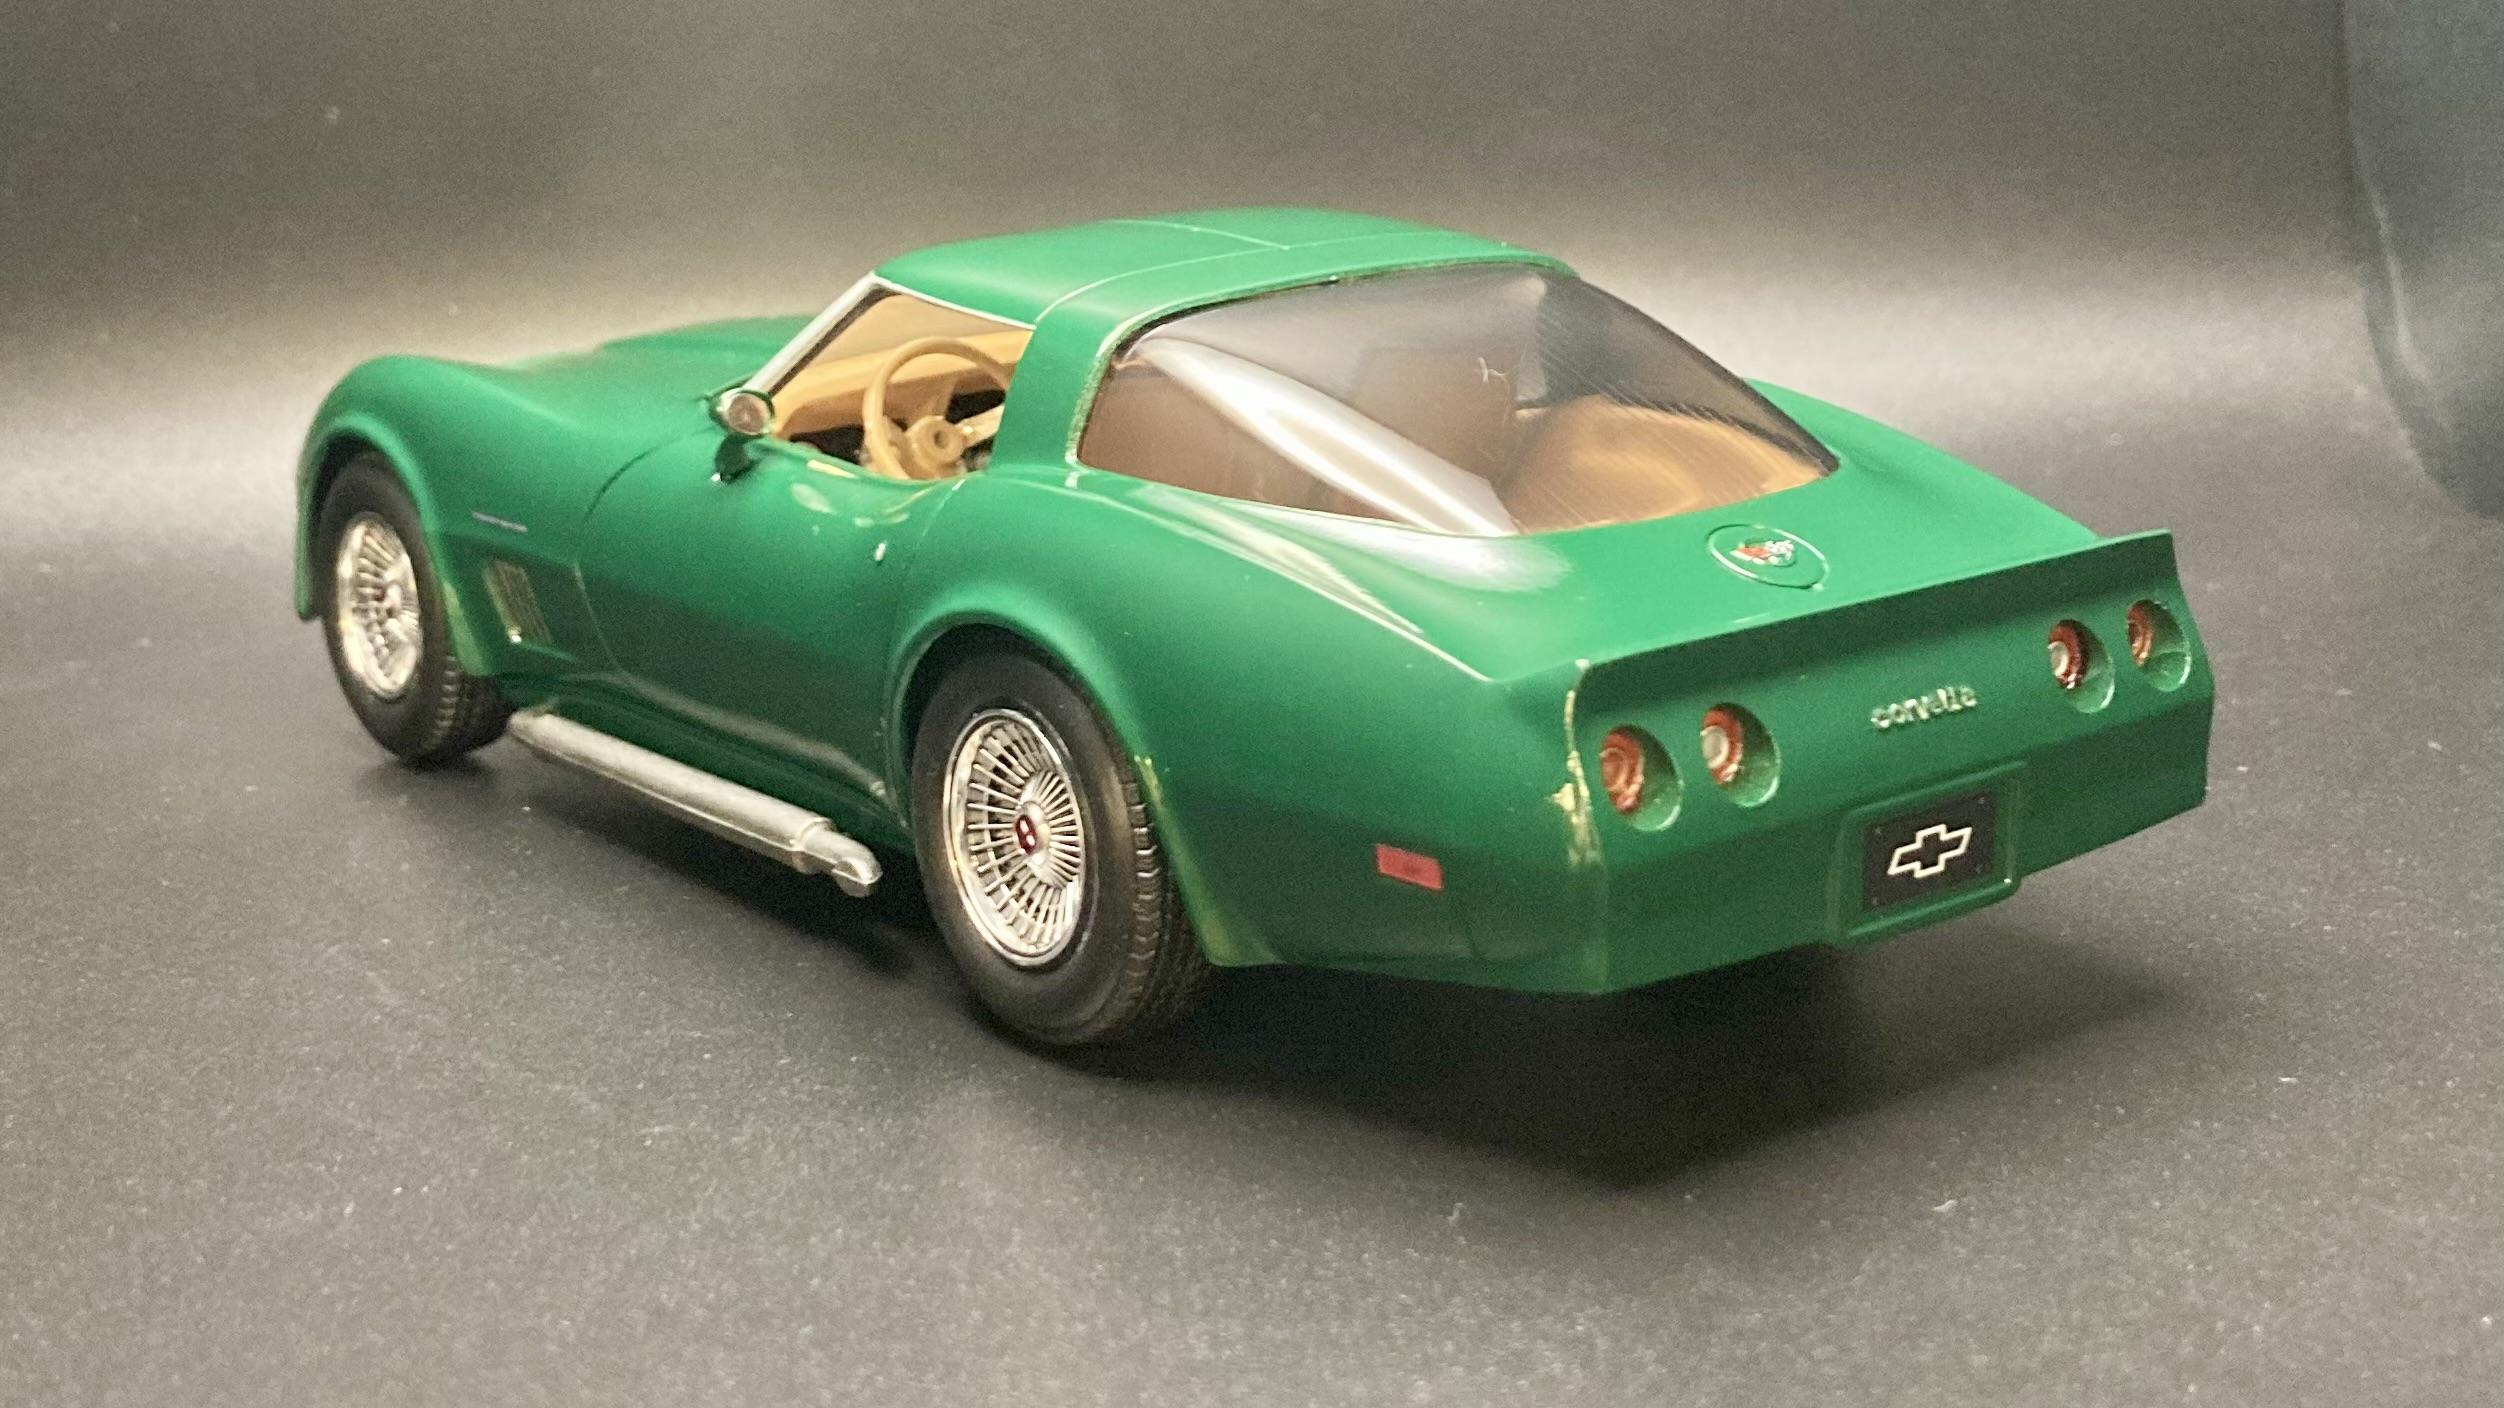
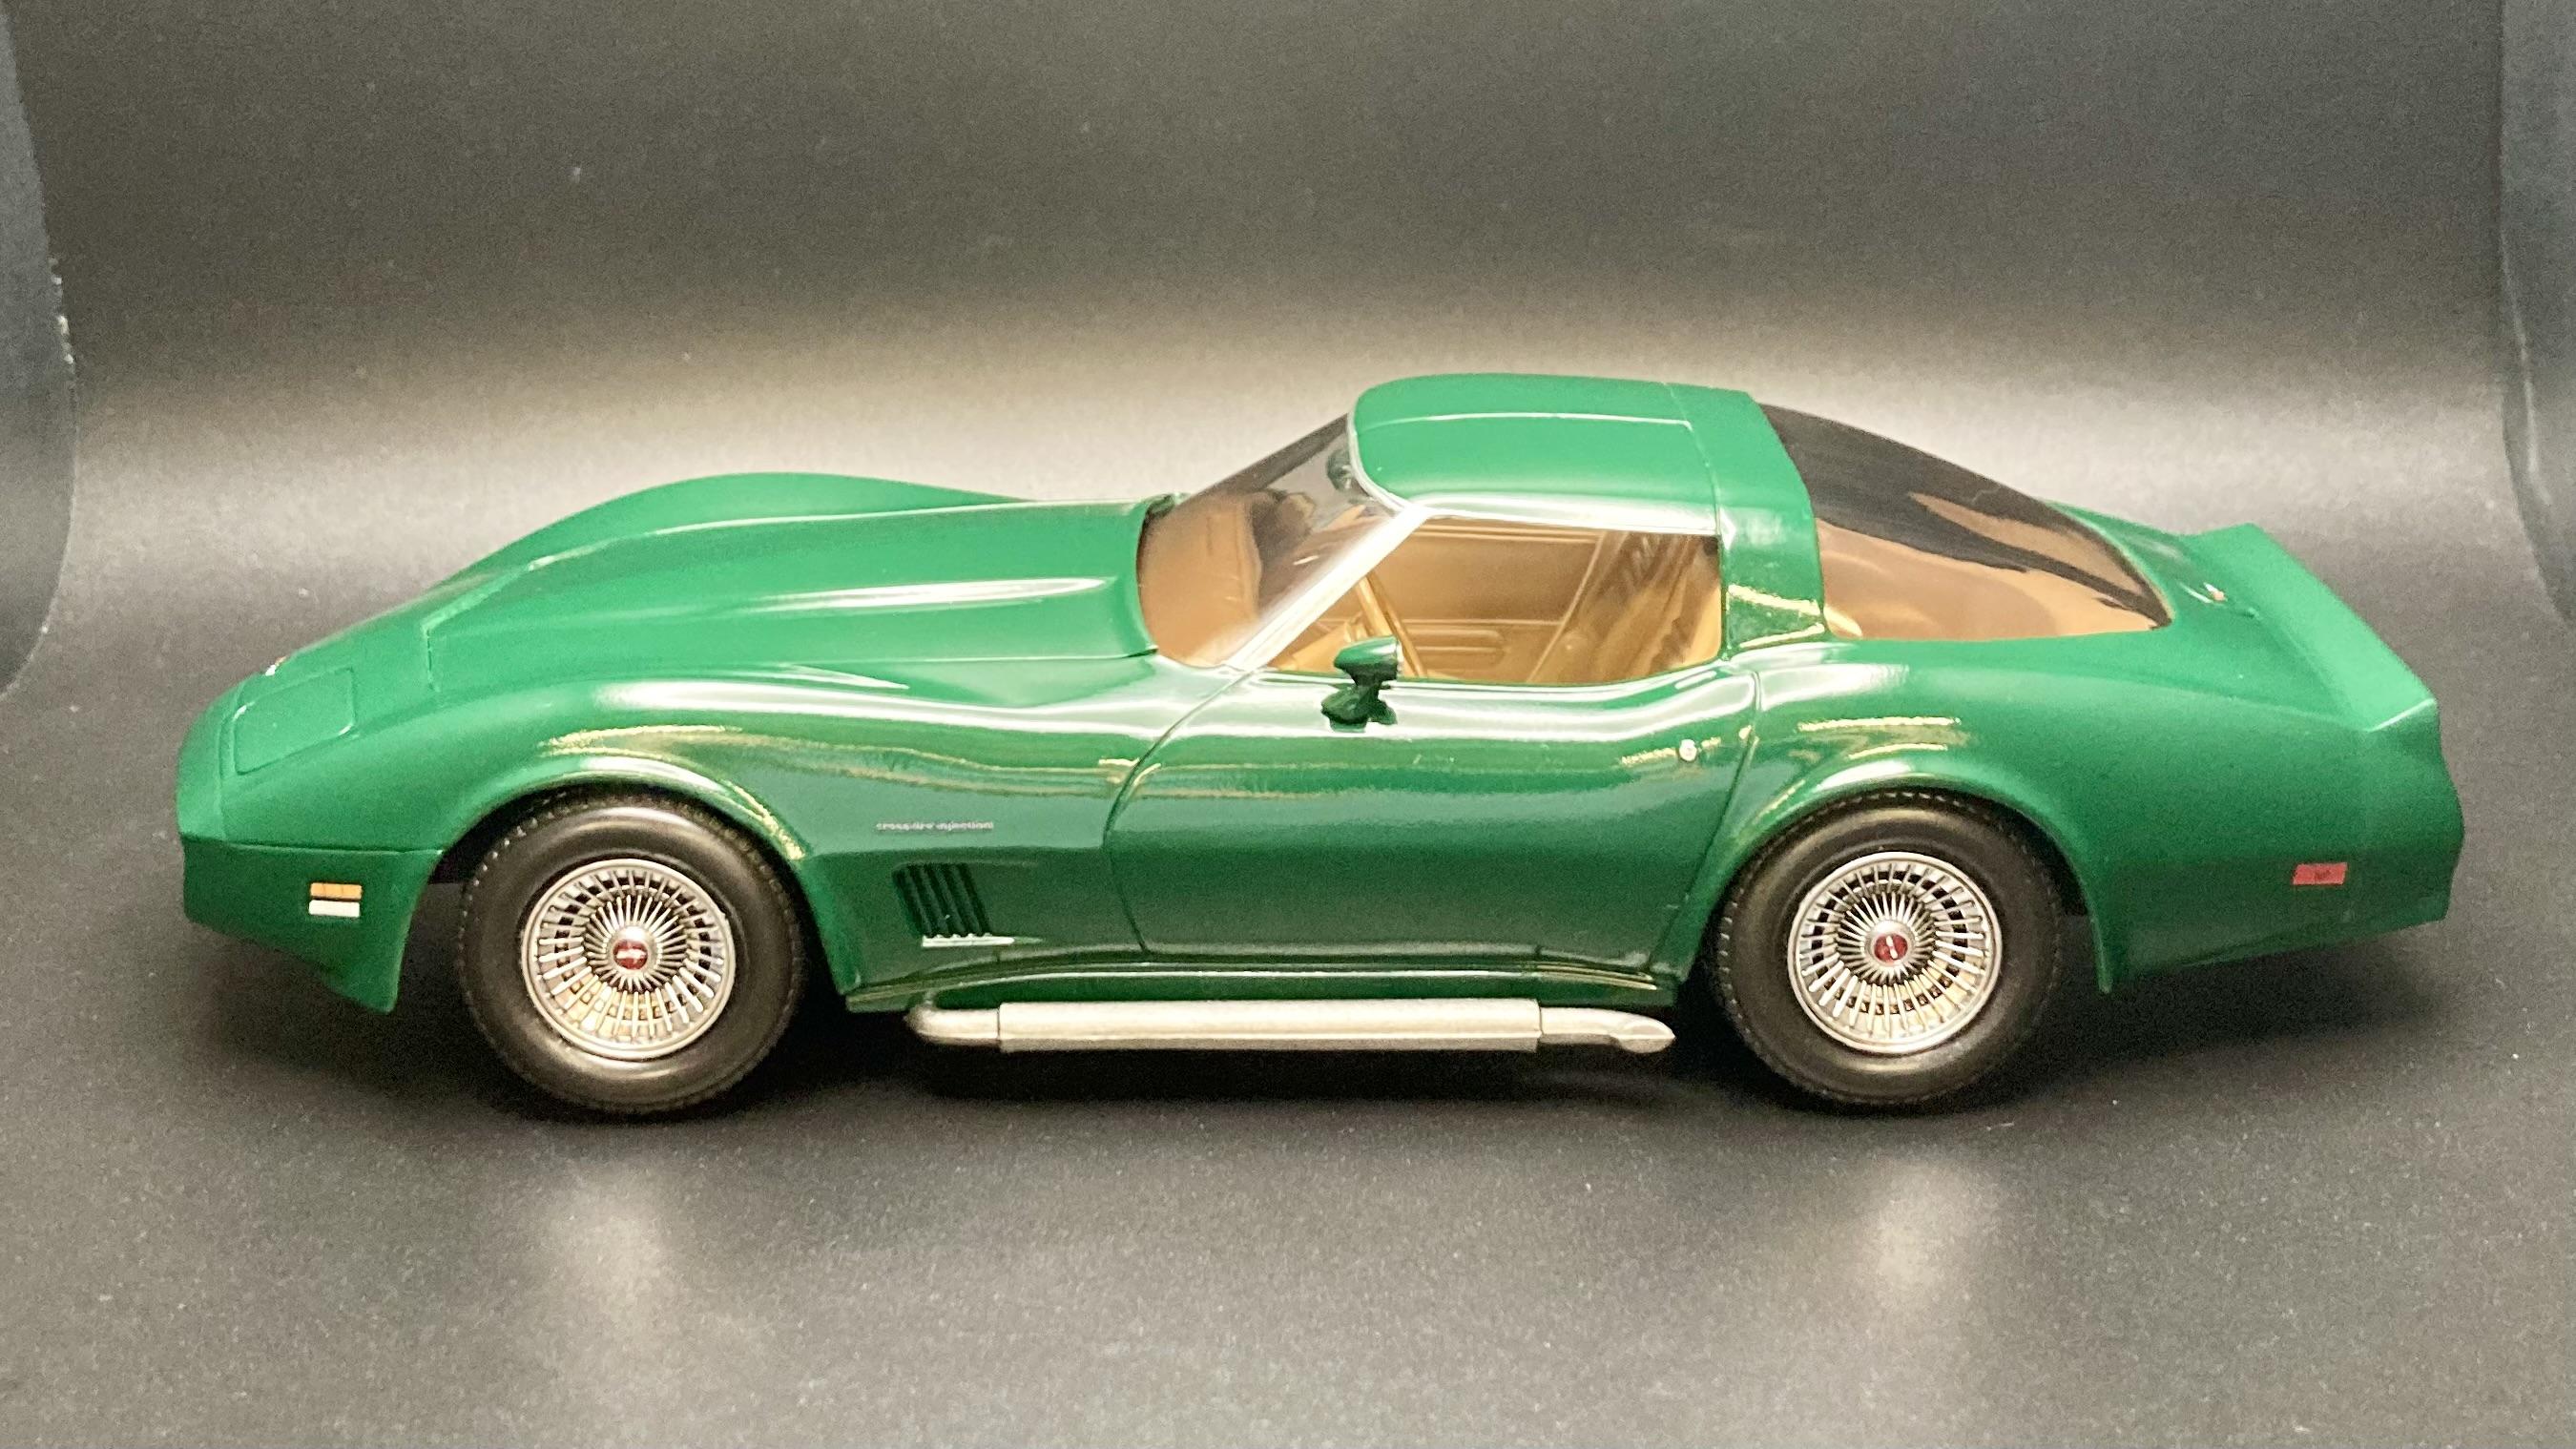
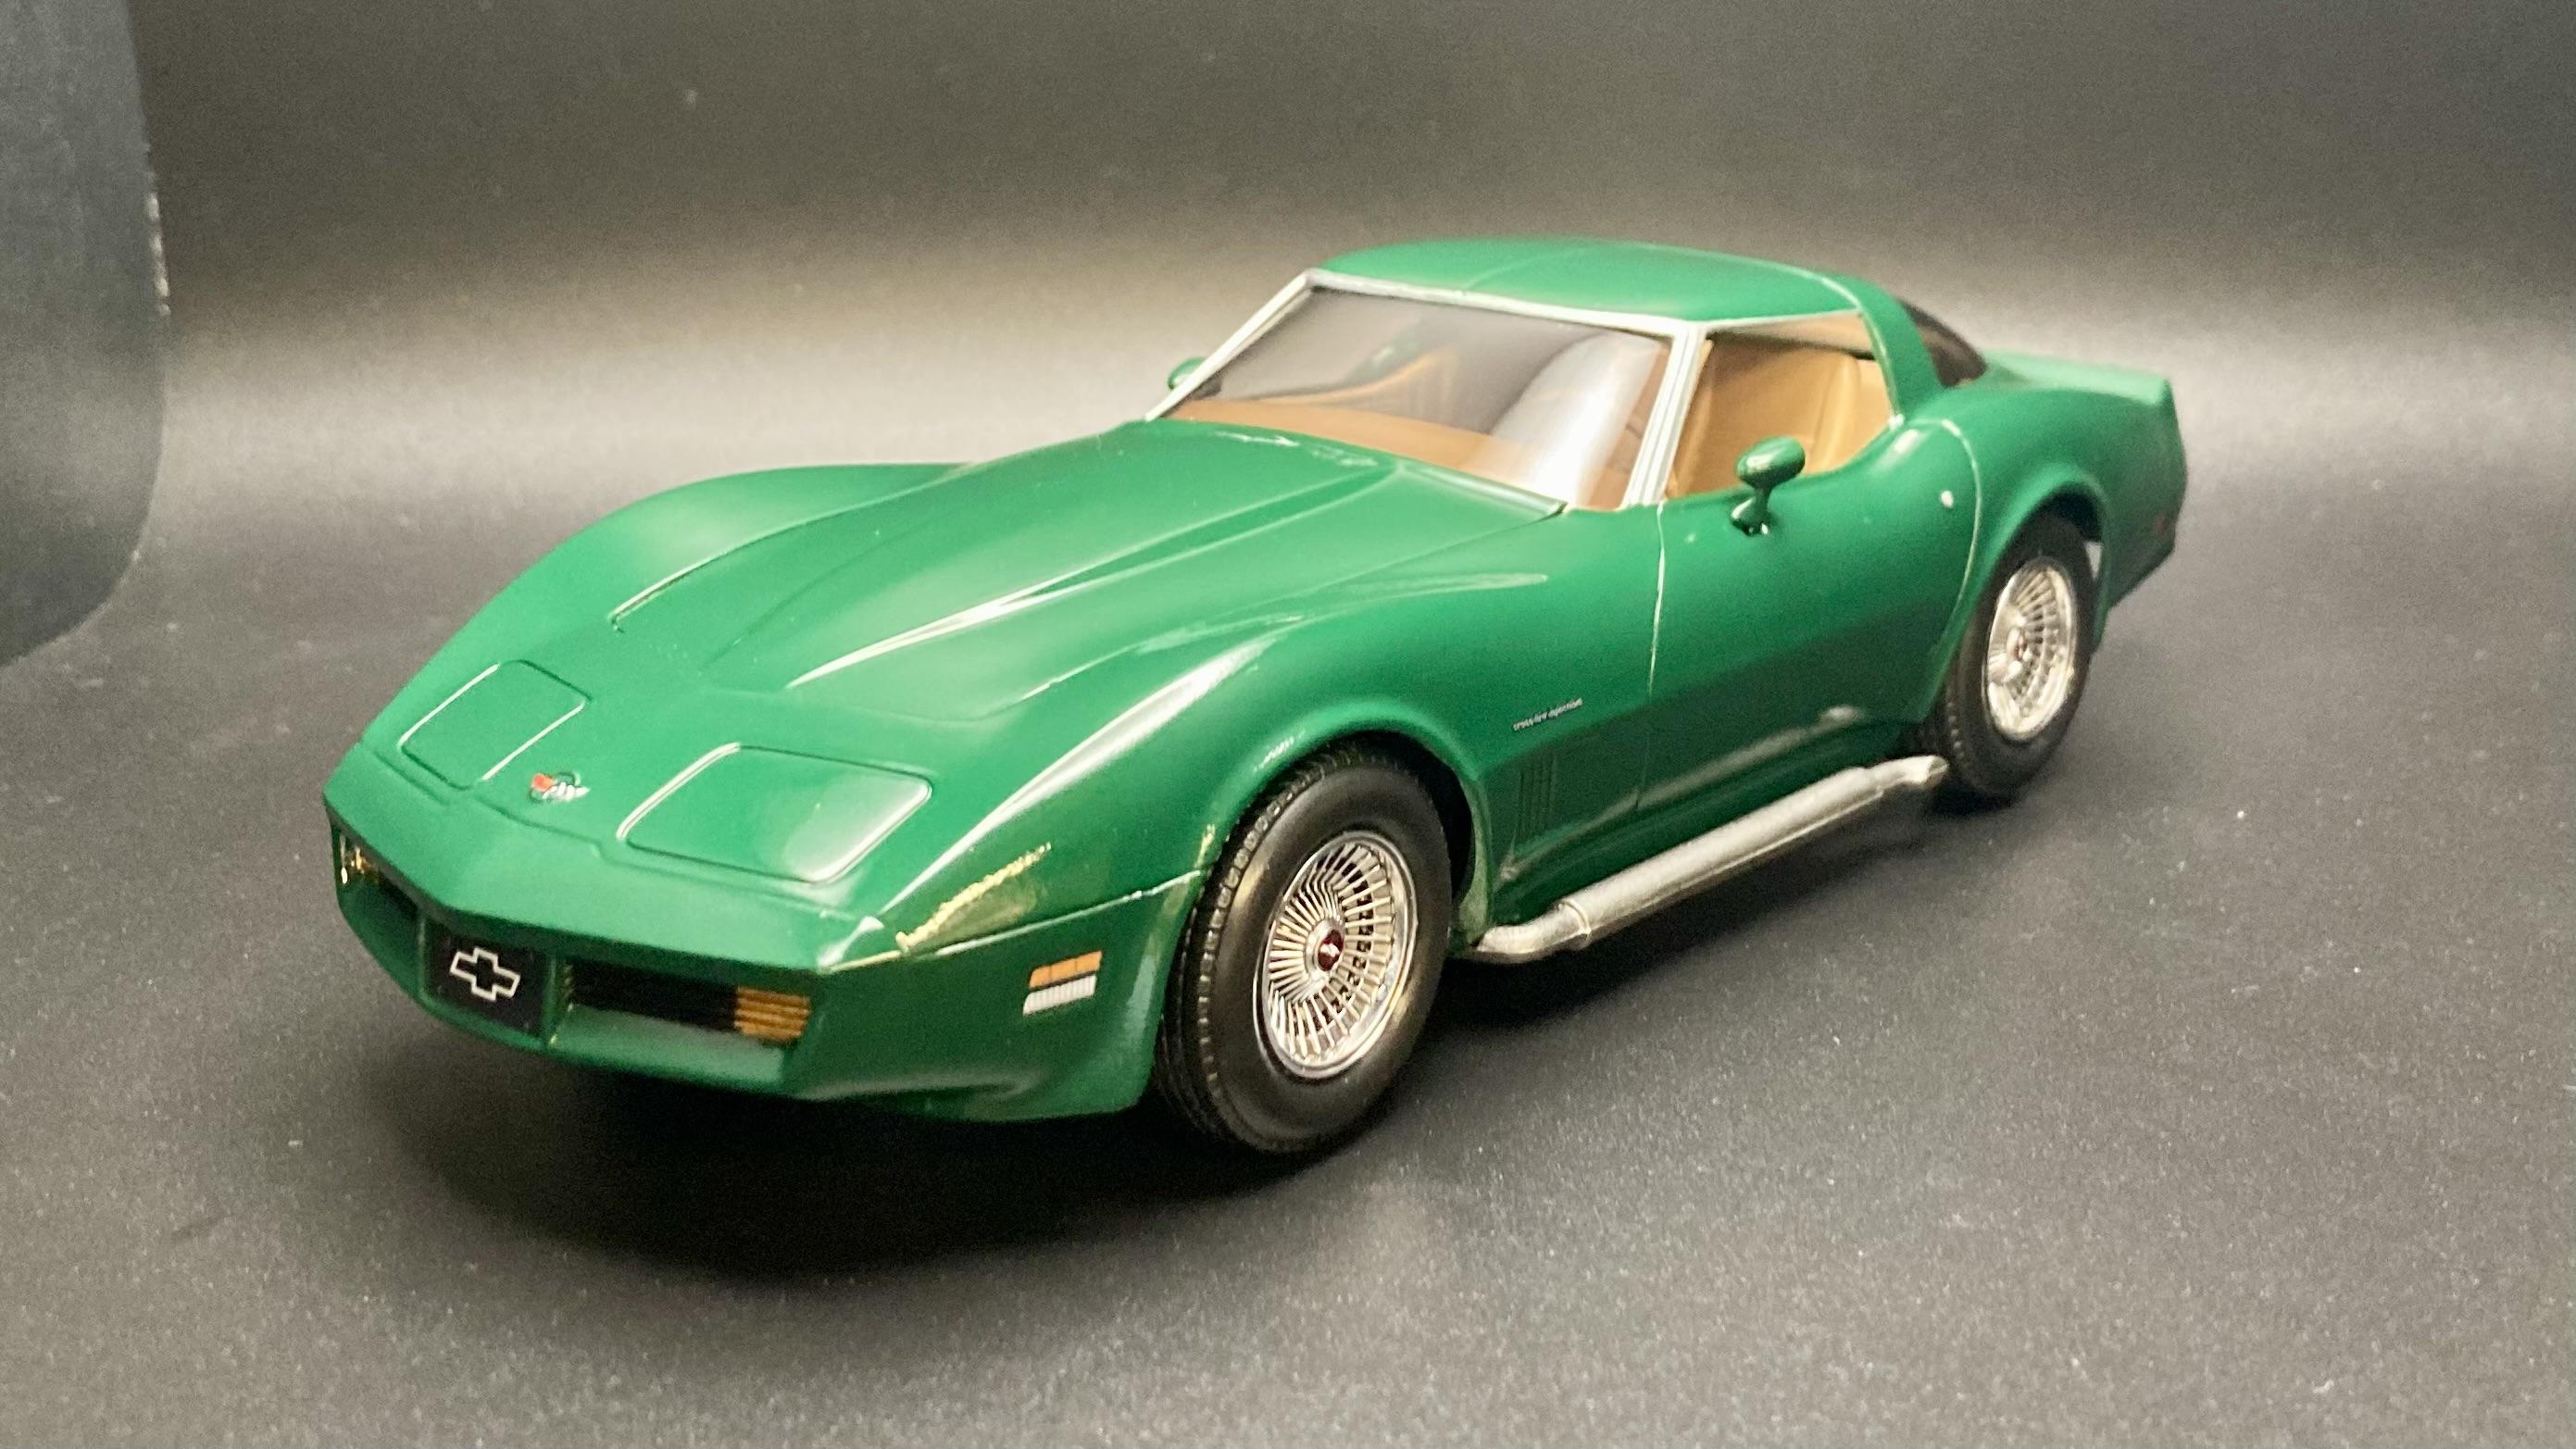
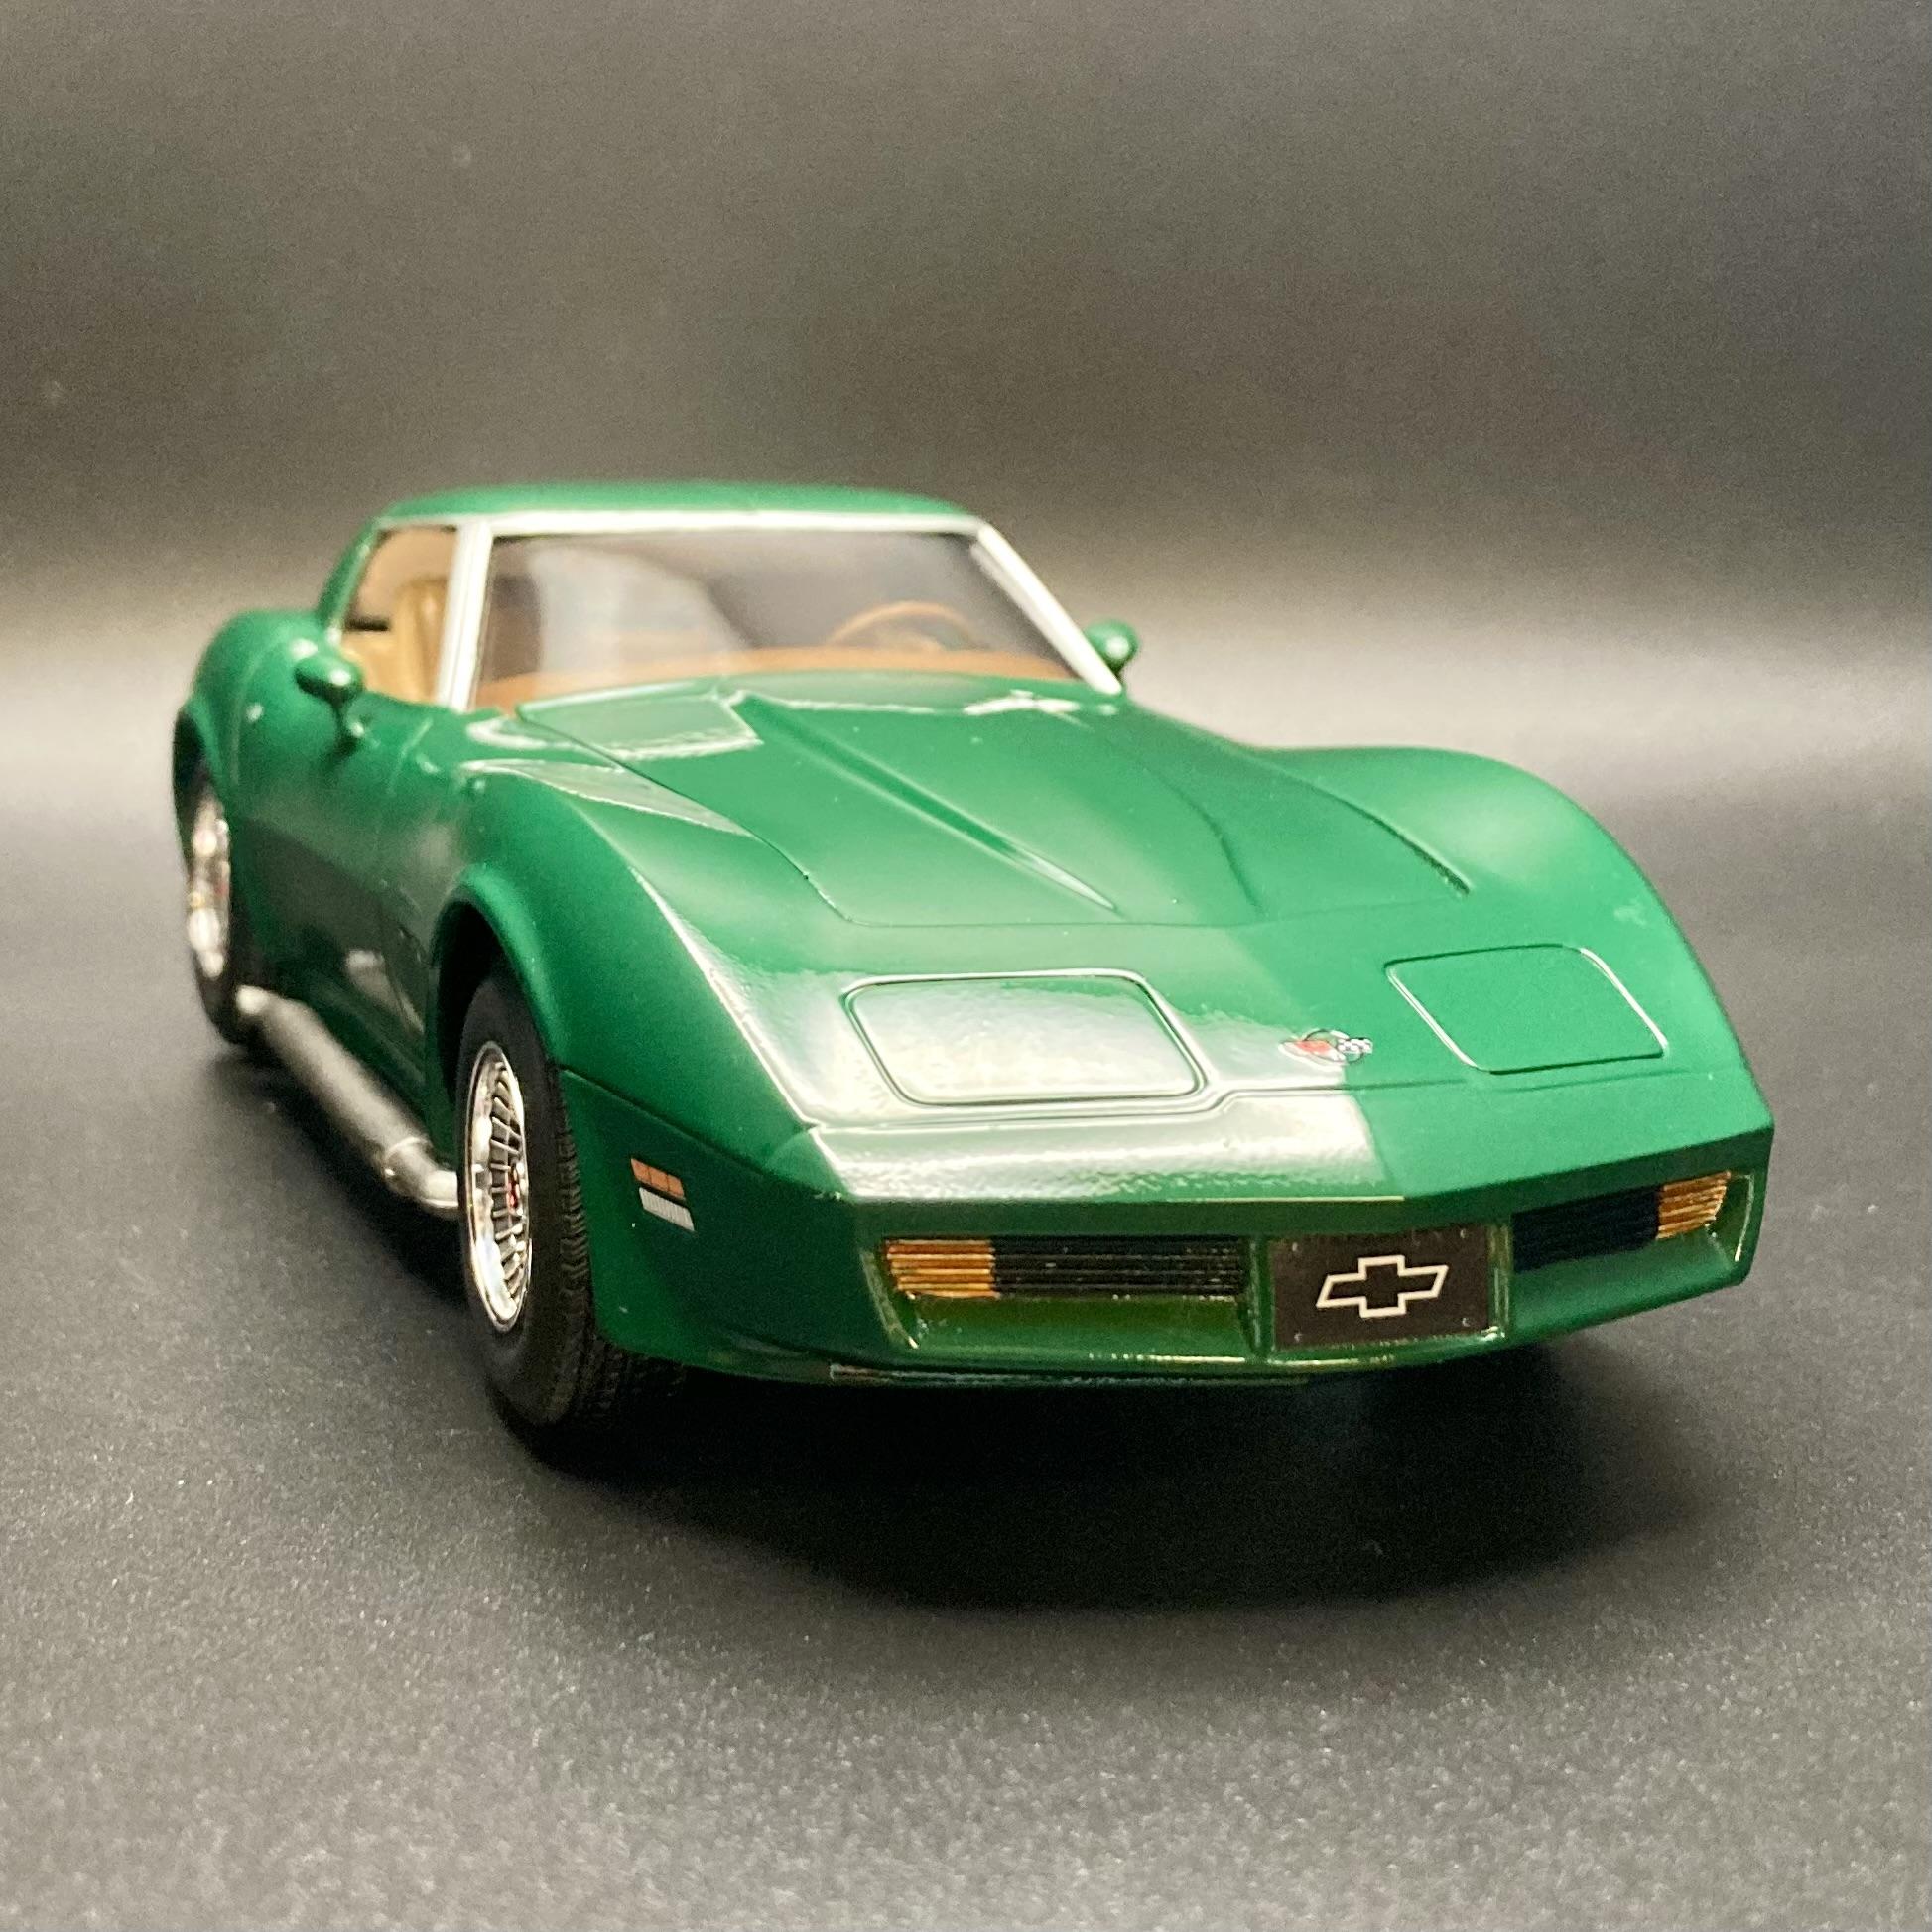
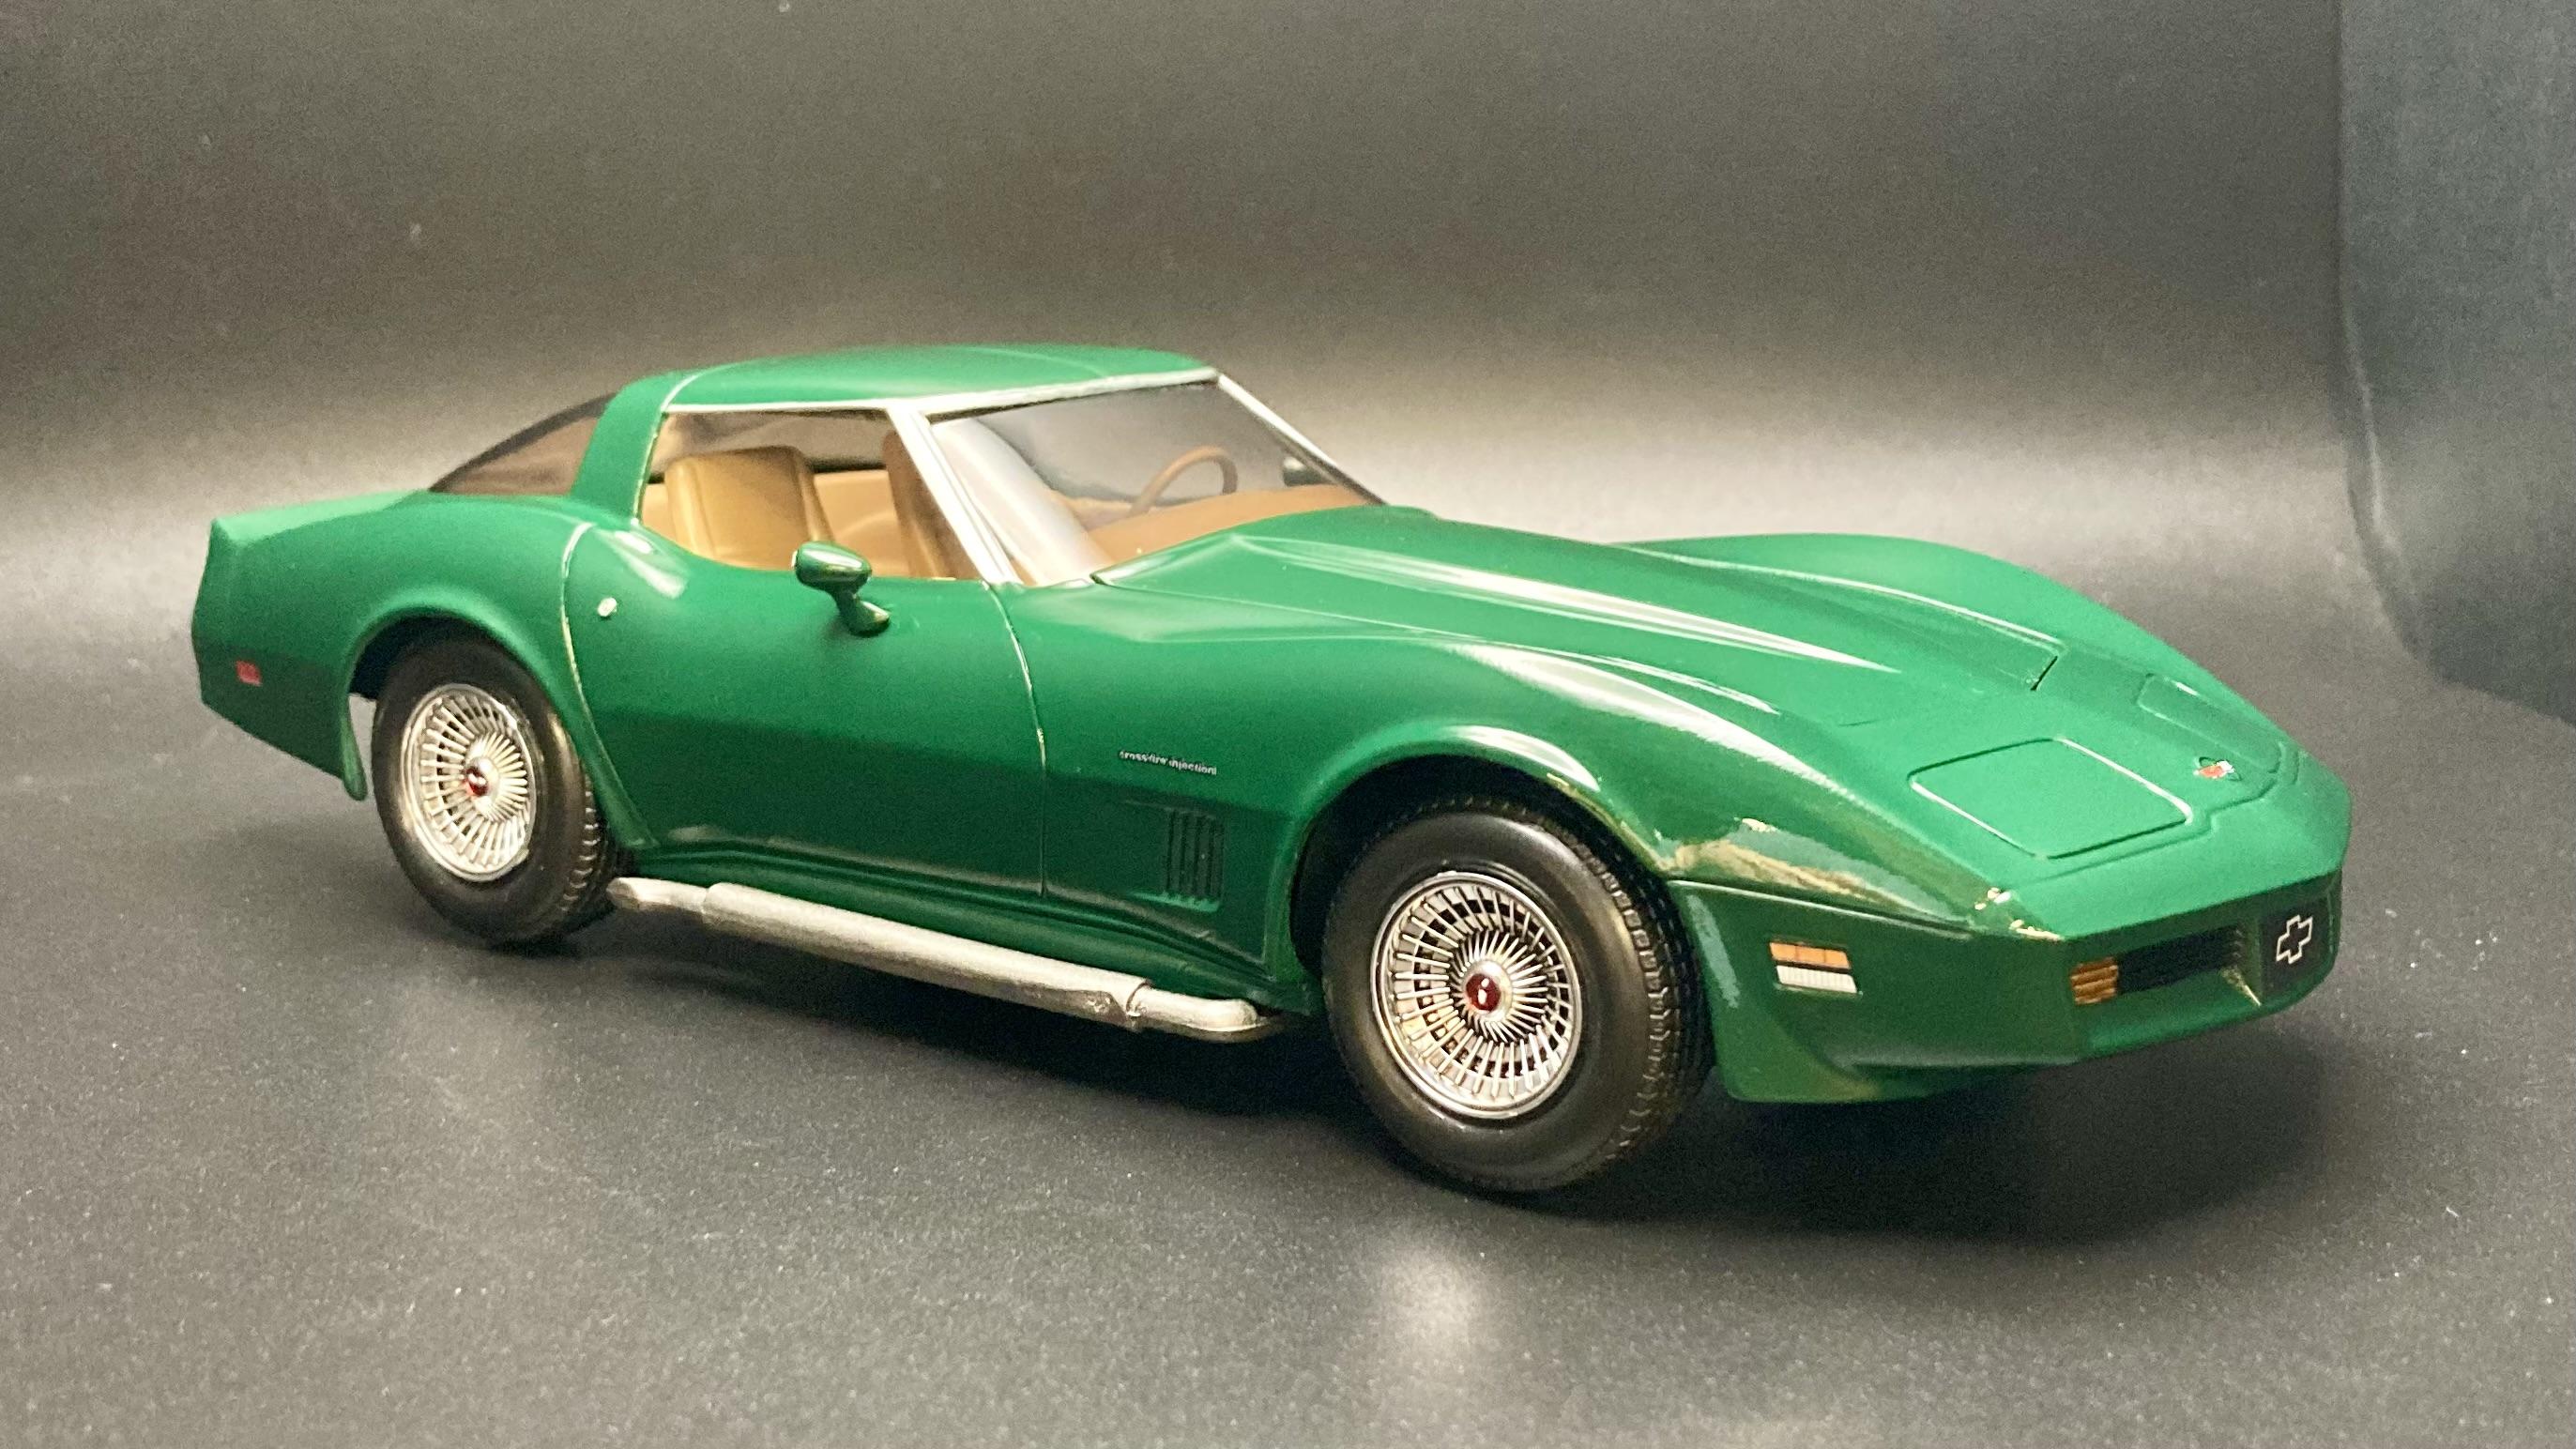
Here’s my build of Monogram’s snap kit 1982 Corvette, from the recent Ollie’s Special release. It’s a quick slump buster of a kit that goes together nicely although it’s not super detailed. I airbrushed it in Tamiya X-5 green with XF-93 light brown for the interior. This was my first acrylic airbrushed body in a couple of years (been using Tamiya spray lacquer for some time for bodies since I get way better results), so it’s not my best work but looks ok. I think I’m not thinning out the paint enough so there are a few orange-peel spots. The green is not factory for ‘82 and the windshield trim should be black, but I think the green over tan and silver trim gives it a nice luxury look. Late C3’s are oddly my favorite Corvettes style-wise although I know they were lacking in the performance department.
-
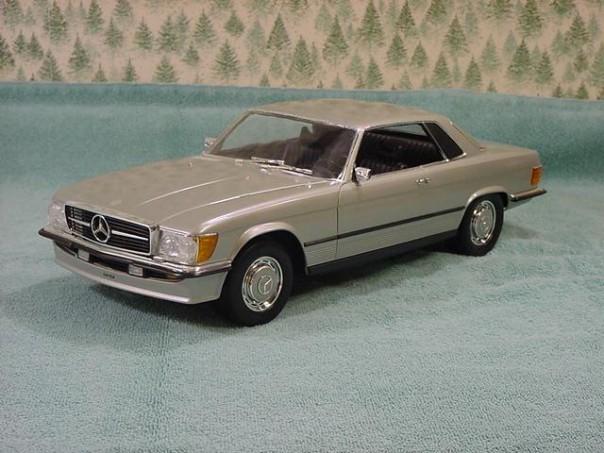
Greetings! After 8 years, and receiving warm compliments on my lighted 1/8-scale Turbo Trans Am model in another post, I think it's a great time to introduce myself. As a motivational speaker and author, I share uplifting stories that have enabled me to triumph over cerebral palsy and hearing loss, reaching my dream of walking and achieving other milestones once believed impossible. I have been fortunate to be able to drive, earn a doctorate, and even write a book! I show students that self-love and loving others encourages us to find the courage to accept and navigate our own challenges. I've always been fascinated by cars and scale models, and that's why I asked my friend Randy to create these custom builds in 1/8-scale and 1/12-scale. My favorites of his builds is the lighted and carpeted 1/8-scale Monogram Turbo TA model. Here are some models in my collection, all built by Randy (below). Most are 1/12-scale, but the 1978 Corvette is 1/8-scale. He took these pics at his Illinois home before shipping them to me in NJ. The 1/12-scale convertible 450SL and silver Gullwing are in Randy's collection. As I sadly lost touch with him years ago, I hope he recognizes his builds and is inspired to reconnect with me! Enjoy!
-
folks, Any word on the re release of the old Monogram "Black Widow" T truck ?
- 55 replies
-
- Black Widow
- Monogram
-
(and 2 more)
Tagged with:
-
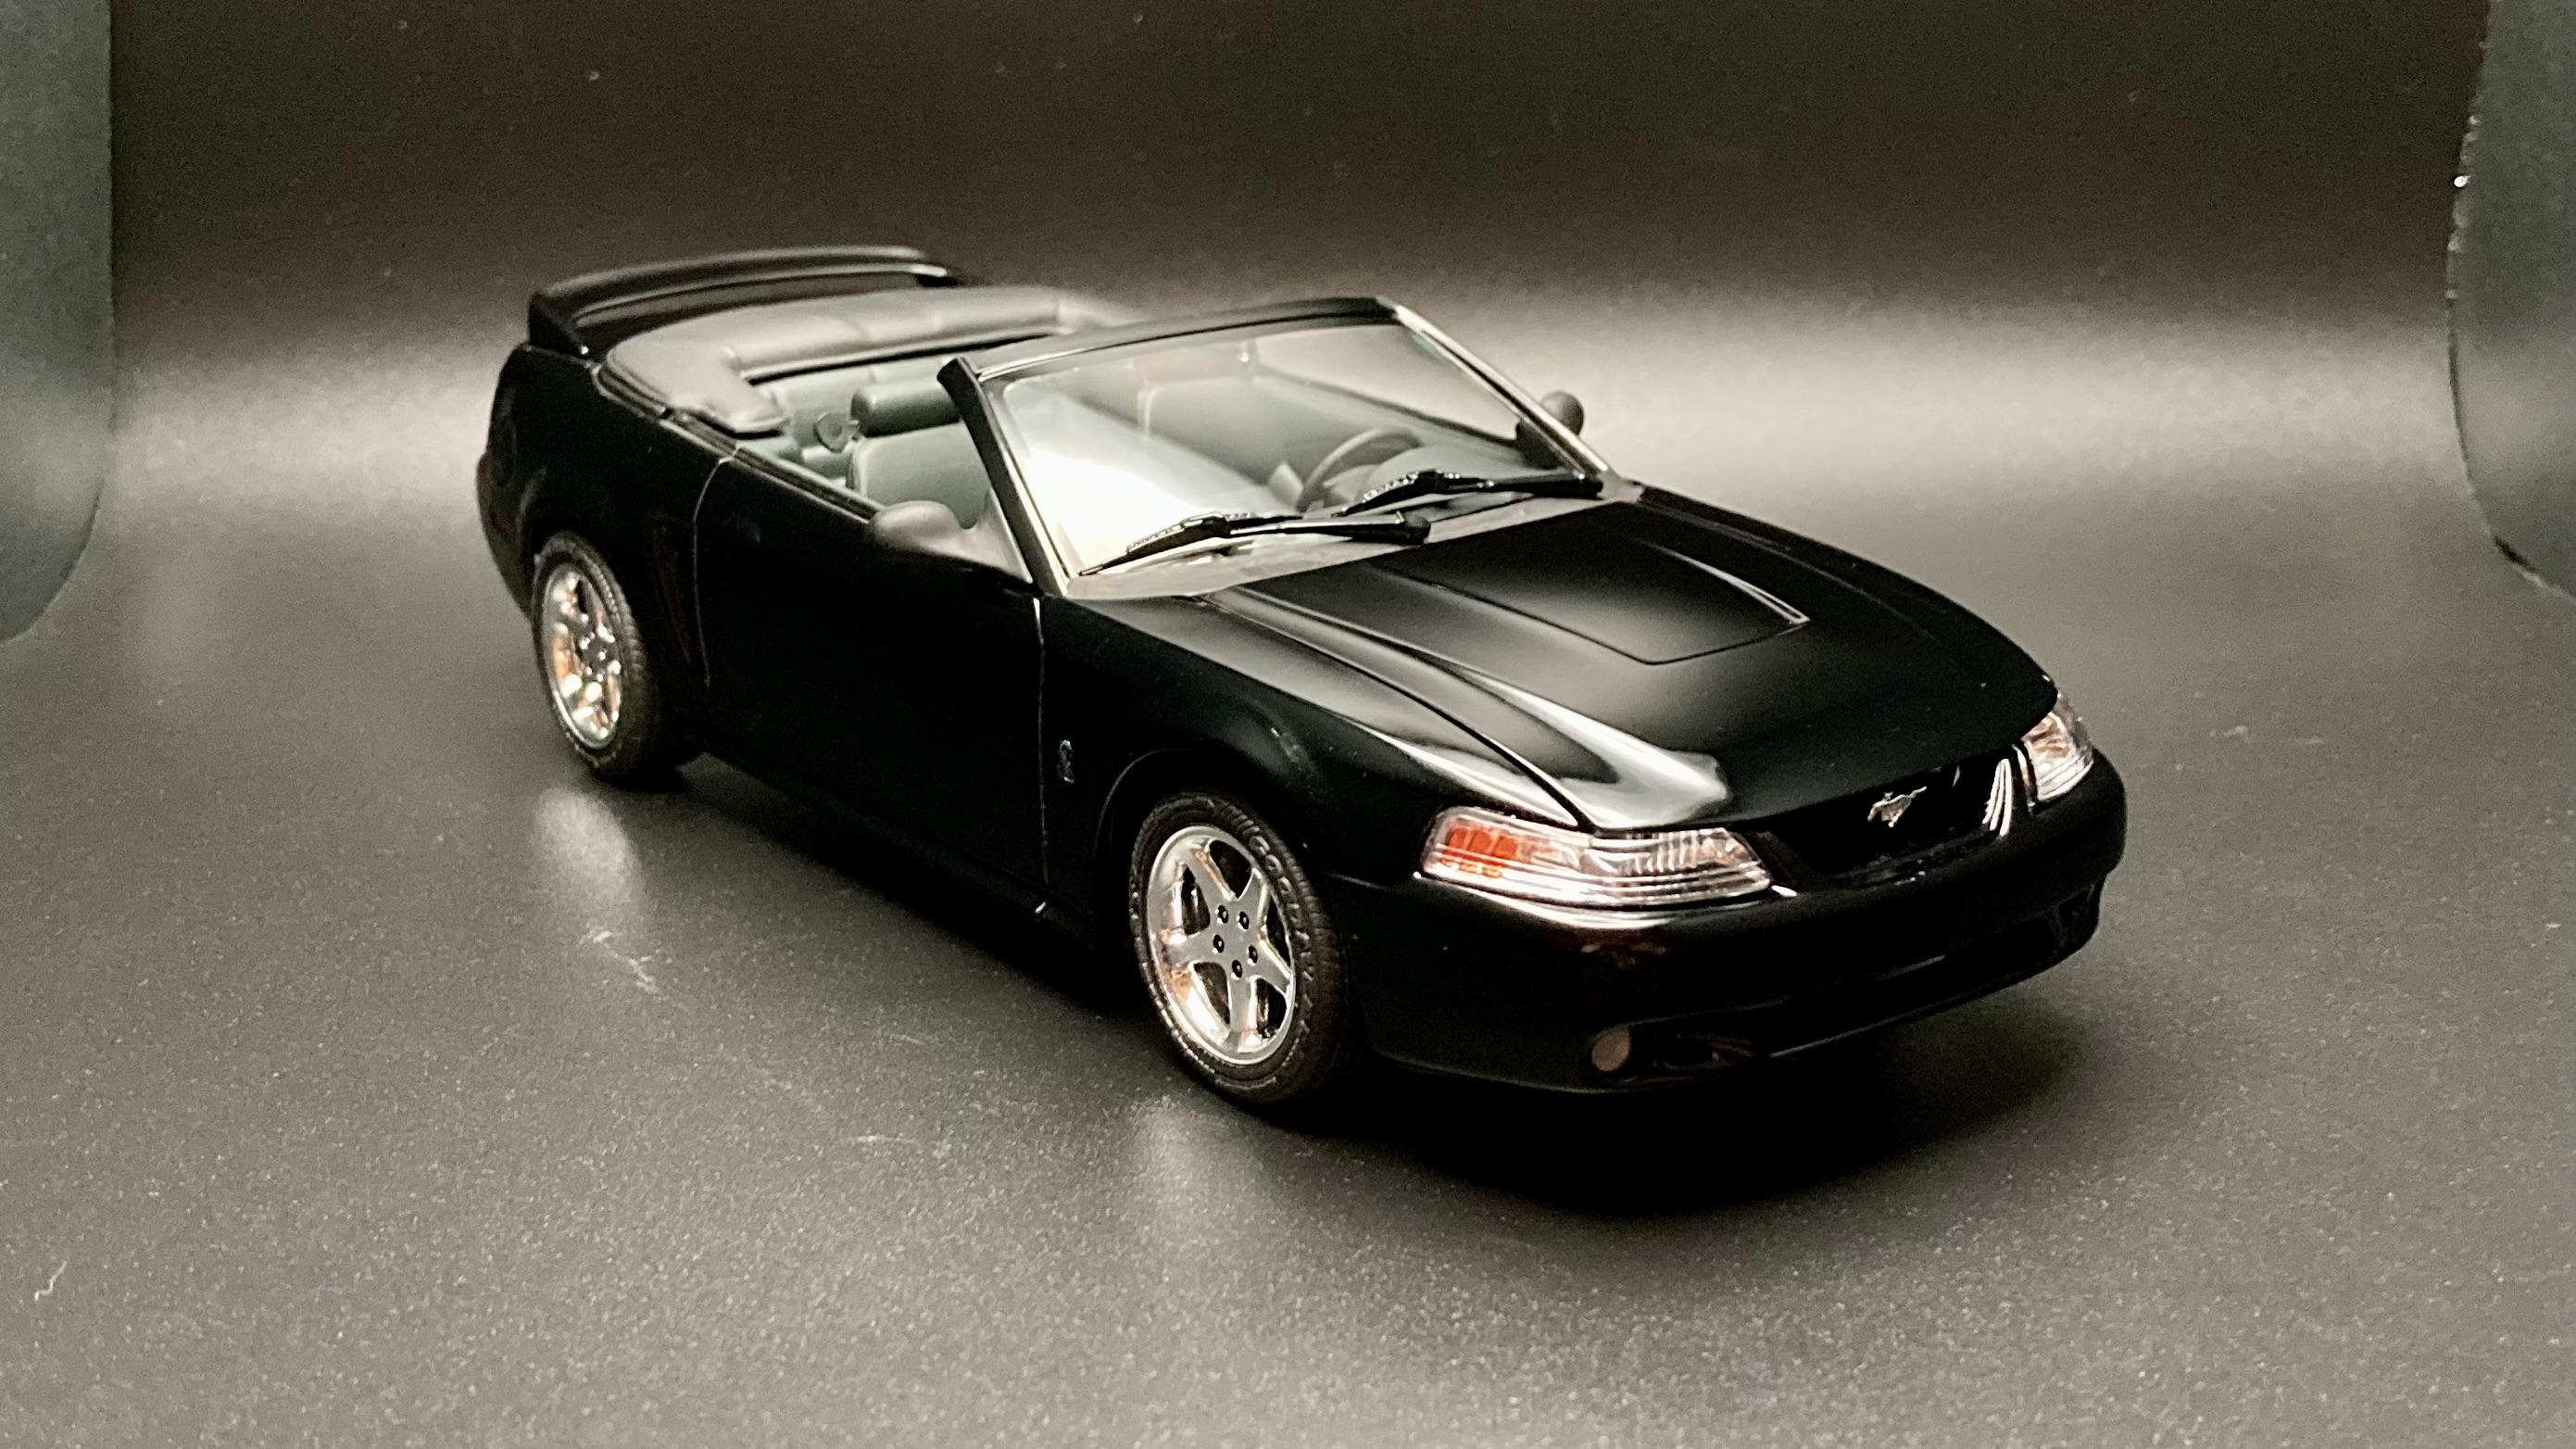
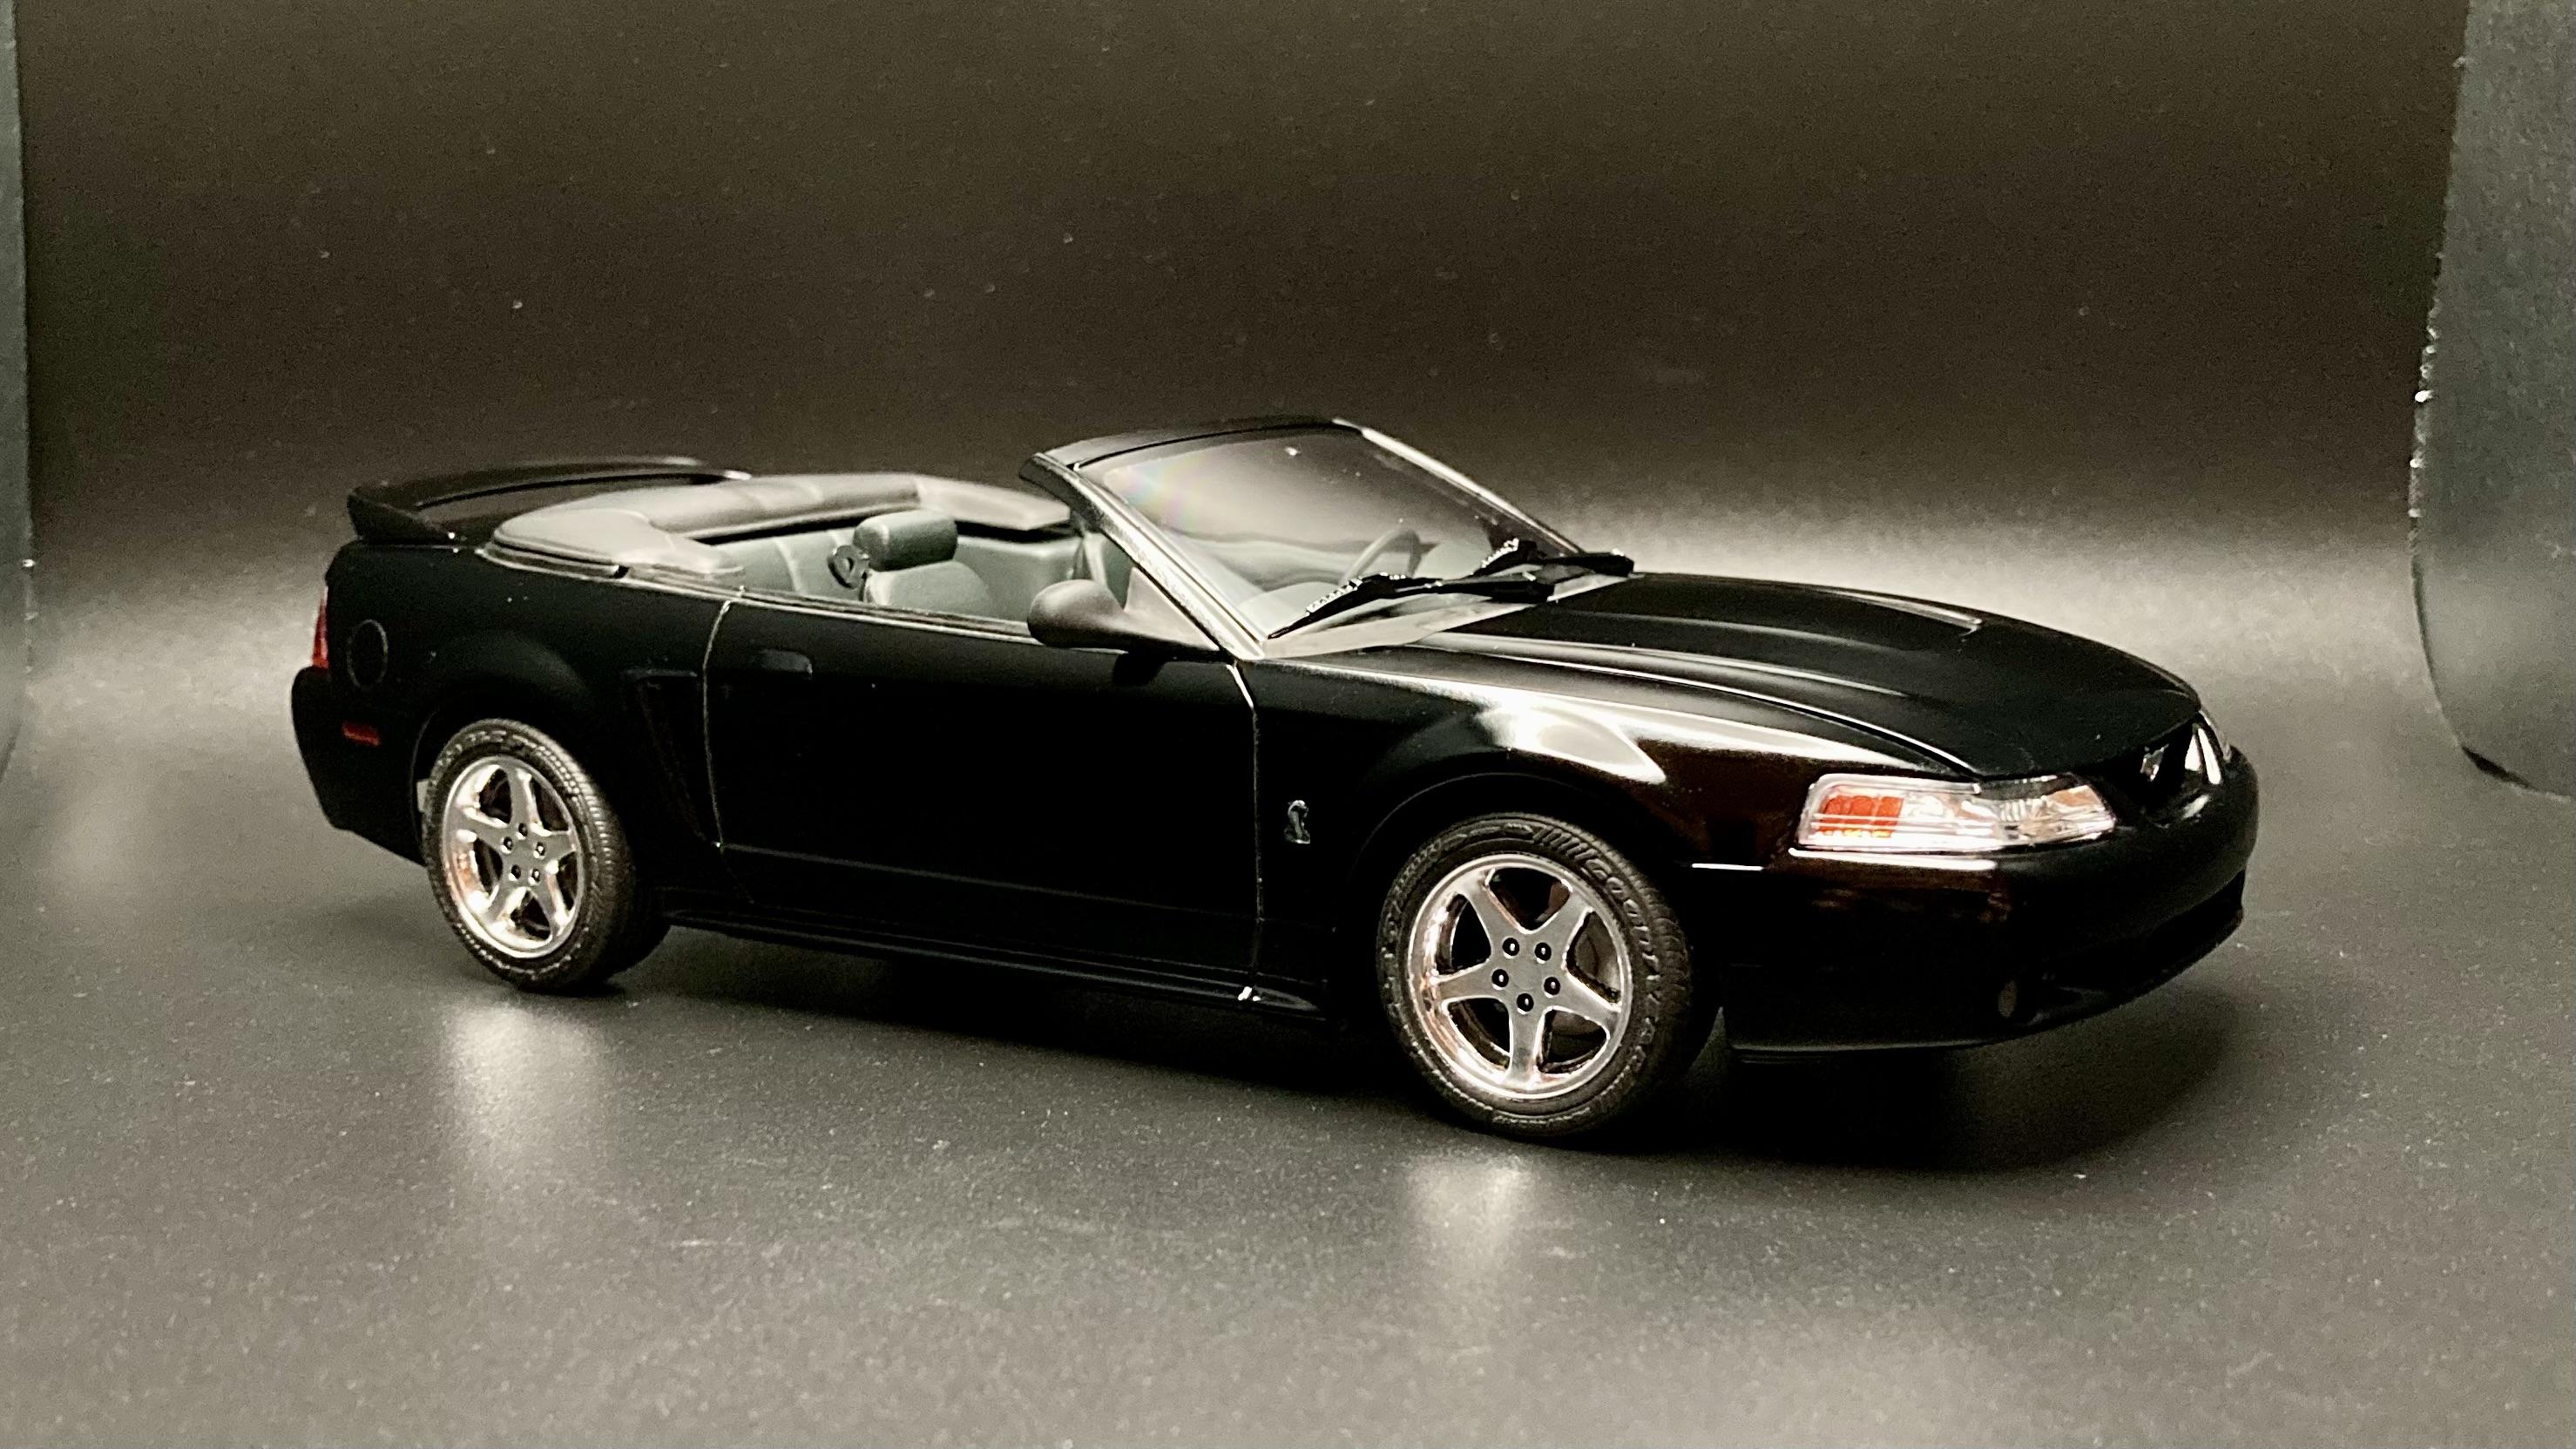
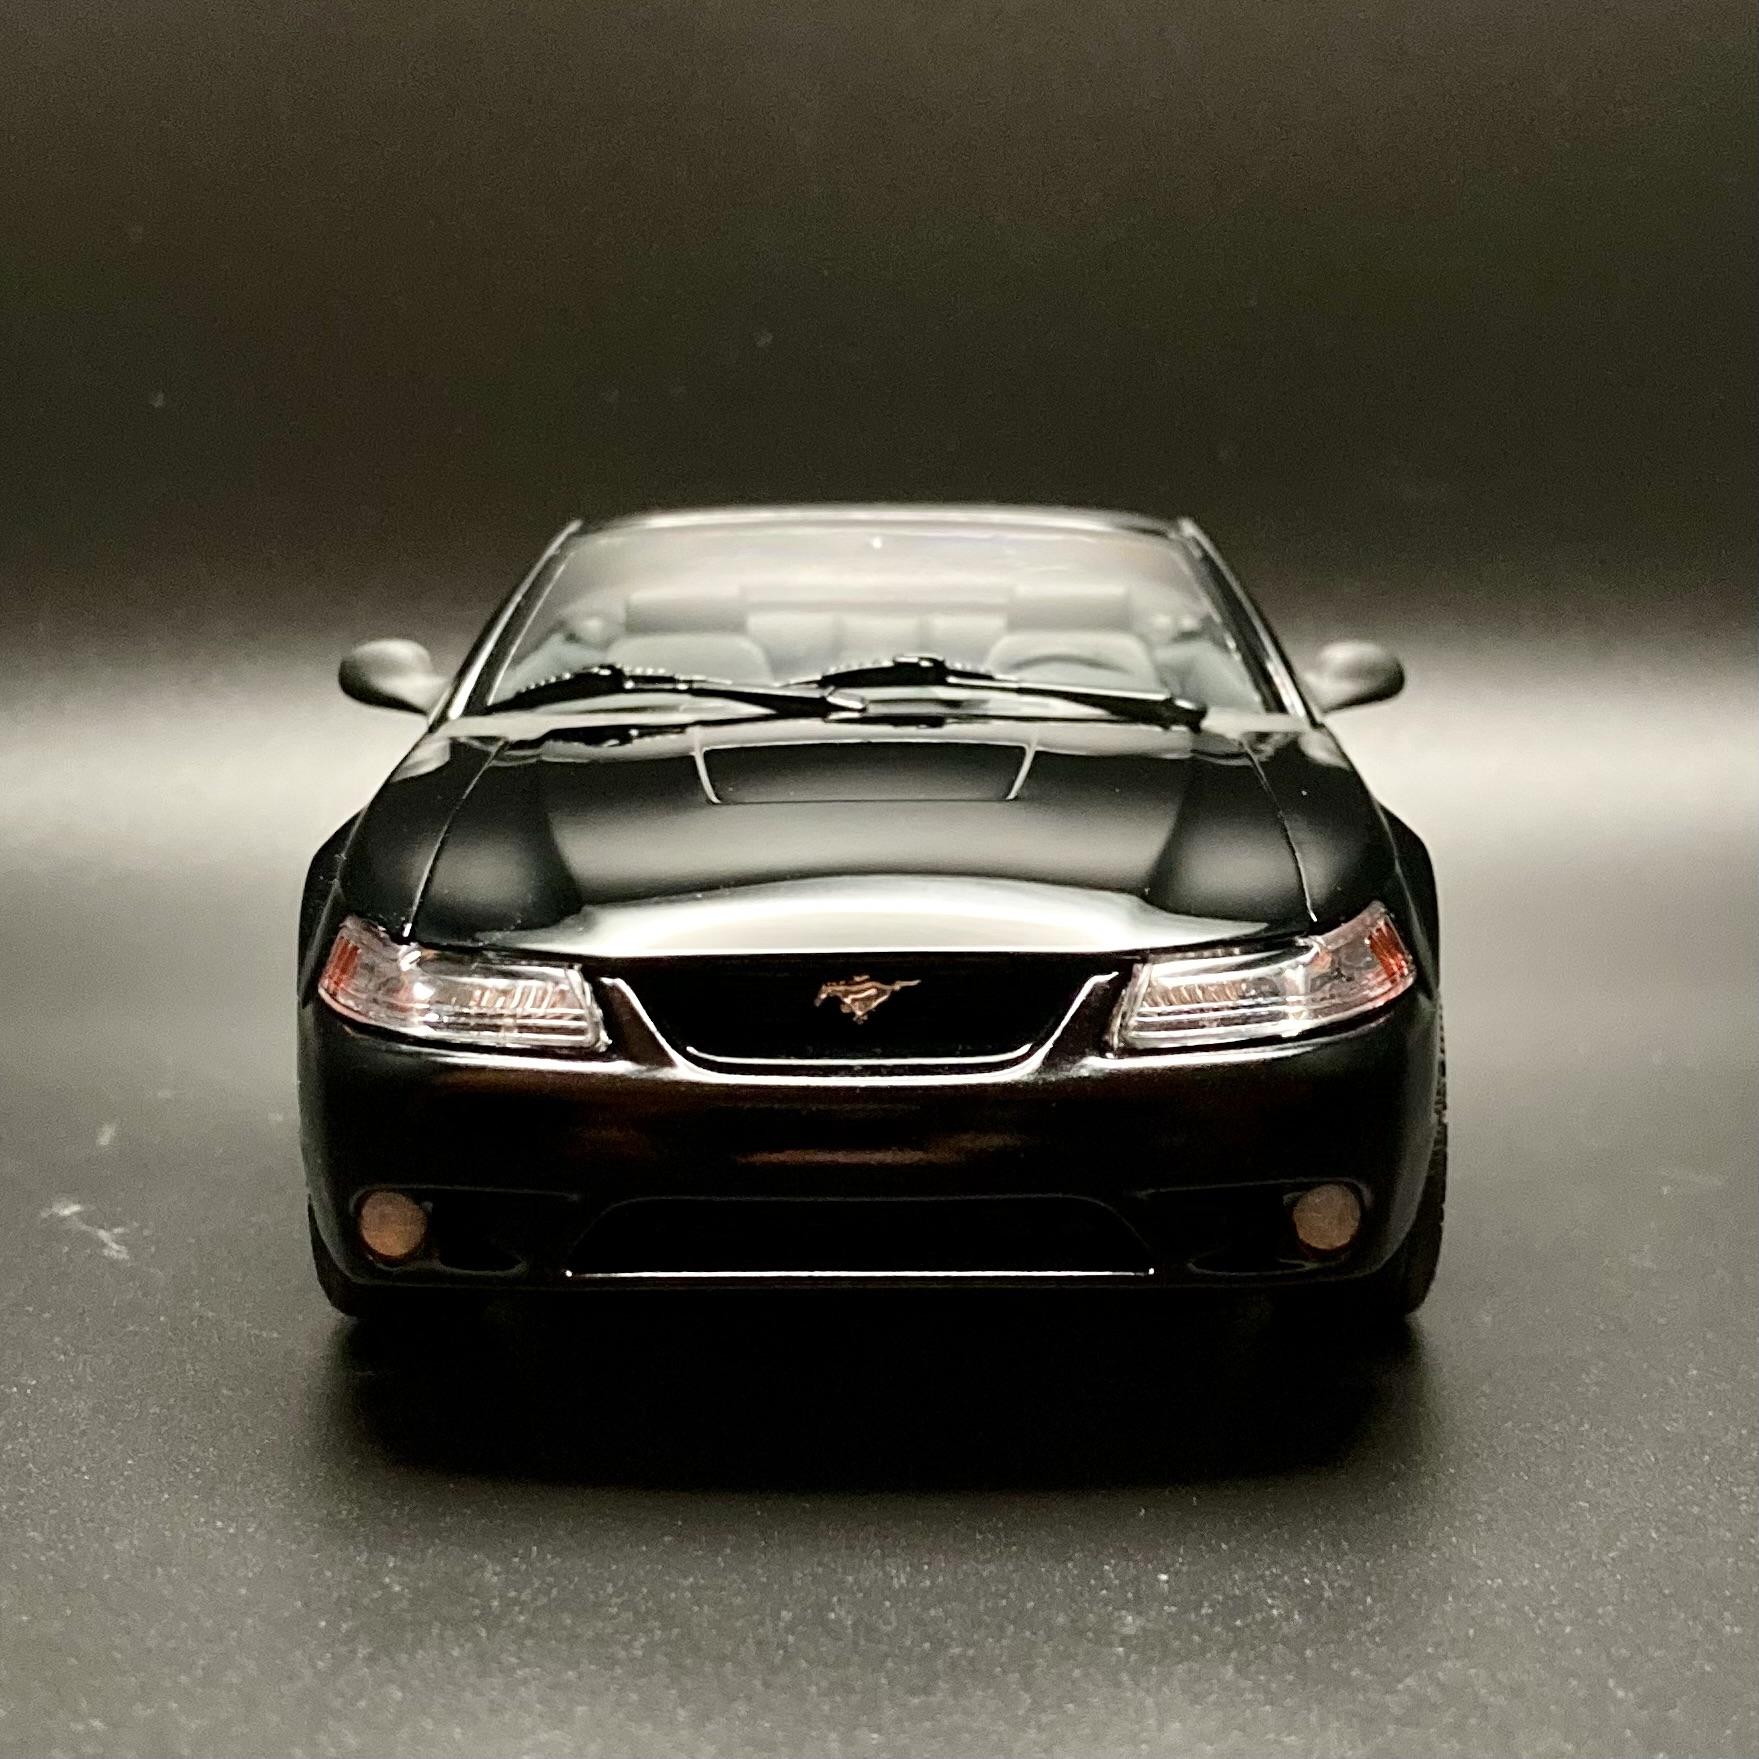
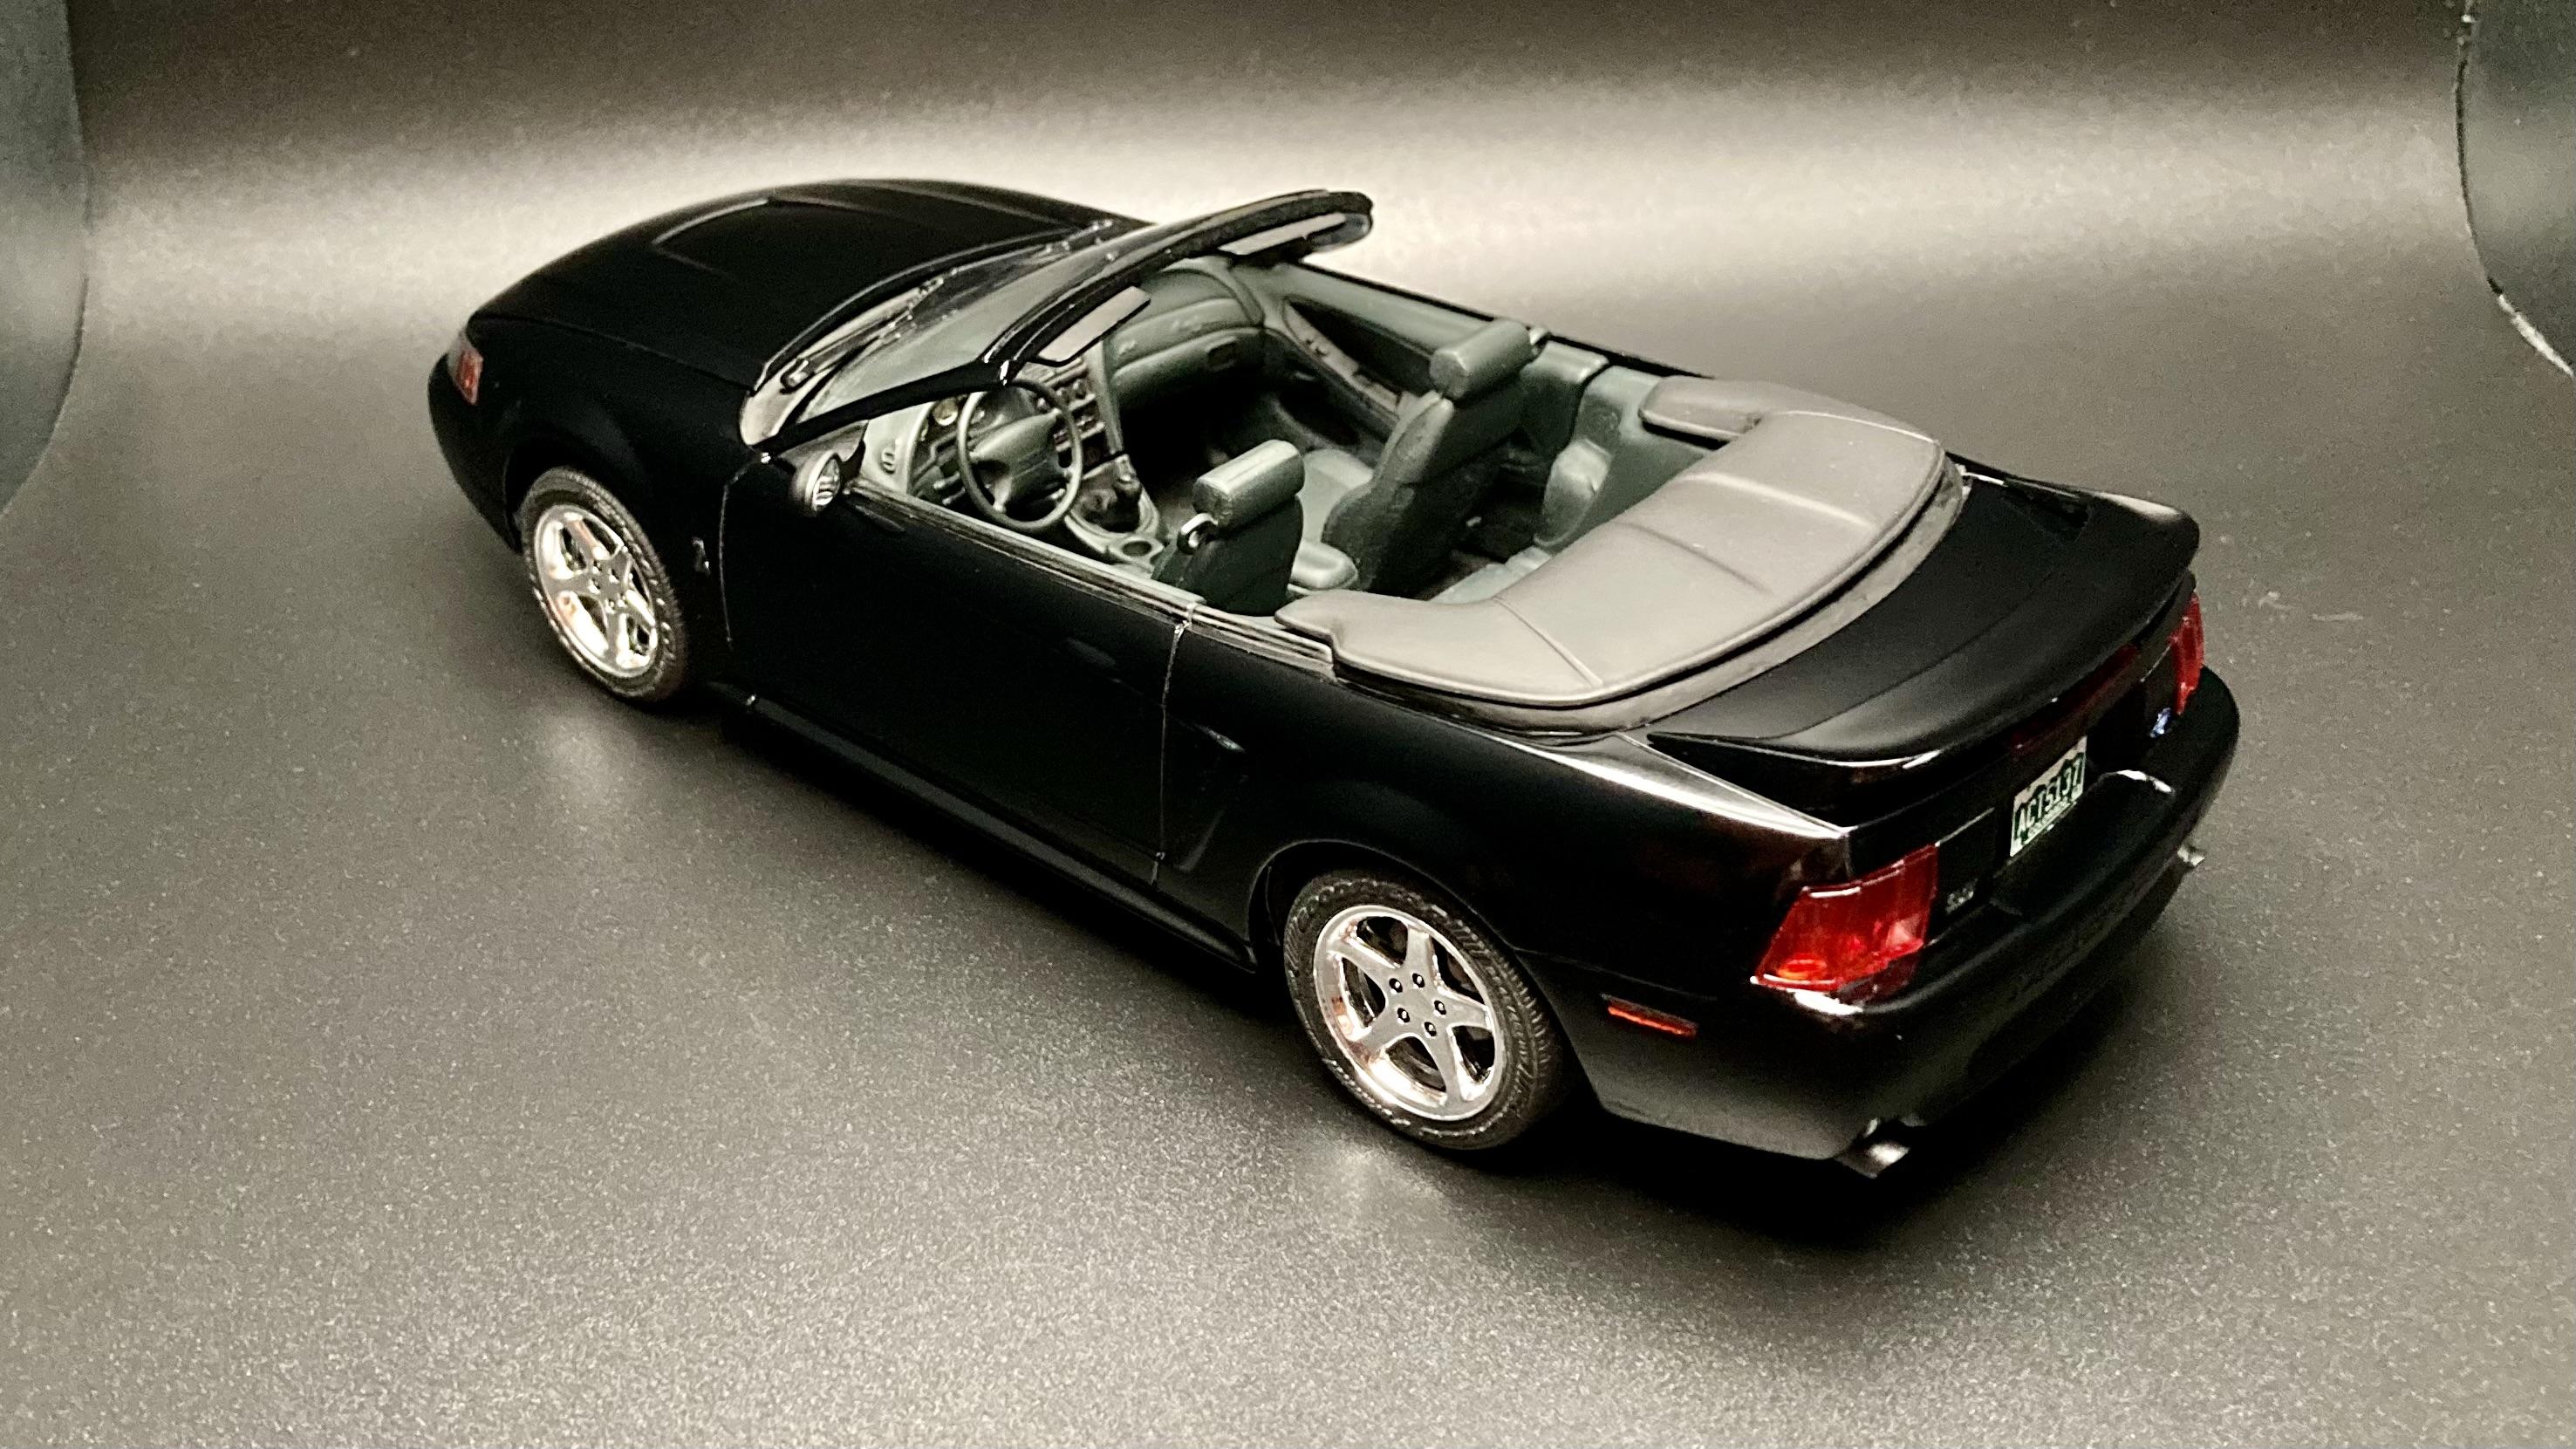
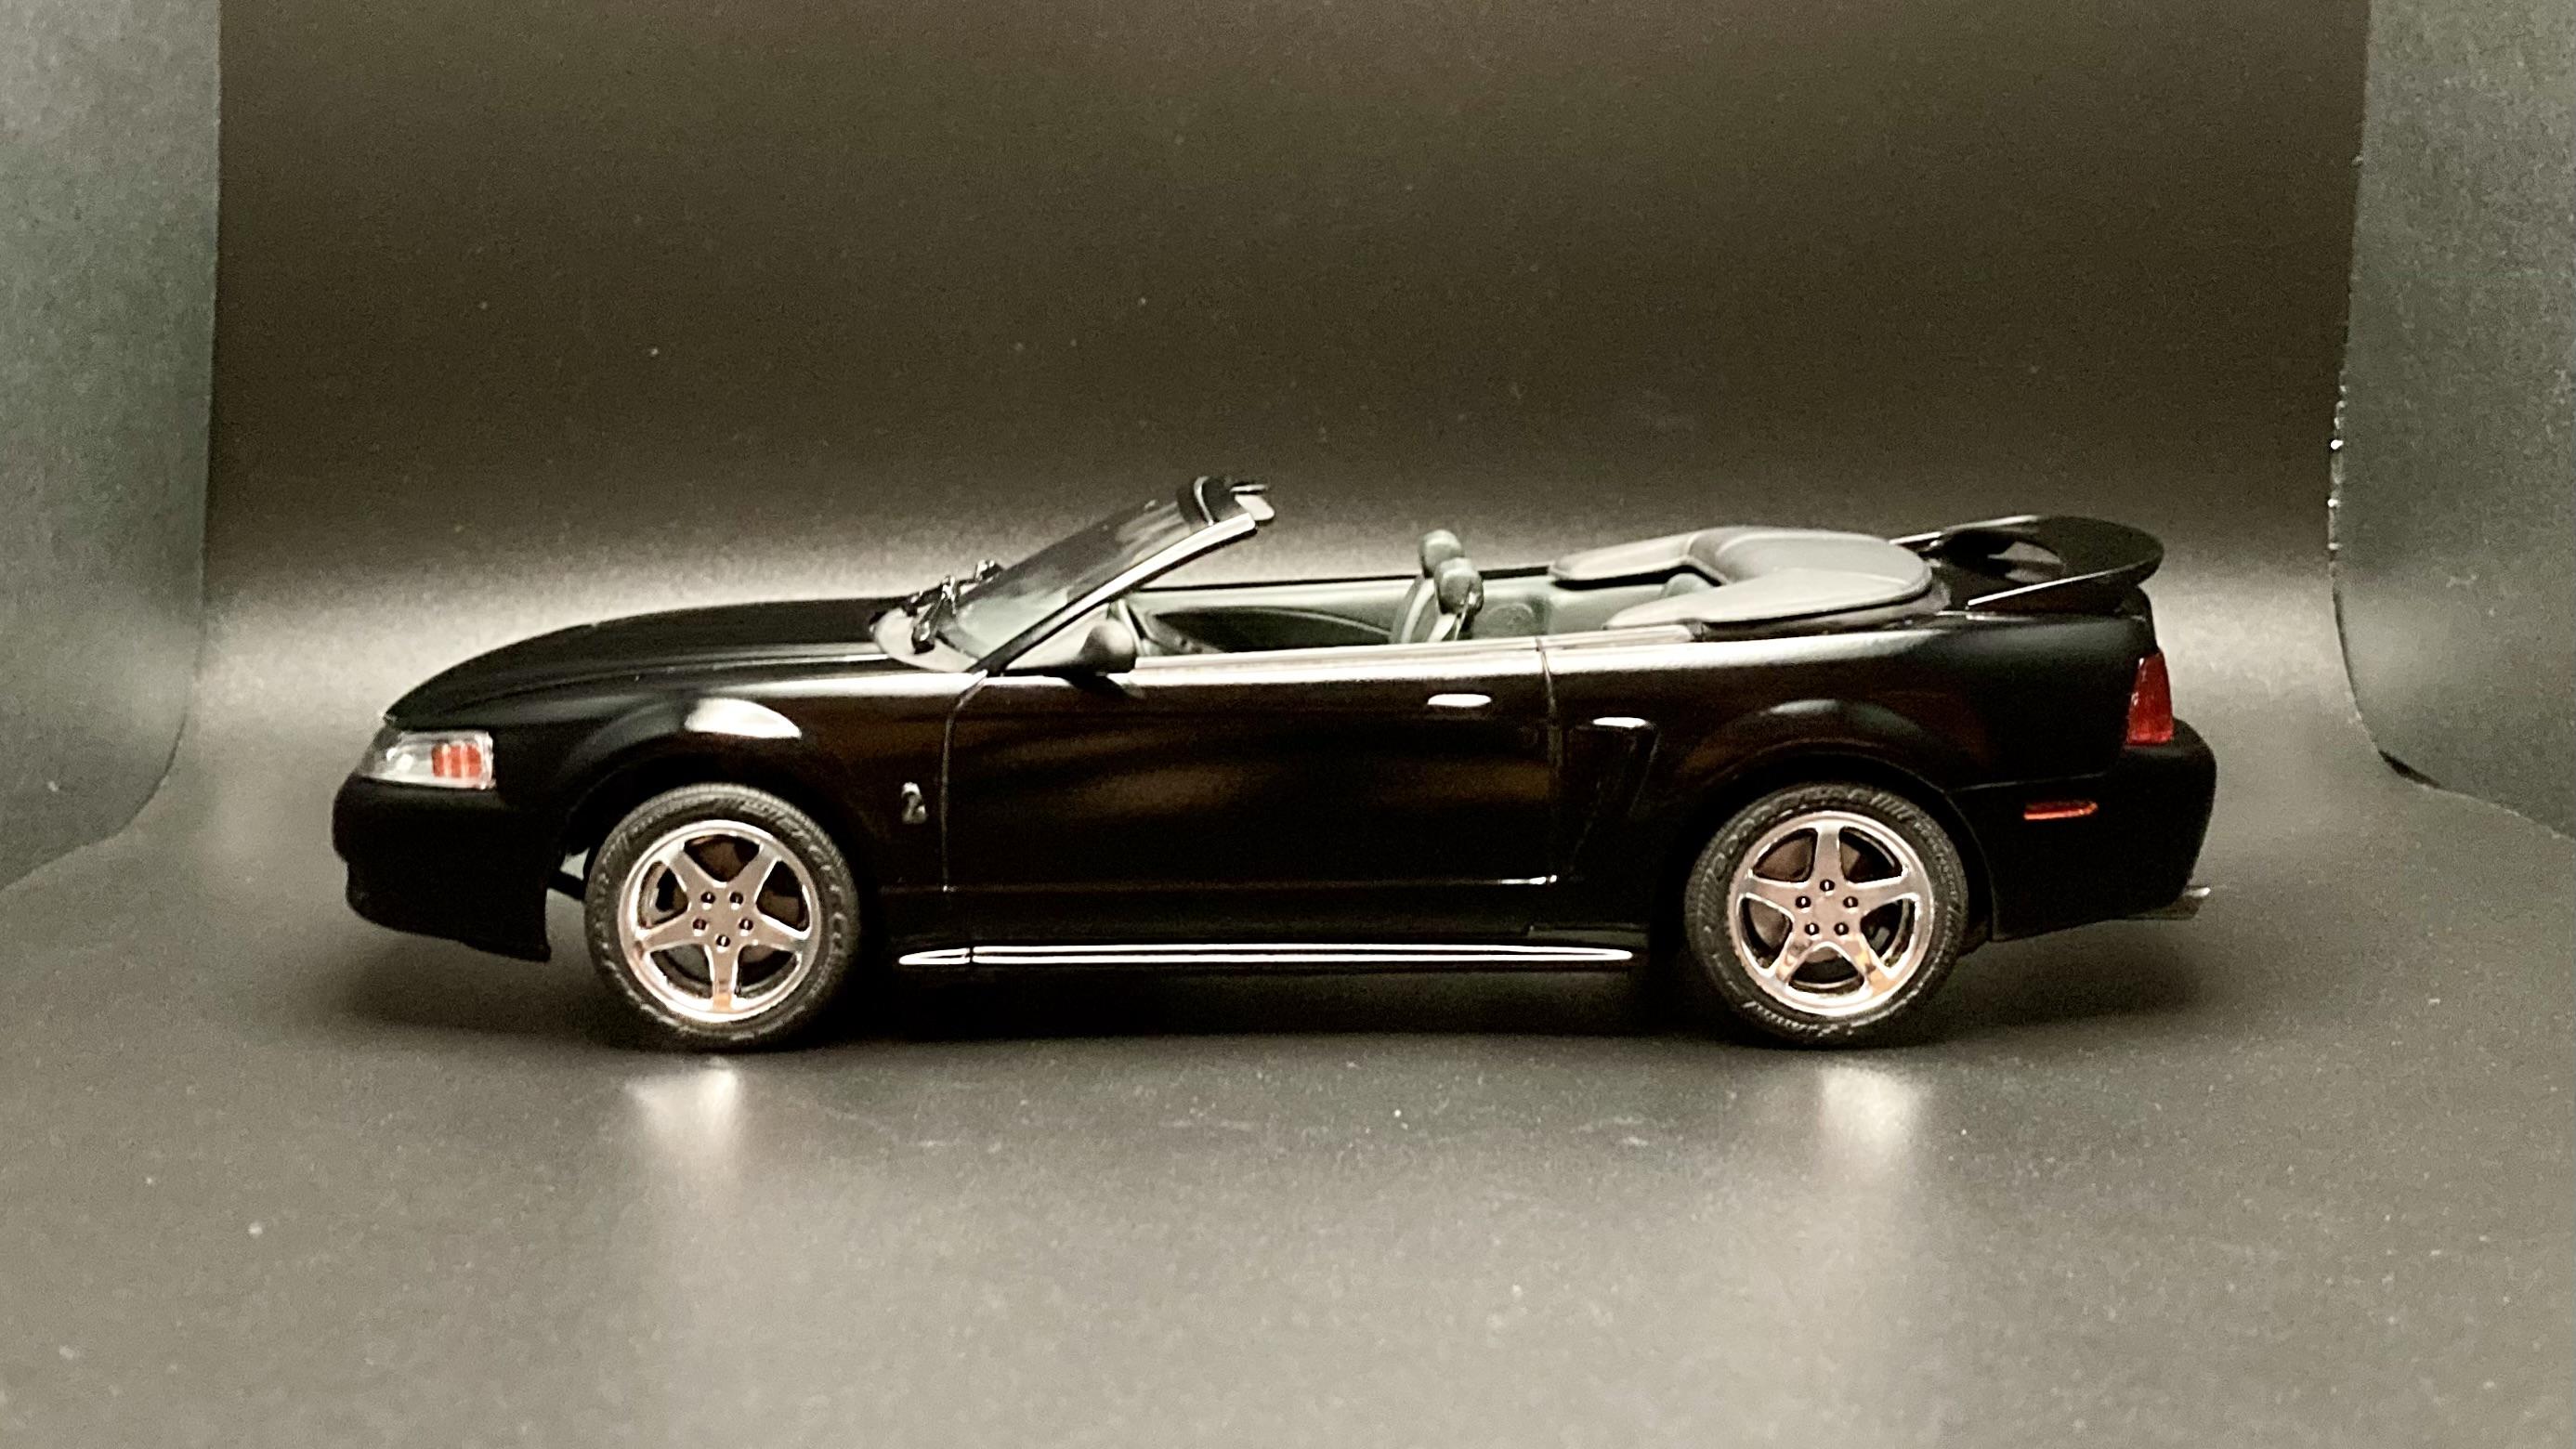
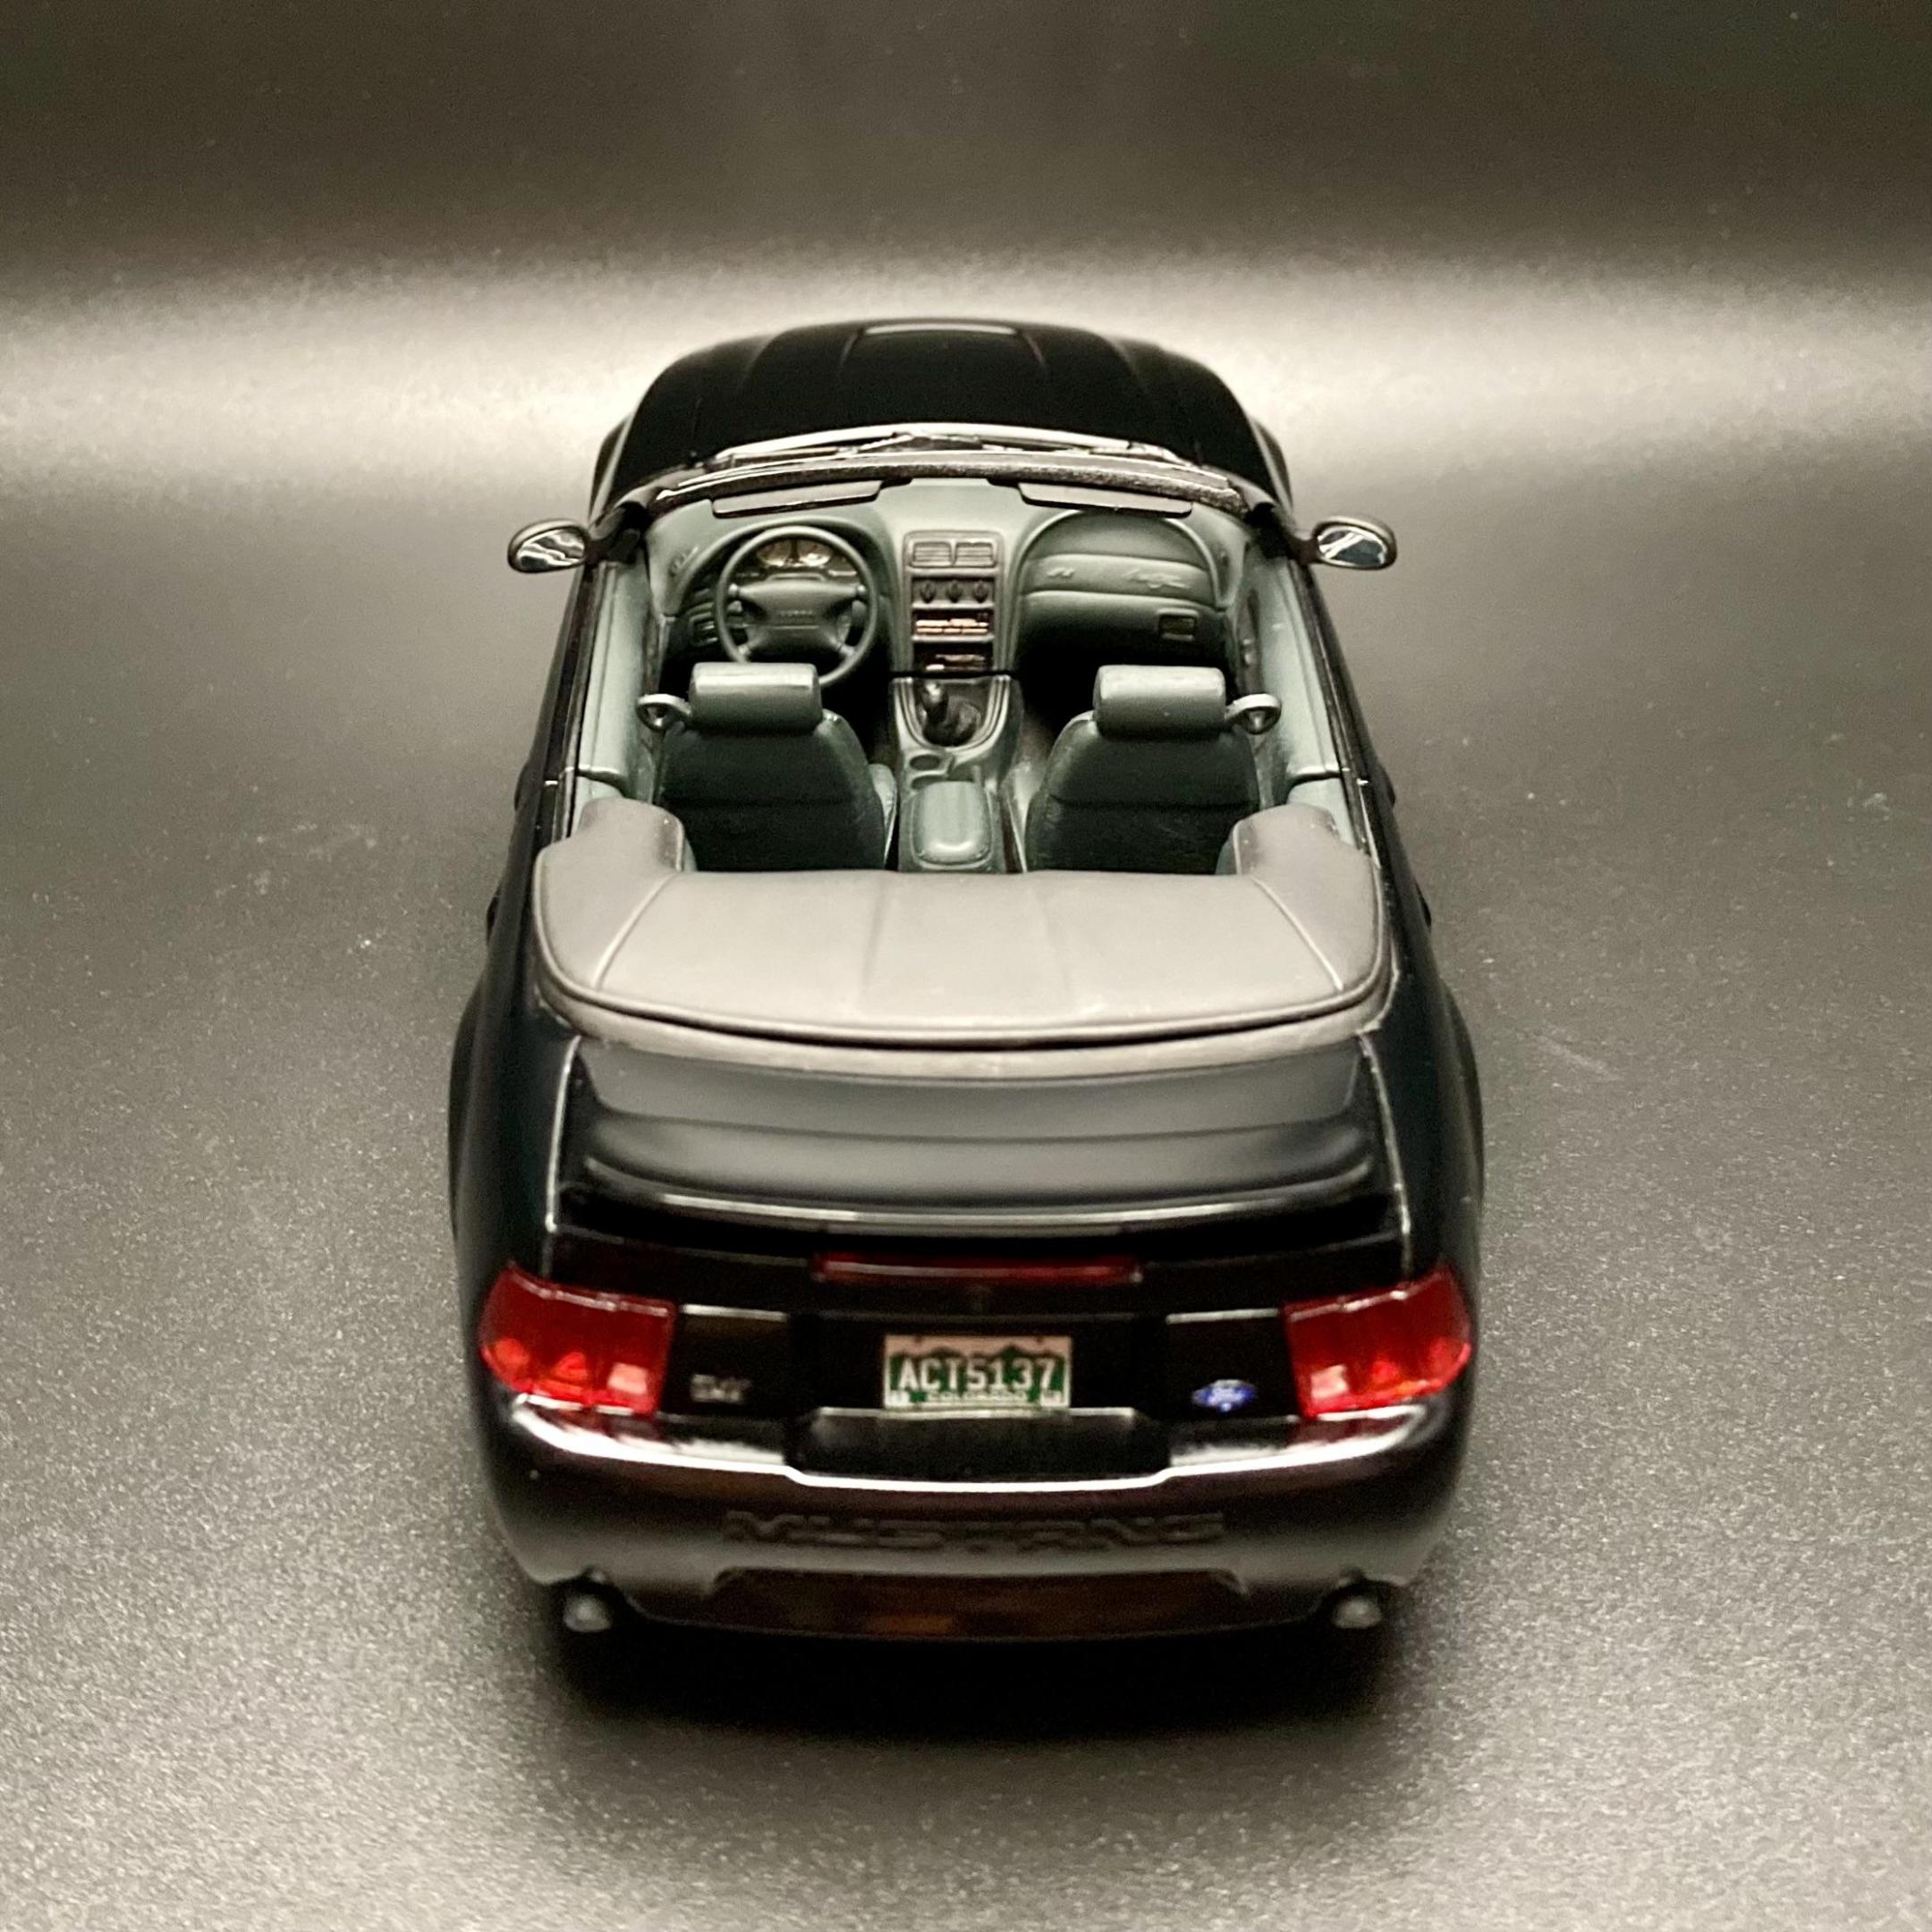
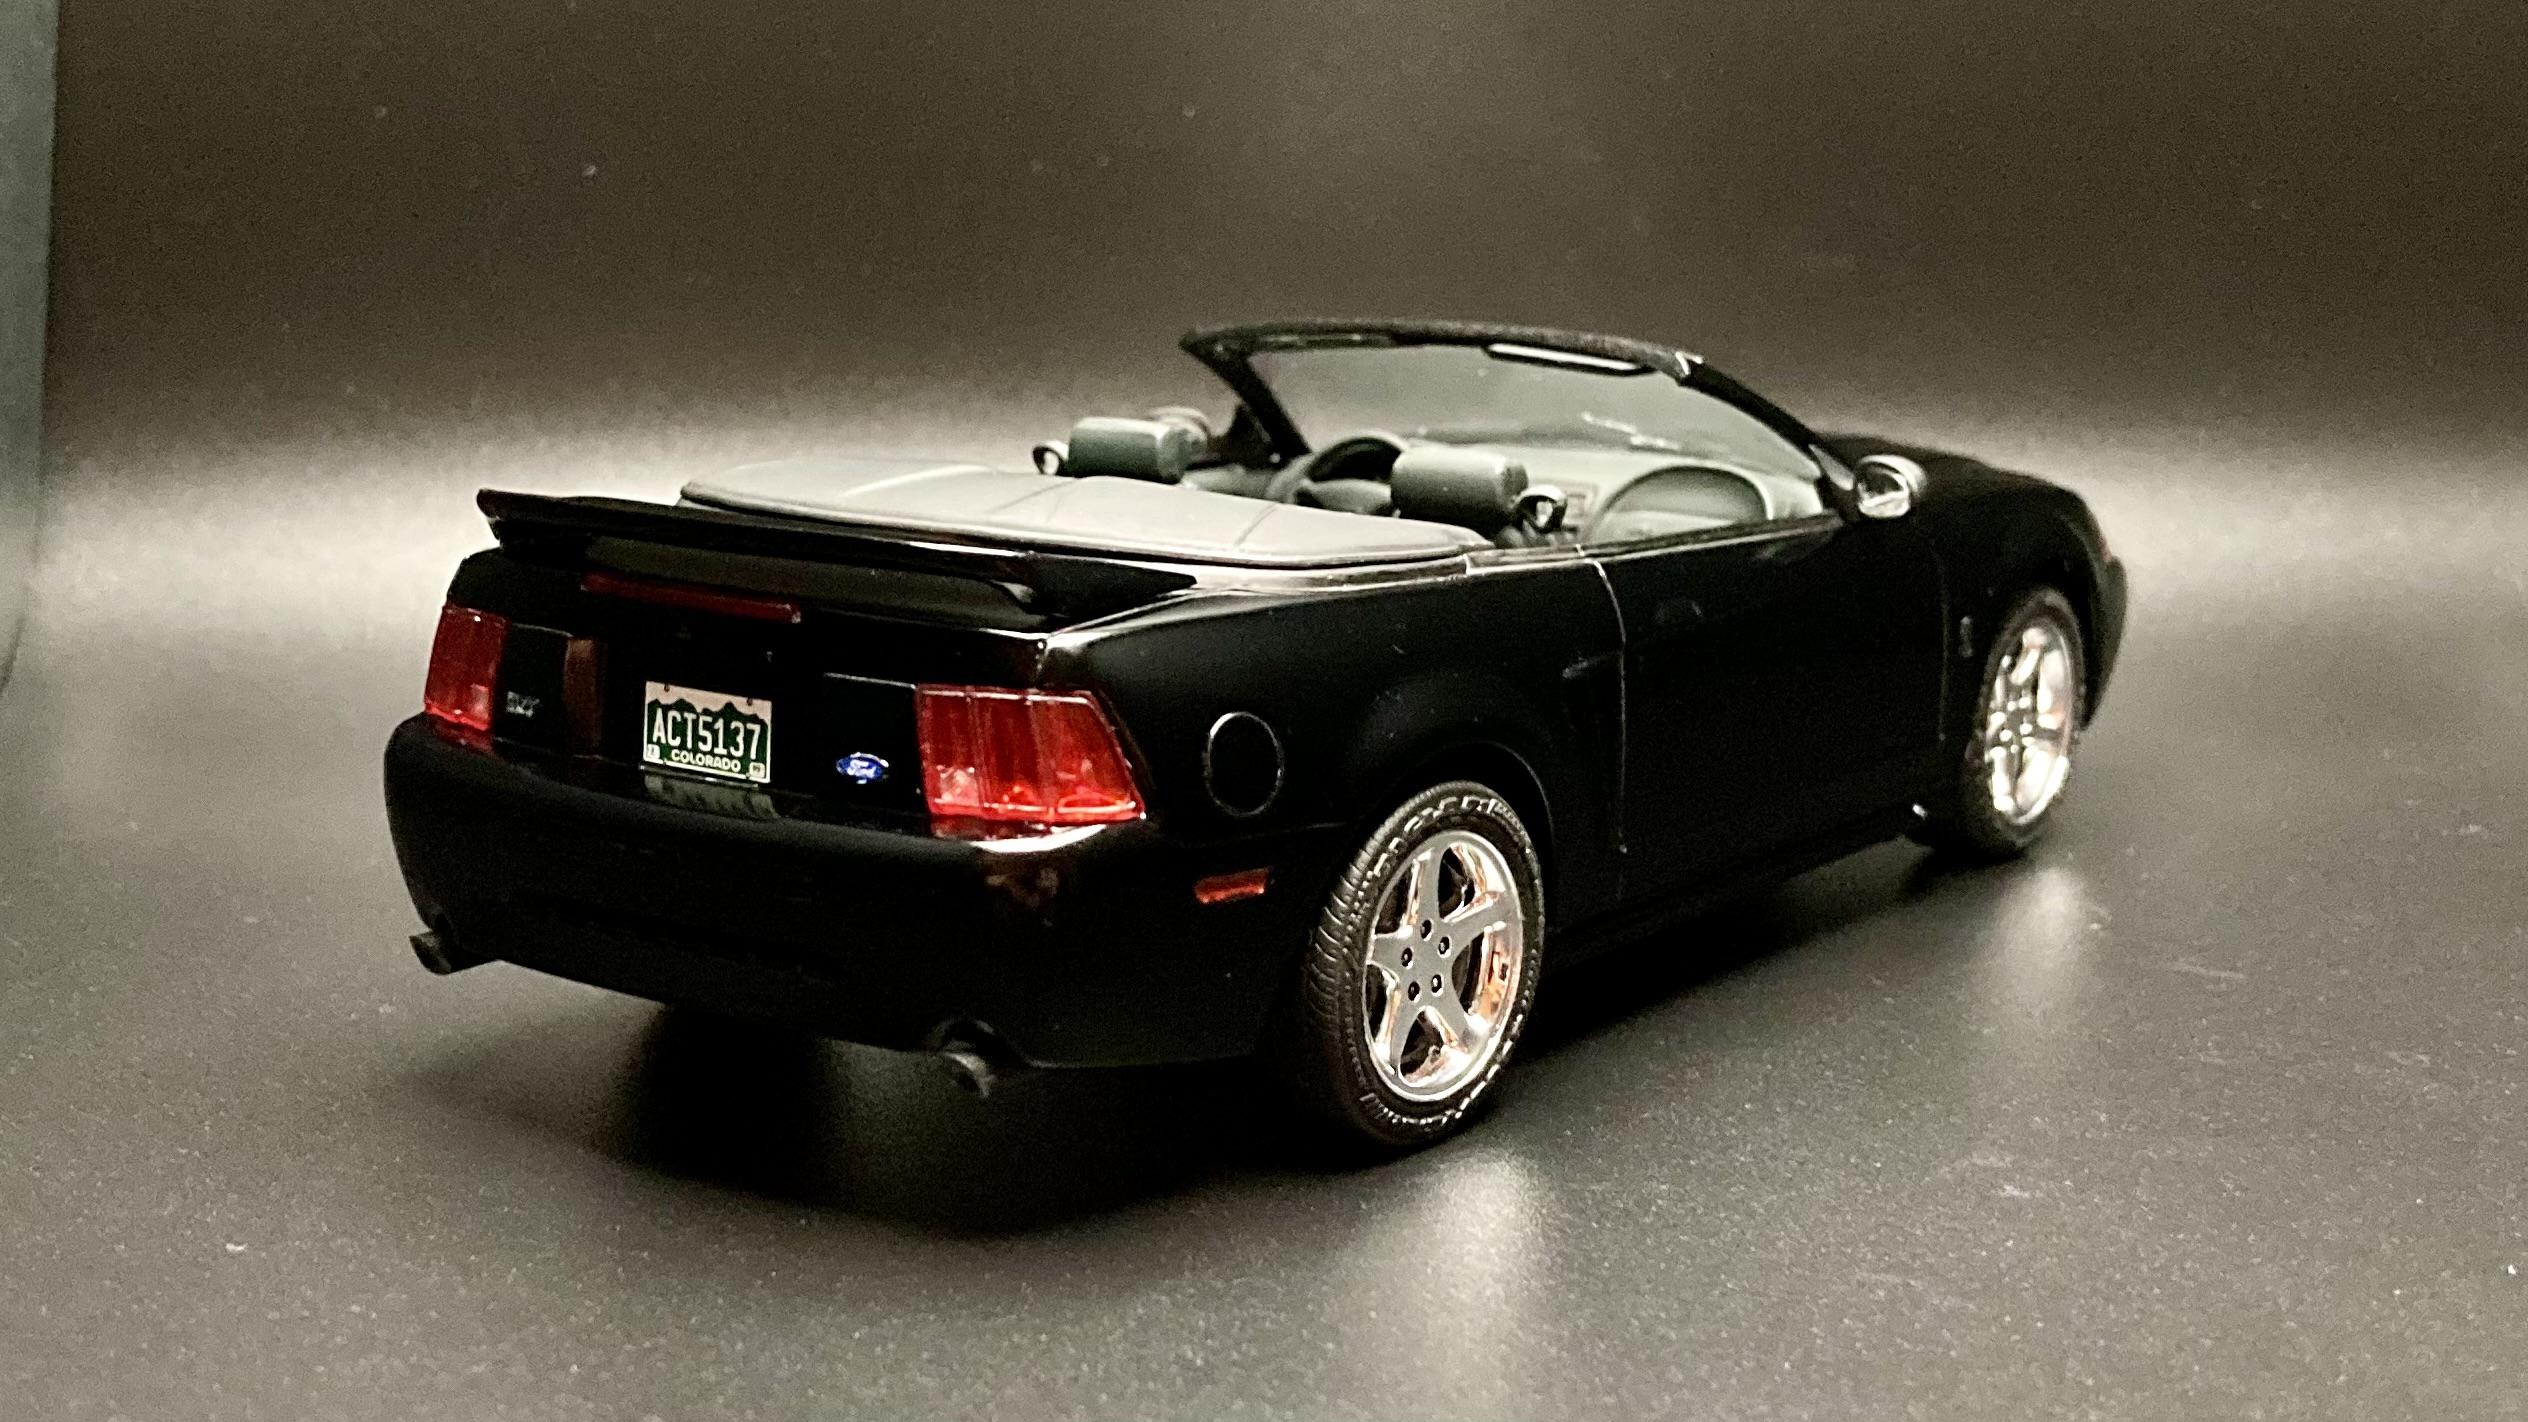
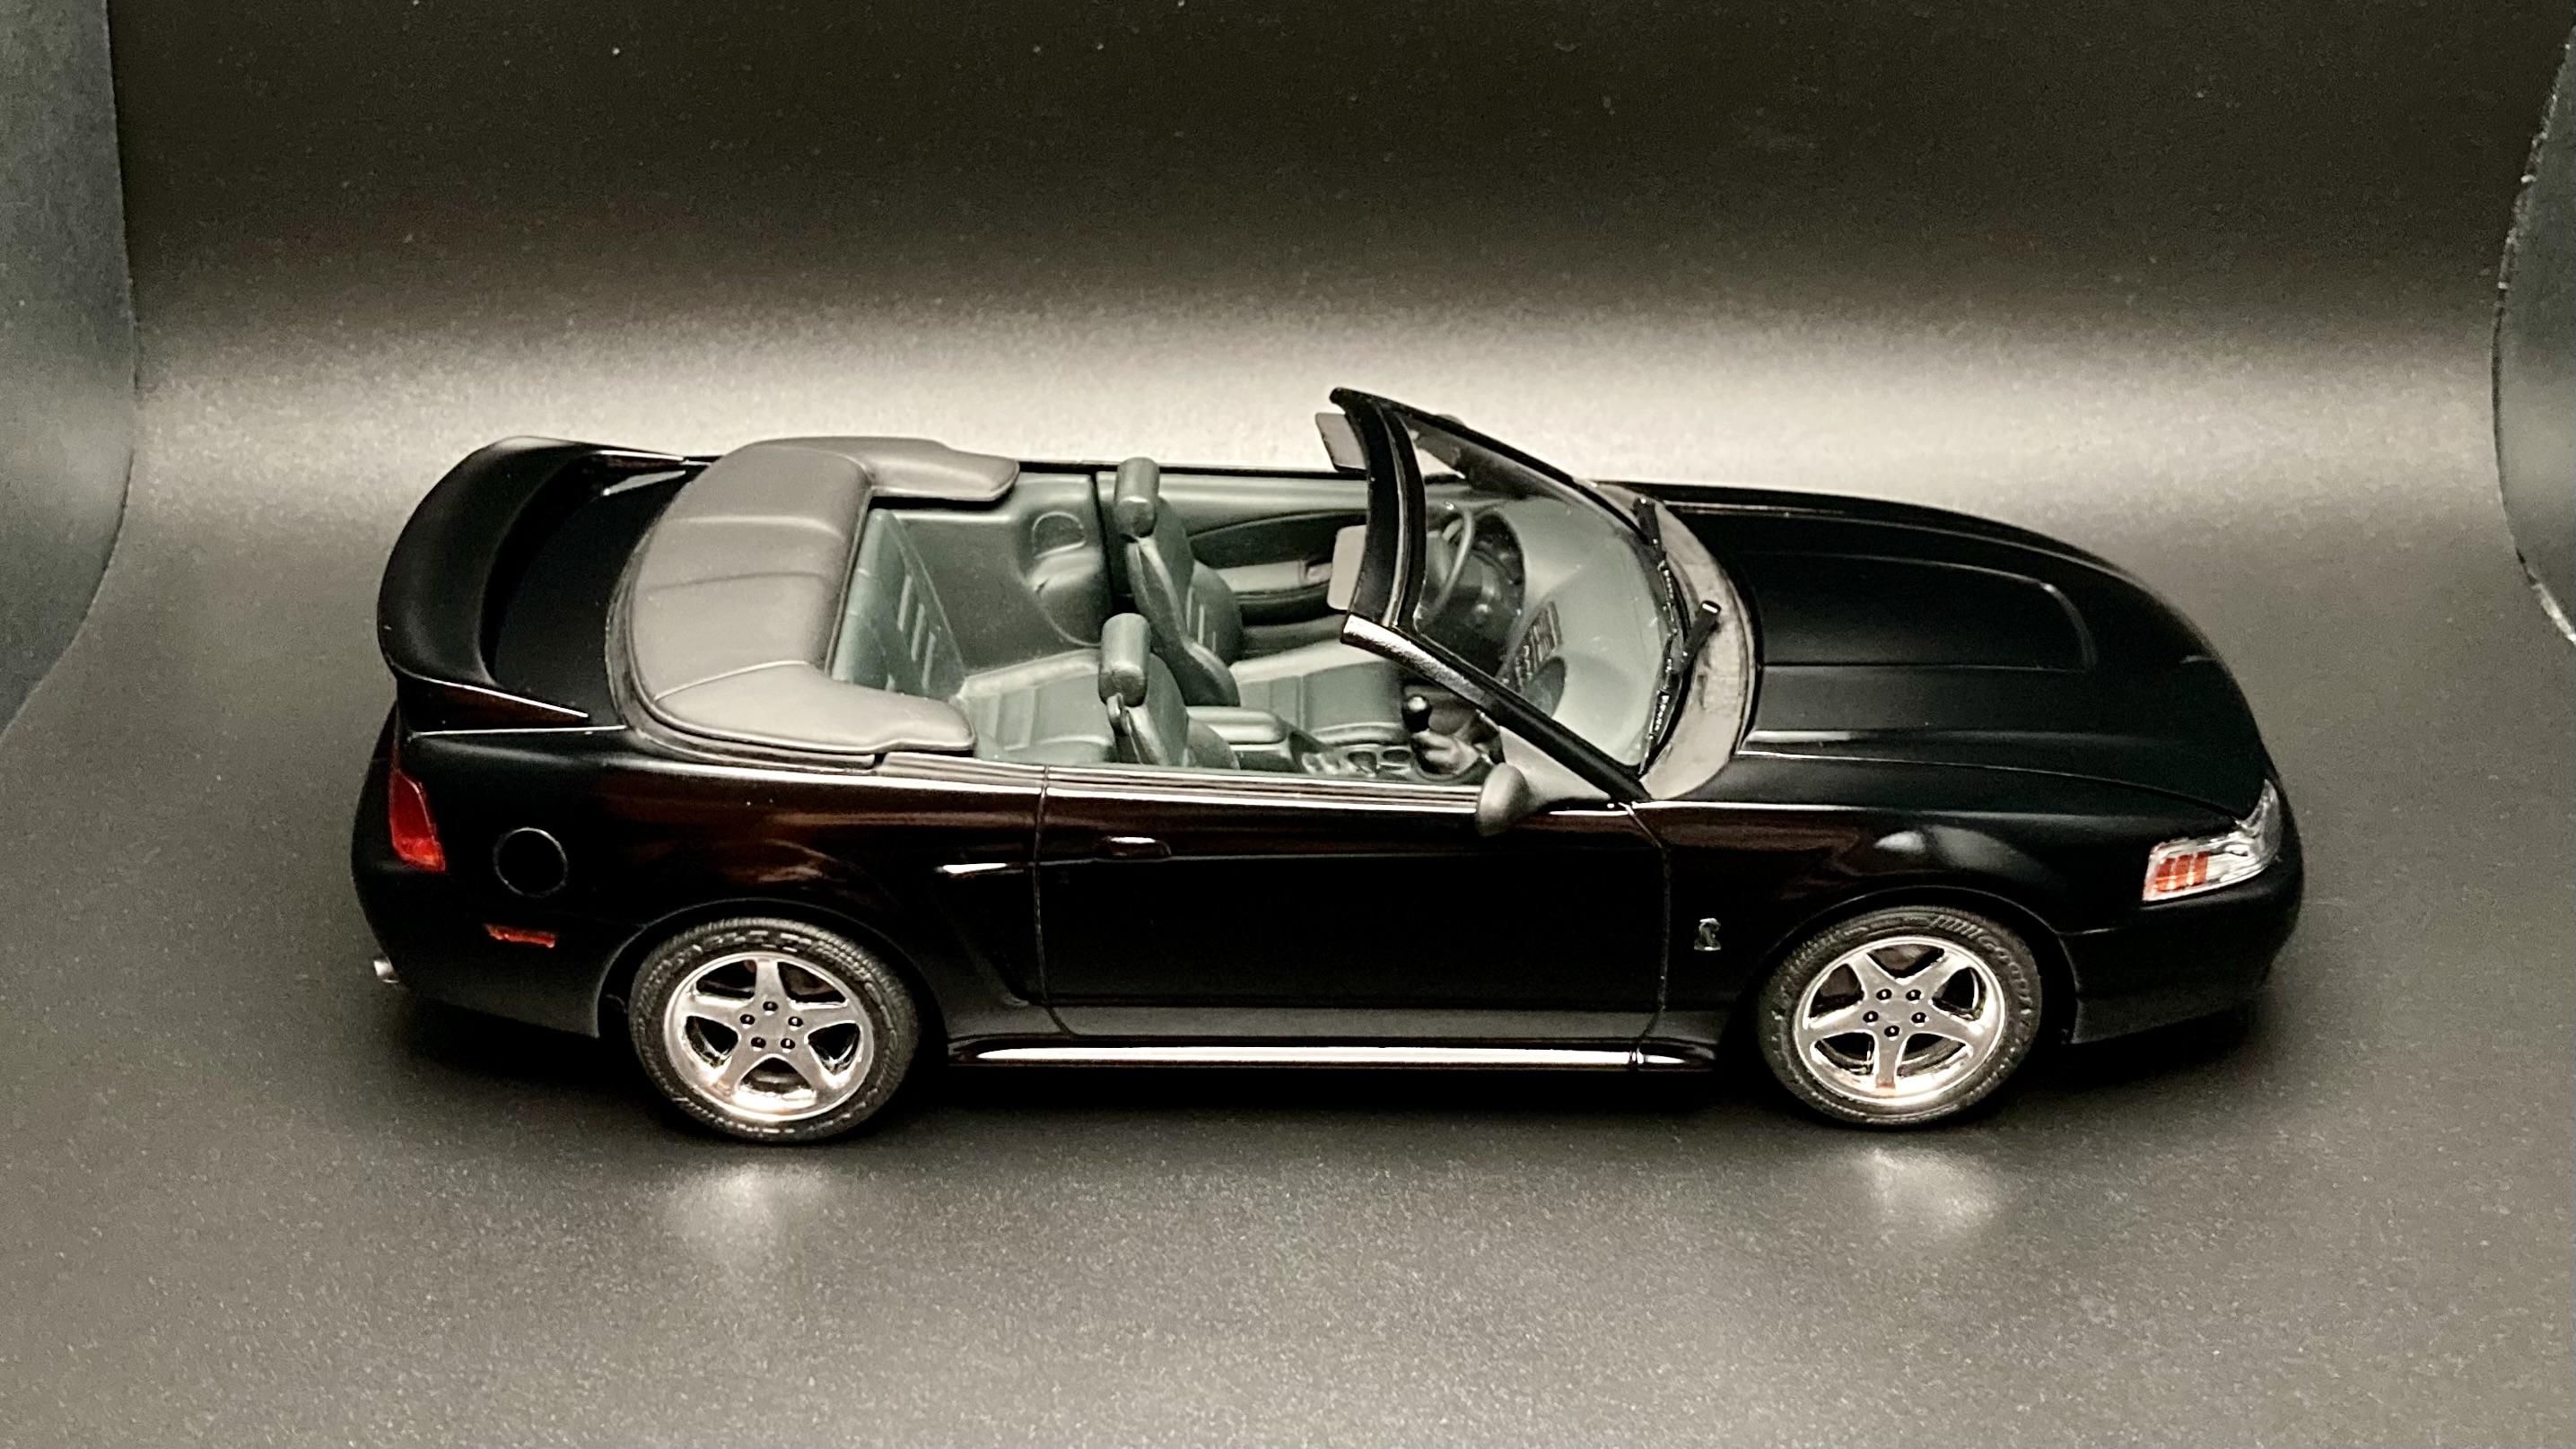
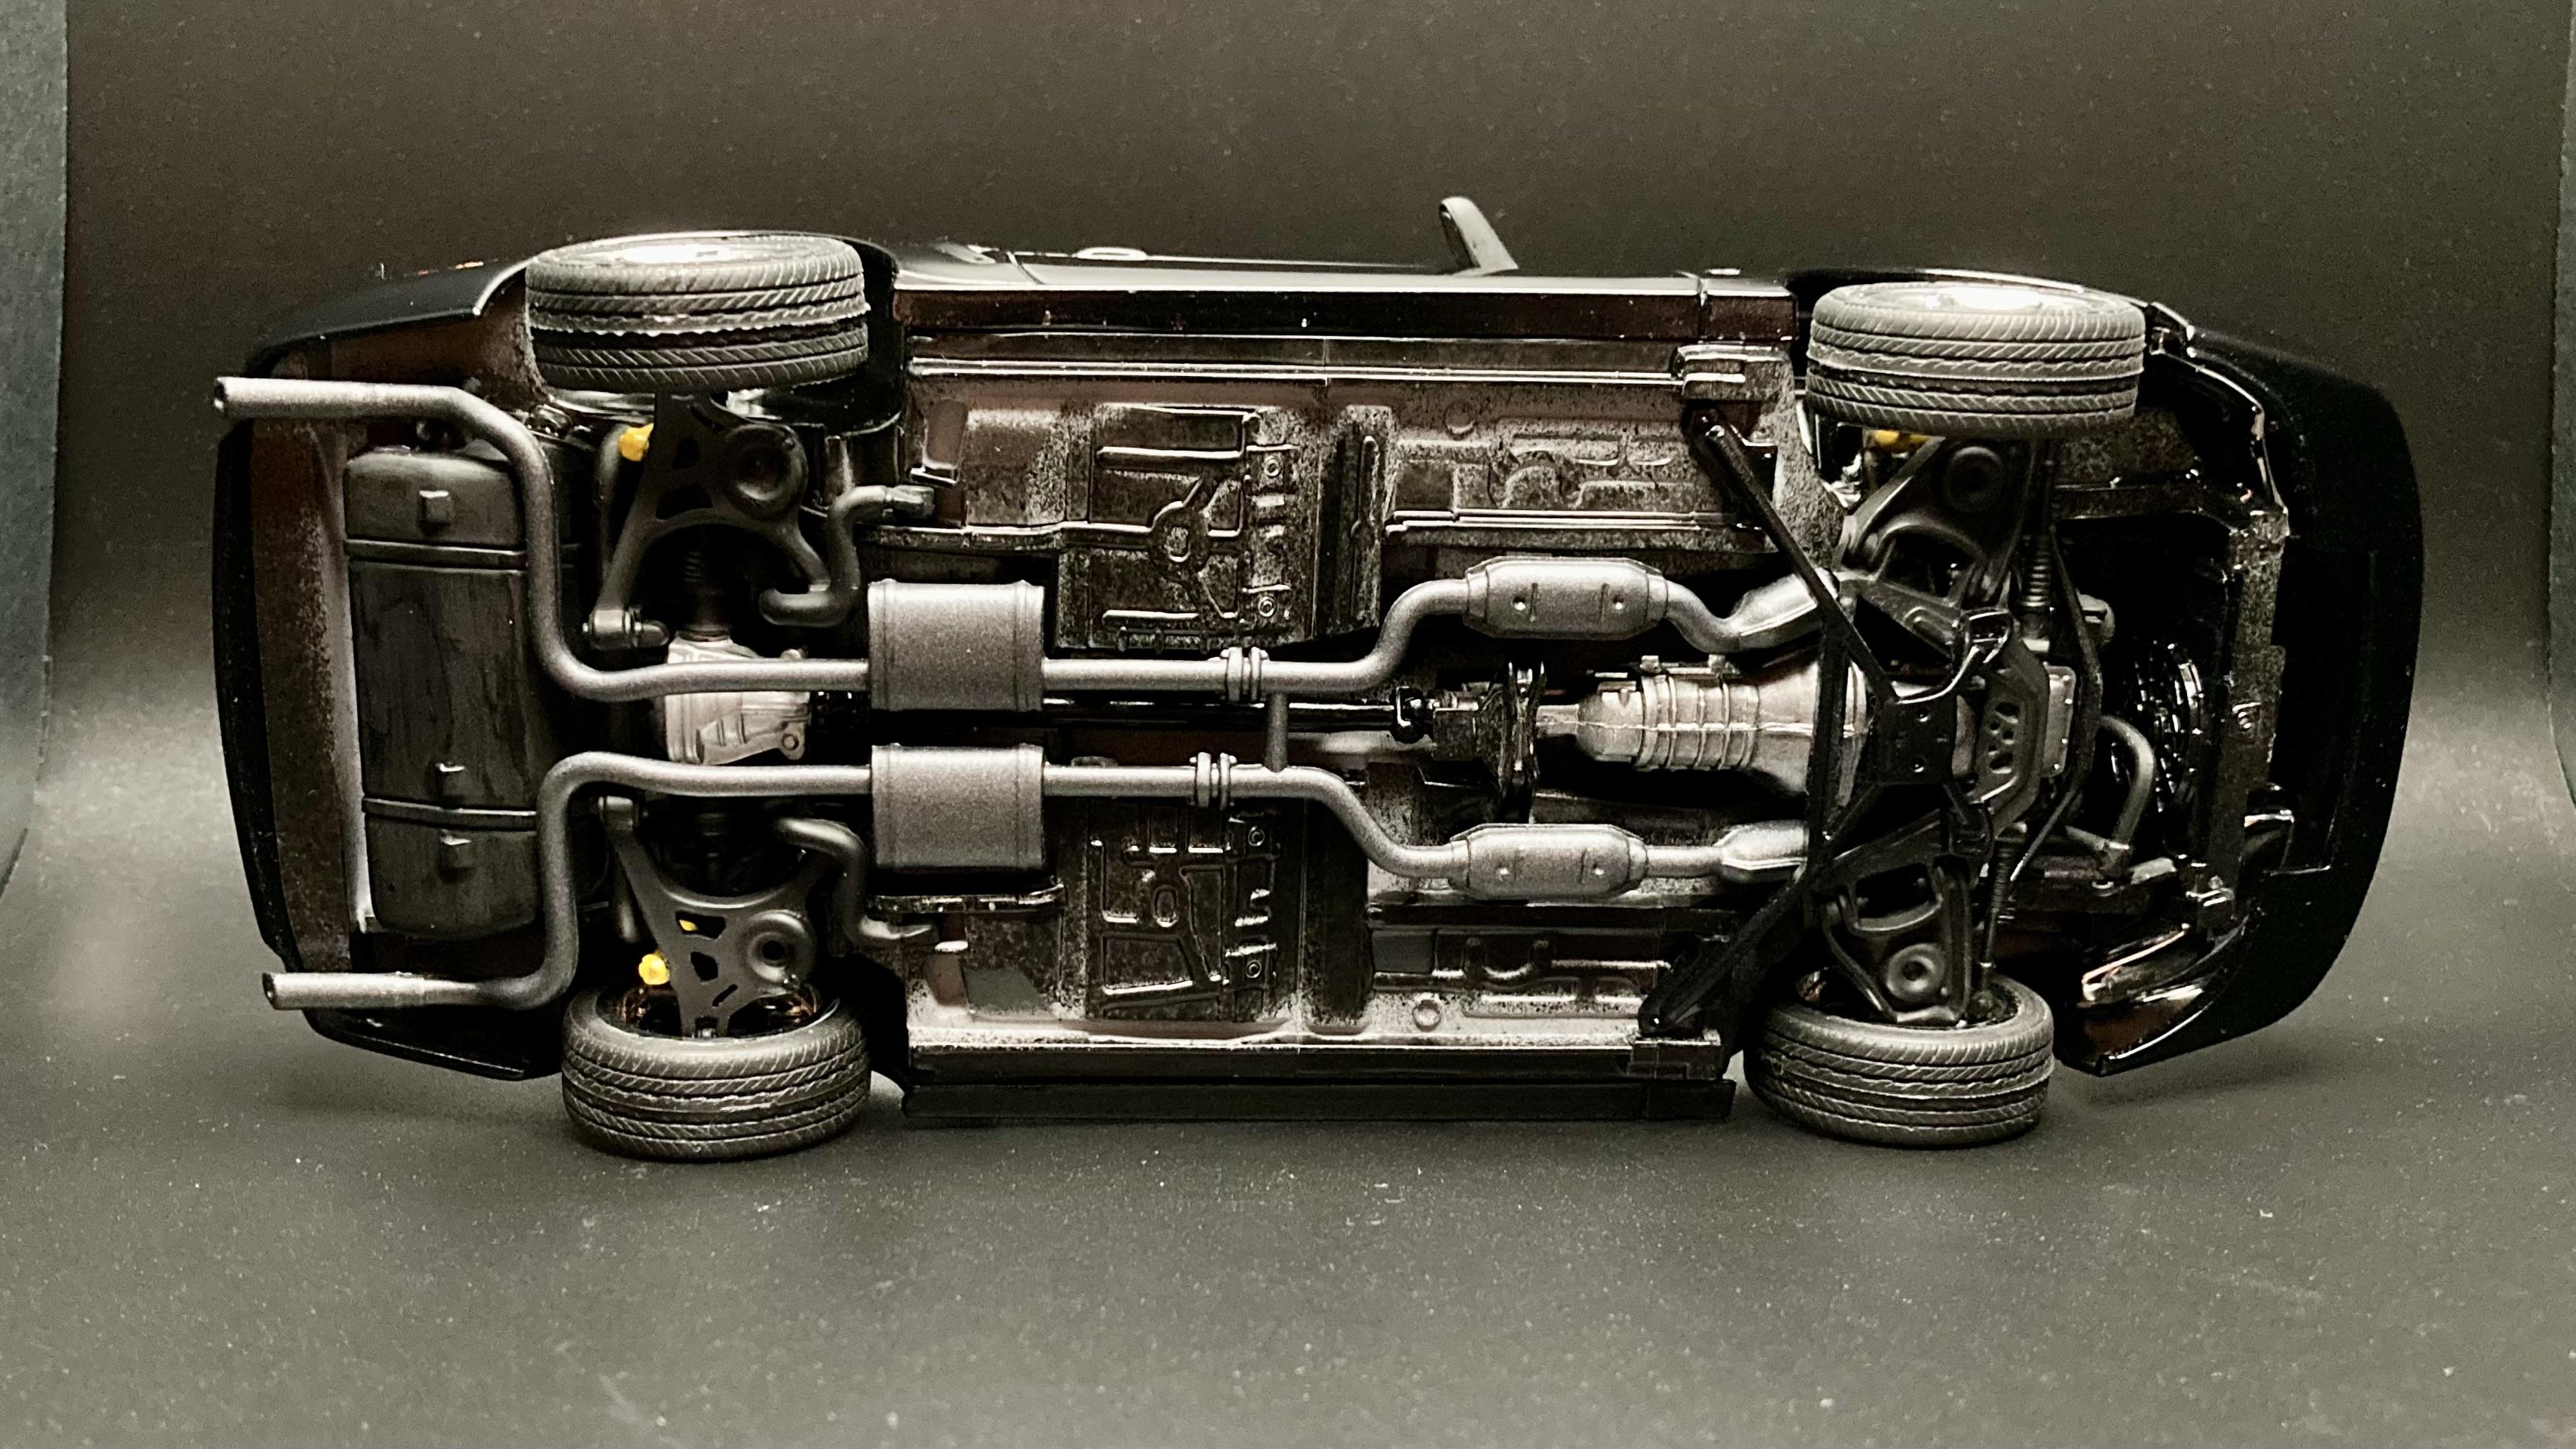
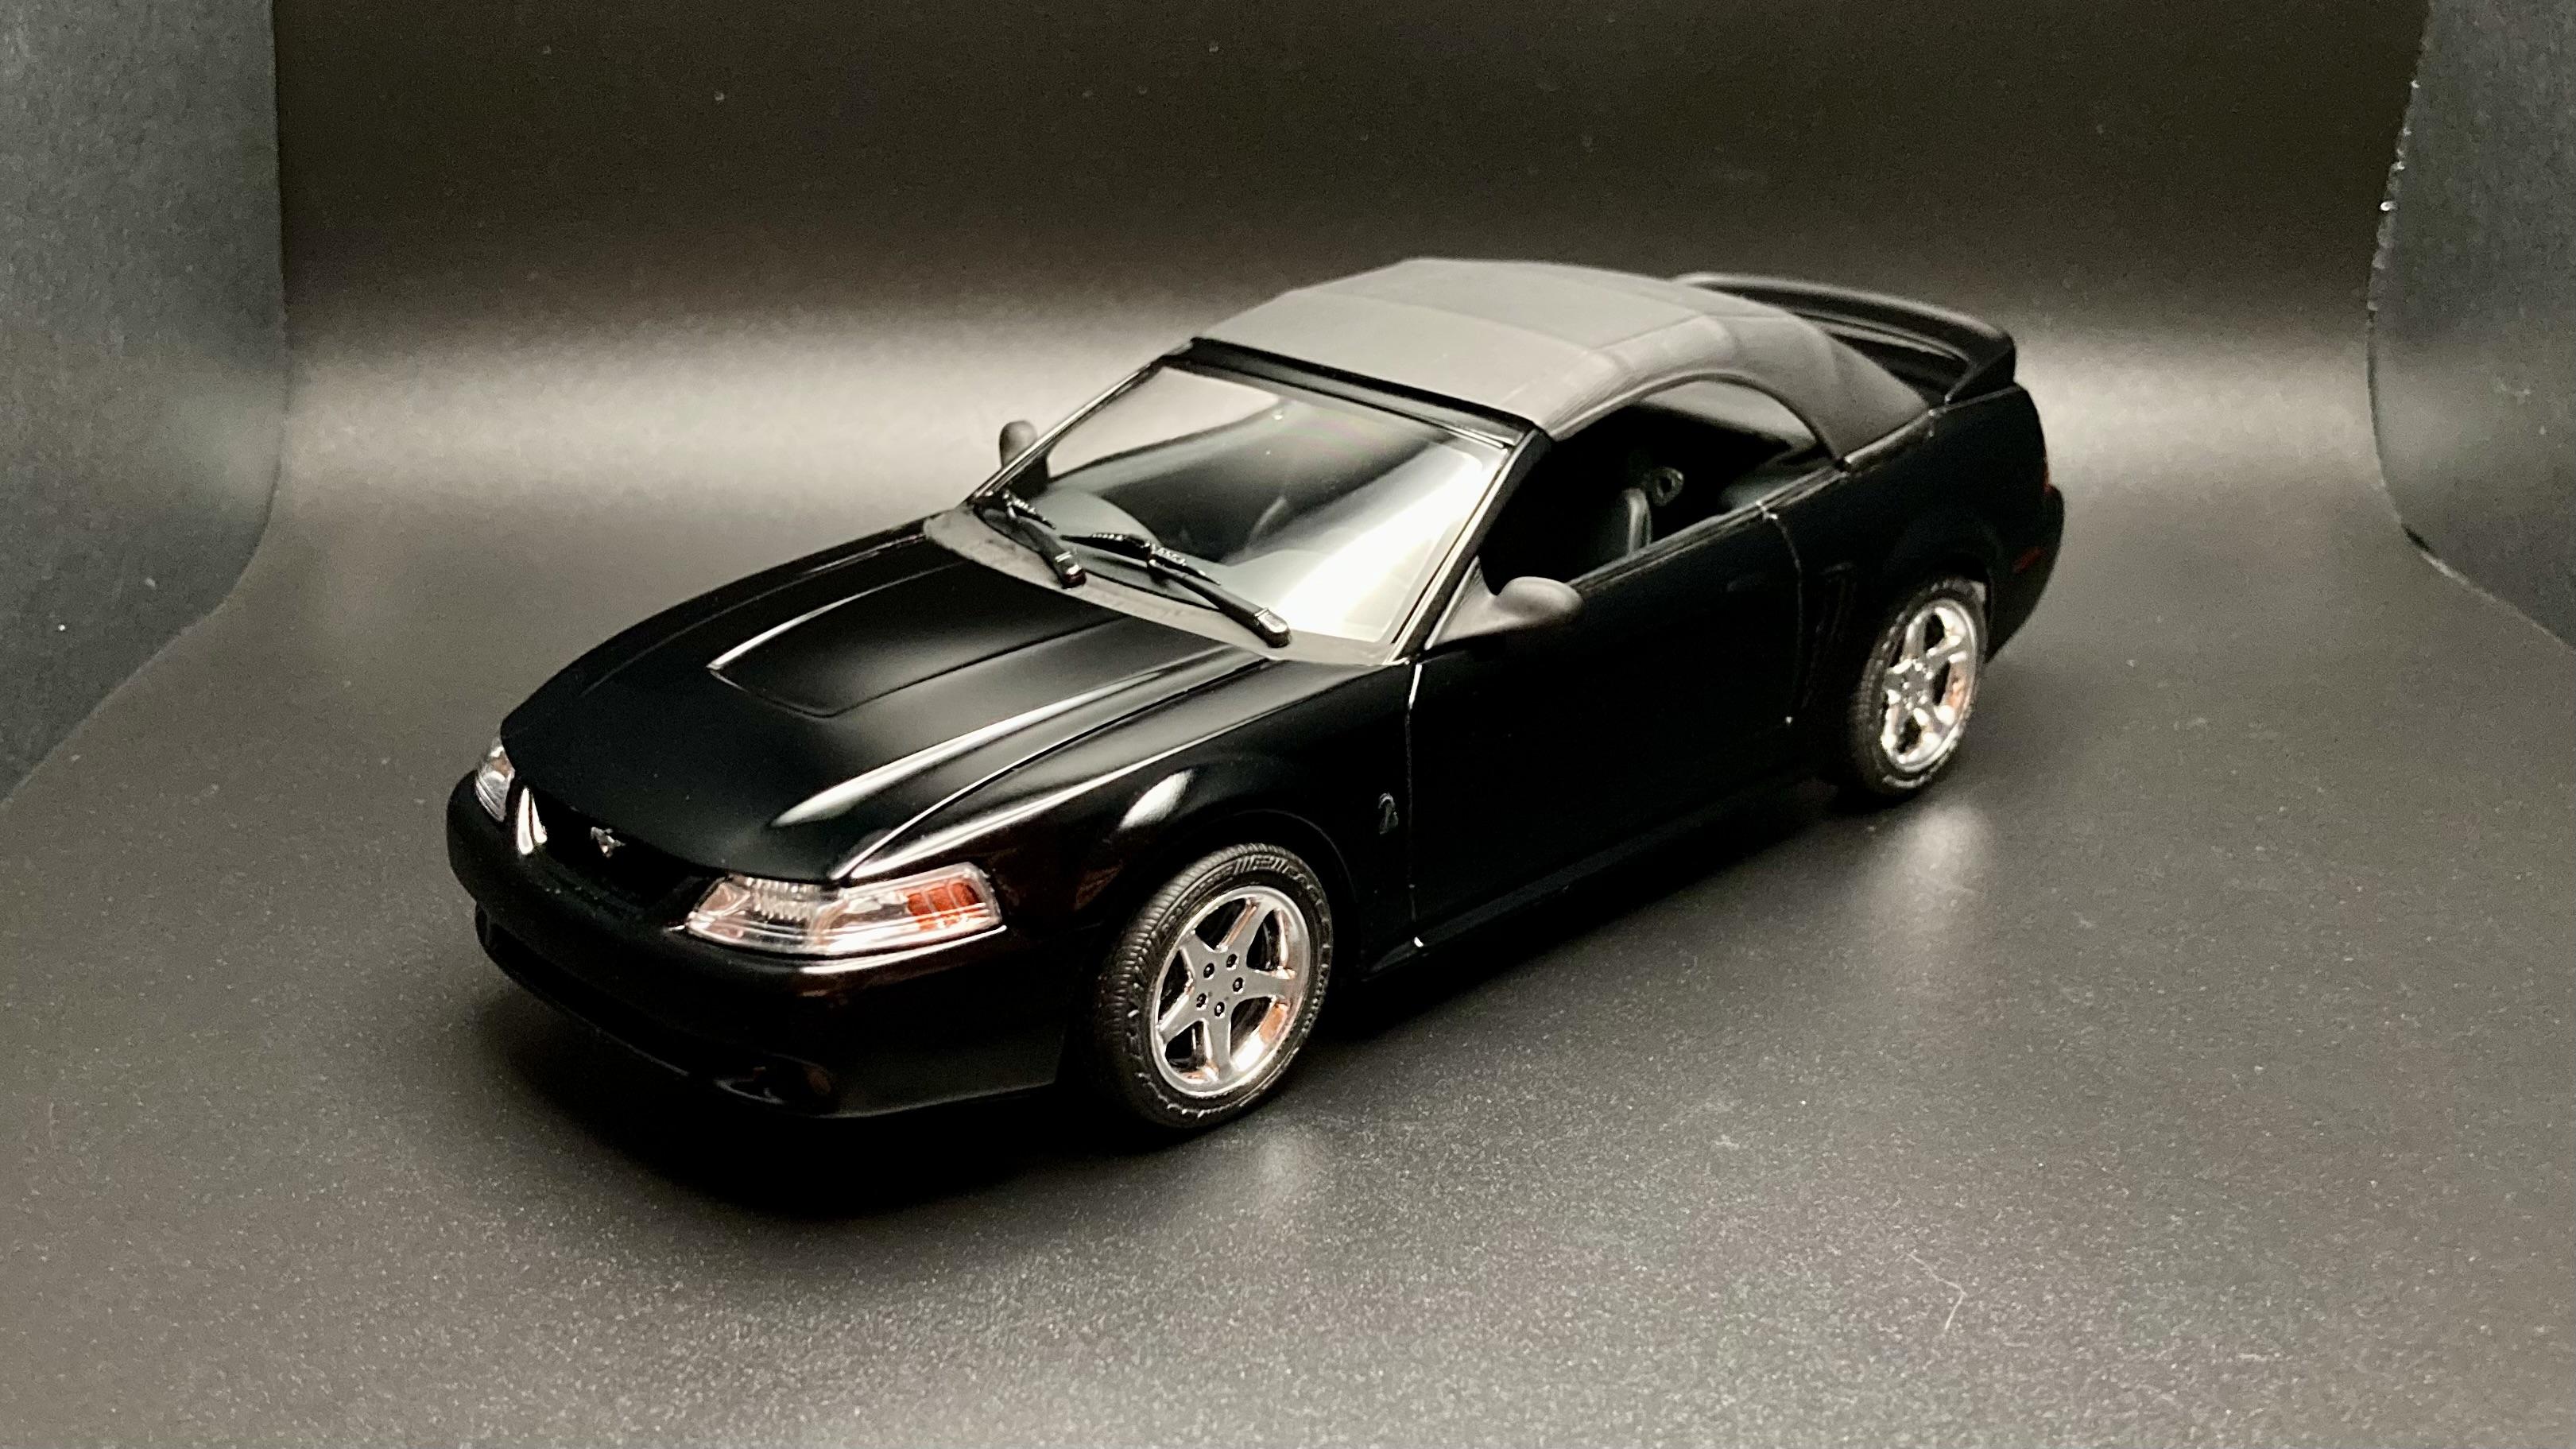
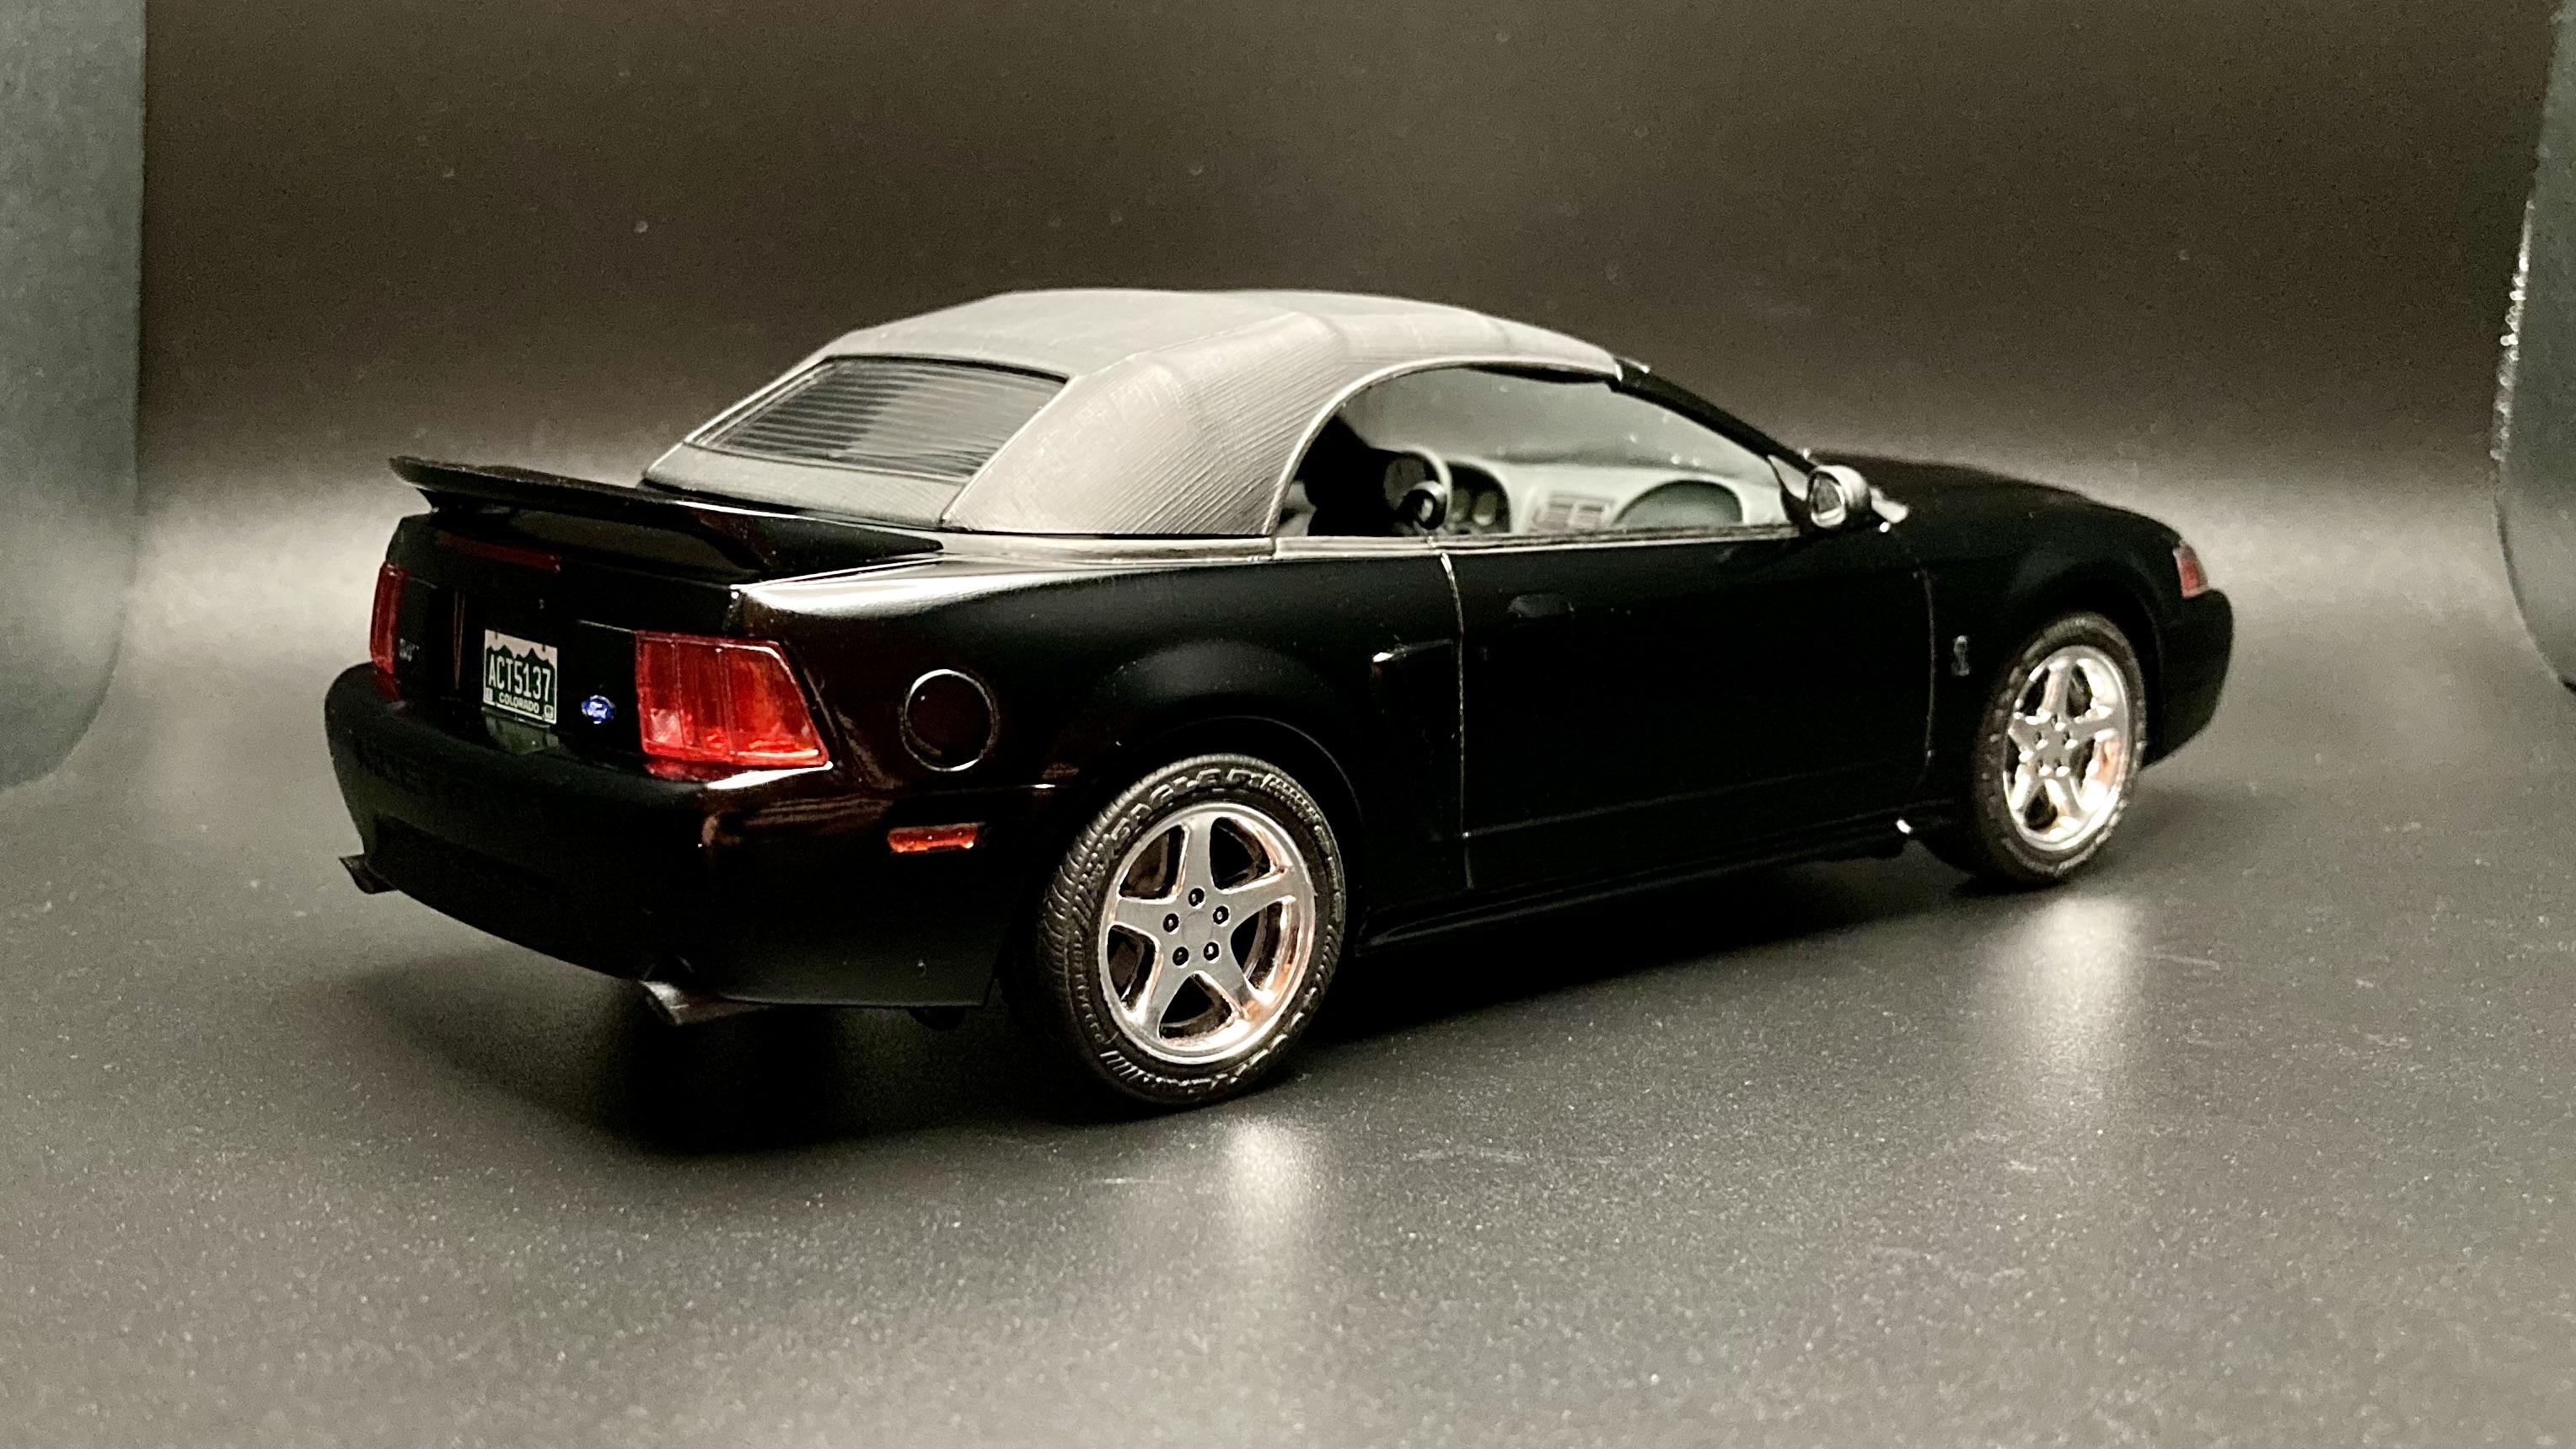
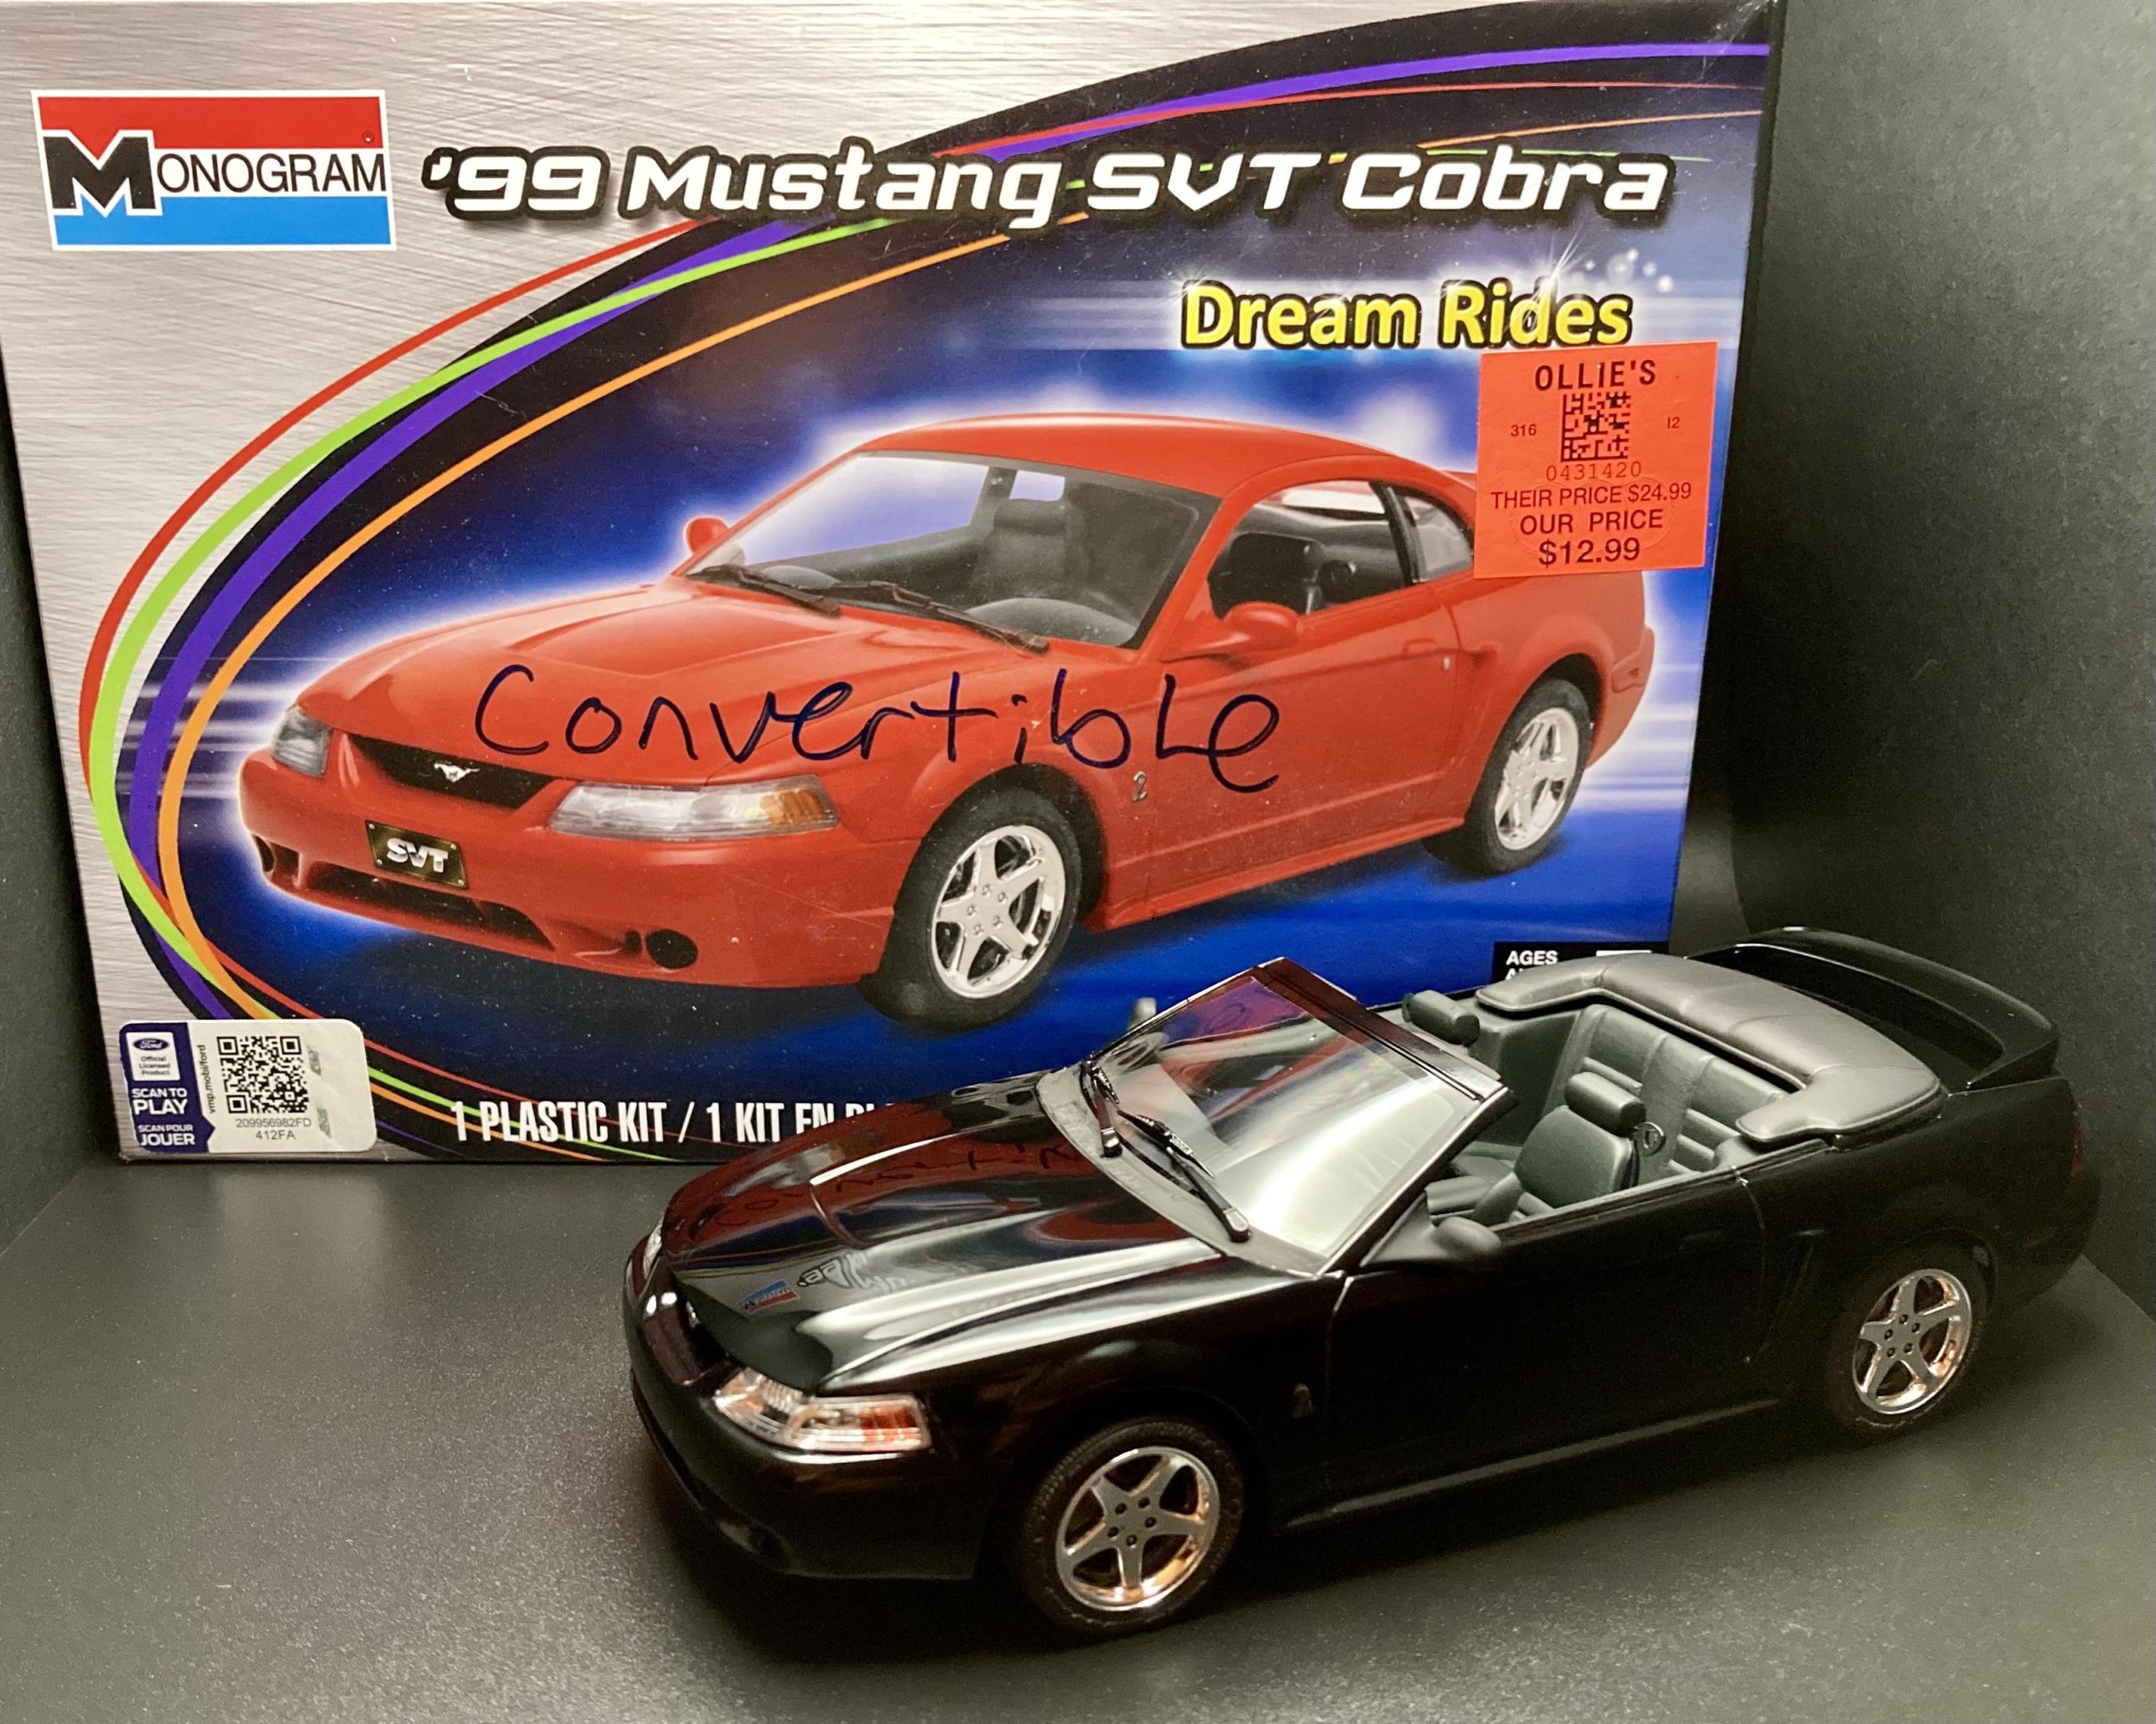
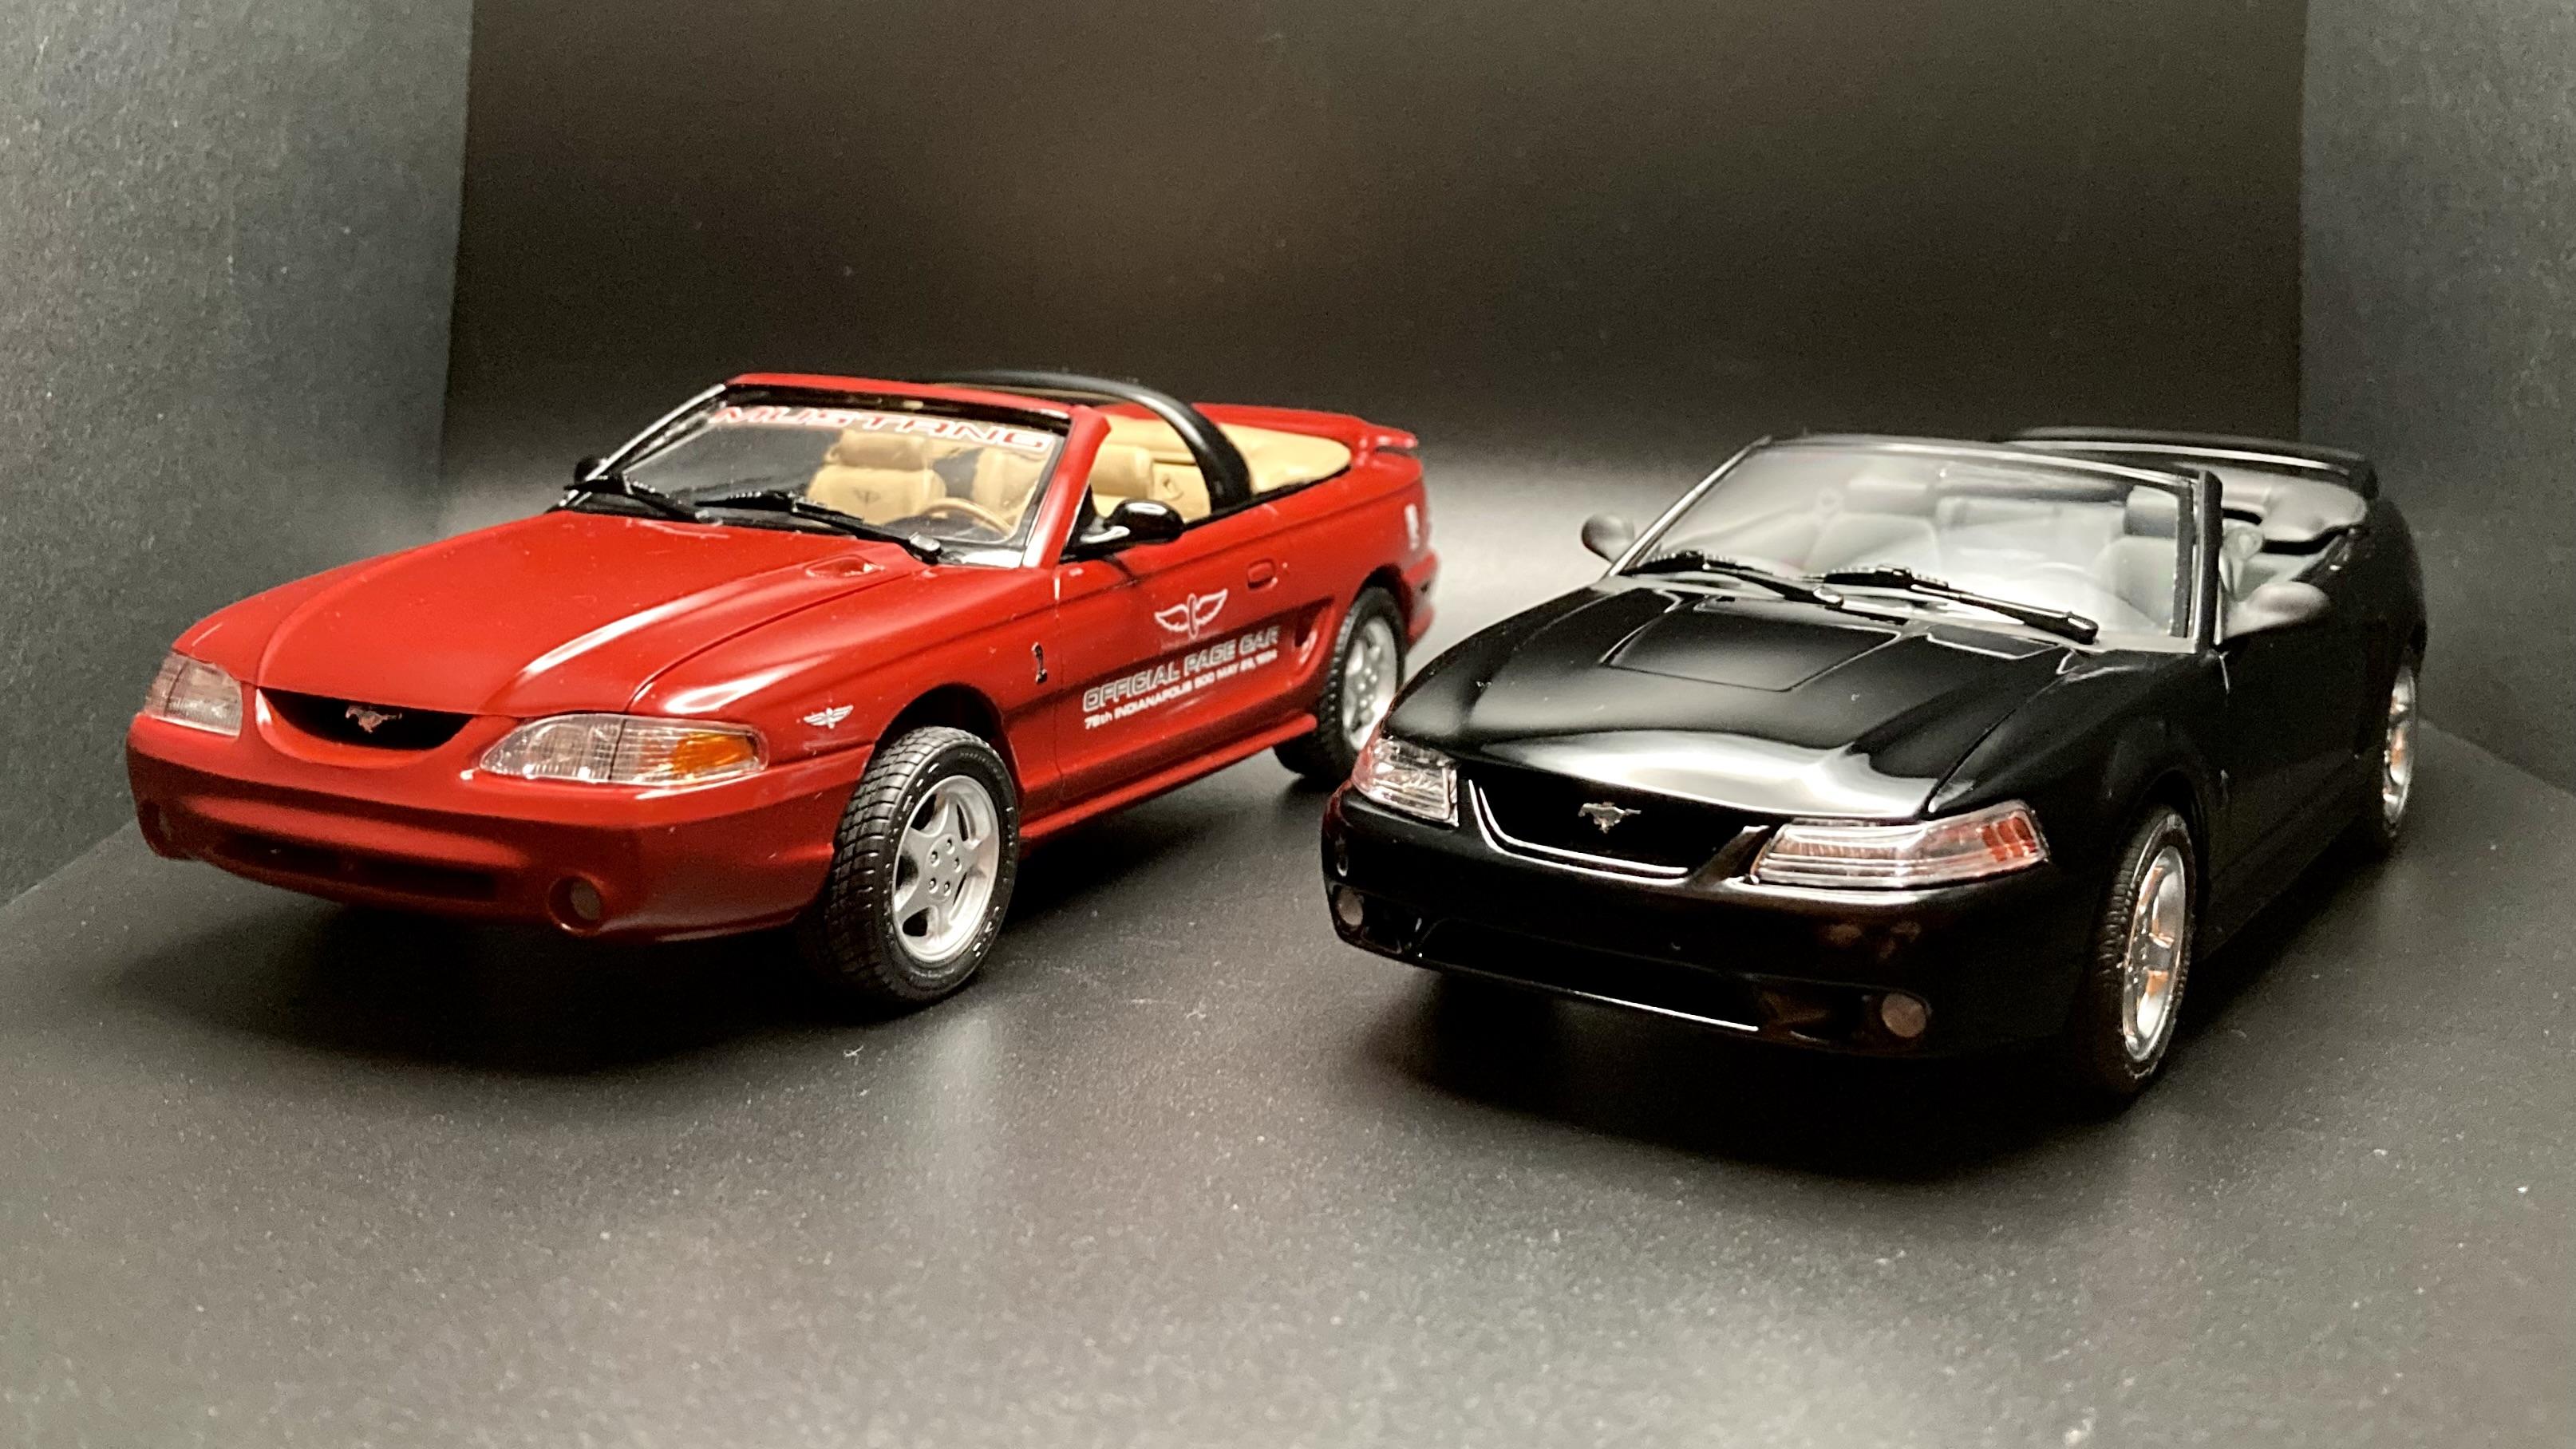
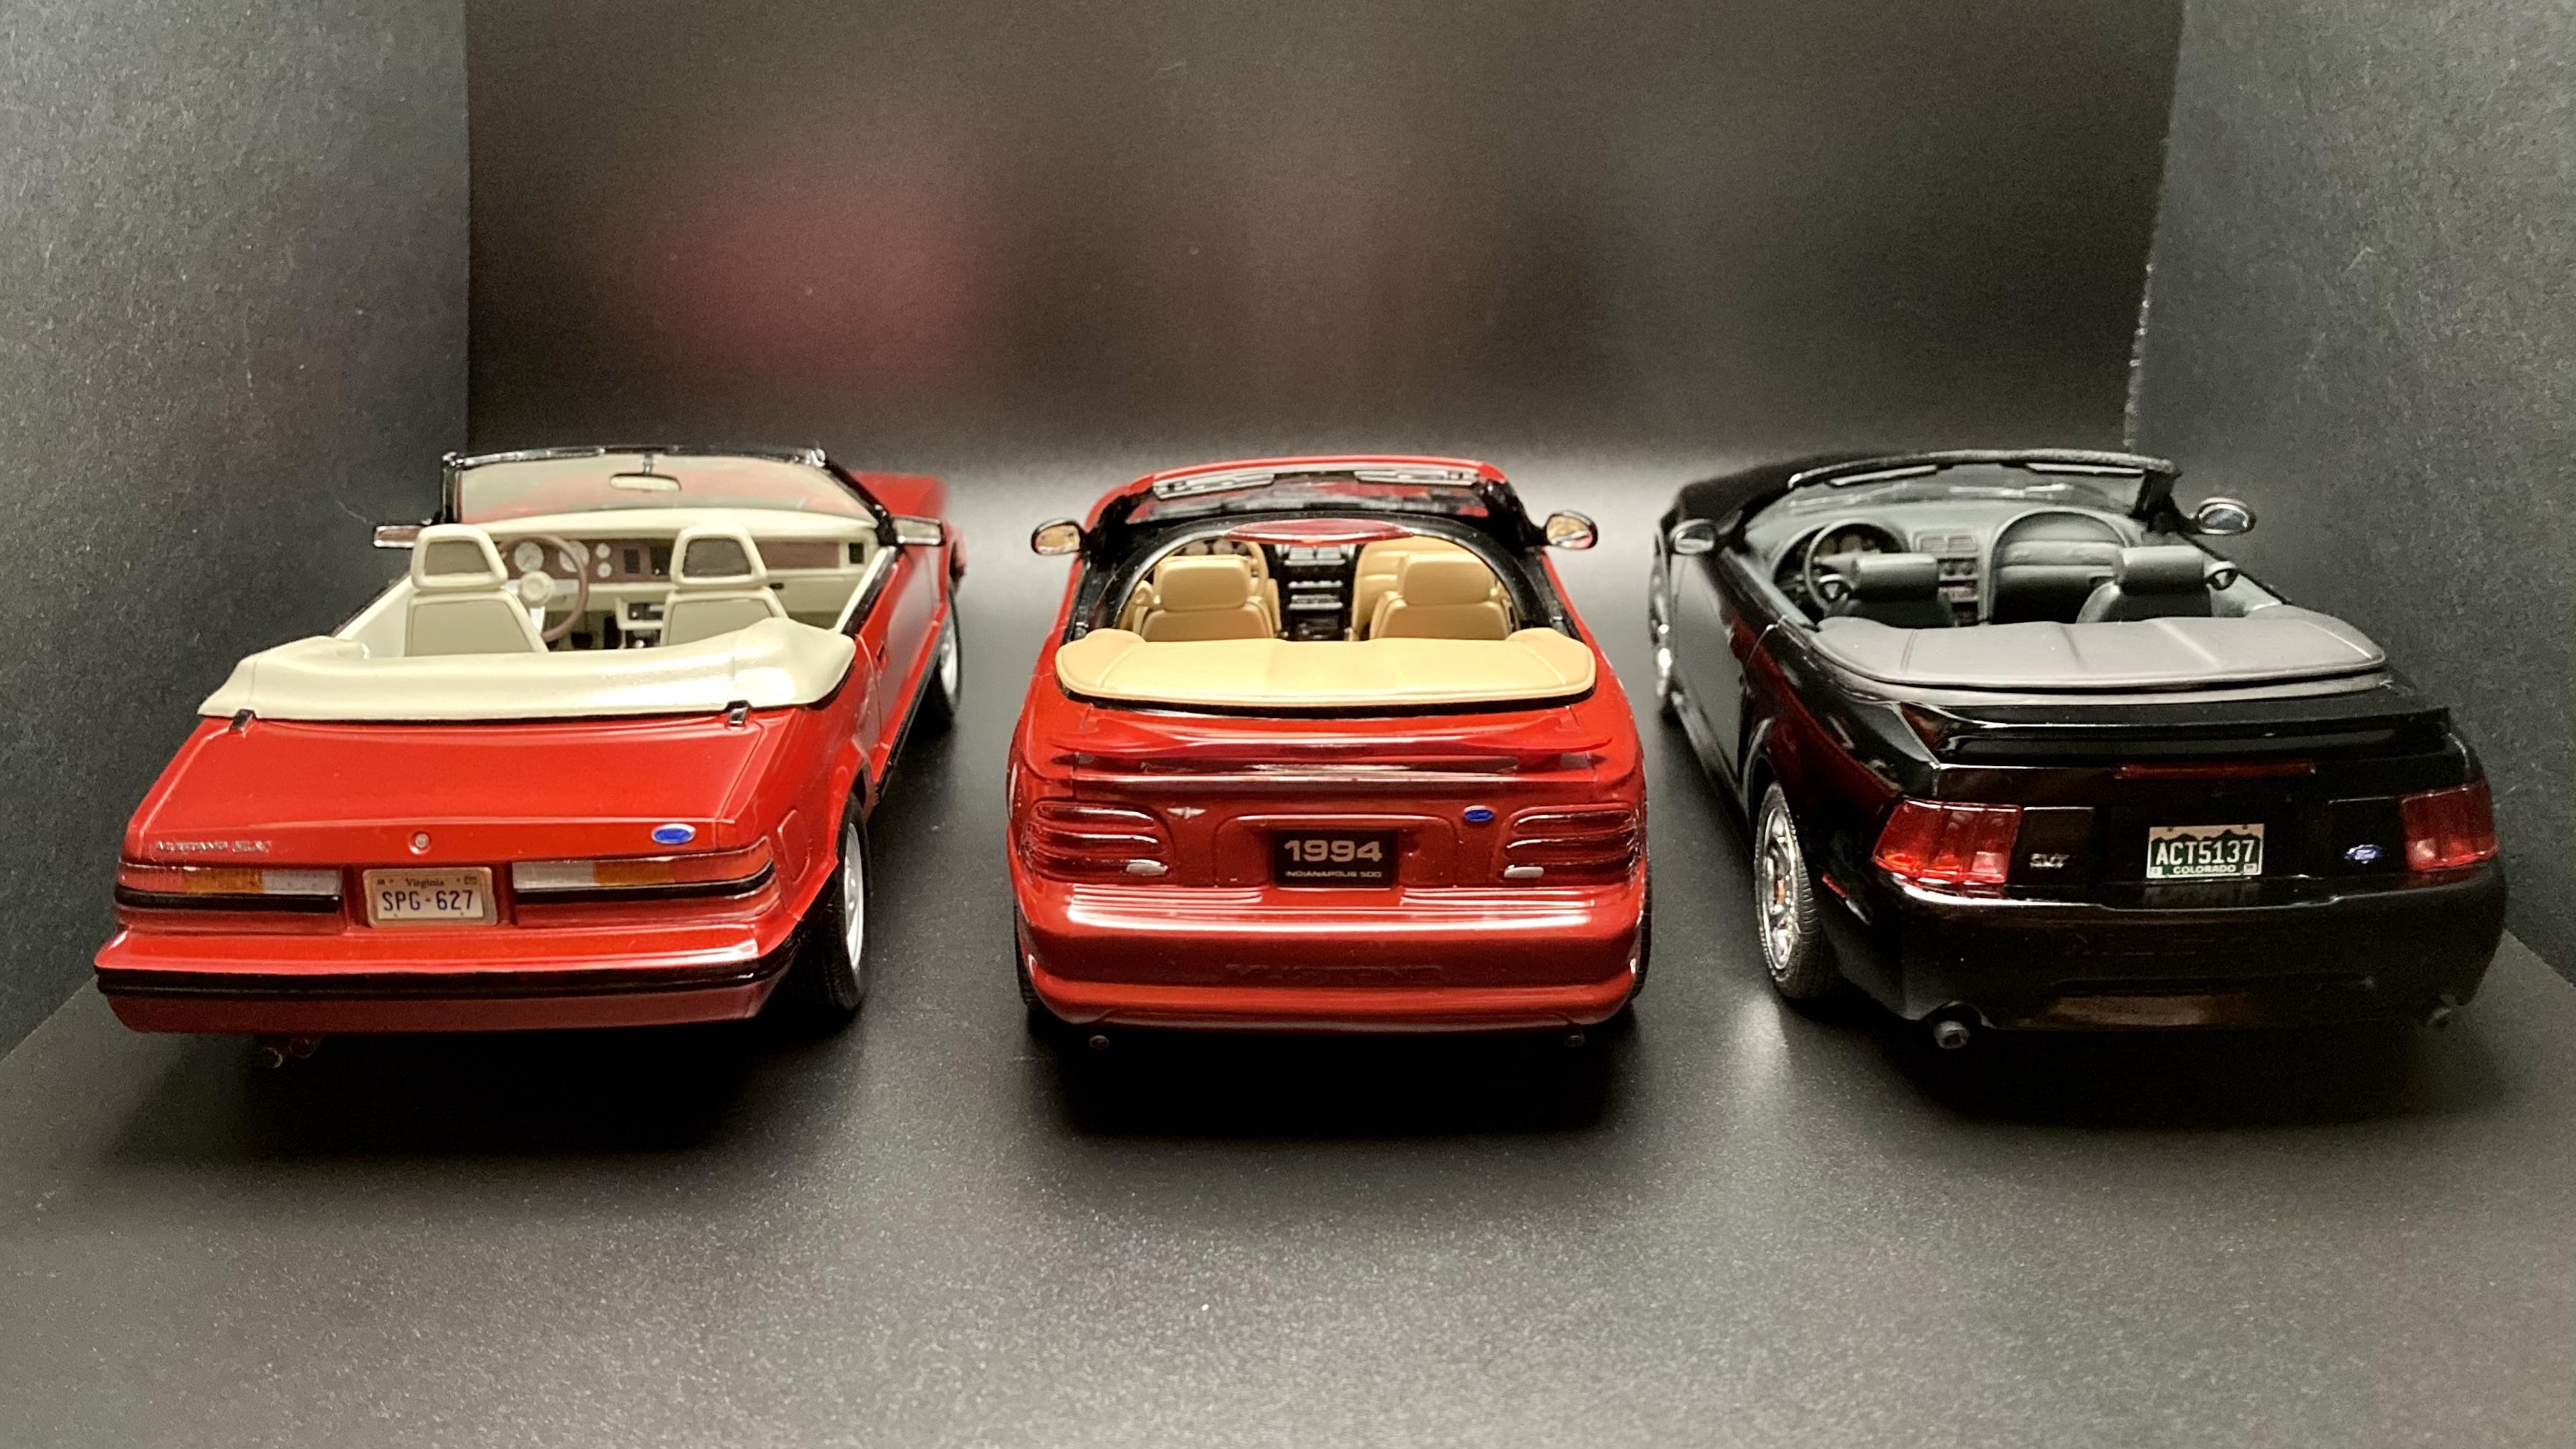
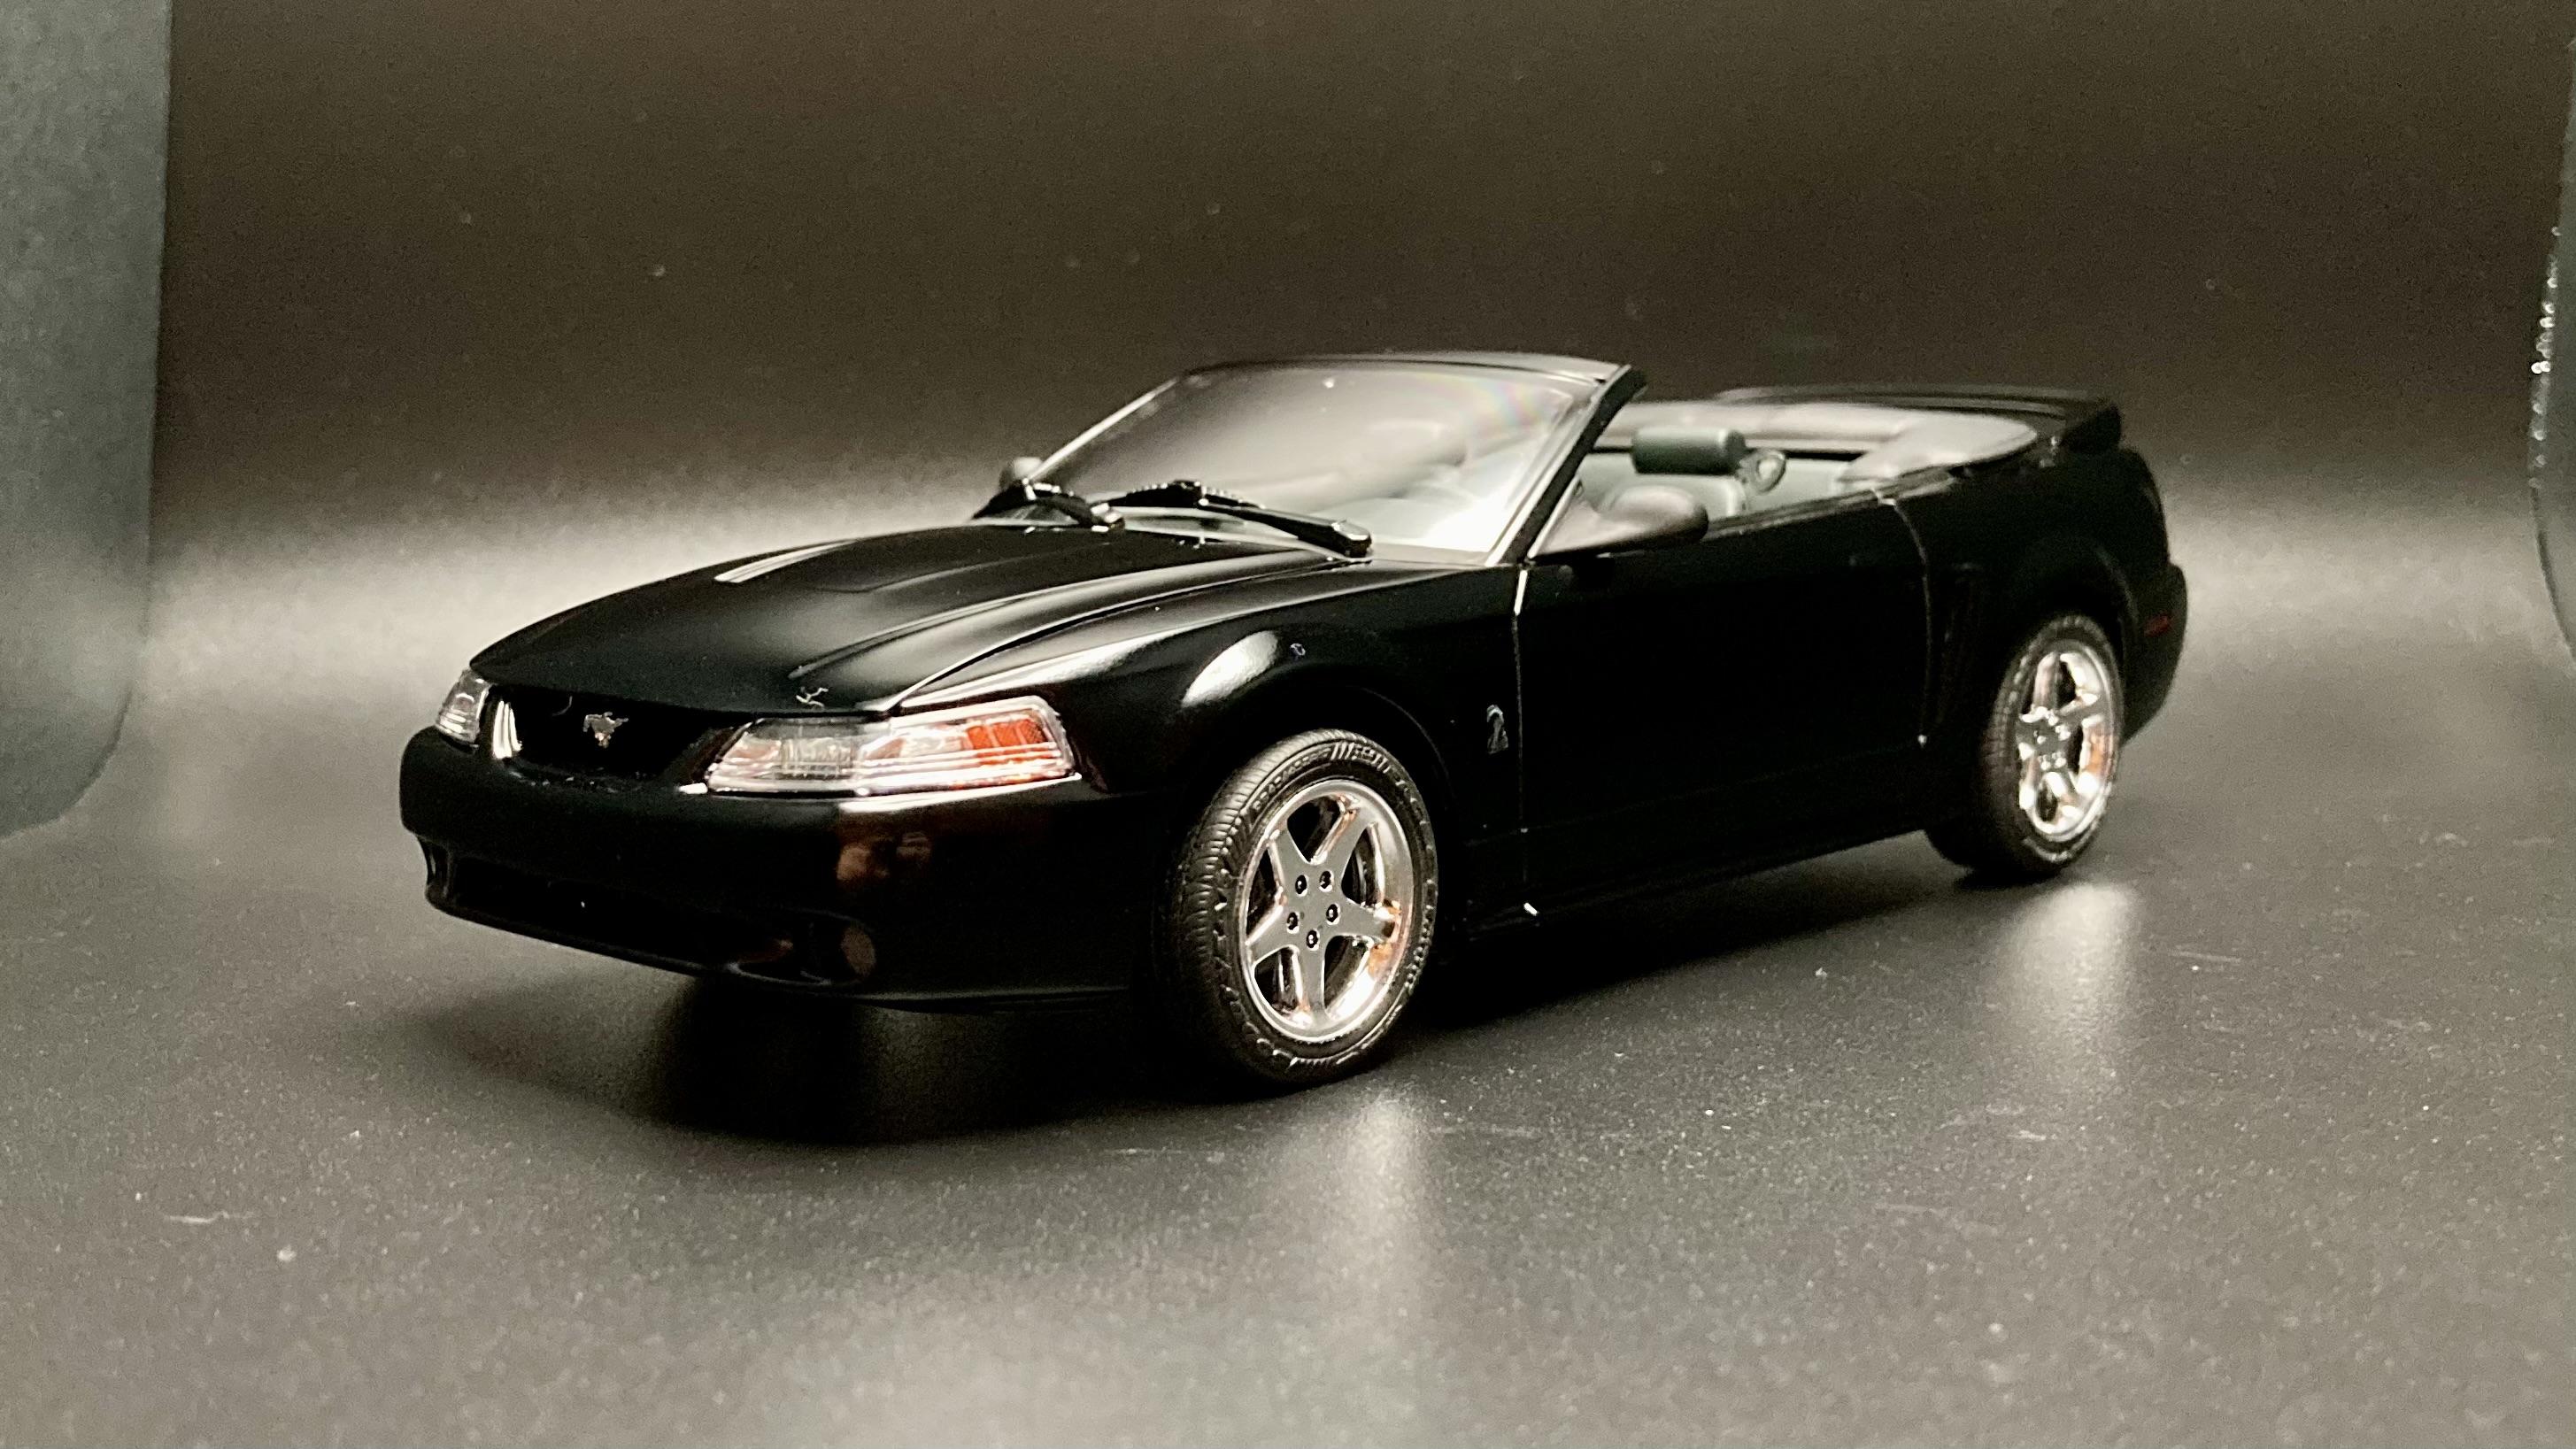
Here’s my build of the Monogram/Revell ‘99 Mustang Cobra, converted into a convertible using parts from the Monogram ’94 Cobra convertible. This is something they should have done themselves, the parts are all there except for the body shell. I have a WIP thread if you want to check it out. I had some troubles with paint and breaking the windshield frame, but overall an easy conversion and I’m pleased with my results!
-
Started to head a bit off track in the AMT 1936 Ford thread, so starting this one on the Monogram kit. If anyone wants to add in information on other issues of the Monogram 1936 Ford, please feel free to do so. Going by the instruction sheet this issue of the kit was offered in 1974, a convertible only version of an older 6 in 1 kit that builds a custom 1936 Ford. It does not come with stock wheels or engine. Replacing those items would appear to allow a factory stock car to be built from the kit. The instructions say the kit engine is a 1948 Mercury with a 3 carburetor set up. It can be built top up, or top down. The rumble seat appears to be designed to be movable allowing it to open and close. The Monogram and AMT kits build different convertible top vehicles. The Monogram kit builds a convertible or cabriolet, the AMT kit can be built as a roadster. The convertible was a higher end vehicle with roll up side windows for better protection from the elements. The Roadster has no side windows and uses a different windshield which includes wind deflectors on either side. The kit
-
I just happened to find my '64 GTO again (had been stored away for decades, was built in the 80's) - here are some pics shot half an hour ago. This is my favorite Pontiac GTO . First release - molded in red - was just clear-covered, Humbrol silver paint for the trim. Maybe I will re-do it someday, because I have a MGC (?) photoetch detail set for that one.
-
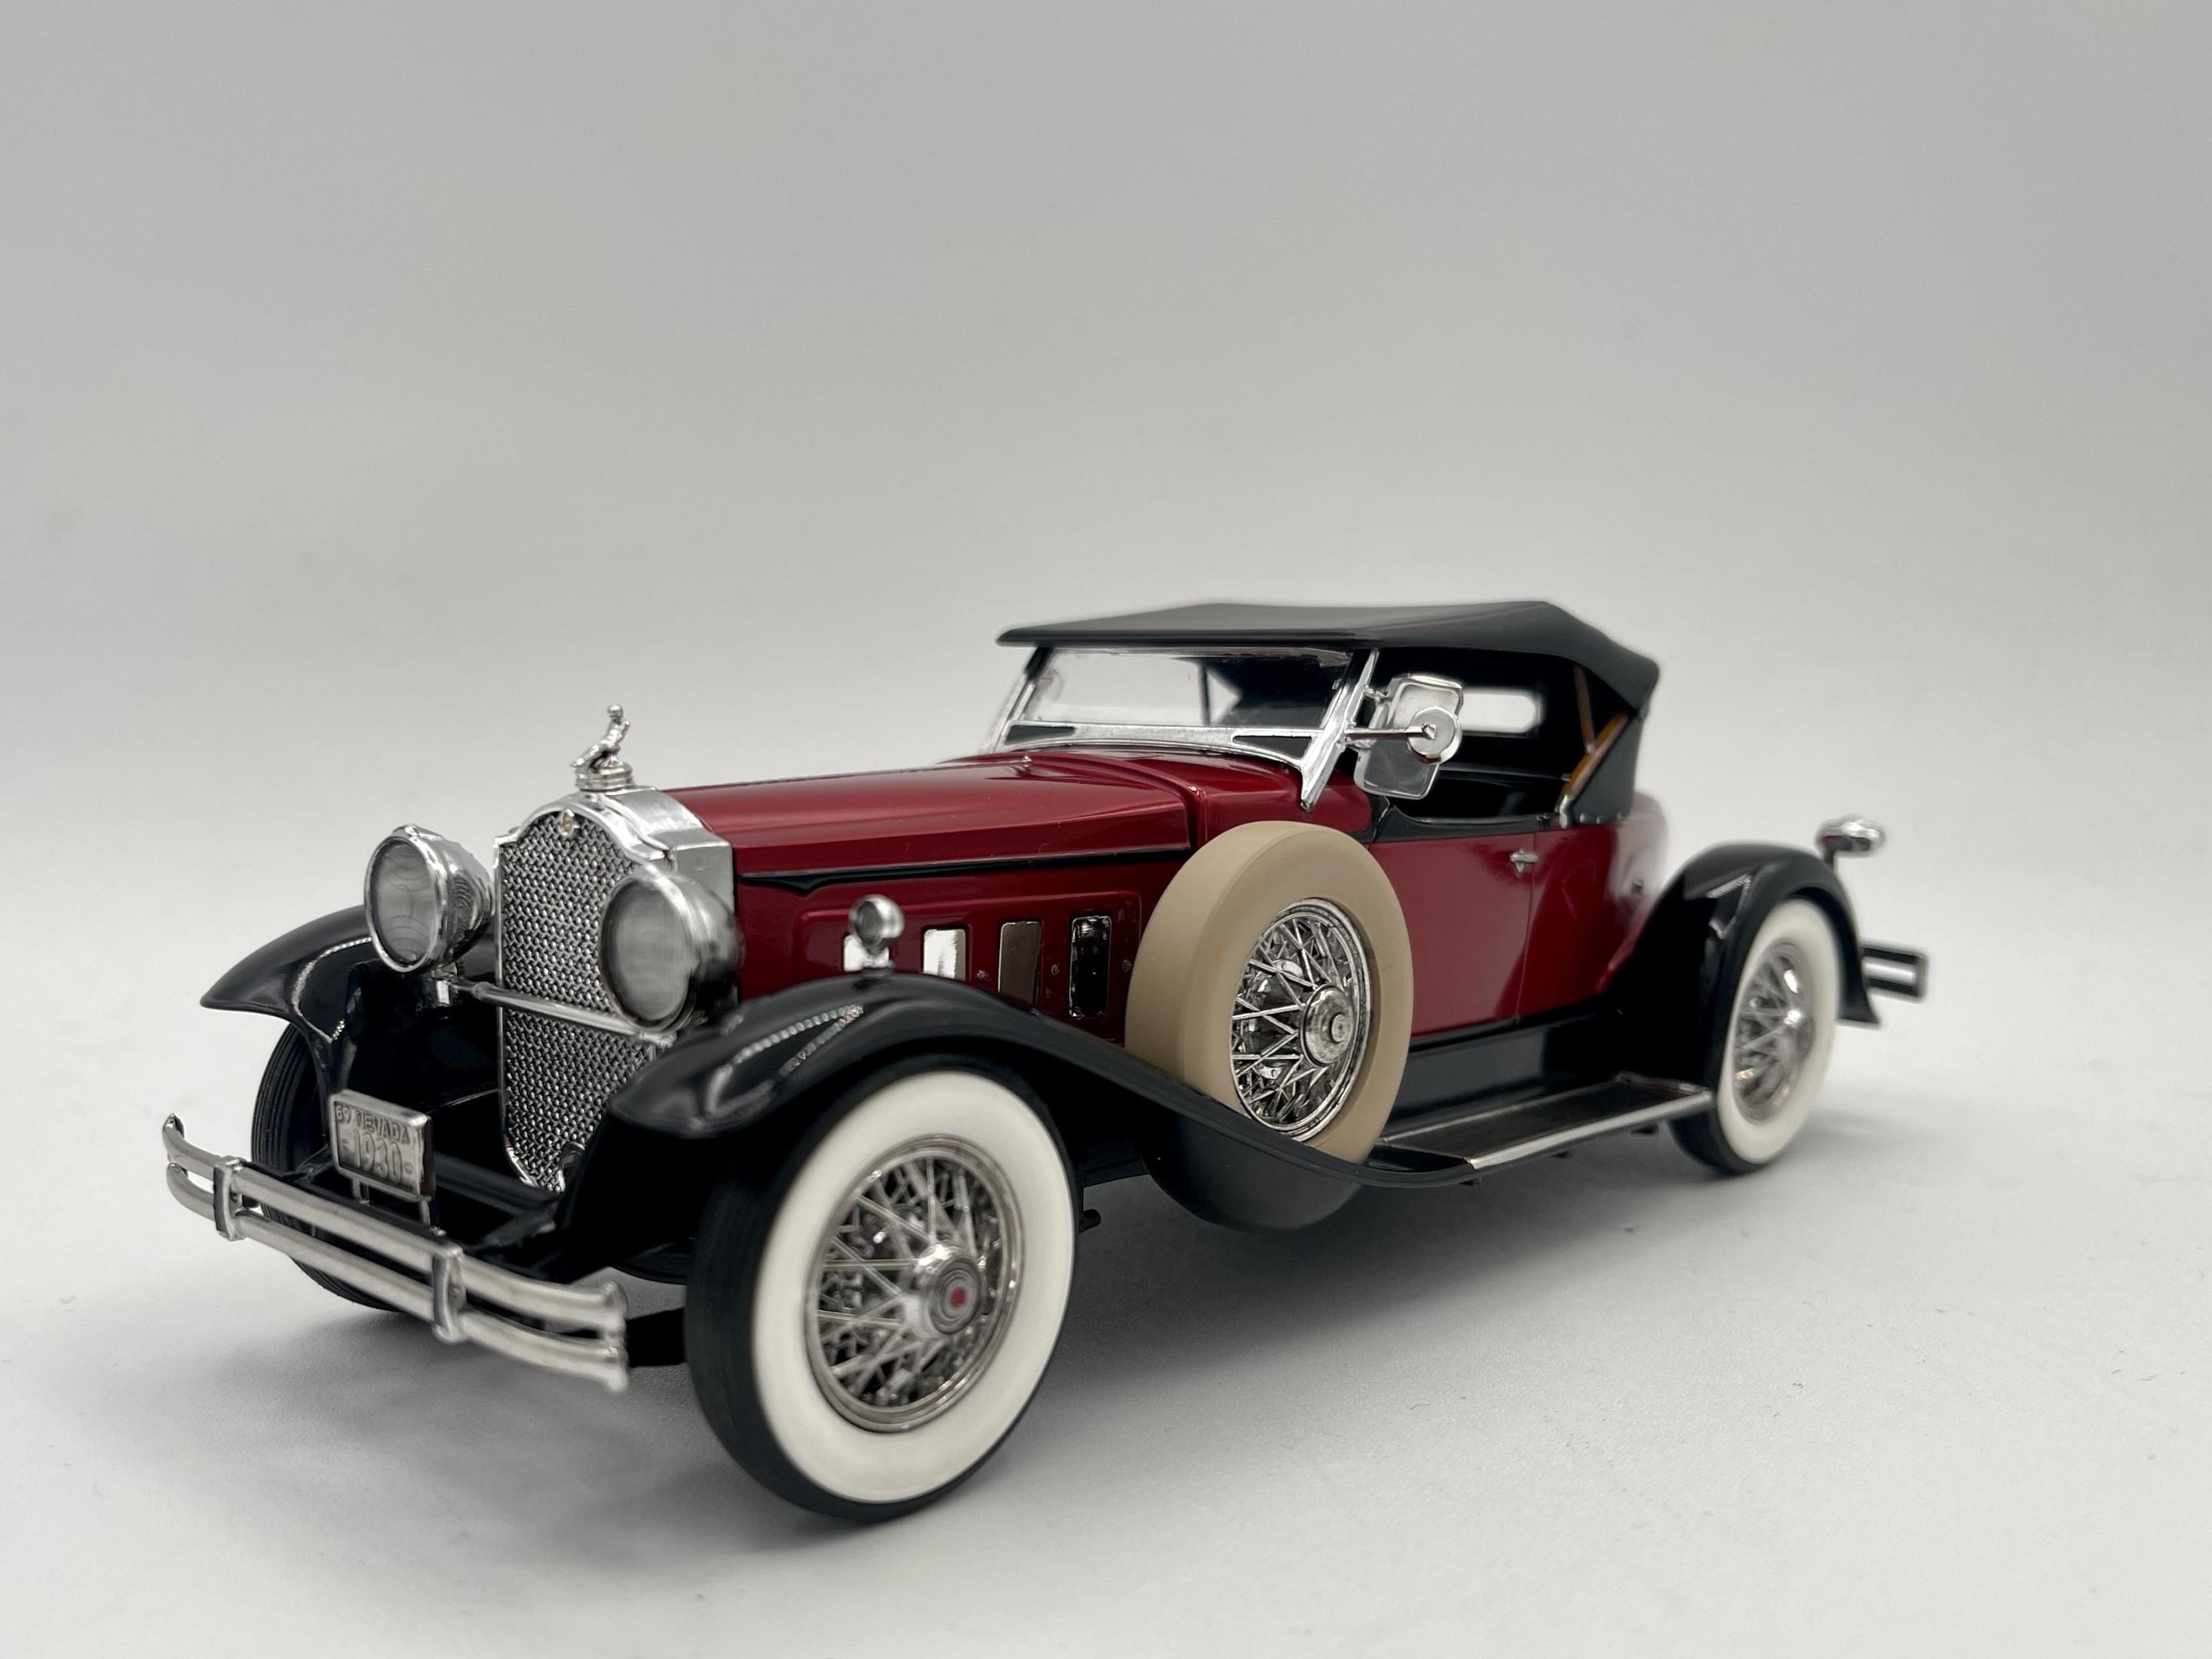
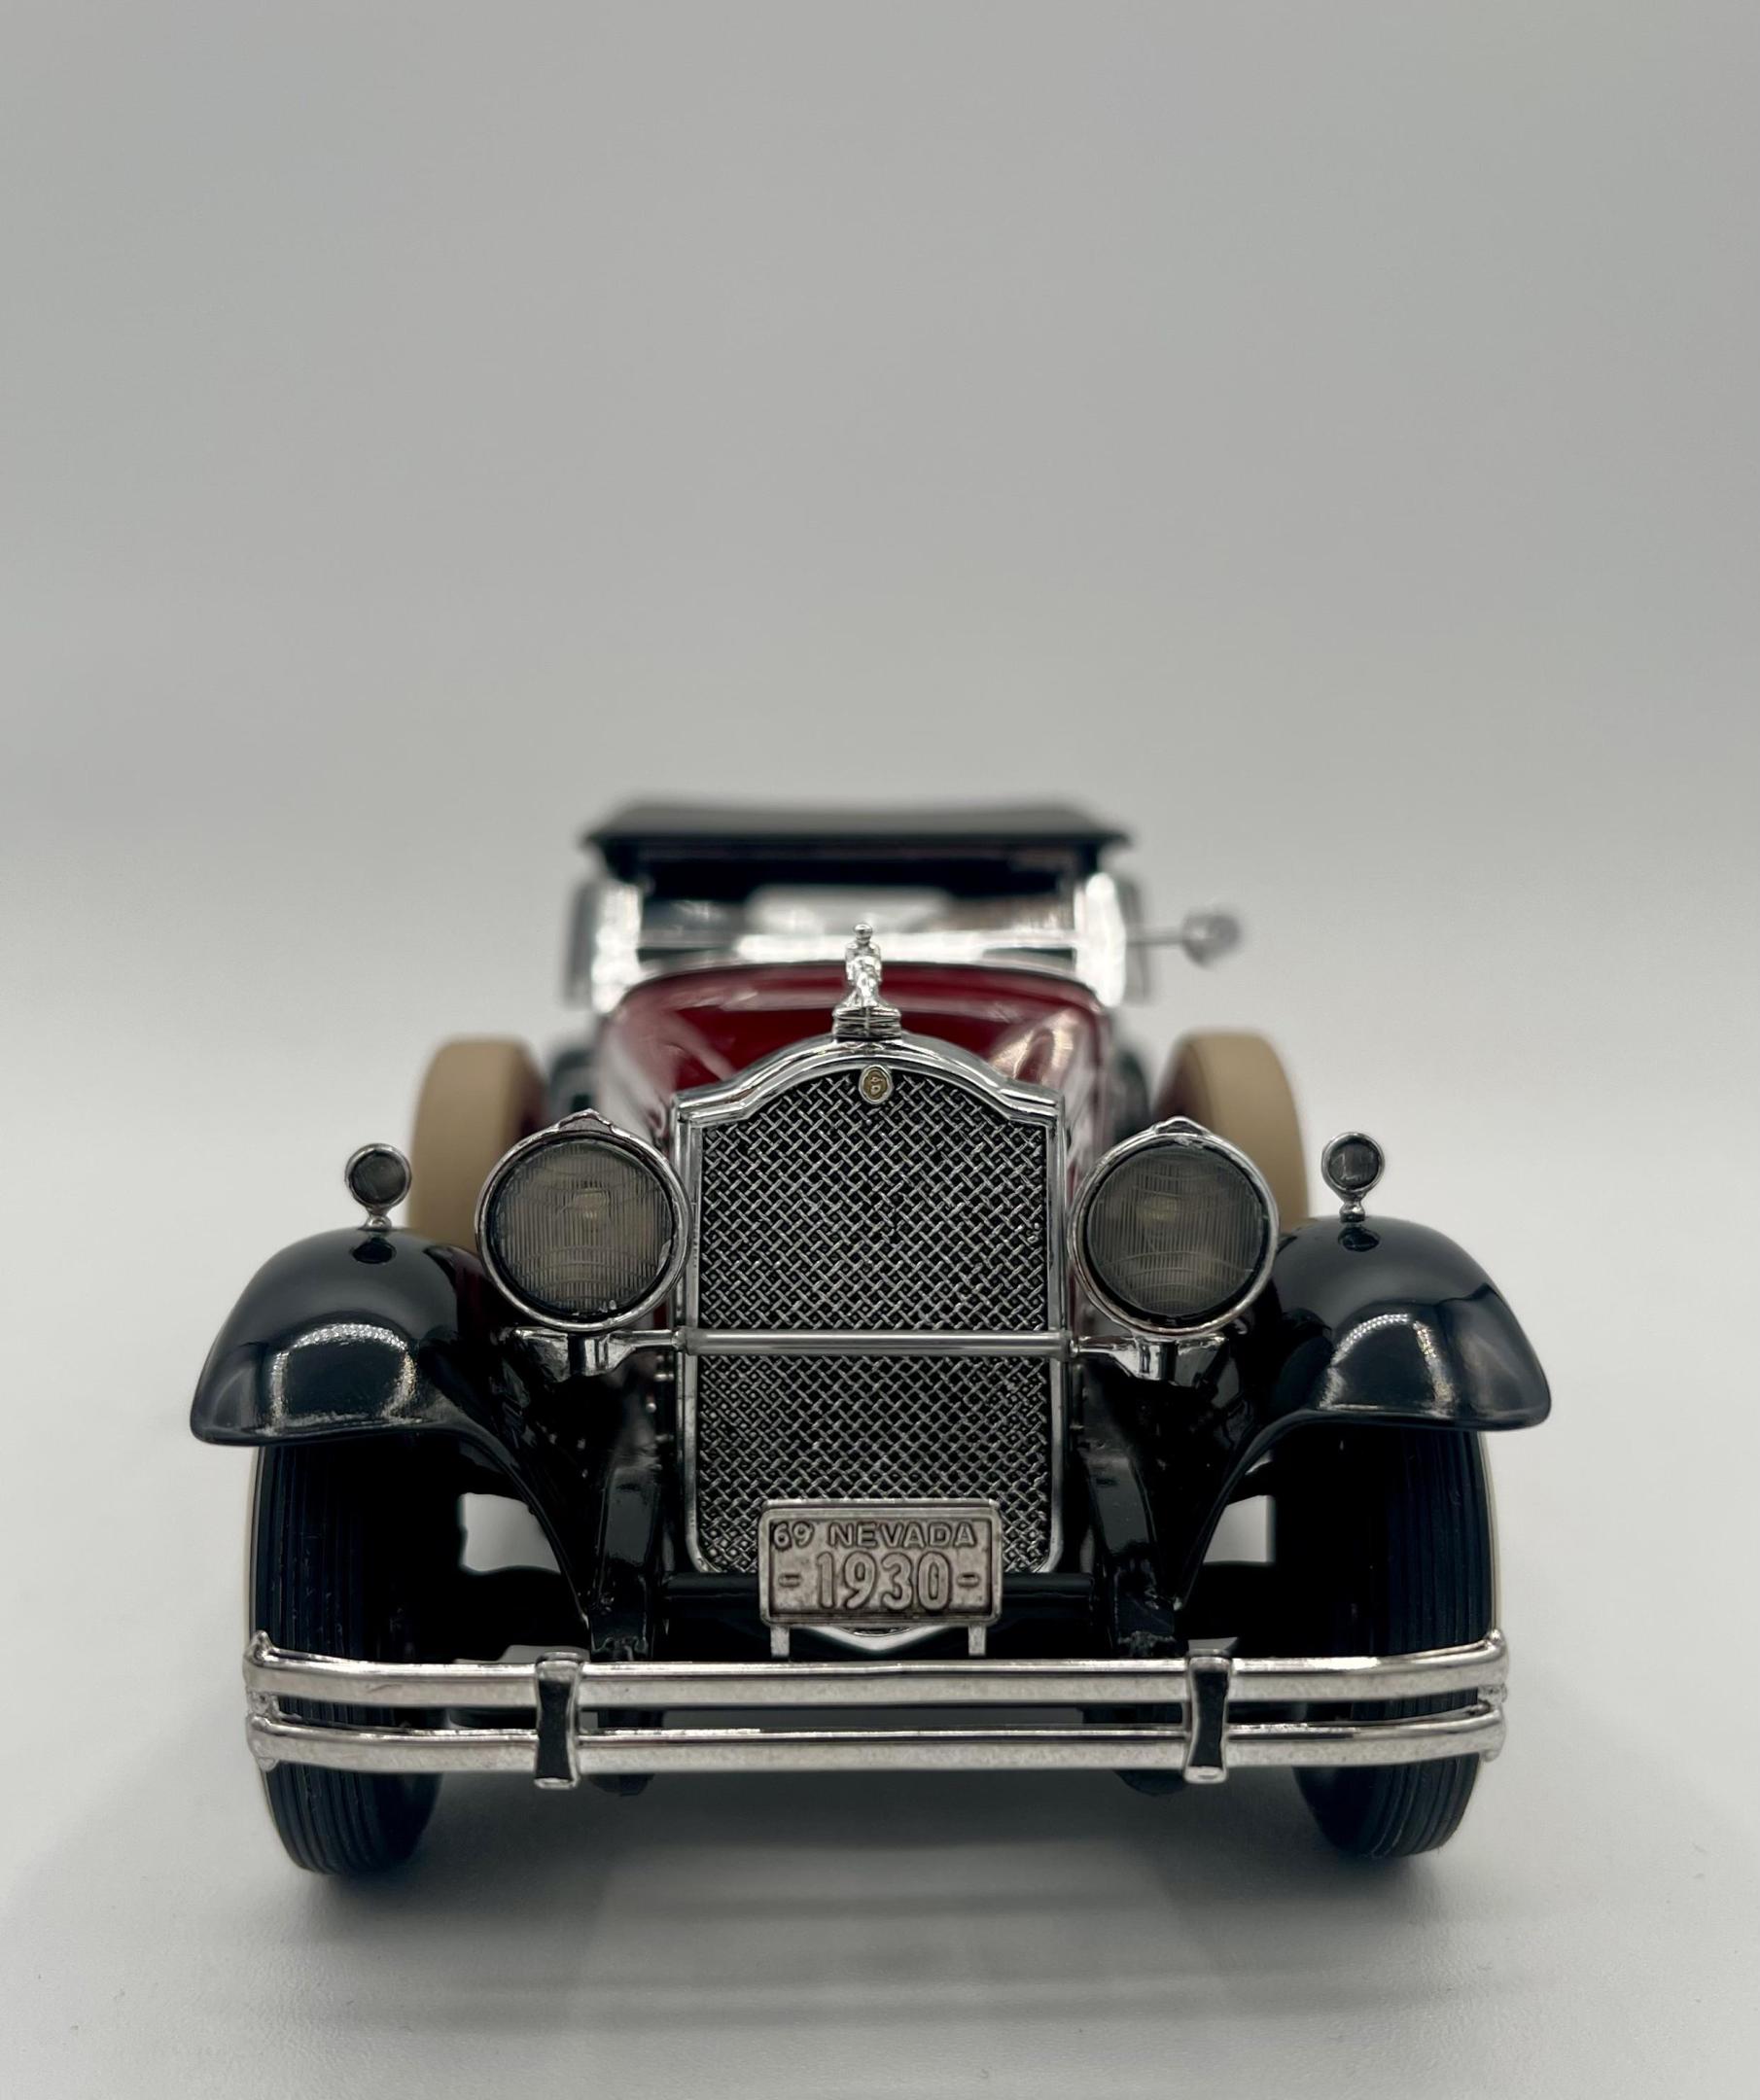
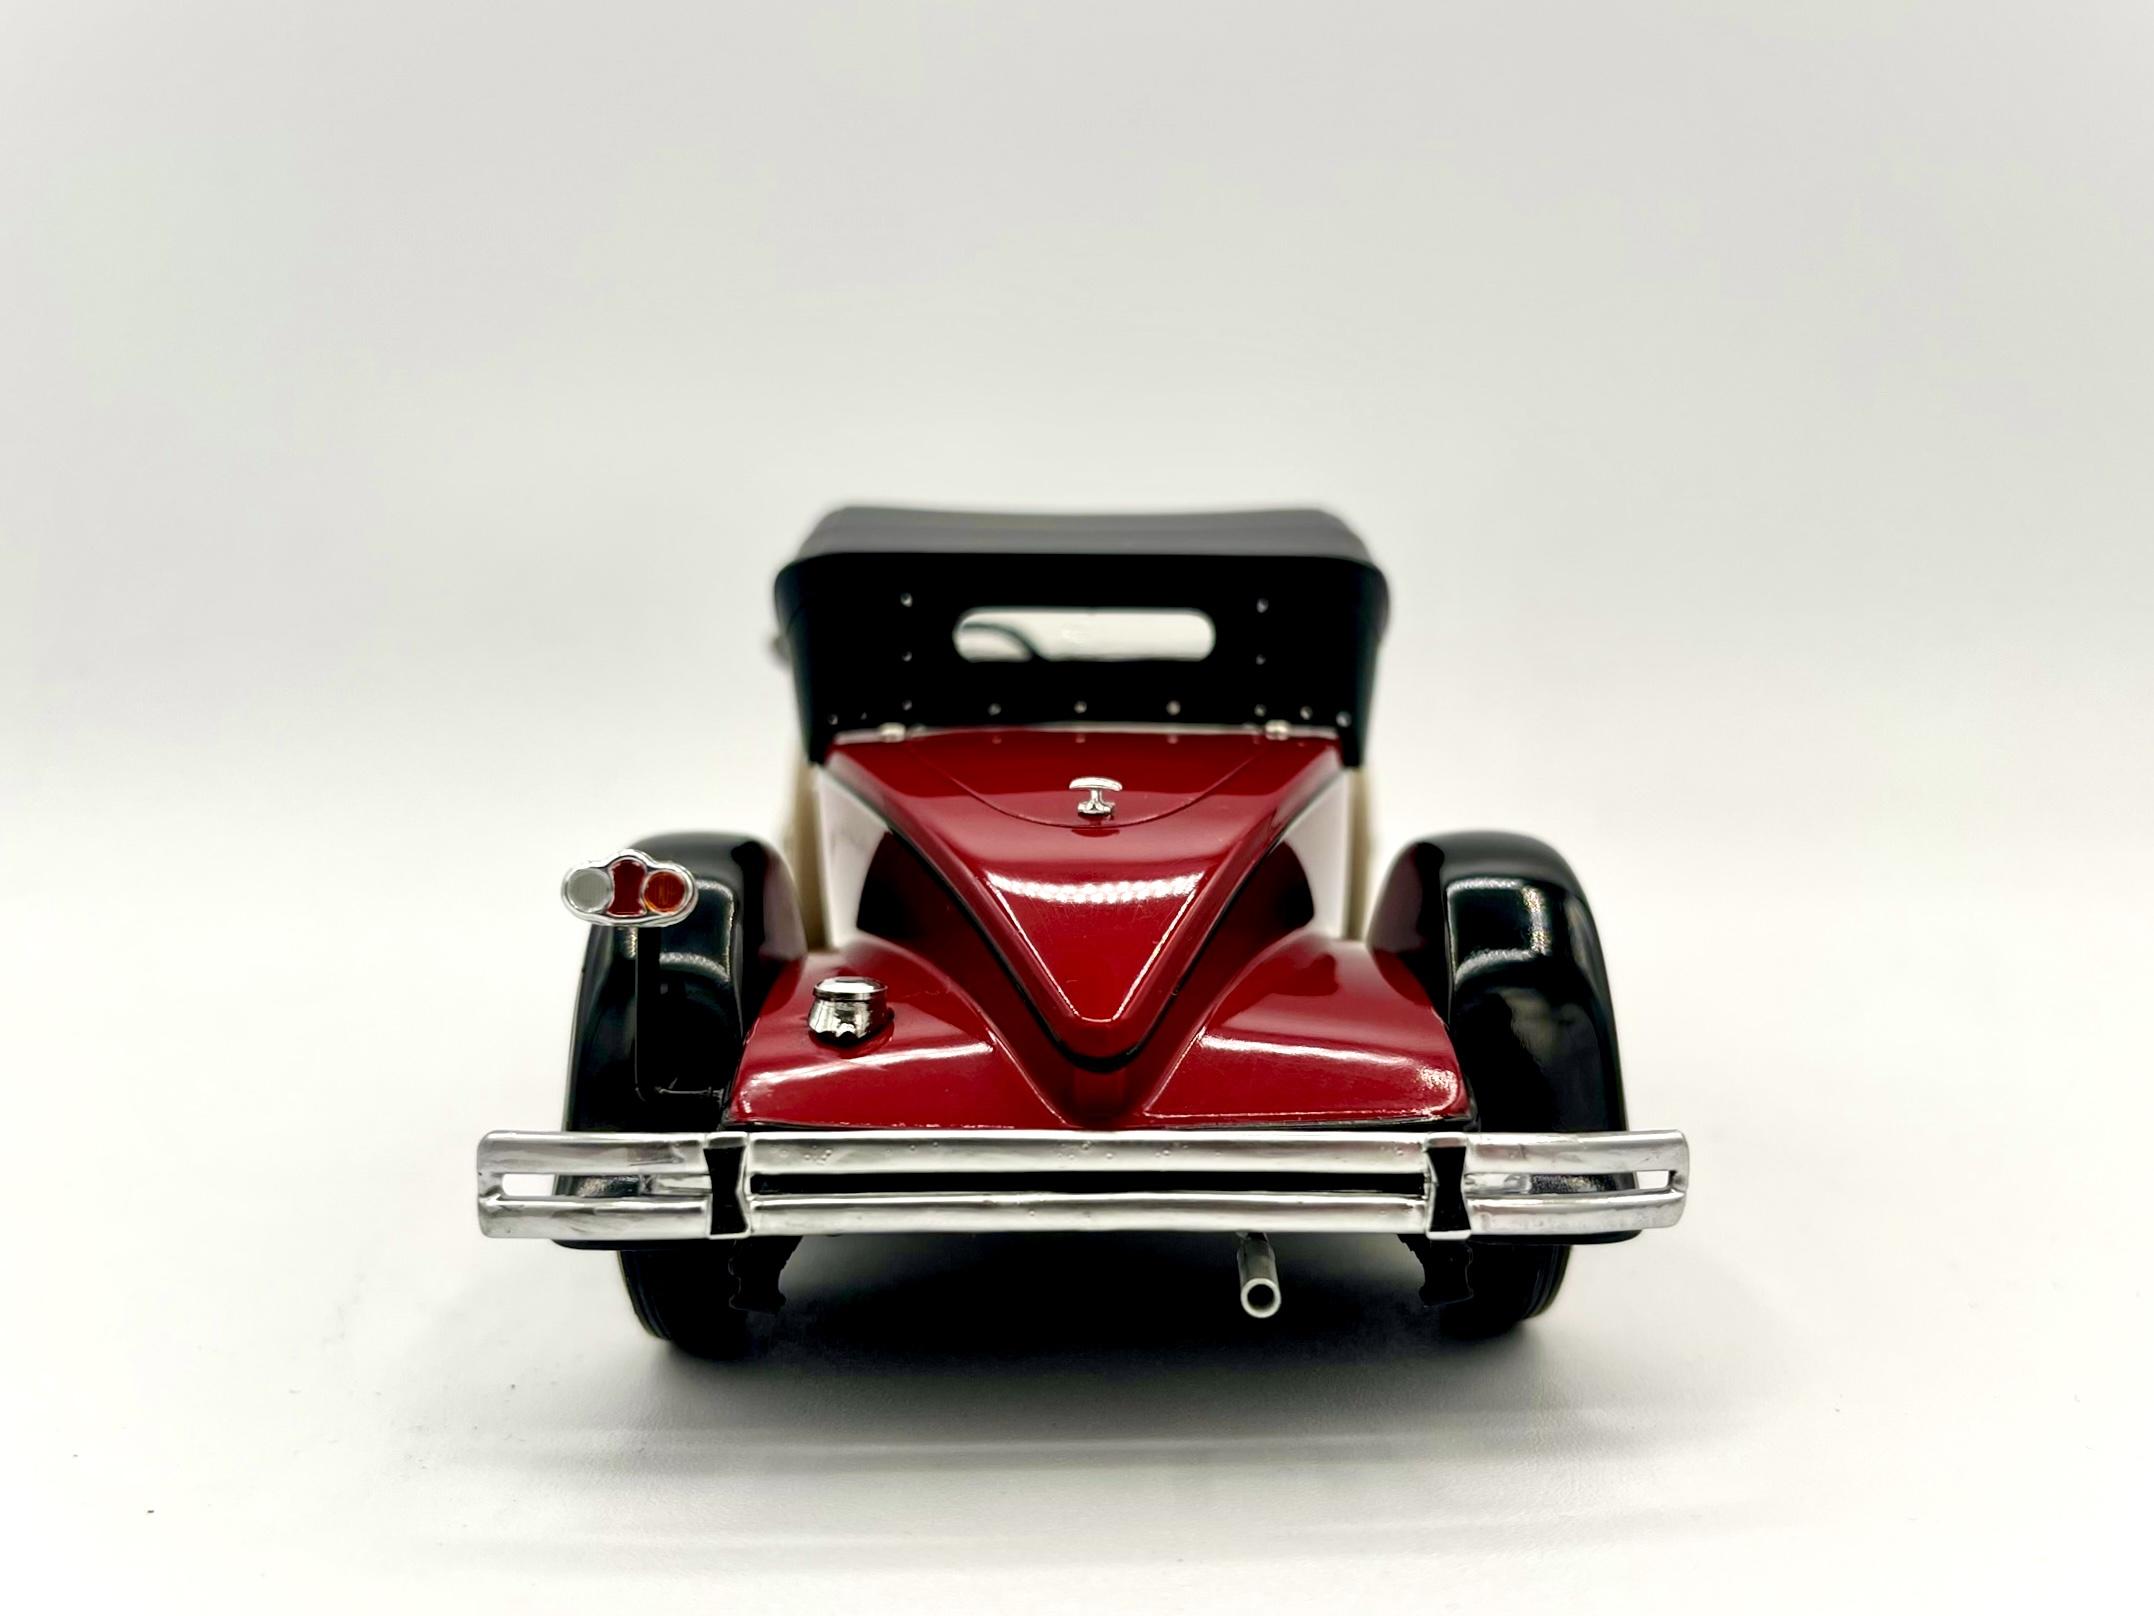
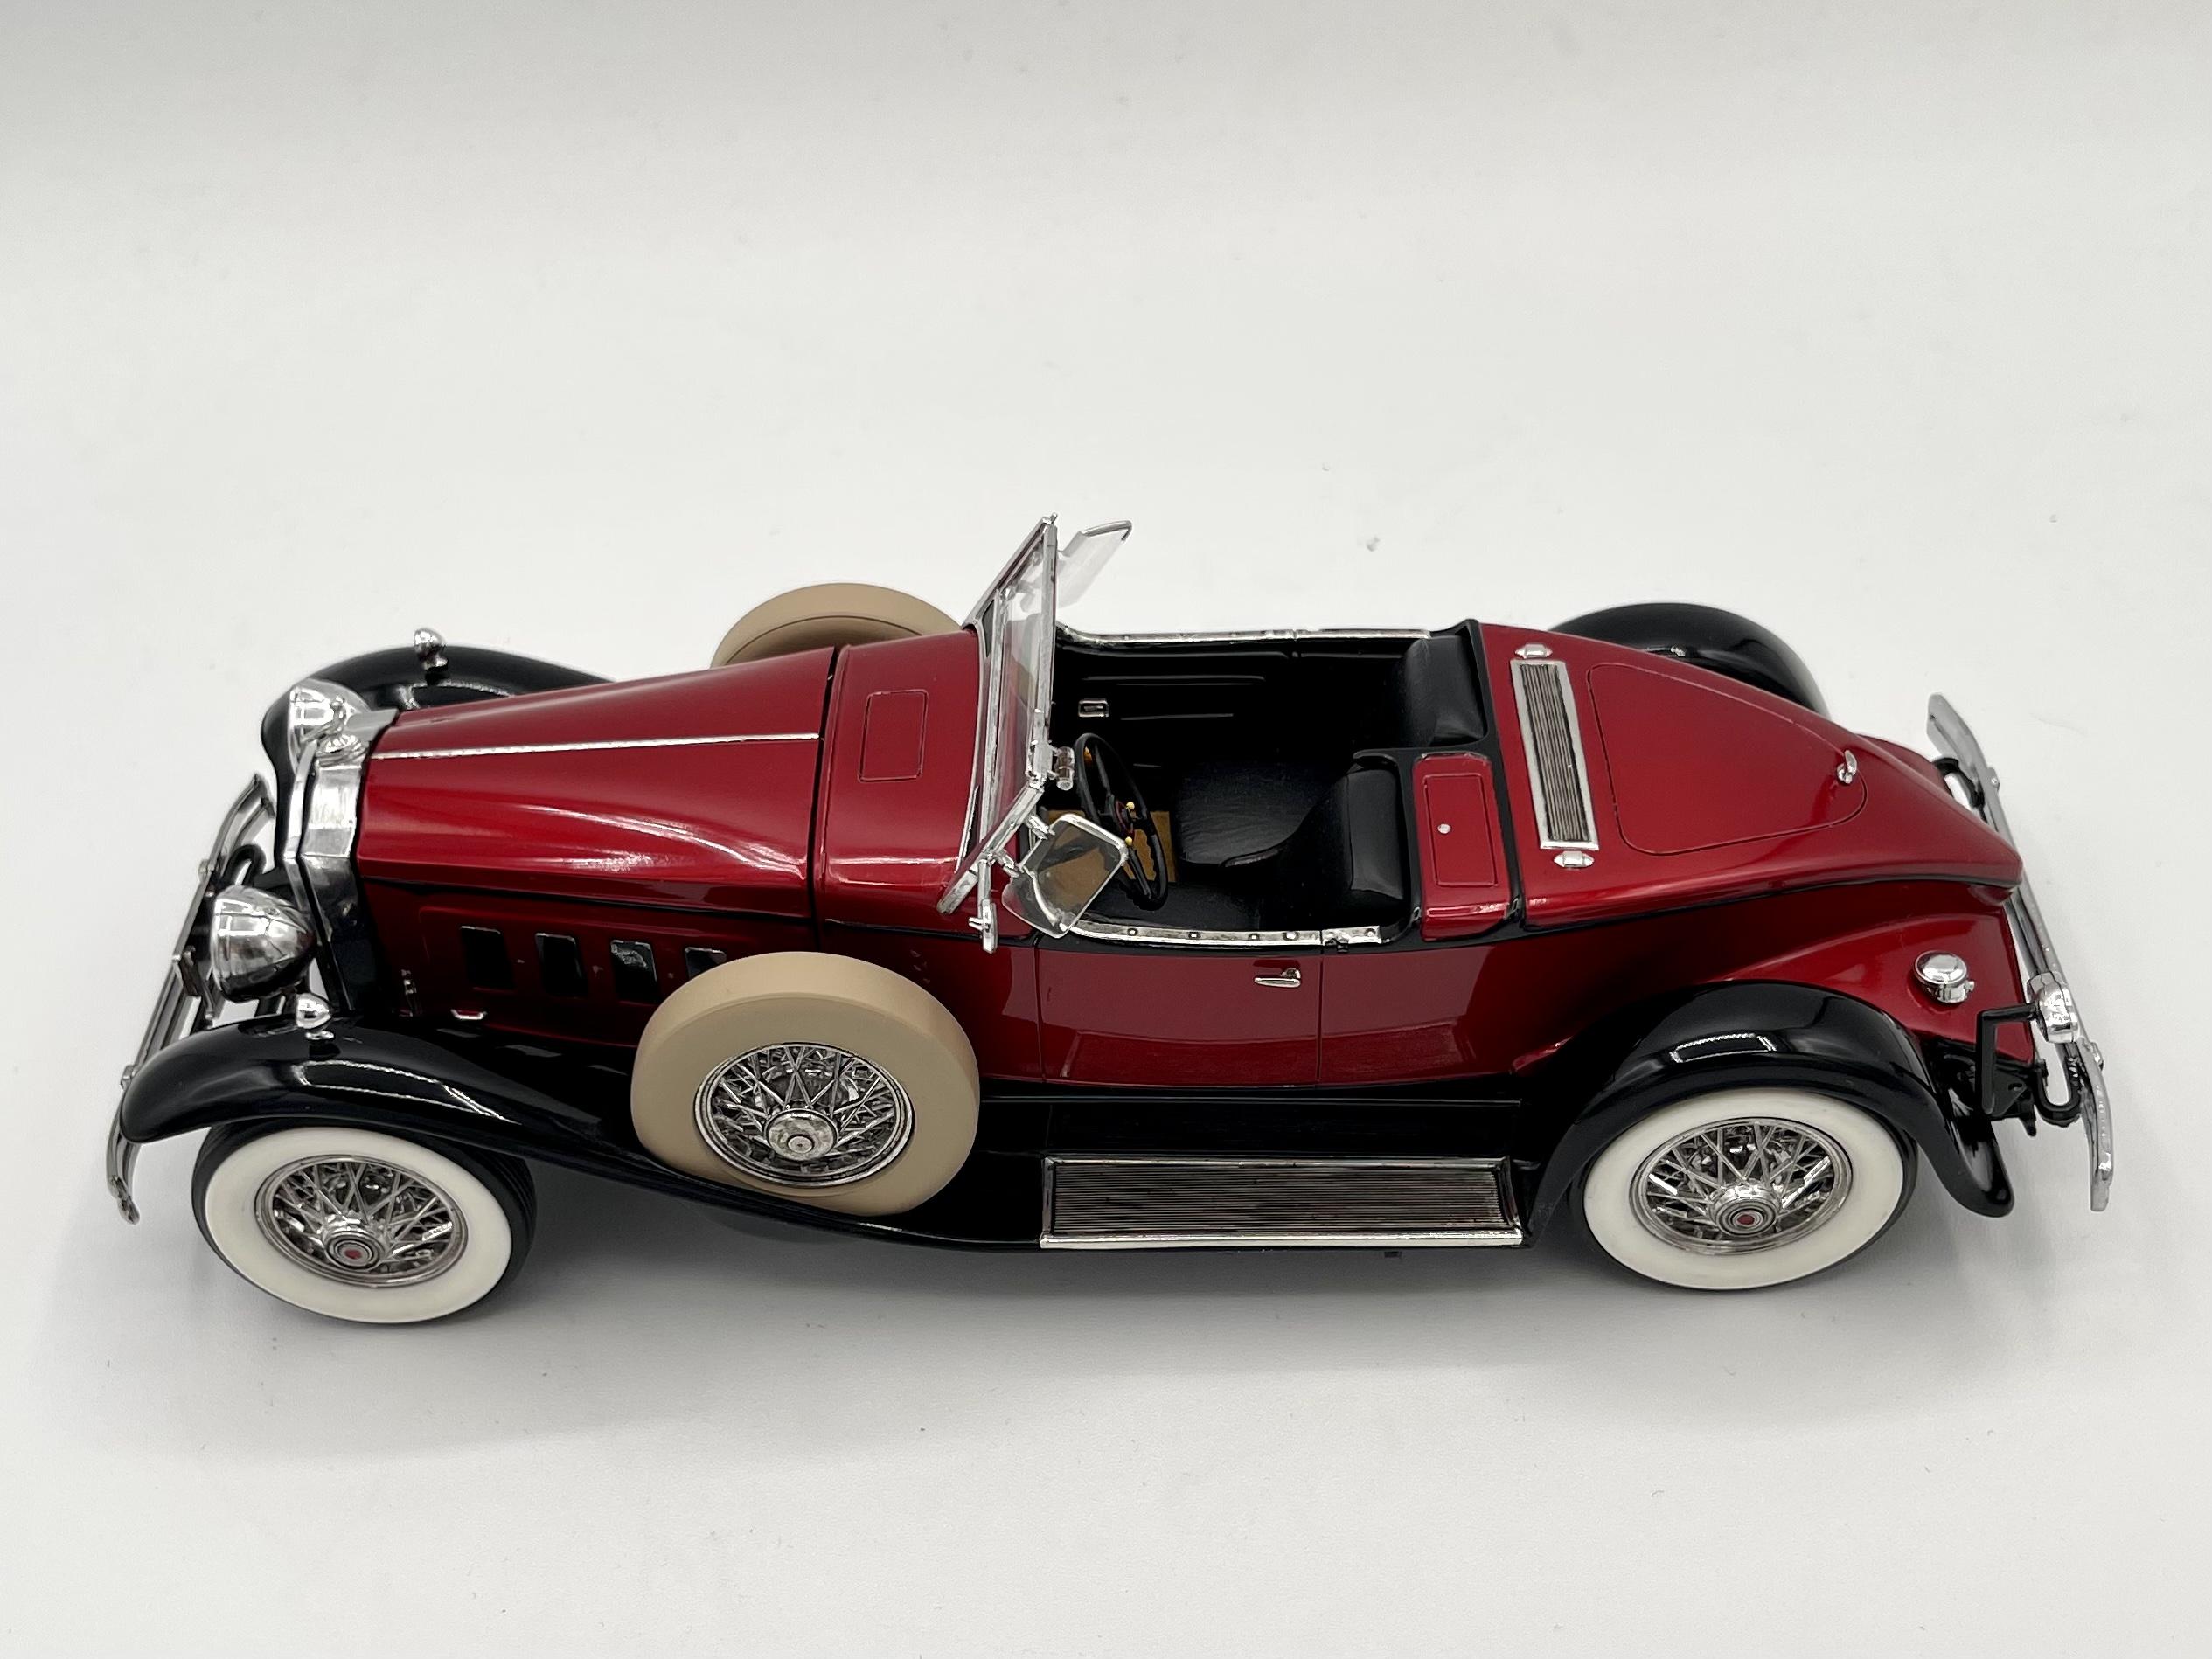
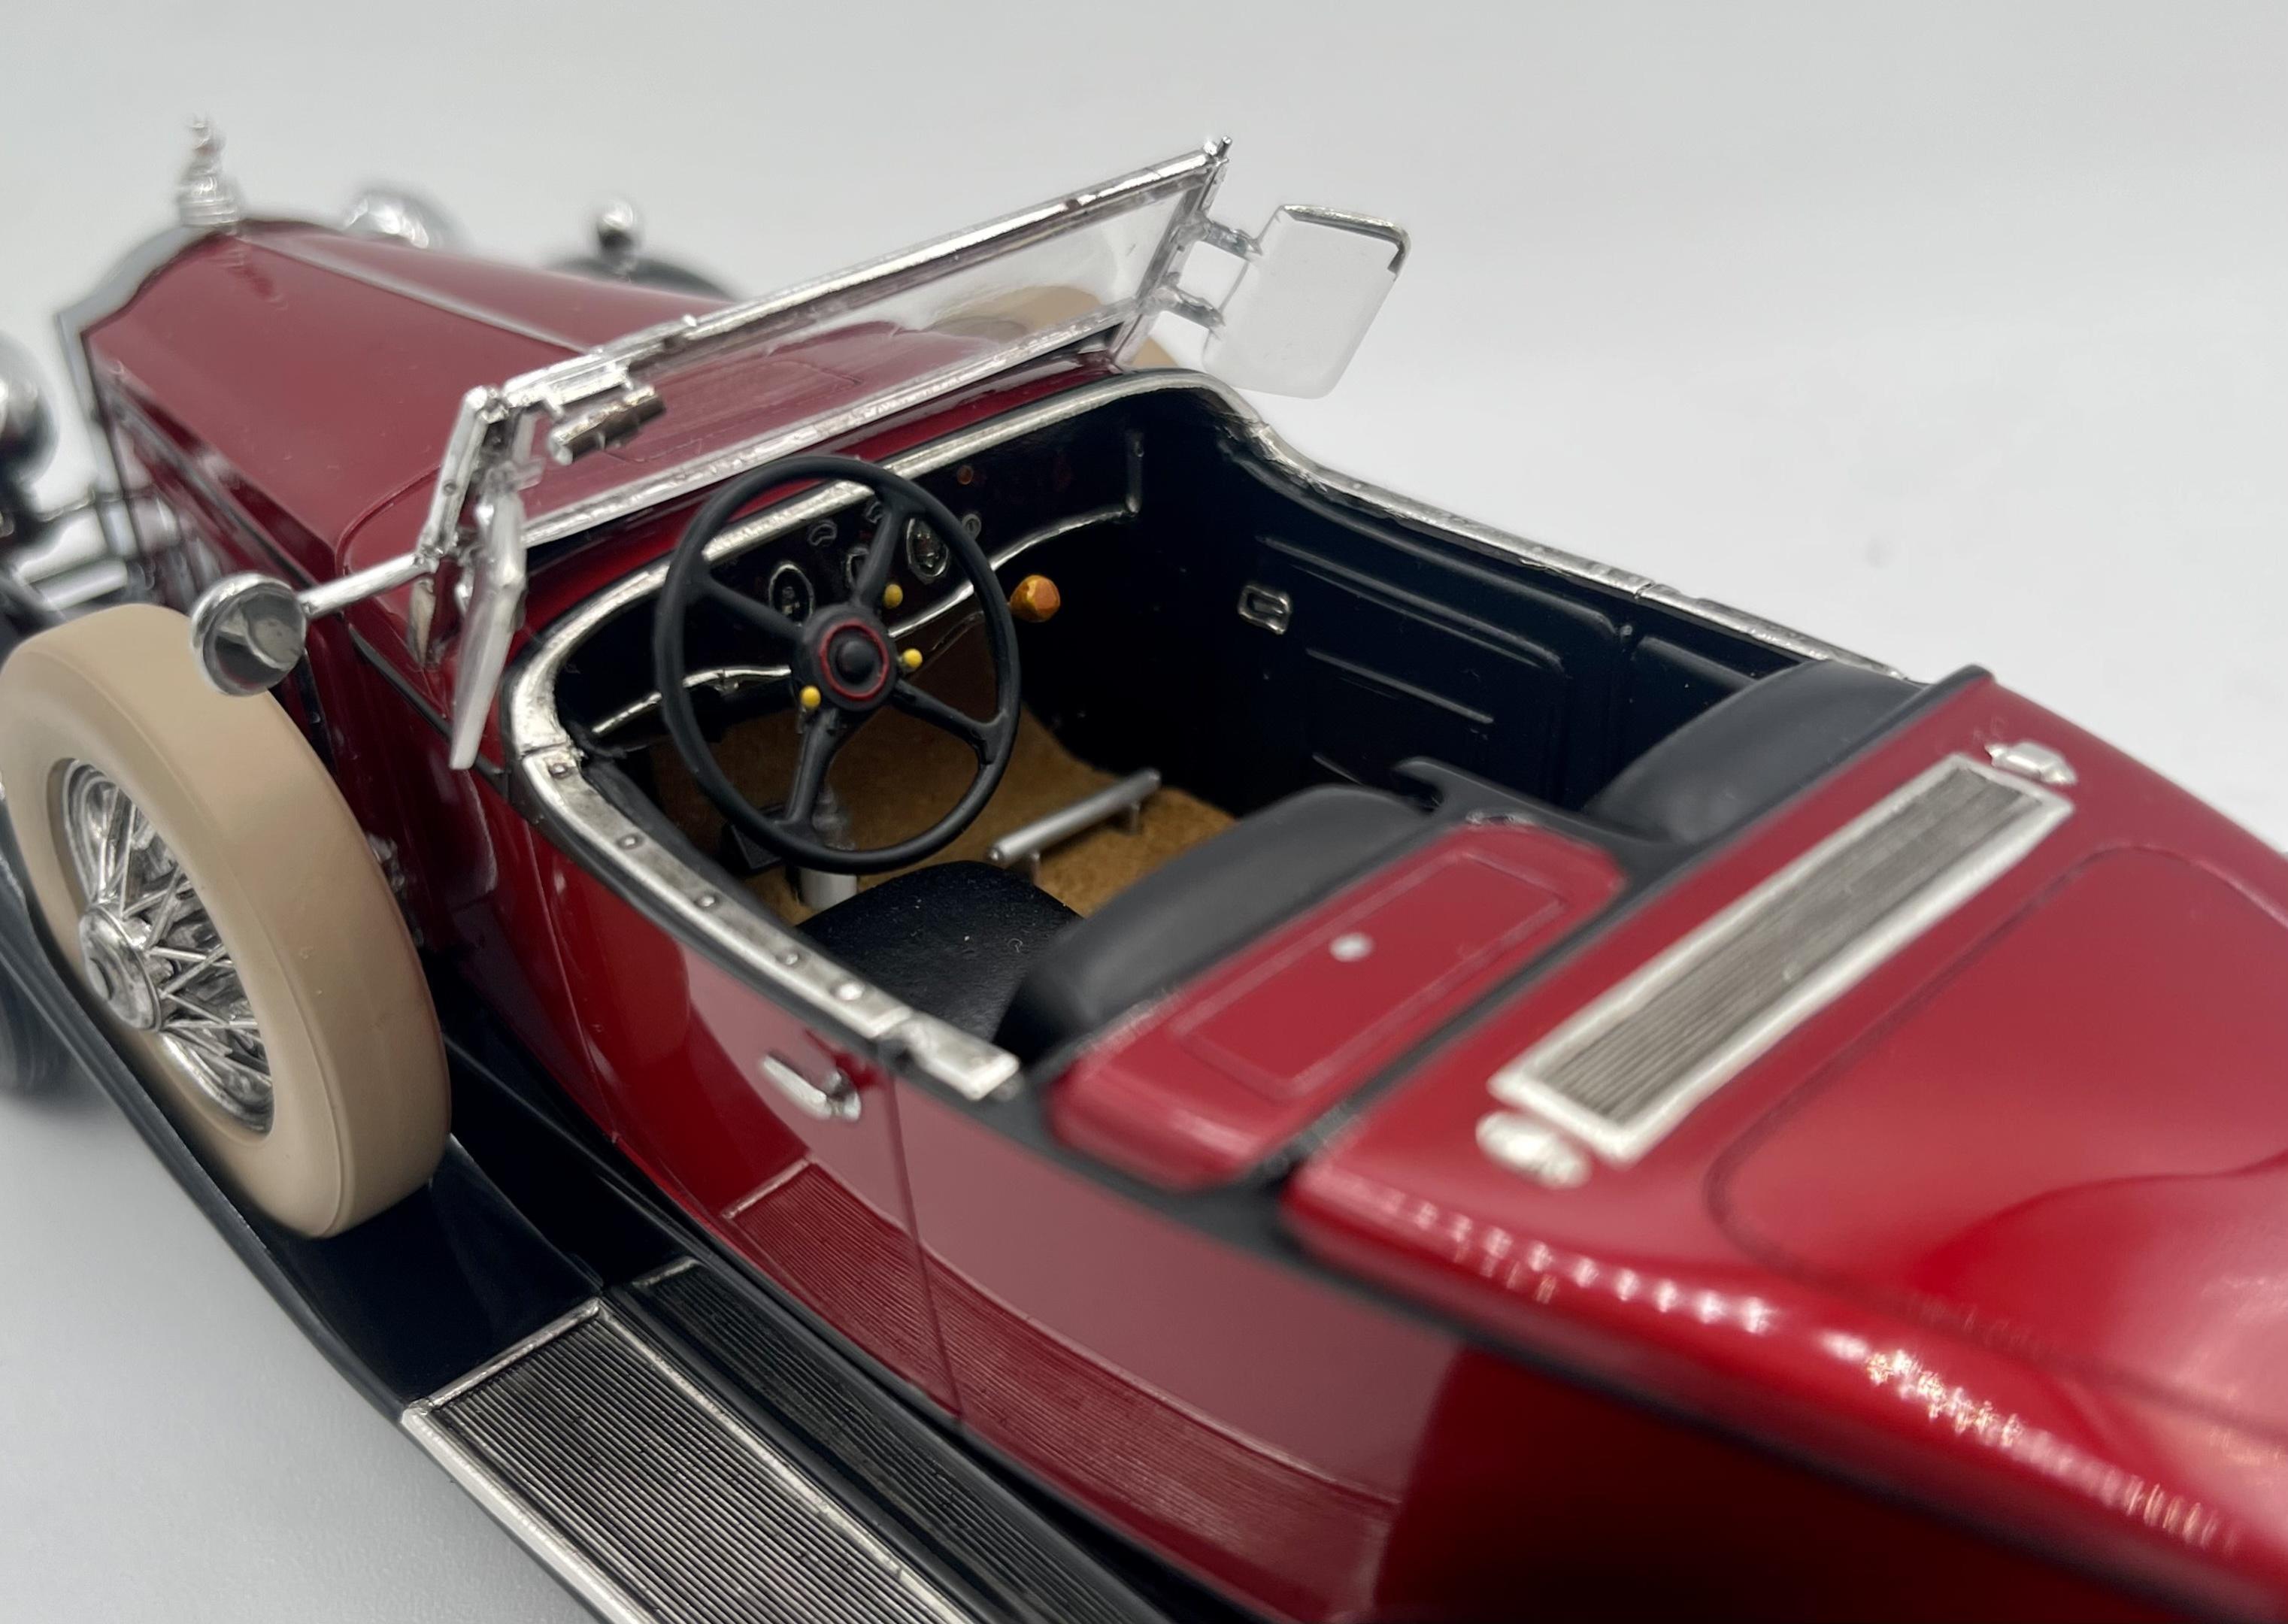
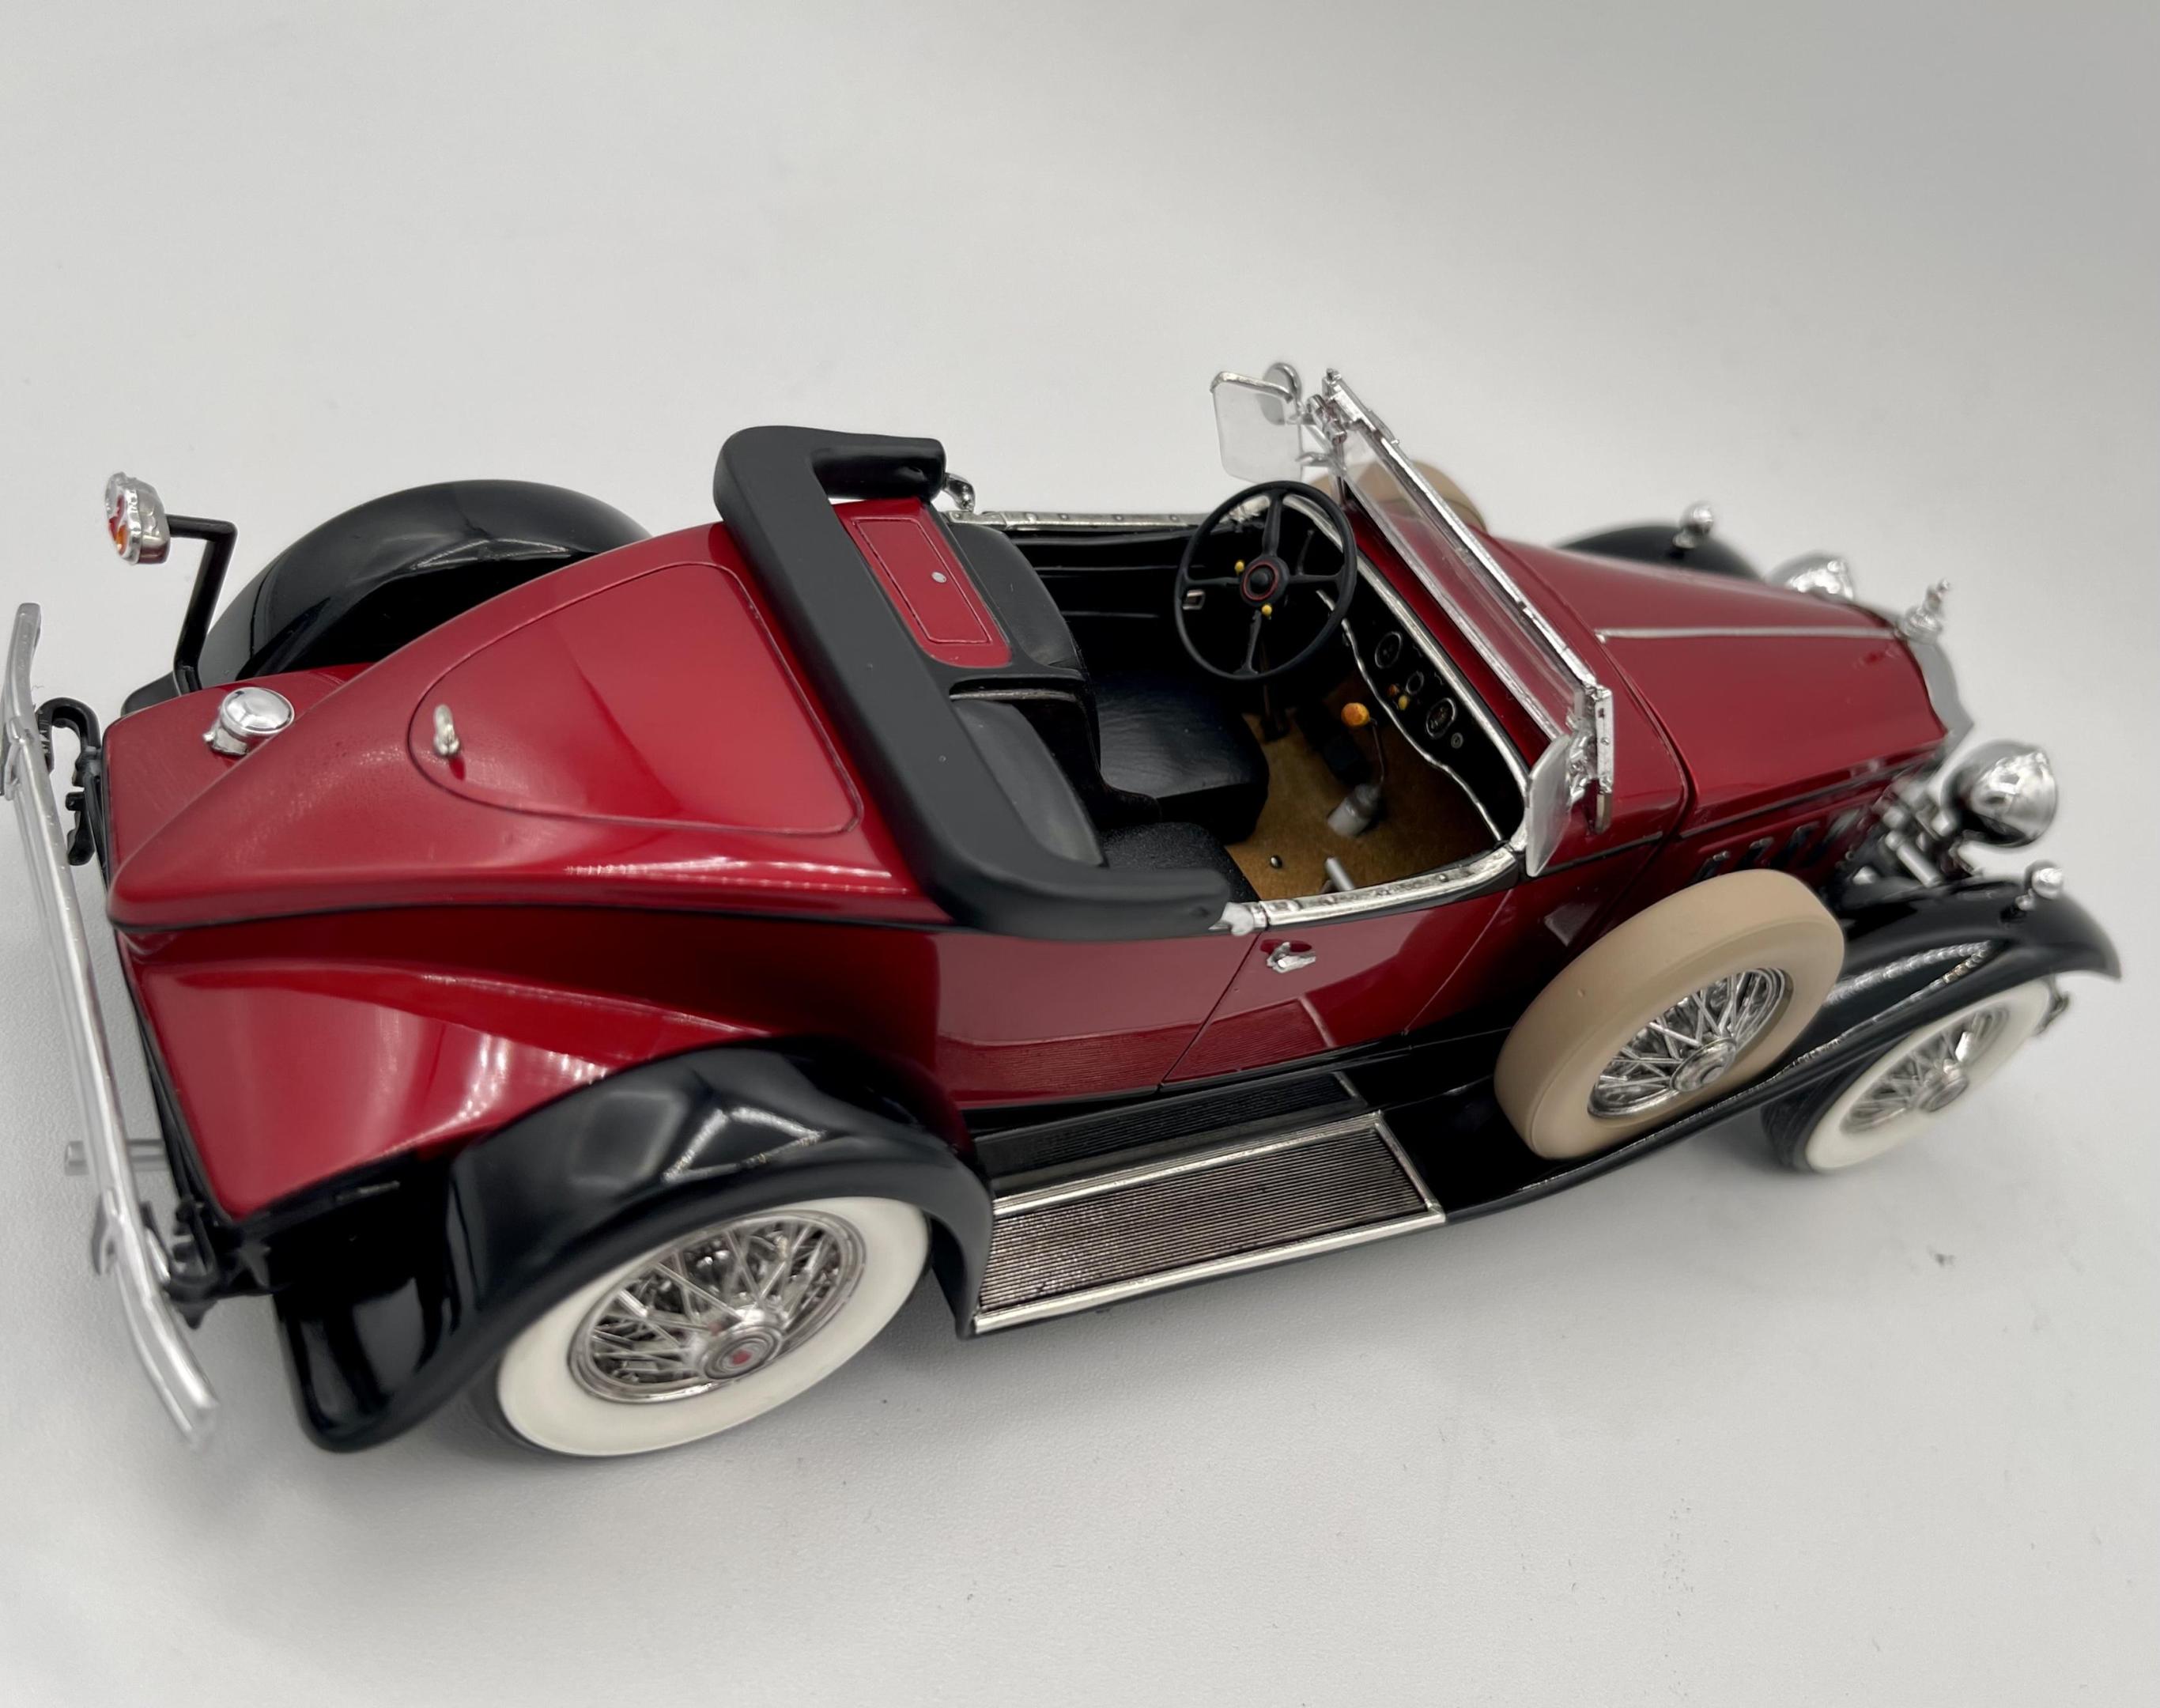
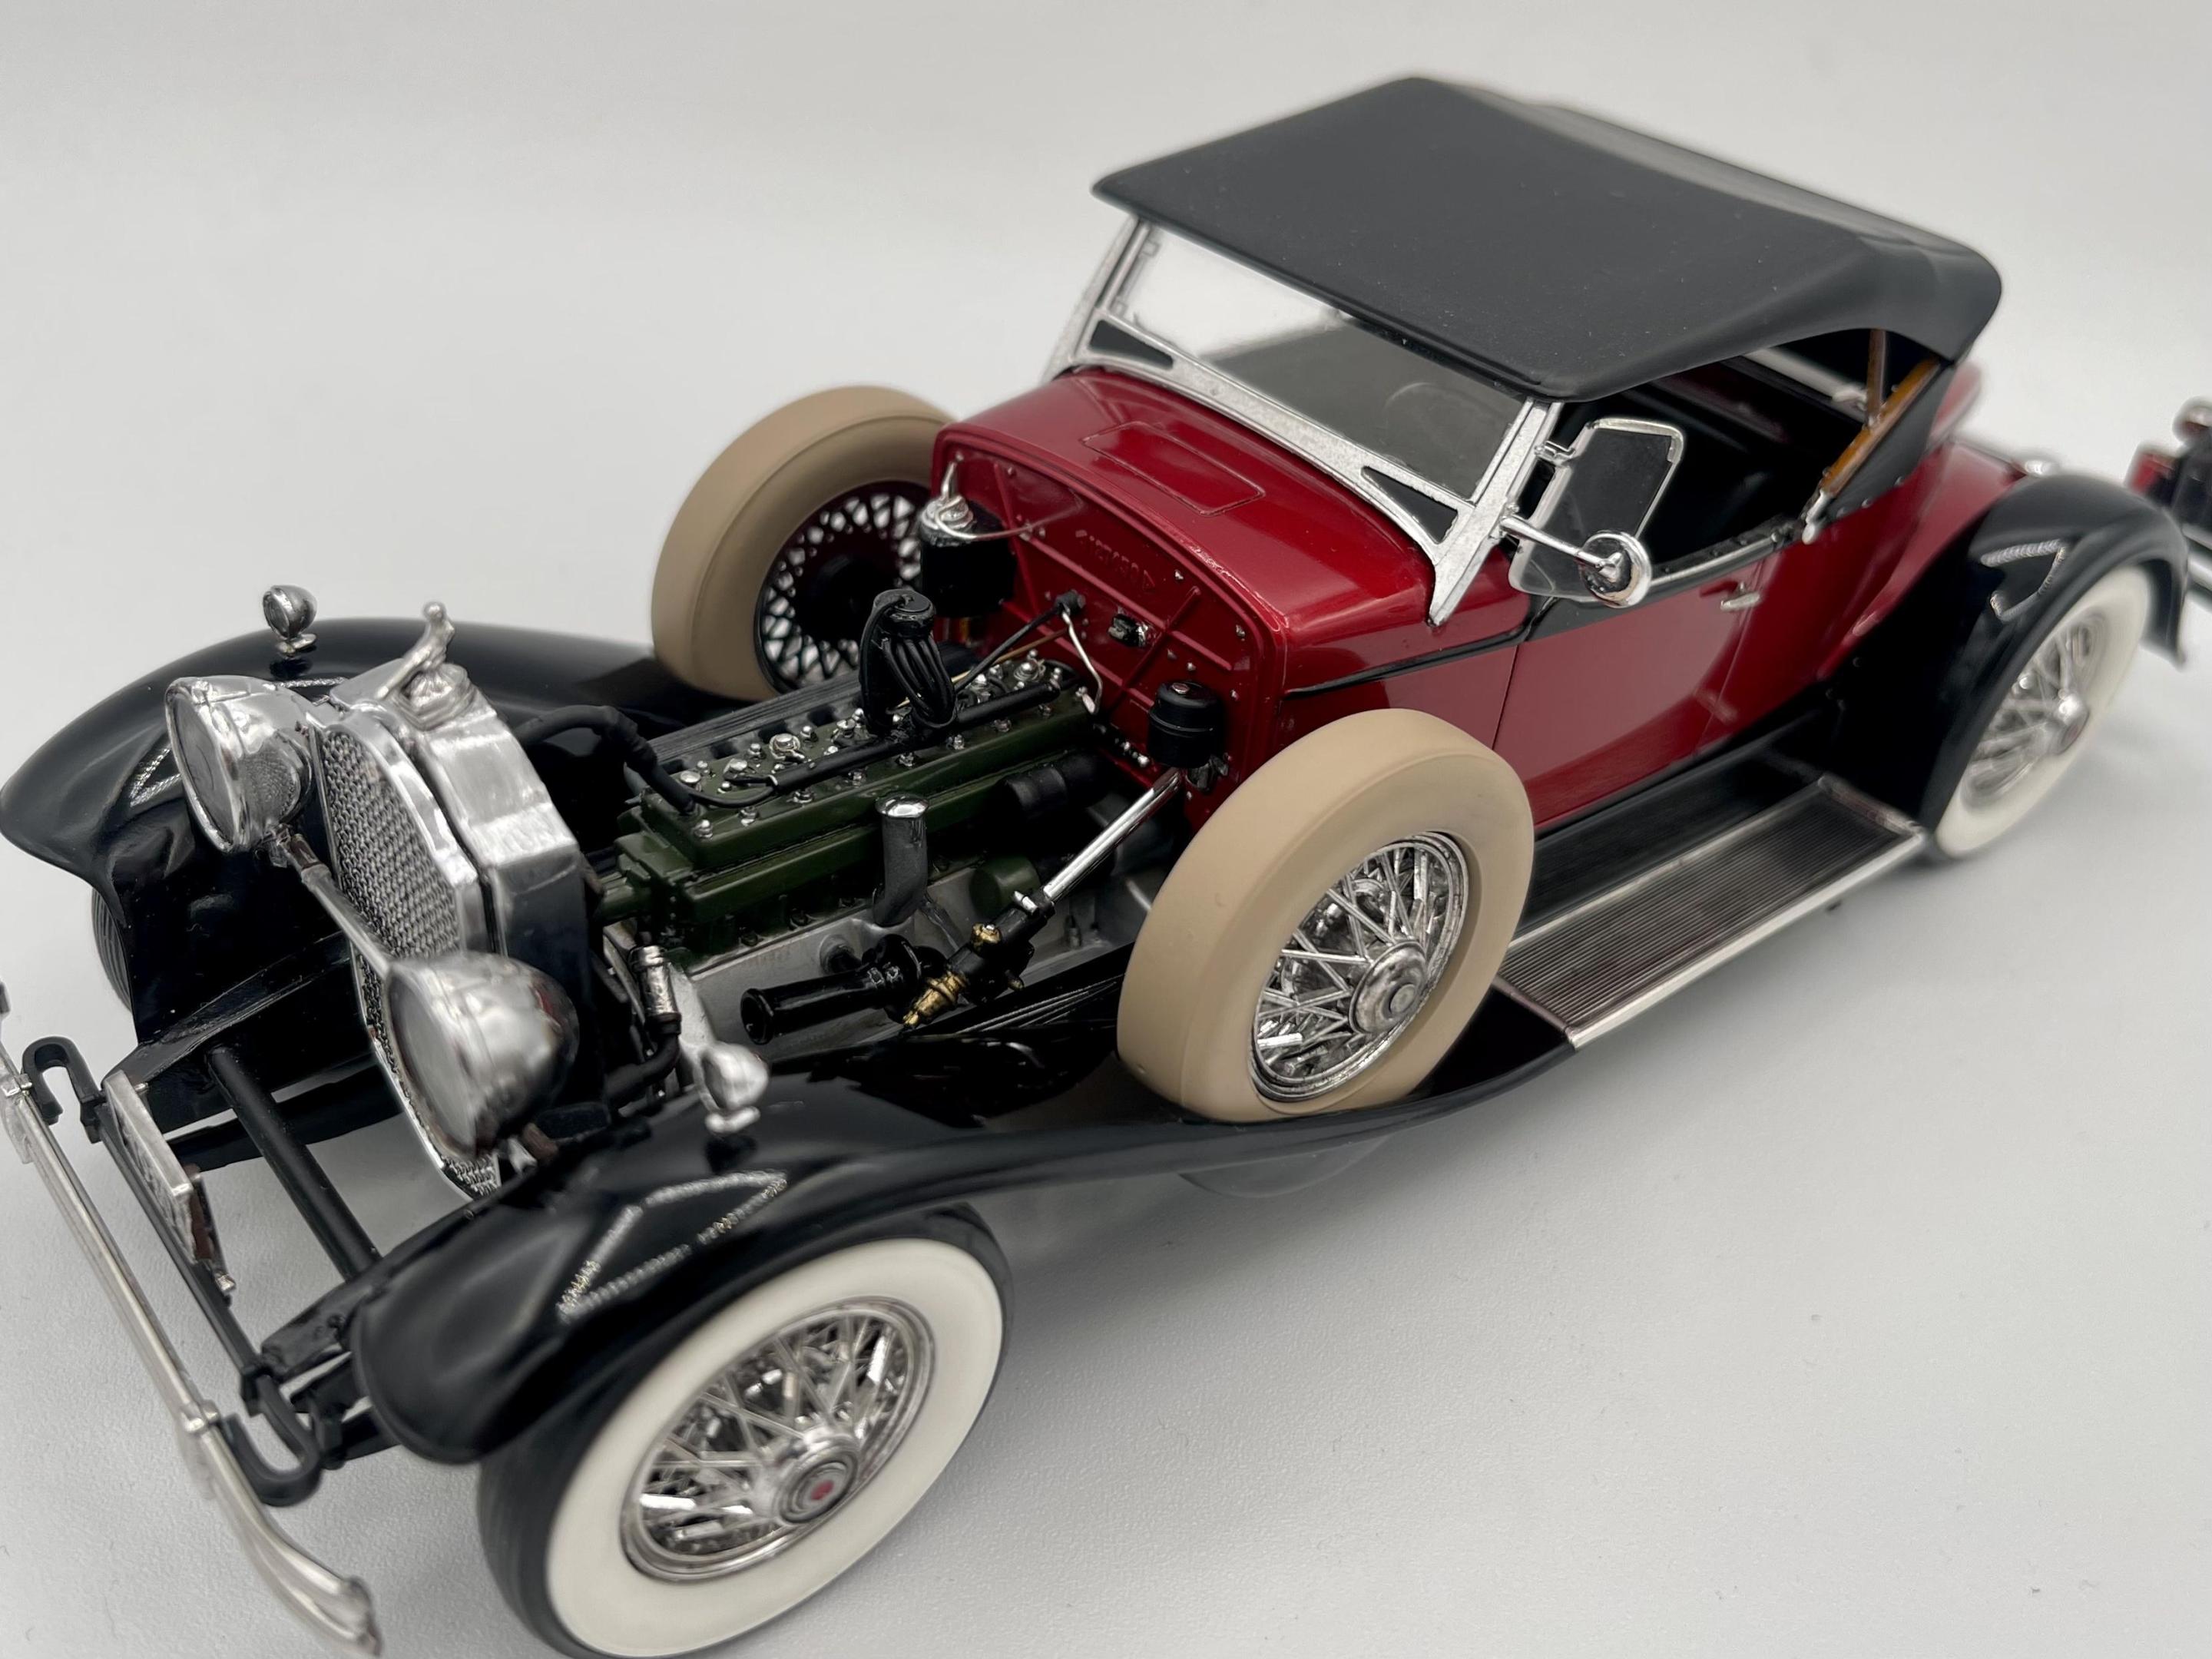
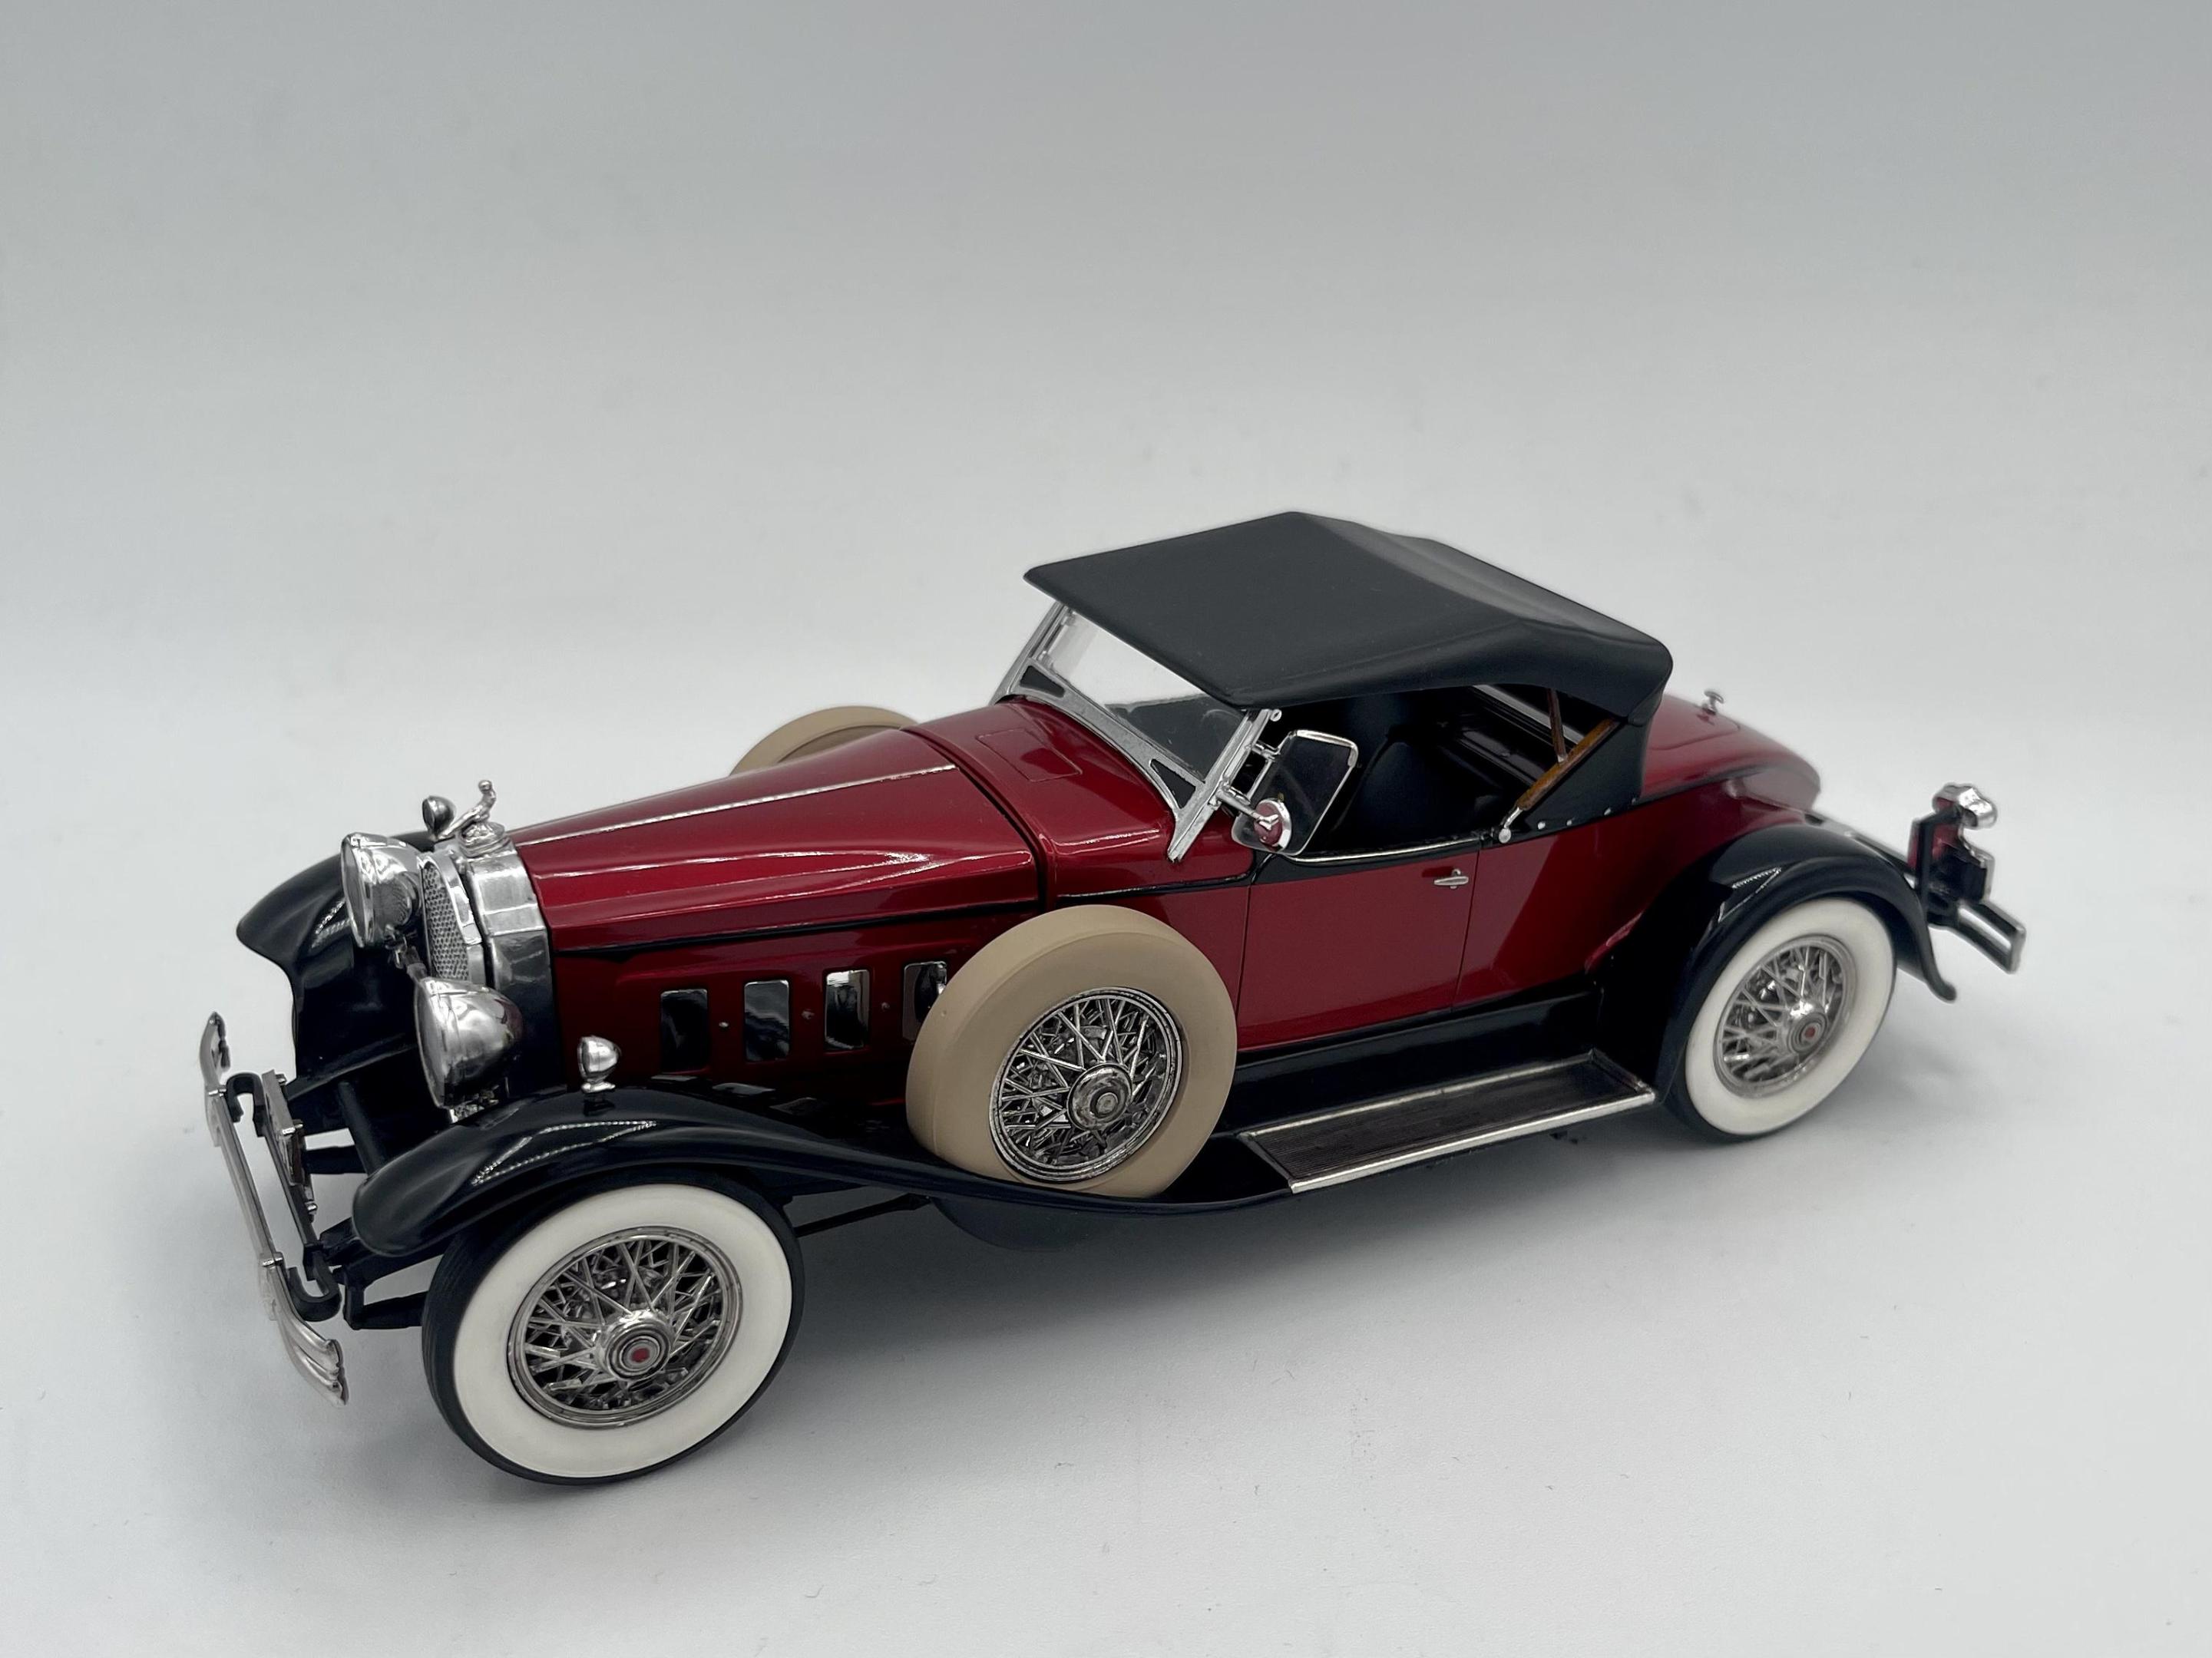
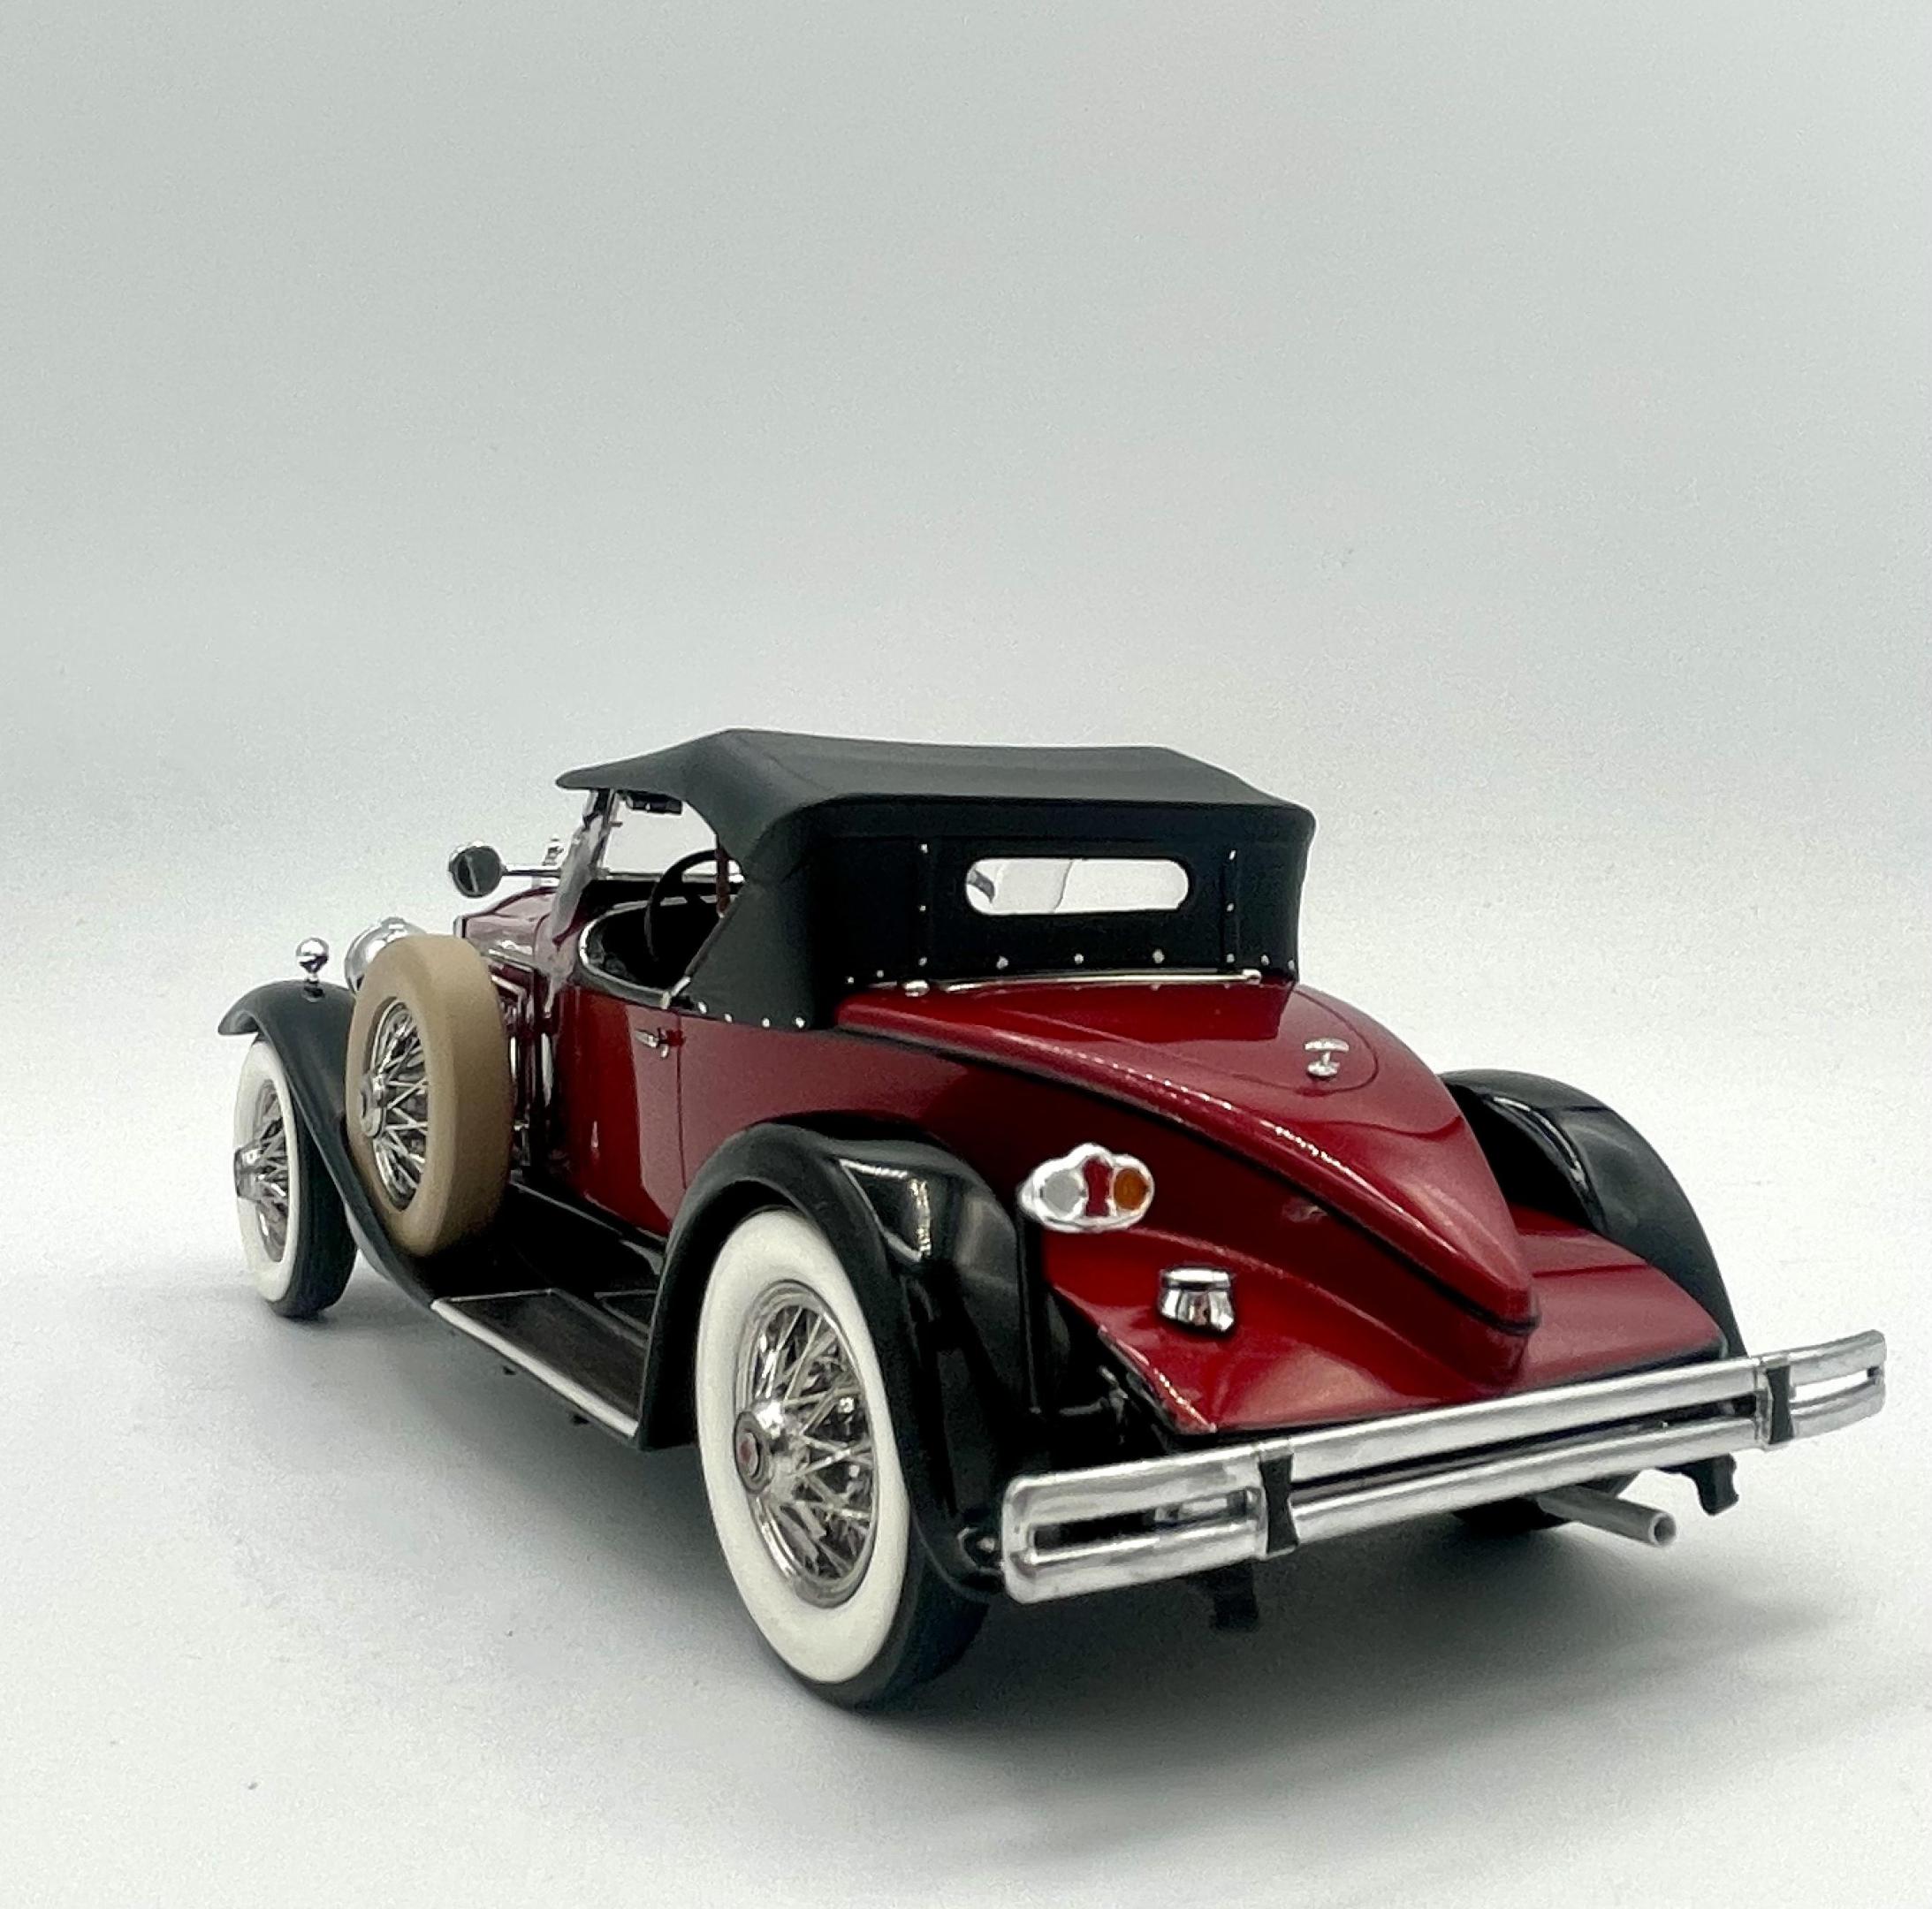
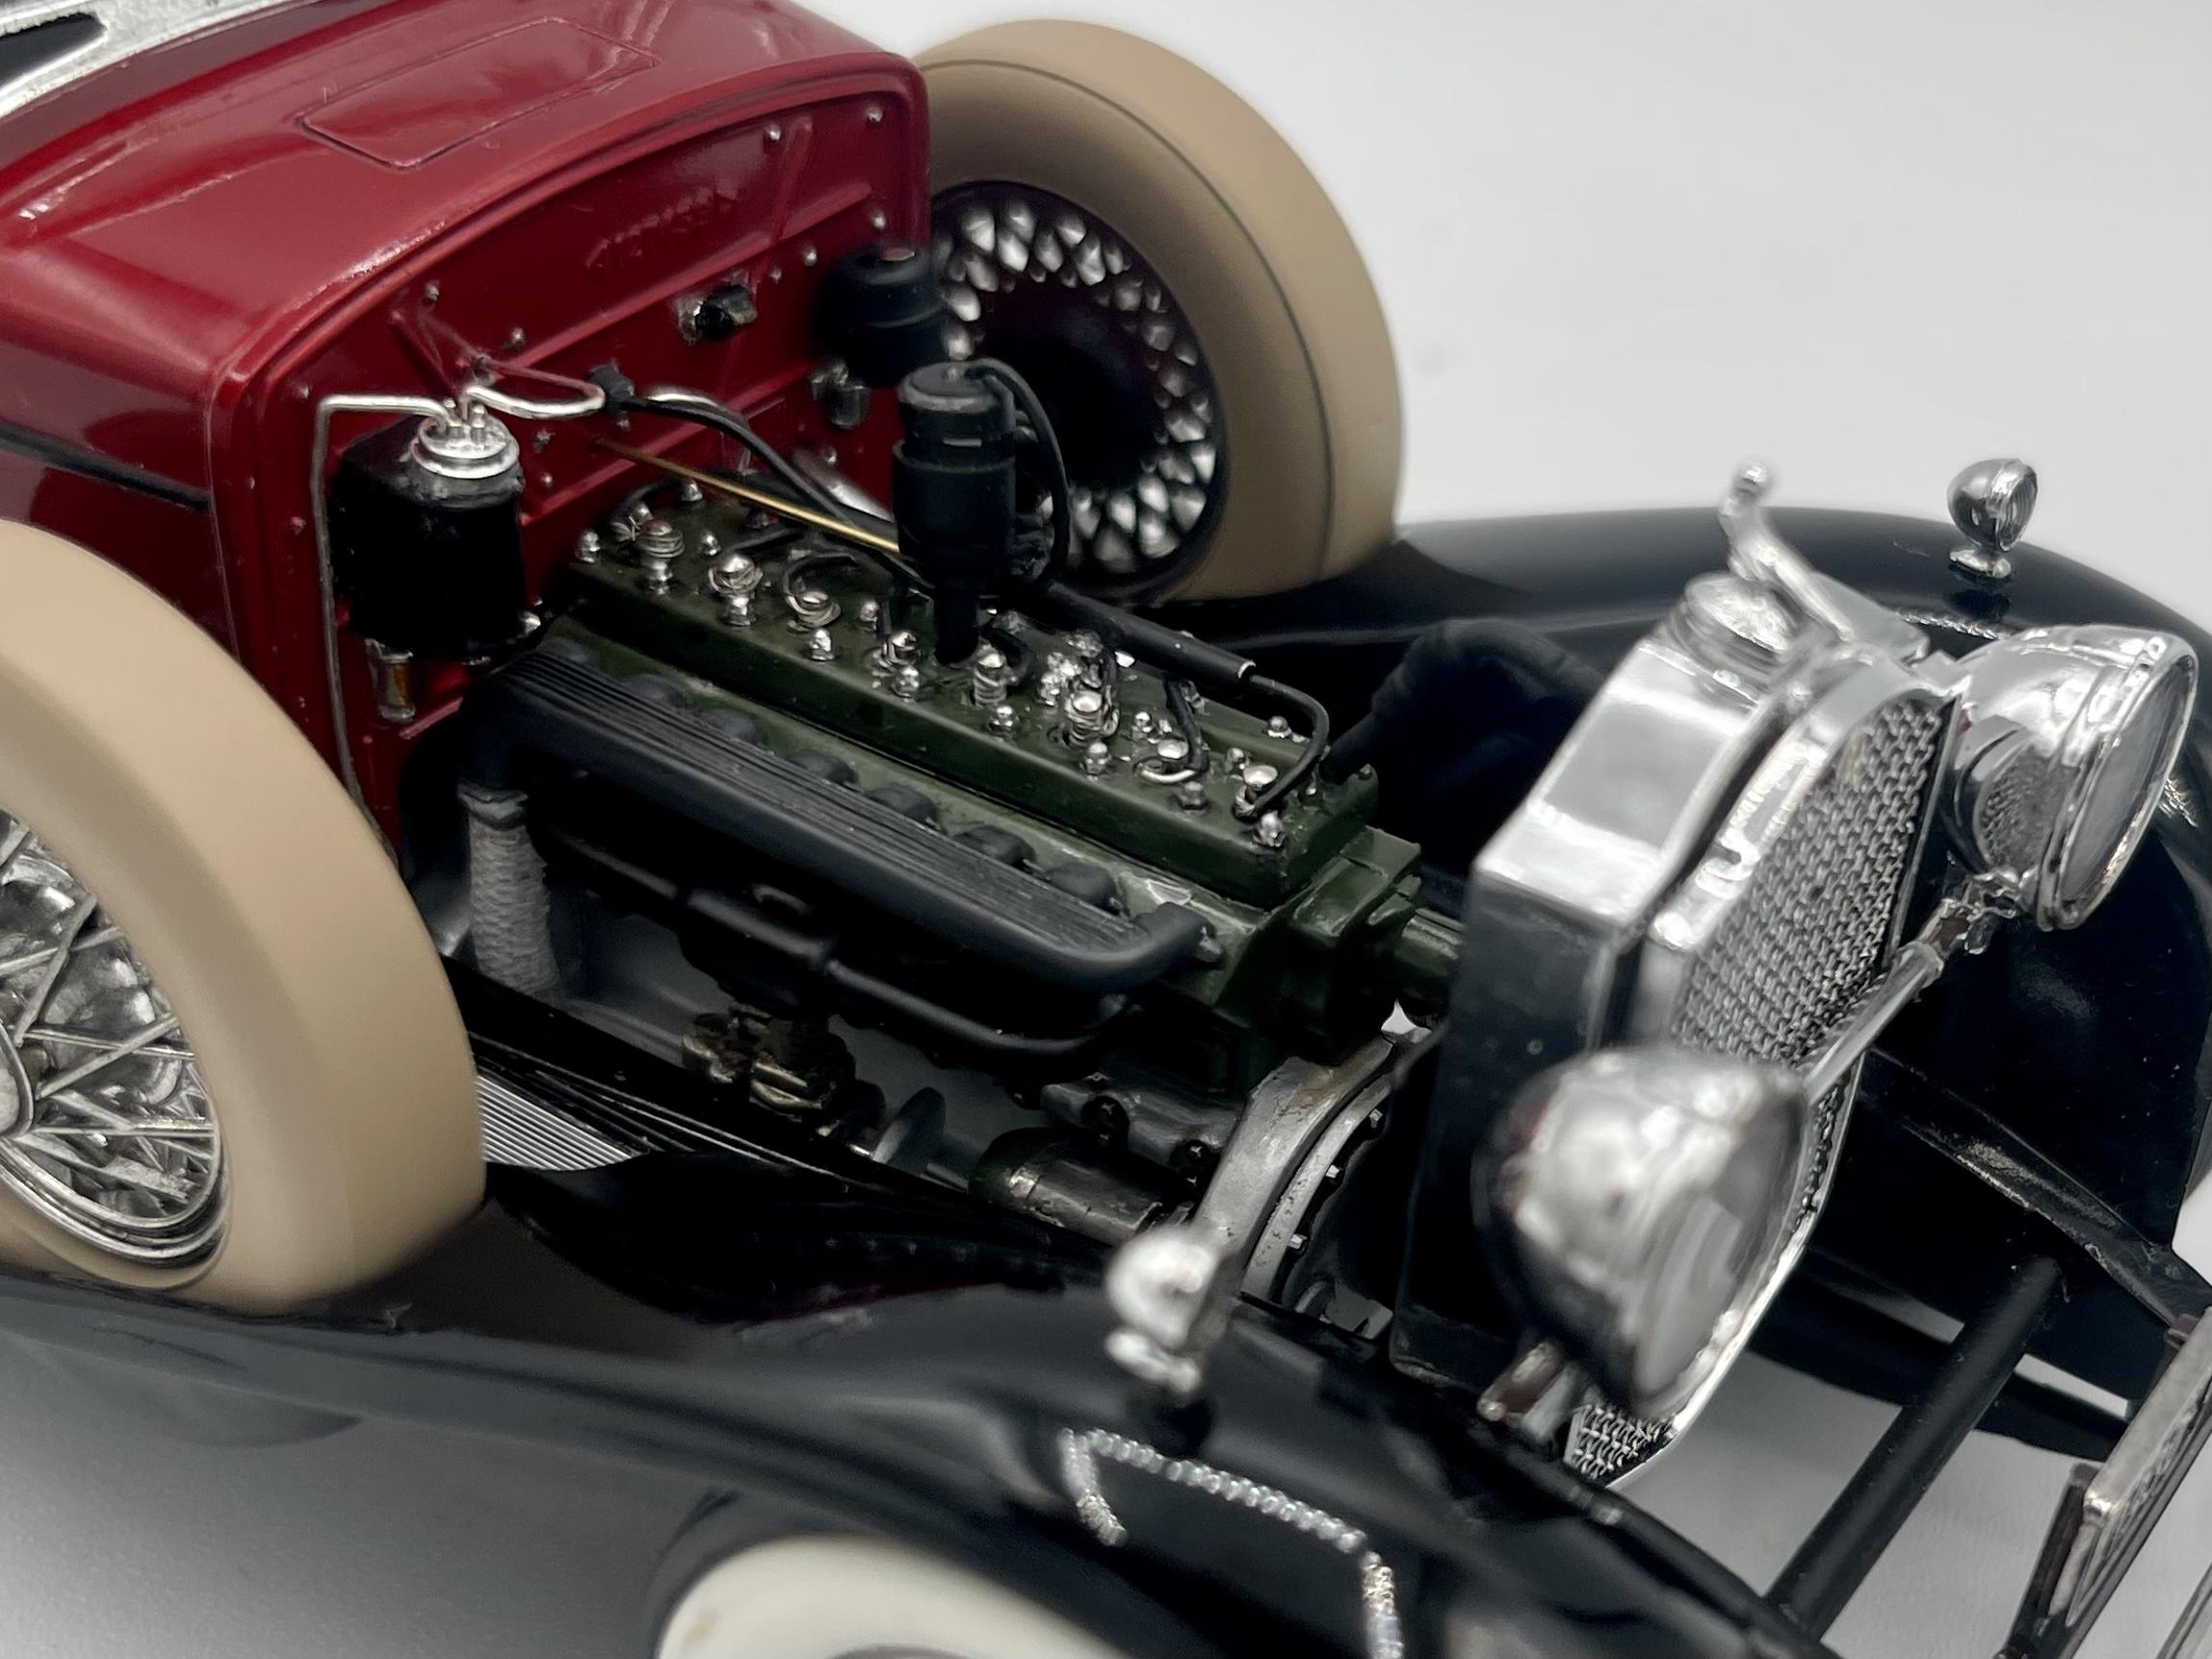
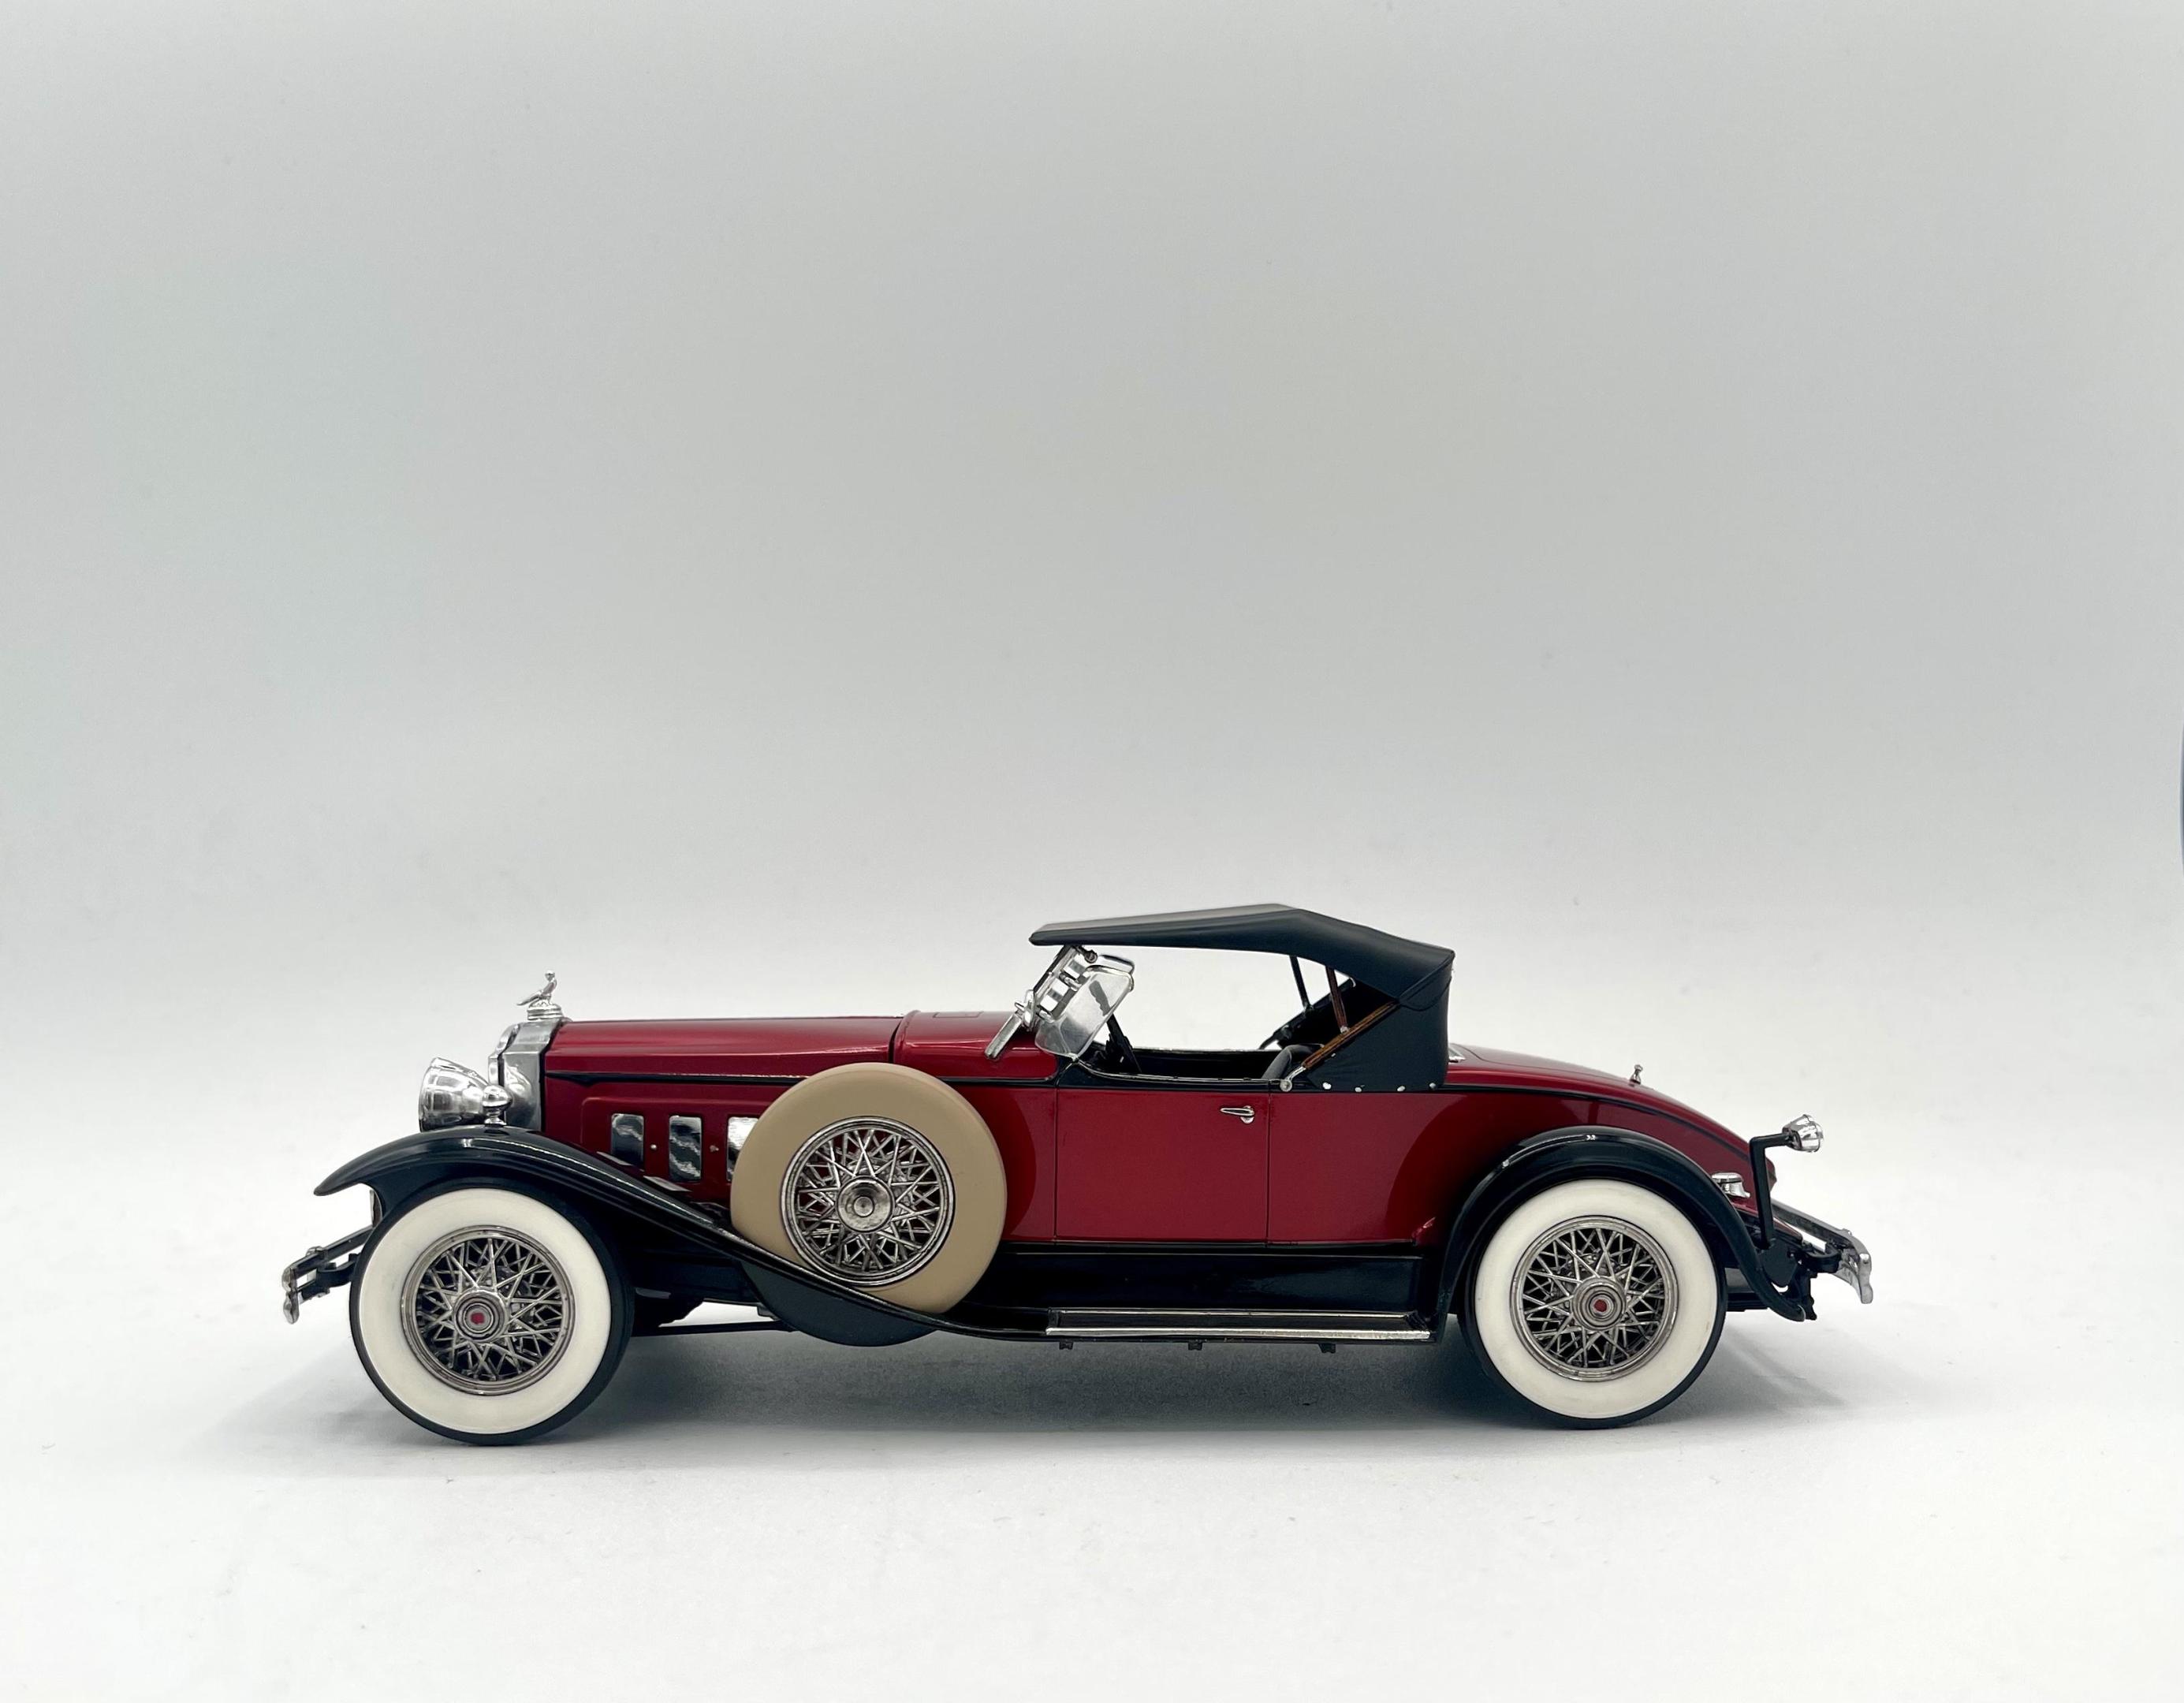
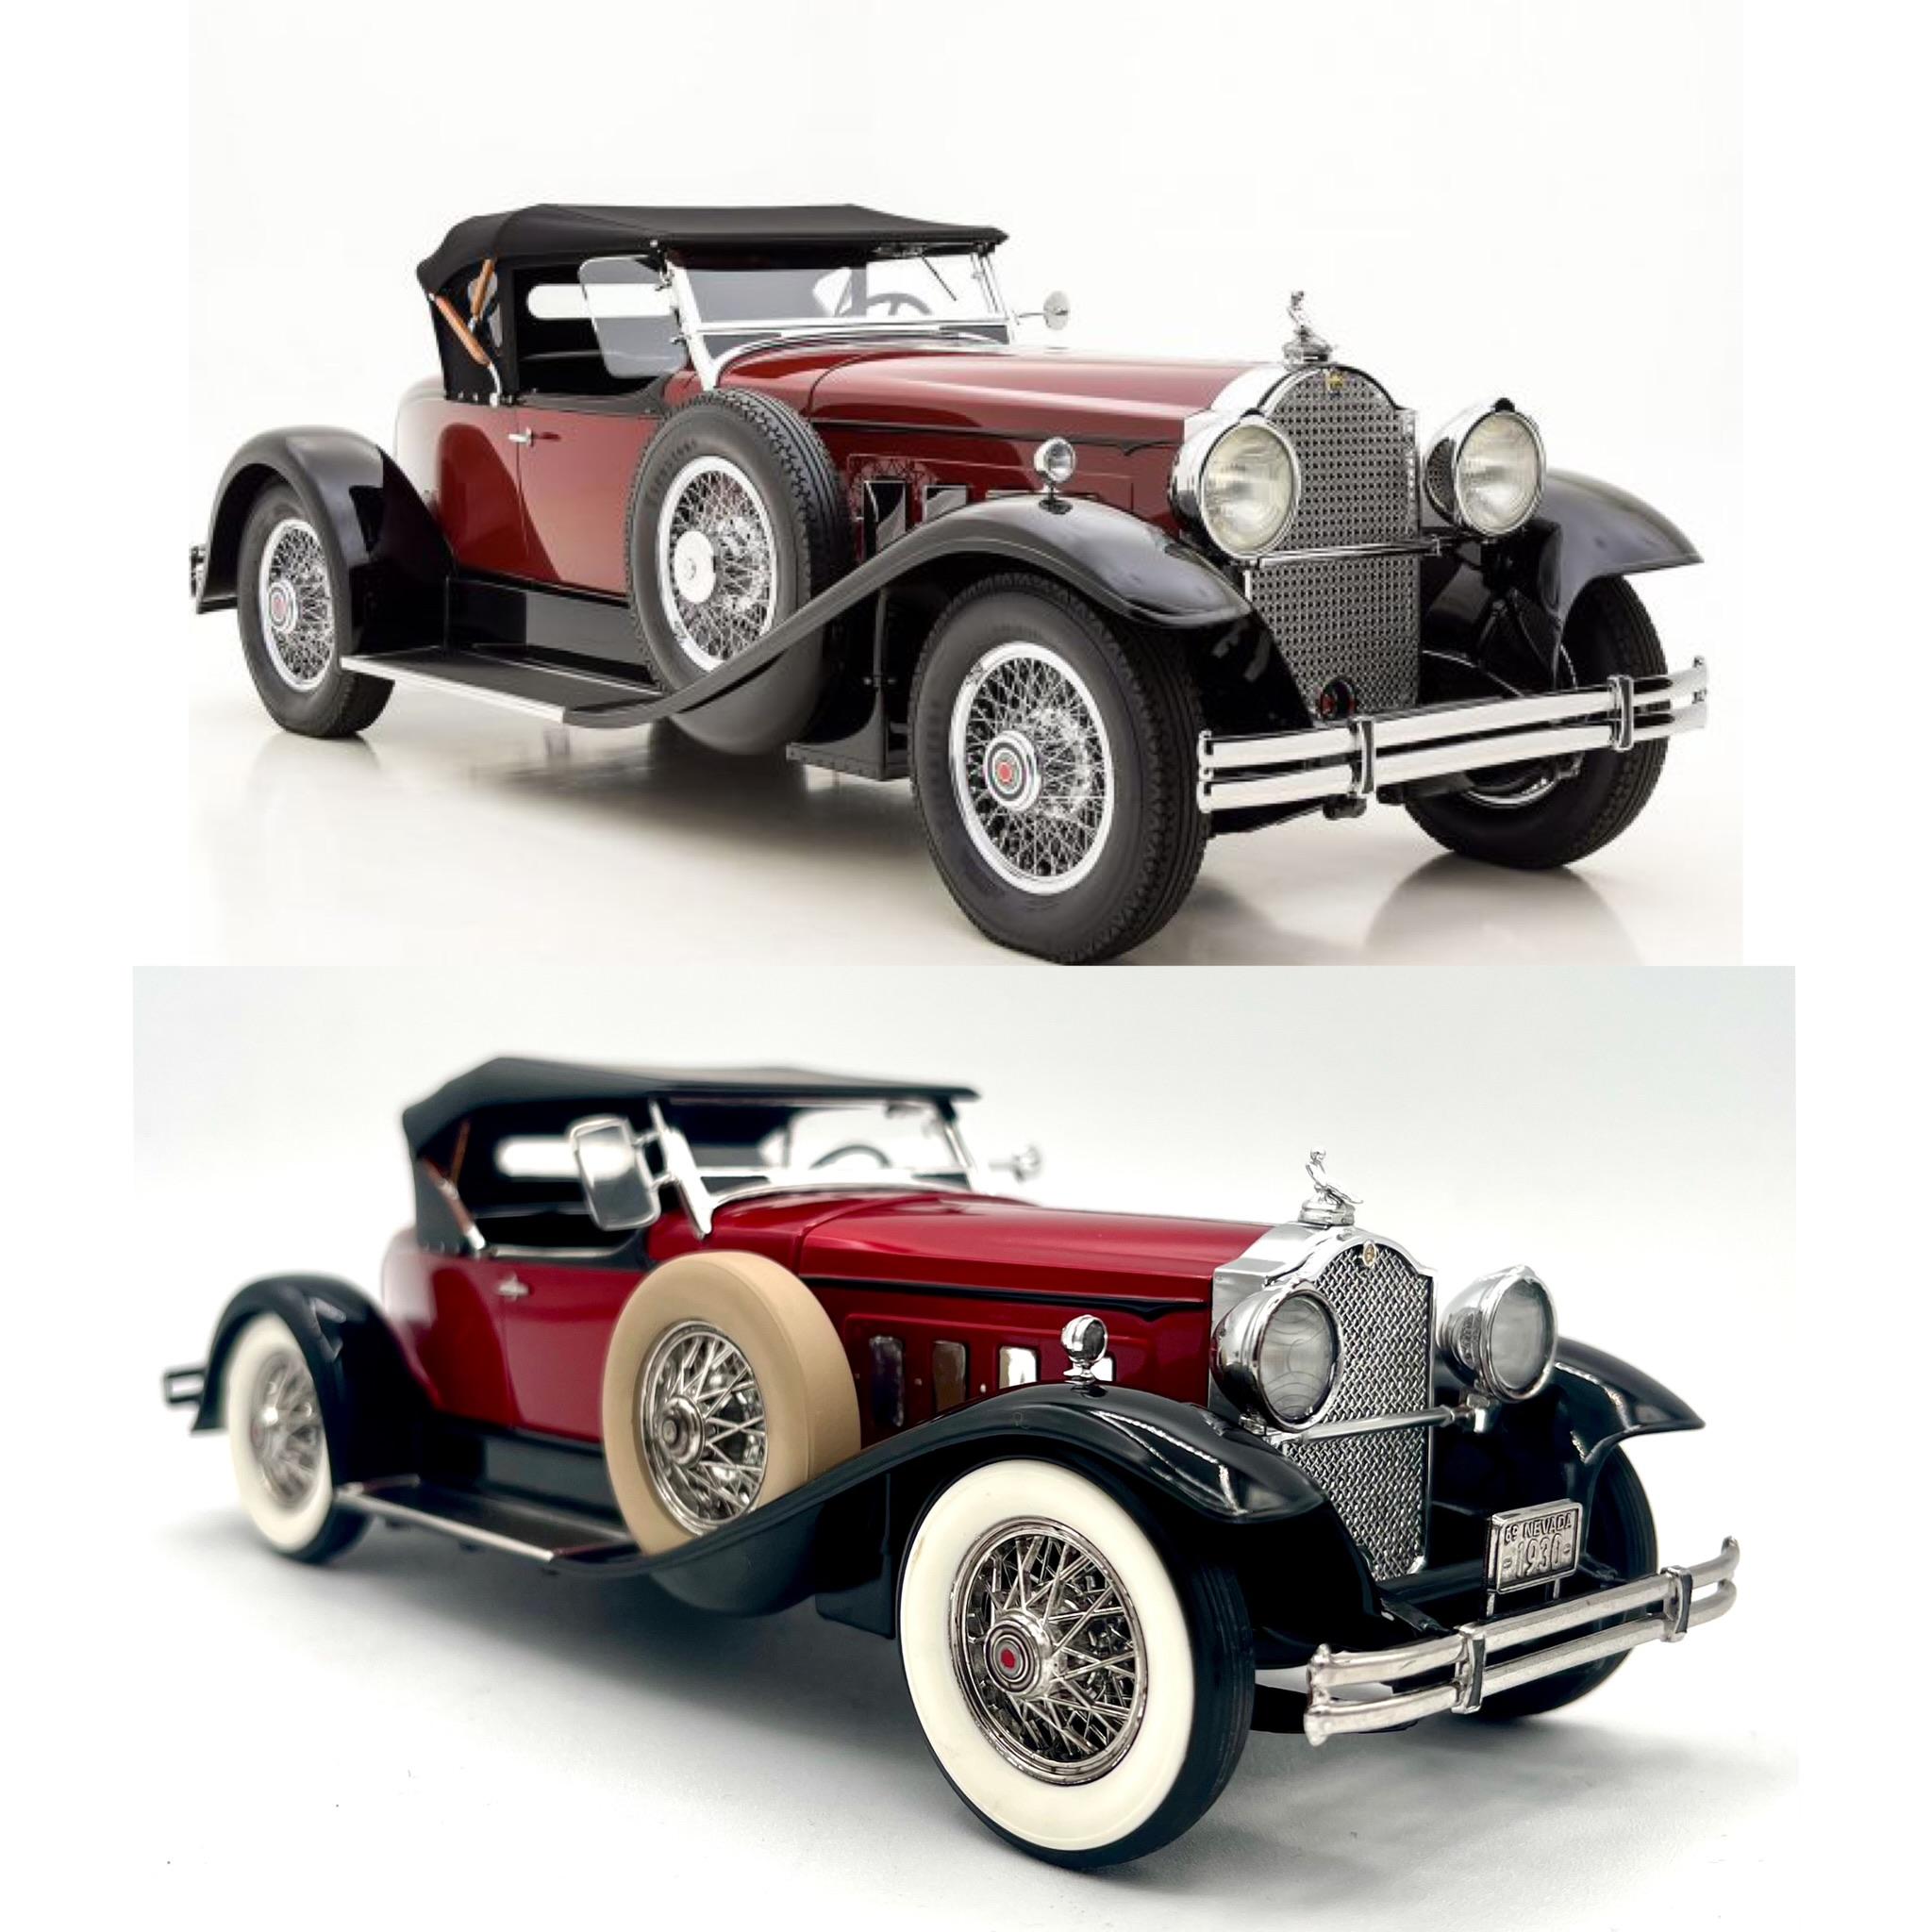
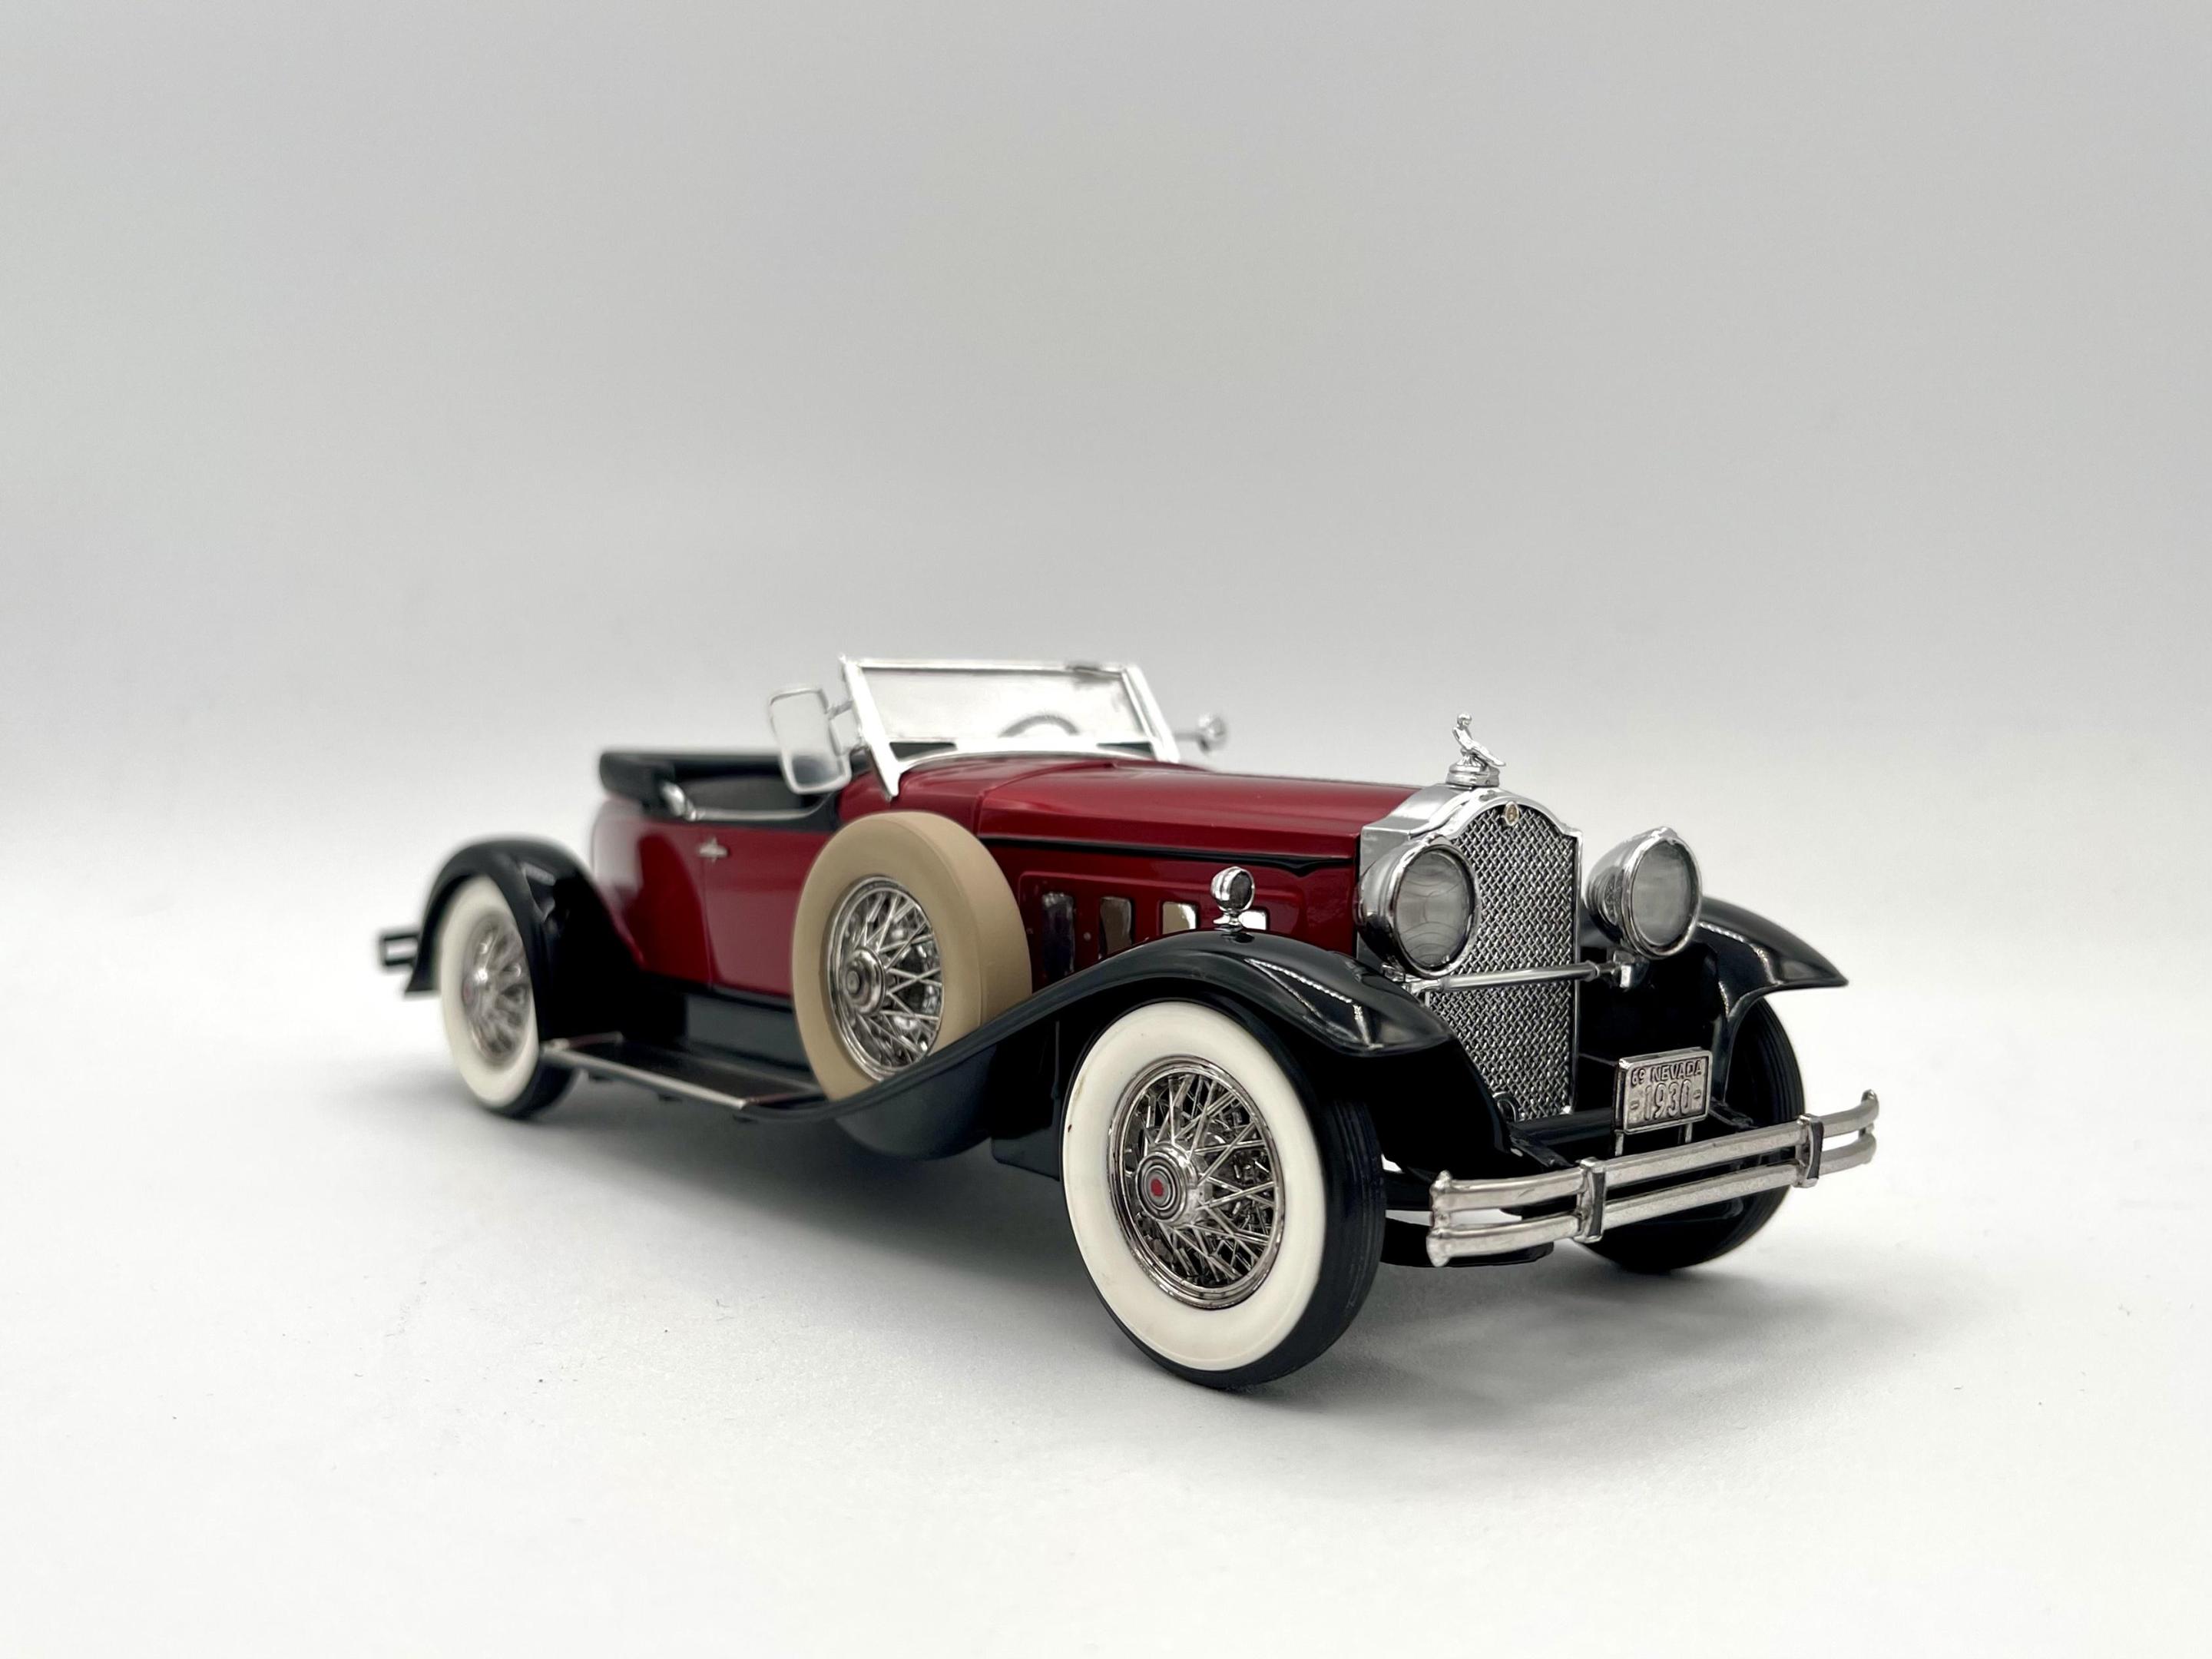
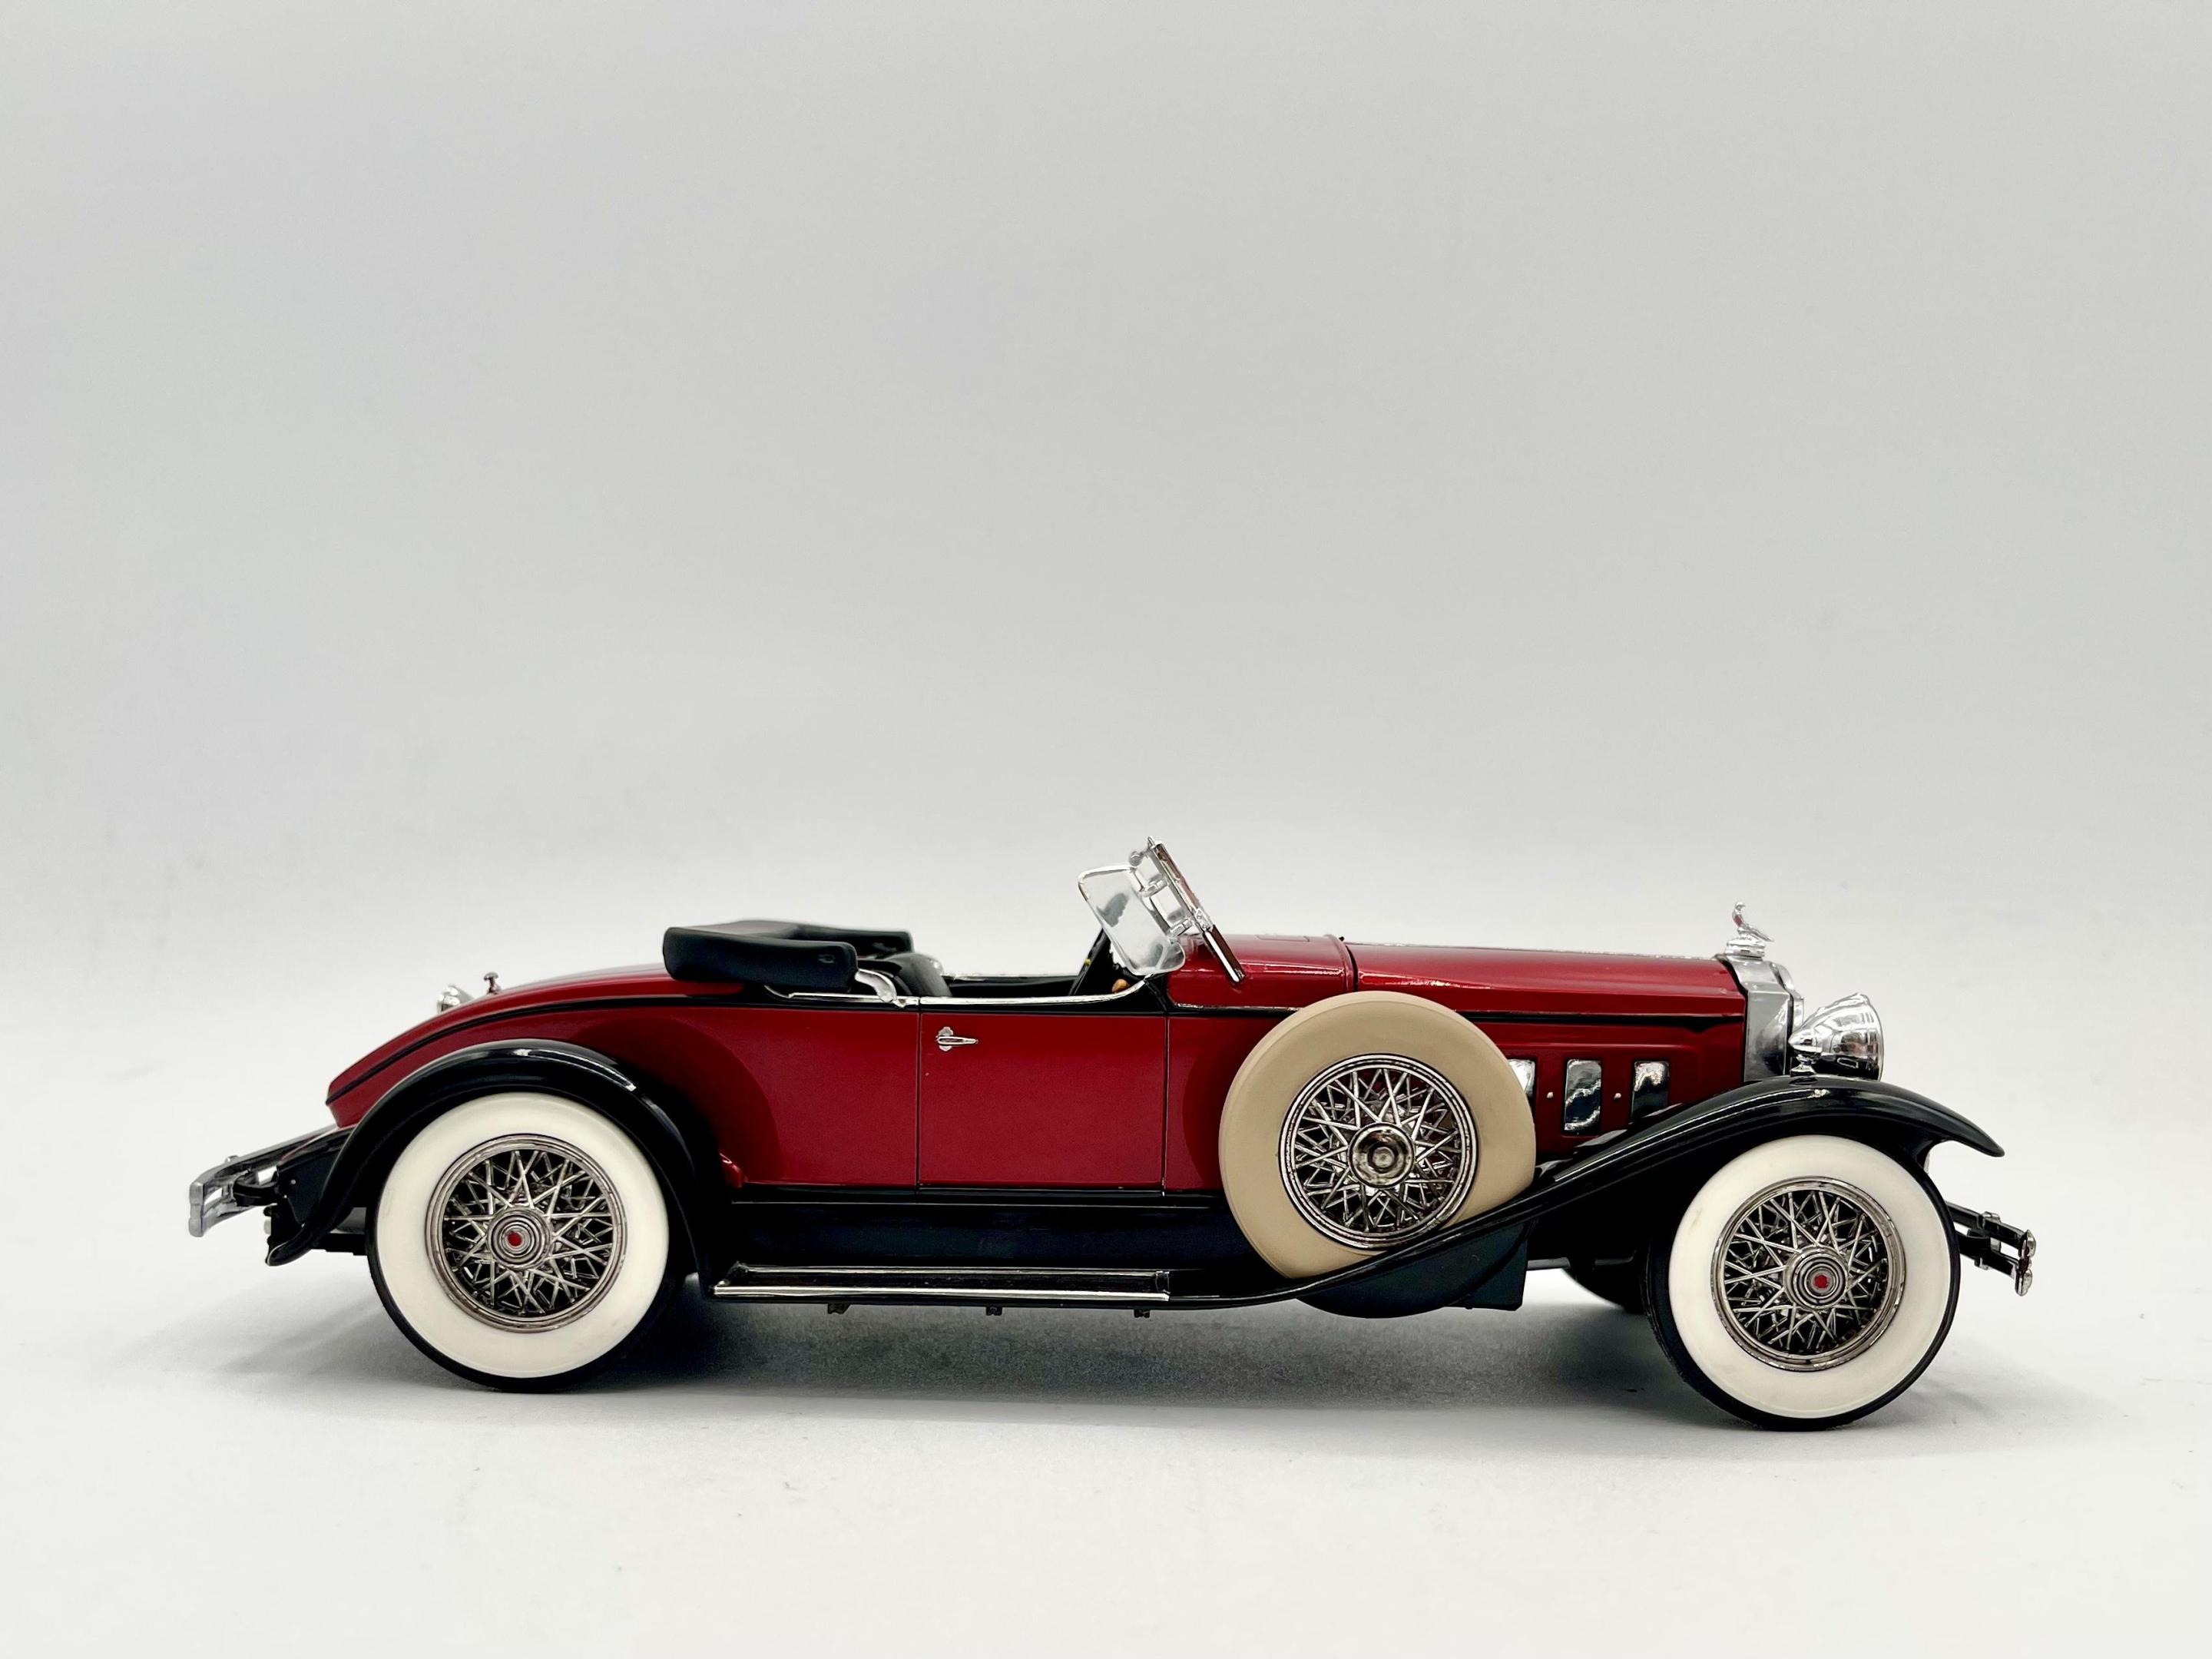
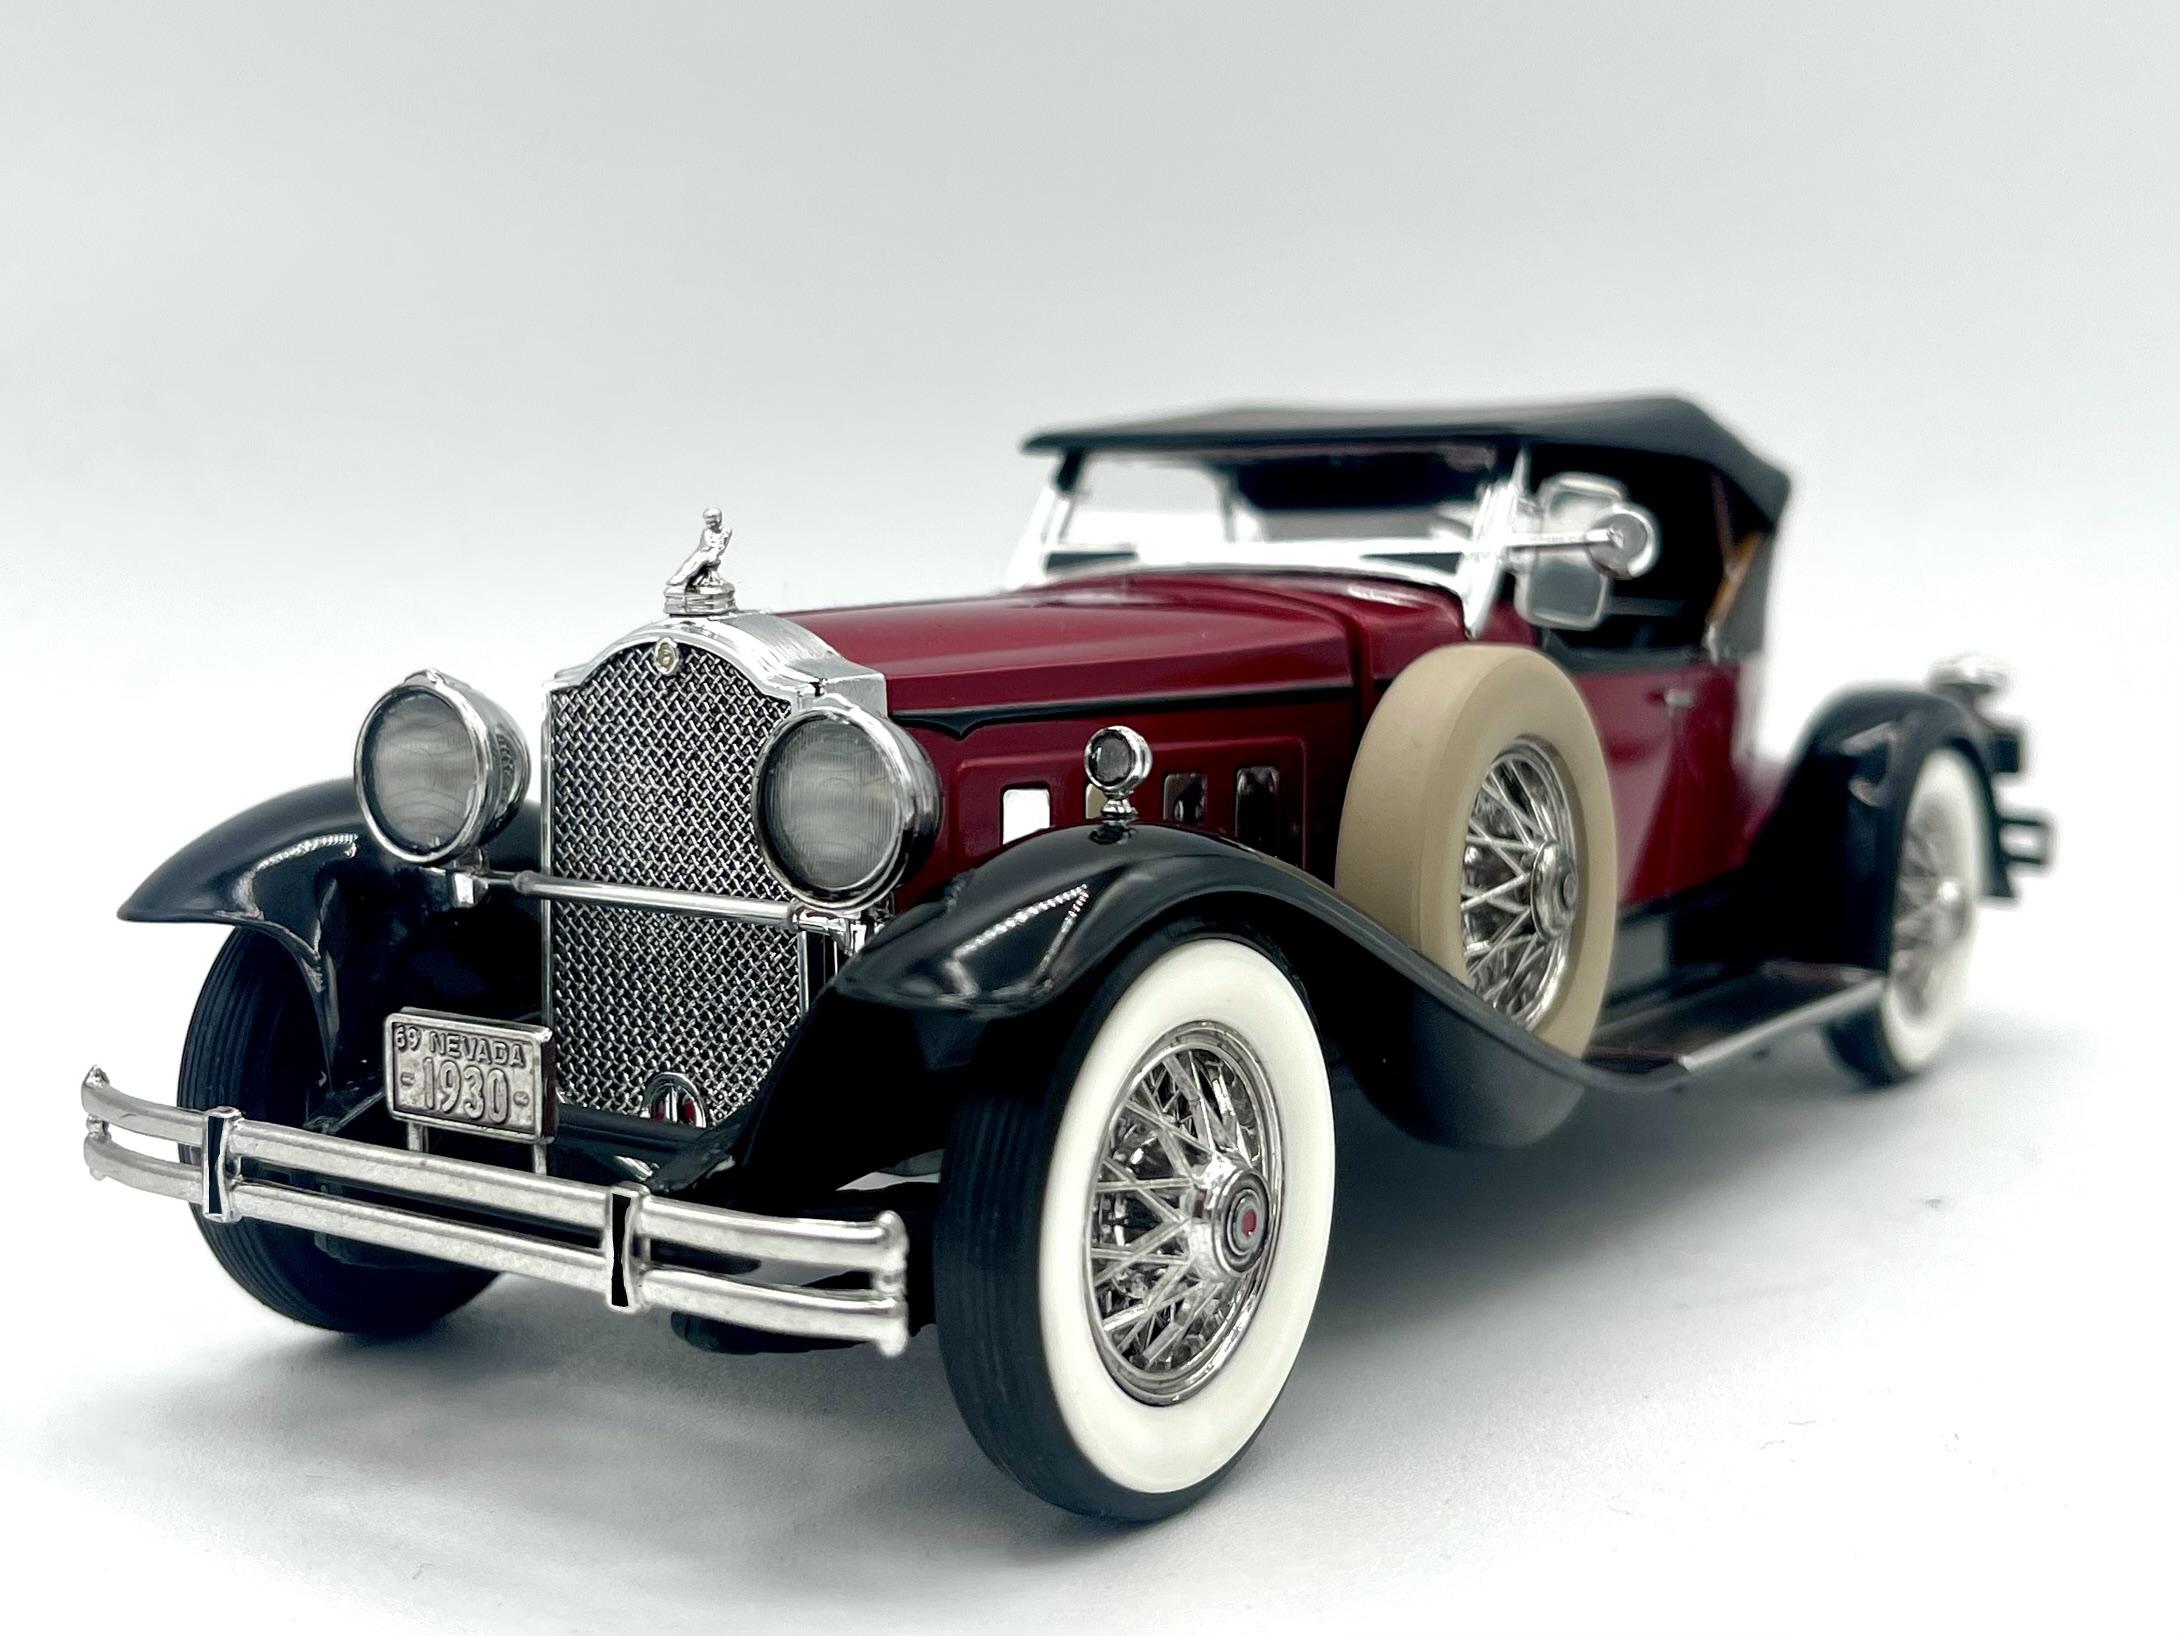
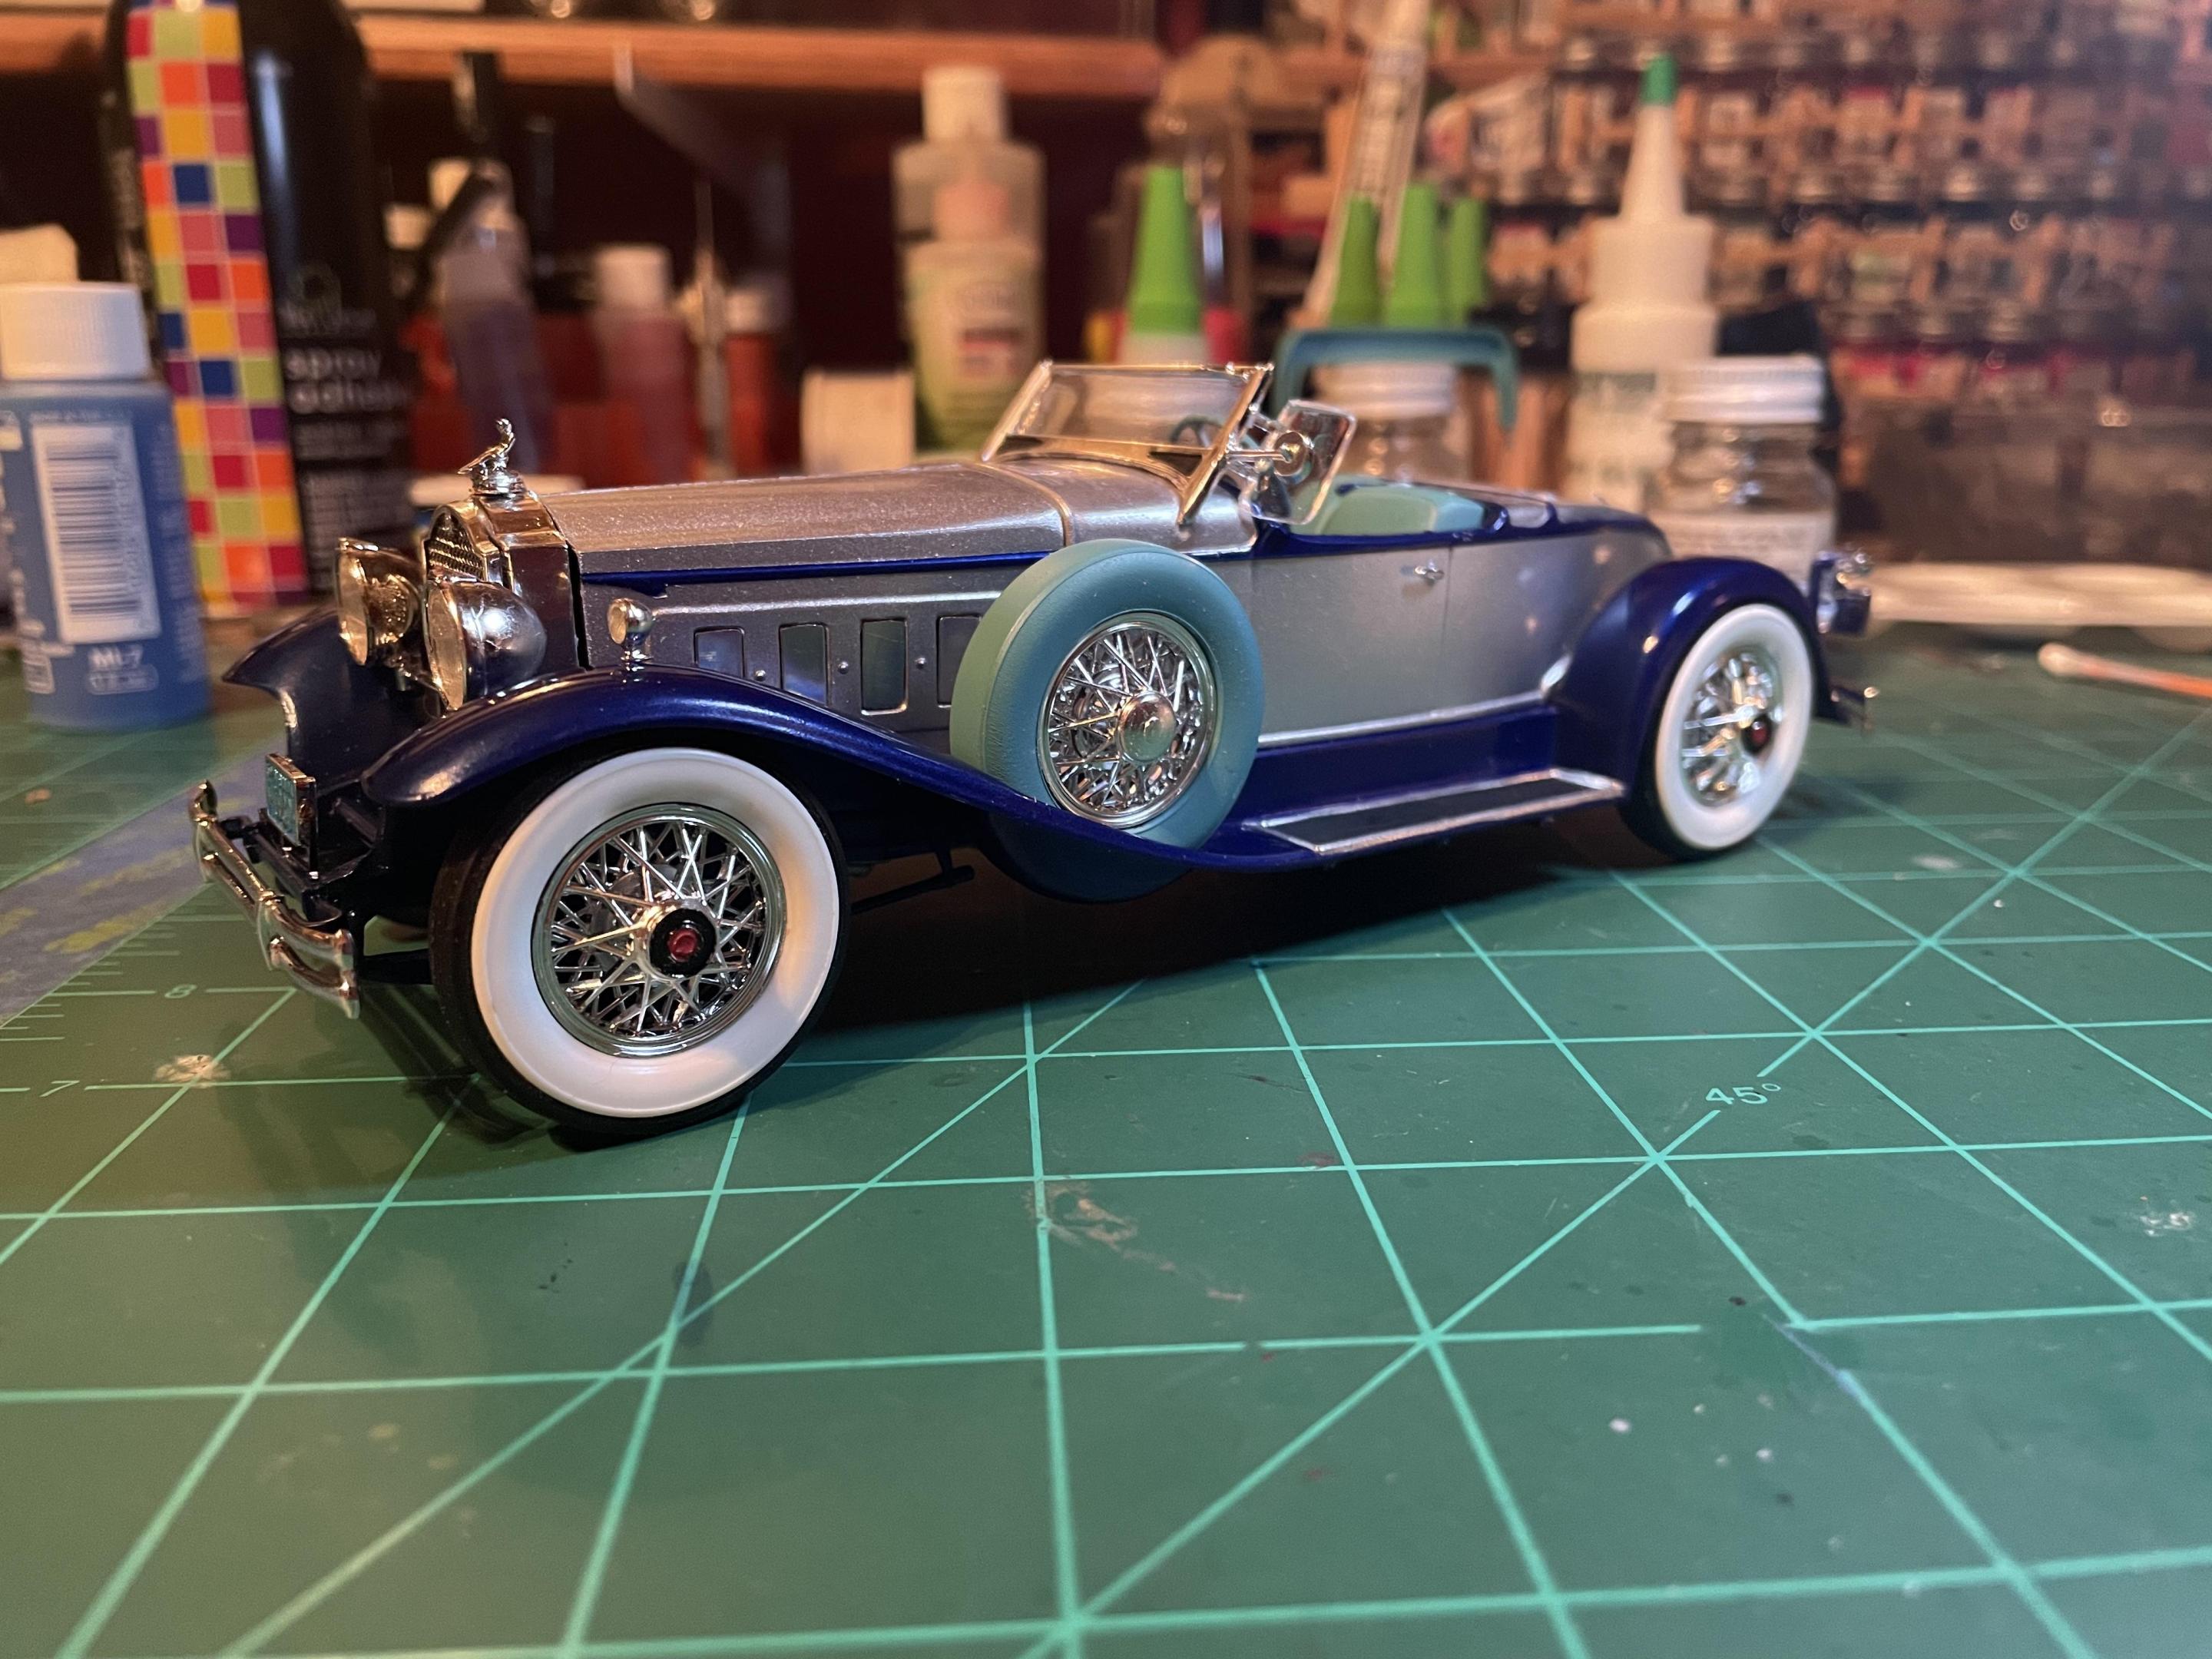
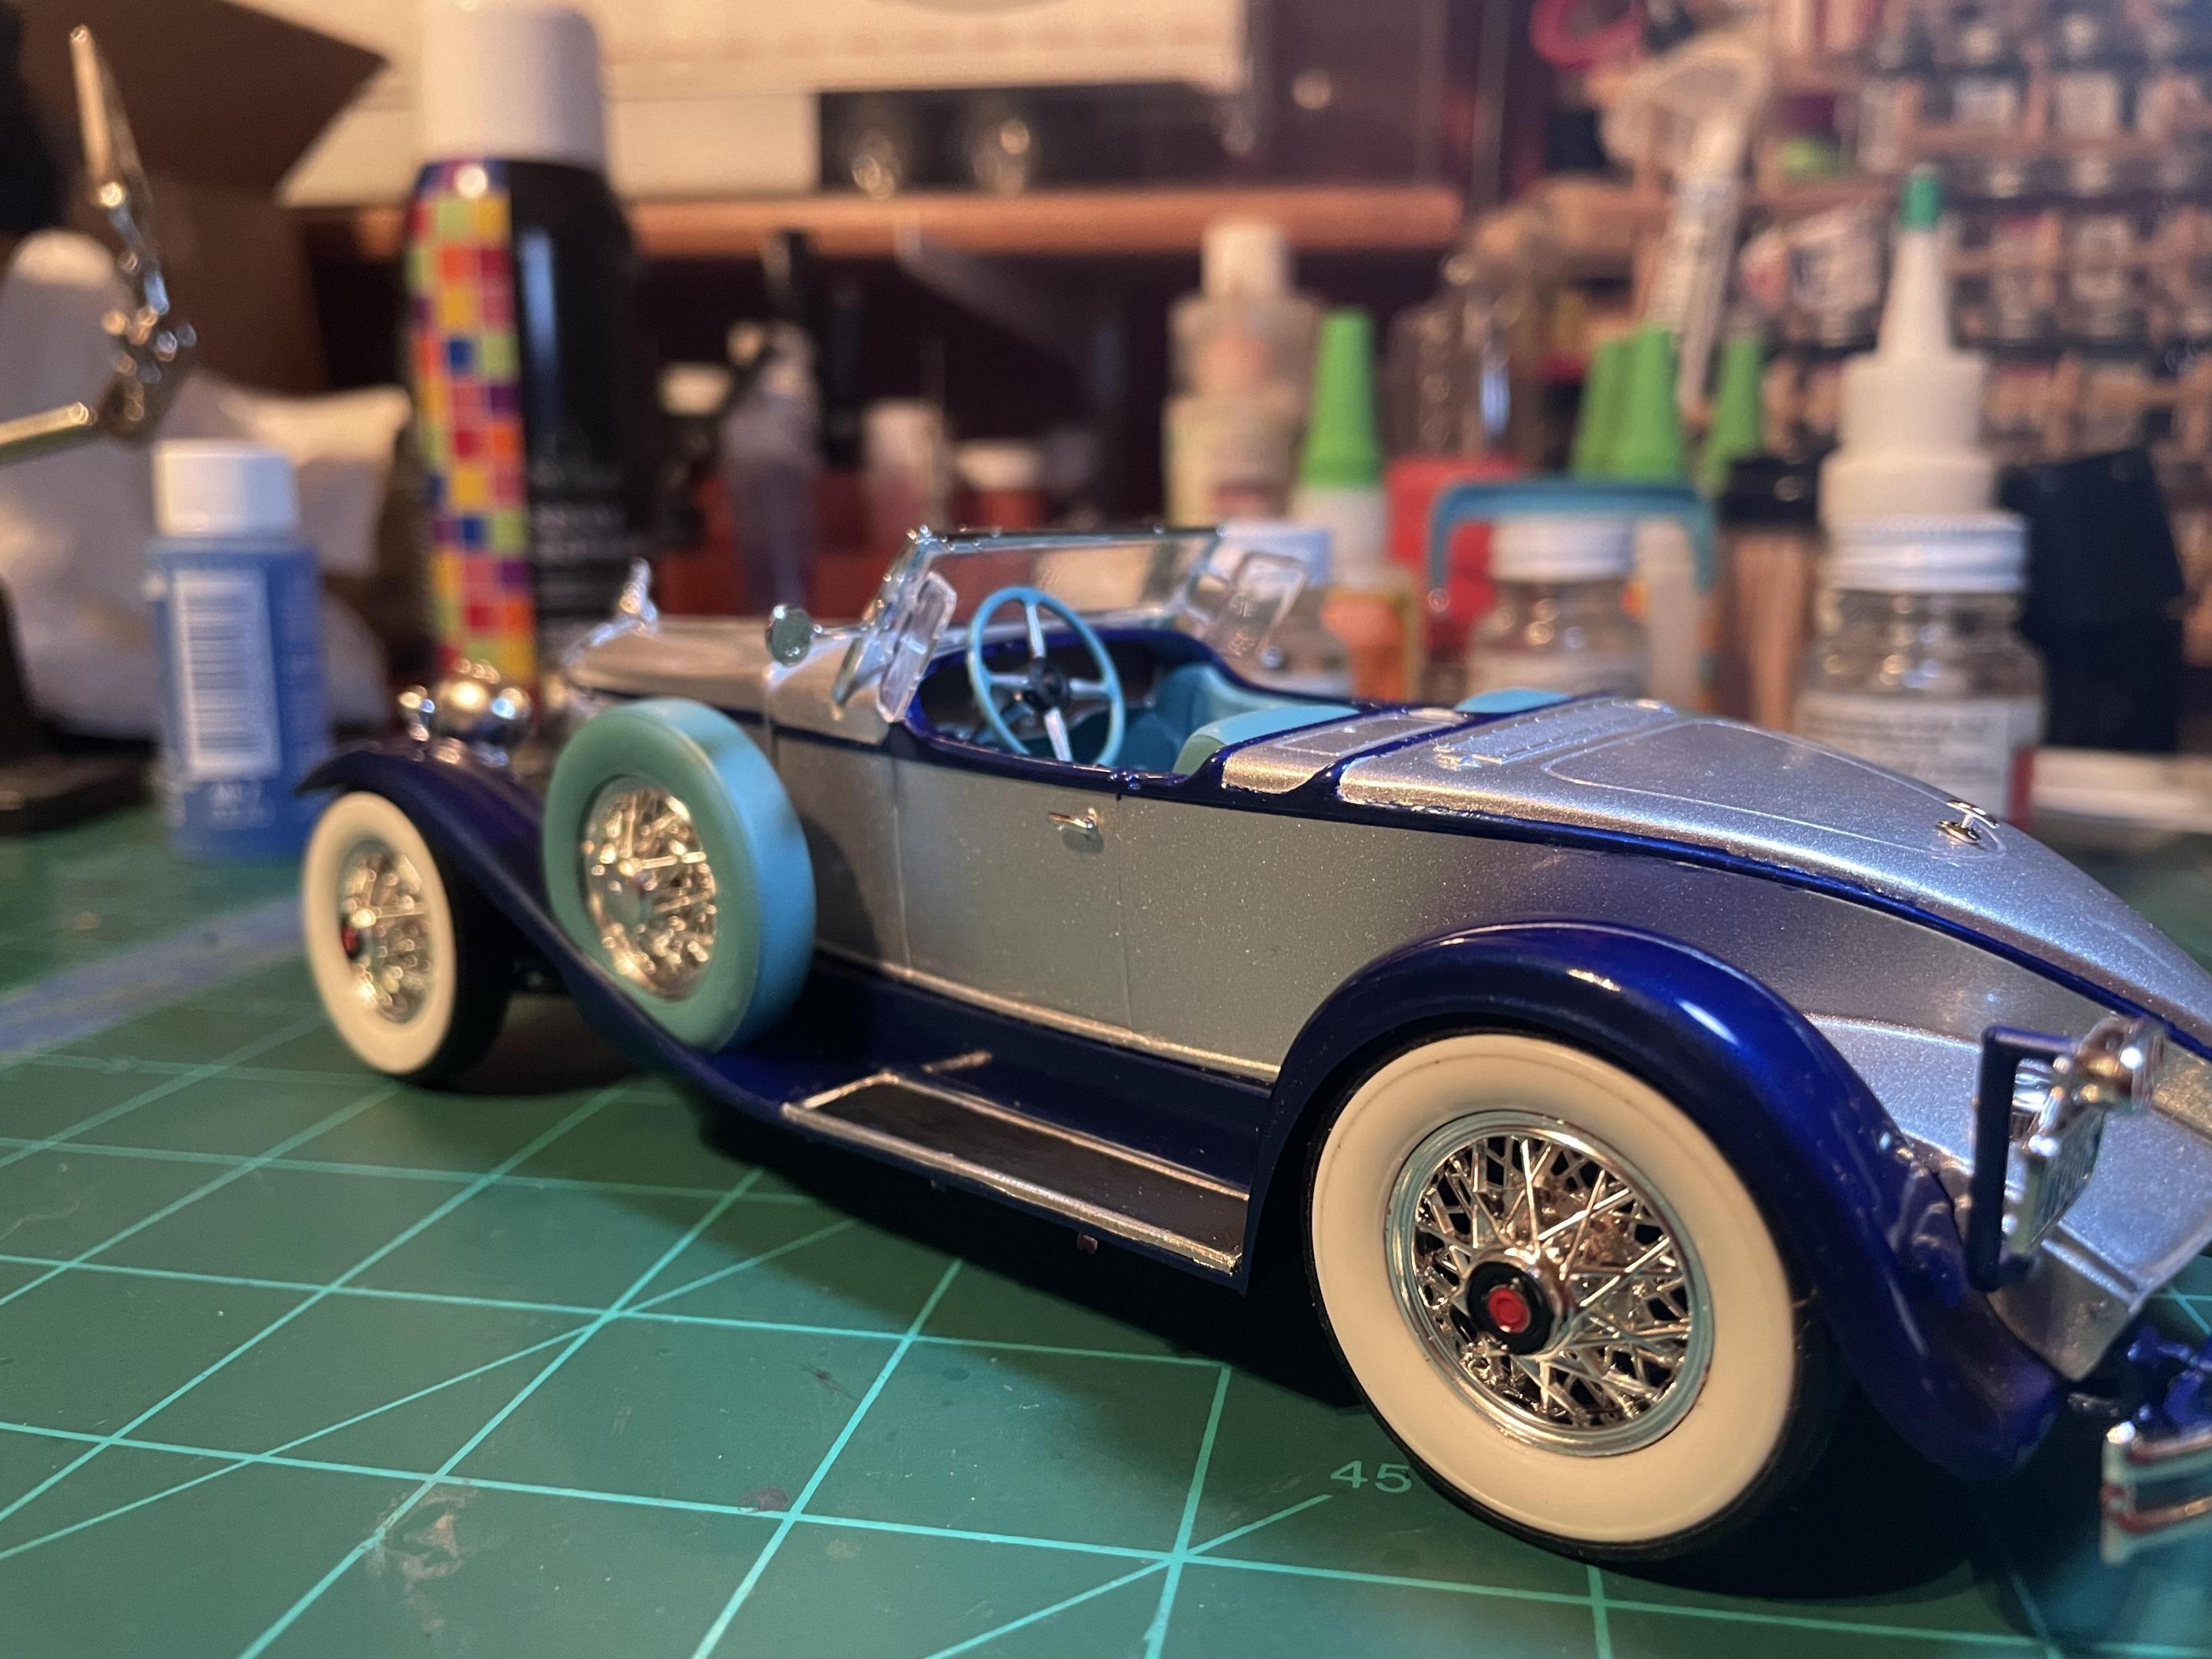
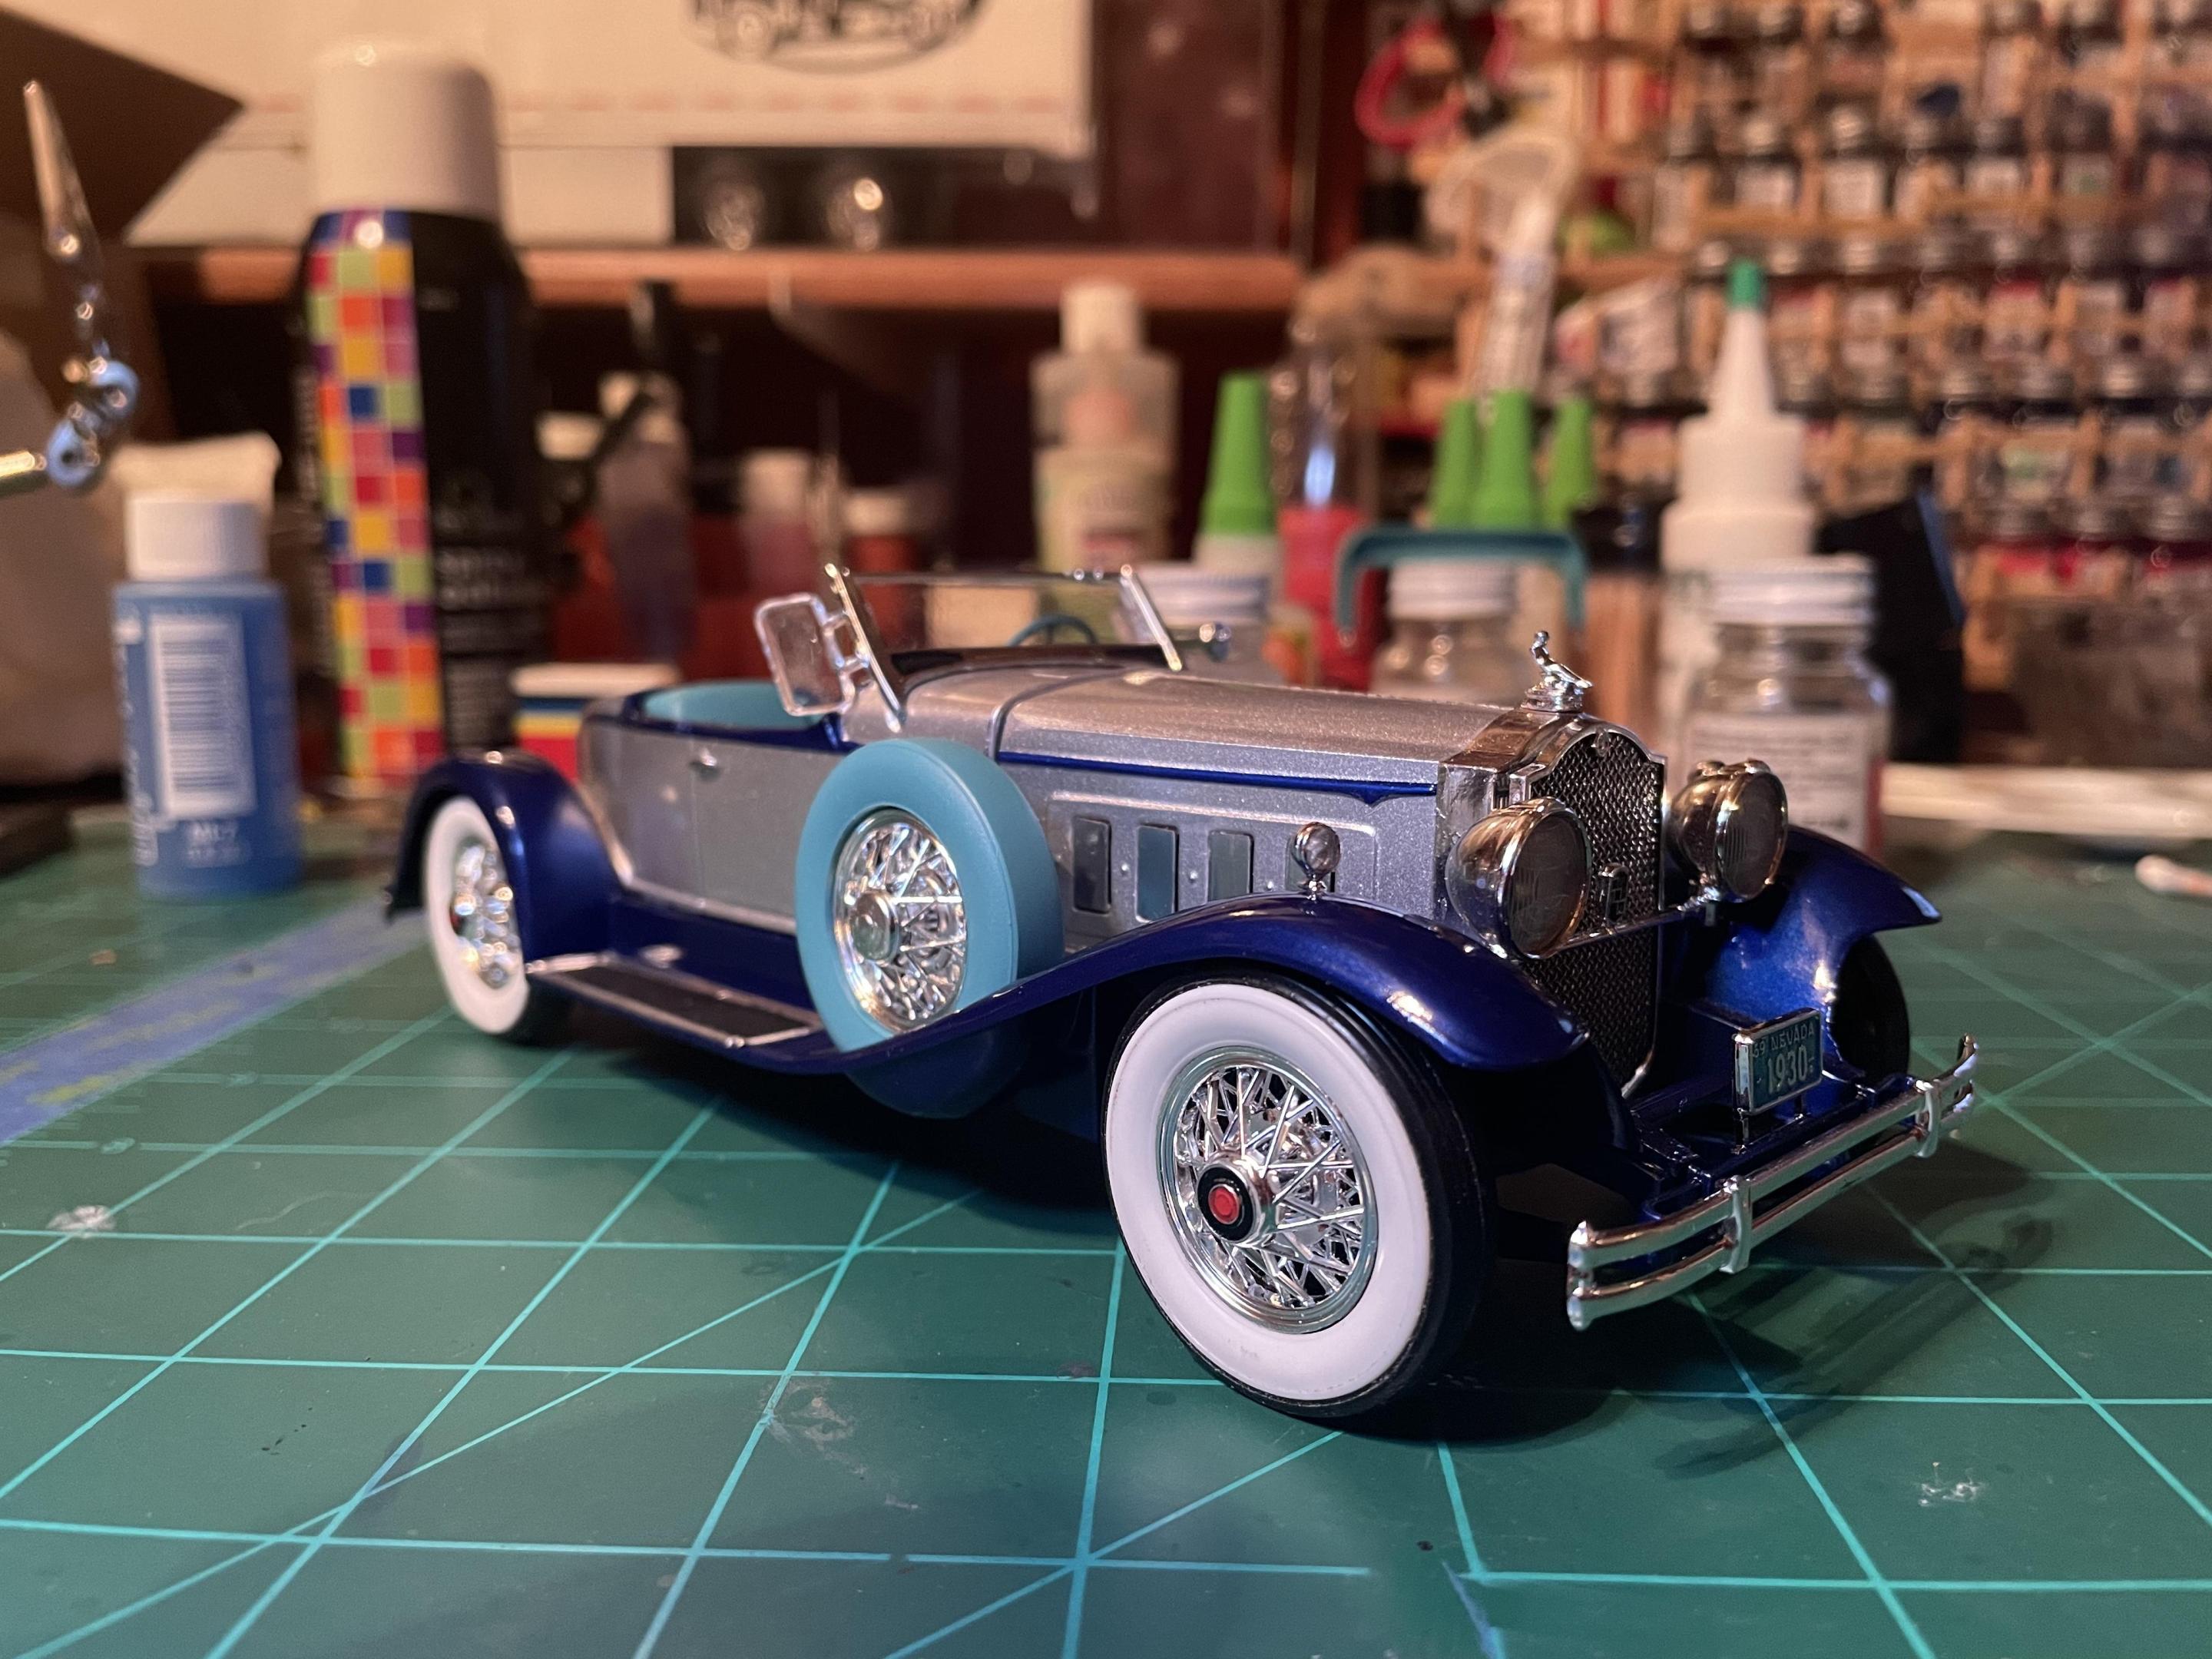
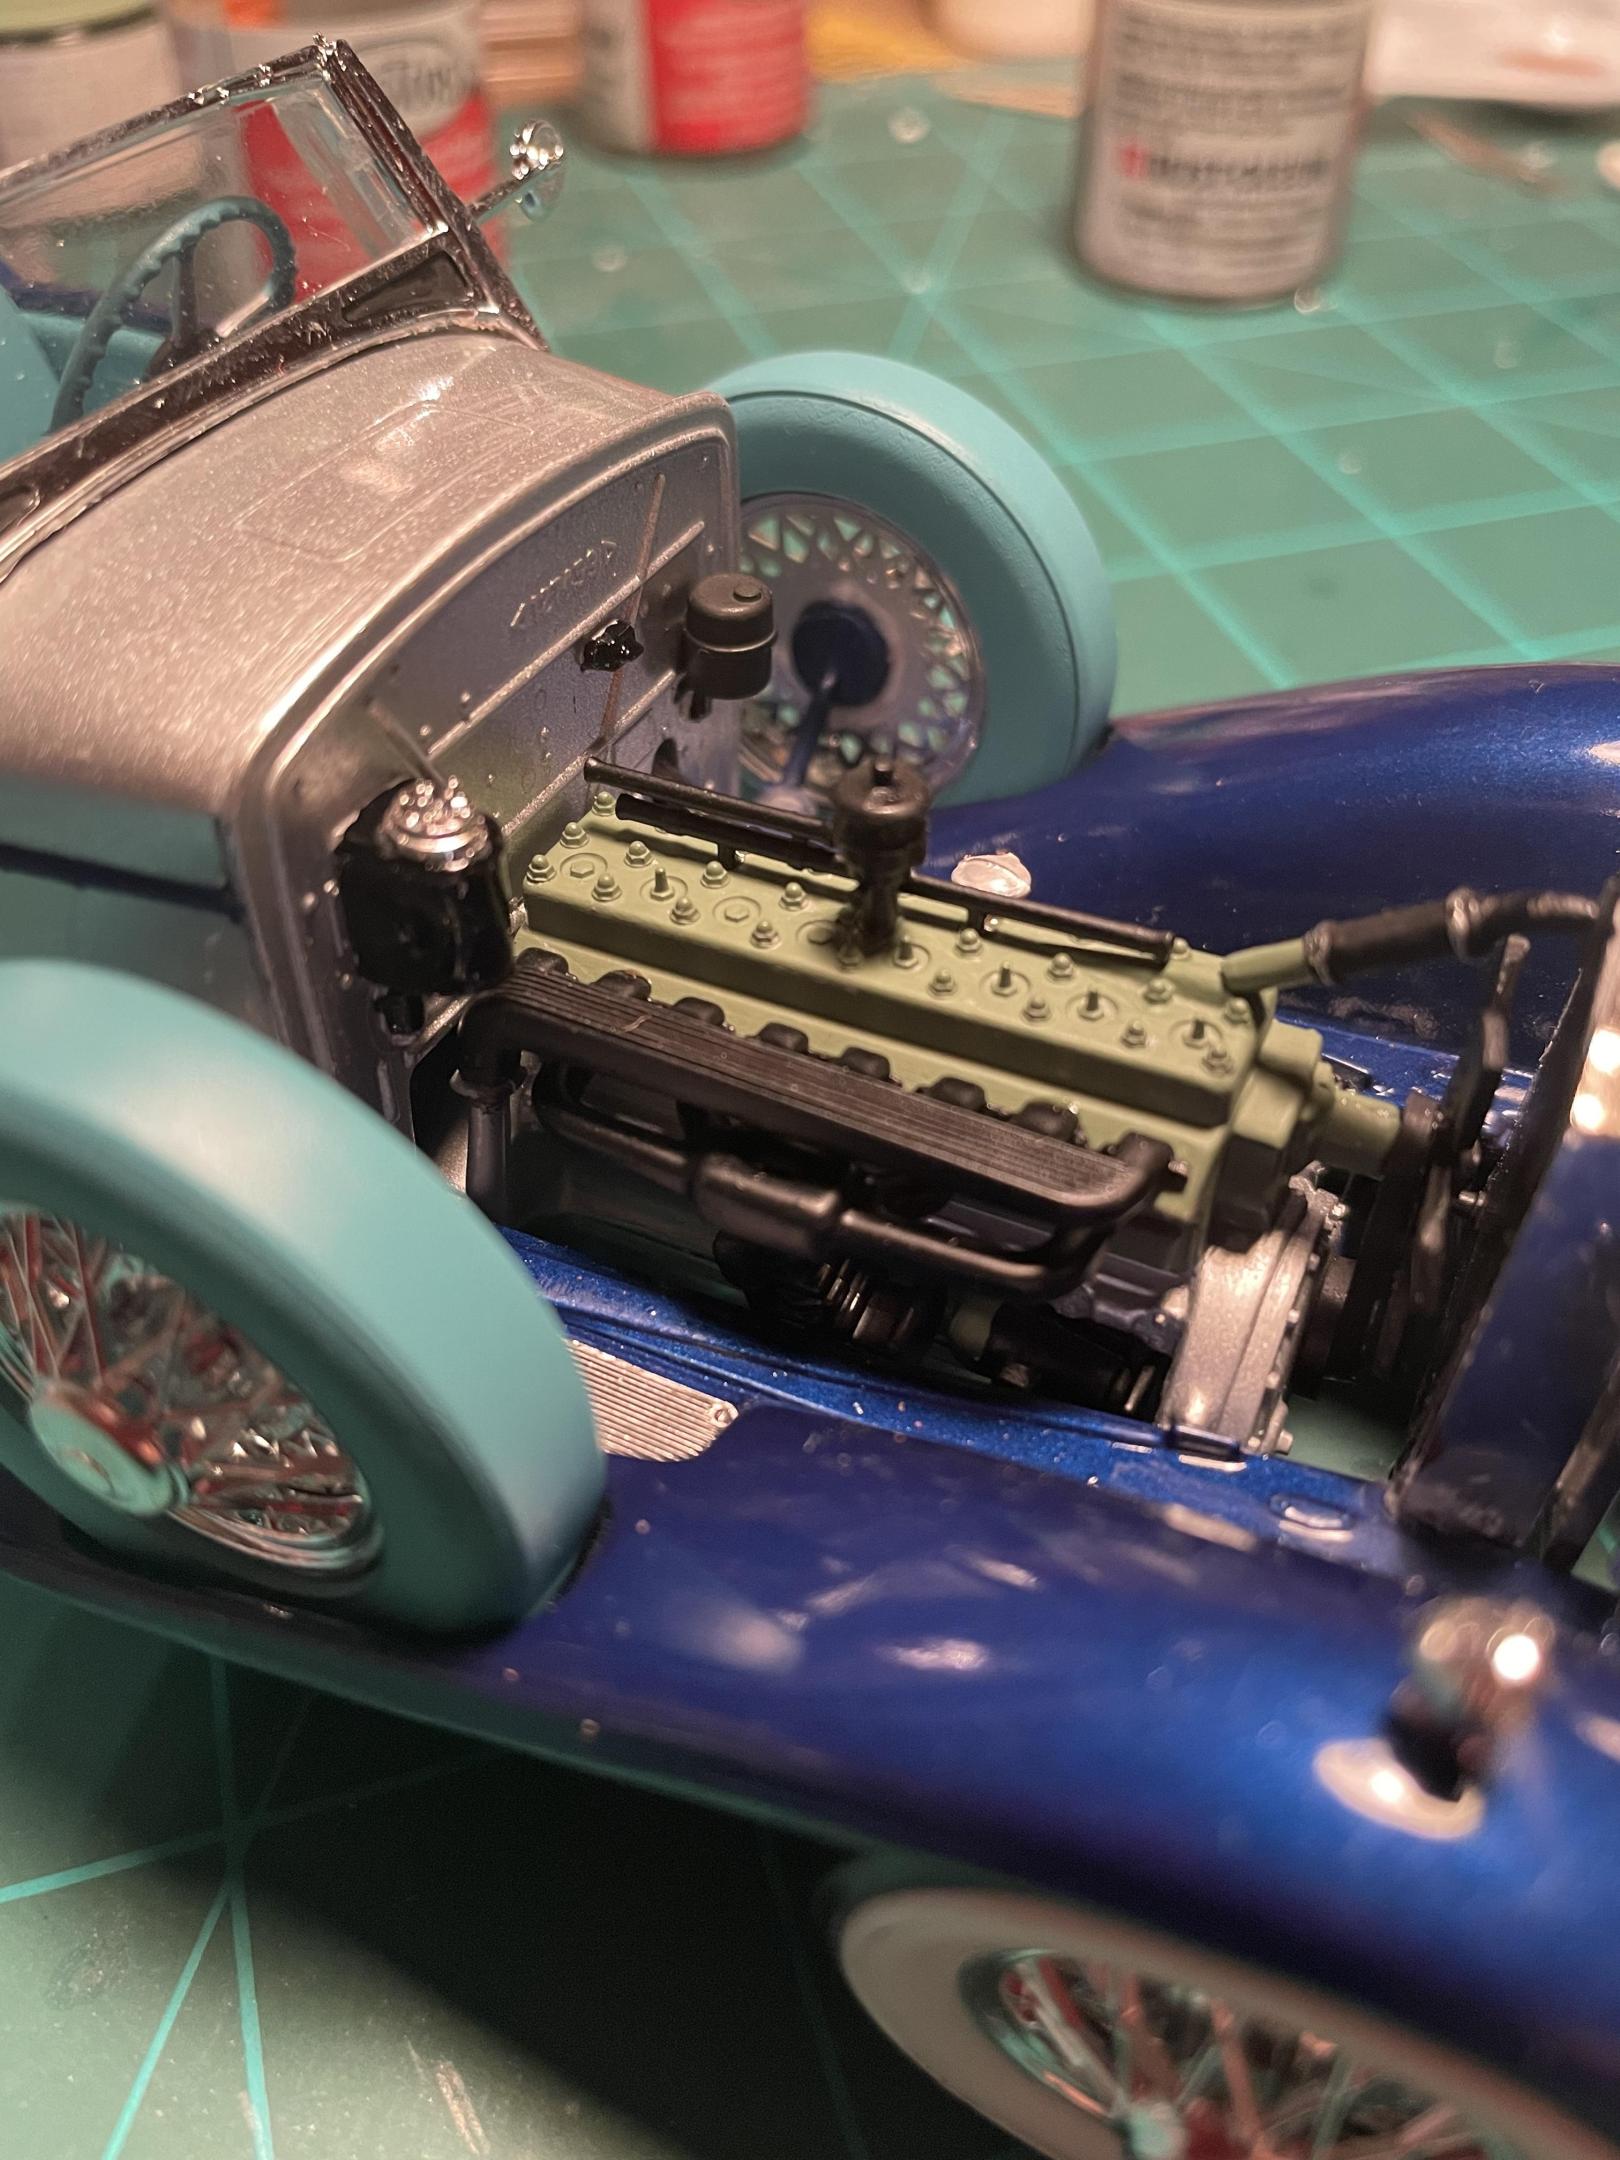
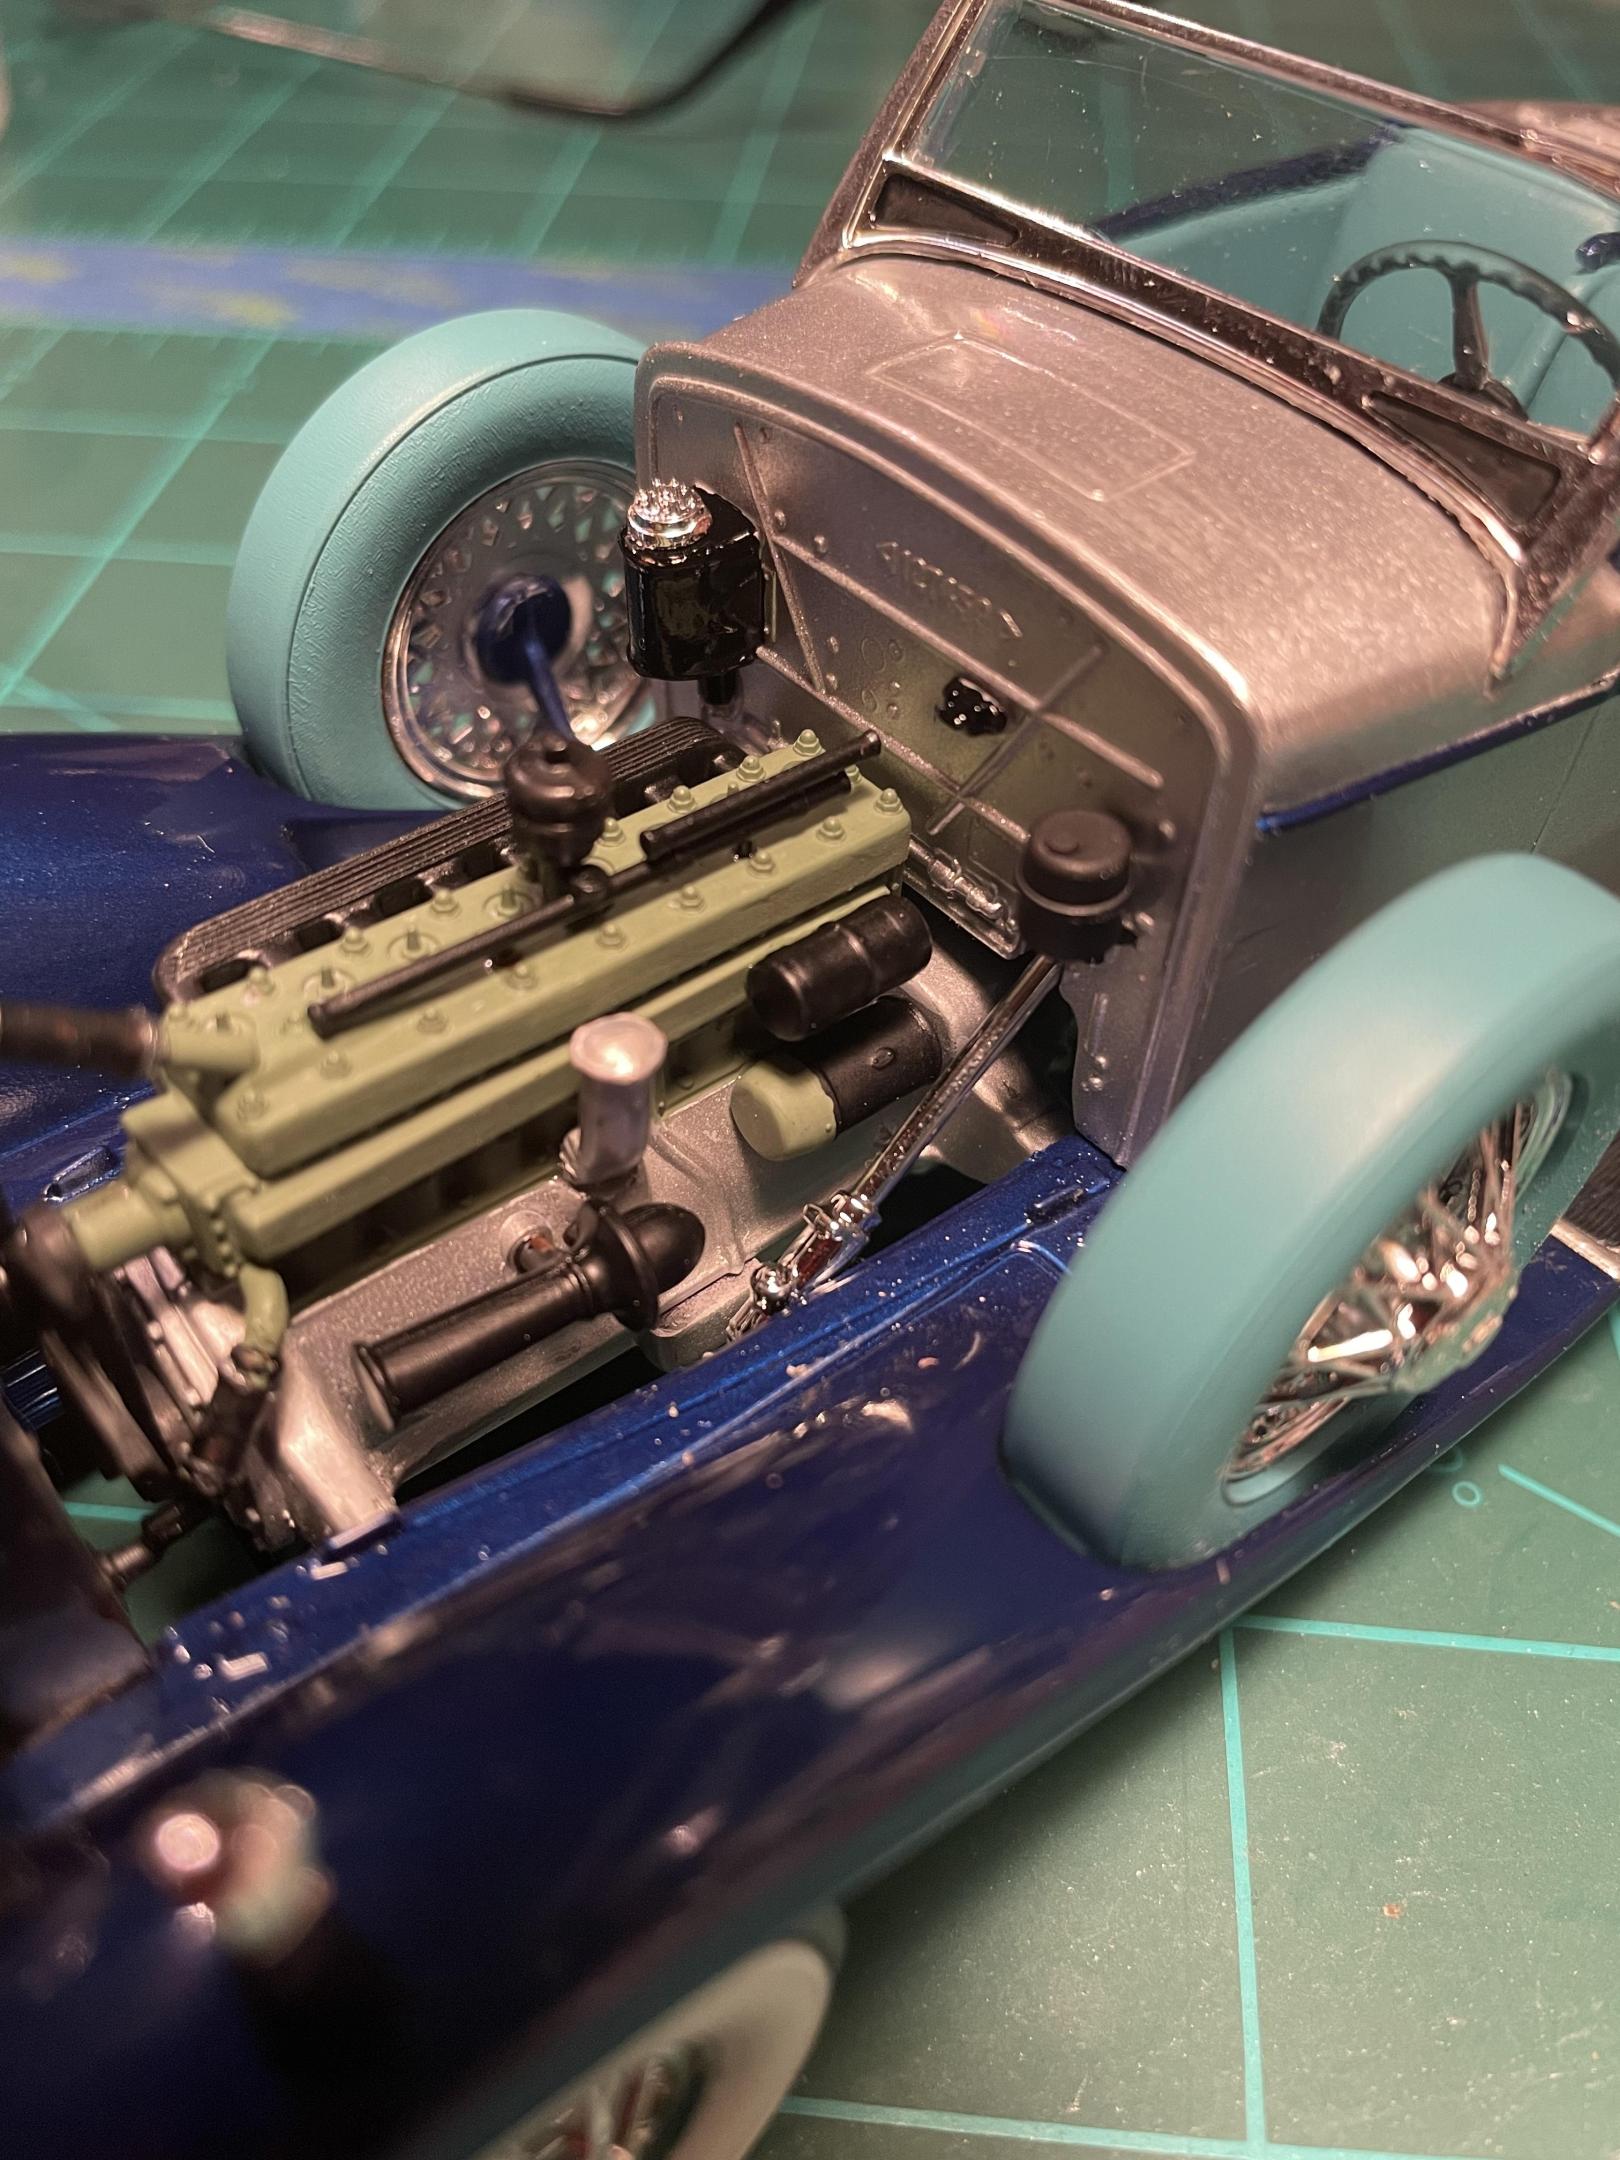
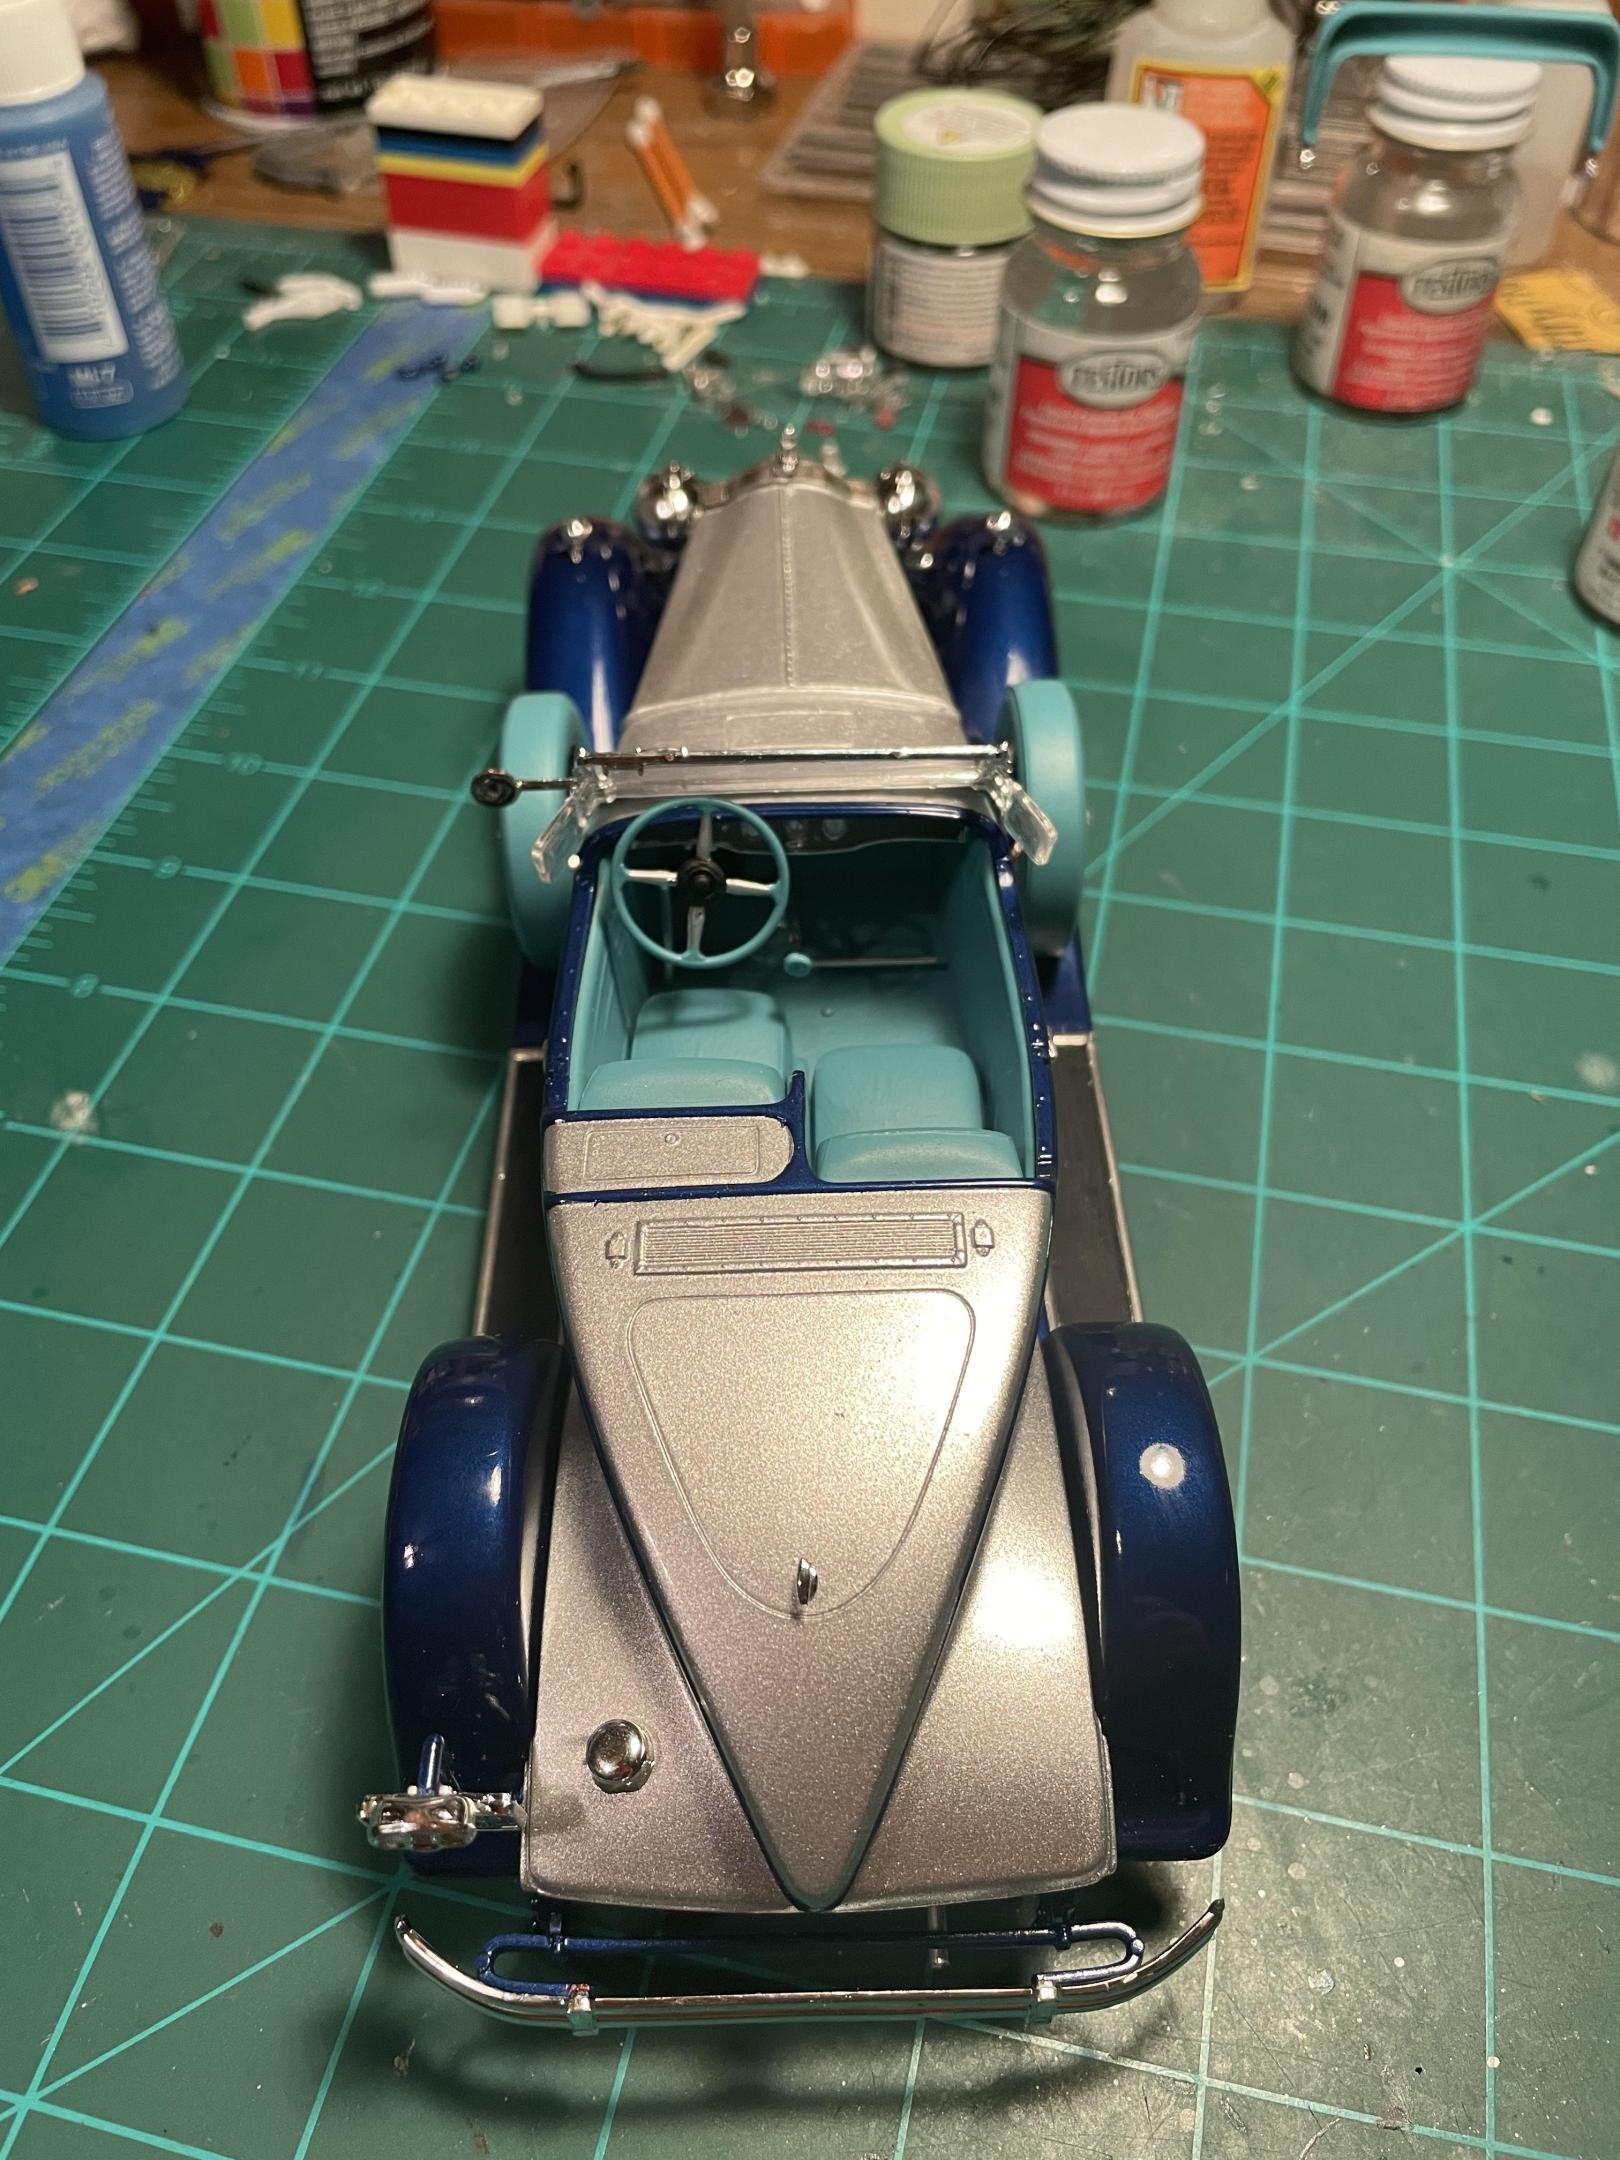
Just finished this 1930 Packard Boattail Speedster by Monogram. It’s an old 1/24 Museum Pieces kit I found on eBay which unfortunately came to me missing quite a few parts. I can’t really complain though since it was only $15. I actually thought it was missing the interior door panels too, until I realized they were molded veeeery faintly into the interior tub. In addition to cutting the door panels out and building some new ones with styrene sheets and metal wire, the fabricated mods include most of the other interior bits, rear bumper, engine bay detail (distributor, wire router, firewall, etc), exhaust and front headlight bracket. Currently on the lookout for better wire wheels, as the kit provided set is probably its biggest weakness. Too cold/rainy in nyc for the usual outdoor pics, so the photo booth will have to do. It’s also probably going to be my last build using spray cans, as I finally made the leap and bought an airbrush setup. Time to hit the boards and learn how to do everything all over again ? Last pic is with the 1:1 I used for inspiration ??
- 42 replies
-
- 12
-

-
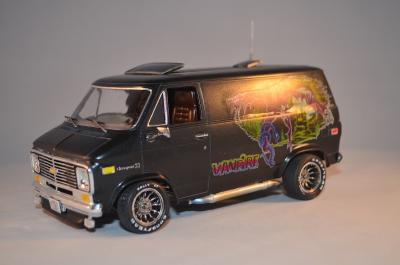
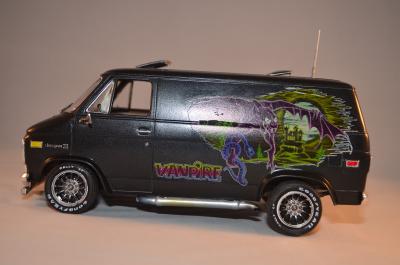
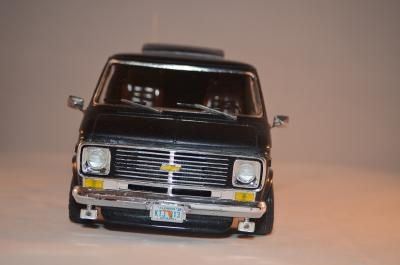
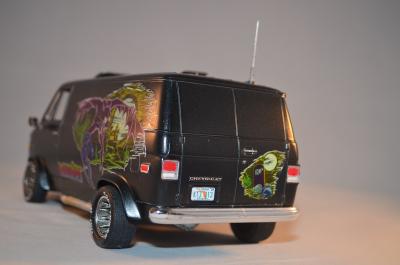
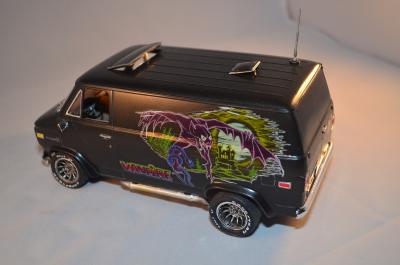
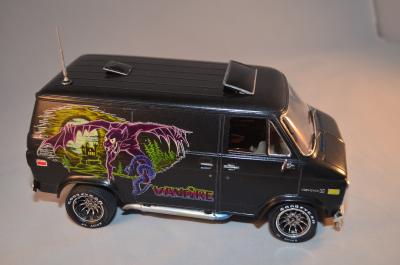
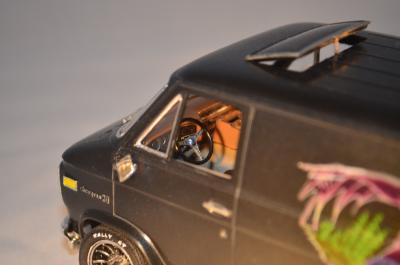
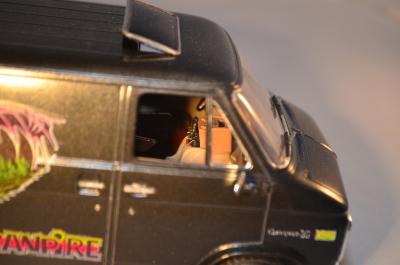
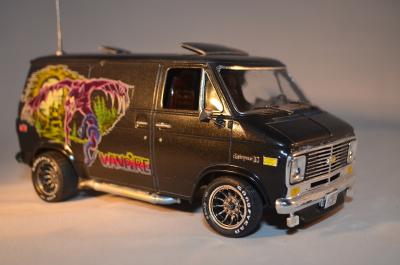
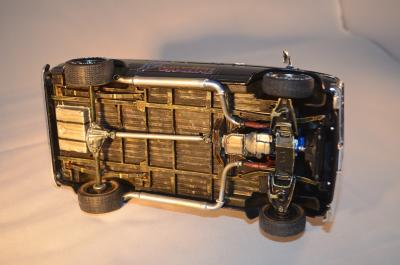
I've been having so much fun building vans, I dusted off my old Monogram Vanpire that I've had in storage. I couldn't resist since I've always thought the Vanpire decals were cool & a bit frightening as a kid. To be sure, I sprayed them with Testors Decal sealer and they settled down like a charm. I had fun with this build. I cut out the moon roof openings and propped up the moon roofs. I also drilled out all the lightening holes in the steering wheel for accuracy. I mounted and painted the CB radio and 8-Track player. I tried to weather the bottom a little to show some wear. I also toned down the bright shiny chrome rims with Tamiya Smoke. Finally, I printed and attached my own Florida license plates. If you have a Monogram Van kit in your stash, I highly recommend you build it. It goes together so well. BTW, the other Monogram '77 Chevy Street van is exactly the same as this one right down to the extra port holes & optional windows. The only difference is the decal sheet. I hope you enjoy looking at the pictures as much as I had building this gem. Many Thanks!
-
Finished this a few weeks ago, built one as a kid/teen, I think this one came out better, haha. Pretty nice kit for its age, and I think I’ll build a few more of these monogram classics kits, something a bit different from my normal muscle car and big rig projects . As always , thanks for looking.
-
More here.... Revell Model Building | Online Shop | 1970 Plymouth Roadrunner
-
I thought I would share what I am currently working on and what is keeping me away from my 1:12 Tamiya/Ebbro Matra MS11. I am building the Boot Hill Express for a Halloween themed FB group build. I have 1 month to build it, (the month of October), and have underestimated how long it is going to take me. In my defense, I am going a little above and beyond with it but not overboard. As with just about every build thread I do, I am further along than what I am posting. I like to document what I do for two reasons, (mainly). First, it helps me to remember what the heck I did and secondly it may be of some use to one of my fellow modelers. In this thread I will caption each photo as needed. I would love to hear from you guys. Let me know what you think and what you may have done differently. Thanks! Mine is the 1994 issue of the Boot Hill Express. It was molded in a horrible orange styrene. Why?!?! There was a lot of clean up that went into this. Too much to list but let me say that I worked on just about every single part with only a few exceptions. I also made the decision to strip all of the chrome and airbrush it in AK Interactive Xtreme Metal Chrome. More to come shortly.
-
More here... Modellbau | Revell Online-Shop | 1985 Chevy Camaro Z28
-
After my highly-detailed and involved 1/12 Tamiya Porsche 934 build I was looking for something a little more low-key to build before jumping into another big project. When I was a kid I started off building the Monogram classic car line in their 1979 series boxing, and wondered what could come from doing a nearly box-stock build of one of these models using the skills, tools and techniques I've amassed over the last 40 or so years. Ironically I decided on the model I never actually got to build back then... the elusive Mercedes 540K Coupe. The 540K Coupe represents a completely half-arsed attempt to turn the roadster kit into something different by adding a roof and rear fender skirts but ignoring the other differences between the coupe and roadster. The few 540K Special Coupes that were built had differences in the fenders, hood vents and spare tire cover vs the Special Roadster that Monogram initially kitted up. My modeler's OCD kept bugging me to fix those inaccuracies but in the end I decided to keep the build pretty close to box-stock. The only variances are some PE bolt heads for the rear fender skirt fasteners and some Tamiya mesh for the air cleaner as well as some styrene reinforcements where the bonnet sides meet the top part. The vast majority of this build was spent fitting and tweaking the bodywork. Mold lines, including a particularly nasty one that ran across the rear fender, deepening panel lines and block sanding the body made a big difference. The bonnet fit was key... my main goal was to get the beltline chrome trim to run in a perfect unbroken line down the entire length of the body. The frame required some grinding above the rear suspension to keep it from interfering with the interior tub which made it sit too high in the rear. The running boards took some work to keep them from fouling the frame rails as well as getting them to sit flush with the line of the fenders. I was able to attach the separate roof piece using Tamiya thin cement and I reinforced the inside of the joint with CA glue. The only filler required was a couple of thick coats of primer. Paint is Tamiya Deep Metallic Blue over Metallic Blue with Light Sand for the interior. Chrome is a mix of kit chrome (bumpers, wheel center) and airbrushed Molotow (grille, headlamps, side pipes). I stripped the chrome from the kit wheels, thinned the spokes and painted them the body accent color. Despite all the work I put into the rest of the build the thing I'm most proud of is that all four wheels actually touch the ground. I never managed that on these classic kits when I was a kid! N I enjoyed this walk down memory lane a lot, enough that I'm looking at the Duesenberg Murphy Convertible Coupe as my next victim... that one might wind up with a bit more detail, though!
-
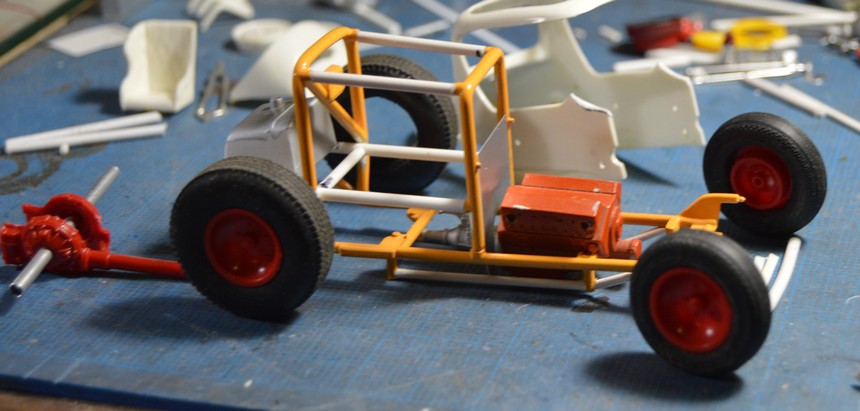
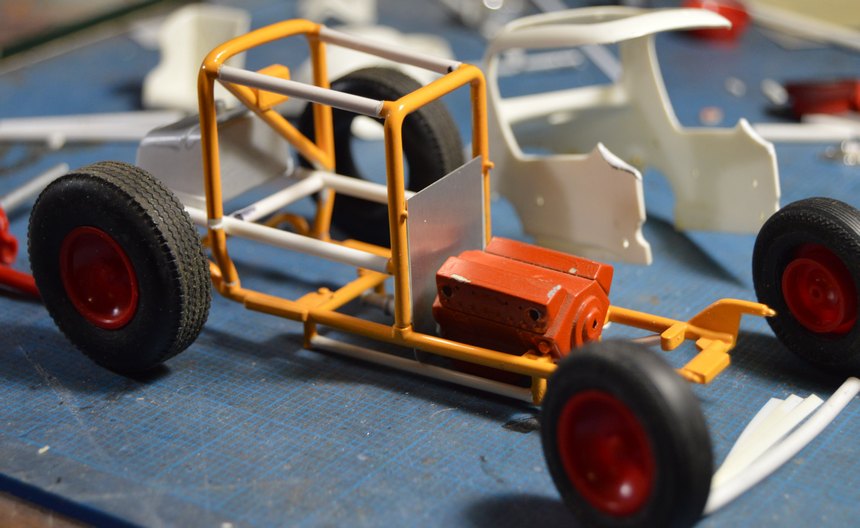
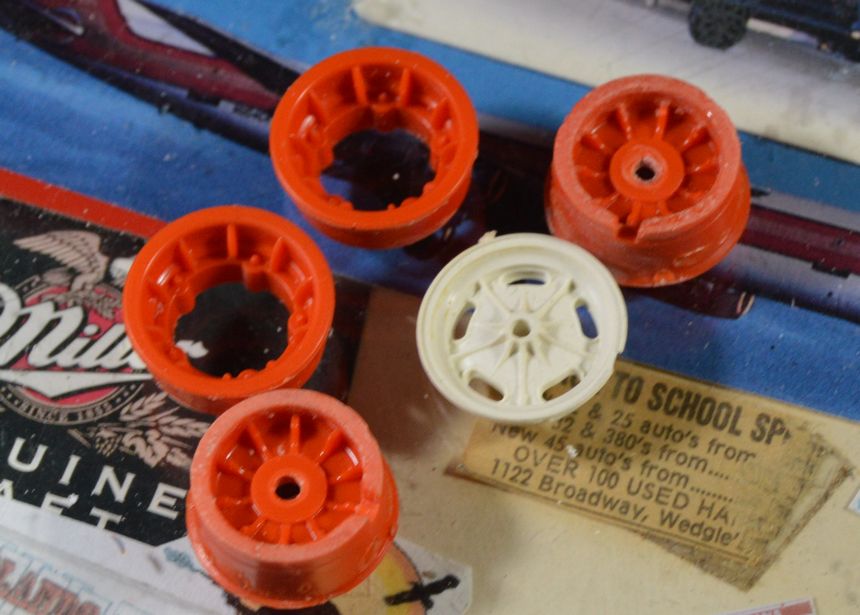
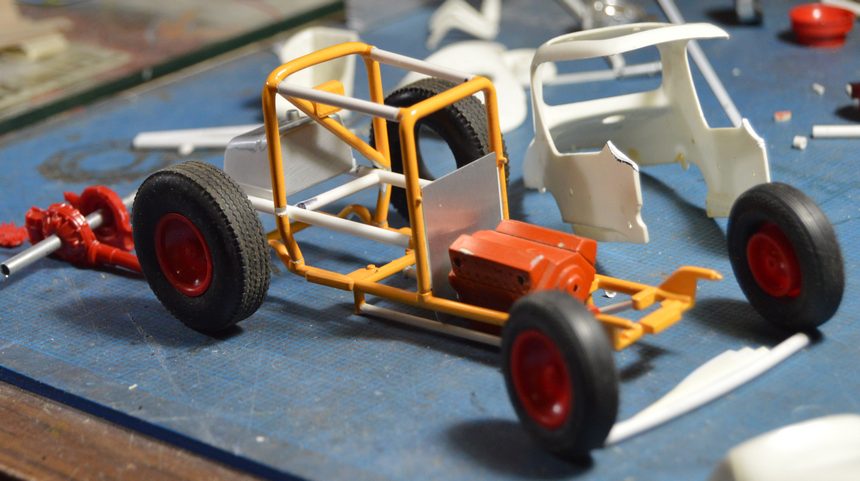
Here's another project that's been sitting around here, for a couple of decades. Interestingly, it's yet another Monogram model, as well! I gave consideration to redoing the California Street Vette, once the Mack was completed, but decided to go into the current quarterly "Bring Out Your Dead" thread, with this, instead. This was begun probably before the turn of the century--although I don't recall when, exactly. Since I took it back out of the box in pieces, I have done some work to the chassis. I added bottom frame tubes, and rebuilt the side bars in the cockpit, along with the fuel tank support/brackets. I'm not completely decided, as far as wheels. I like the dished Halibrands (I think that's what they are), but the two-piece wheels look cool, as well; Those, however, will need to be narrowed. I've made molds, in case I choose that direction, since I only have the pair, as well. I had already selected a set of nice Corvette valve covers for the car, so I will use them. Hilborn fuel injection. Quick-change rear from a Monogram sprint car. Although it's too small, I am using a steering box from one of the old MPC funny cars. It's not all that visible, anyway, and it fits! I removed the kit firewall and replaced it with aluminum flashing. I also removed the hood. I want to make it from flashing, as well. It's curvier than any sheet work I have done, before, so it will be a nice challenge! If that goes well, I may attempt the nose, as well. I'm unsure of the origin of the rear tires. I think they may be from an AMT Lotus or the Willard battery car. The fronts look like AMT's from the early '70s--they look like the tires from my original Pepper Shaker--and they may well be! I started work on a new front spring and axle. The headers will need to be redone, between the ports and the dumps. Since these photos, I have notched the lower firewall to clear the lower chassis tubes, removed the nose from the hood, and filled that hole on the right rear cage upright with acrylic nail resin. Speaking of the spring assembly: I've known this for a couple of years, now, and have mentioned it before, but it bears repeating--in bold Italics!: There is no better way to precisely apply liquid plastic cement (NOT superglue--MEK, etc.) than an insulin syringe. None! Don't tell me "I like this", or "I prefer that". There is absolutely no debate! ? Using the plunger, you can push out the tiniest drop of cement. Just touch the joint with that, and you're done. Need another tiny drop? Just squeeze out another, and go. No mess. No excess. Need to flood it on? Hey! That syringe has you covered. Anyhoo, without further ado... As always, questions, critiques and comments are welcomed and appreciated! Thanks for looking.
-
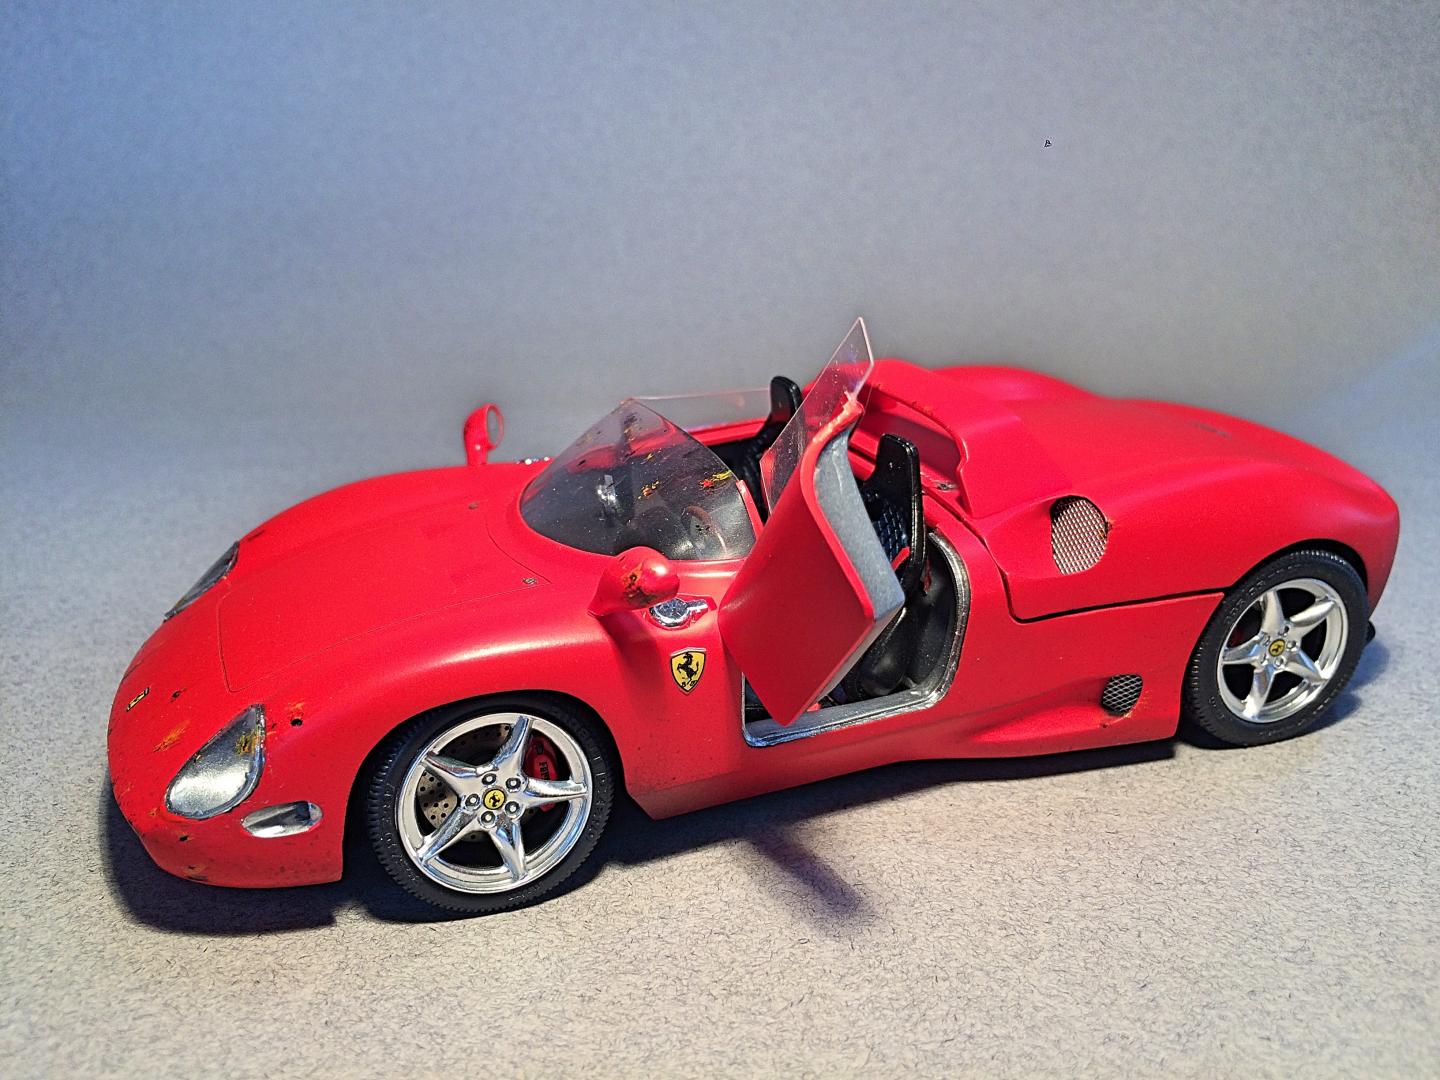
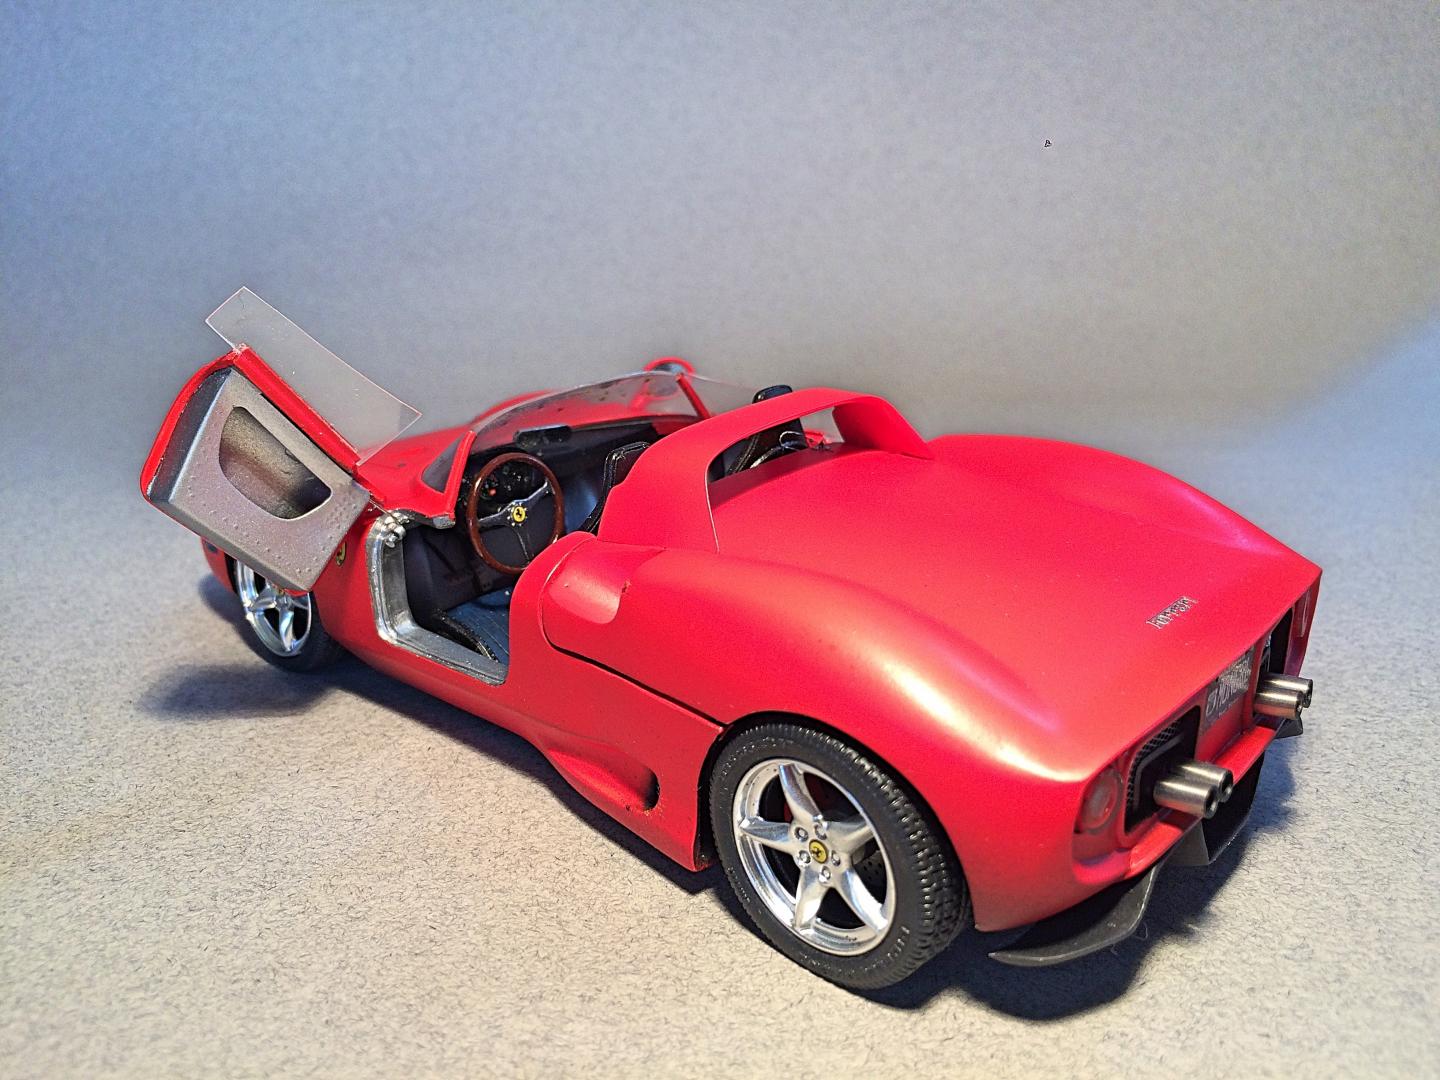
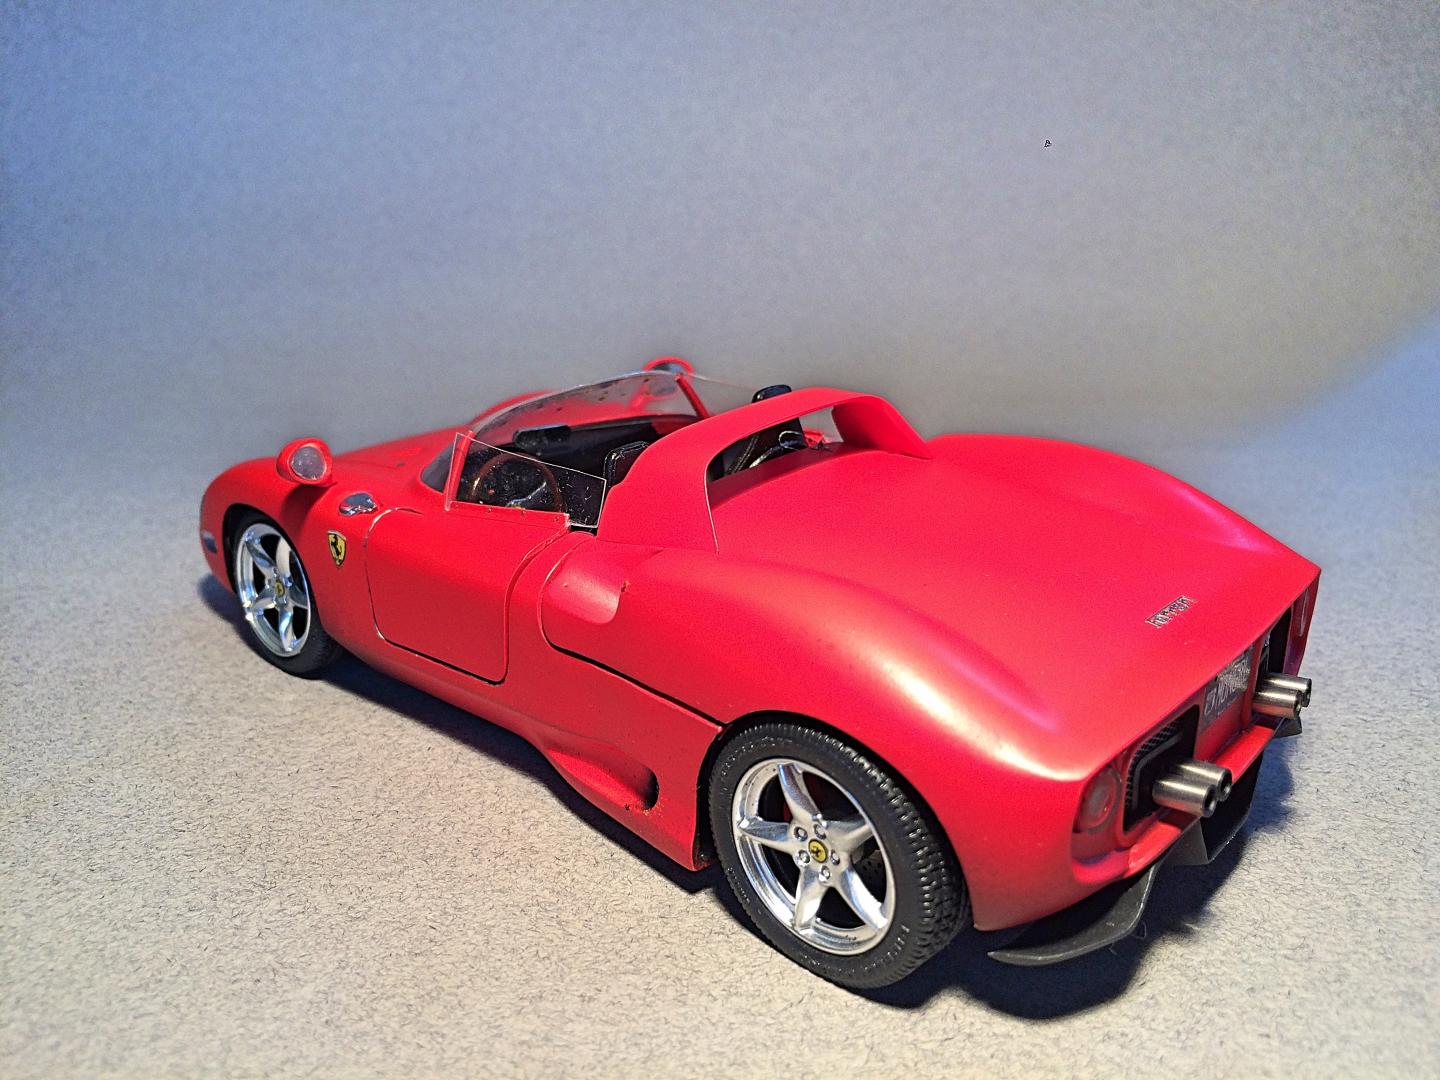
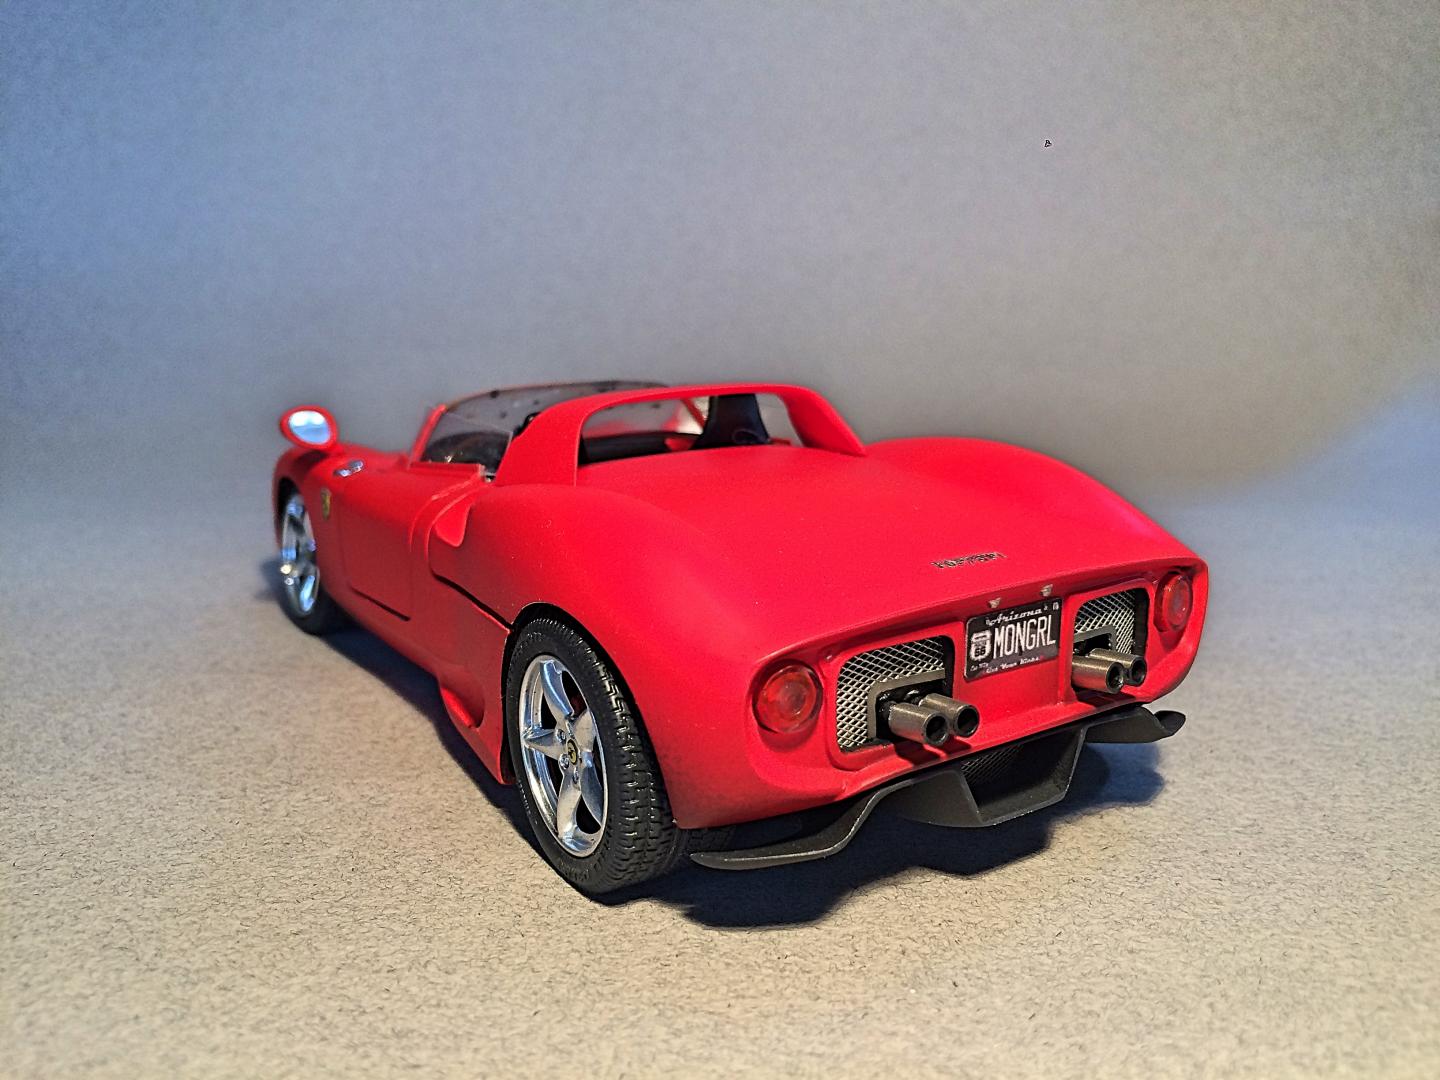
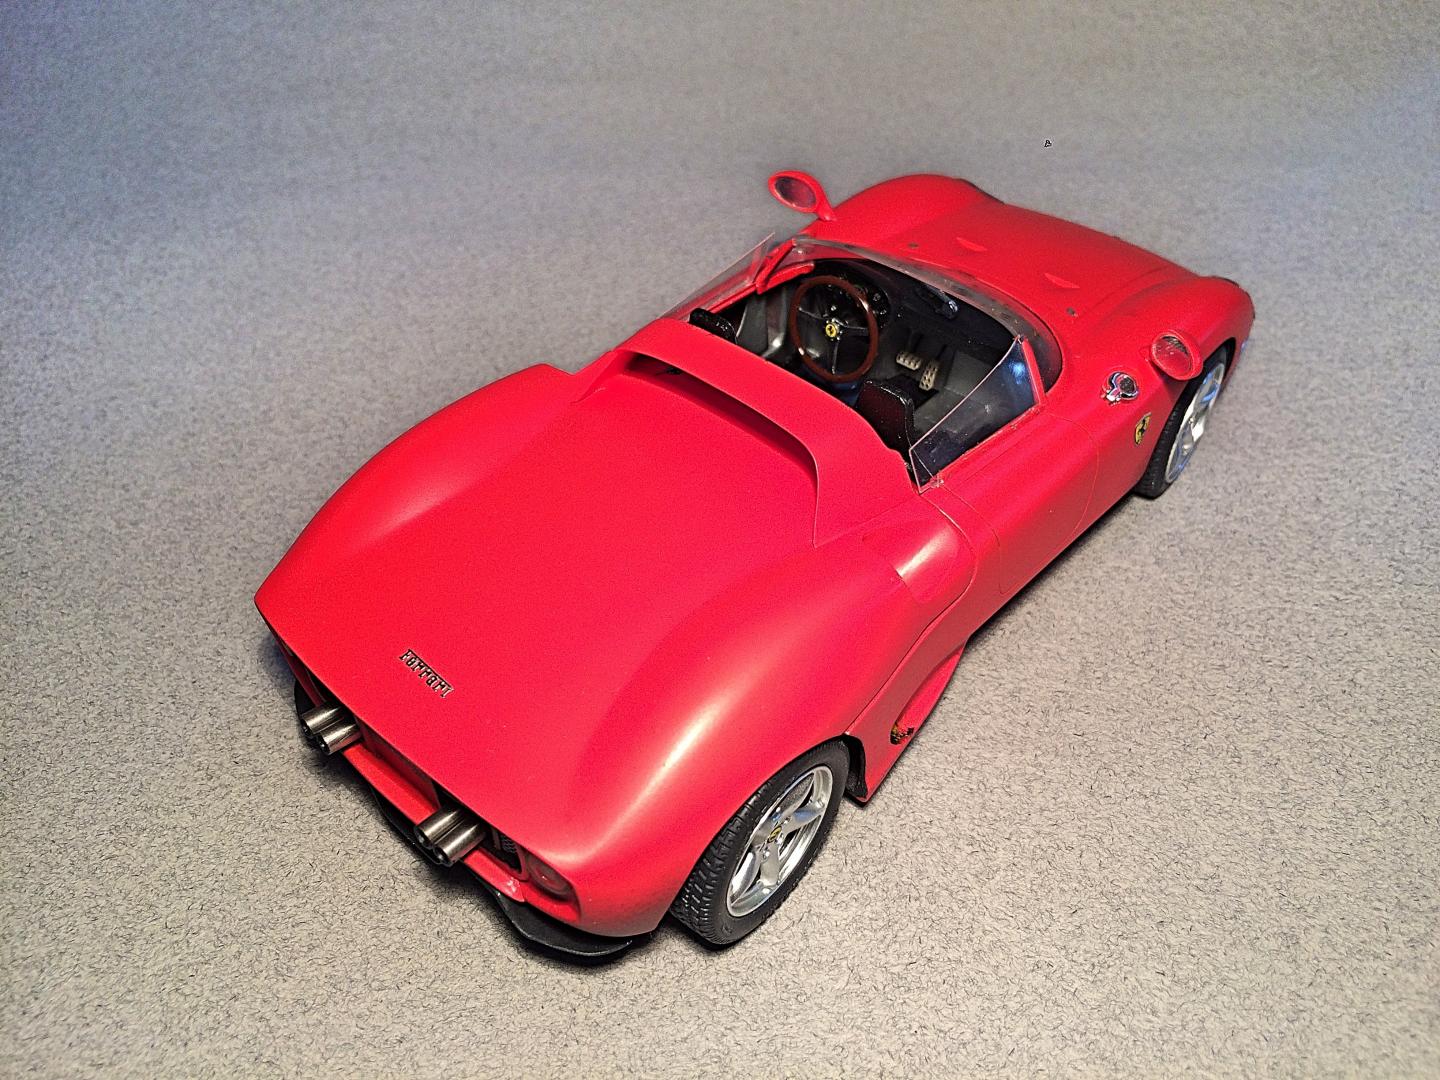
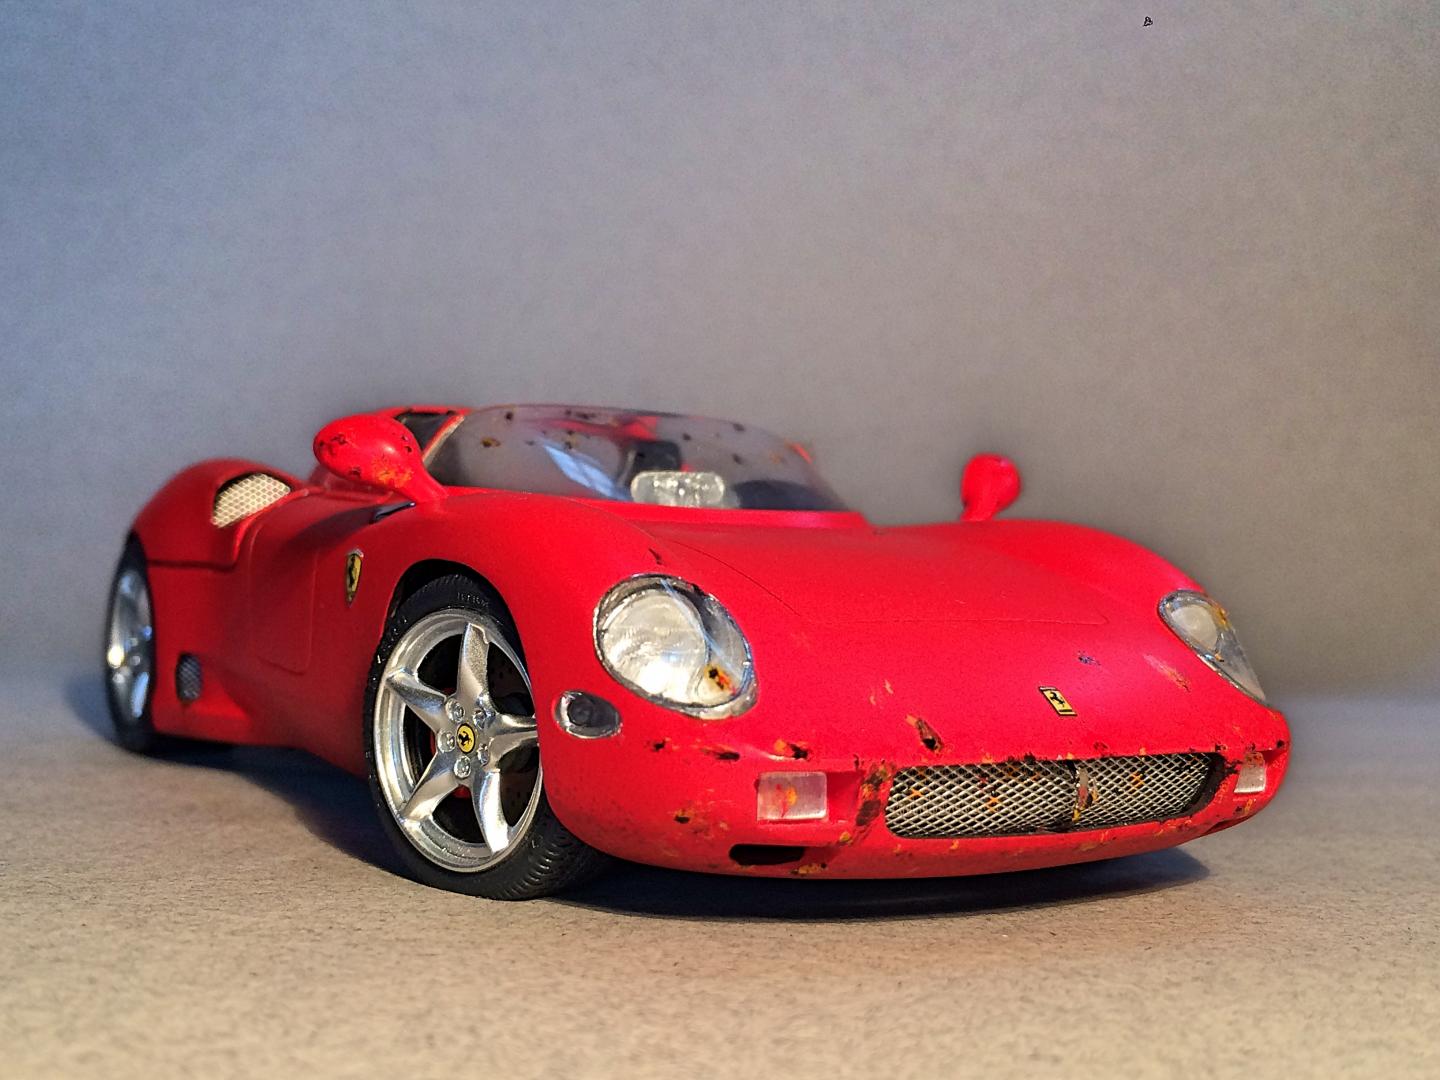
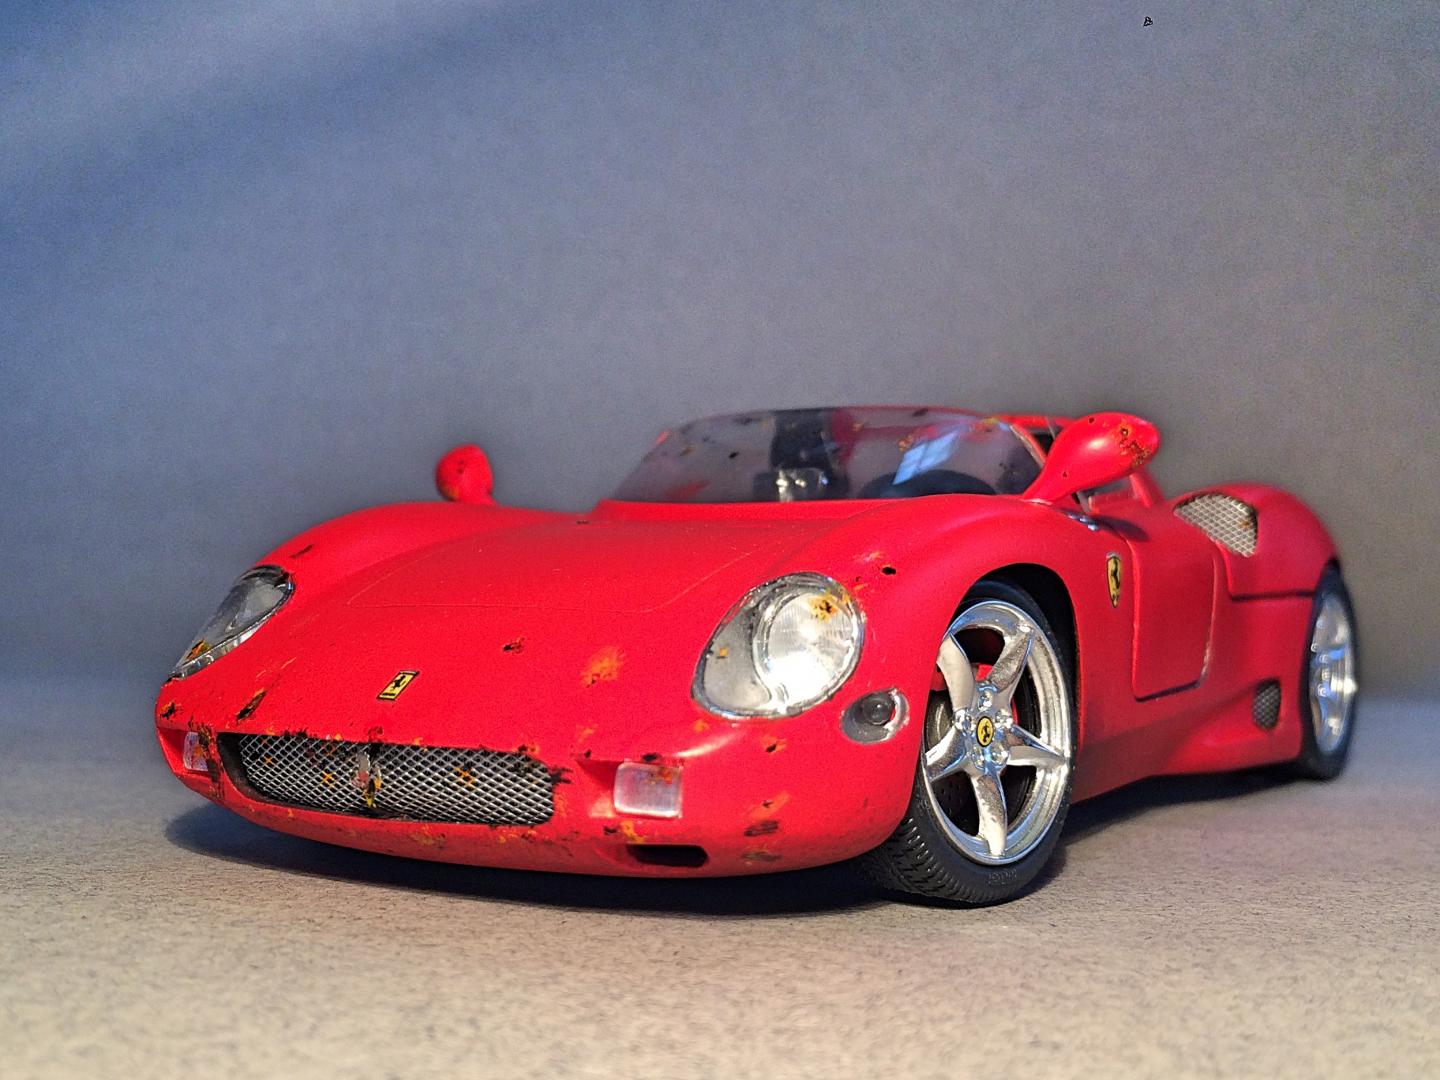
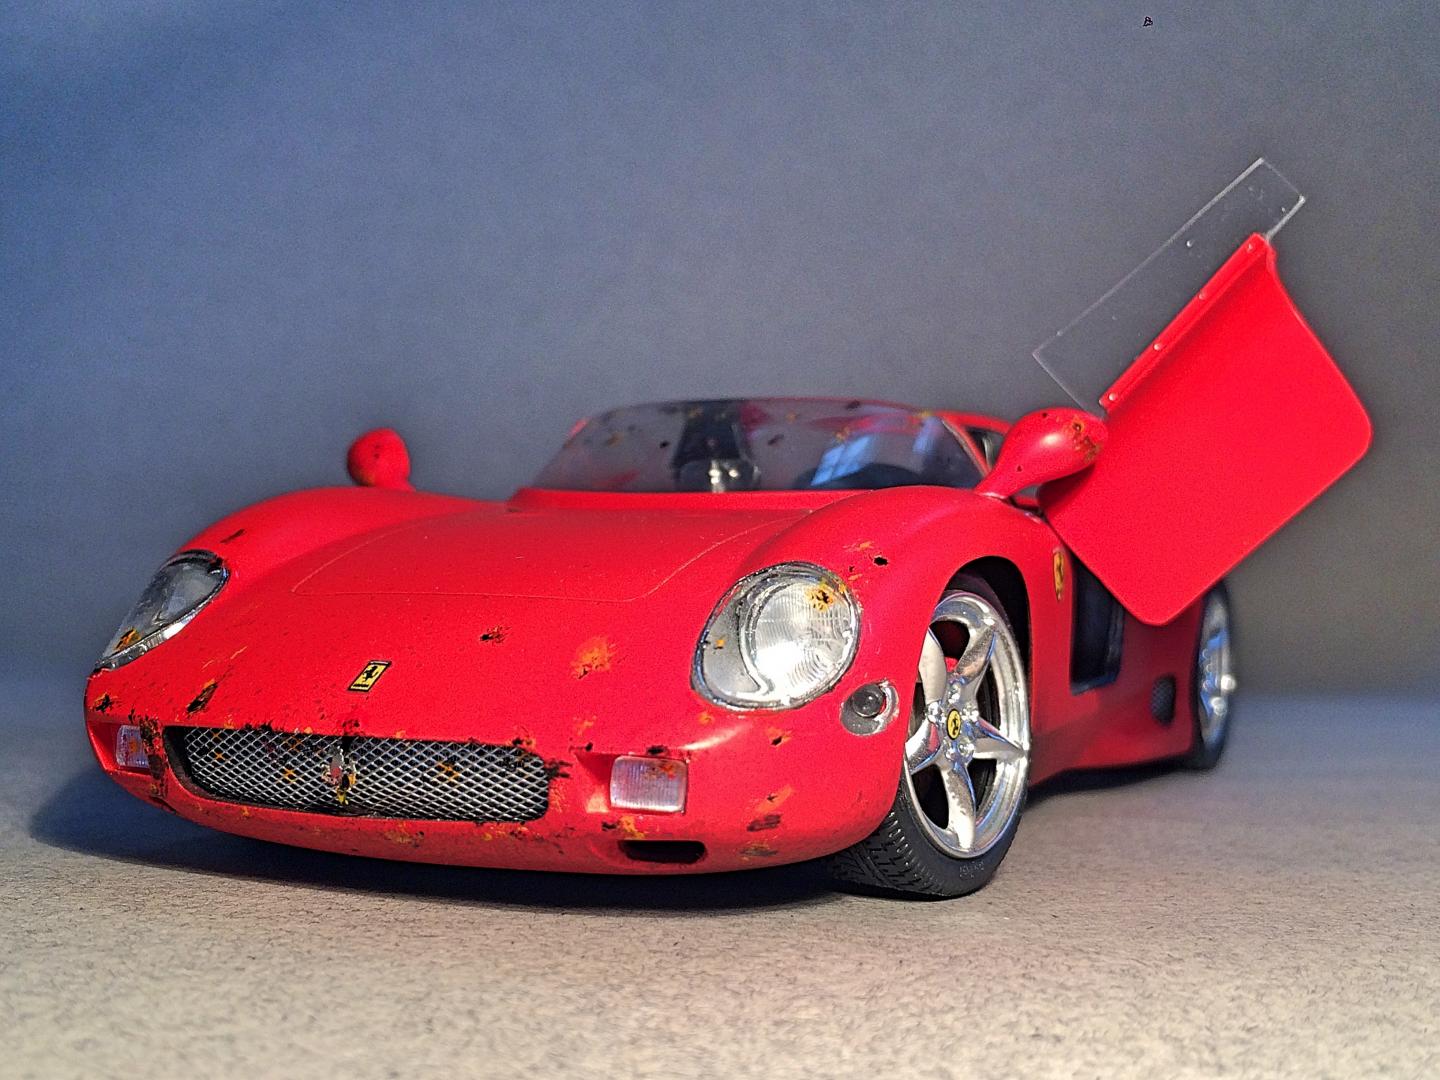
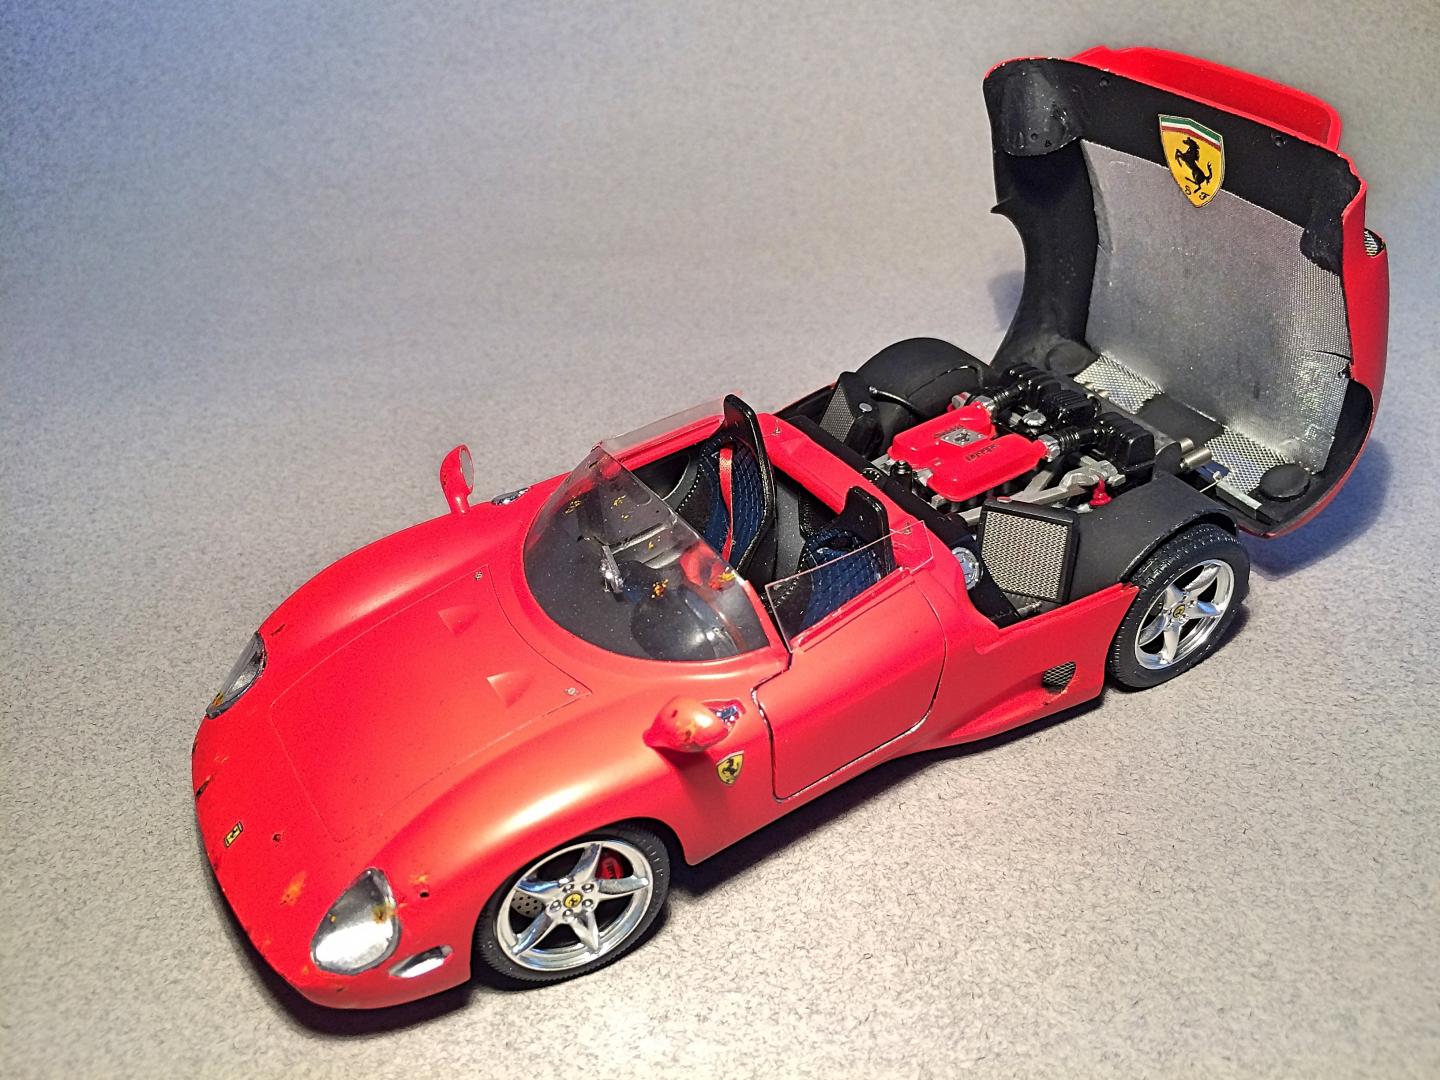
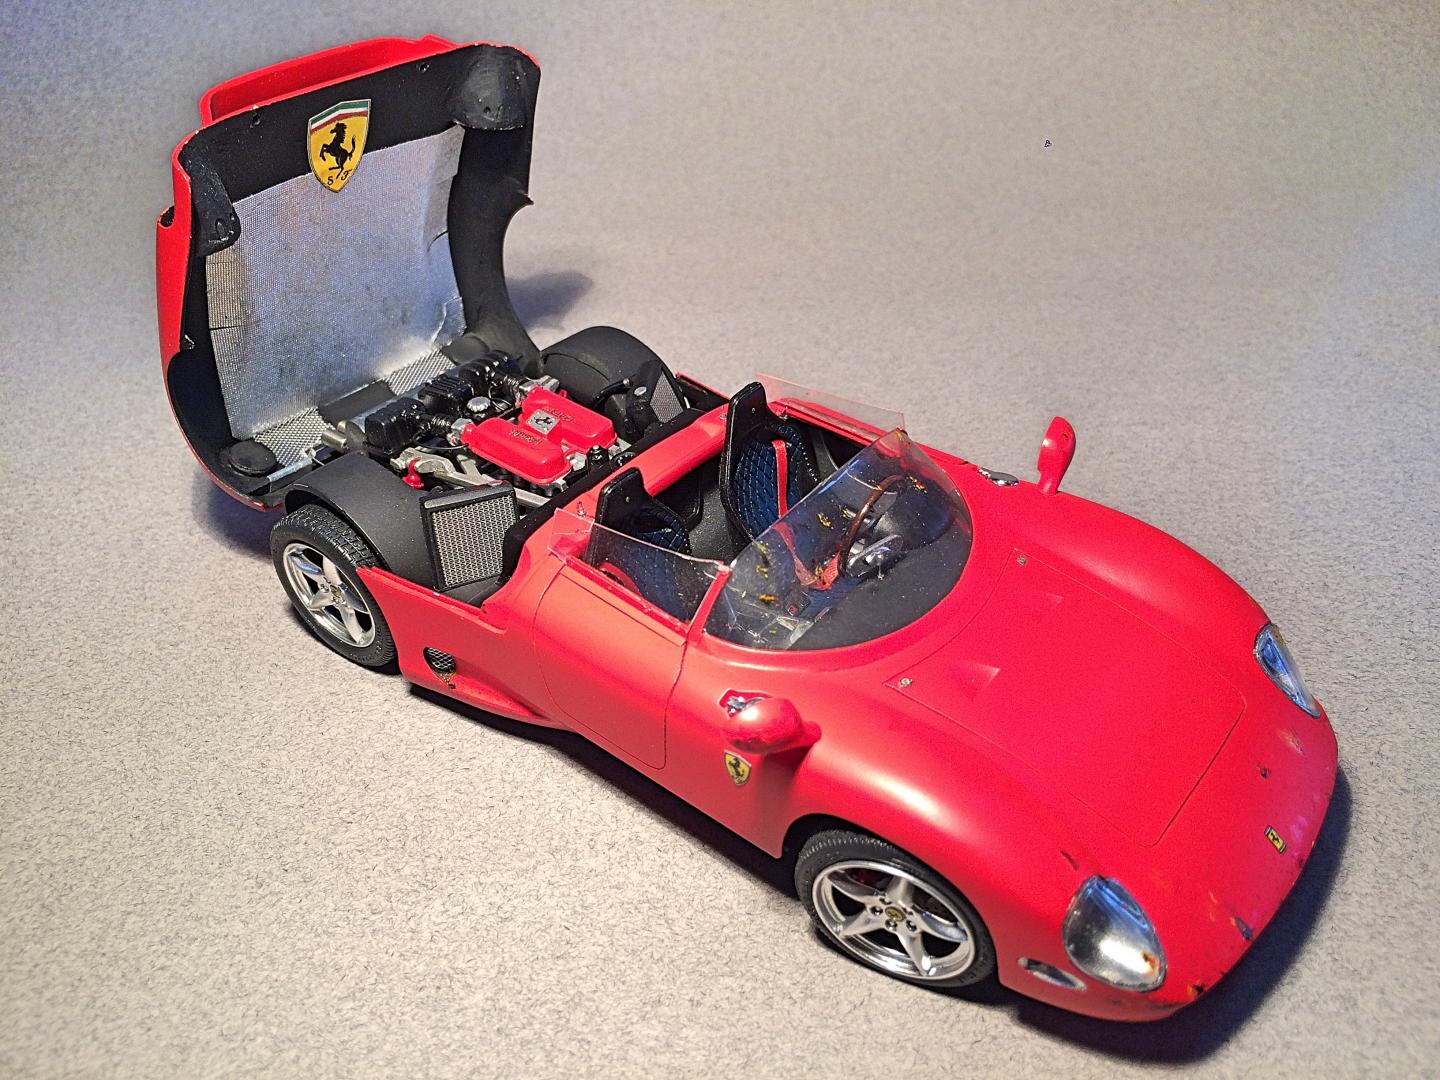
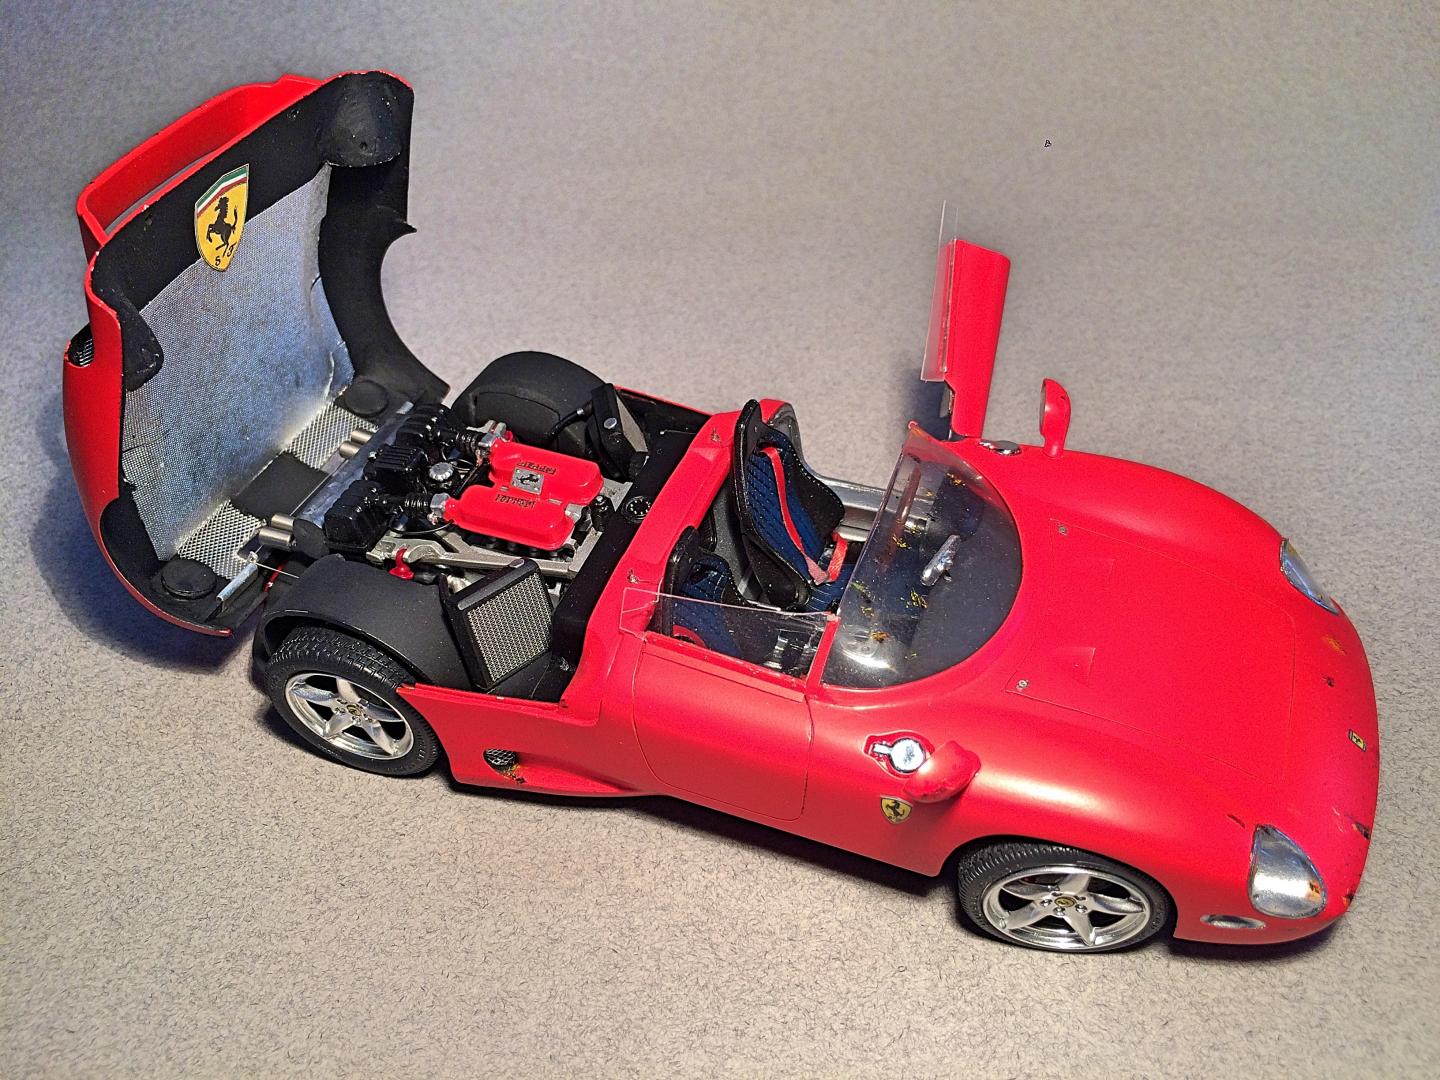
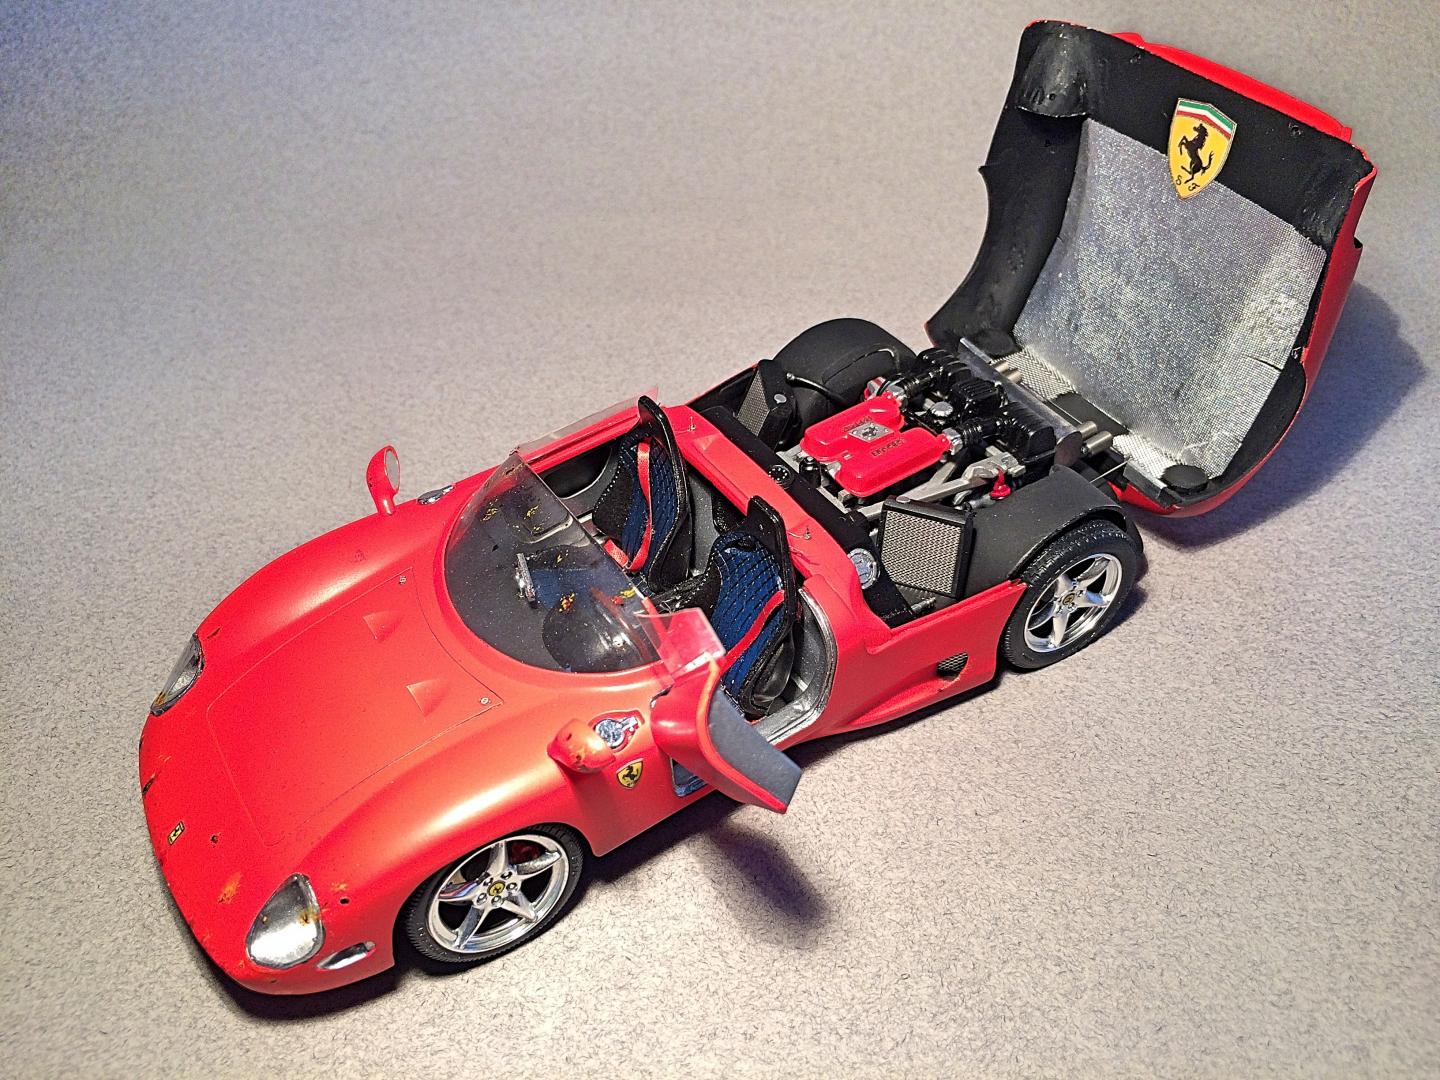
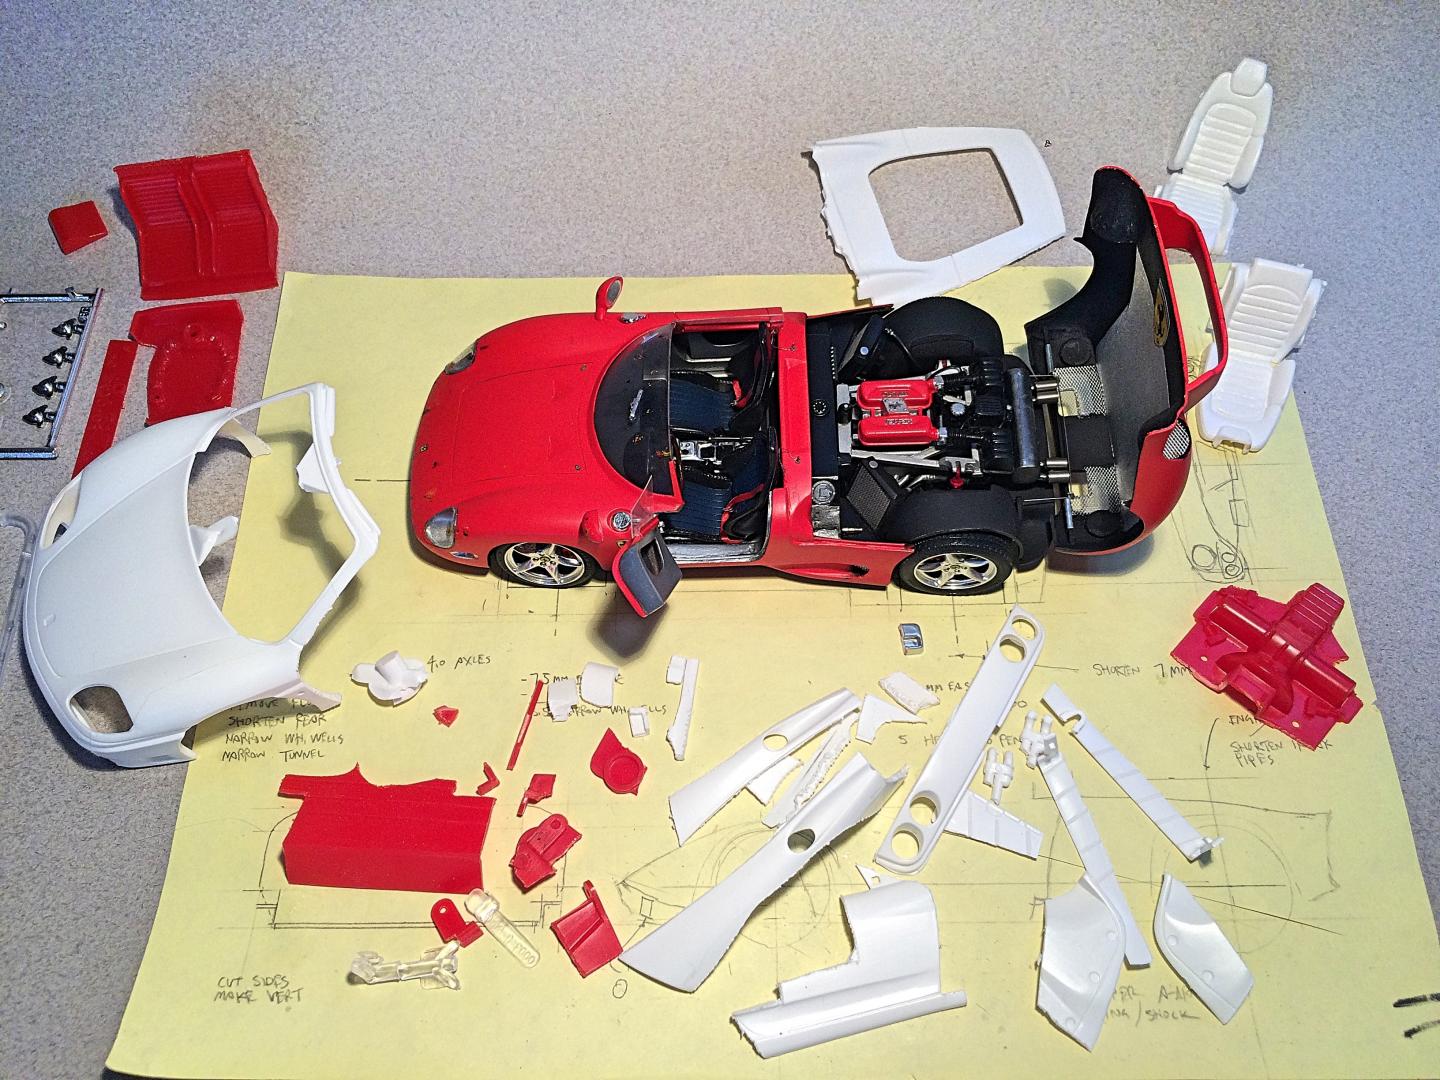
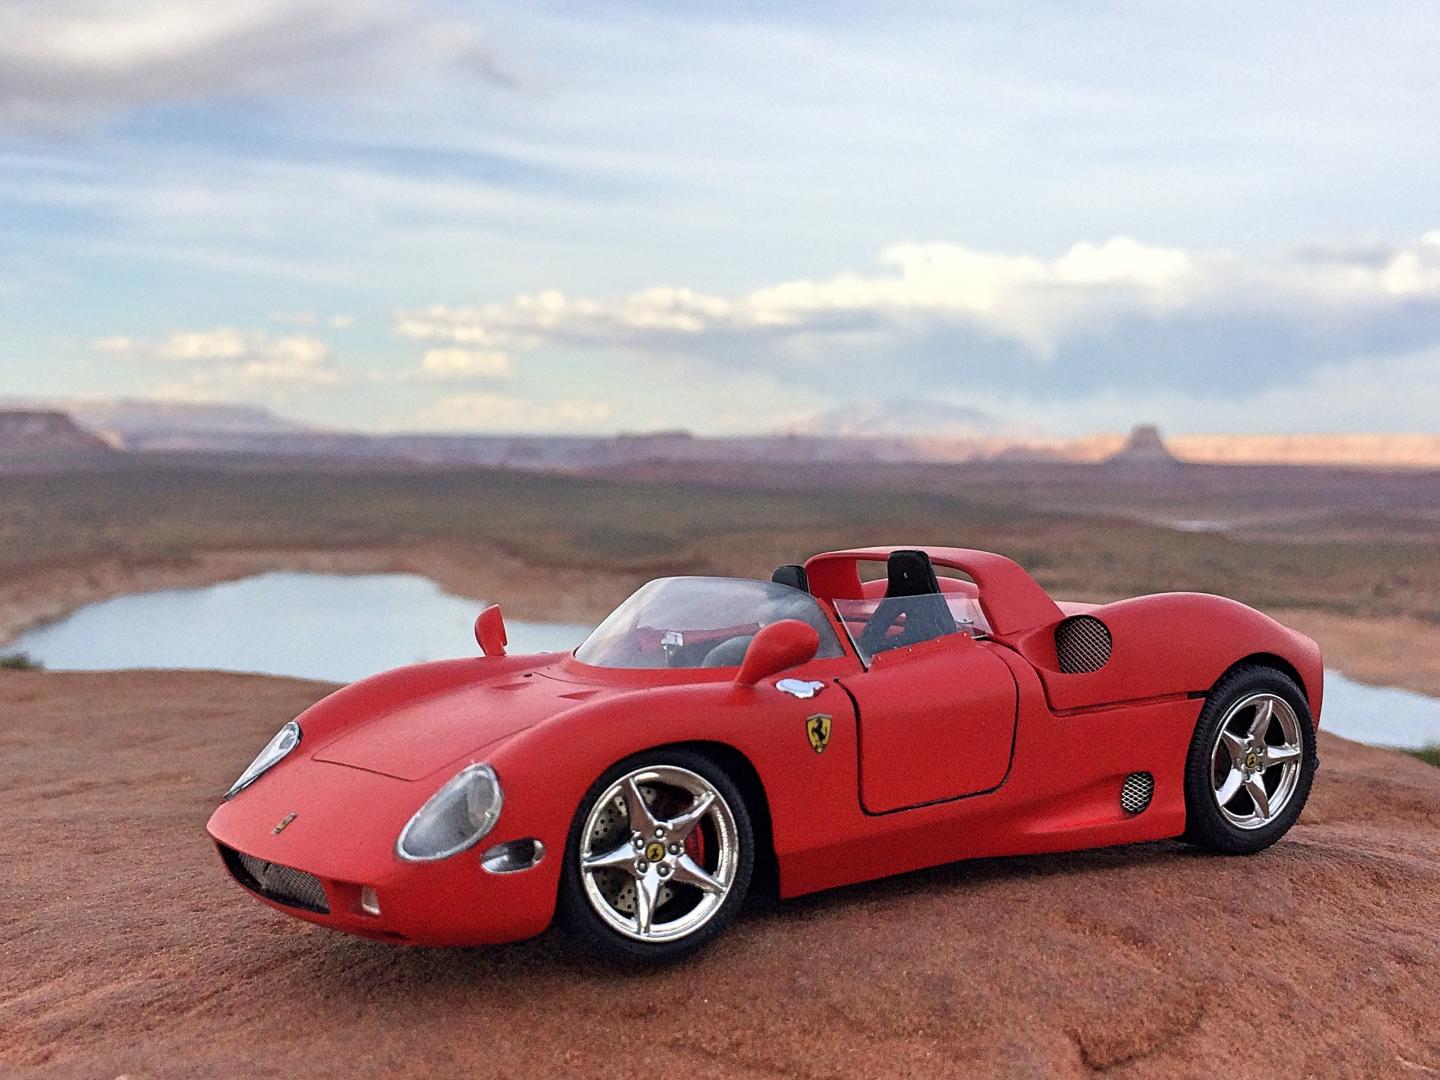
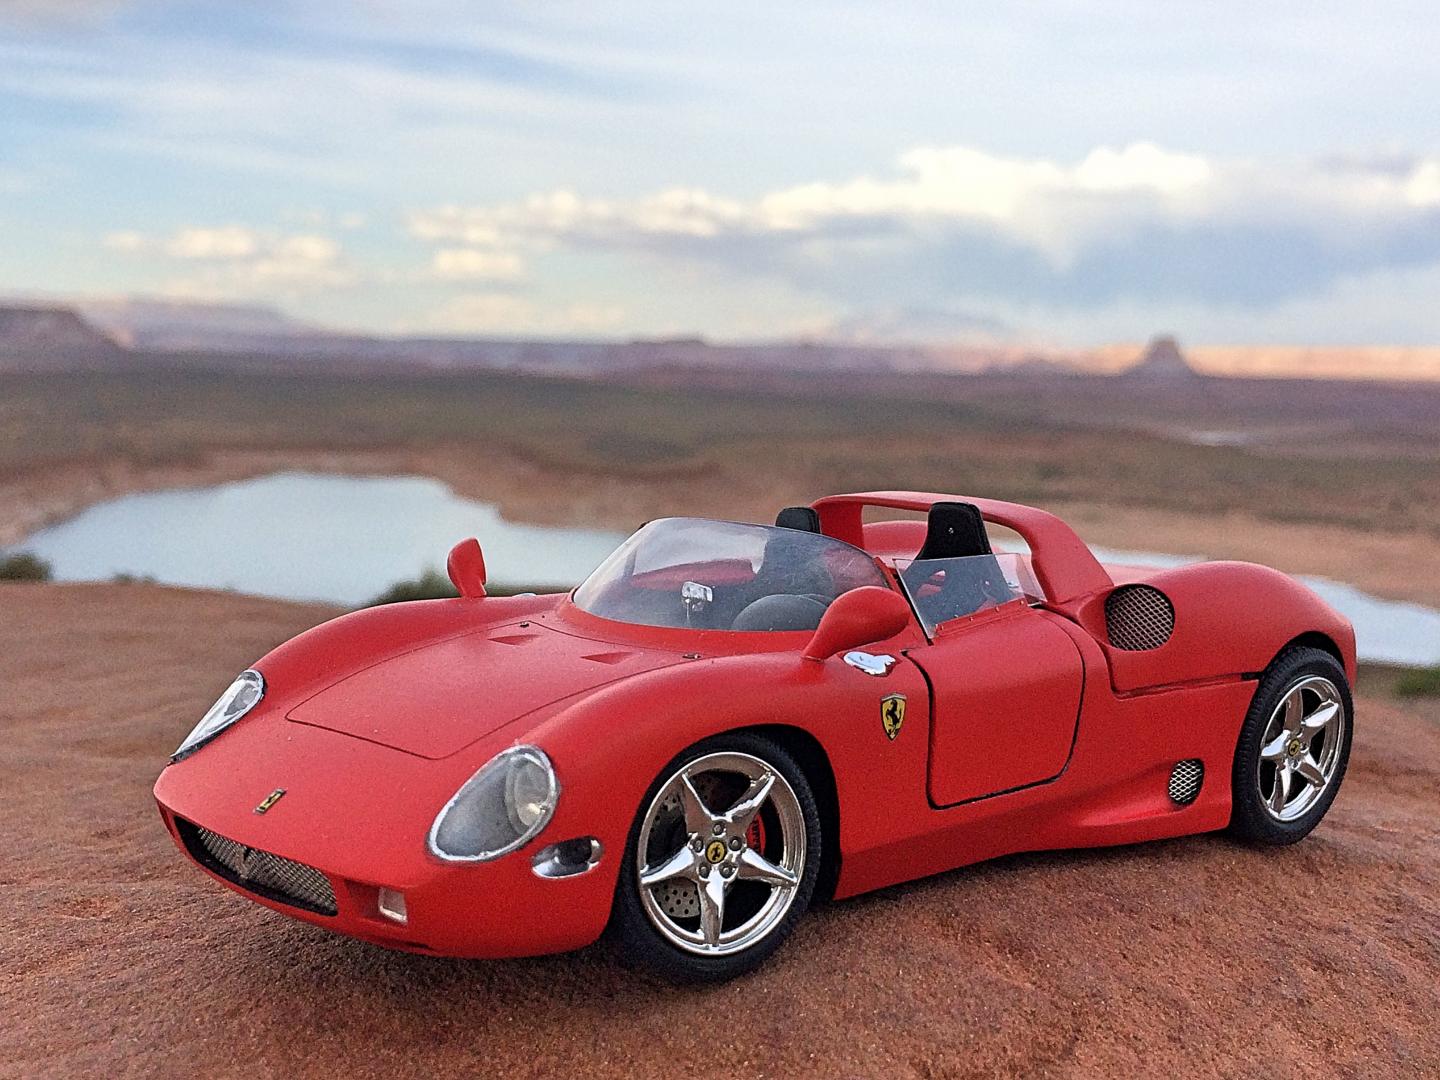
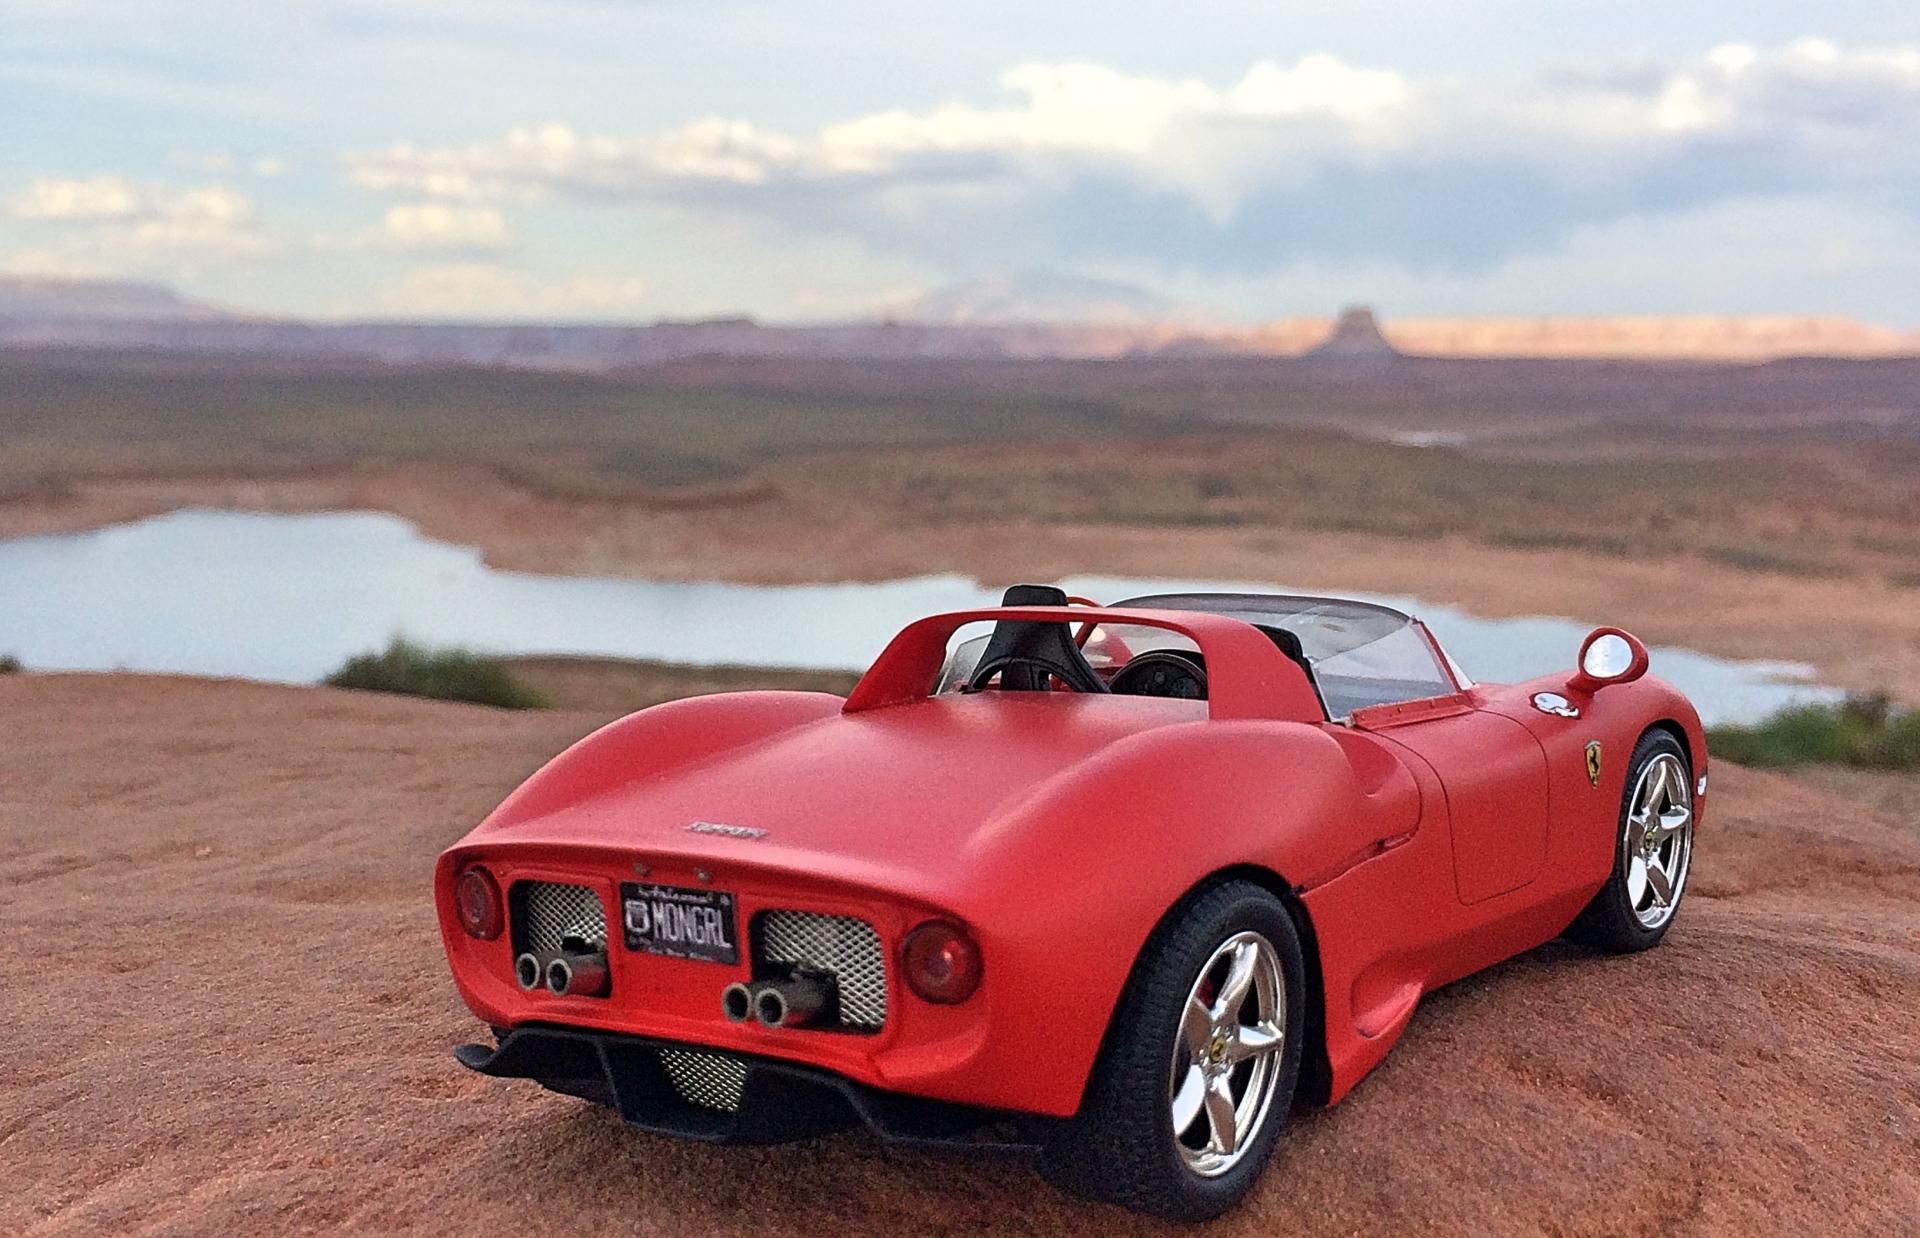
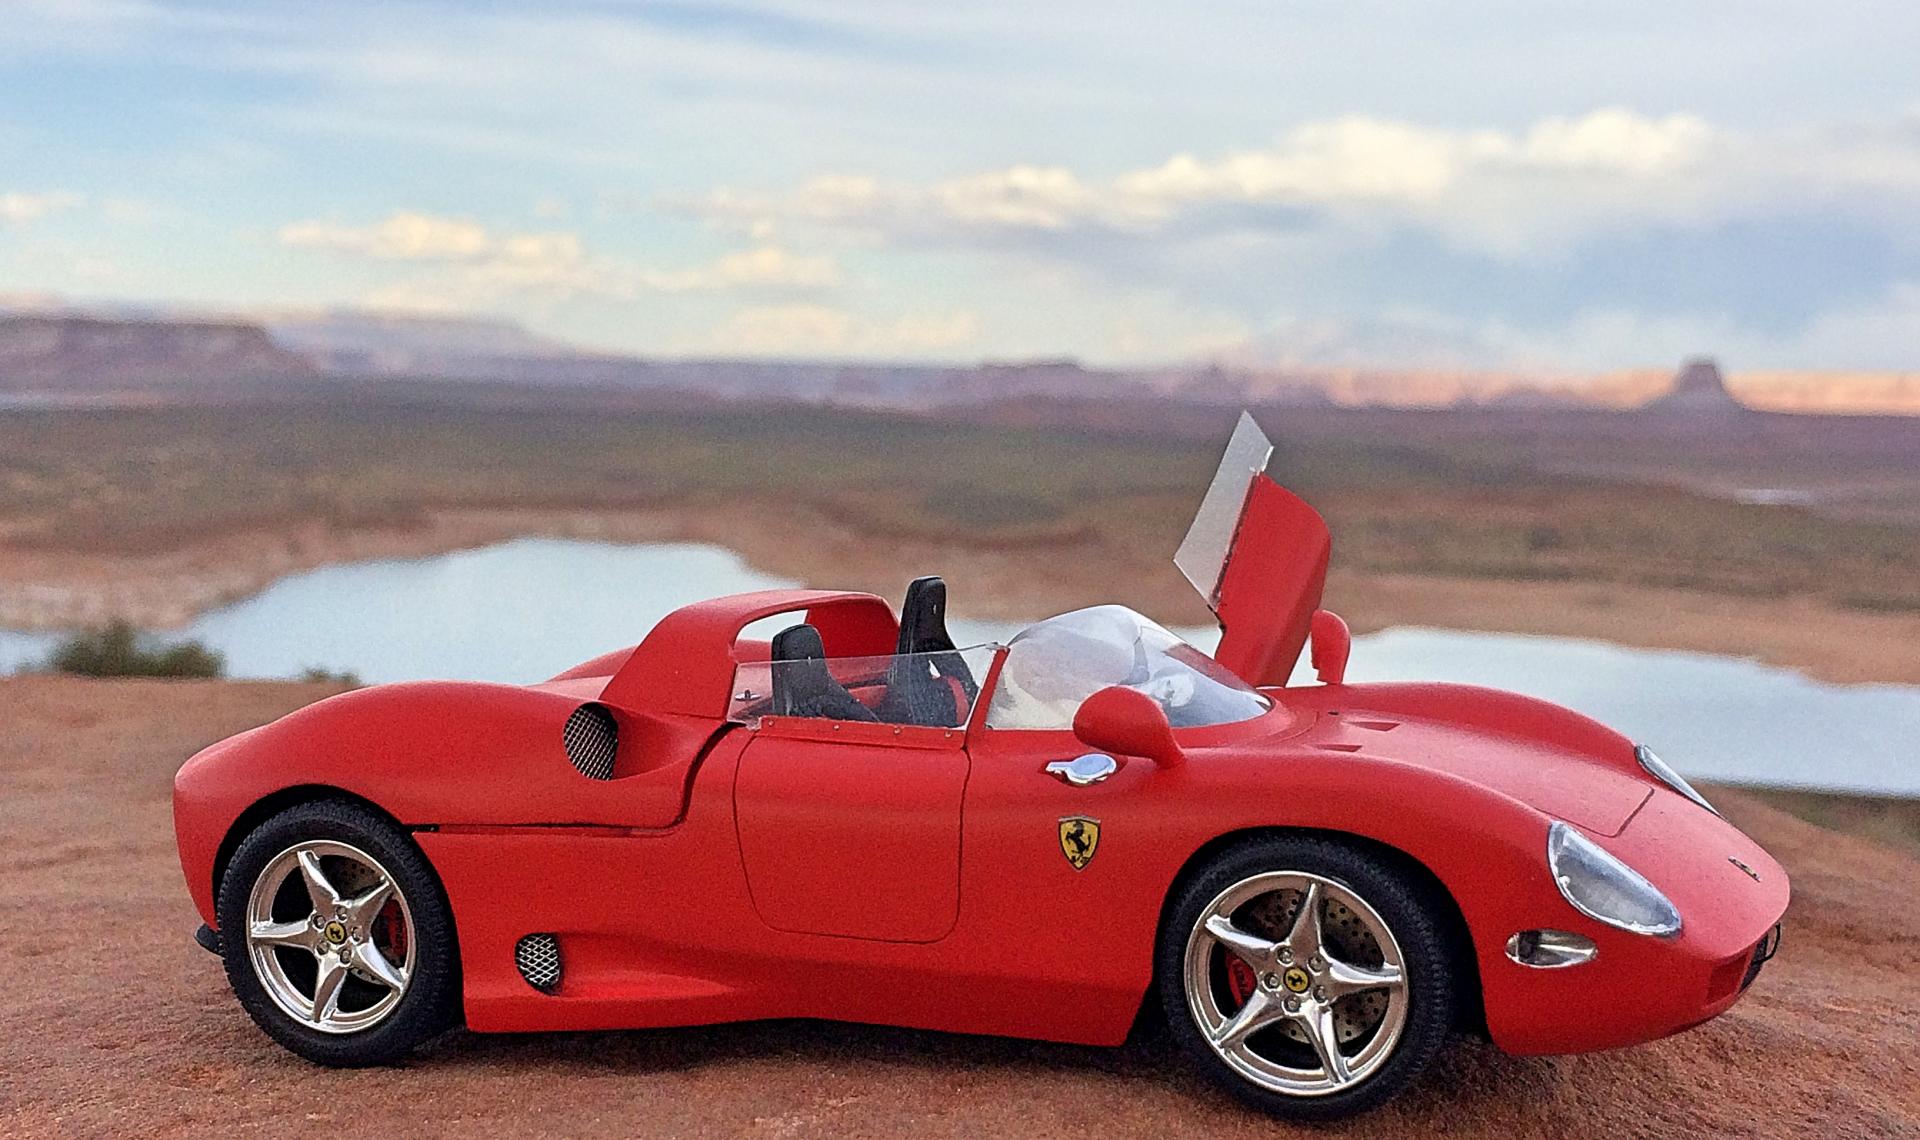
Kitbash of the classic Monogram Ferrari 275P curbside/slot-car, a 1990 reissue of the 1964 kit, and the Revell 360 Modena Spyder that is sort of a curbside since the hood did not open, but had a window over the engine. Work In Progress I found the 275P at a Phoenix model swap last month, then saw the Modena and it was crazy time. Started Tax Day with a mock up, started butchering on the 18th, worked like a dog until the 3rd at Noon, just before heading up to GSL, 132 hours. I did rush it, could have spent a couple of weeks sanding and polishing, and it would probably would have ended up in the box like a few other projects. I just wanted something different than the typical super dooper shiny muscle car on the table. I didn't have time to write a build document, but had this for the description: Blasphemous and sacrilegious kitbash of a historic Ferrari race car that won Le Mans two years in a row, and another Ferrari that only has a 3586 cc 395 HP V8. Story is, this car was found in a chicken coop somewhere in Venezuela, missing the 3285cc 320 HP V12 engine and transmission, the aluminum tub was badly corroded from chicken poop. The Modena was bought at a tax auction, it was rolled by the drug dealer during a police chase. Built by a shop wanting to do a reality TV show, but never got funding because it’s just a Ferrari and not an American muscle car. Some of these pictures were taken at Page on the way home.
- 18 replies
-
- 1
-

-
- ferrari 275p
- monogram
-
(and 2 more)
Tagged with:
-
I picked this one up at the local flea market. It was partially assembled and painted so I disassembled as much as possible and stripped off the gold paint. It was missing one headlight, so I fabbed a couple new ones. The decals were missing too, so I downloaded some pics and printed the badges. It’s not a bad little kit except for the vague mounting points for the windshield and wind wings. Color is Tamiya white under Mr. Color #100 Wine Red and Revell gloss clear.
-
