MeatMan
-
Posts
3,949 -
Joined
-
Last visited
Content Type
Profiles
Forums
Events
Gallery
Everything posted by MeatMan
-
Well done!
-
 Very nicely done!
 -
Ditto, but I went ahead and went through the ordering process and got a reply this weekend from him that he got my order & payment for the 56 MkII.
-
Awesome work!
-
The engine looks good. I've been working on a Y-block myself. I've had to convince myself that it doesn't have to be perfect since its just for myself.
-
1969 Sportwagon 3D resin
MeatMan replied to yellowsportwagon's topic in Car Aftermarket / Resin / 3D Printed
Cool! -
Nice!
-
Very well done!
-
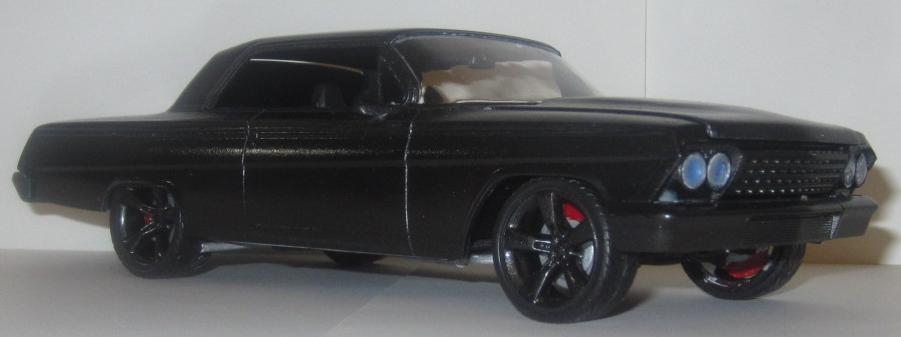
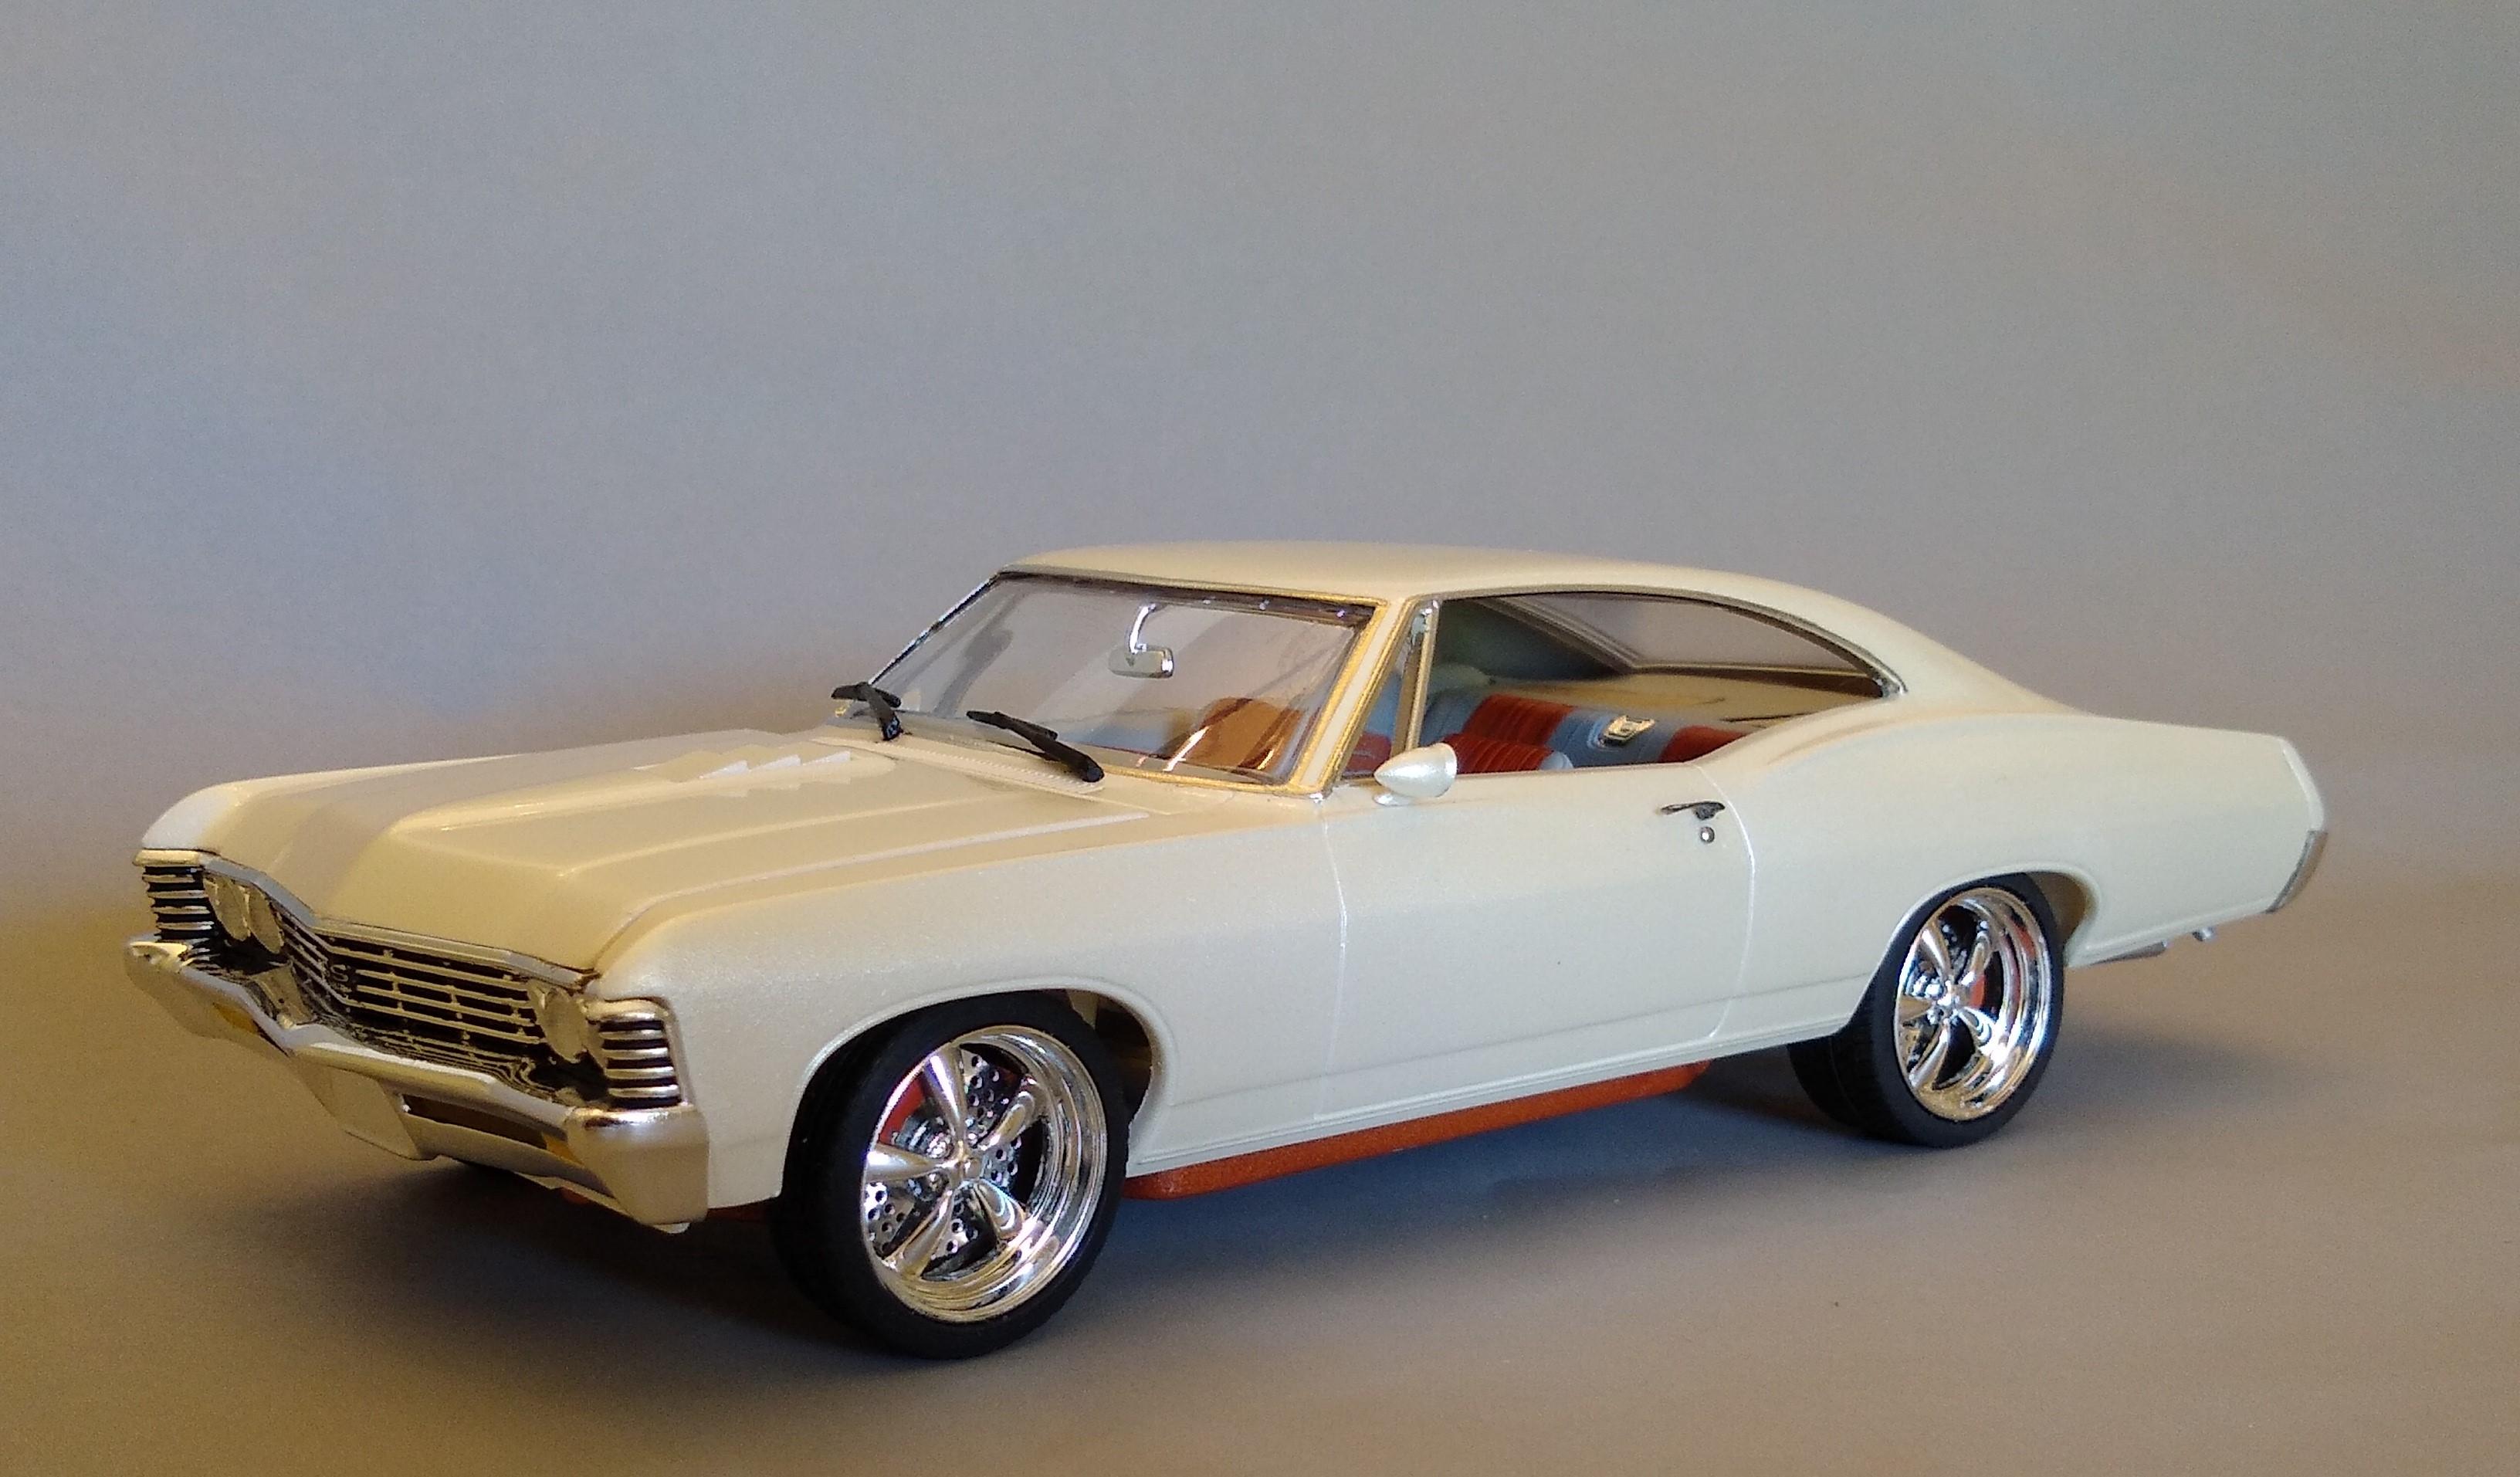
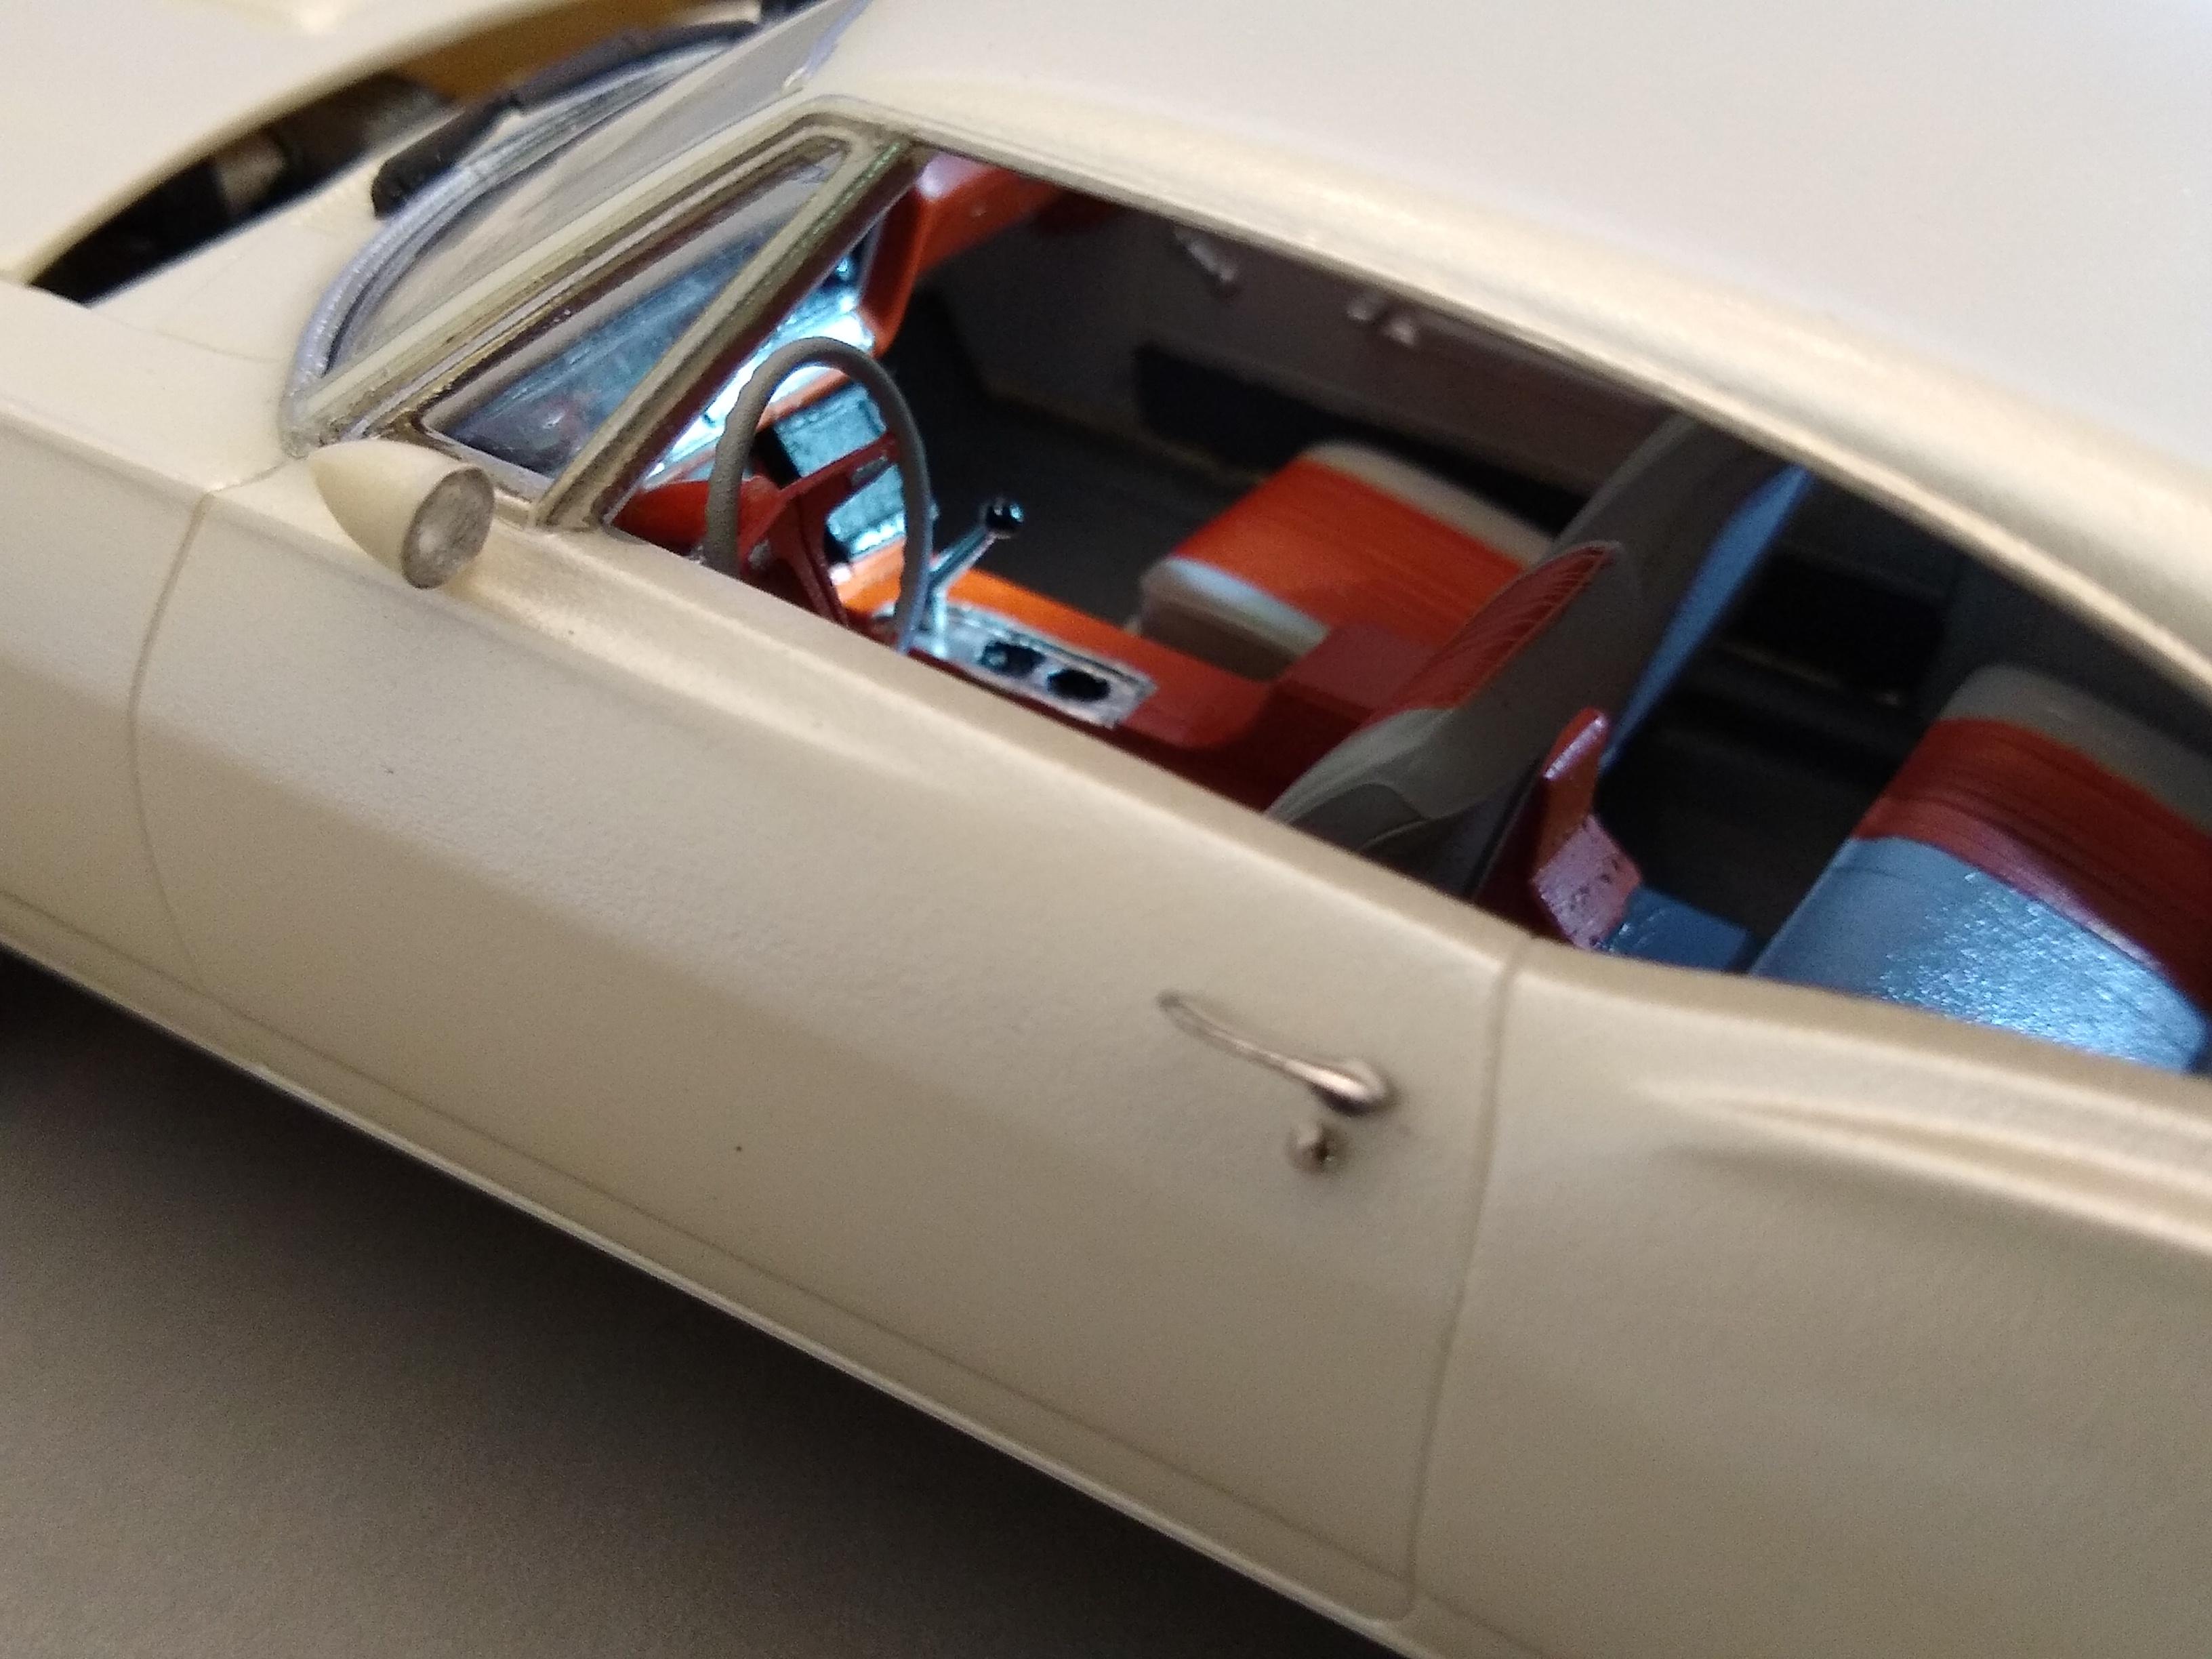
The 62 was my first build when I got back into model building. I used modern Camaro interior parts and the hood hump. It was kinda rough. The 67 is a recent build I'm proud of. Added some personal touches but just tried to build it clean.

-
Awesome project!
-
Very nice work indeed. Not seeing the ones I've been needing tho. Oh well.
-
Awesome work all around!
-
Straight up radical! Well done!
-
Nice conversion!
-
1967 Impala in Aclad II Holomatic Spectral Chrome
MeatMan replied to carl63_99's topic in Model Cars
Sweet! -
Great project!
-
Can't believe I haven't seen this build! Great work on the 3D printing. The detail on your smaller parts is awesome. I haven't been able to make the smaller stuff work. I love where the truck is going too.
-
Awesome job. Totally my style.
-
Nice lineup!
-
Very cool topic!
-
Nice work, and great year!
-
Welcome Jeff!
-
Awesome detail and fabrication work!
-
Awesome work!
-
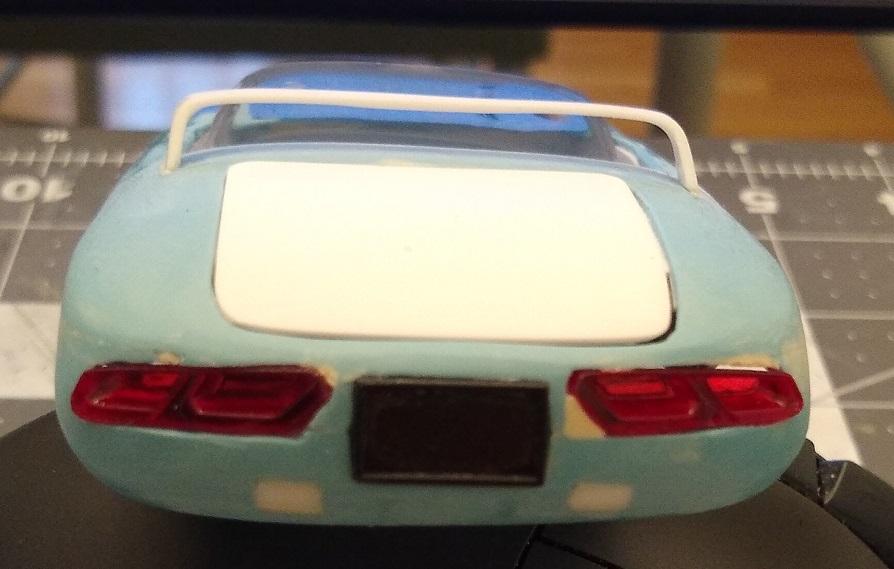
The 2022 Cannonball Run Year of Birth Build Thread
MeatMan replied to disconovaman's topic in Community Builds
Its been a slow go on my Club DeMer as I've been trying to sort out the front suspension. I added some shock towers to the chassis and fabricated some coil-overs and lower A-arms, and modified some parts box spindles to make it all work. I'm a little unhappy with the stance but the rear can't go any lower because of tire clearance. This thing initially had 13" tires. I may wind up raising the front a tad to level it off but that's in the air. I also got the altered C7 taillights to fit, and I like the look. The stock bumpers are very thin and I might mold them in as there won't be any chrome trim anyway. Next I'll be working to get the CTS headlight bezels to fit. I'm close but trying to decide on cutting the hood slightly for them to fit, or cutting the bezels and keeping the hood as is. This has become a full custom now, as the changes have become major. I think I may need therapy! ?