Oldriginal86
-
Posts
367 -
Joined
-
Last visited
Content Type
Profiles
Forums
Events
Gallery
Everything posted by Oldriginal86
-
Simulating thin whitewalls on tires
Oldriginal86 replied to Mr. Metallic's topic in Model Building Questions and Answers
I like the spinning tire idea but found most model tires aren’t round and travel an elliptical path causing the stripe to be off-center. -
Now your talking! Those runabout projects are fun and rewarding when completed. I could post pics of mine on here if you don’t mind for inspiration.
-
Slow progress is still progress. I enjoy watching the torture. Trust me, misery definitely loves company. Since checking on your WIP, I’ve been looking for an all wood hydroplane kit to build. Keep at it.
-
Simulating thin whitewalls on tires
Oldriginal86 replied to Mr. Metallic's topic in Model Building Questions and Answers
Along the same lines, I’m looking to paint whitewalls of medium thickness on a build. Thought was to get a coworker with a Cricut machine to cut circles on adhesive backed paper to use as stencils. One circle slightly smaller then the next. Apply them to the tire and airbrush on some acrylic white paint. Would this technique work? -
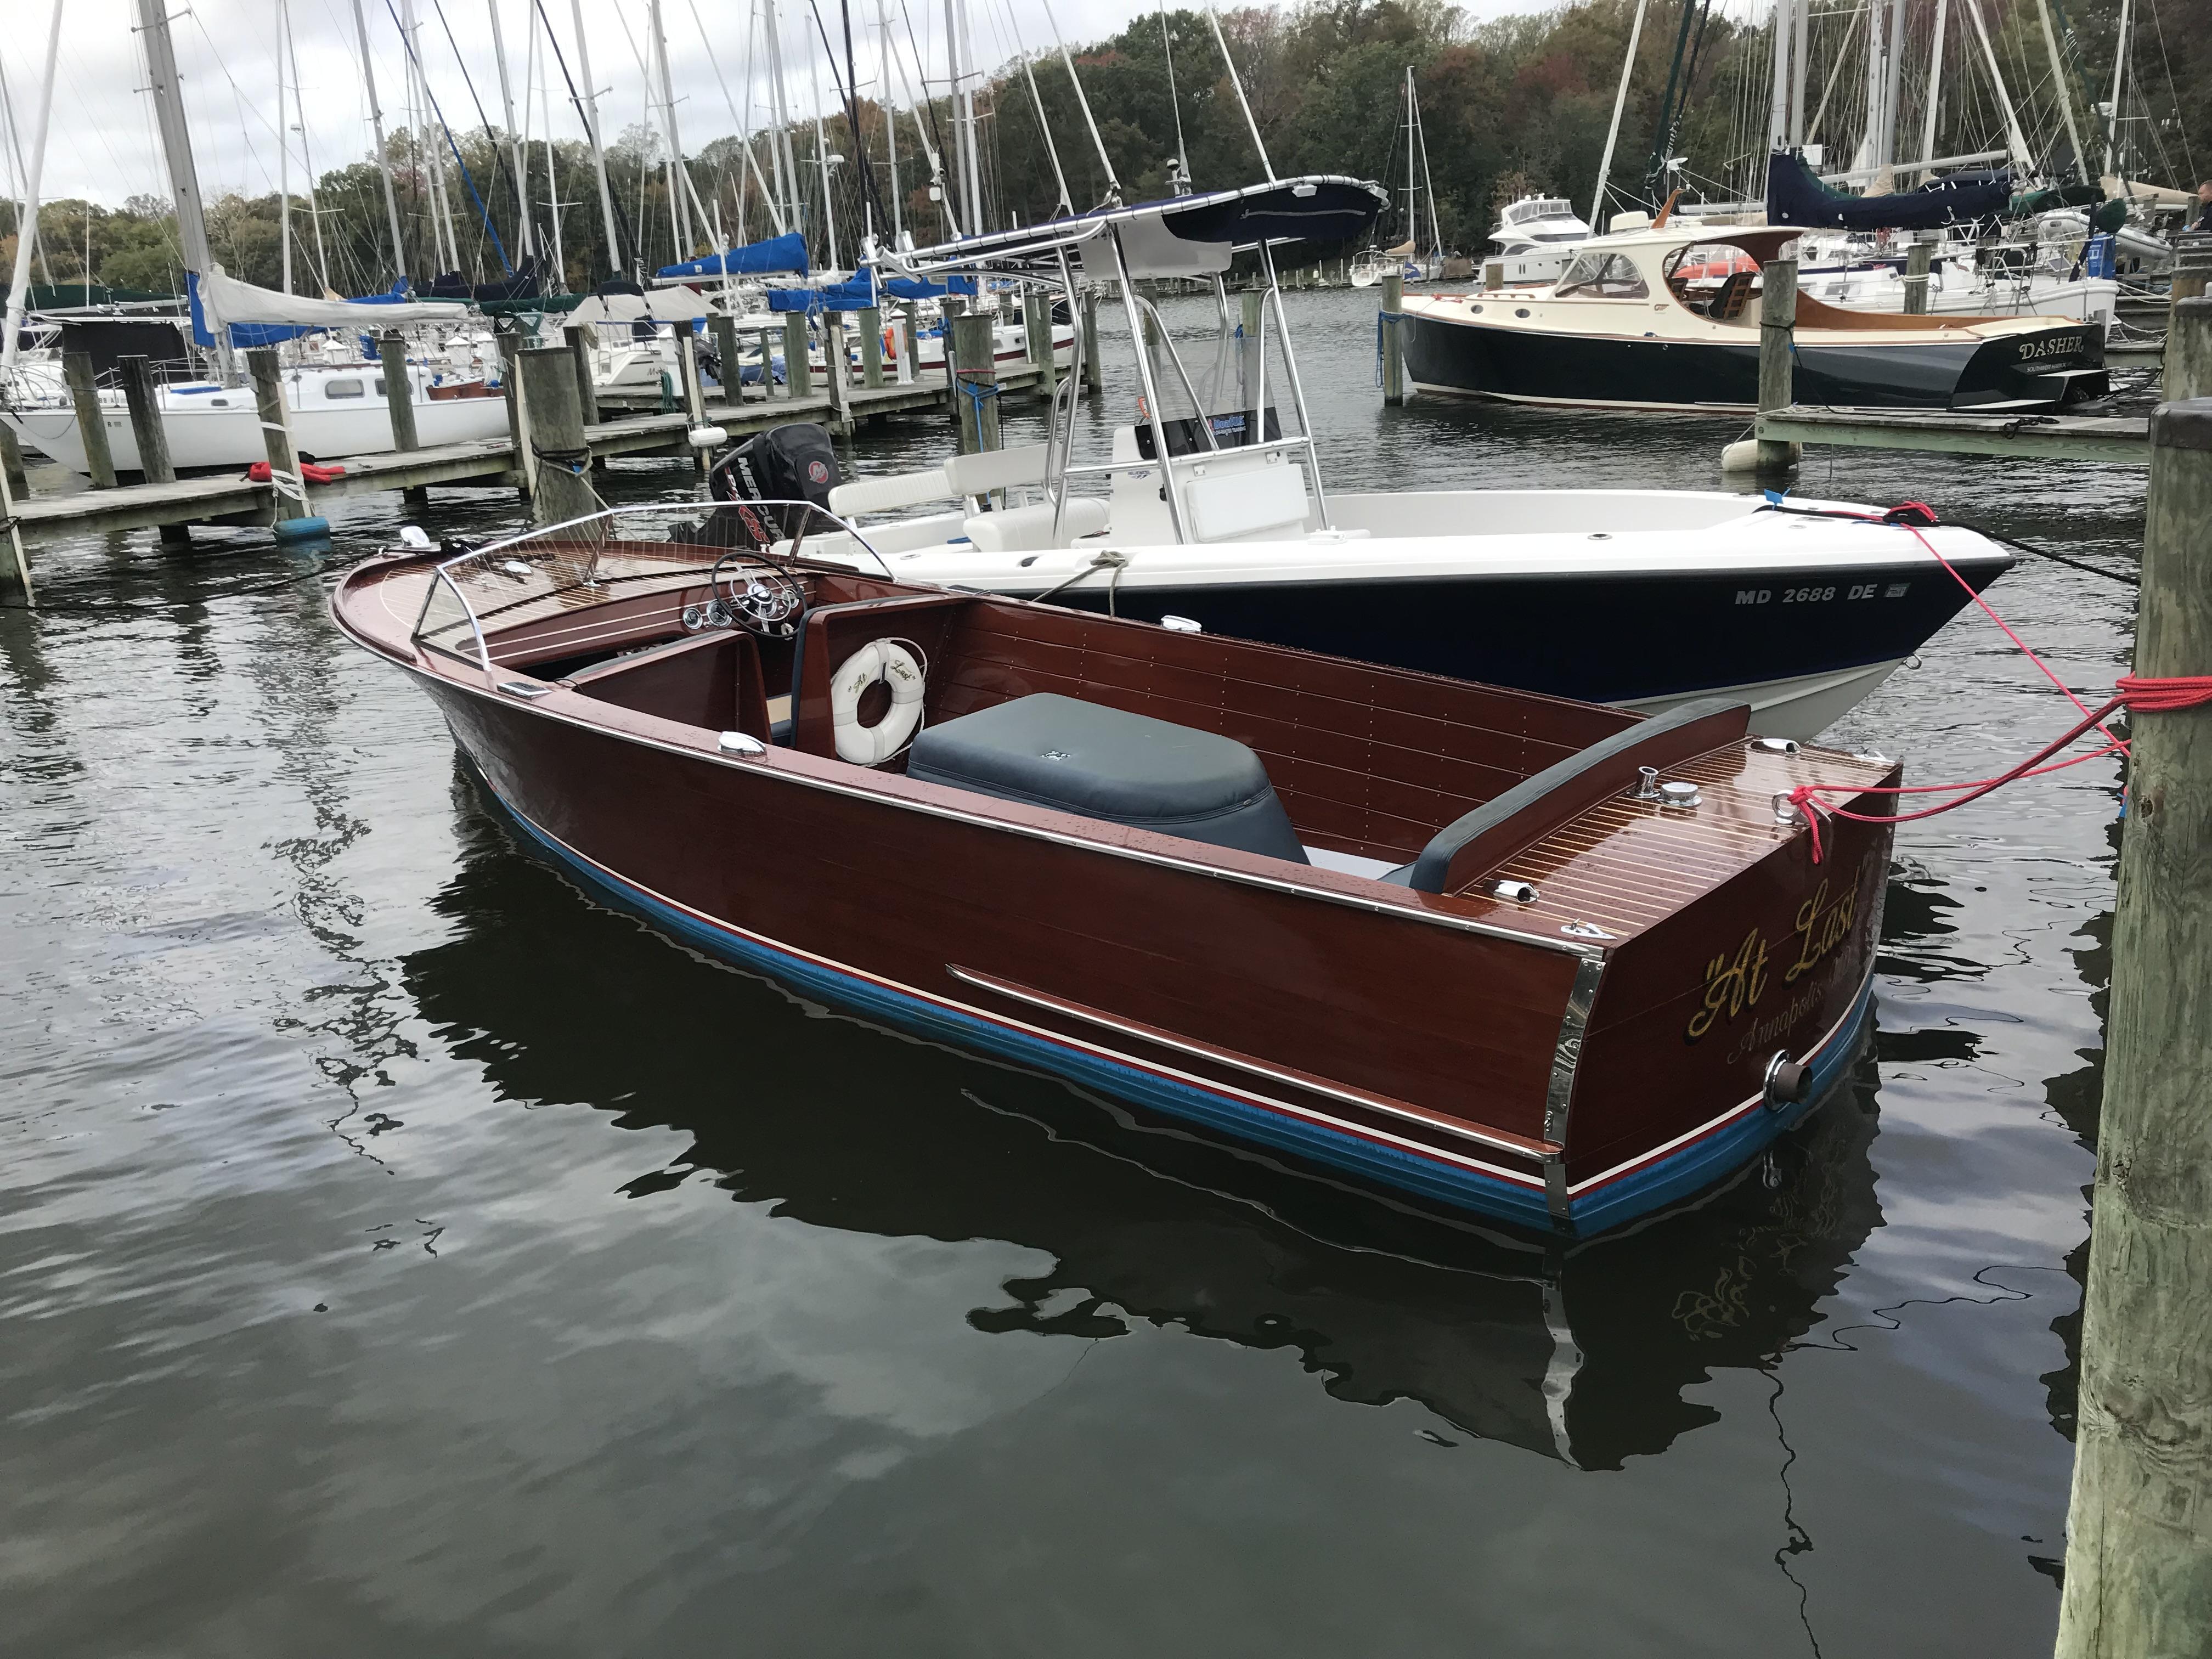
Working on boats is my profession. This is one my company takes care of. 1952 Chris Craft Utility. Still has the flat head engine and manual gearbox. They are nice to look at but wouldn’t want to own one.

-
The model car mob
Oldriginal86 replied to Chuckyg1's topic in General Automotive Talk (Trucks and Cars)
The Model Car Forum Reader: Spends all his bench time on model forums reading about other’s projects to get ideas but never putting them in to practice due to time restraints. -
Sanding blocks are your friend. Looking good.
-
wood to plastic
Oldriginal86 replied to Madd Trucker's topic in Model Building Questions and Answers
Epoxy is the universal adhesive. Pretty much glues anything to anything. -
Check Texas3Dcustoms. They make winches and bumpers for Jeeps and trucks. I haven’t purchased any of these but have a few engines and the detail is amazing.
-
Not sure how mobile you want this to be or not but why not look into a Tough Shed. When the pandemic hit and folks had to work from home these were purchased for an office so the family wouldn’t interfere with business. Doesn’t have to be that manufacture, could be any “She Shed”.
-
Question: Is the intention of your build to install radio gear an engine and run it on a pond? The fairing process is important to get the fiberglass cloth to laying nicely on the hull. Wood putty, epoxy and microballoons or any filler will work to smooth things. Use the old carpenters saying, “ do your best and caulk the rest”. Keep up the good work.
-
My dad bought a K5 Blazer in 1973 and my family and I have never been without at least one in our possession. I have an 86 short bed as my daily now. Been with us for 10 years and counting. Great pics of an awesome event. Thanks.
-
There is a 4.0 inline out there and you did this kit justice. Well done. How readily available is this kit? I’d buy it just for the engine and make a bunch of resin copies for all the curbside Jeep kits in the stash.
-
Key to assembly with any wood kit that is glued together with epoxy is patience. Put on a couple planks and walk away. The squarer or fair the hull is, the less bodywork will be needed later. Mine had a bad twist in the hull and I have a ton of bodywork trying to straighten it. Looks like you are well in to it. Keep up the good work.
-
Well done. It’s a labor of love for a project like this. Now you can enjoy the drive no matter the destination.
-
Brings back memories. Wish I had taken pictures of the build process on mine. Keep at it.
-
What would YOU like to see as a model
Oldriginal86 replied to JeroenM3's topic in General Automotive Talk (Trucks and Cars)
I agree, the three of them are what most fleets are purchasing now a days. The Chevy van isn’t going to be redesigned until 2027 and will probably be electric or hybrid. The expedition type off road vehicles would make an interesting subject for a build. -
I have the United Van Lines hydroplane by Dumas. Engine and running gear all installed as well as two different sets of radio gear. Never been wet. Don’t know what the hold-up is but I’ve never attempted to run it. The all wood kits do take a different mindset then plastic kits. Need to be a carpenter a mechanic as well as a fine wood finisher. Stick to it is the best advice I have. I did build and finish a Dumas 1940 Barrel Back runabout kit. It turned out very good. I do run it I my pool during the summer. Good luck and keep us updated with your progress as well as any questions.
-
I like it. Simple but a good base for a more detailed build.
-
I’ve been on a red interior kick lately, yours looks nice with the color contrast.
-
I think your being to kind to the manufactures. I would imagine the assembly manual would be written in the states. I may be wrong. Wonder how many of our models that are produced in China are actually sold and built there.
-
Ollie's strike again
Oldriginal86 replied to GLMFAA1's topic in General Automotive Talk (Trucks and Cars)
Finally found the models at my local store. Plenty of Coke Generals, Freuhauf trailers and 72 Chevy pickups. No Nova wagons. That’s what I was hoping to find. -
Acrylic Clear recommendations
Oldriginal86 replied to Holeinthehead2's topic in Model Building Questions and Answers
The beauty of Future is it can be applied with a brush, airbrush or dipping. -
Read through your entire build today. This is scratch building at its finest. Keep at it, we’ll wait for the next update.
-
The part leaning on the bottles almost appears to be anodized aluminum. Well done.