Toast
-
Posts
484 -
Joined
-
Last visited
Content Type
Profiles
Forums
Events
Gallery
Everything posted by Toast
-
What would YOU like to see as a model
Toast replied to JeroenM3's topic in General Automotive Talk (Trucks and Cars)
I just want a solid, accurate 1969 Chevelle. -
Definitely excited to see this come together. Very nice work so far!
-
This is just their Syclone kit with a lifted suspension and without the Syclone specific body cladding.

-
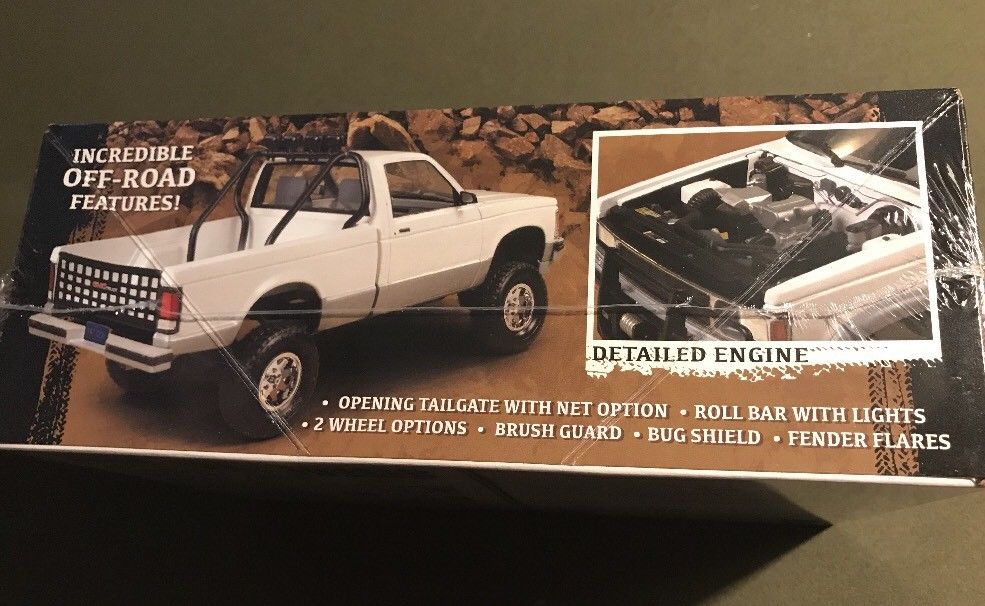
I'm a huge S-Series fan so I'll be able to look past the scale. Had the bright blue release of this for some time now and it looks like it's well made. The only thing stopping me from building it is that i wanted to do a white Baja S-10 and scared I'll never keep the blue from kreeping through. I have the Chevy grill and engine. Interesting note on this kit is that it has the Syclone engine.
-
I've had it happen to two cans of Testors.
-
How do You Say 1:1?
Toast replied to #1 model citizen's topic in General Automotive Talk (Trucks and Cars)
I'd just say "Full Scale". -
The work bench is packed up at the moment. Had to tear down some walls in the house so put everything away to keep it safe. Hopefully be back at it in about a month. I was moving stuff around in the basement tonight and really wanted to sit at the bench and do a little work!
-
Next Meng Kit Announced - How About a Jeep?
Toast replied to niteowl7710's topic in Truck Kit News & Reviews
Oh yeah, this will be in my stash when it comes out! Goofy tires and all! -
Finally made some progress on this build just in time to pack up the bench in preparation for more house construction. It's a pretty nice kit so far. Lots of prep work on the body. It's solid but lots of seam lines to clean up. I'm also filling in the extra vent on the side of the engine cover. Most progress was made on the interior. The dash and seats were masked, sprayed with textured trunk paint, then painted. The dash was painted Testors Panzer Gray and then a light mist of Battleship Gray. Photo etched pedals from one of my many F40 detail sets. The seats were painted Testors Italian Red, detailed, then coated with Flat Clear. The decals were taken from an unused F40 kit in the stash. Also sanded down the shift gate detail and added a photo etched piece after the texture and paint. Once the house is done being taken apart and put back together I'll get back to this build!
-
Very nice work so far. Those body modifications are really cool.
-
This is awesome!
-
Whooooo! Look at all those parts! Very excited to follow along as you build this. Your engine assembling looks good so far, keep it up.
-
Man! I got a blue one in the works and your's is making me shy to show it. That color looks like it's going to be awesome once detailed! The interior and engine look great as well. Love the color combo in the interior.
-
That was awesome! The patience it took to do such a nice job and still remember to document all the steps animated is amazing!
-
Word! These cars looks so cool in colors other than red and yellow. I don't know why you don't see many kits done up in other colors. Your build is spot on and the details are solid. Great job!
-
Love F40s! The color you chose looks great on it. The mix of LM style for the street is really cool. Very nice work.
-
I didn't take as many as I usually do. Was a little more busy this year and didn't get to walk around as much.
-
That's a really nice kit! The sprues can be a little intimidating. Can't wait to see your progress.
-
This will be fun to watch! Very cool concept. I like your progress so far. Adding to what Espo said, you could set up the rear vents for brake or rear-end cooling.
-
Great job. Love the weathering! Clean Jeeps are unnatural. Can't wait to see after the mud!
-
Bout time for another progress report! Finally got the suspension lowered. It wasn't too hard. basically all I did was modify the hubs so they sit a little higher when mounted. Kind of like drop spindles. No change in the suspension geometry. The Hobby Design set comes with slotted rotor faces that are spot on to the ones on the original car. I gave them a grey wash and then spun them against 600 grit sand paper to give them a used look. Starting to assemble the chassis. The real car resides in Minnesota, not a winter car, but has an underbody coating. So for the kit I just hit the underbody with satin black and then drybrushed it flat black.
-
I dig it! The recent picture is missing the hat though. Revisiting an old kit can be fun. I've redone a few that I tried when I was younger. Either just really liked the kit or some I just didn't have the patience or skill to do the kit justice. And you can't go wrong with those Monogram Cup cars. Have fun with the build!
-
Two builds completed this year. Monogram/Revell 1/32 Snap-tite Ferrari F40 Tamiya 1/24 '88 Porsche 911 Turbo High hopes for more kits completed in 2017. Happy building friends!
-
I see nothing in your post that suggest you need to do better. Great builds. I hear ya though, sometimes the bench time just isn't there.
-
14 builds, and it looks like you spent a year on each one! Very nice work.