Tommy124
-
Posts
1,648 -
Joined
-
Last visited
Content Type
Profiles
Forums
Events
Gallery
Everything posted by Tommy124
-
Great builds! I especially like the Fairlane and the Merc!
-
COOL builds! Not my personal style at all, but very well executed and good-looking!
-
Very nice results, all of them!
-
Excellent build all around! Love the underfloor details too!
-
Excellent build, Joe! This model has a great look about it, it somehow strikes me as a larger scale build, because of it's great detailing!
-
Thanks again for your comments. Glad you like it!
-
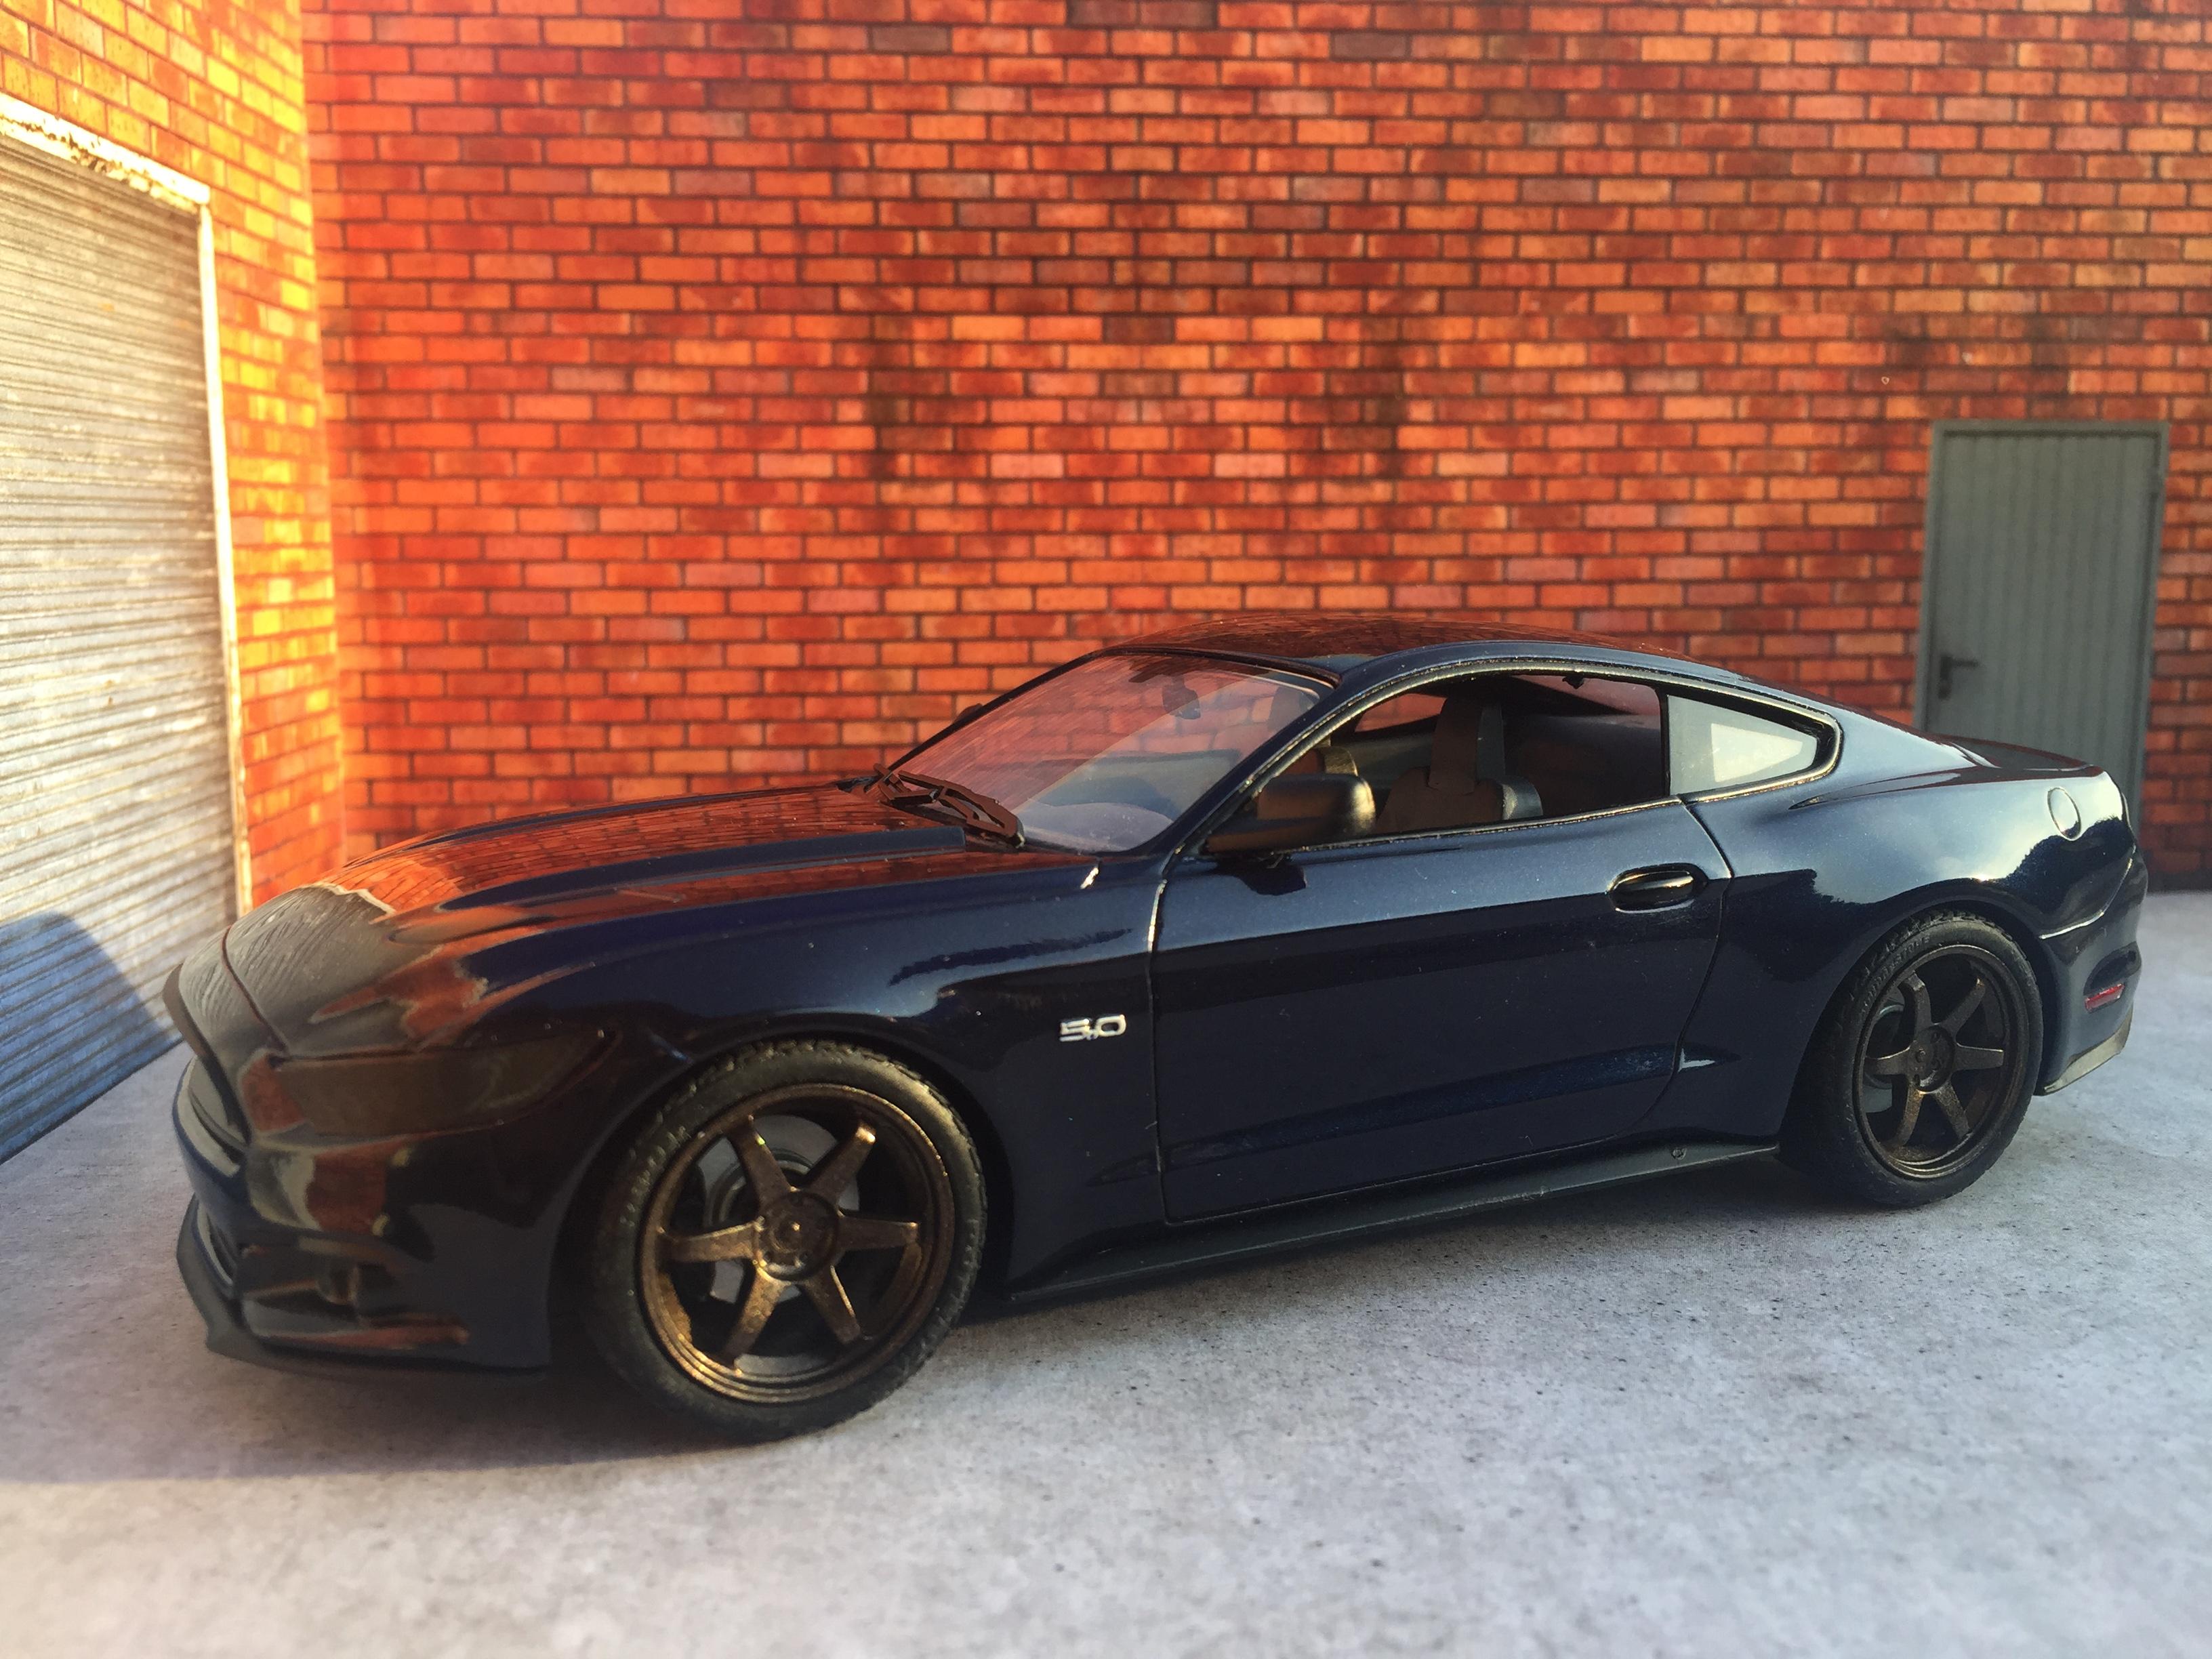
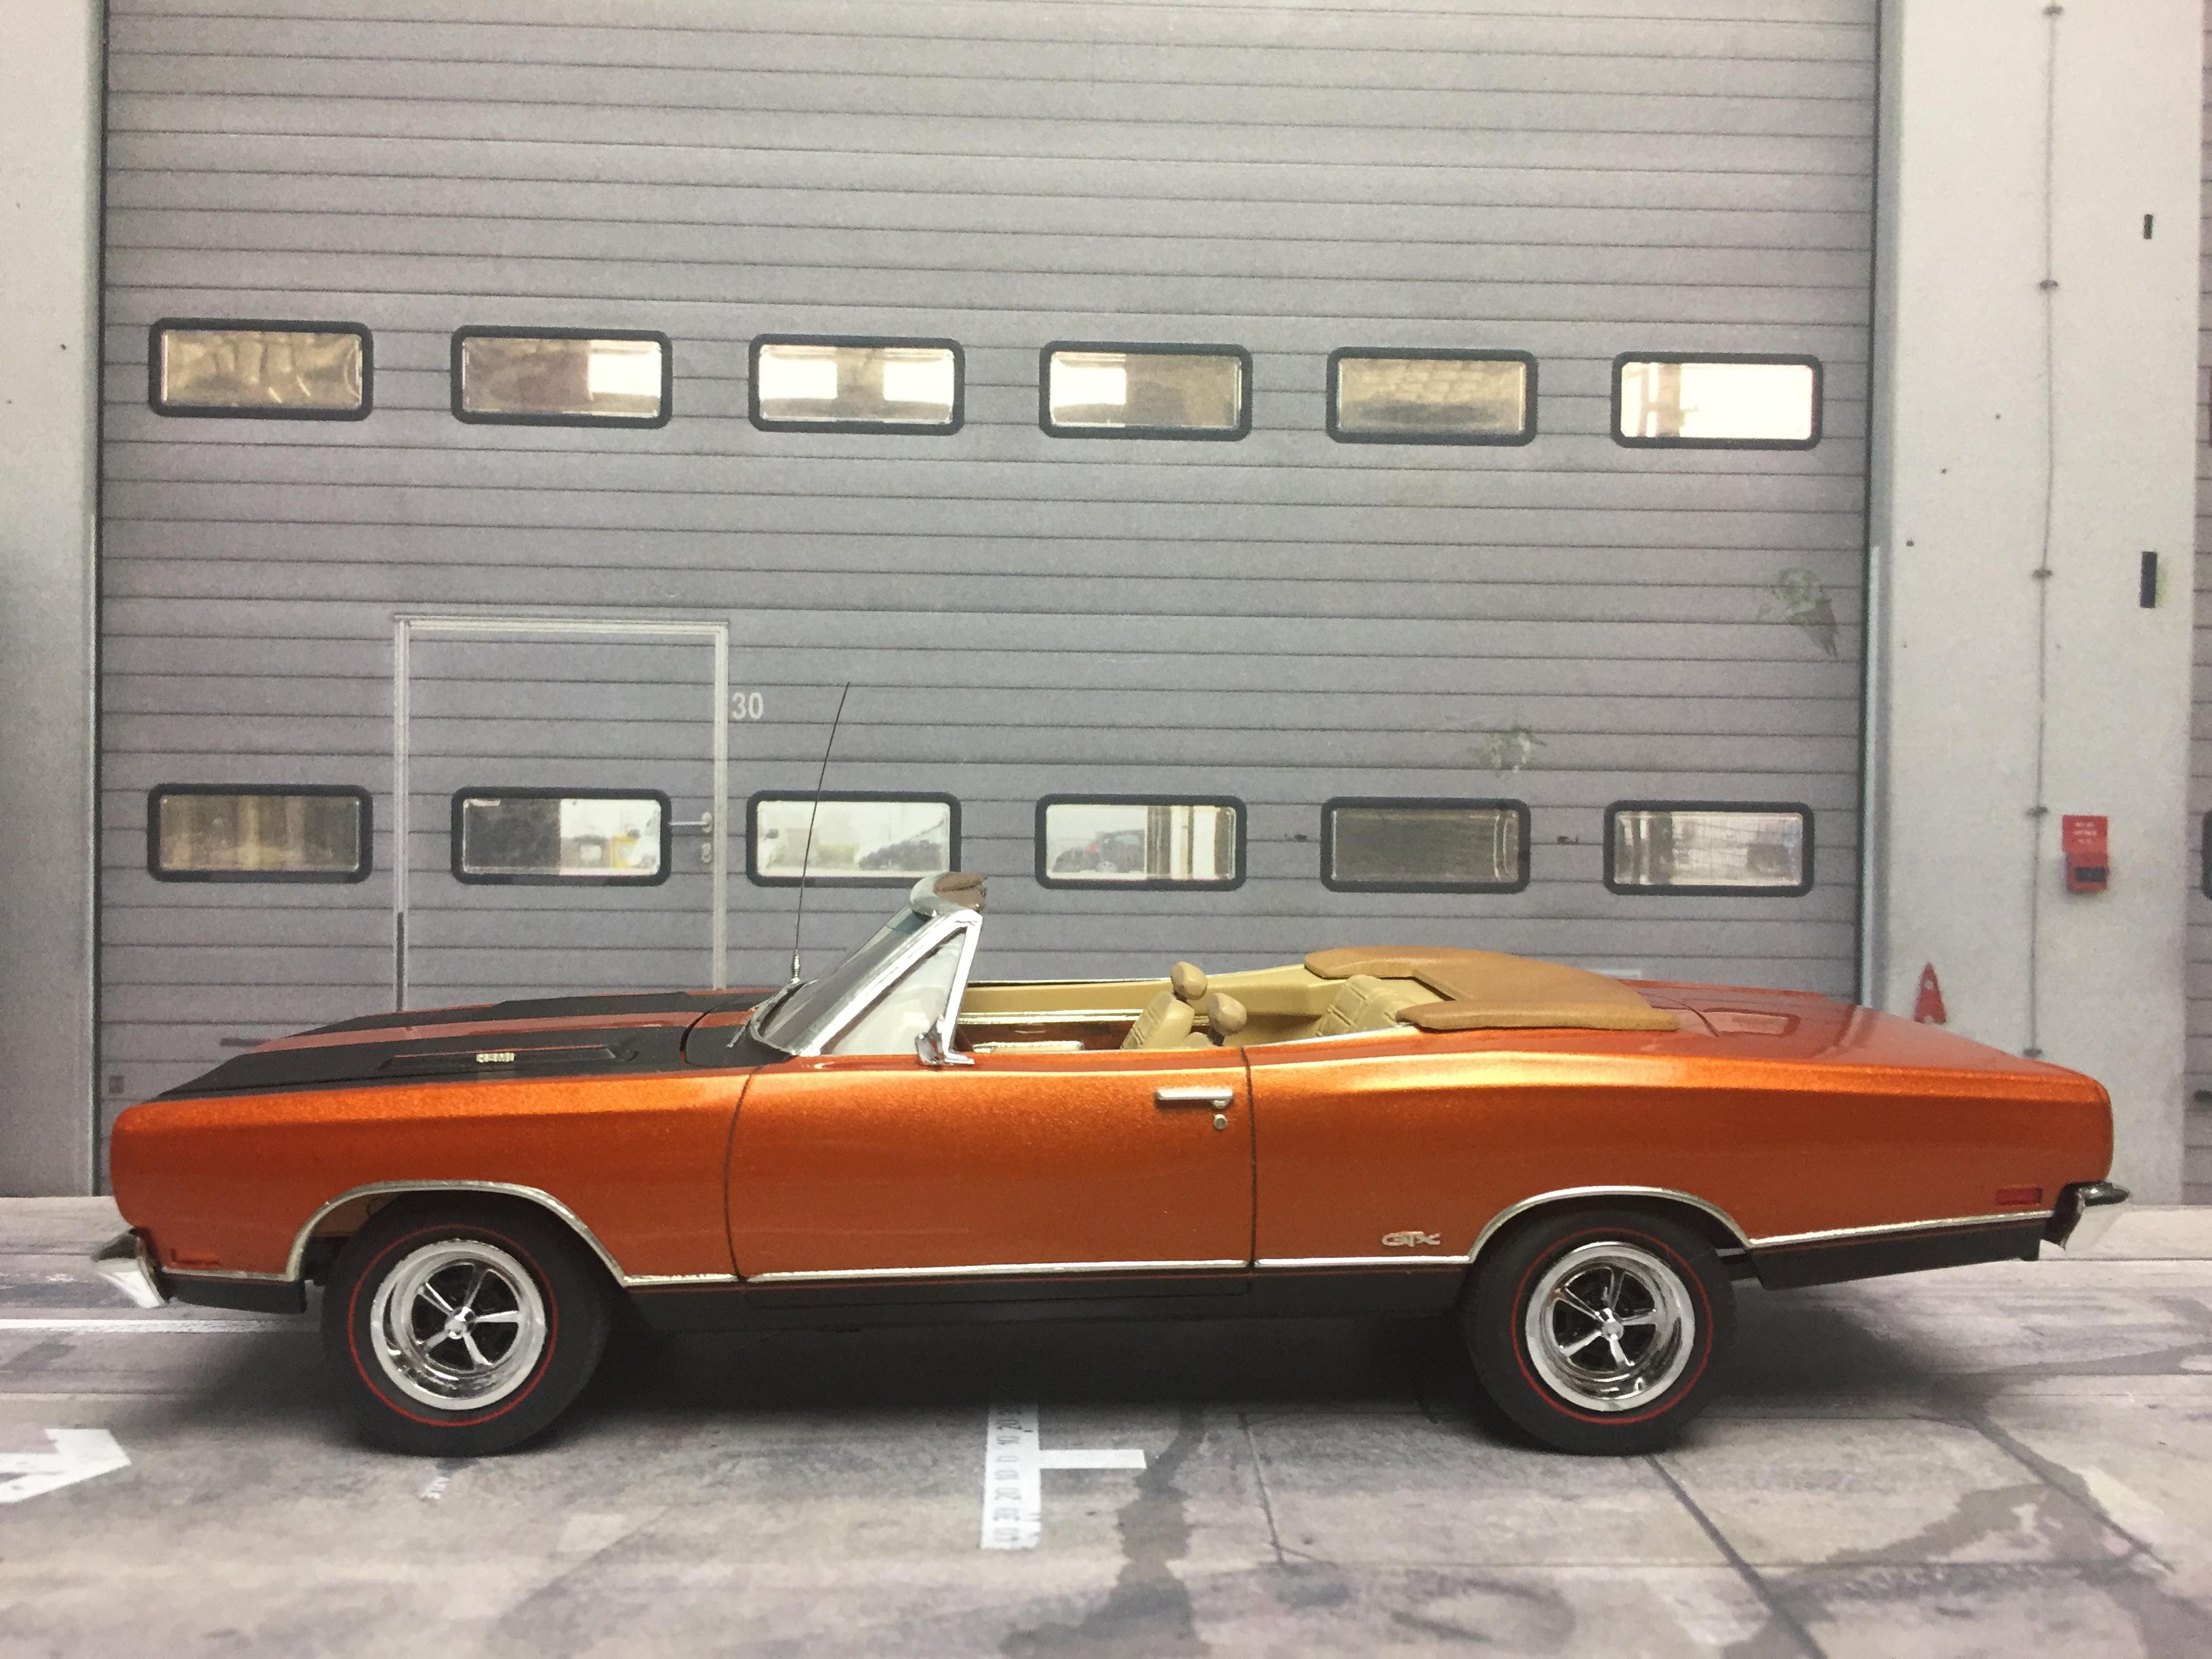
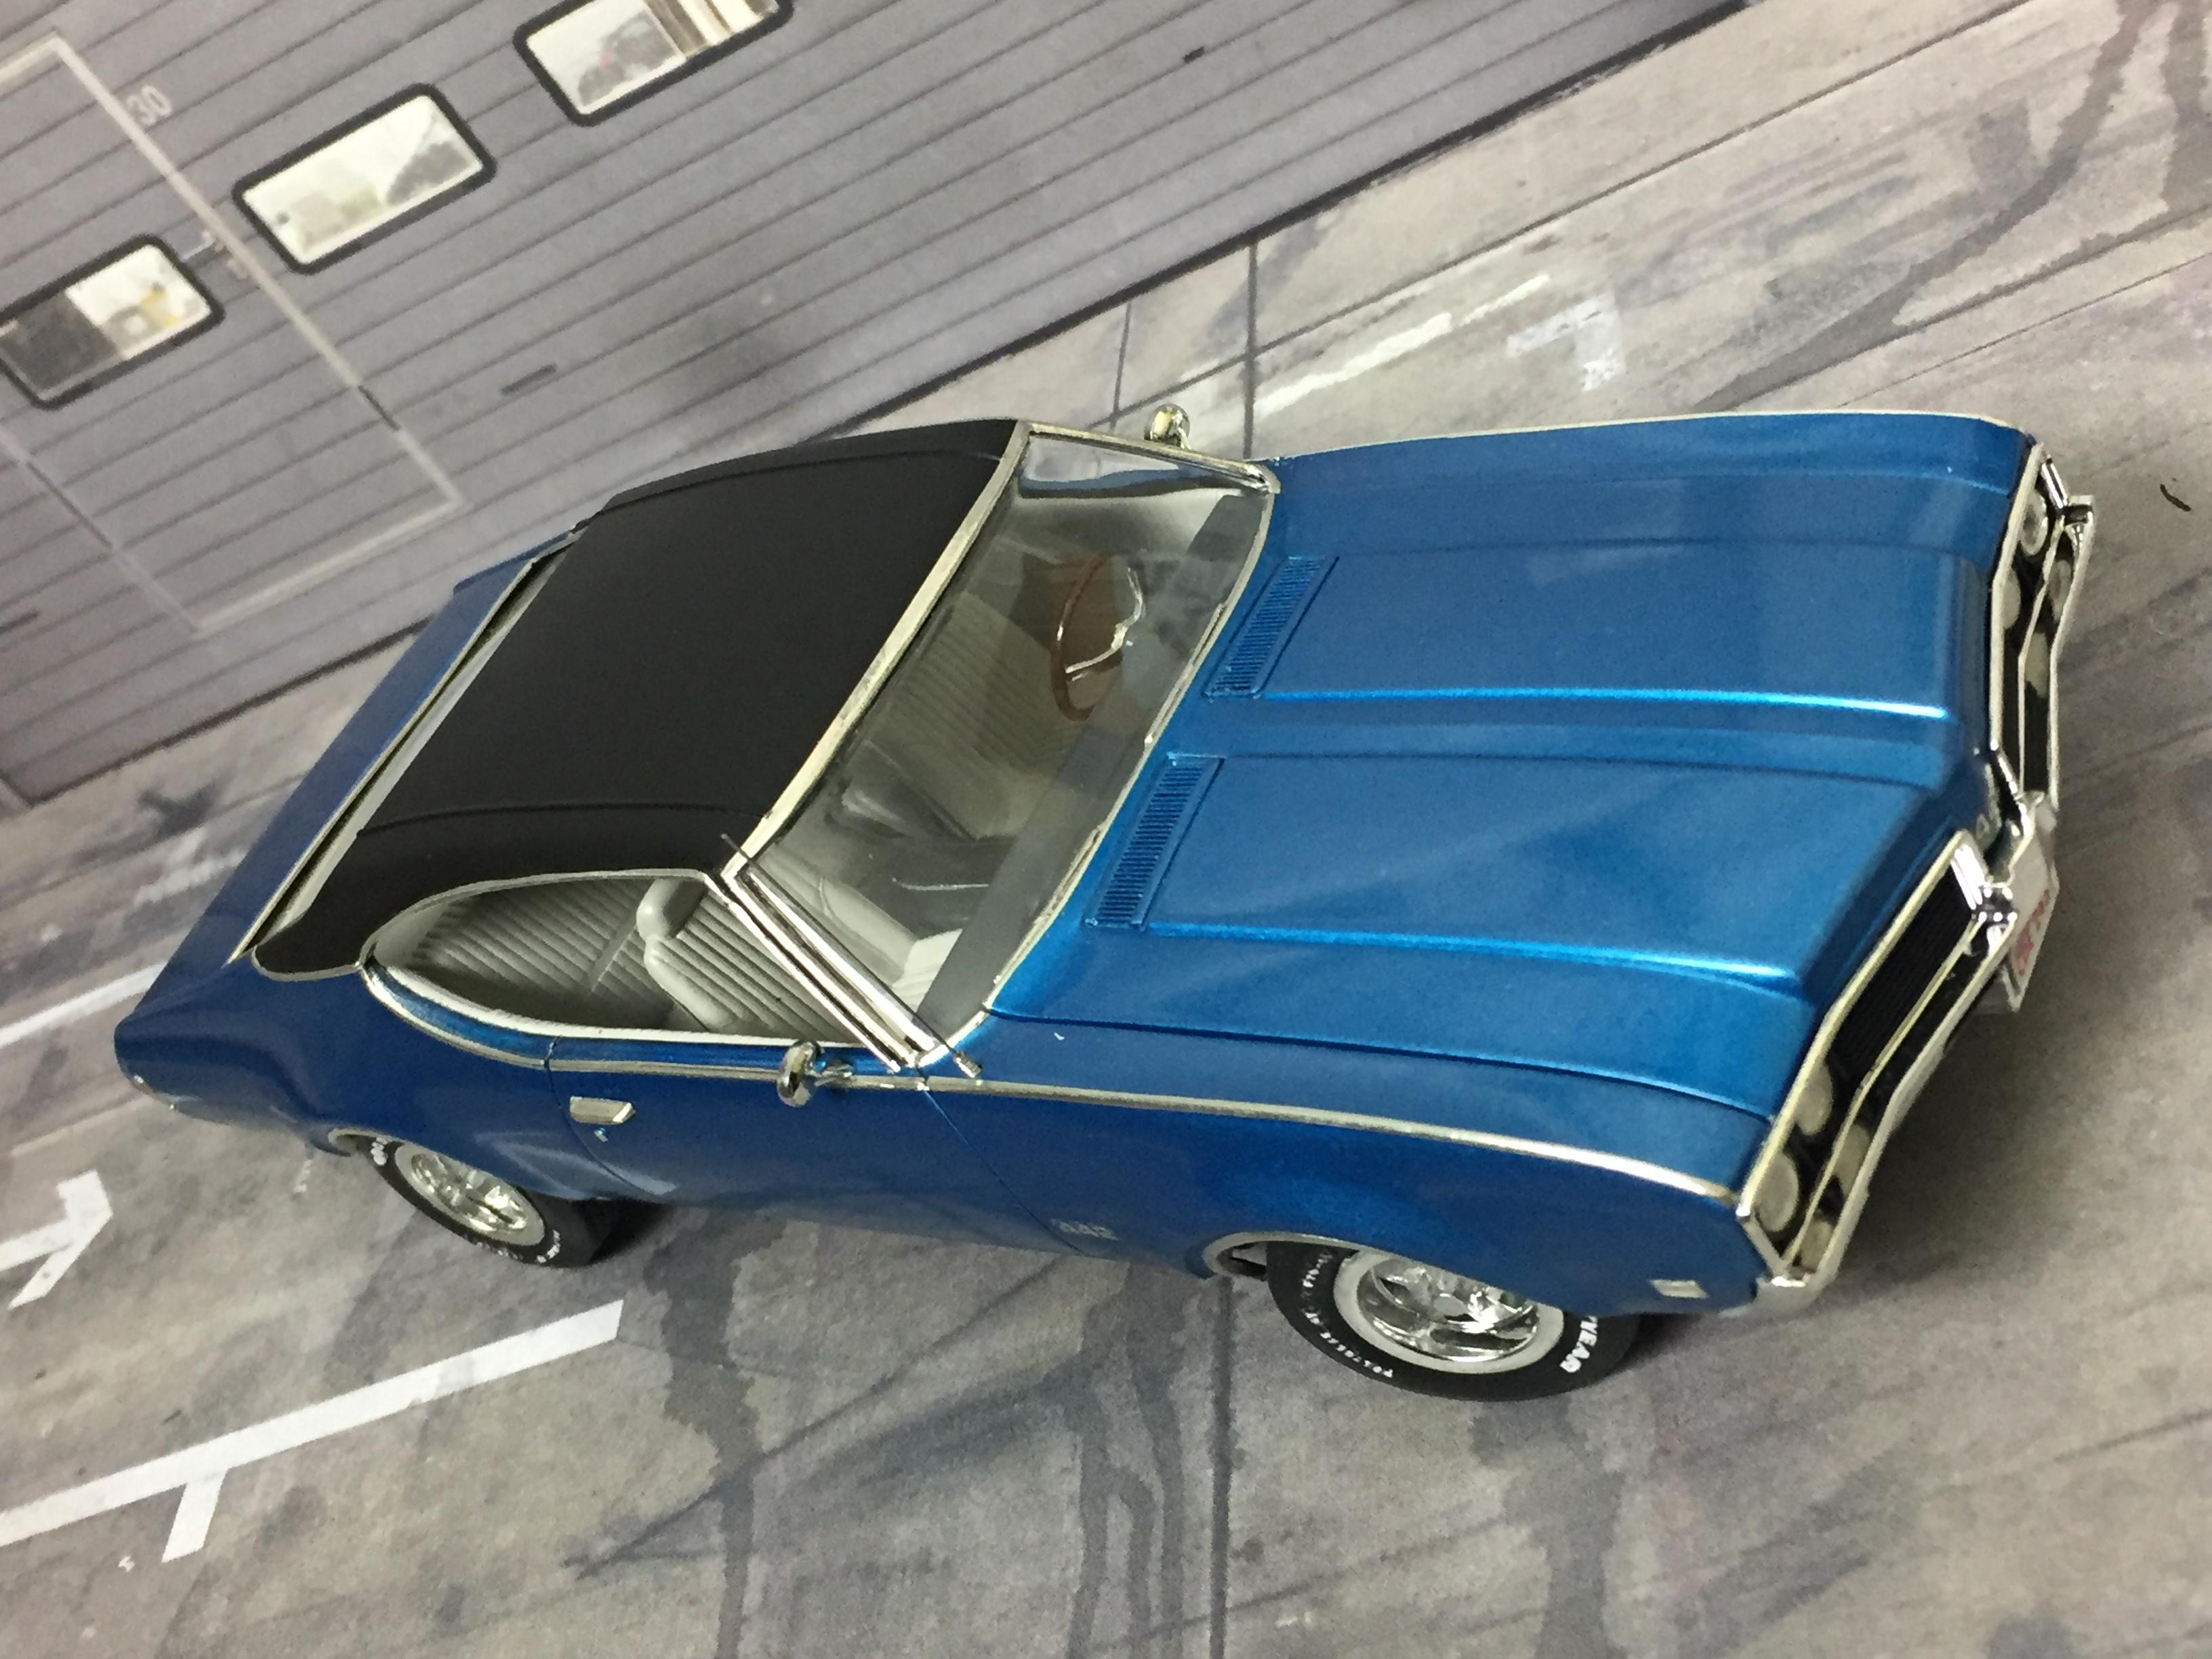
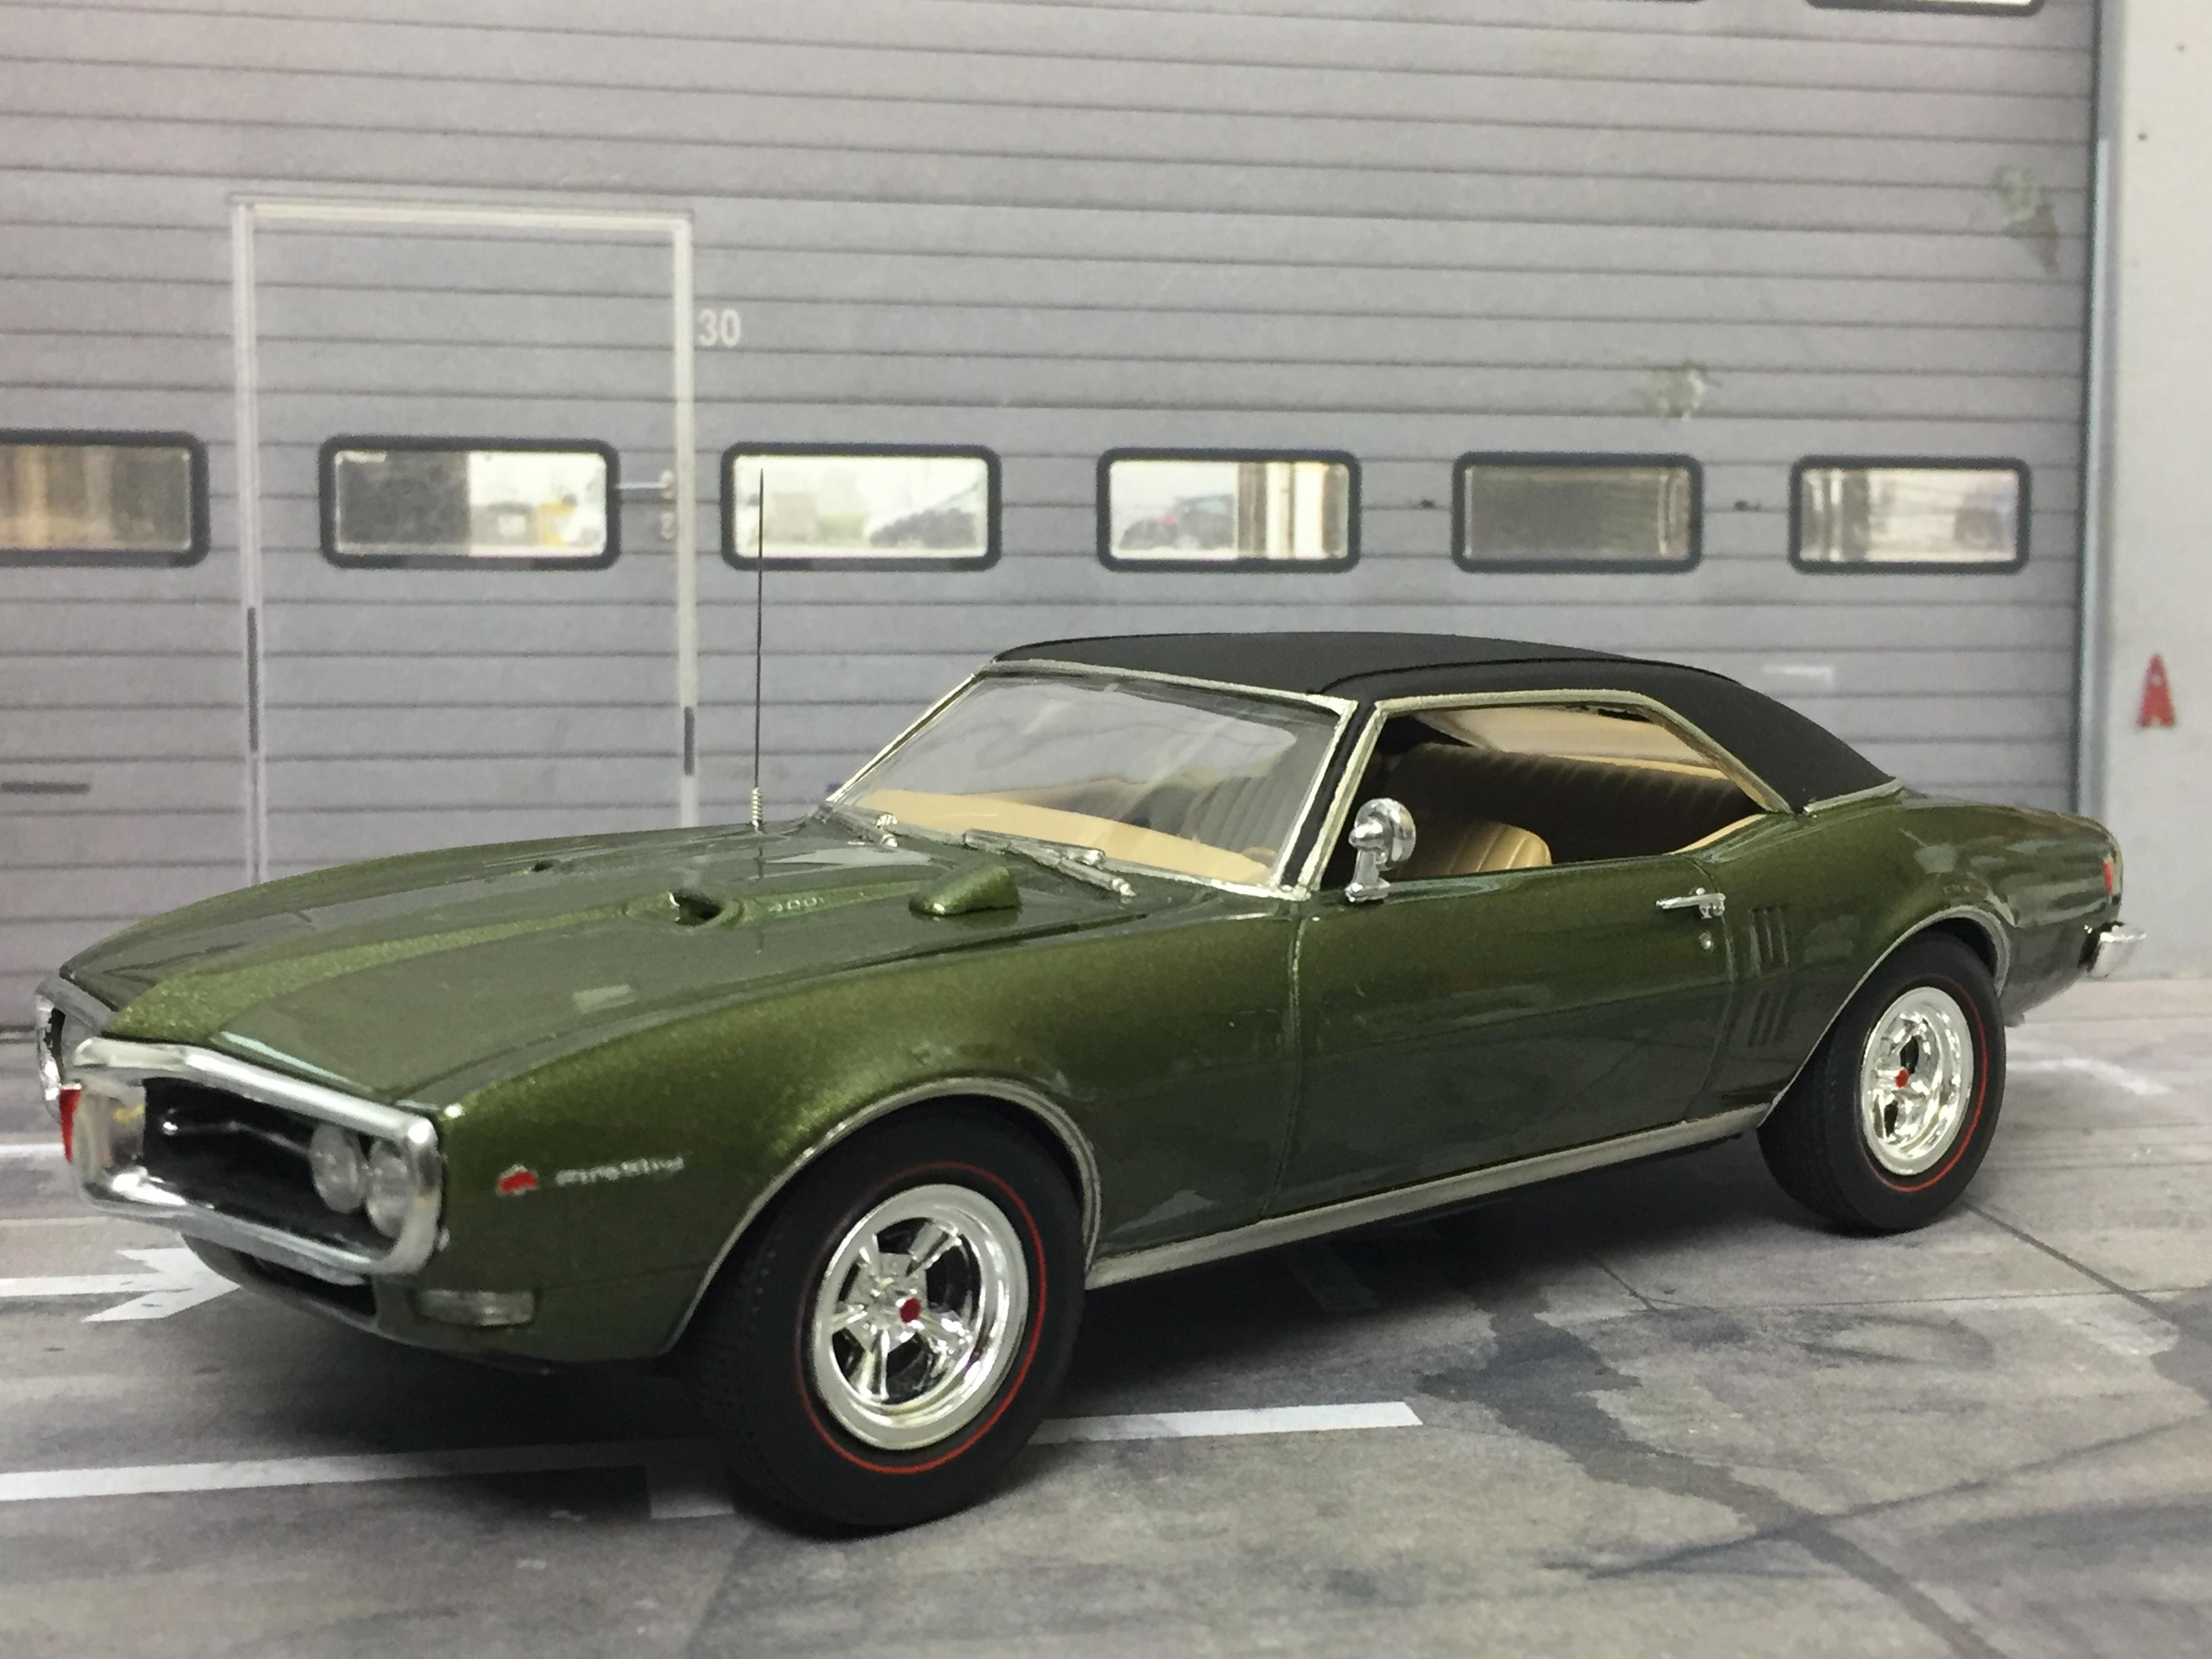
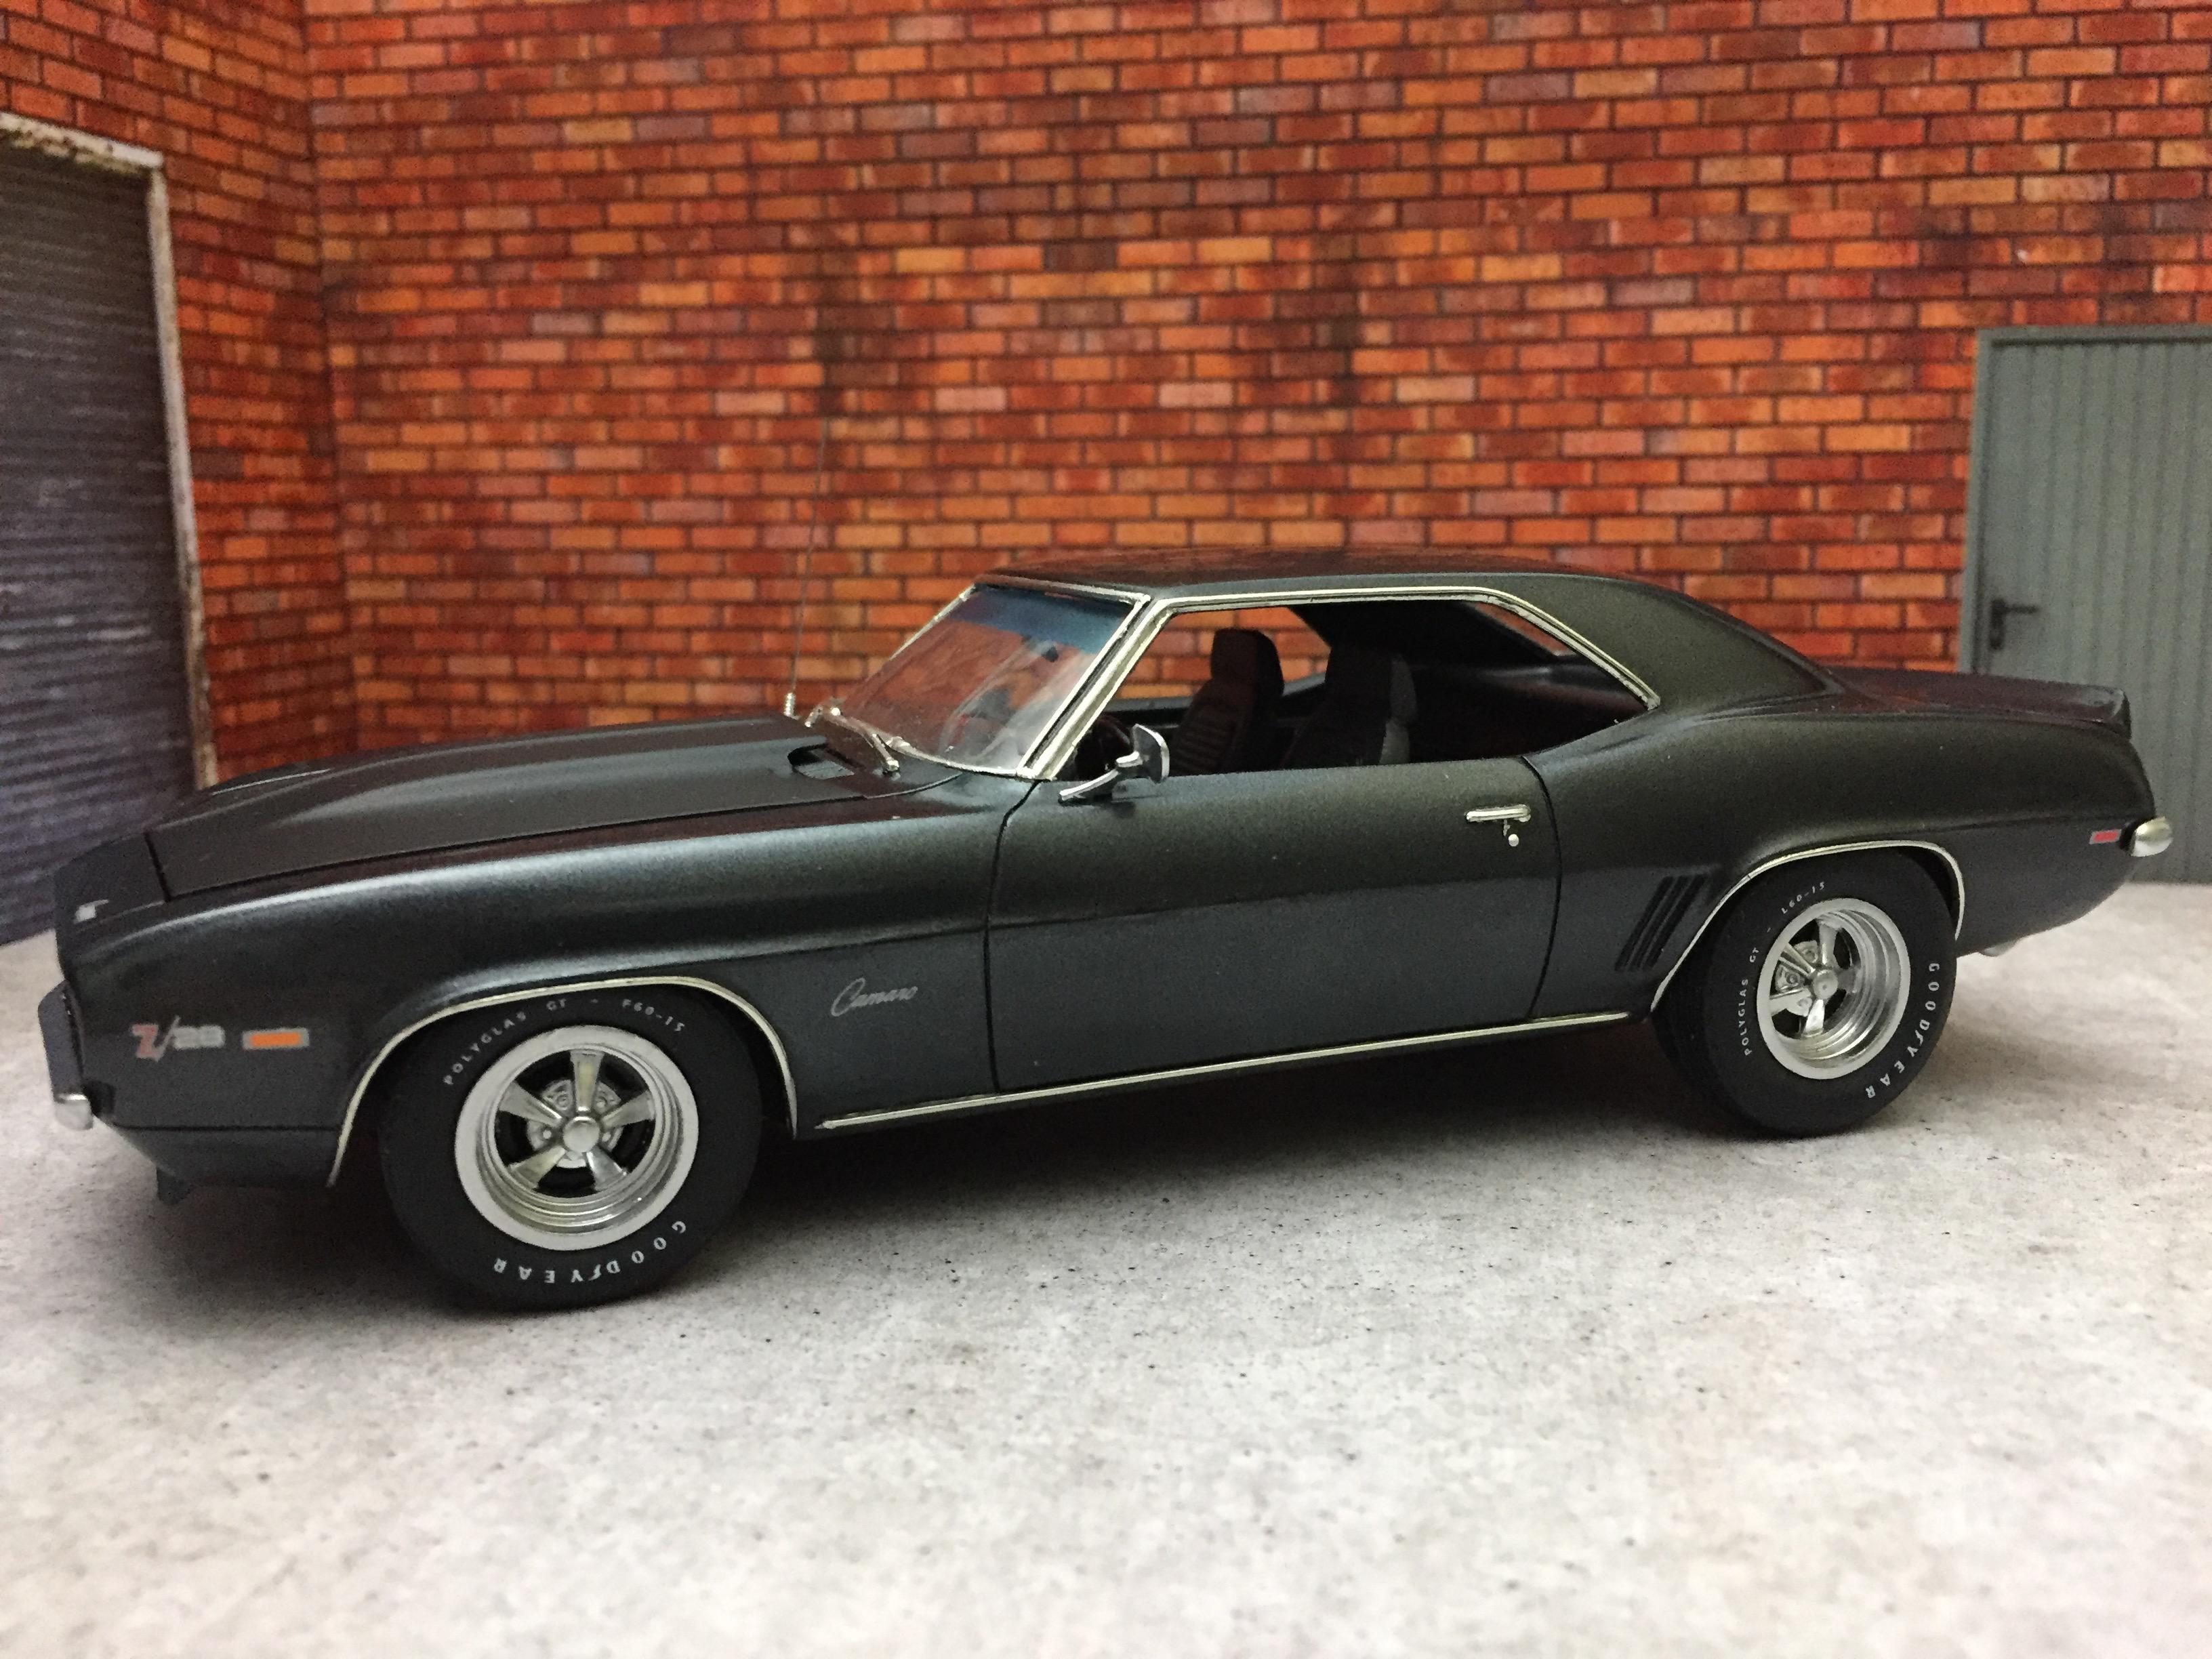
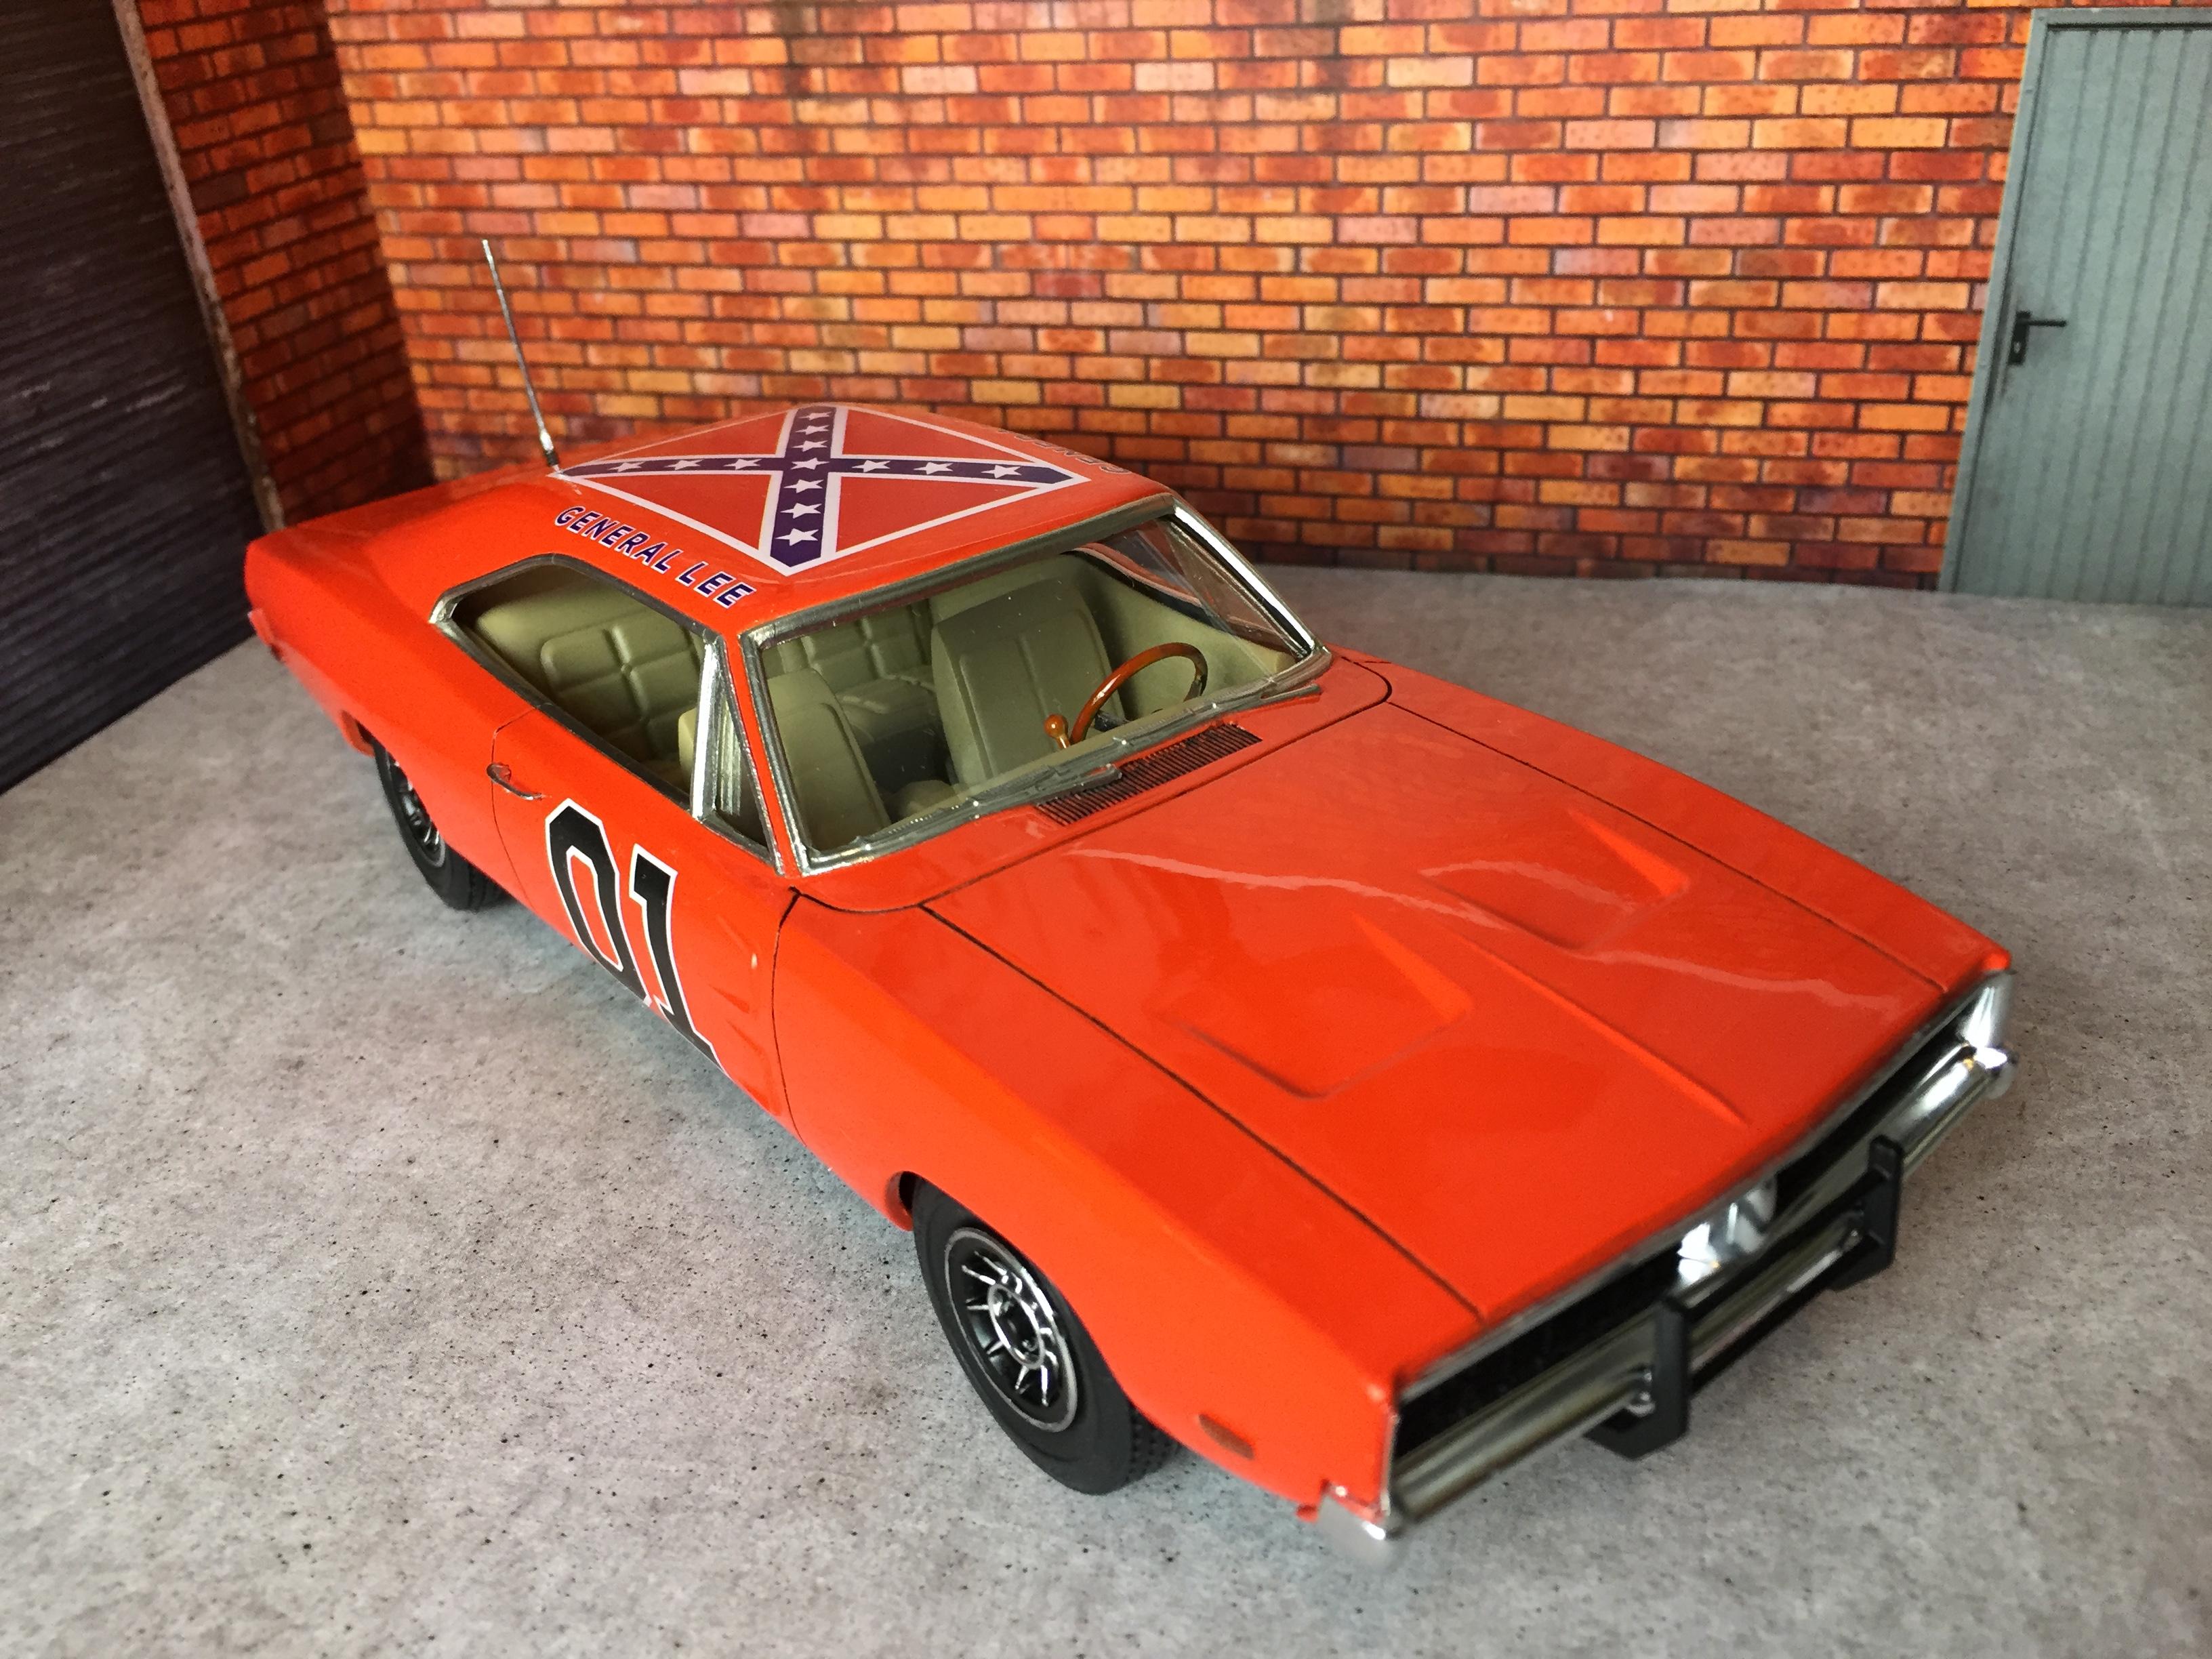
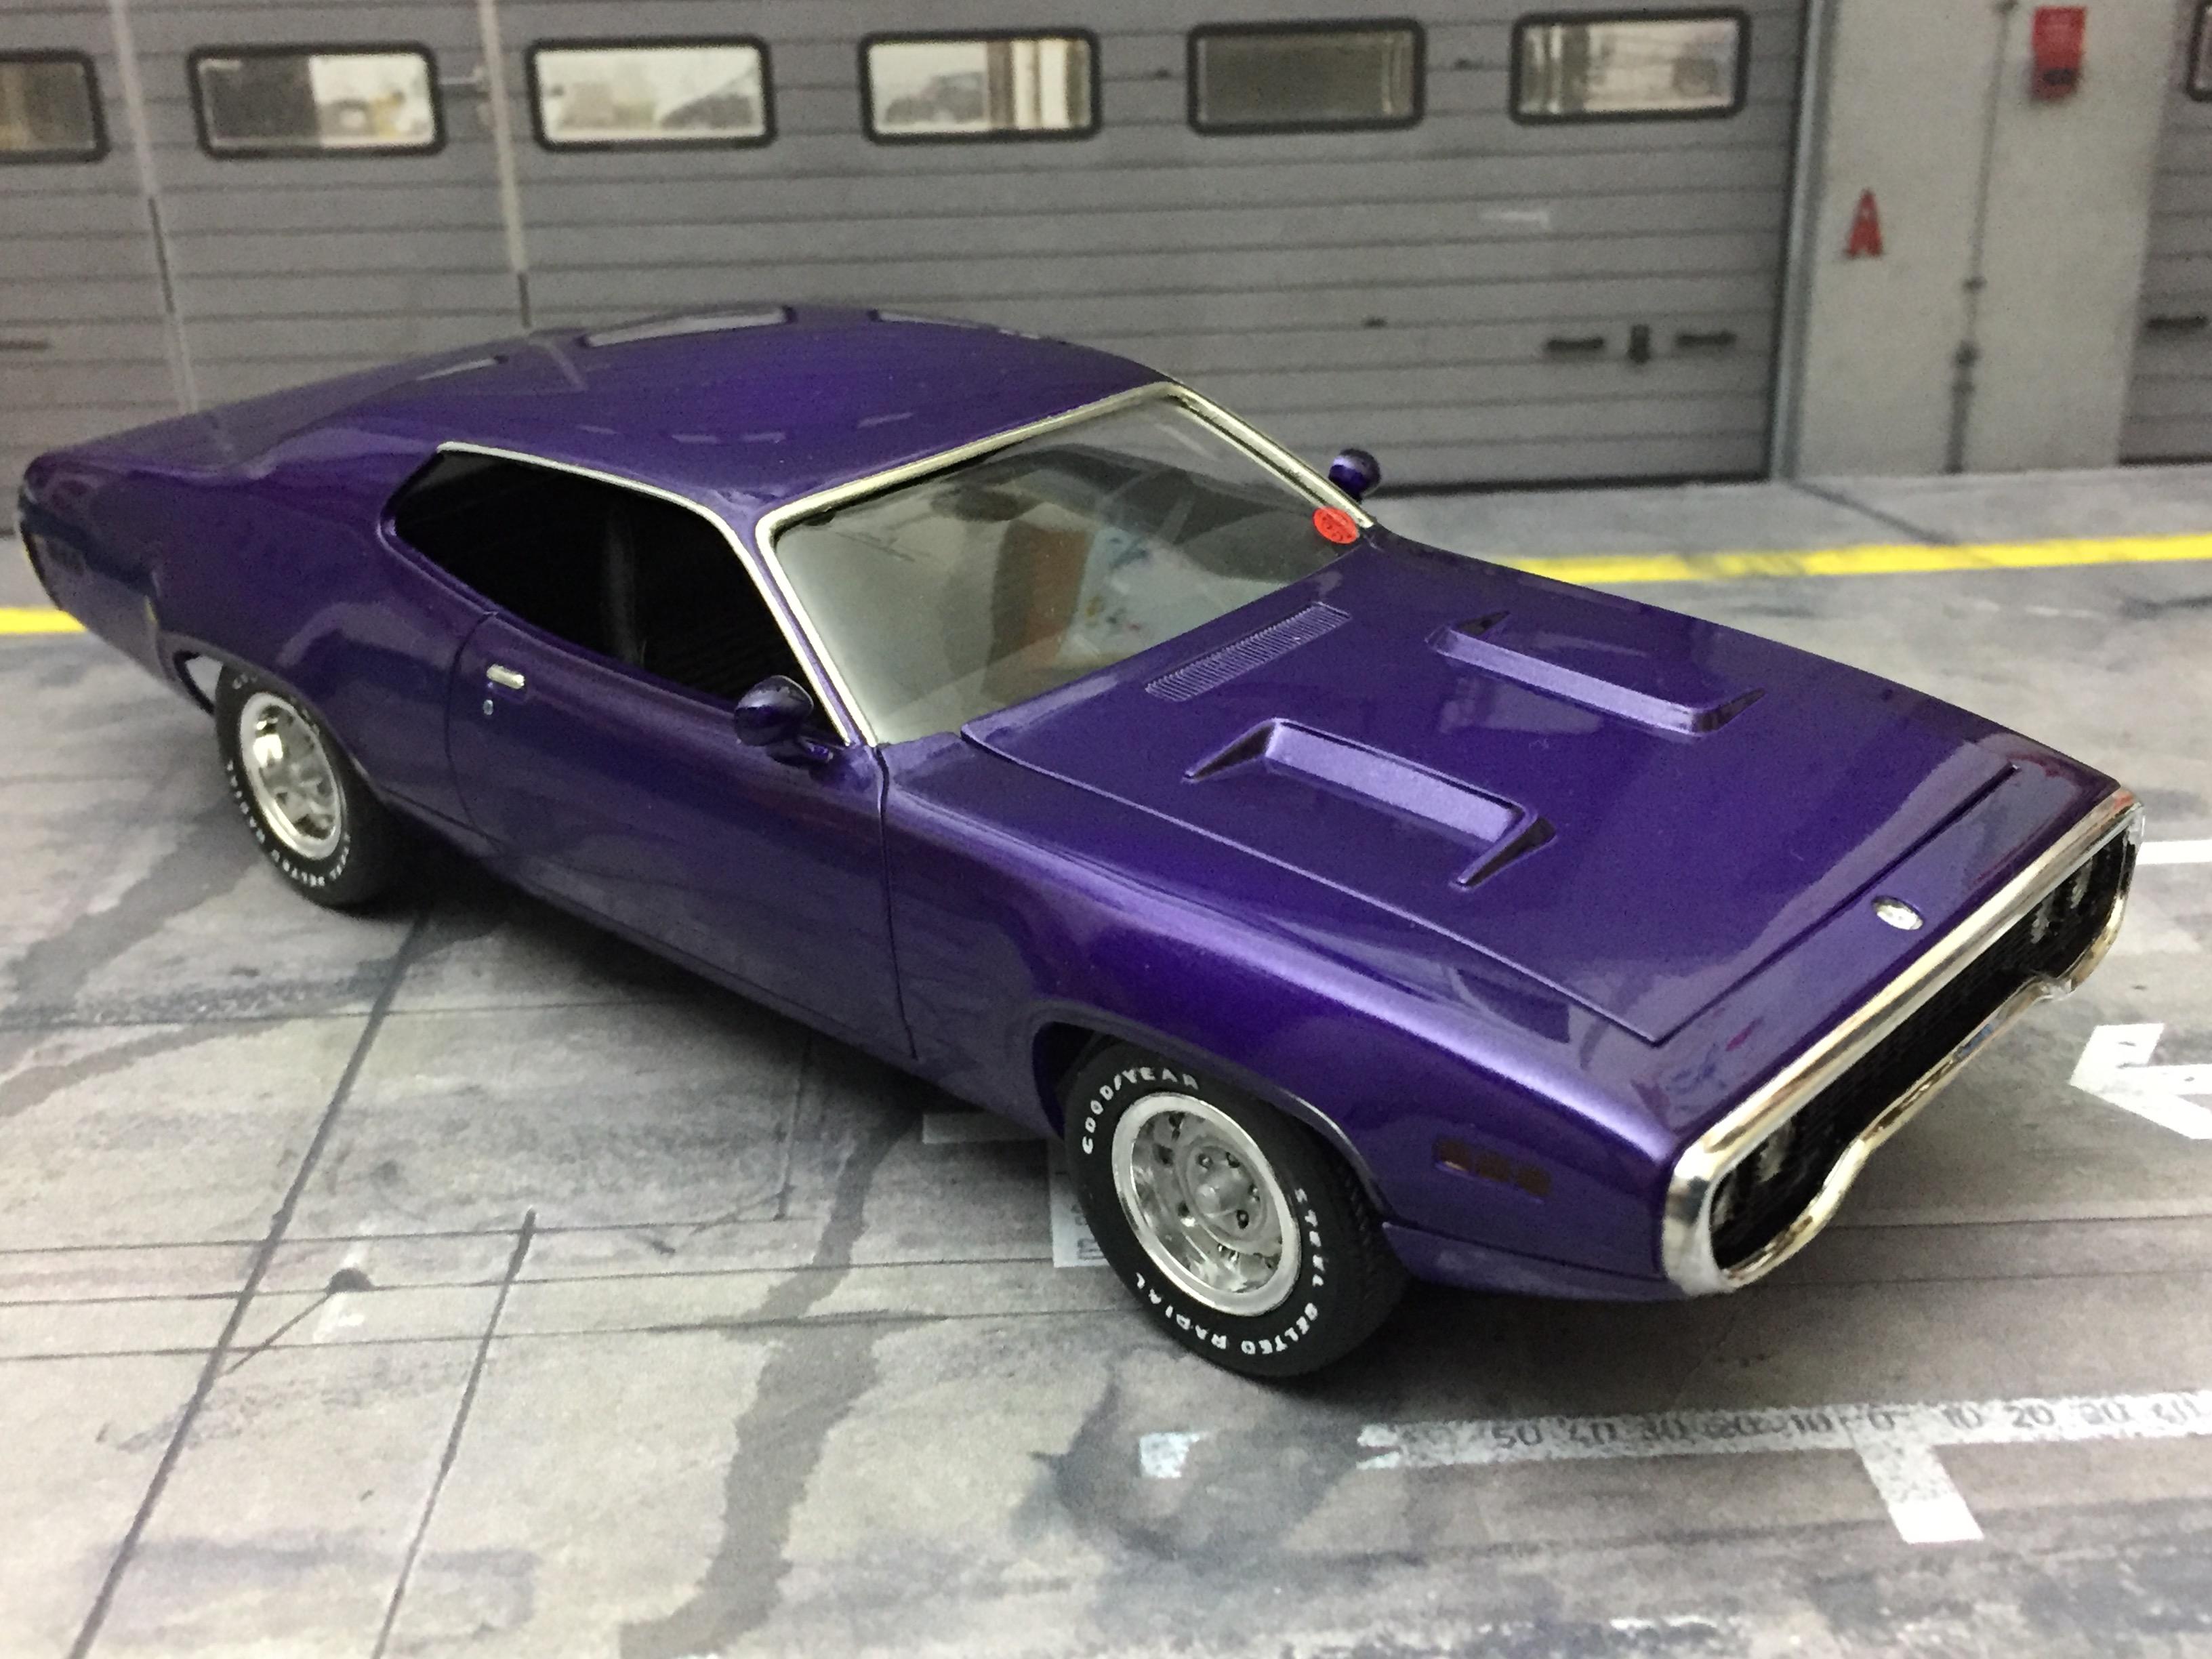
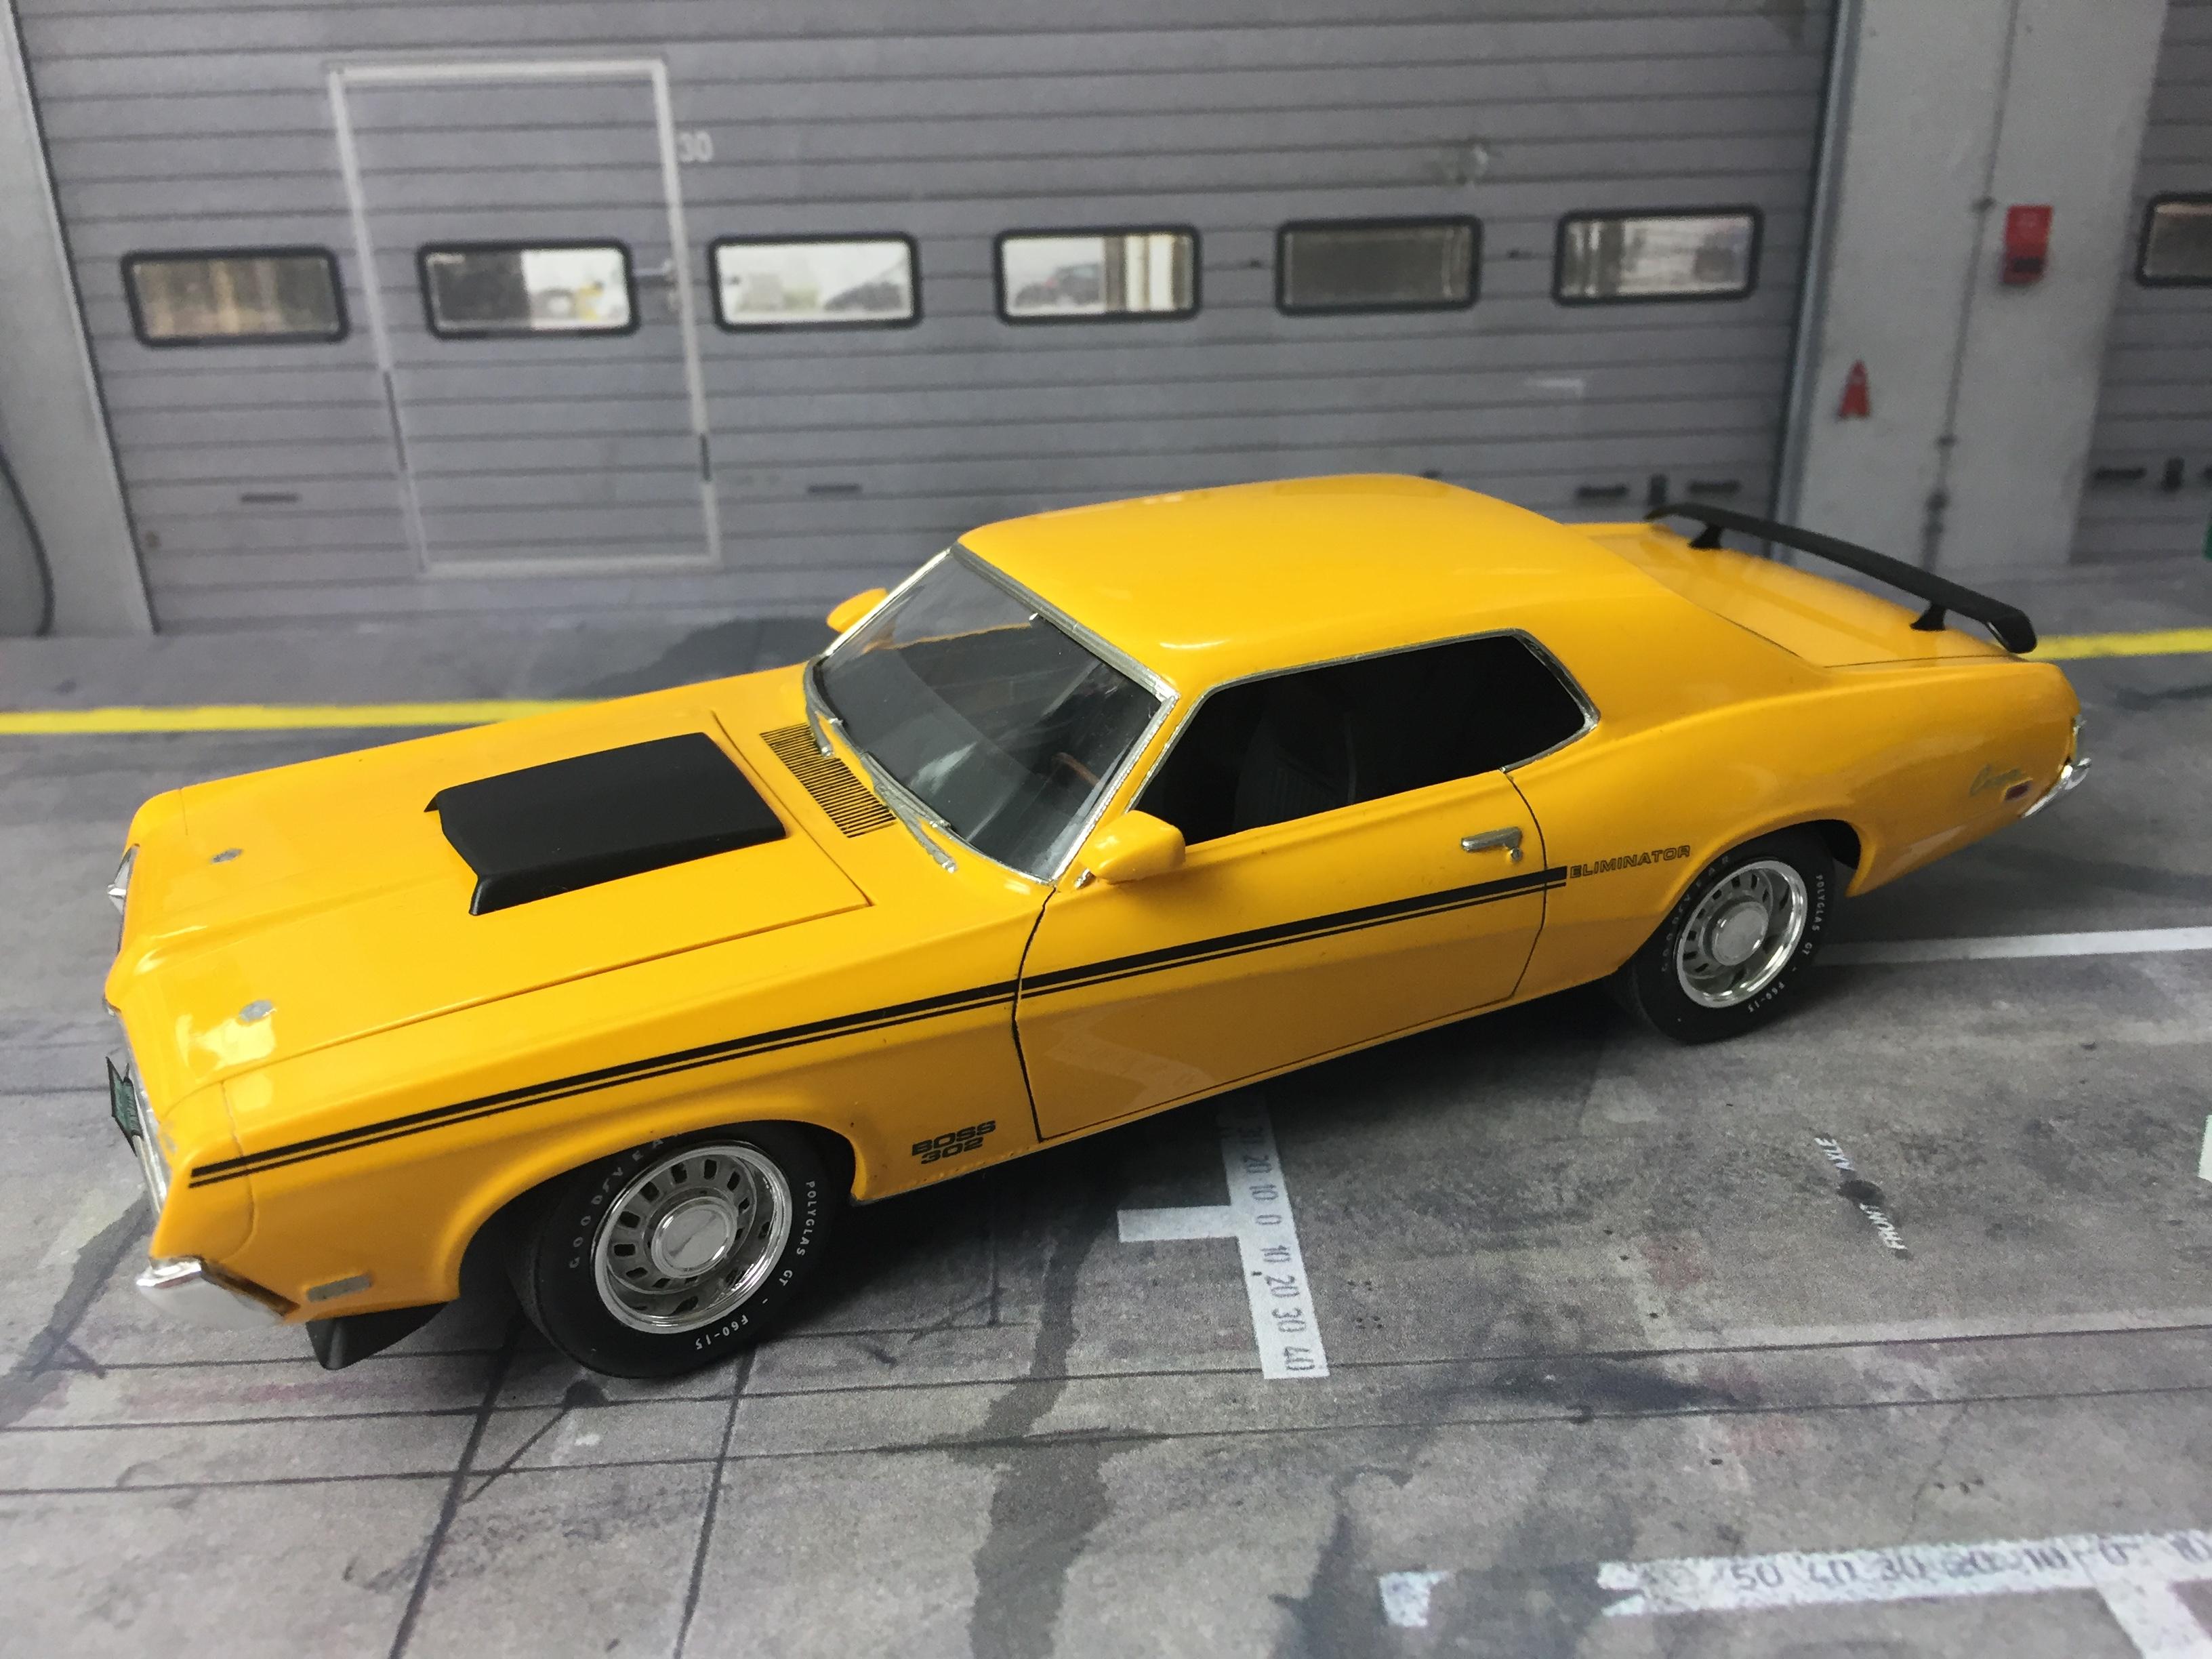
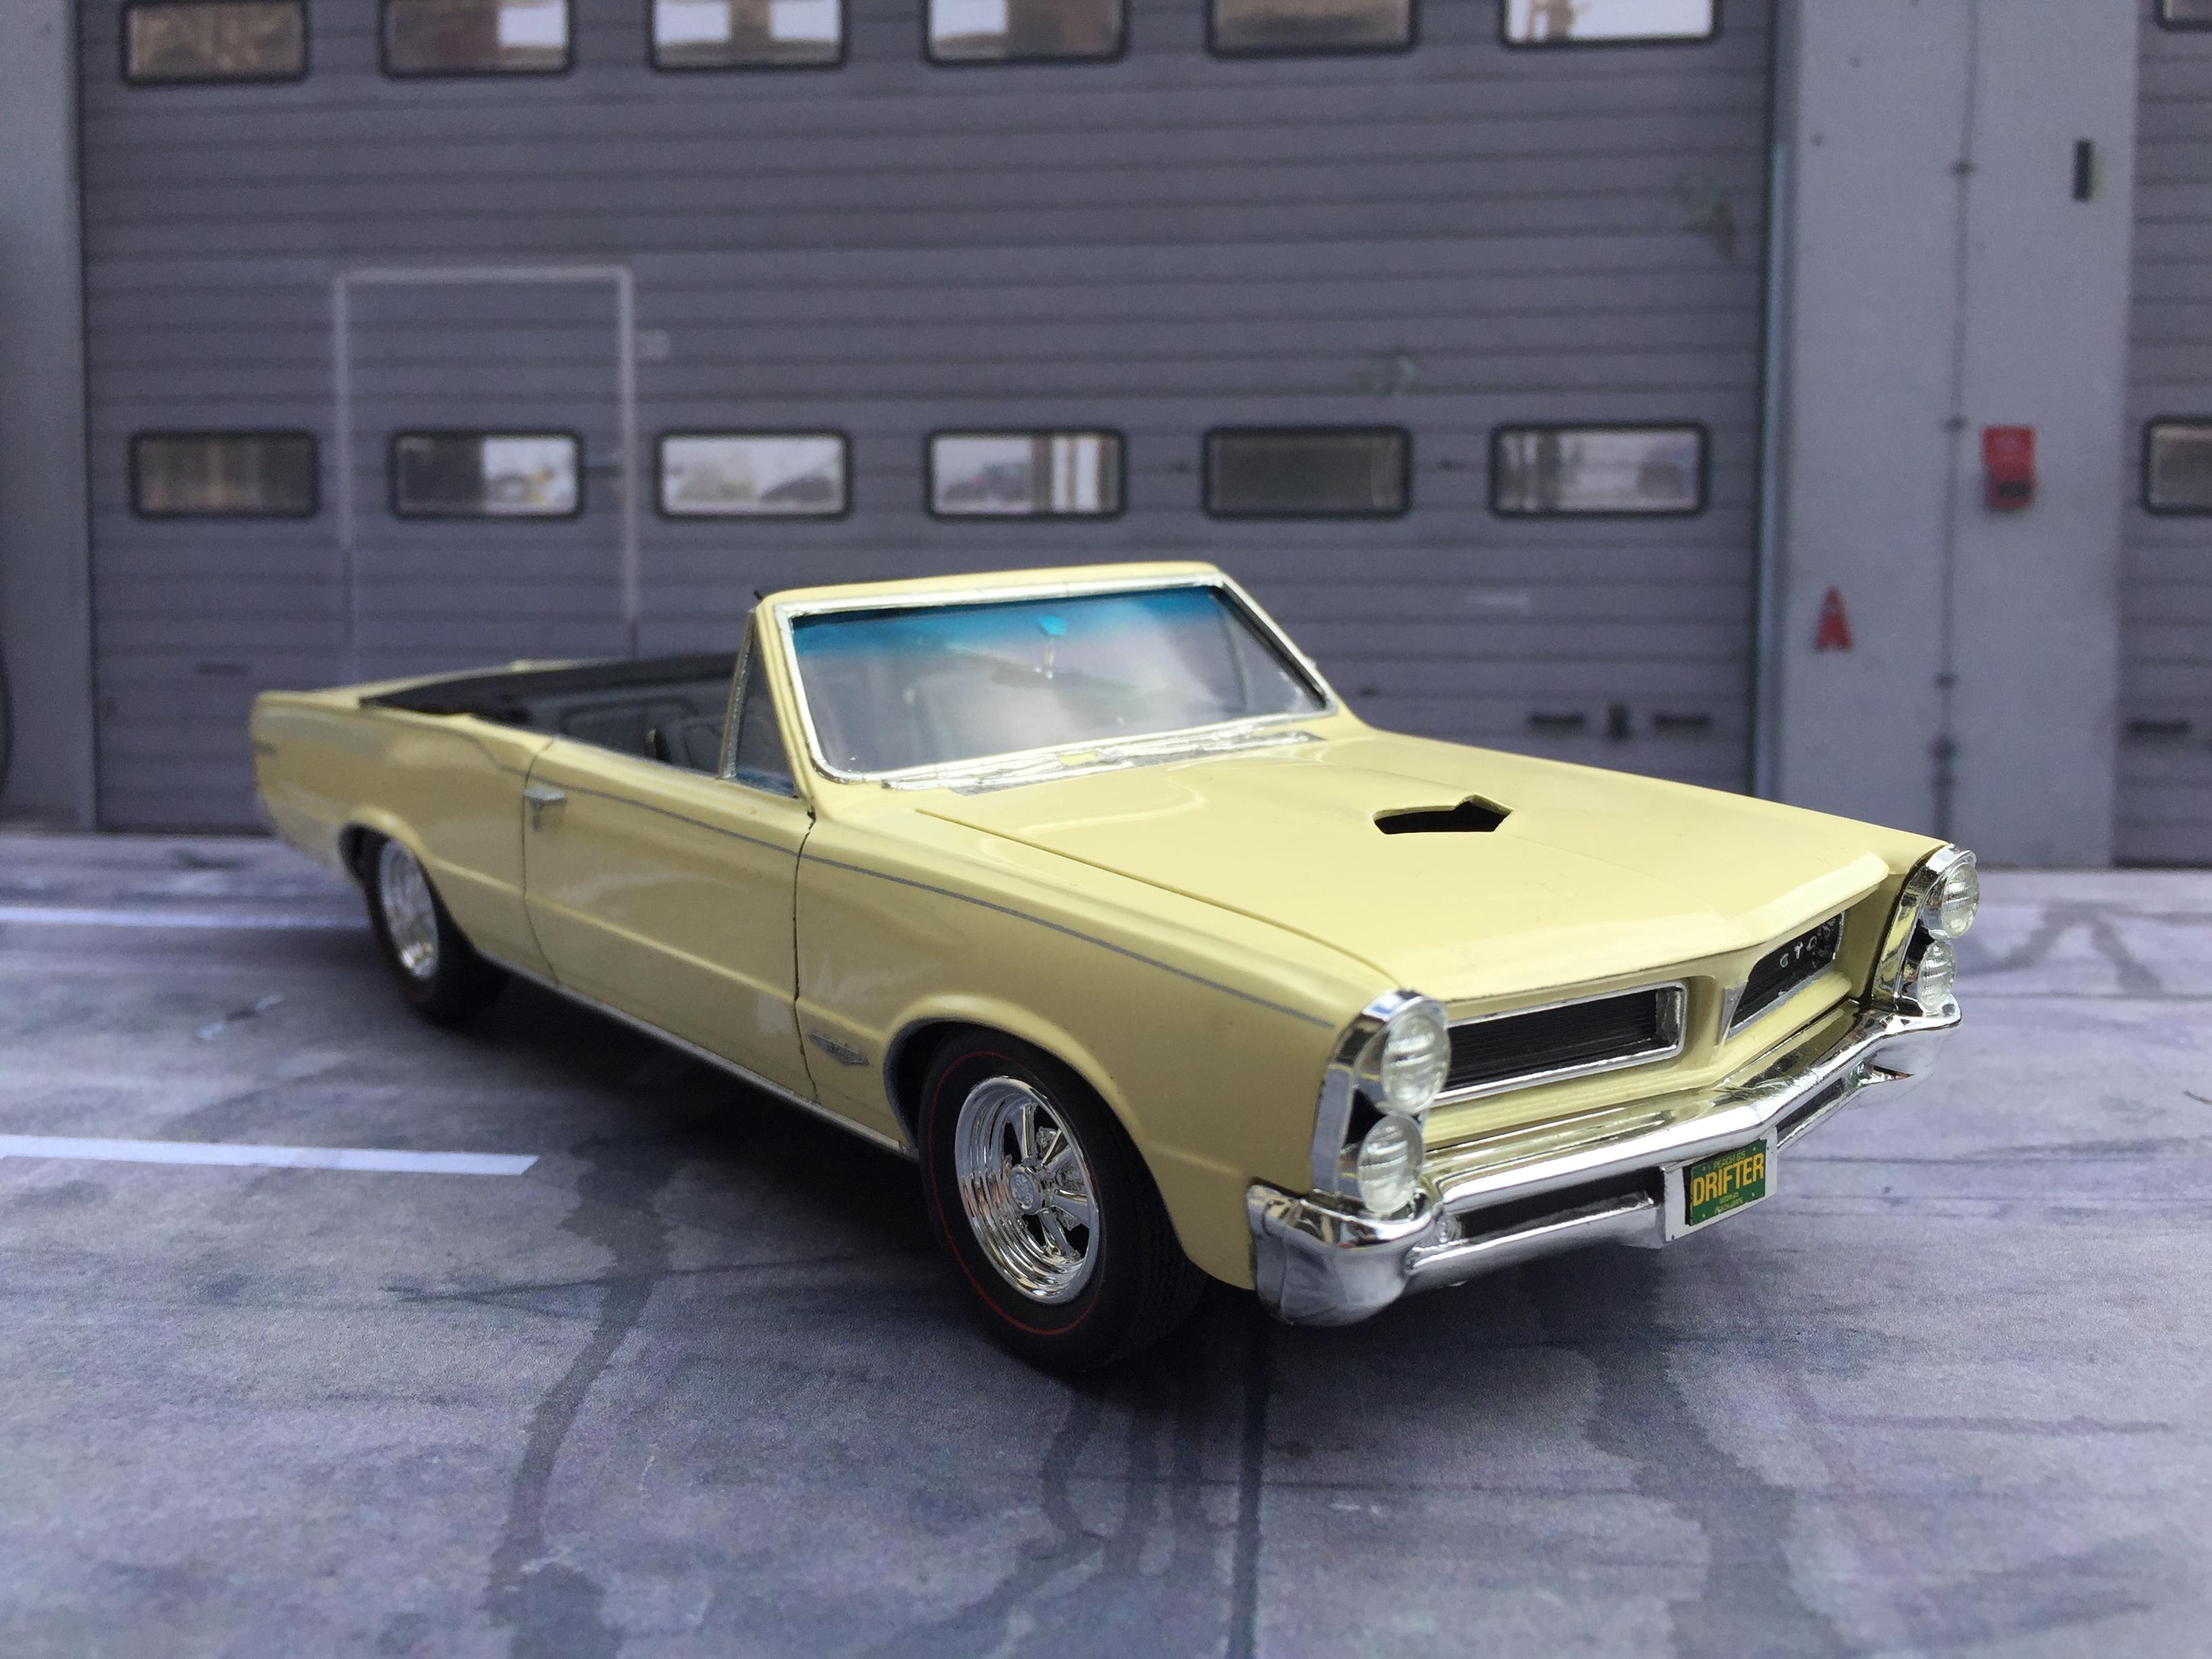
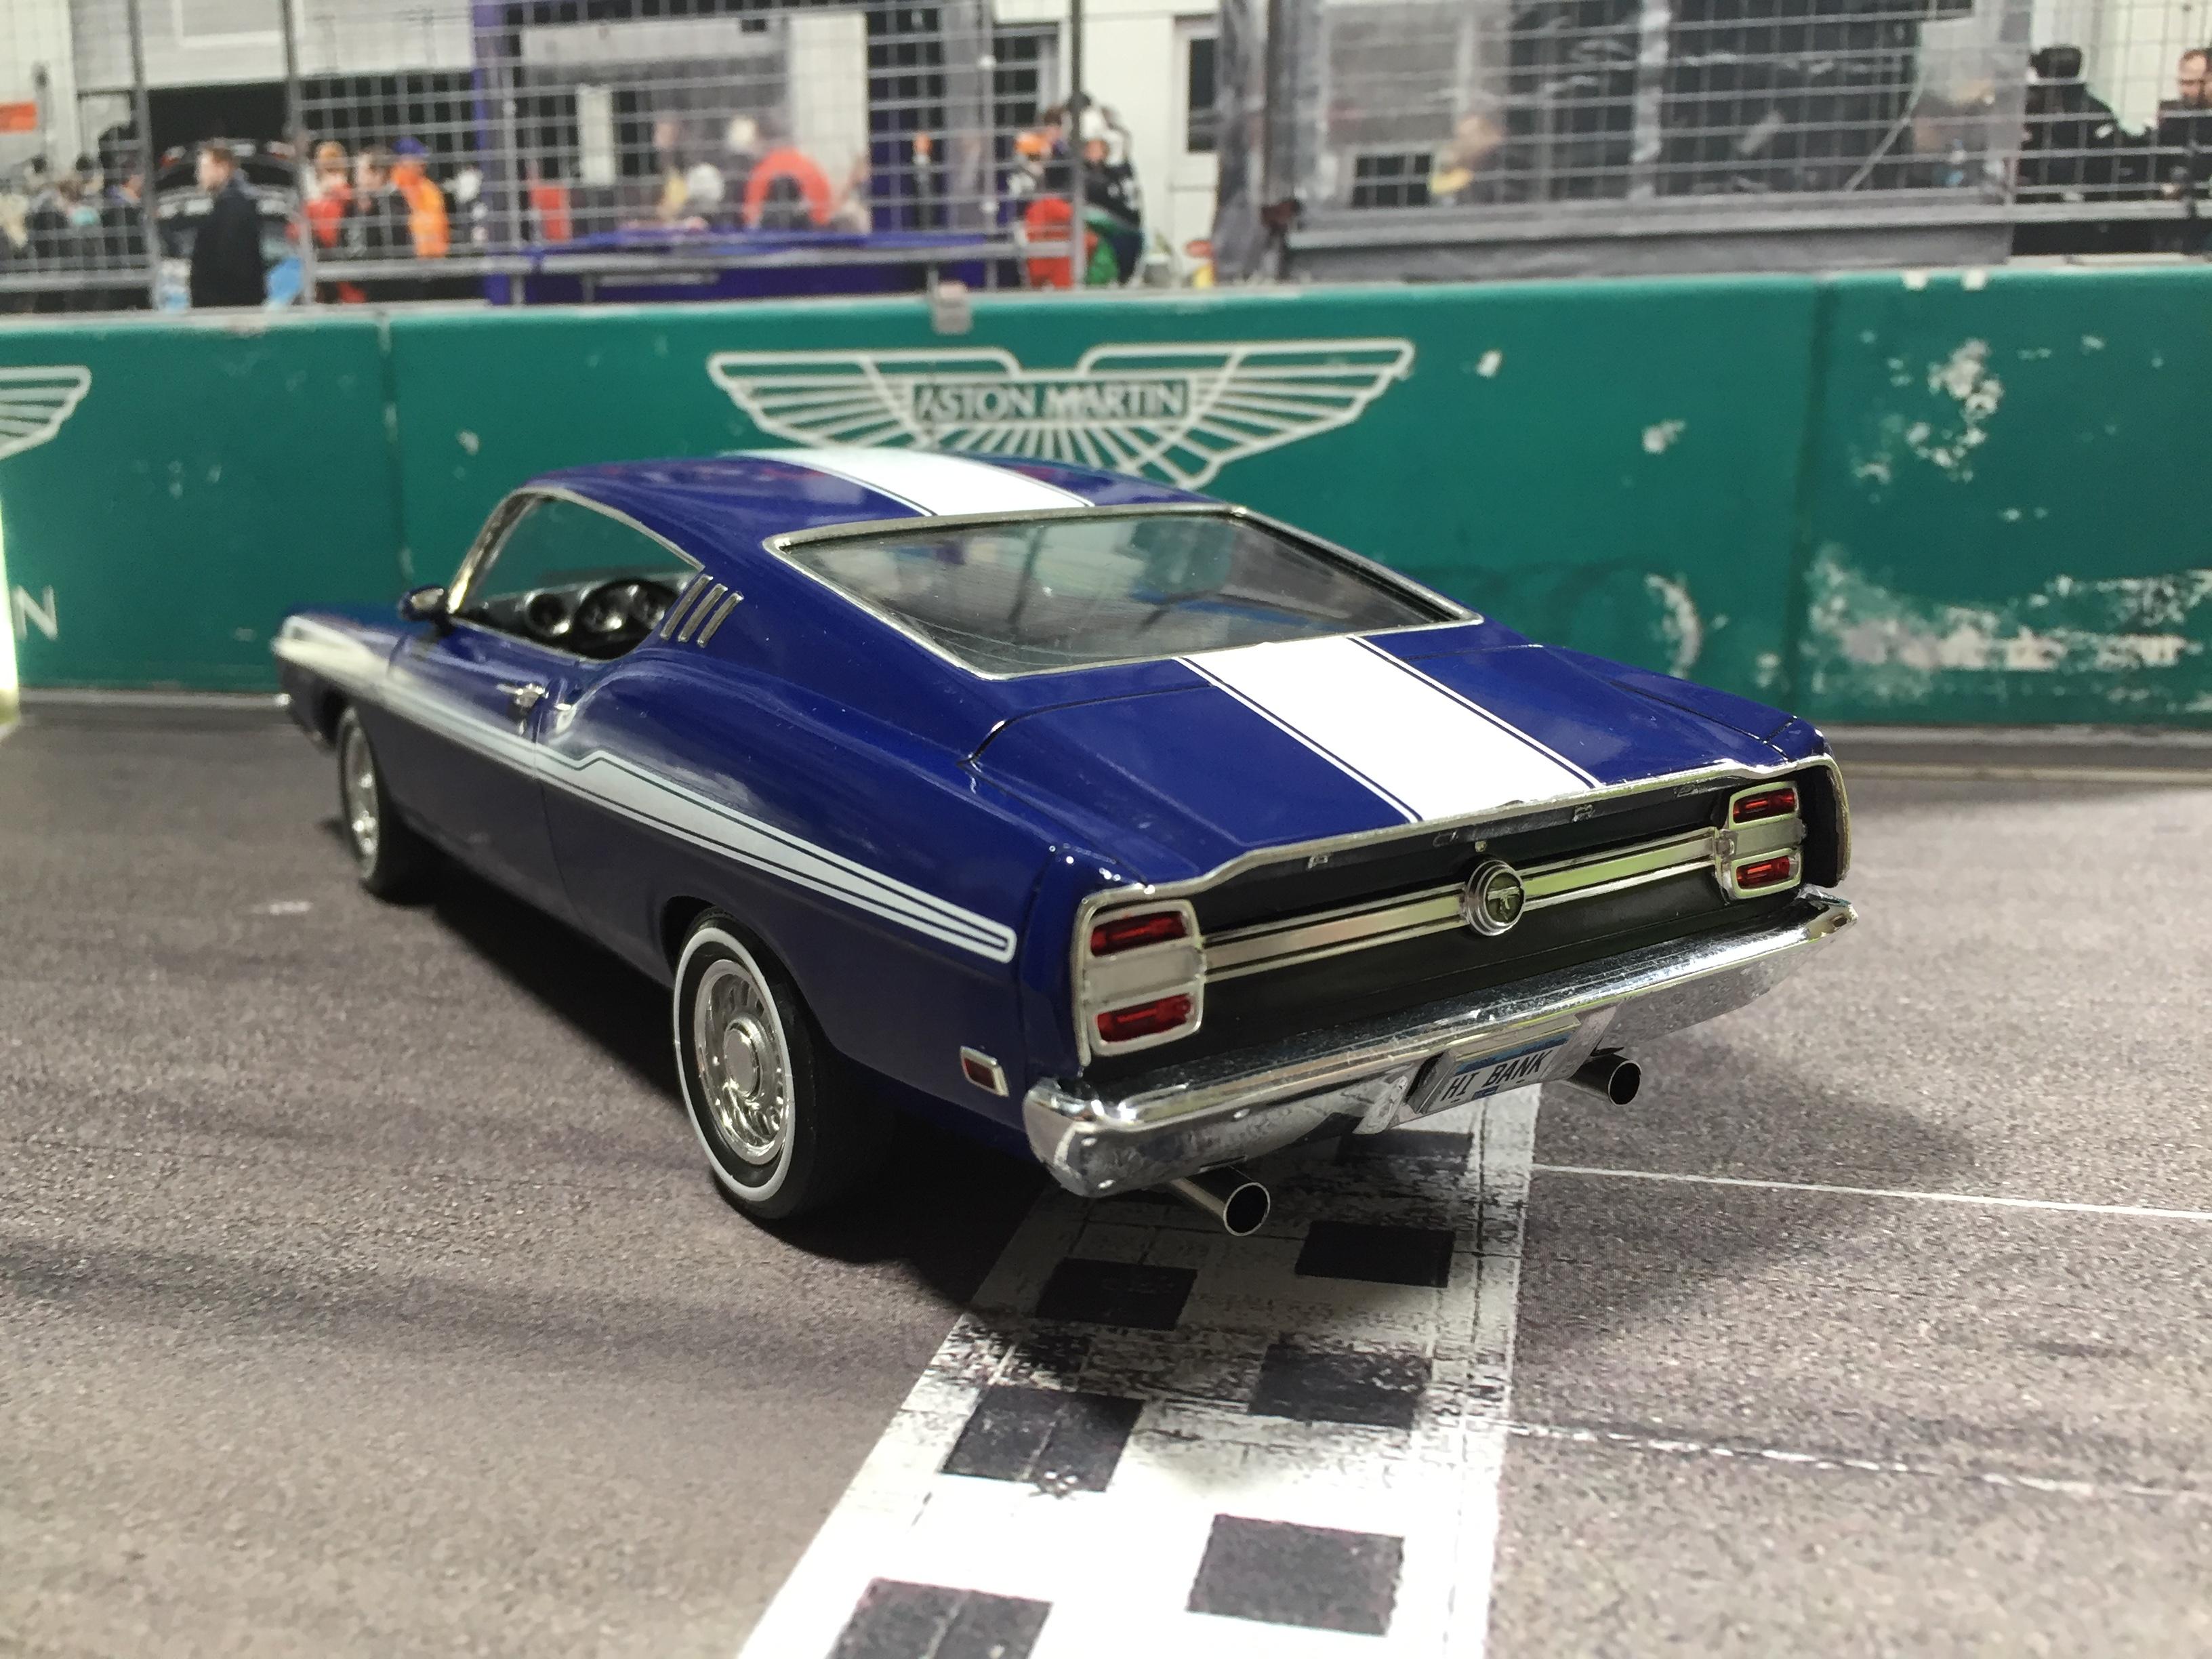
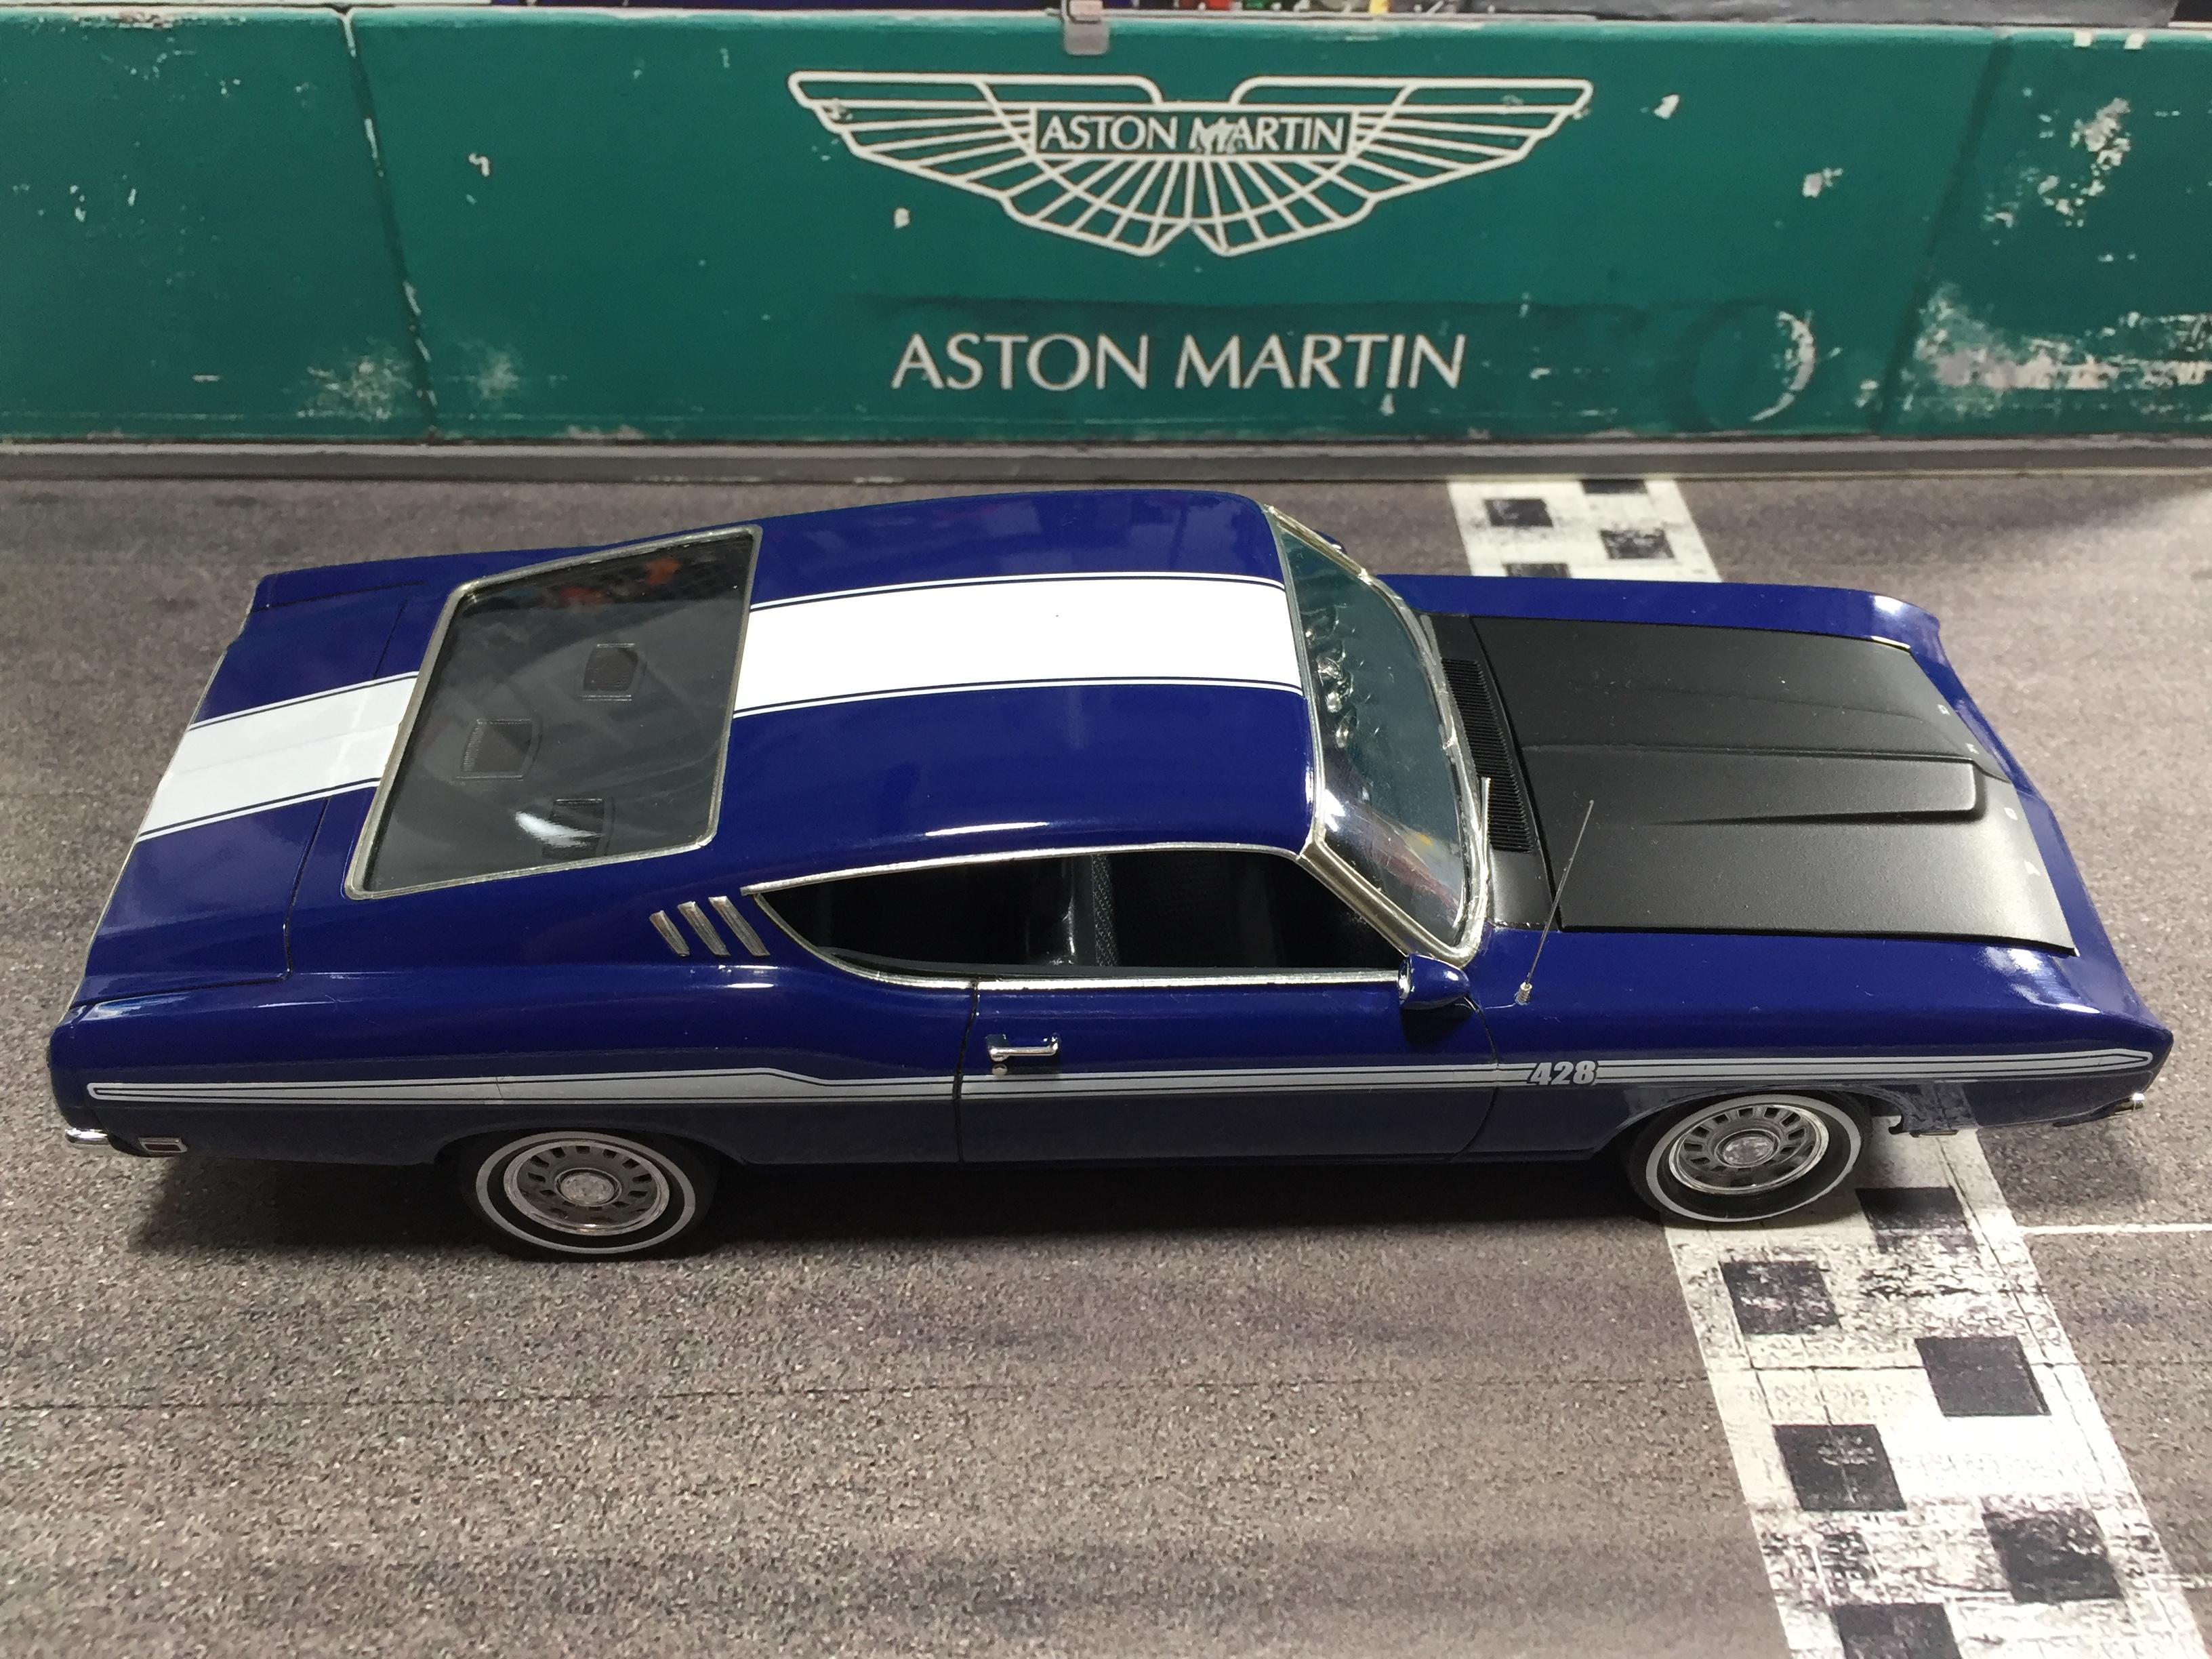
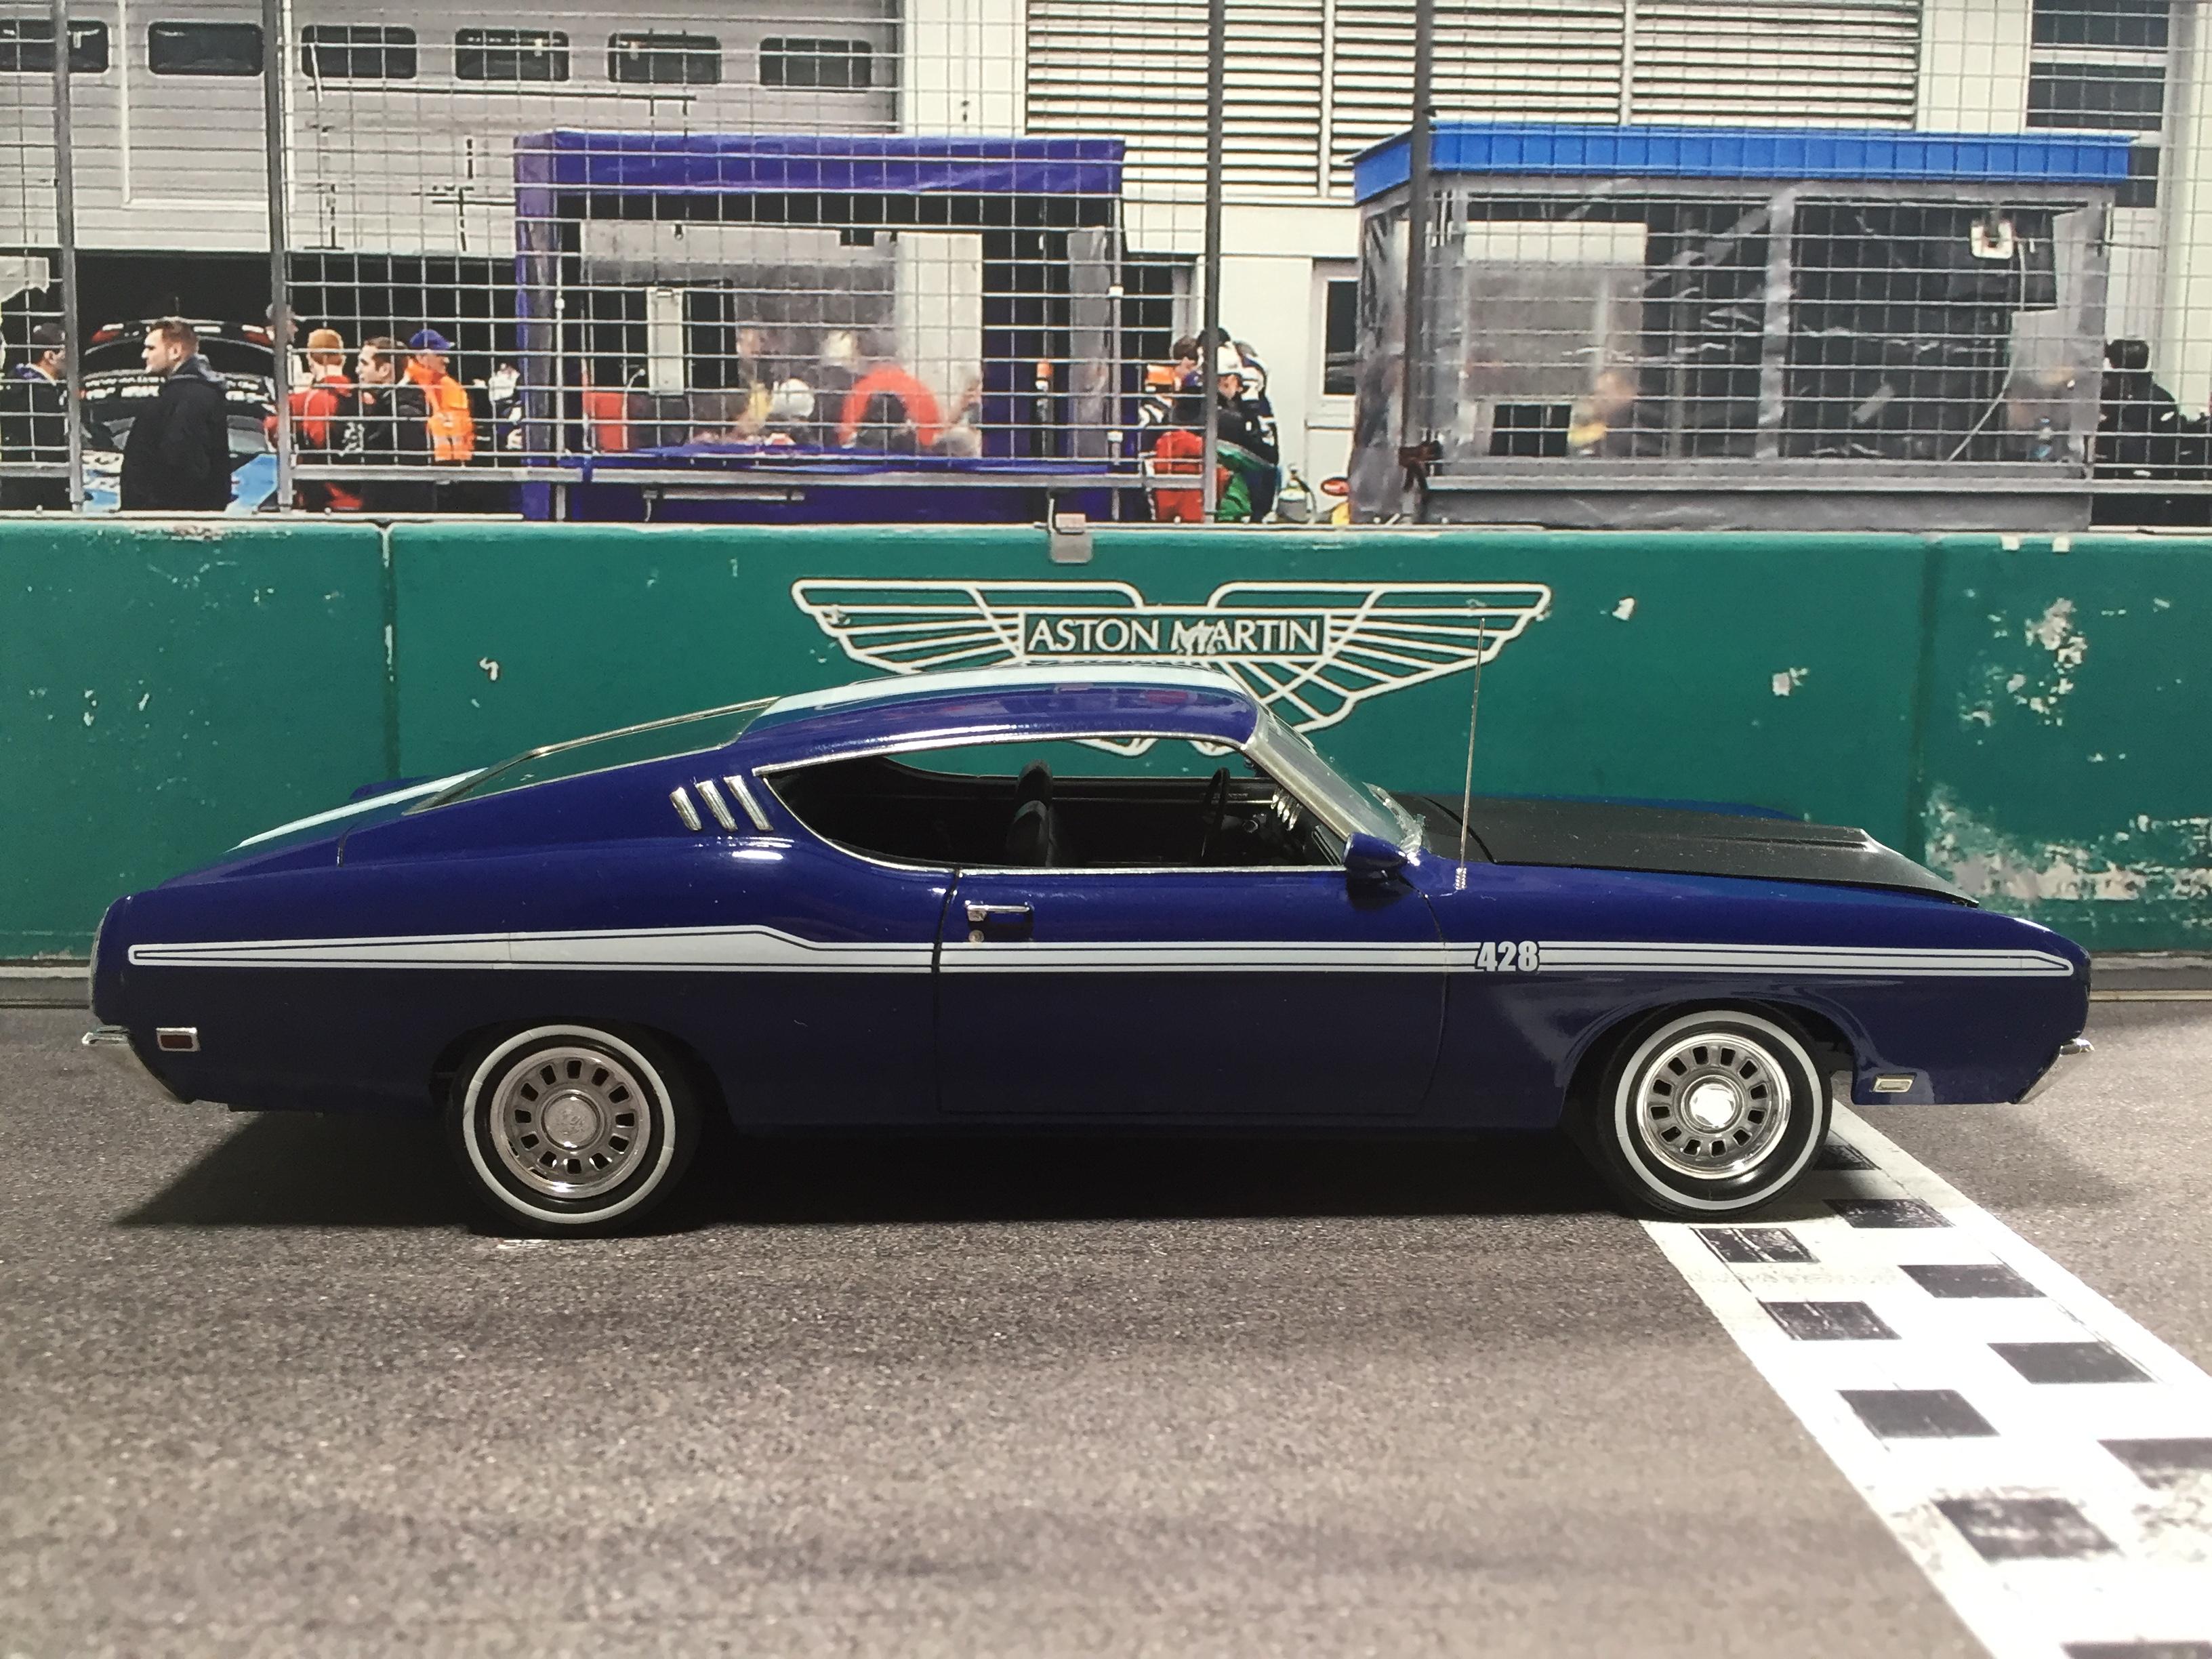
Happy New Year to all of you, best wishes and keep on modelling! 1969 Chevrolet Camaro Z28 (Revell) 1969 Dodge Charger General Lee (MPC Snap-Kit) 1970 Chevrolet Chevelle SS (Revell Snap-Kit) 1968 Pontiac Firebird (Revell) 2015 Ford Mustang (Revell Snap-Kit) 1971 Plymouth Satellite (Monogram) 1969 Mercury Cougar Eliminator (AMT) 1965 Pontiac GTO Convertible (AMT) 1969 Plymouth GTX Convertible (AMT) 1962 Dodge Dart Convertible (Jo-Han) 1969 Oldsmobile 442 (AMT) 1969 Ford Talladega (Revell/ Monogram)

-
Thanks for your kind words, guys!
-
Hi there, got this one finished just before the „annual deadline“ ?
-
Very nice models, ALL of them! A nice variety too!
-
Hi Ludwig, 15 quality builds - a very productive building year! A nice variety aswell. Keep up the good work in 2020!
-
Very nice Chevelles, all 4 of them! I like the wheels and how you got the stance right on them!
-
A very nice bunch of Caddies! Excellent work all around! Looking forward to see more of those in 2020...
-
Extremely clean builds, very cool models. Love all of them!
-
Very nice builds, especially like the Skyline!
-
VERY nice models, all of them!
-
Amazing work, Dann! Looking forward to see more of this brilliant SB stuff!
-
X2
-
Beautiful build, very nice!
-
Excellent work - like it a lot!
-
Very nice model, but where are the engine shots?
-
I used to apply BMF onto primer but changed my process a bit, inspired by Steve's tips. I find it much easier to remove only 1 or 2 coats on the emblems than, say, 4 or 5. In some cases I use Micro Mesh 8000 grade to give them a bit of "extra" shine.
-
Well done, great model!
-
Hi Ludwig, very nice! The white body / red interior combo is a timeless classic and you have made a really beautiful result out of it. Again, a very nice interior! Correct plates aswell, so there should be no trouble with the Michigan State authorities. The Hurst wheels and redlines go along very well with the car. Well done and.. you know...
-
There is fantastic quality literally dripping out of every image I see... This will be a FINE result soon!