Tommy124
-
Posts
1,648 -
Joined
-
Last visited
Content Type
Profiles
Forums
Events
Gallery
Everything posted by Tommy124
-

Revell '70 Pontiac Firebird 2'n1 1/24
Tommy124 replied to KT EASTMAN's topic in Car Kit News & Reviews
I was about to ask the same thing, as I would like to build Lester Burnham's car: -
Beautiful Vettes, great project - count me in!
-
Not as a brand, which I was referring to. In those countries, where they sell them Lexus cars, those cars are not called Toyota - right? But high performance sport car has always meant that, which is what I was referring to. There may be differences in using the term in different regions, but in our part of the world that would be called a roadster.
-
Referring to A: from my point of view a GT86 is not a high performance sports car but an entry level sports car. And a Lexus is not exactly a Toyota, as we probably agree. As you might get from my hint to the Le Mans win, I am trying to understand the Toyota brand strategy here, which brings me to B: why - because they can - or could, at least. They could have gone for a V6 or something else they actually build themselves. Of course, it's a great deal for BMW, no doubt about that. Needless to say, these are just my thoughts. But brands and their cars struggle to have some profile of their own nowadays. And I don't like the fact that everything increasingly gets mixed up in those cars that are anything but cheap: Supra's with BMW engines, Aston Martin's with AMG engines...
-
I know this should be about the kit but... what an ugly car. And I don't know what to make of the fact that the world's biggest car manufacturer is getting the engine for their only high performance sports car from BMW. Aren't they an innovative motor company having won the 24 hours of Le Mans in the last two years? The kit will be great though, as it's from Tamiya...
-
Cool project!
-
Hi Ludwig, high quality build as usual! Very nice... ☺️
-
Not the first of those Volvo's that I see done as a road car. Looks so much better that the rallye stuff in my eyes. Very well done!
-
Beautifully executed work!
-
Hi there, looks good. I am working on a '69 Convertible with the same body color currently. I have one question regarding your foiling process. In the image below, it looks like you apply the BMF over the Belvedere emblem, AFTER the body color has been applied. I know the process to do so BEFORE the body color, and then to uncover the lettering afterwards. As you seem to have done with the GTX emblem too...
-
1/24 Revell 1986 Chevy Monte Carlo SS 2'n1
Tommy124 replied to Casey's topic in Car Kit News & Reviews
There's been a coupe of weird "Donks" releases from Revell (example: https://www.scalemates.com/kits/revell-85-2081-1986-chevy-monte-carlo-ss--158510), but thankfully they are all "2-in-1" kits giving the opportunity to build this car stock. -
Nice work! Beautiful color combo and I like the trunk work!
-
Fully agree with Kurt here. Nicely done. I only wish the images (of the car) were a bit bigger!
-
First off, I agree to what y'all said about the poor level of detailing in the 1/16 scale kits. If the decision is not made yet, I would go for the Porsche for one simple reason. The engine bay of the 959 is rather tightly filled with the flat-six, the turbos etc. and will therefore not look as "empty" as the one in the Countach. On the other hand, if you enjoy adding detail yourself, there is a lot more potential for doing so on the Lambo...
-
Well done Urs - looks fine!
-
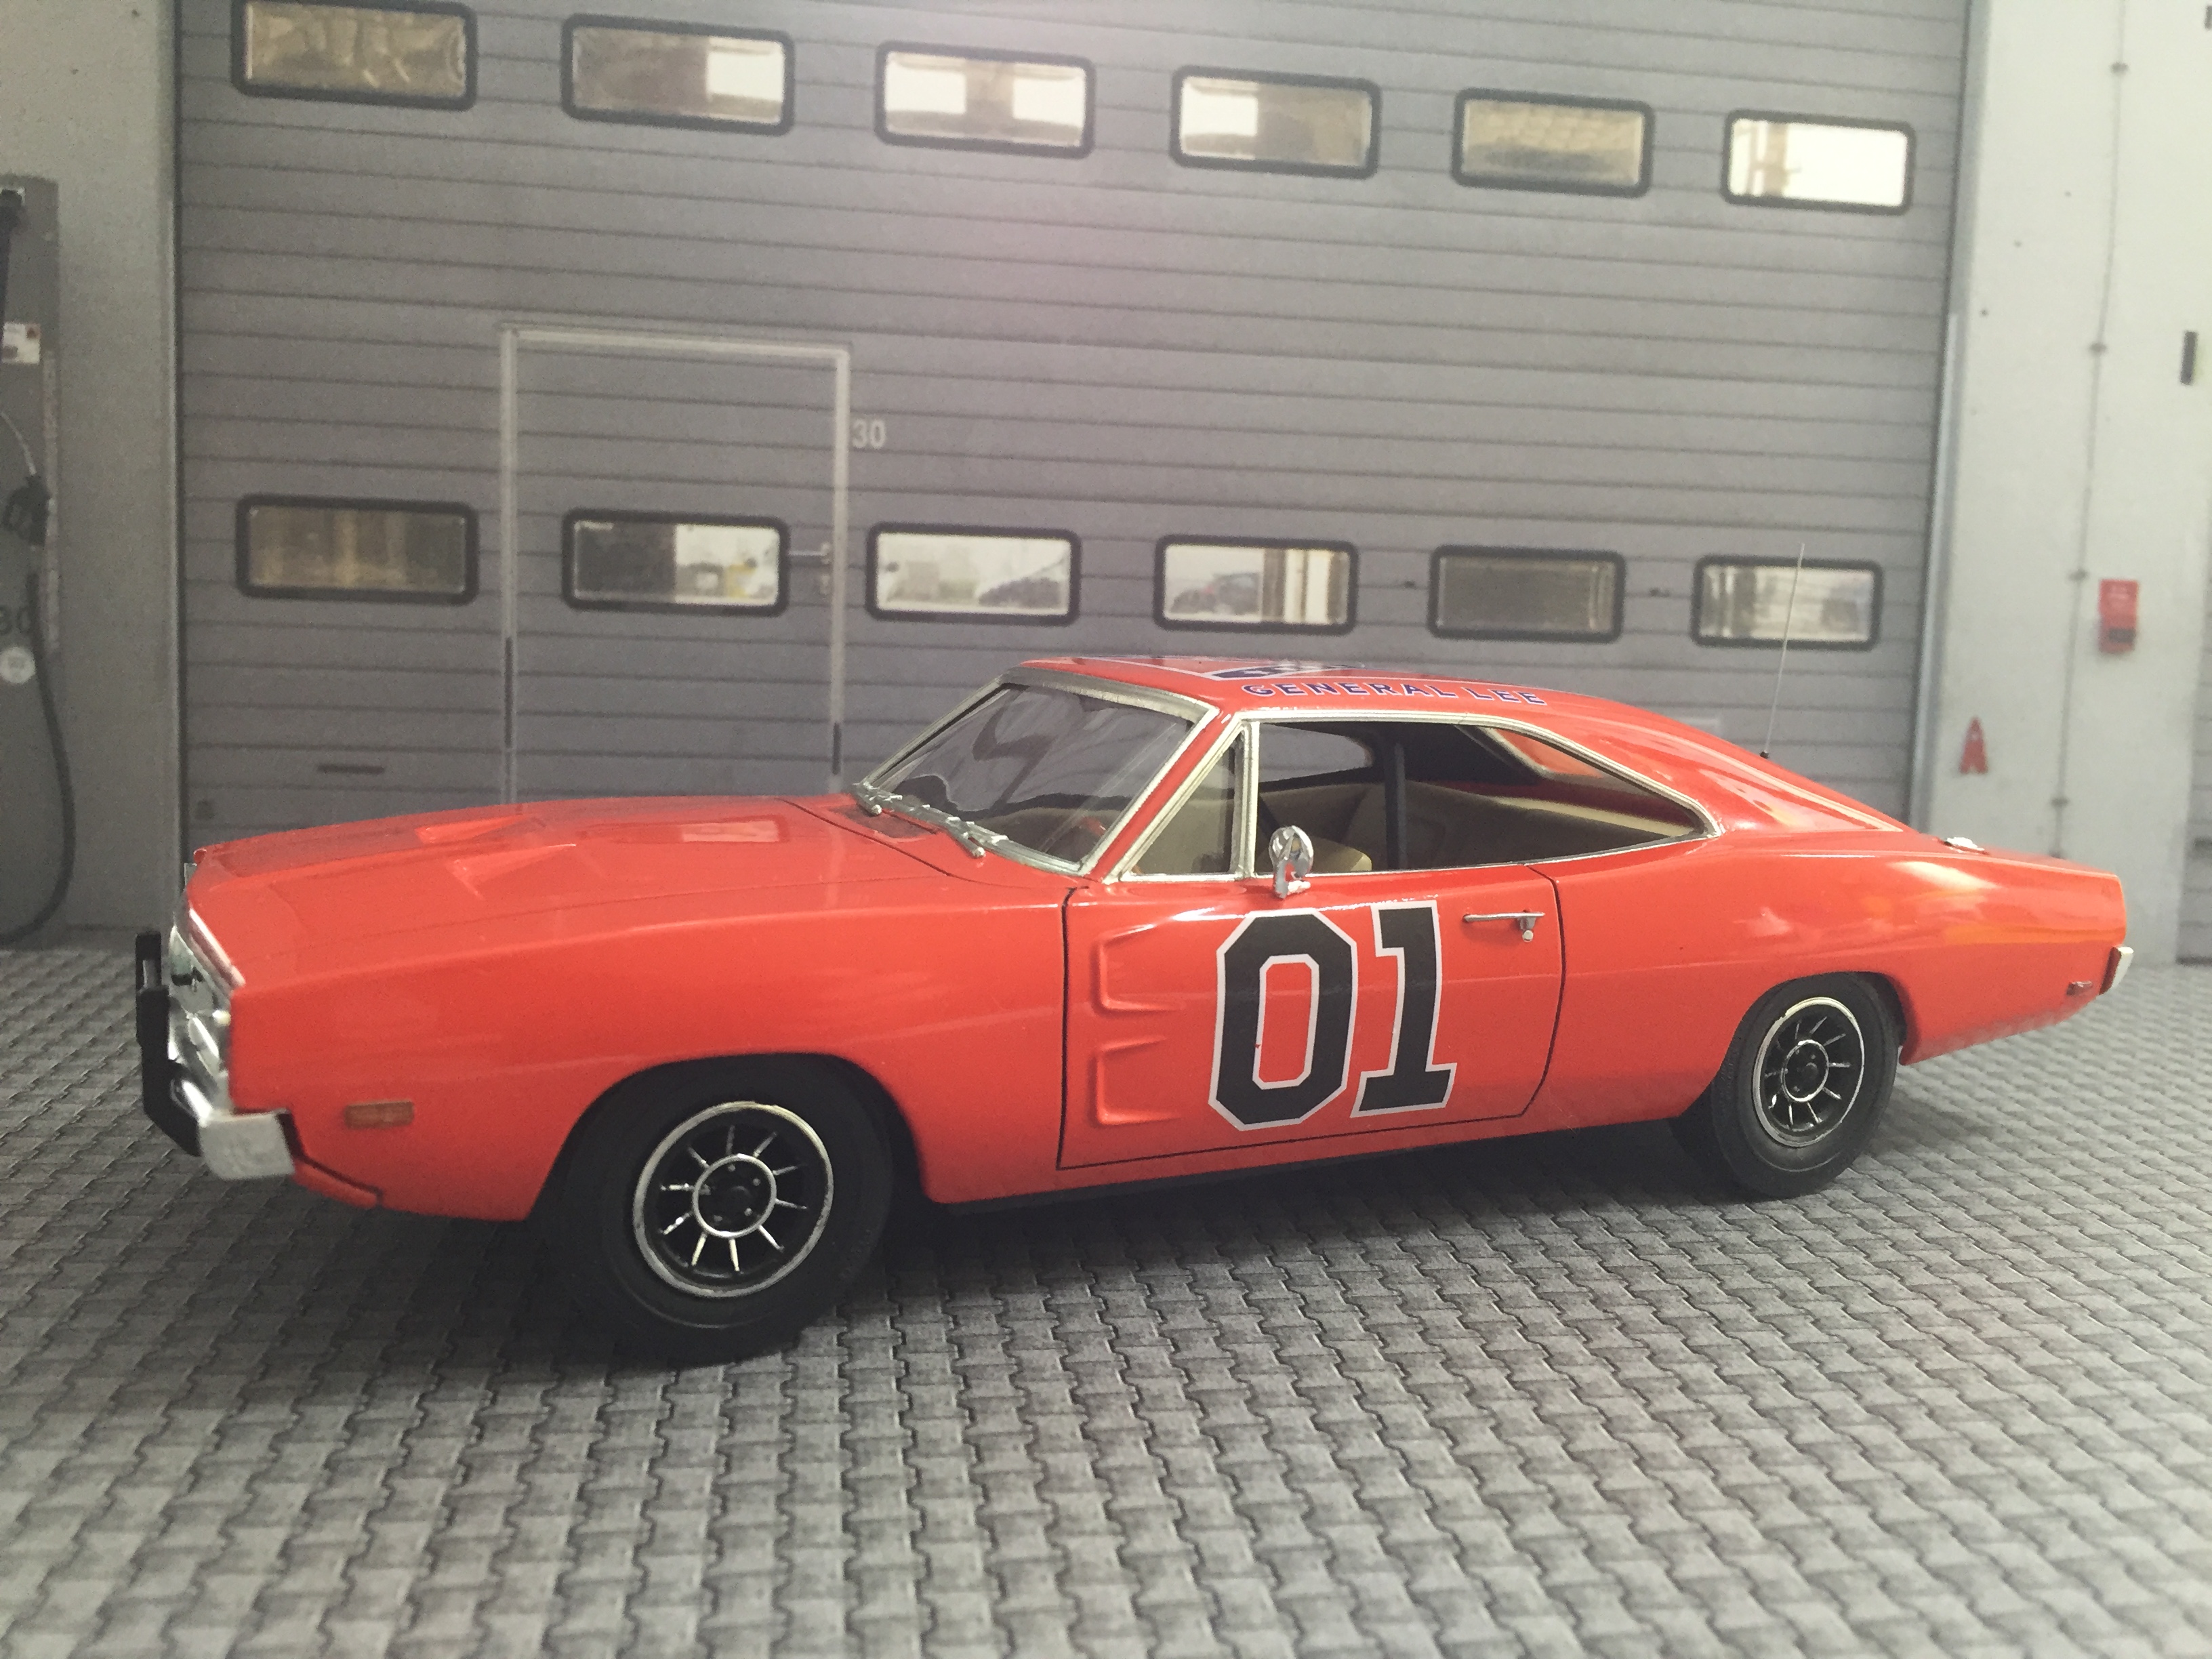
Well done! Nice paint and foiling. These MPC Challenger Charger snap kits are so much fun to build. ☺️ Actually I like the wheels contained in this kit a lot. It's a set of Torqs that I will use on mine and there's also a set of Vectors that are much better than those in the General Lee snap kit I built some months ago. I will switch them sooner or later. Here's an image of that build, if I may:

-
Rapid Transit System " paint code cuda "
Tommy124 replied to dragmodels44's topic in WIP: Model Cars
Cool idea and very well done! -
Nice and clean build!
-
Nice Chevy, well done!
-
1/24 Revell Porsche 934RSR thoughts?
Tommy124 replied to aurfalien's topic in Model Building Questions and Answers
Well, their choice is not least a matter of brand licensing these days, I reckon. Obviously, they are in possesion of a Porsche license currently, which lead to the release of the 918 spyder, Panamera, 930 turbo and the three versions of the 934 RSR. Of course, it's not a bad thing to have these well-detailed 934 RSR kits released, but personally, I could have done with sticking to the two Tamiya kit variants, especially as those two are the same liveries (Jägermeister, Vaillant). Although I'm not a big fan of contemporary cars and hypercars, I would advise them to use their McLaren license to do something else beside the 570S. -
Tamiya 1/24 Mazda Savanna RX-7 Rotary Rocket 1st Gen
Tommy124 replied to Italianhorses's topic in Model Cars
What can I say... You really make 'em come alive... Great model! -
Lovely Camaro - top-notch build!
-
Jo-Han Dodge Dart '62 Convertible - resto in "gold'n brown"
Tommy124 replied to Tommy124's topic in Model Cars
Thanks folks, for all your kind feedback! -
Hi Mike, I'm doing quite a lot of similar stuff (re-builds/ restos of rare models) lately, so I'll definitely be in! It's right that the Roadrunner decals are missing from the later editions of Revell/ Monogram kits (probably due to image licensing issues?) but you can get them from various aftermarket sources. I bought mine on Ebay from a seller called Oma's Cool Stuff.
-
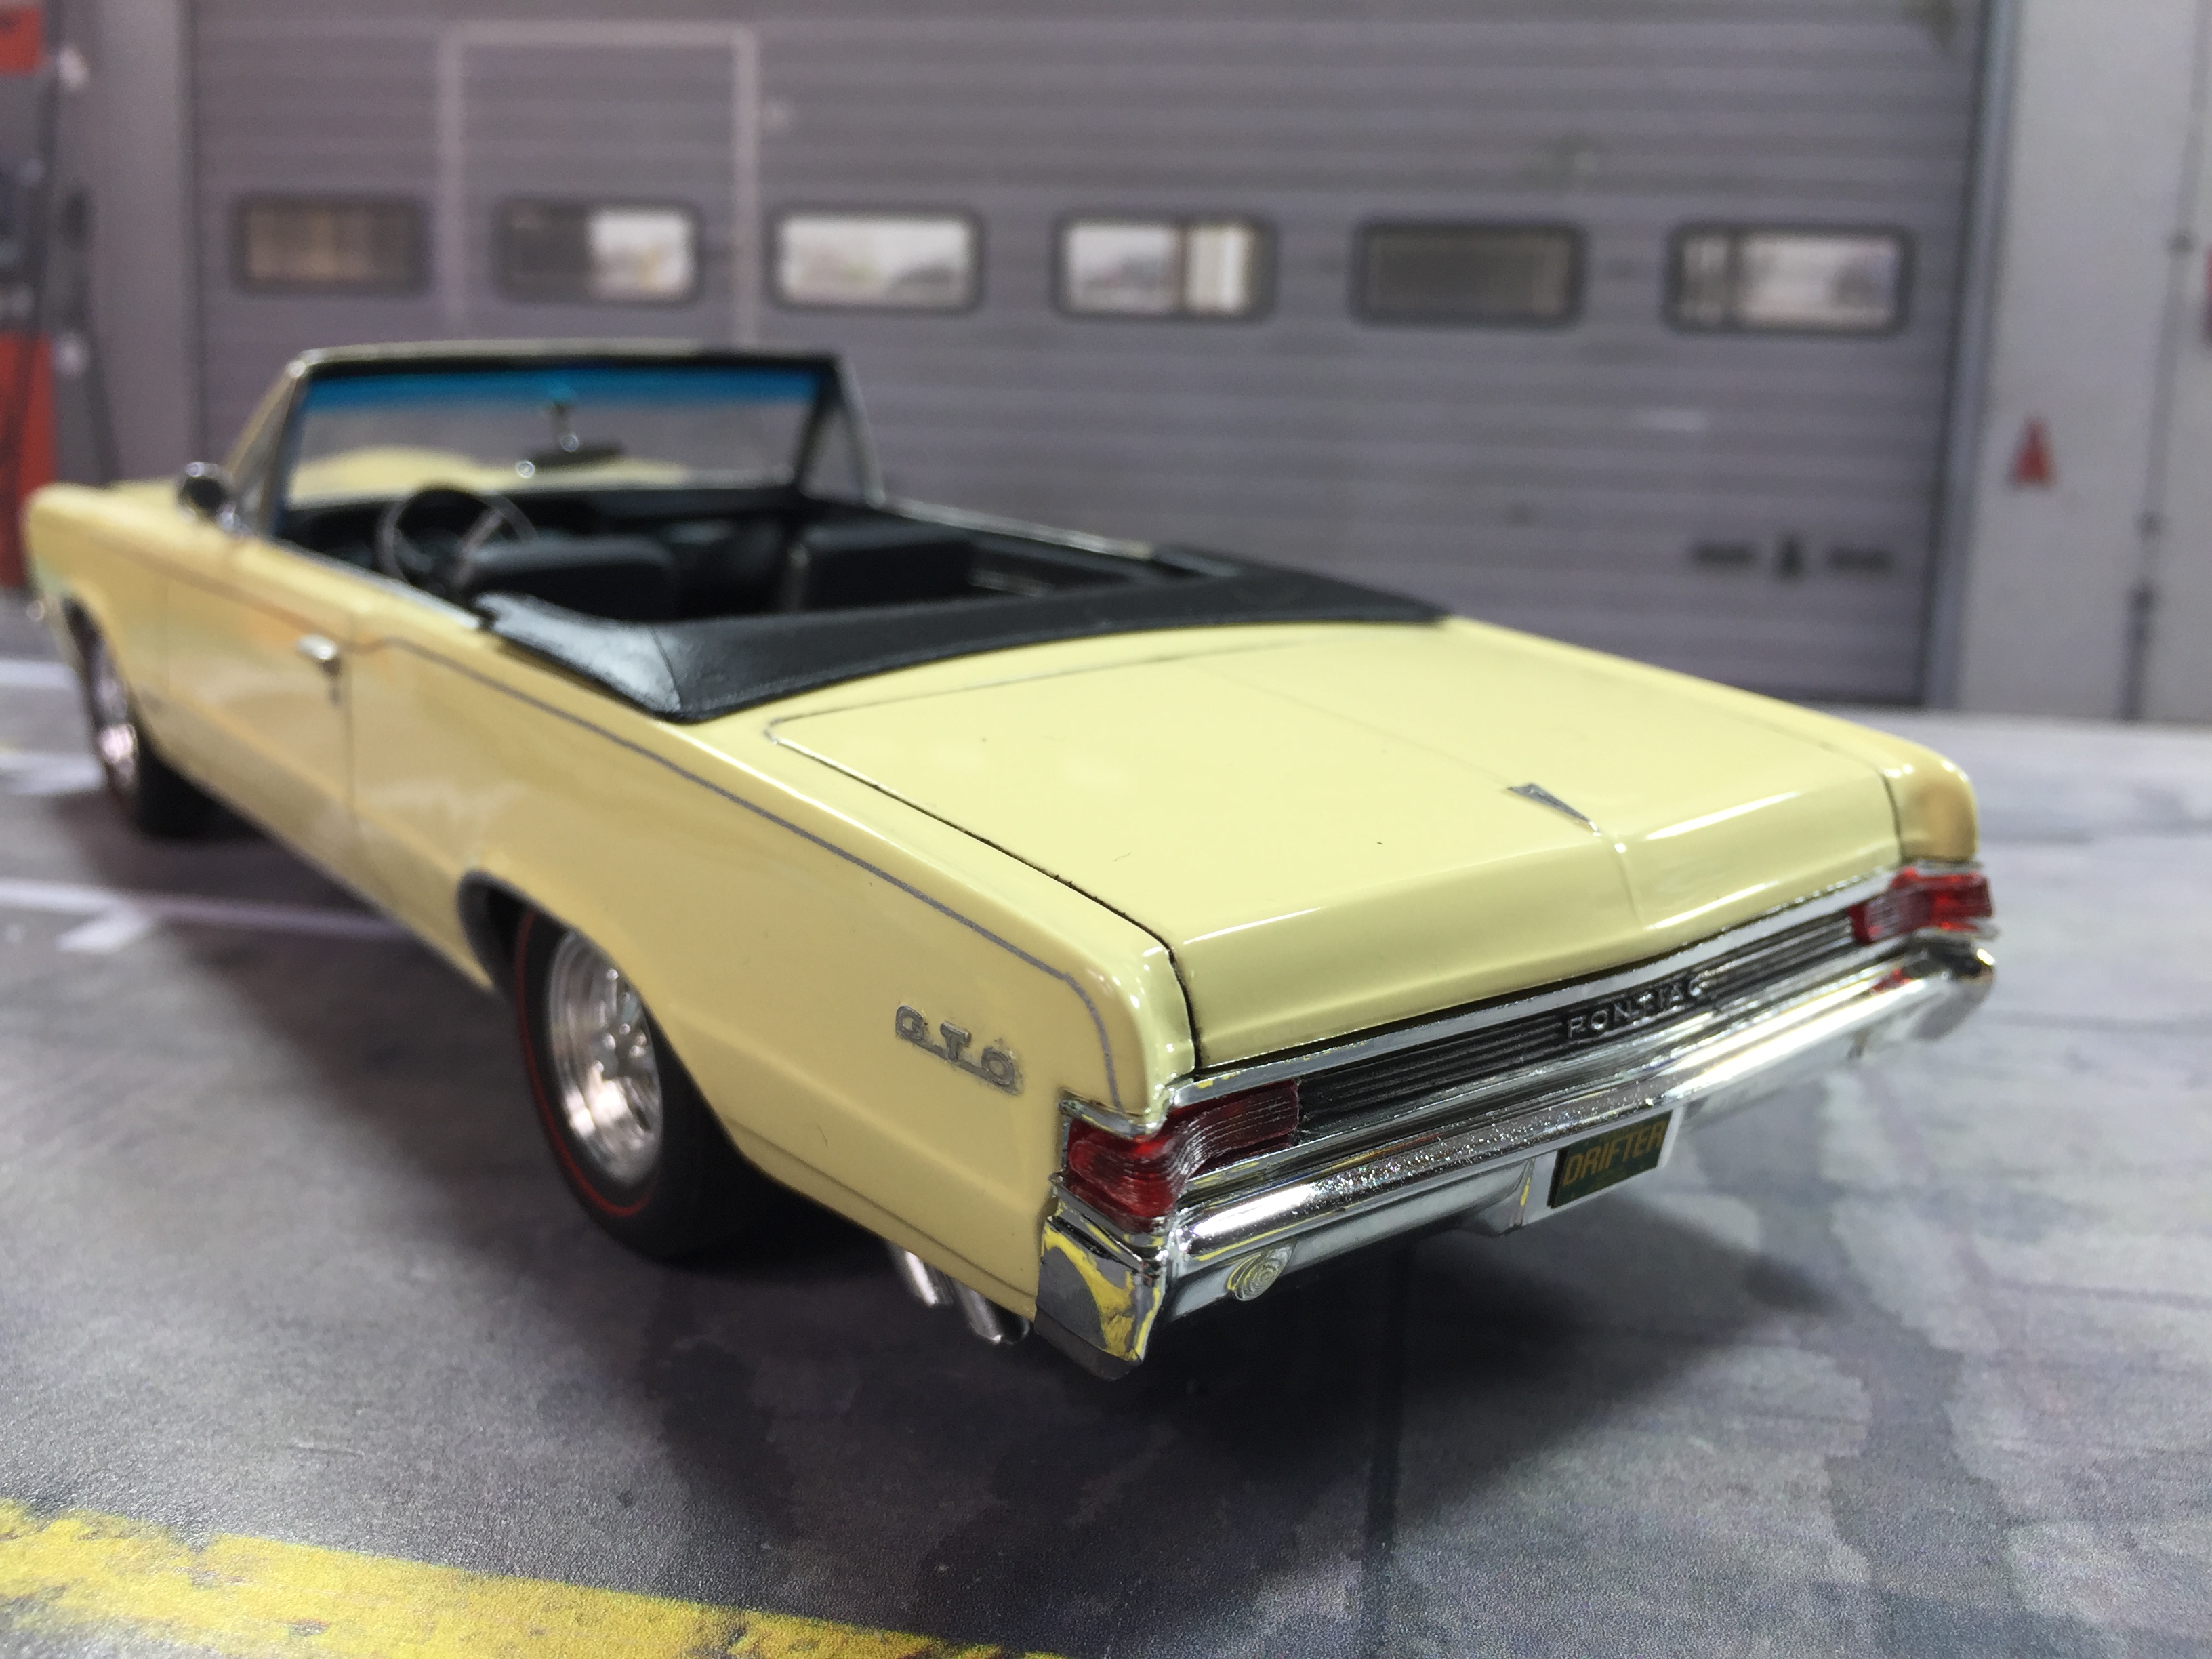
I finally came round to checking on this when I opened the showcase last night to put in the Dodge Dart. I then changed the taillights. Judge for yourself if it looks better this way, surely not worse, but certainly not perfect either...