-
Posts
2,535 -
Joined
-
Last visited
Content Type
Profiles
Forums
Events
Gallery
Everything posted by Steve H
-
That 57 body looks good with some trim removed. The hood is very clean looking. Interesting how removing some key features from an iconic car changes the appearance, but you have retained the classic lines. I love it.
- 766 replies
-
- stalled builds
- quick builds
-
(and 2 more)
Tagged with:
-
Hi Dan, this is a fantastic build. Great to see someone build an Acadian. I have a 1:1 ‘67 Pontiac Beaumont that I intend to do a replica of one day. Just waiting for my modelling skills to improve a bit so I can do it justice. Your build is fantastic, great idea to print decals for the Acadian logos. Cheers, Steve
-
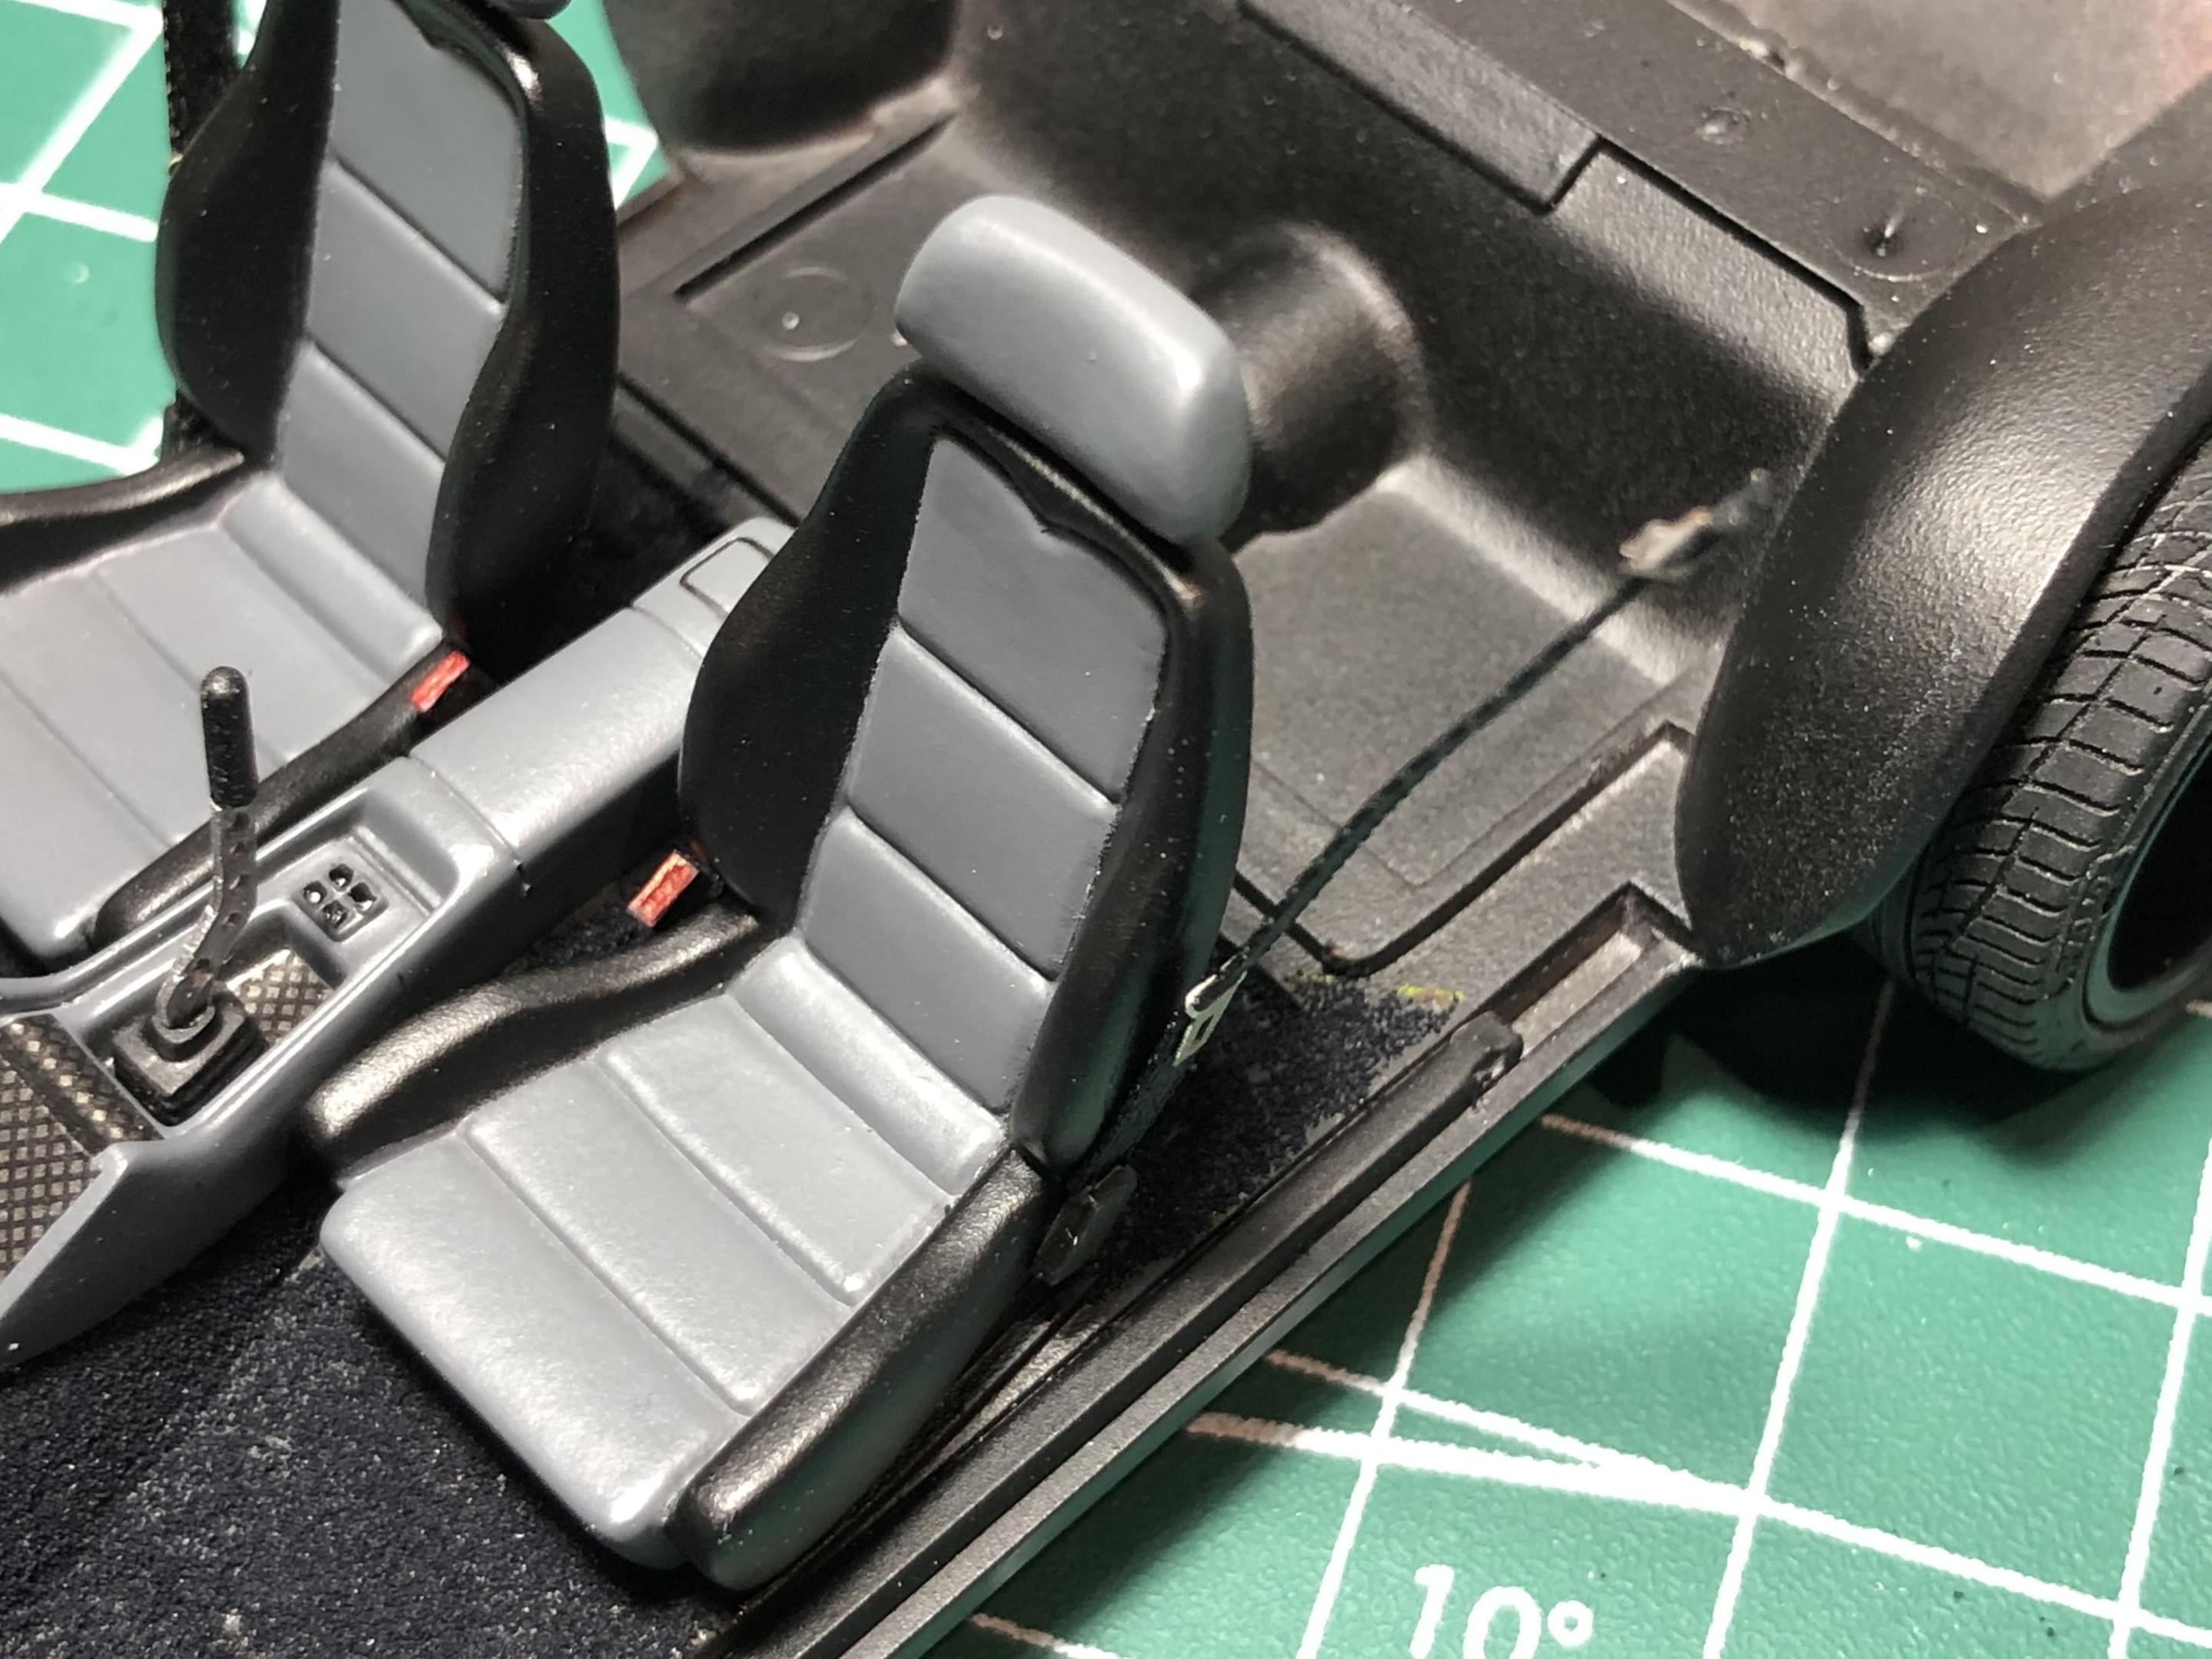
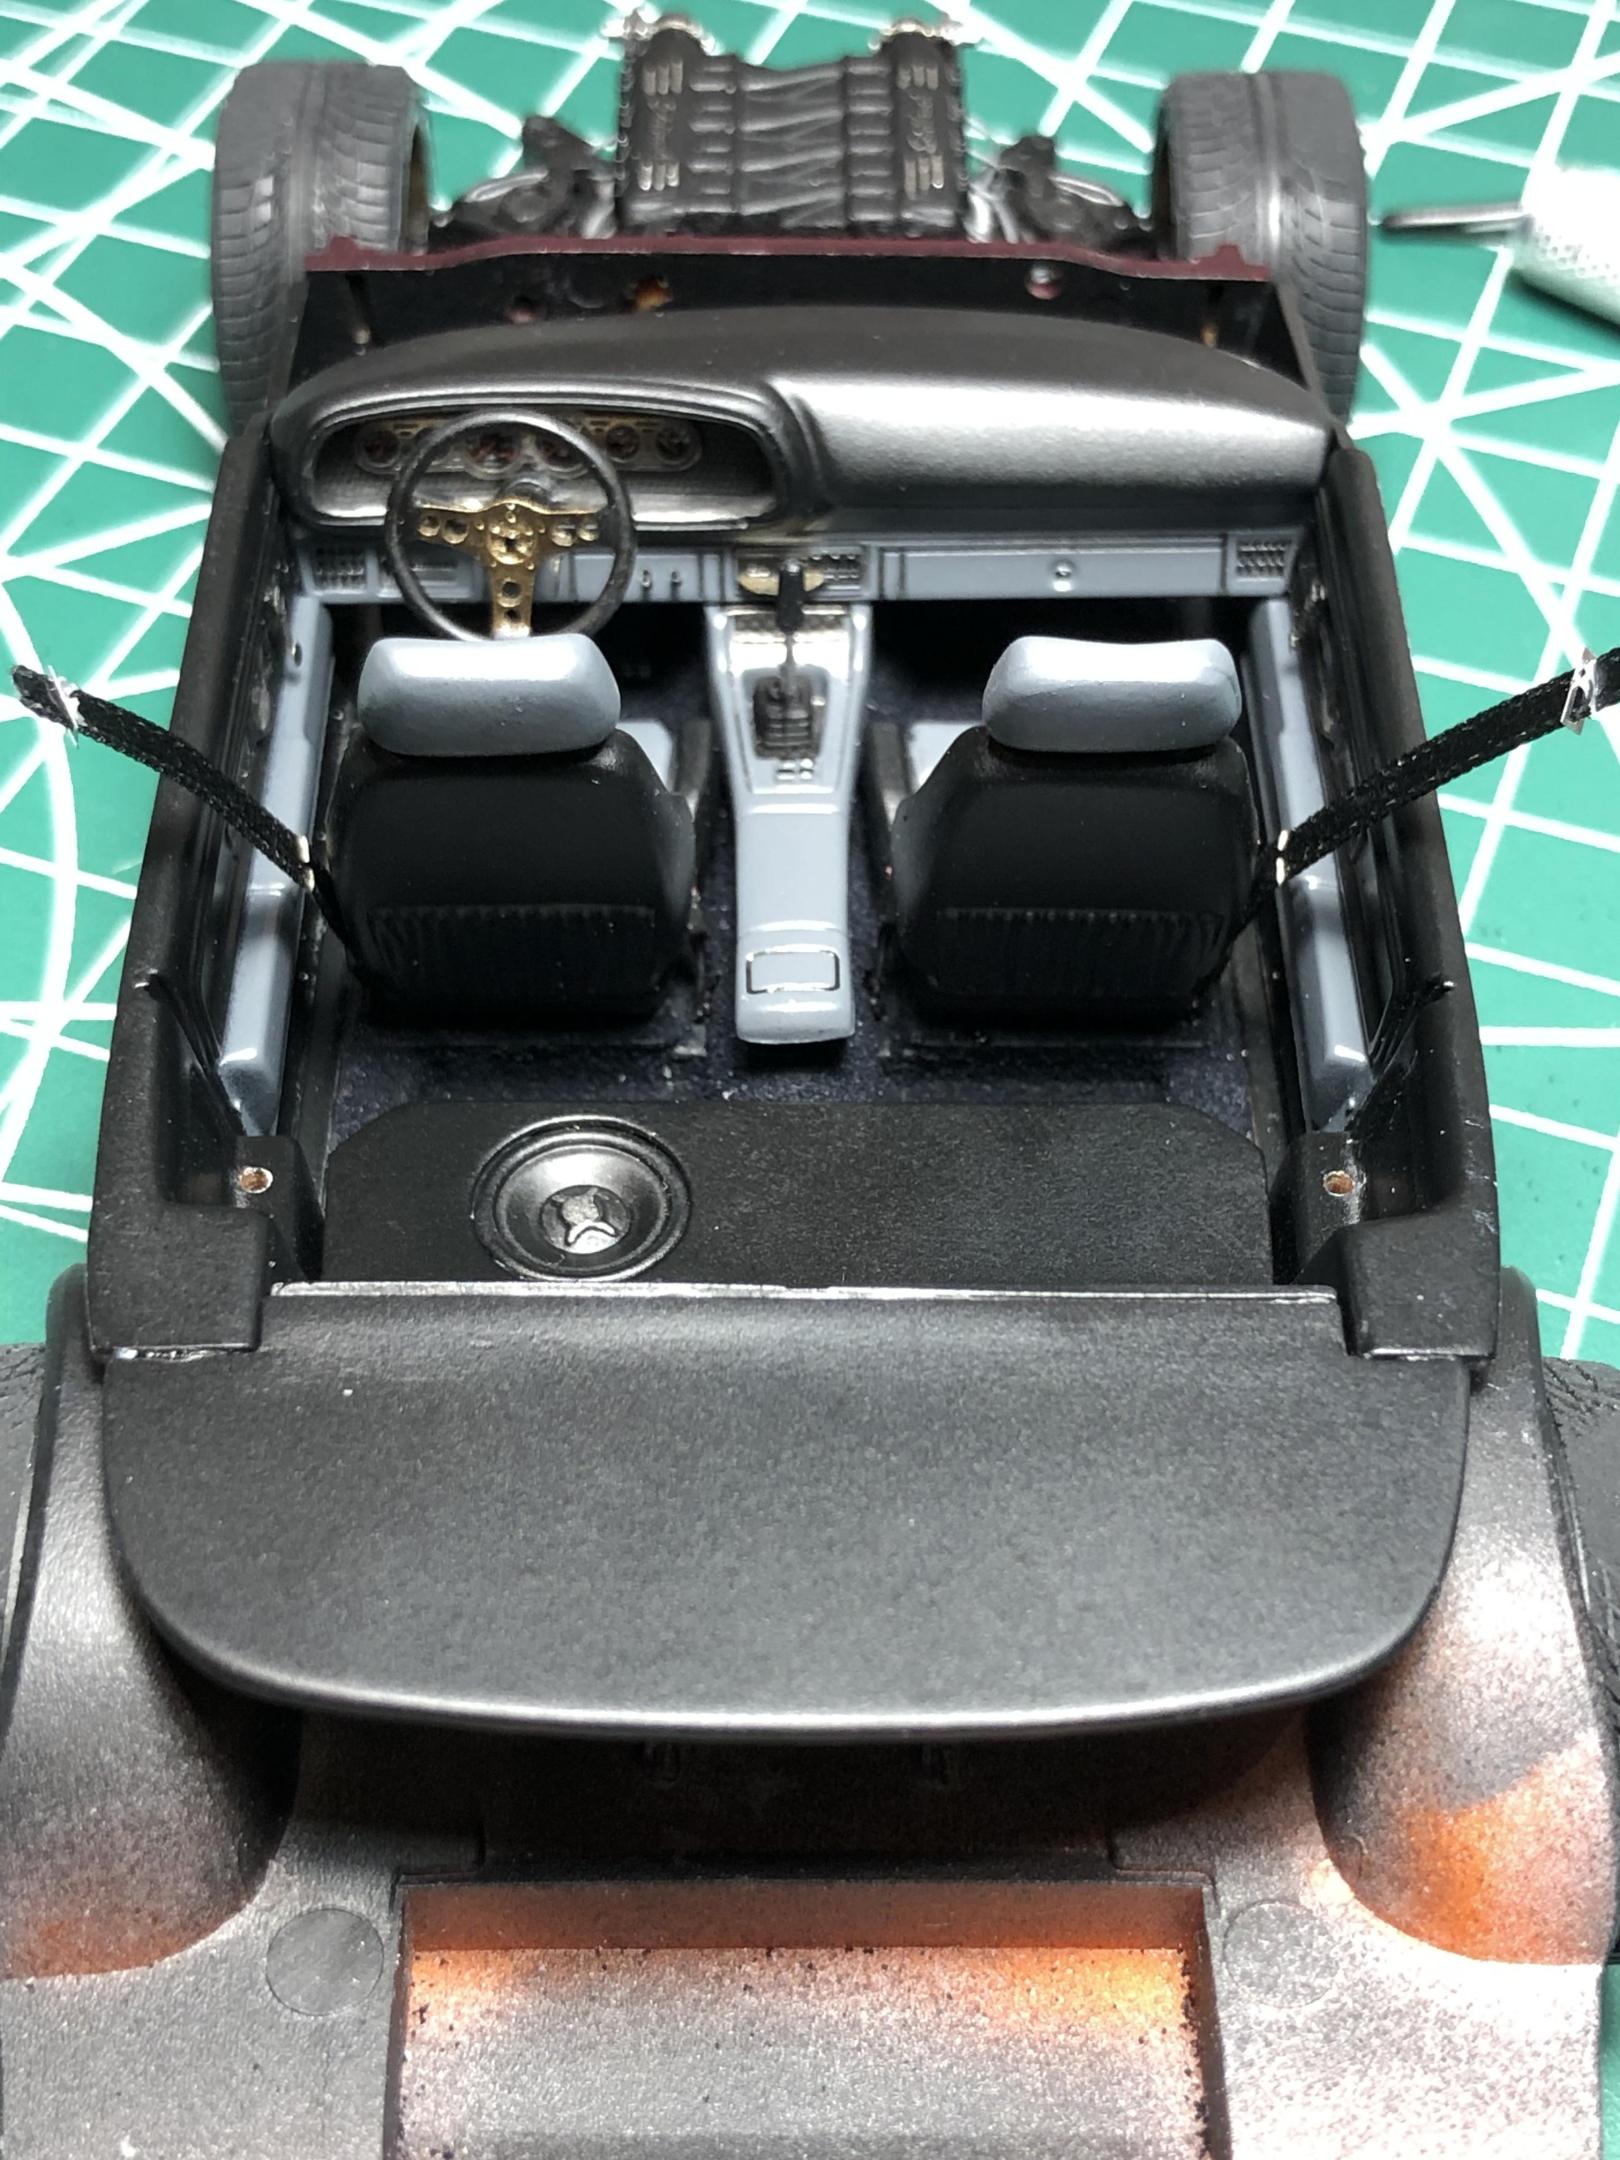
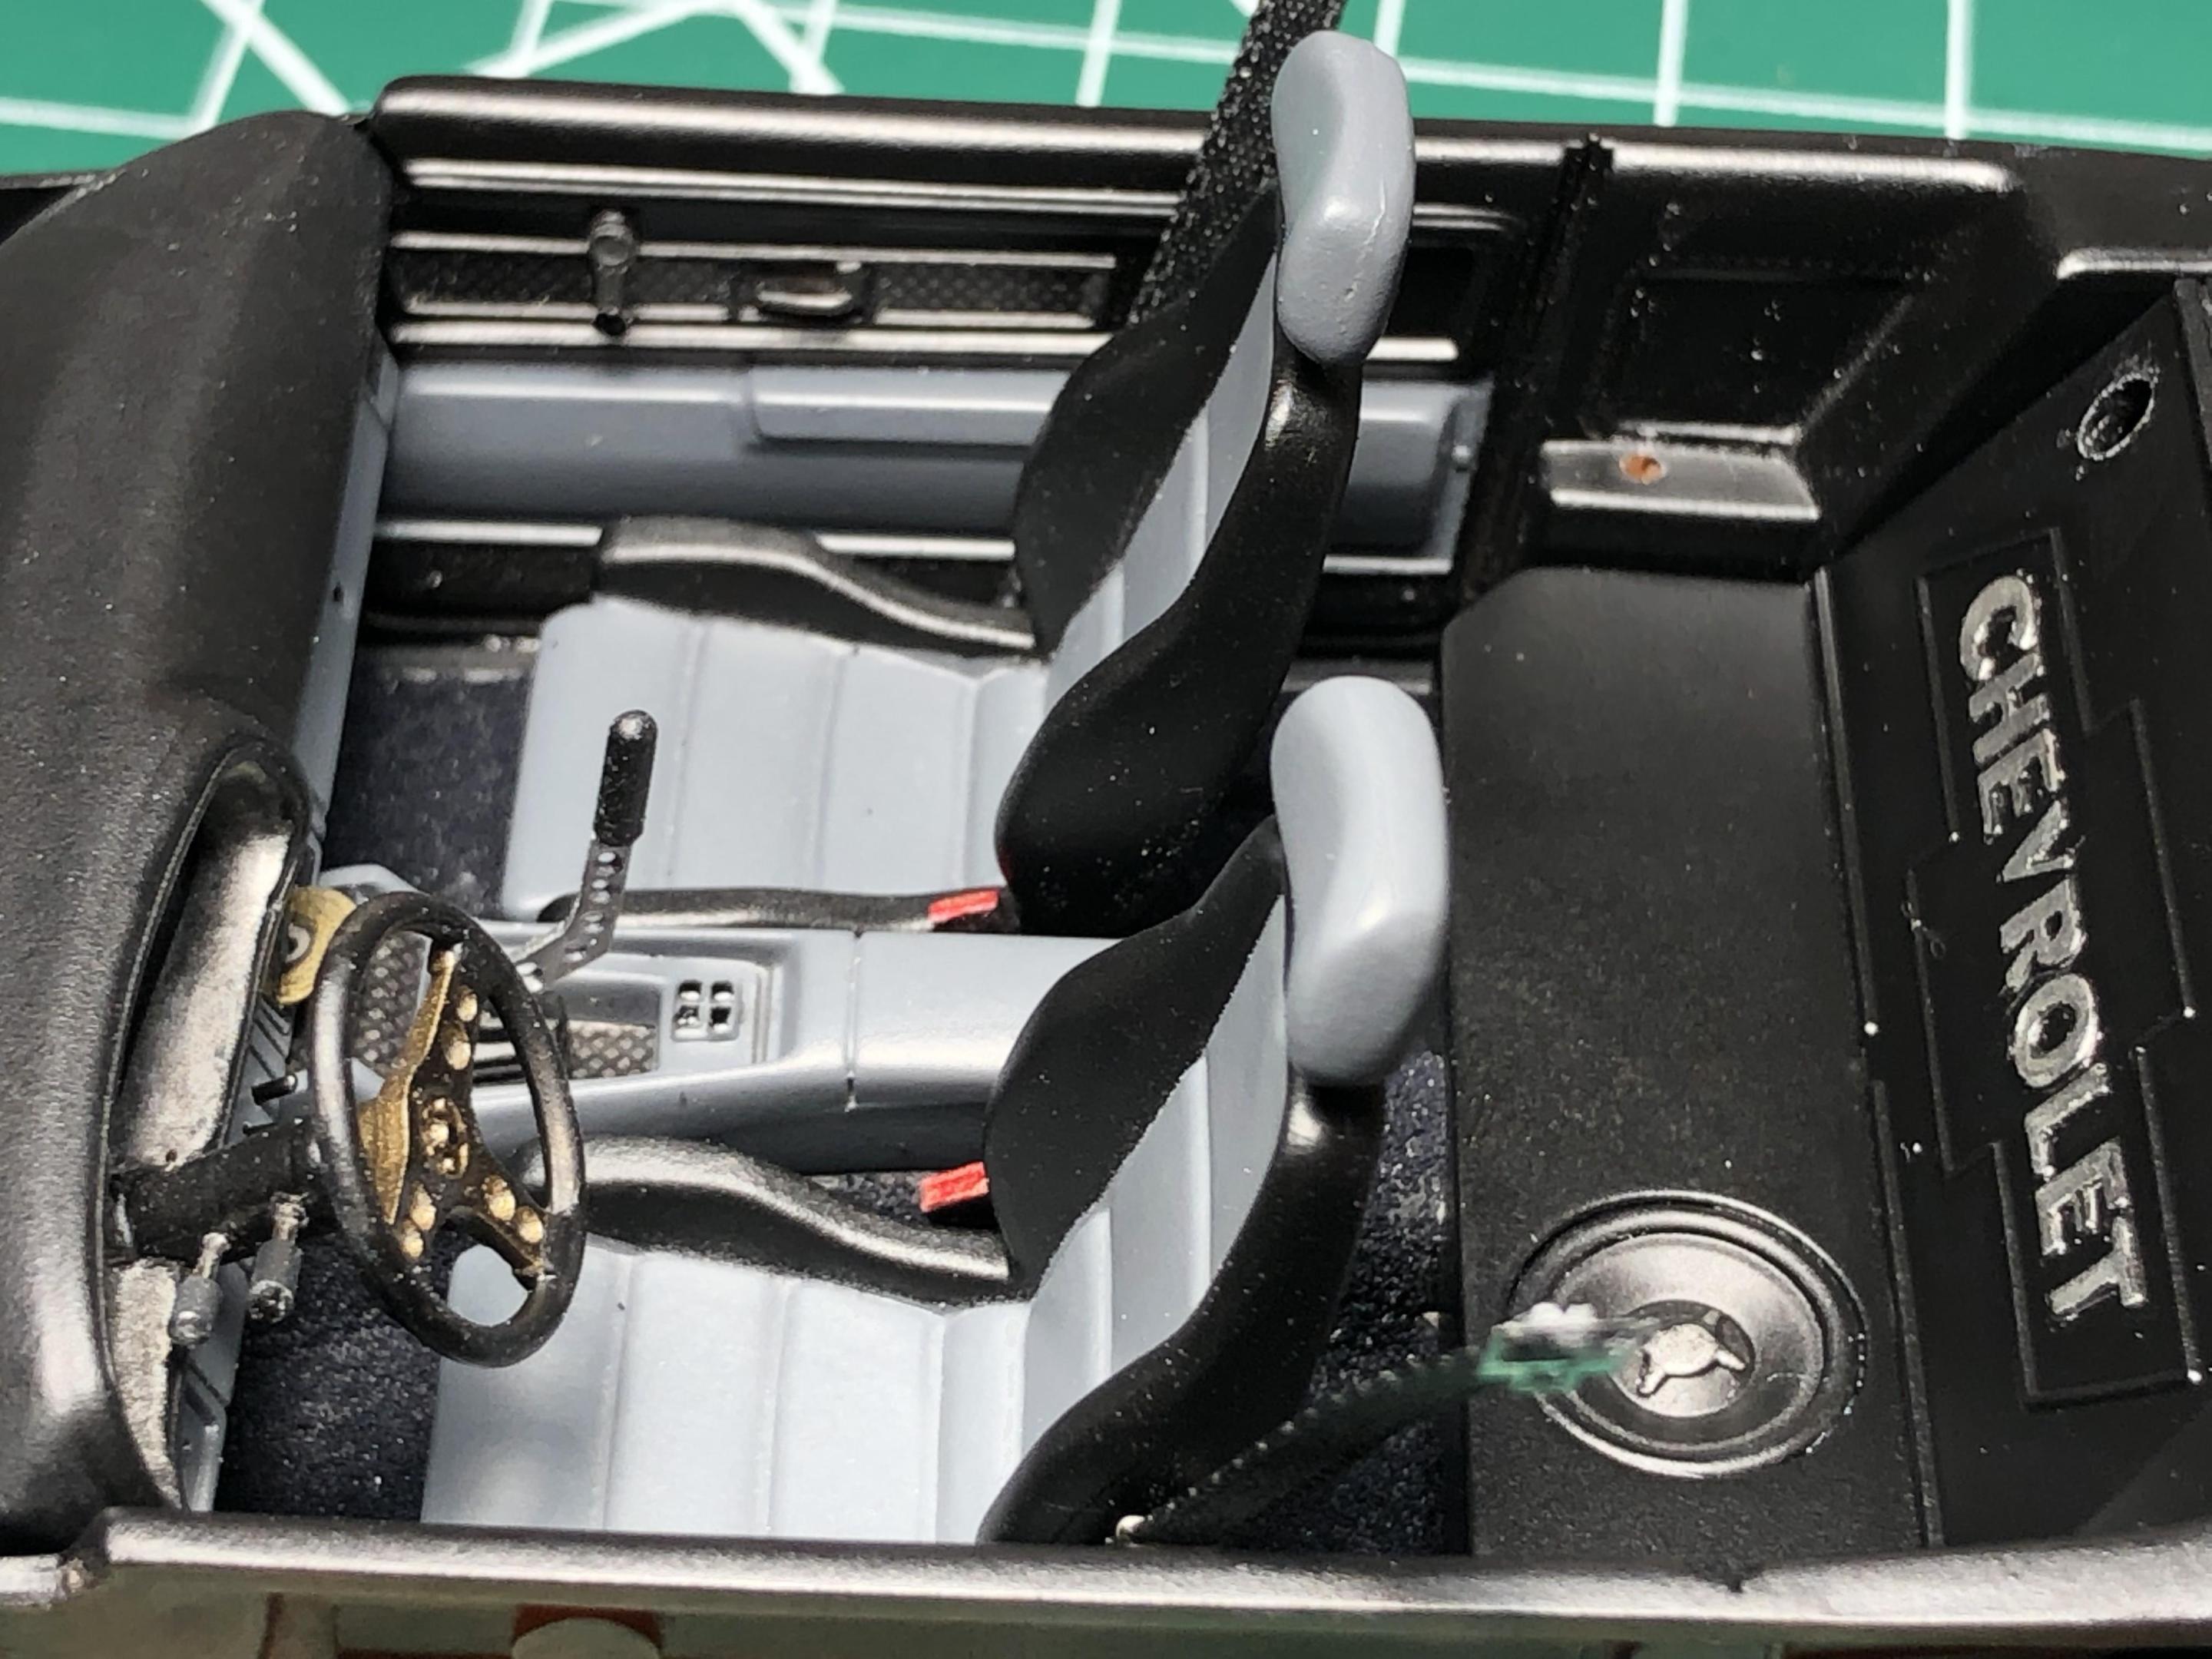
For seat belts, I didn’t want the full 5 point racing belts, however, lap belts seamed a bit too old school. So I decided to have a try at shoulder belts. I made the receivers out of styrene, with solder to attach it to chassis. The red “release button” was coloured with a red sharpie. With the belts installed it was time to assemble the interior. I still have to add the roll bar, and a few speakers, but it’s almost there. The plan is to attach the shoulder belts to an attachment point on the inside roof after body is installed. My first attempt at doing this type of seat belt so wish me luck. cheers, Steve
-
Thanks guys! The open grill definitely looks better. I think it would have looked like a black blob otherwise.
-
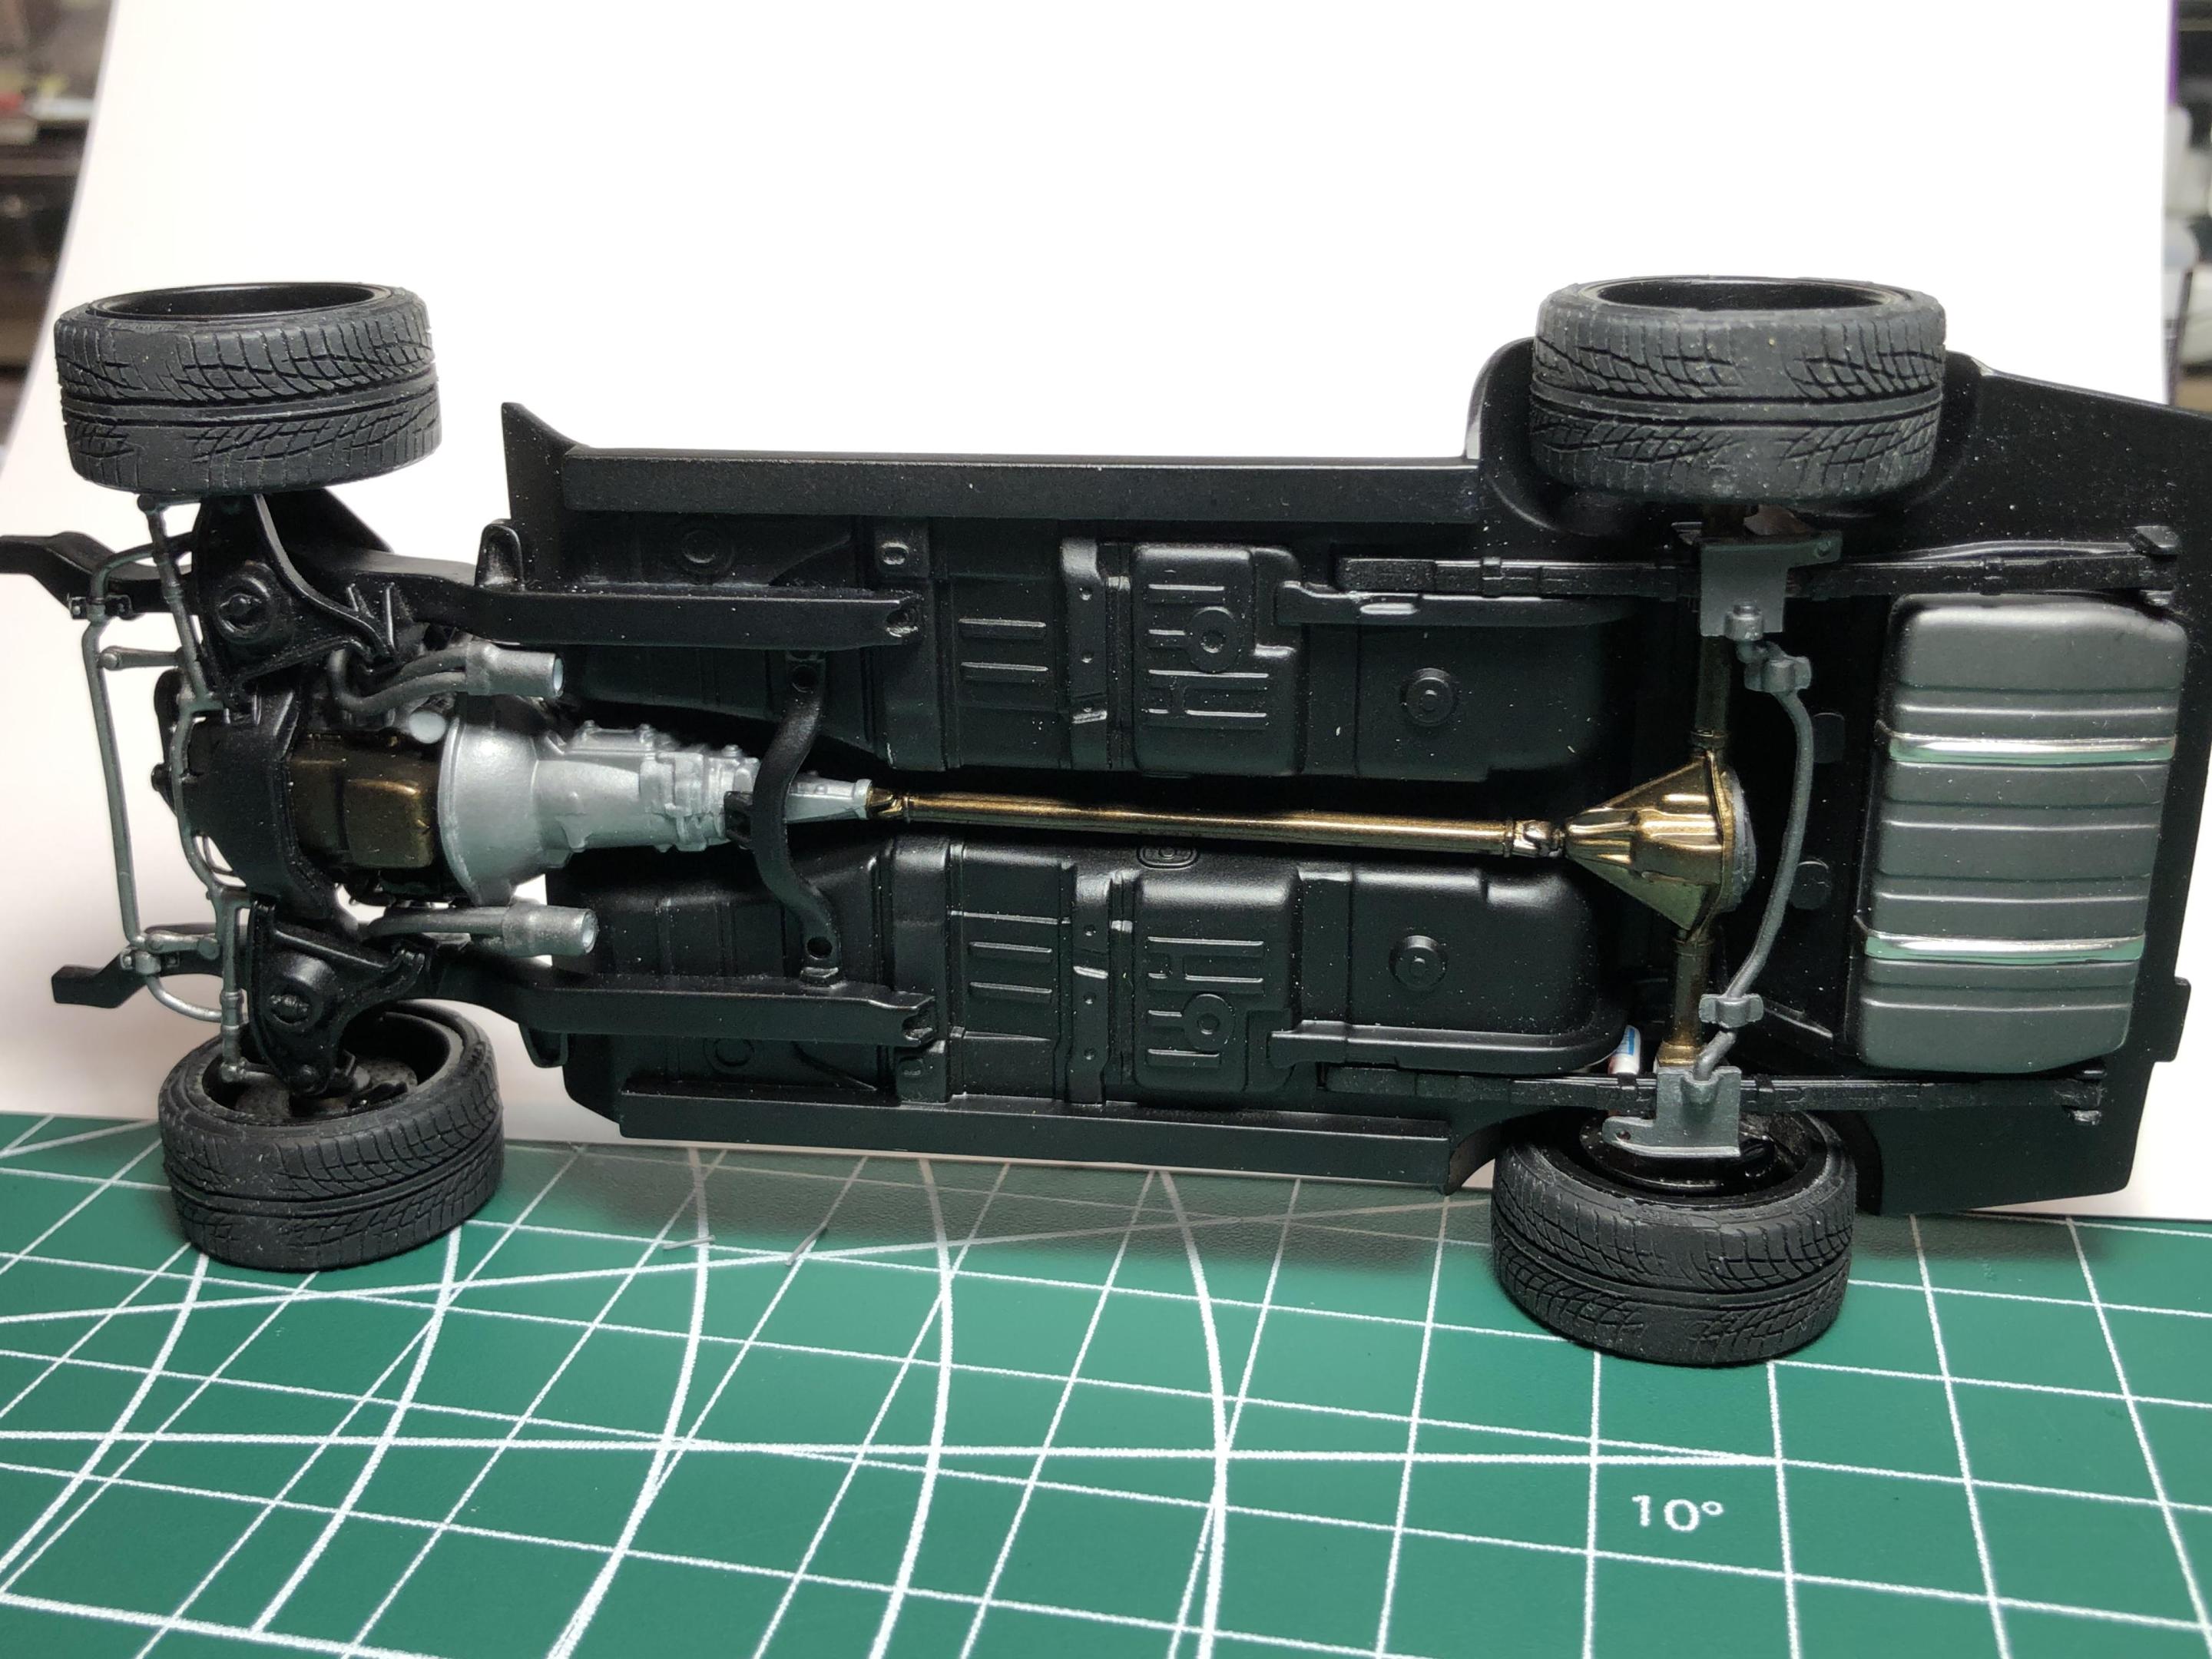
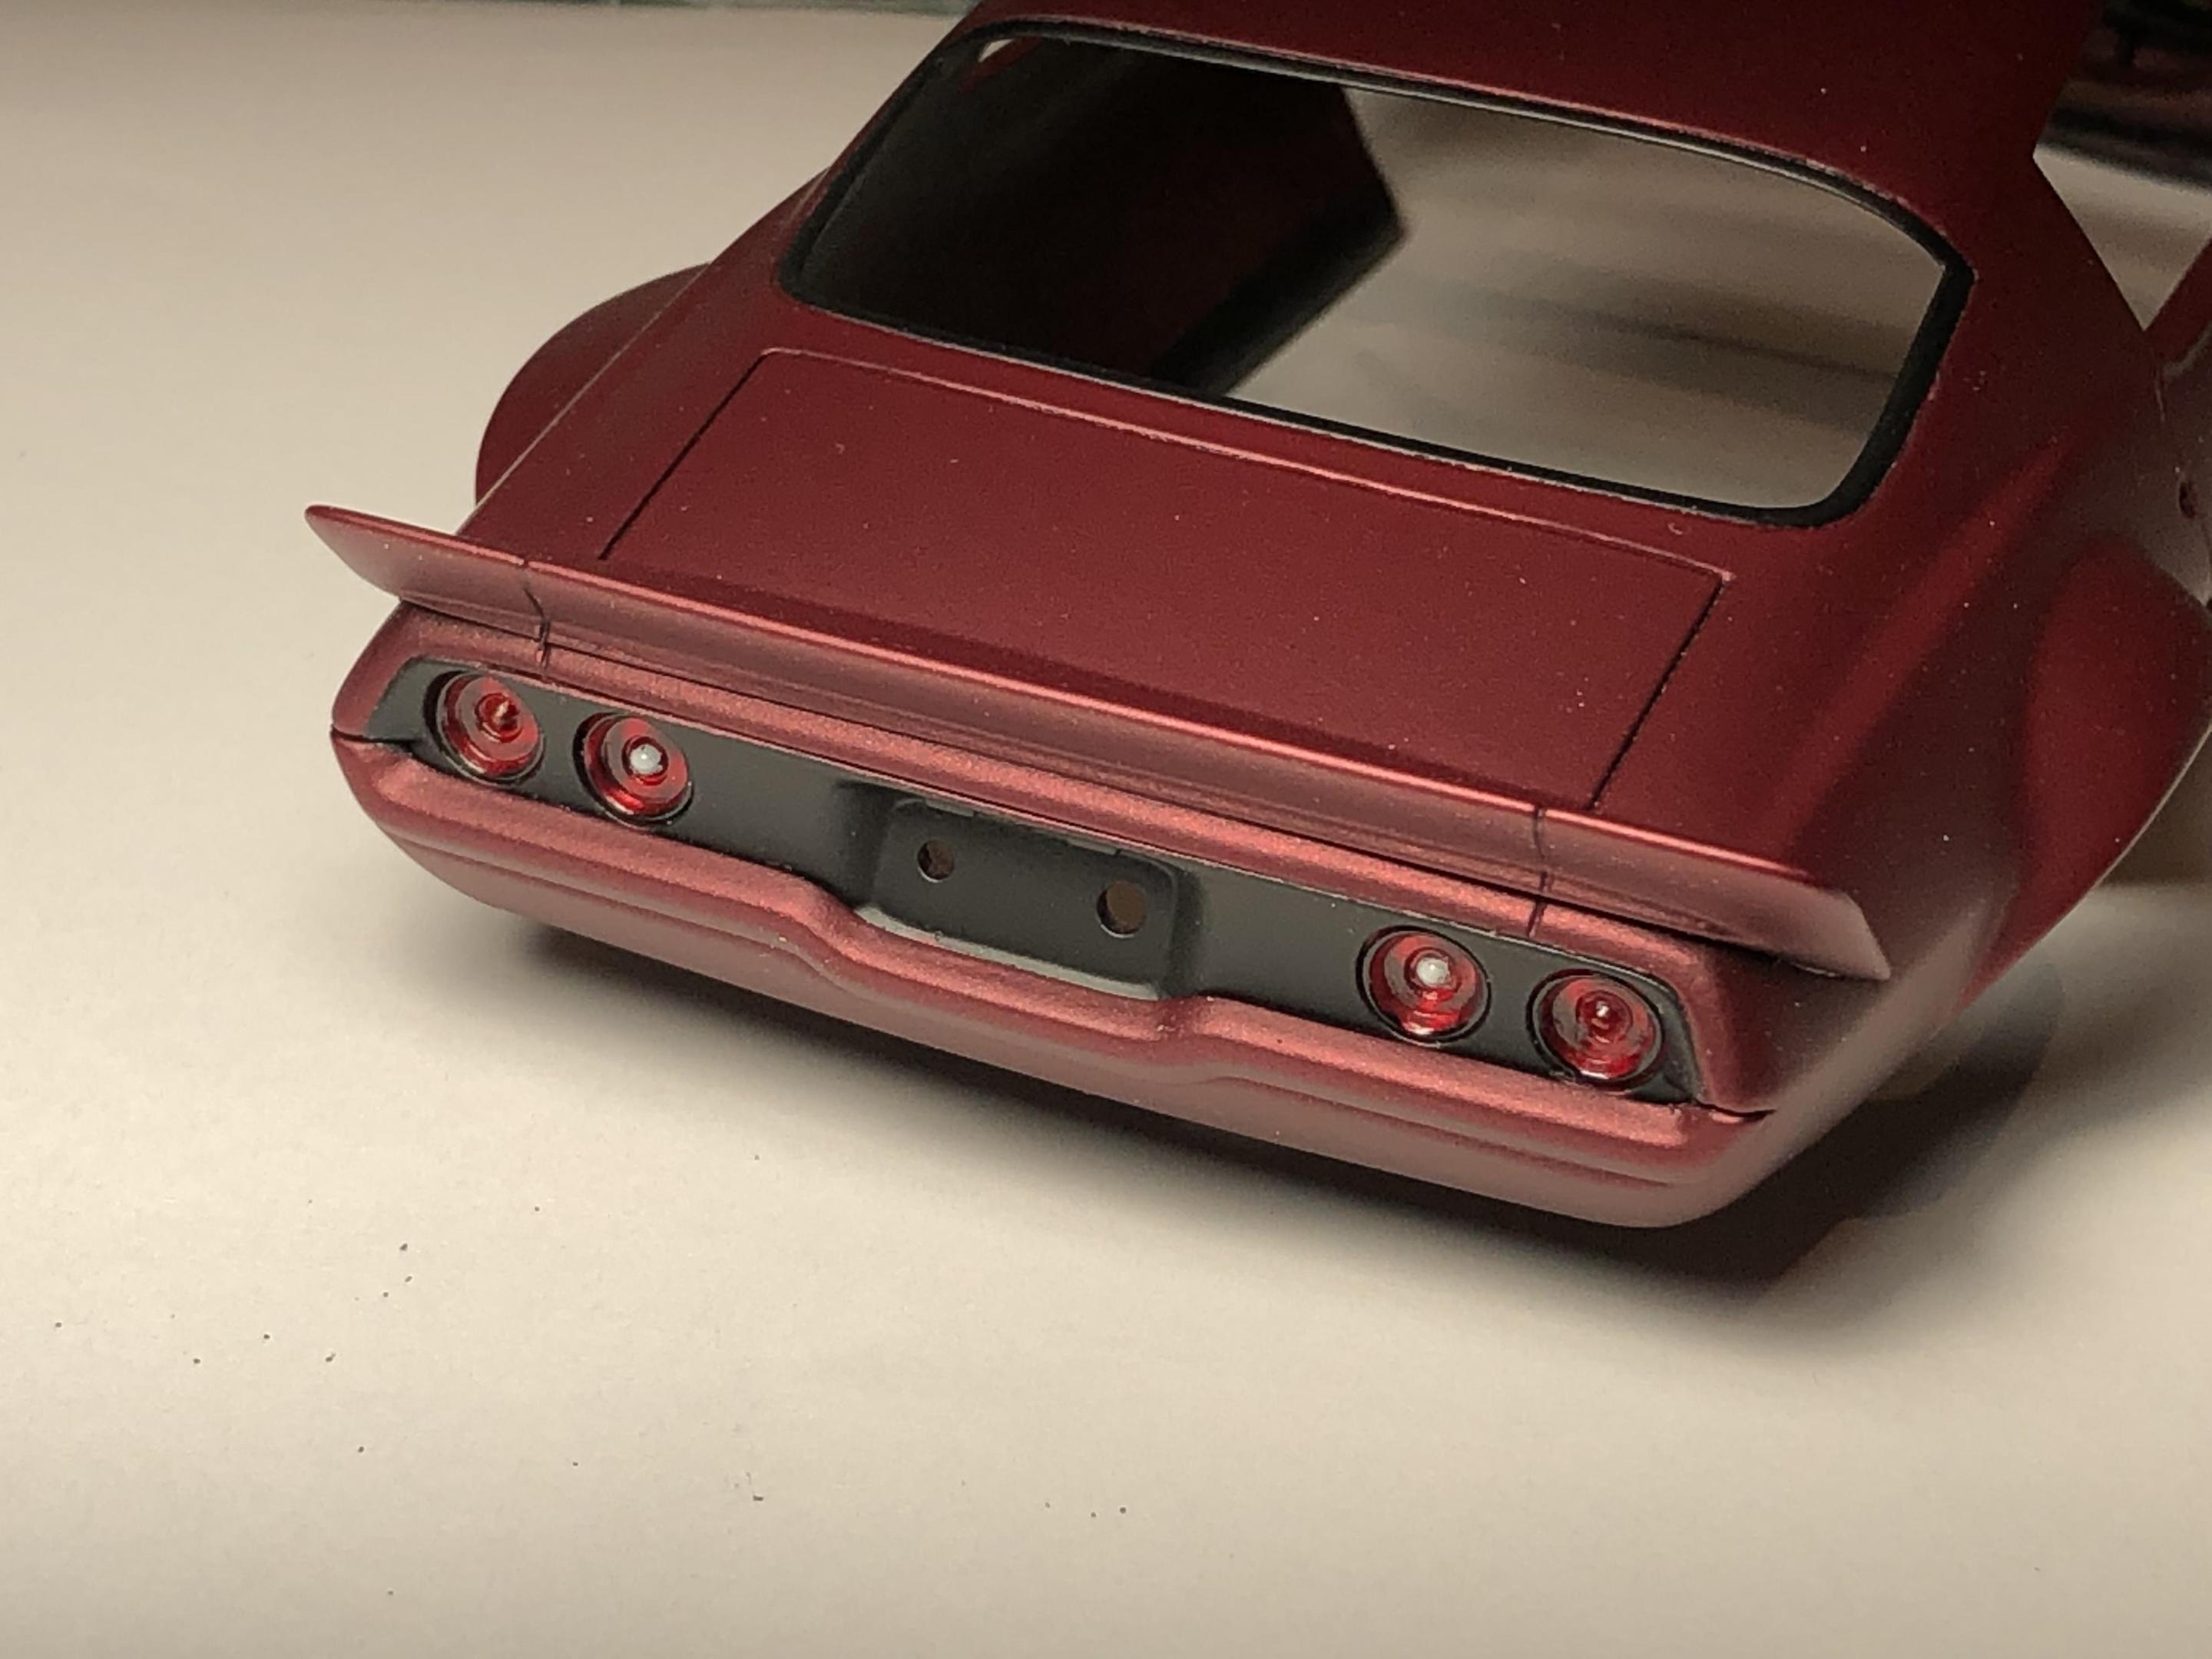
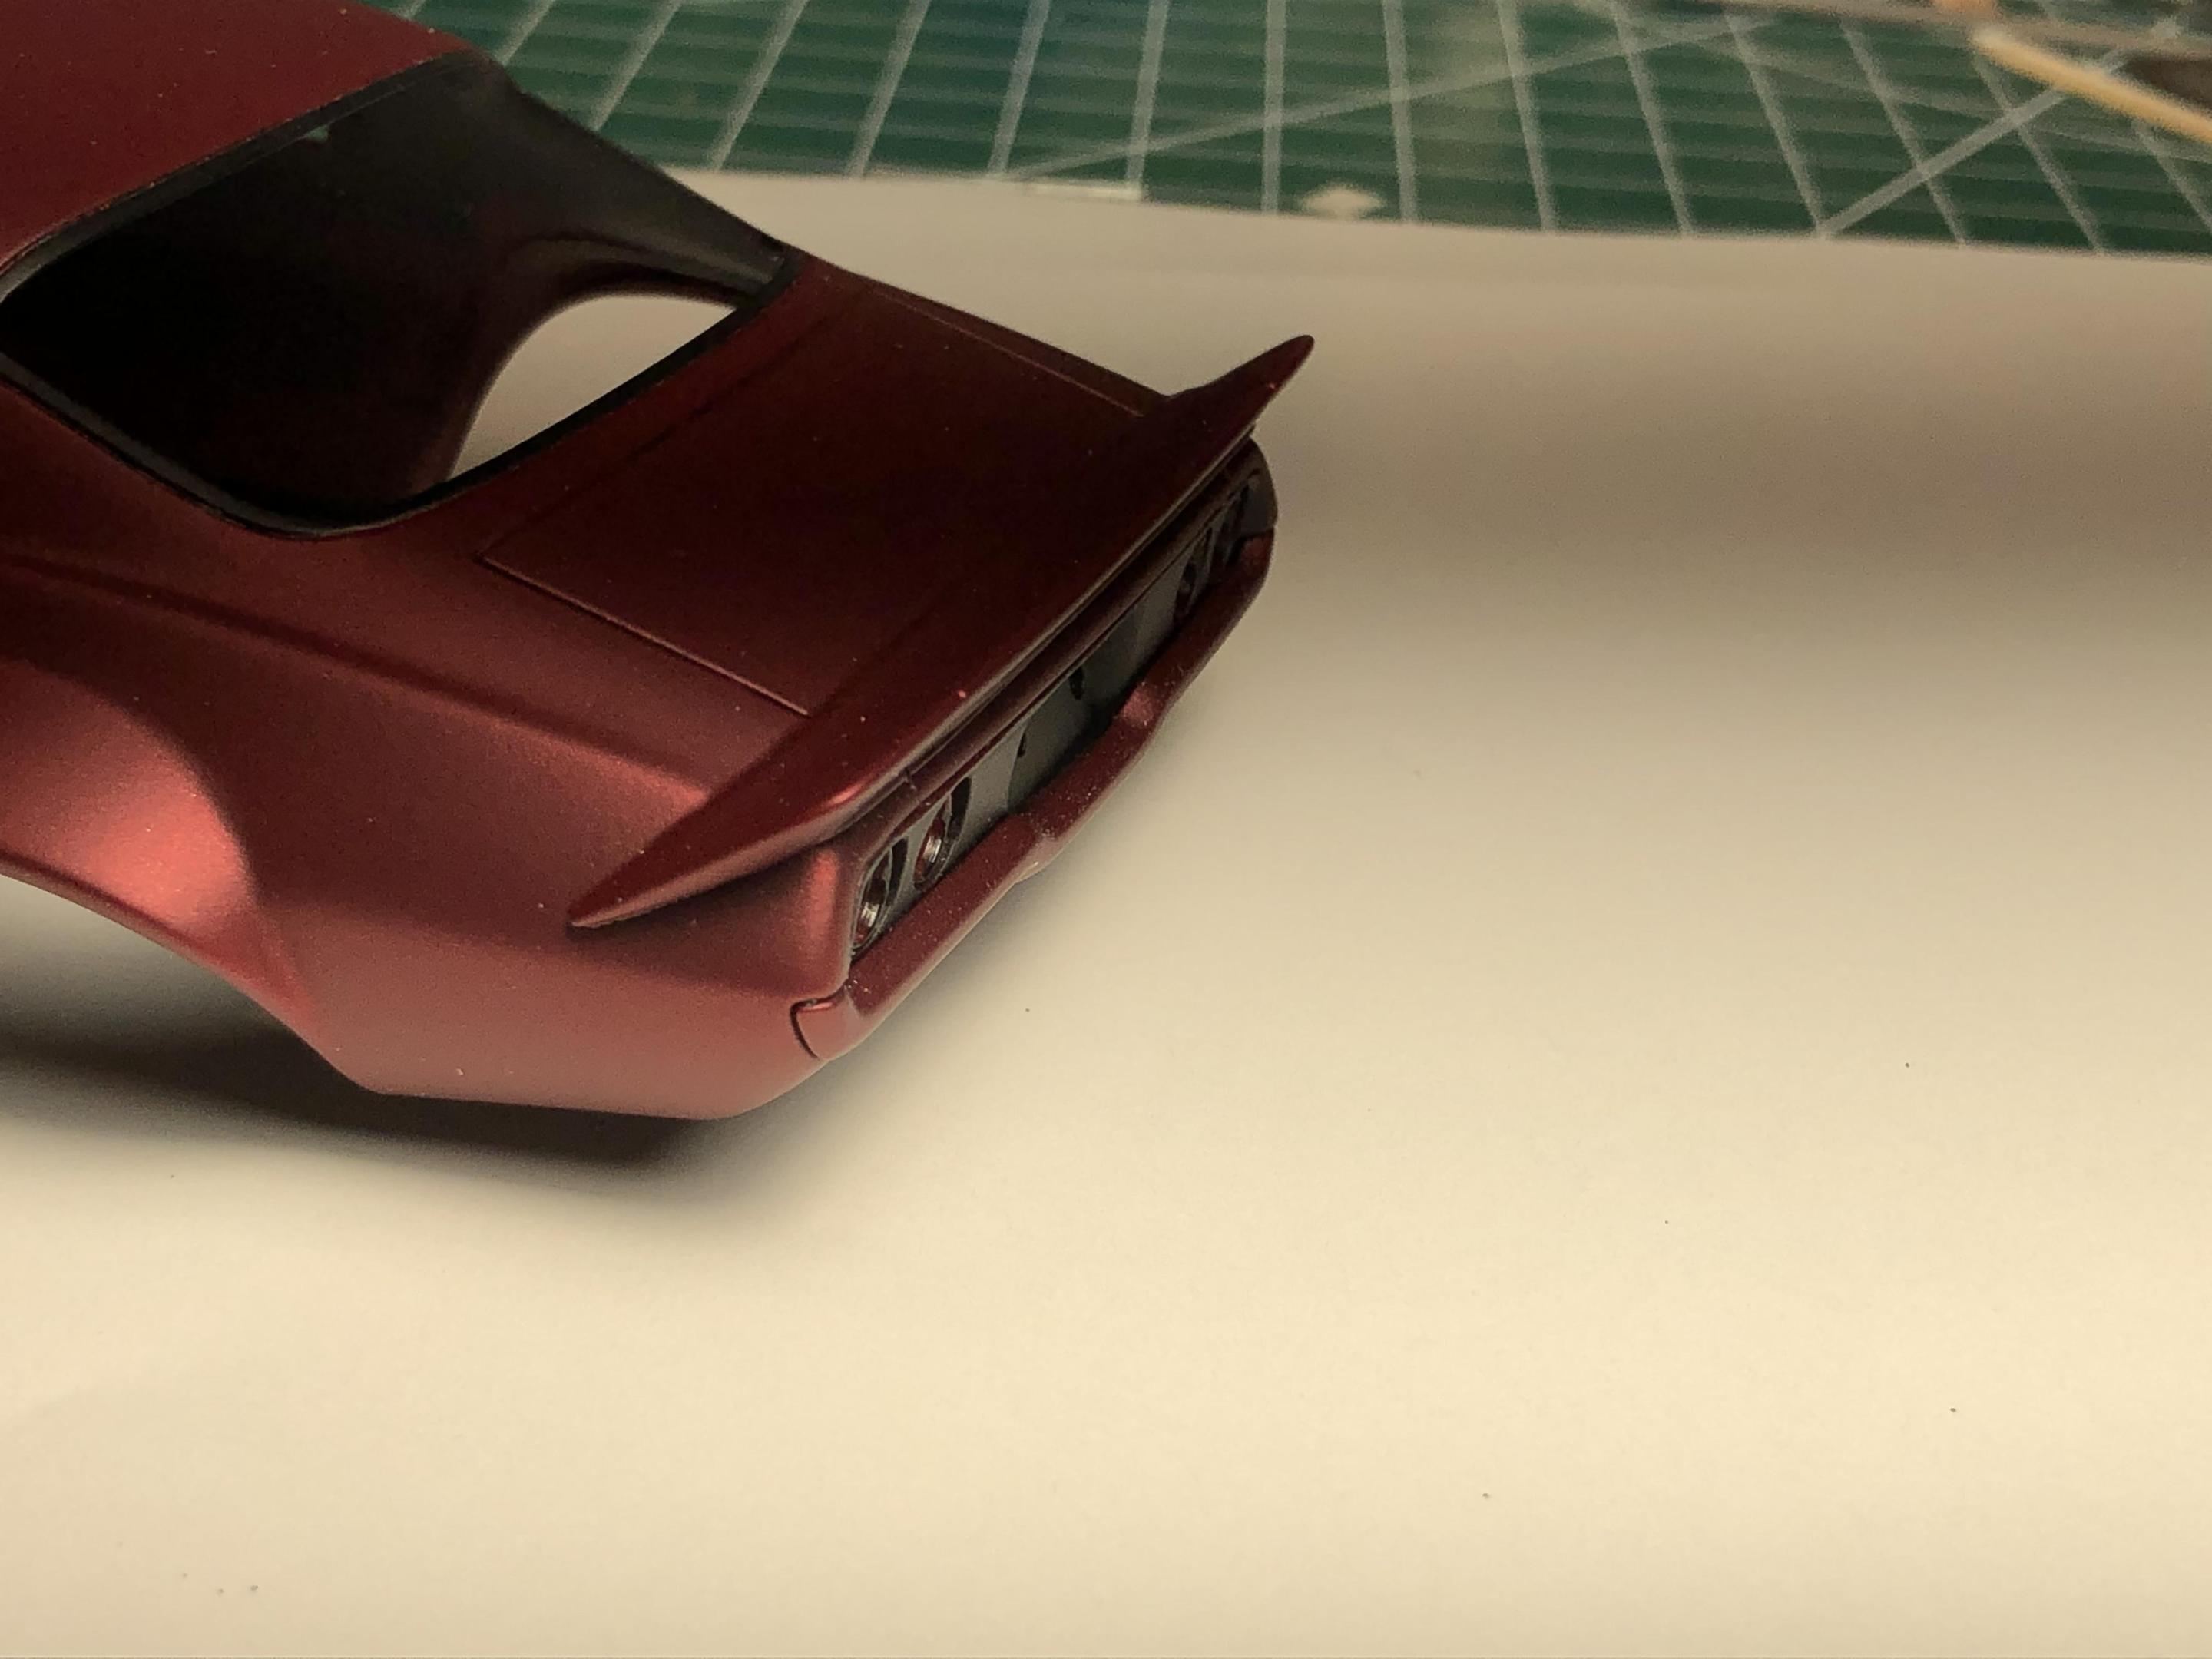
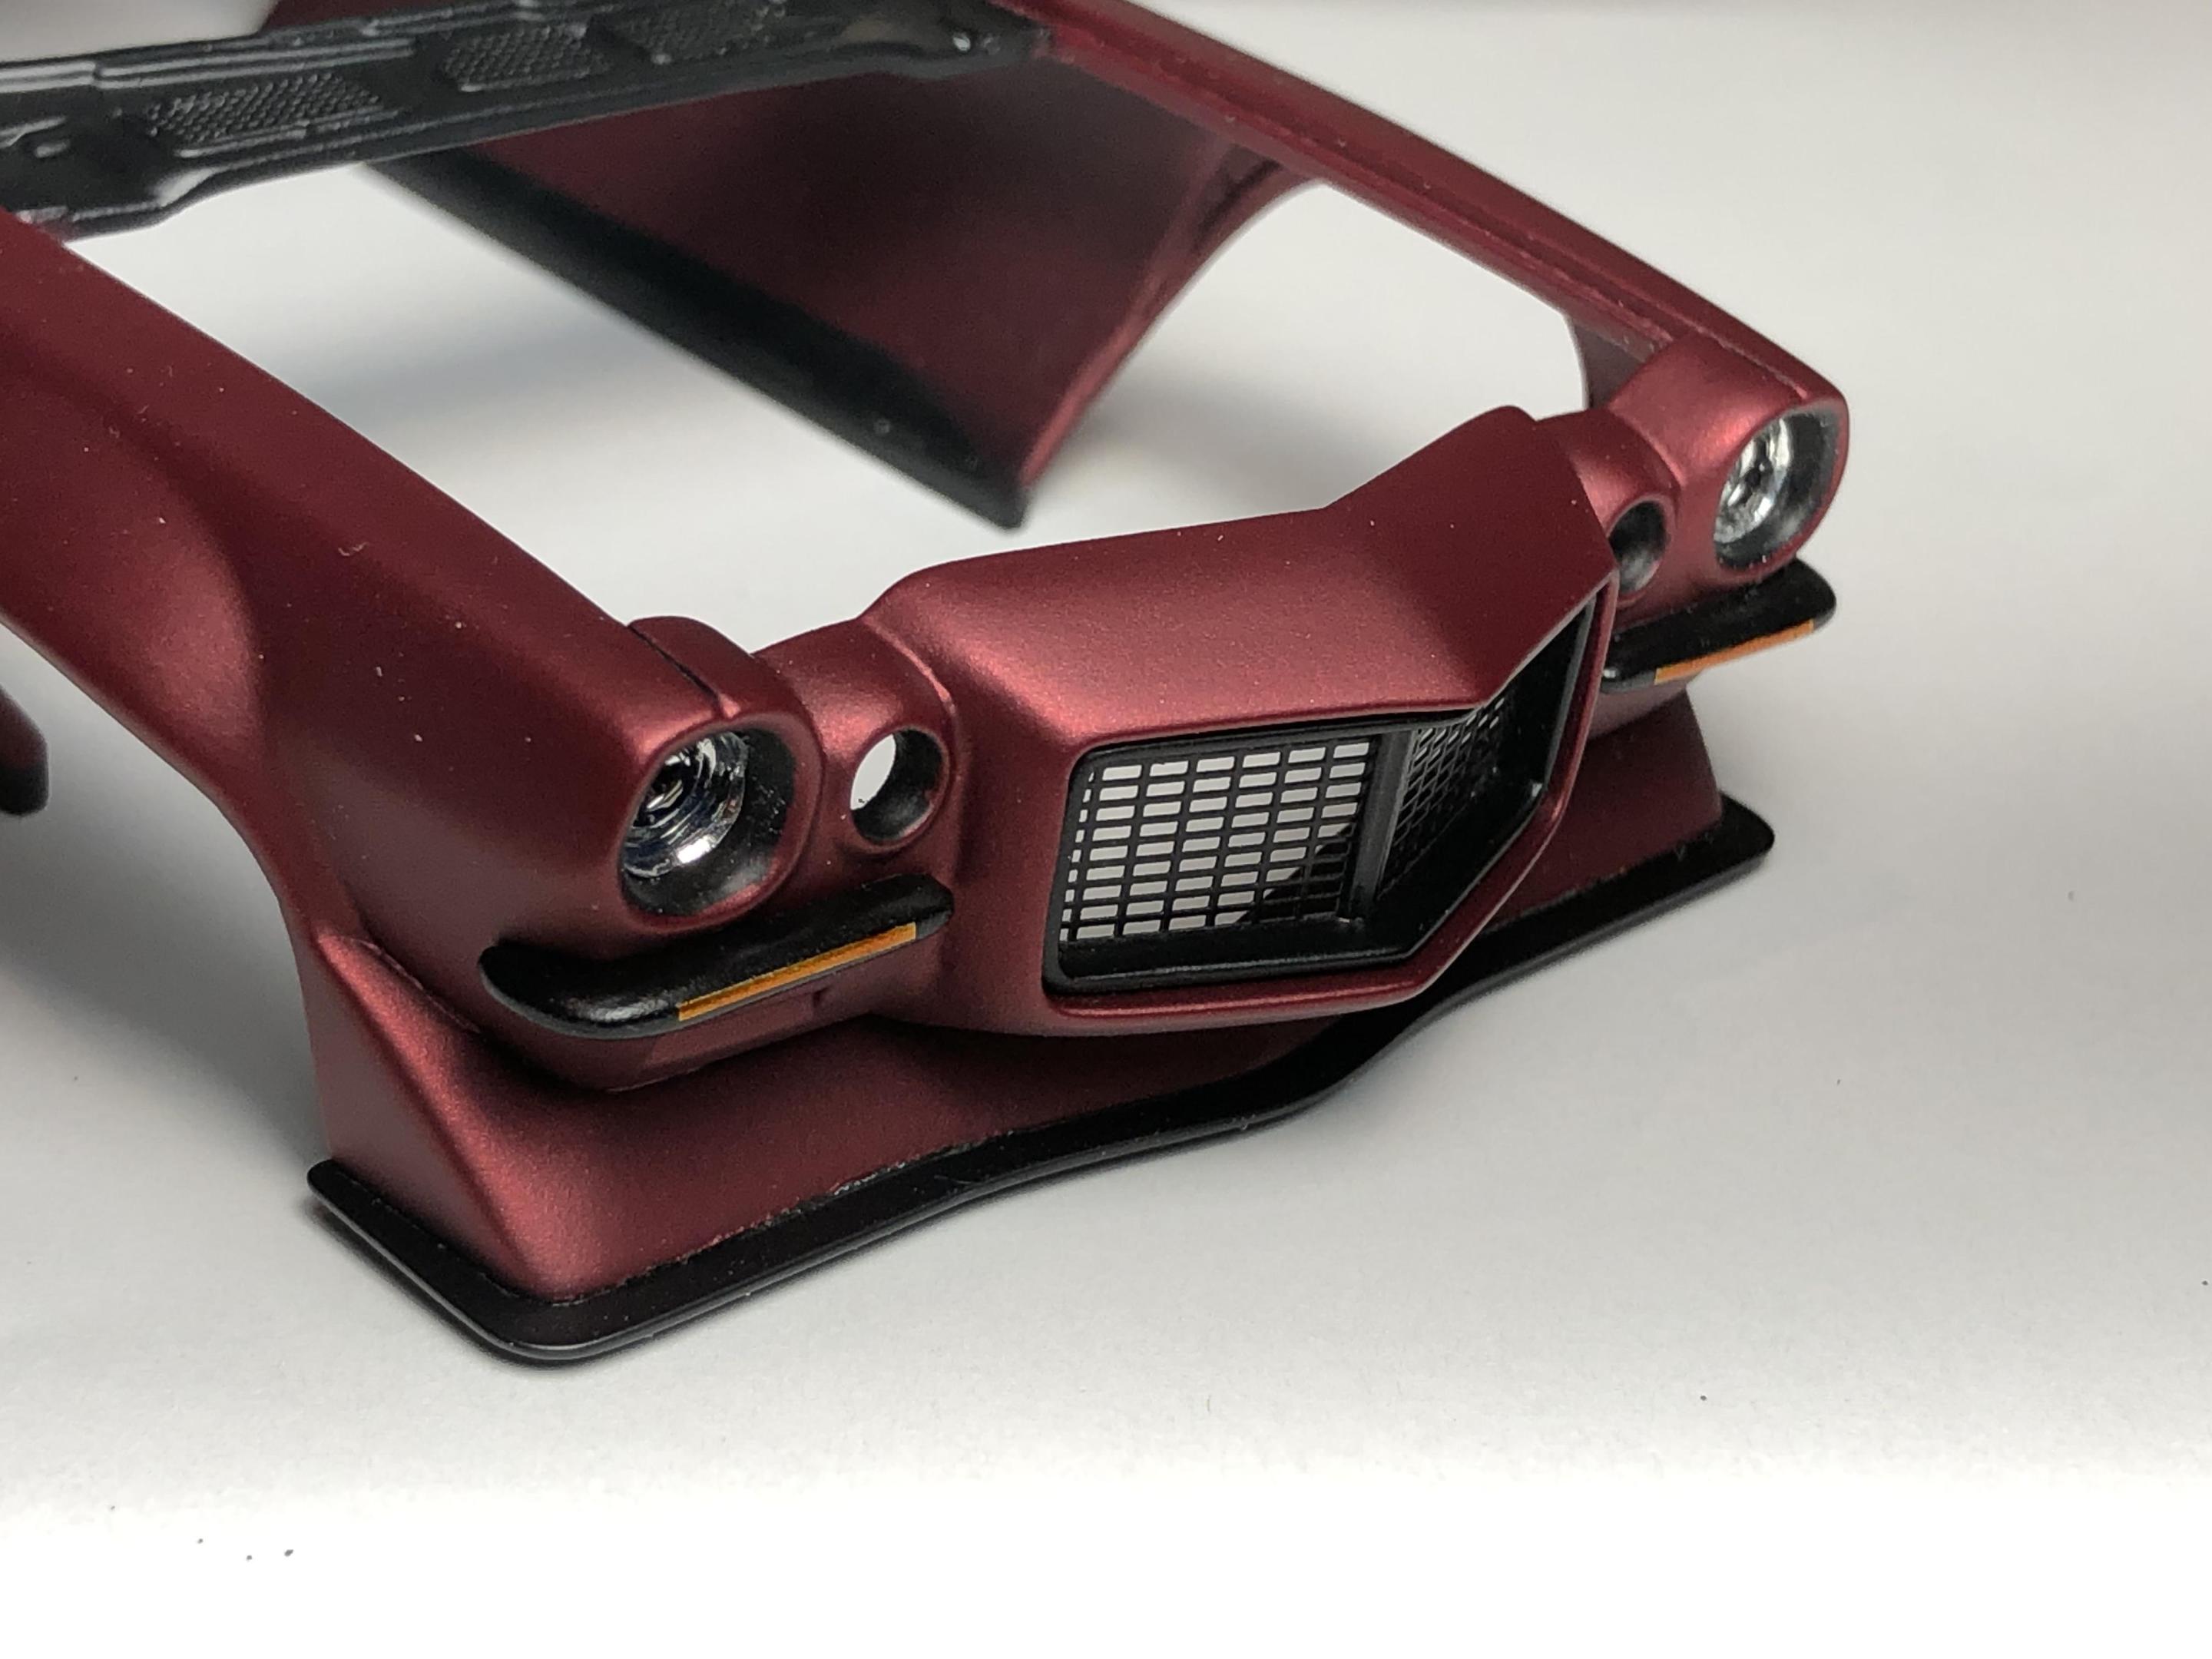
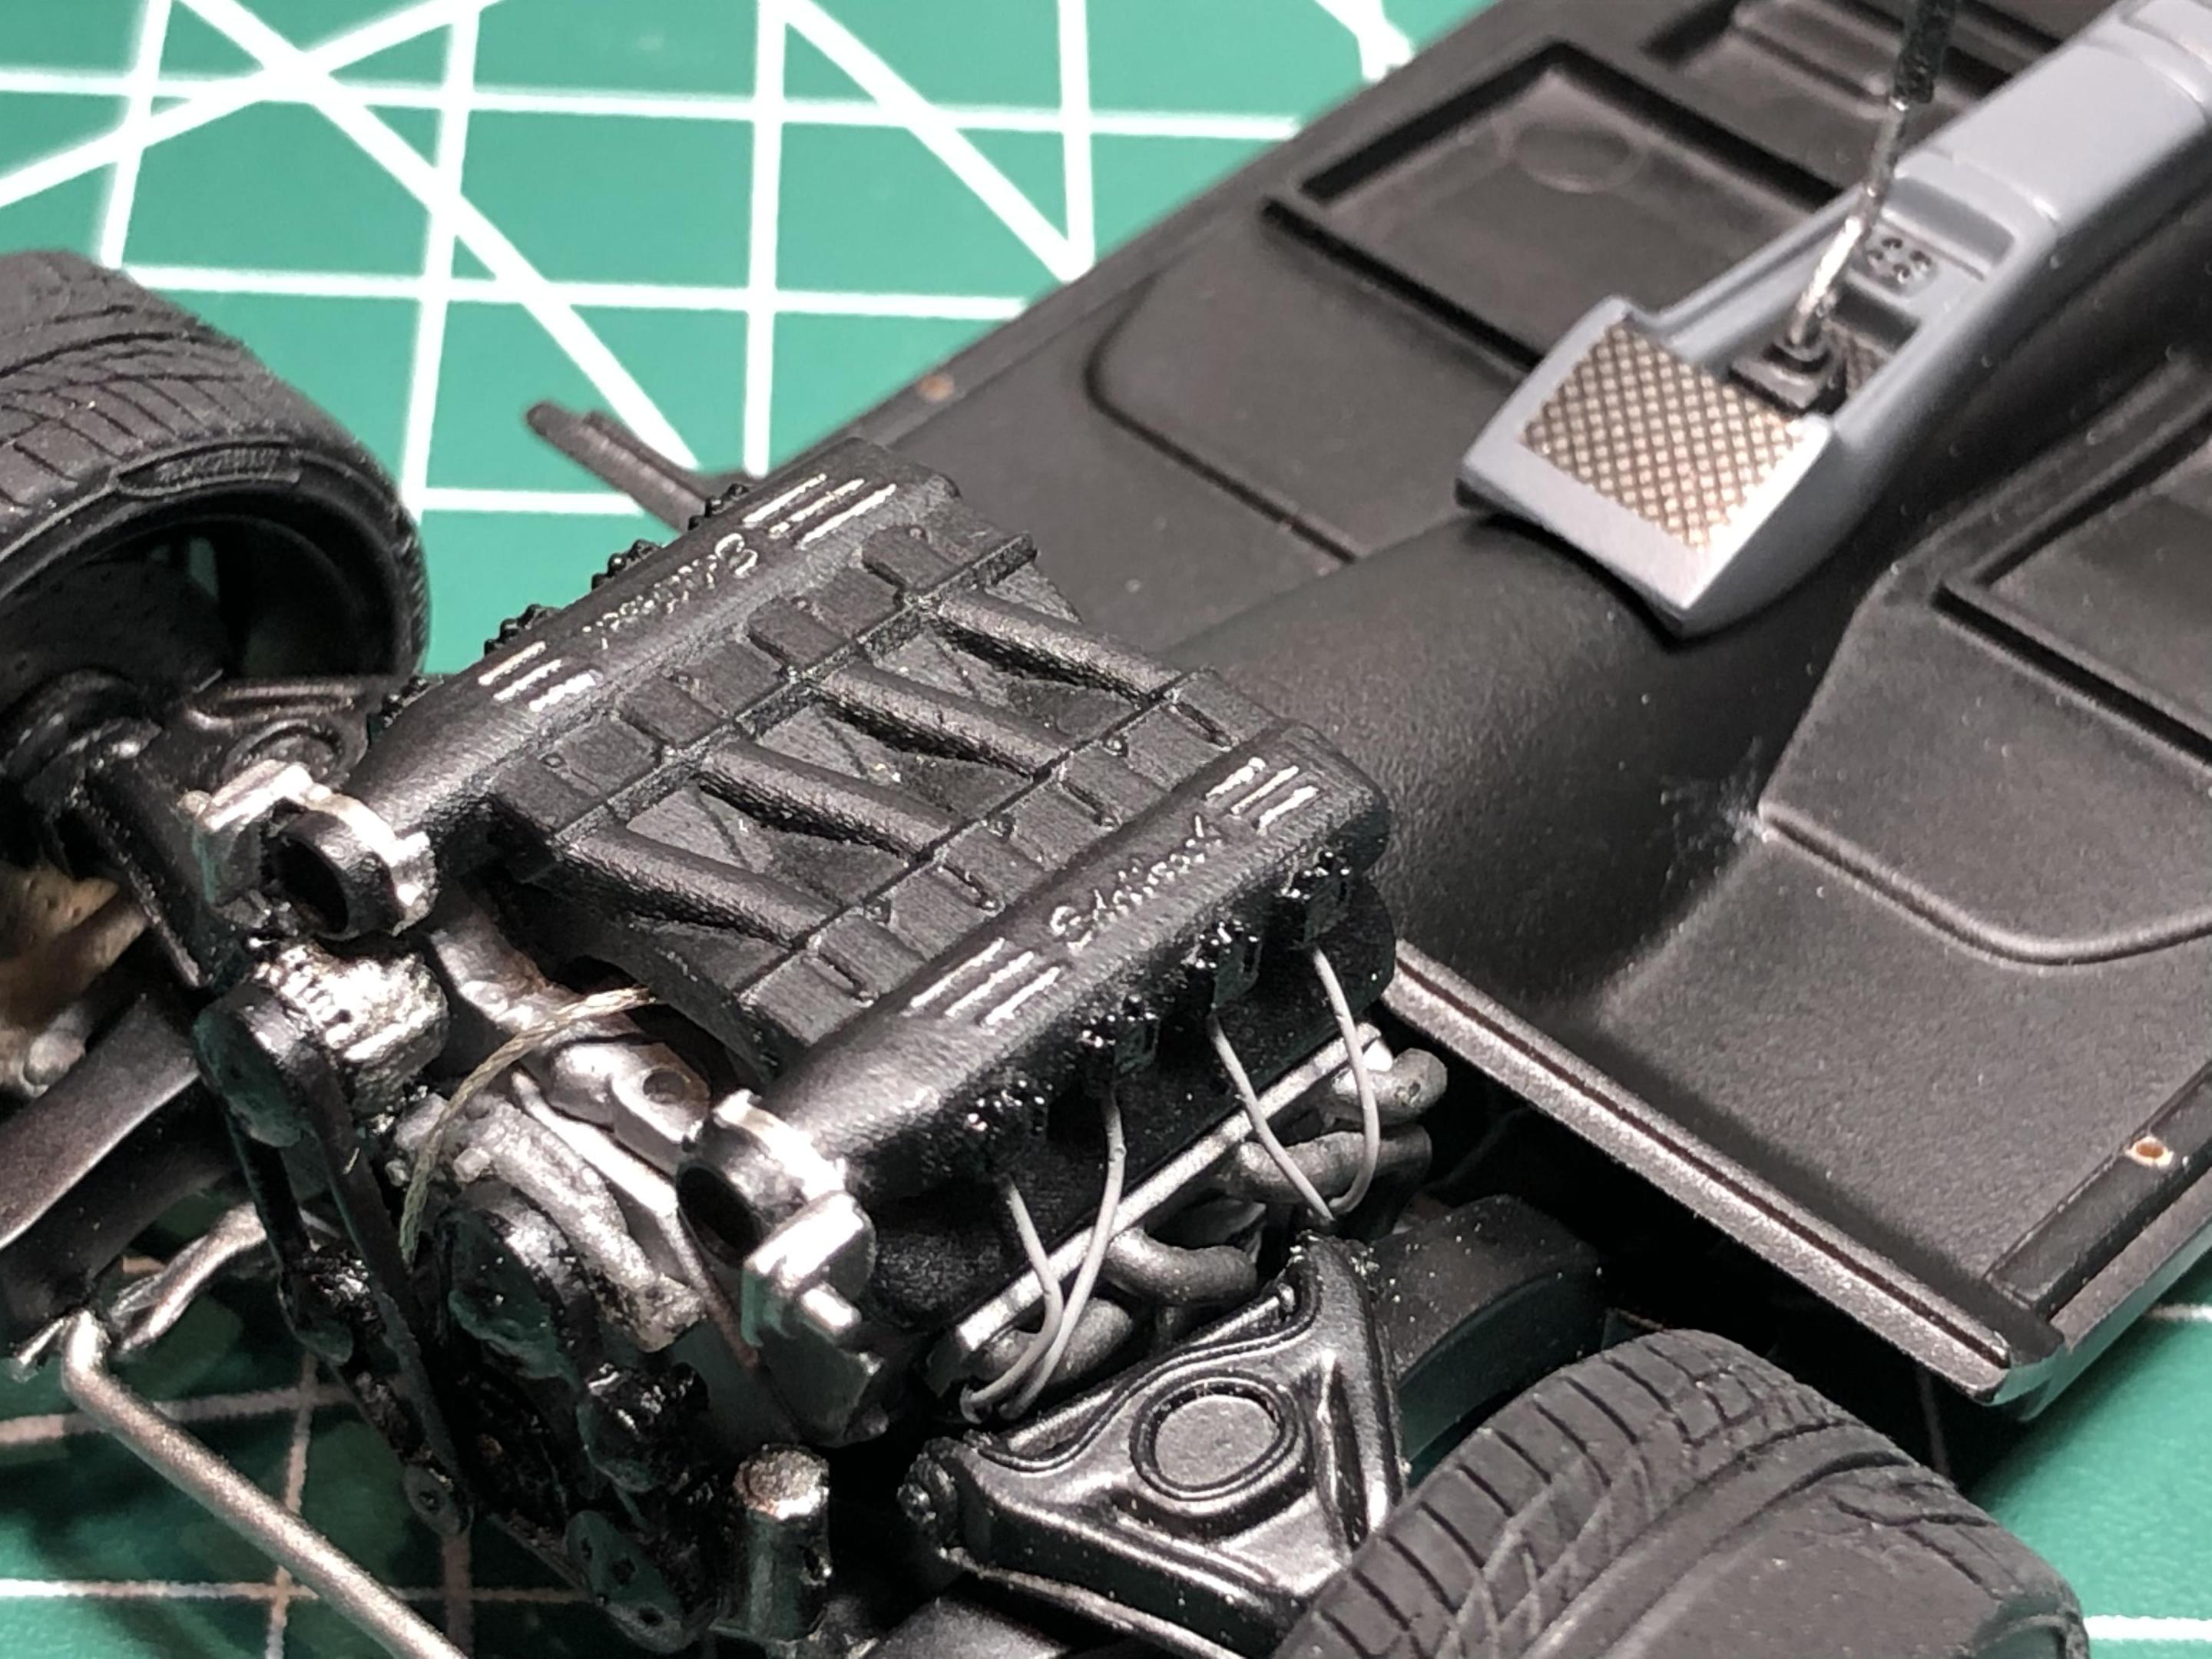
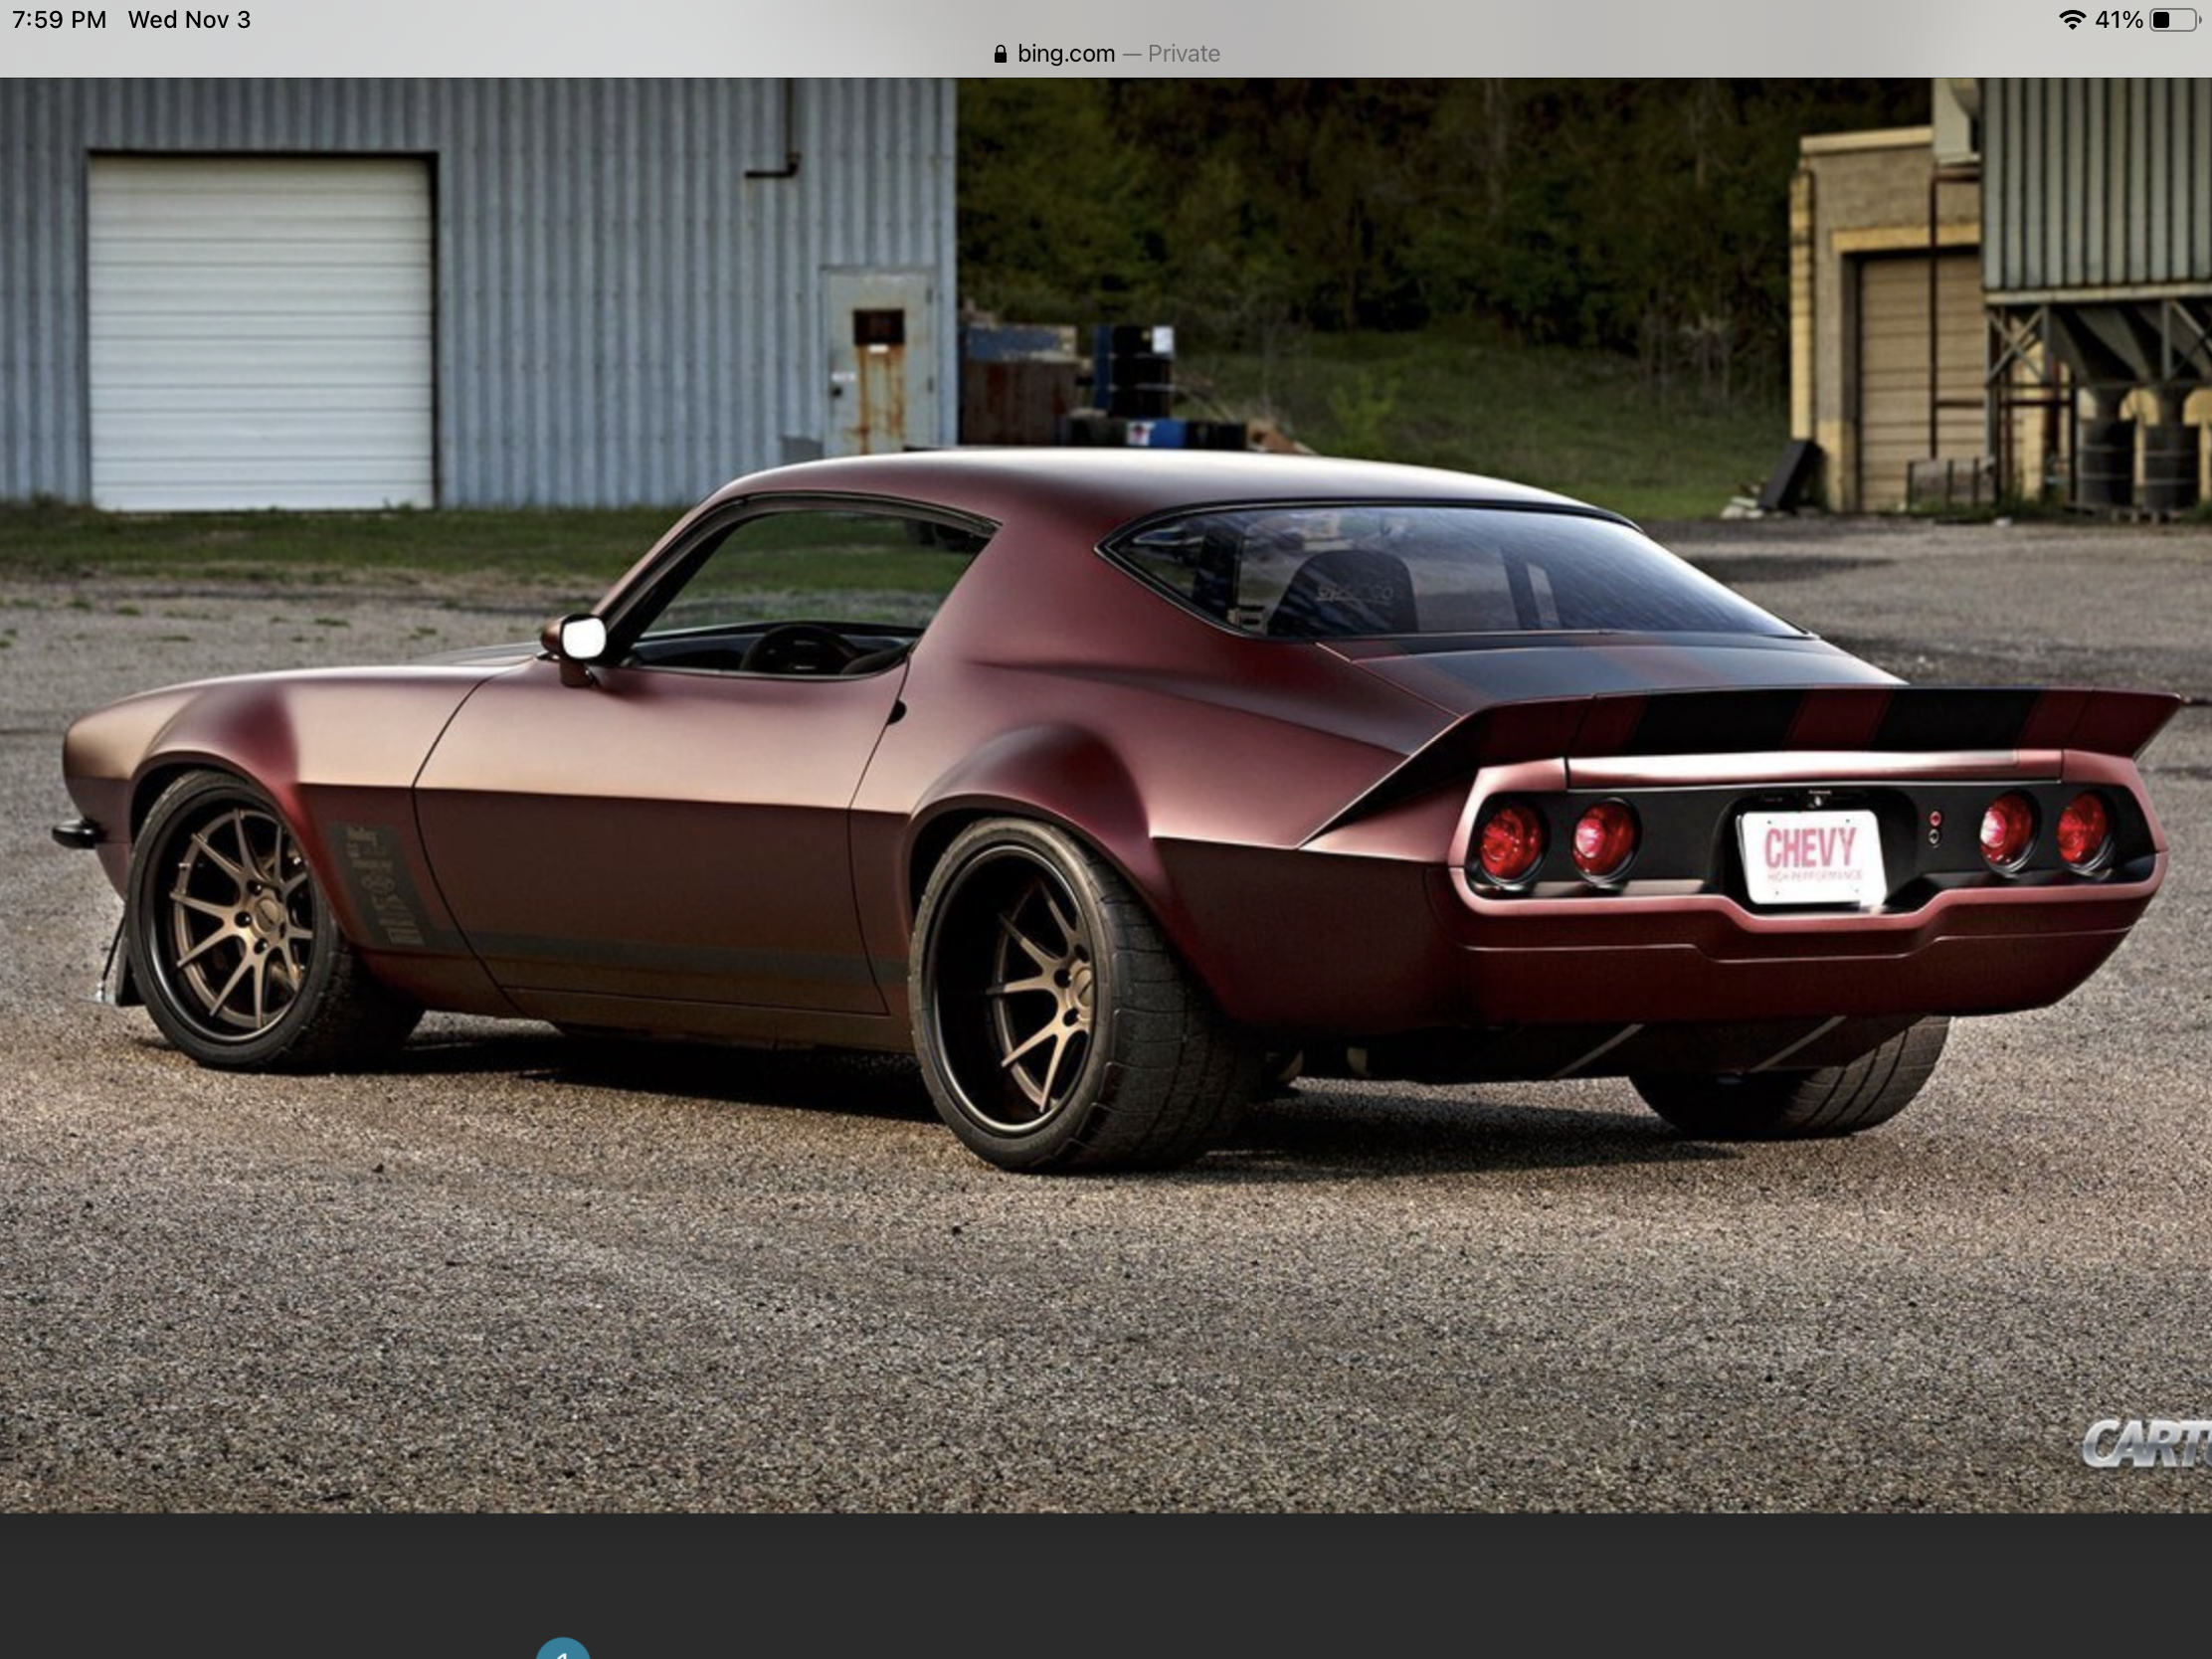
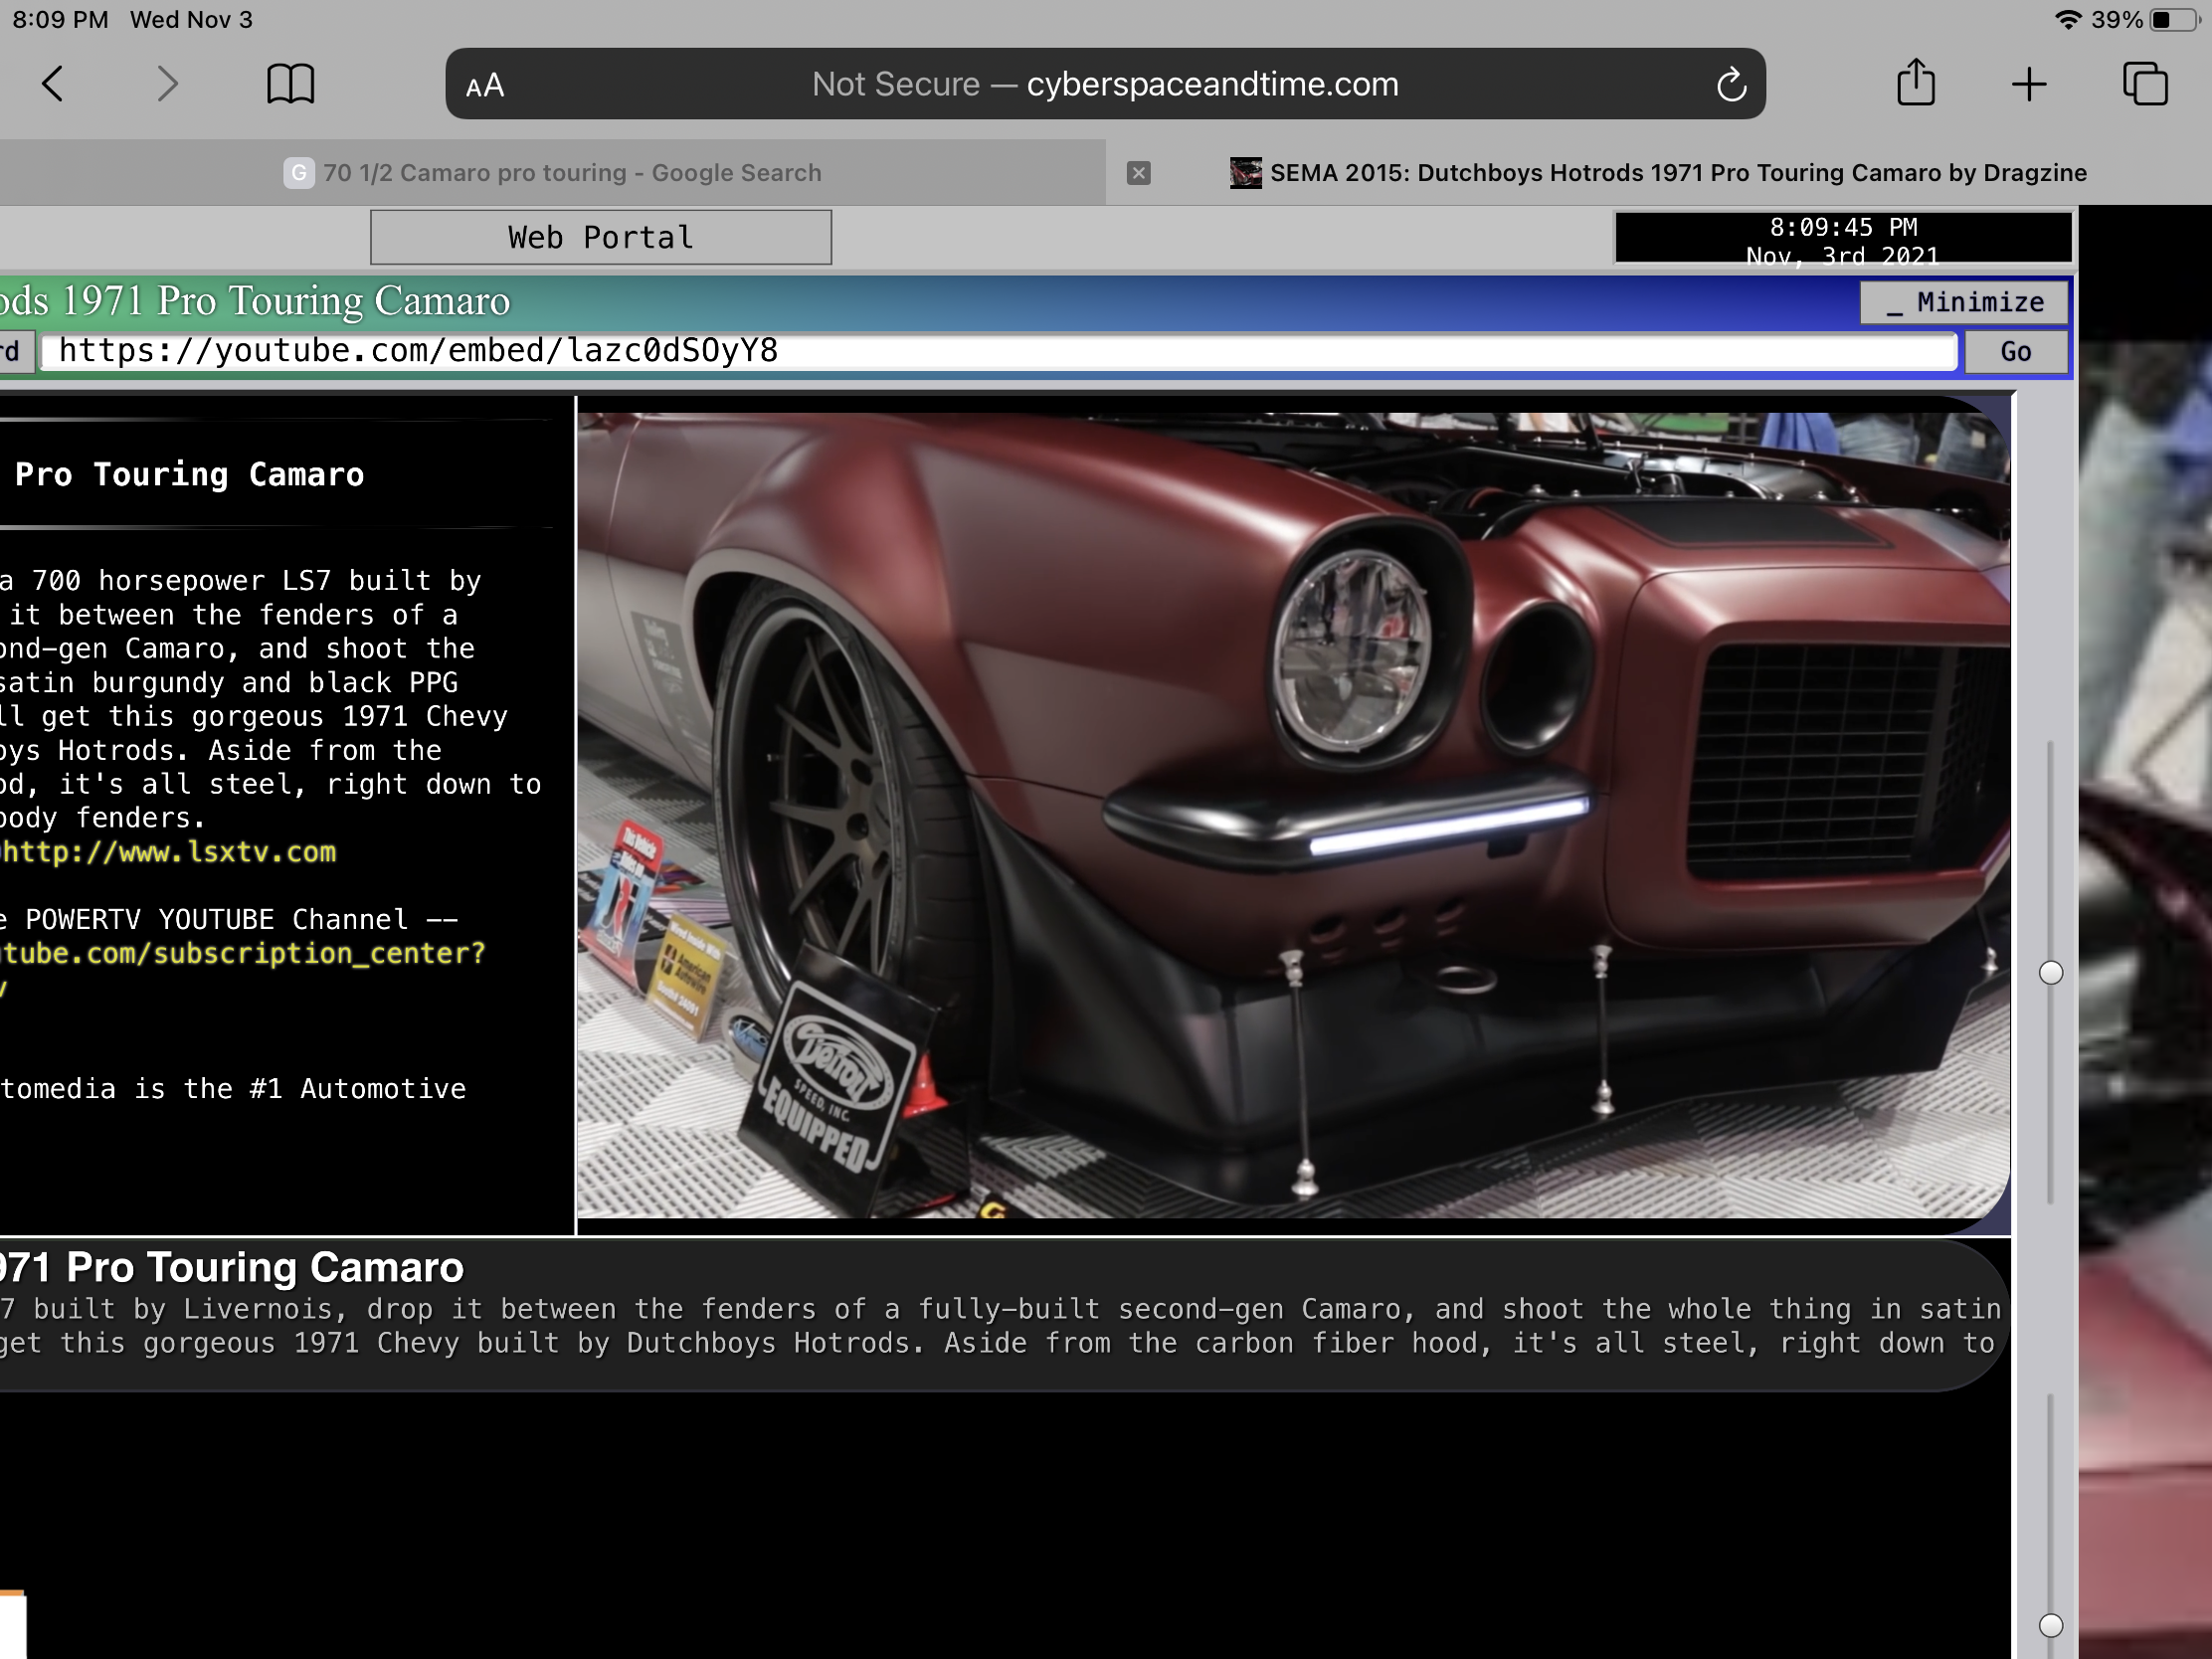
Hi guys, I’m still plugging away at this one. I realized last night that I’m getting close…. The engine is now nestled in the frame, and chassis is close to complete. The chassis is a bit “light”, I should have adapted a NASCAR chassis, and made it a bit more racey. (Is that a word?!?) Anyway, I am happy with it, and it looks reasonable. I might do some throttle linkage, and I still need to make the intake tubes. I have added the grill, headlight buckets, (lenses later), turn signals added to bumpers. The bumpers aren’t glued in theses photos but I have since glued them. I had considered using a clear lens recessed in the bumper, but in the end used a thin piece of BMF with clear orange. I then shot the whole works with semi gloss clear to hold it in place. Taillights are in. I’m happy with how the rear turned out. A couple of photos of the real car for comparison… A couple of things I did different consciously. I chose to leave the front spoiler body colour, and only do the splitter in black. Also on the real car, the top portion of the bumper is black, my bumper is all body colour. As always, thanks for taking the time to look, all comments are welcome.
-
Misha, you’ve been busy! This progressing along nicely. I’m not familiar with the kit, but you have definitely made some impressive upgrades. Looks great. Cheers, Steve
-
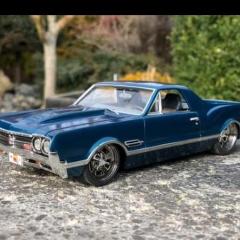
1965 Oldsmobile 442(from an AMT '64 Olds 442) - FINISHED
Steve H replied to crowe-t's topic in WIP: Model Cars
Hi Michael, lots of amazing work here. Great attention to details everywhere. Keep it coming. Cheers, Steve -

Brian’s 1995 Mitsubishi Eclipse from (The Fast and the Furious)
Steve H replied to adamelvis's topic in WIP: Model Cars
Hi Adam, you are doing some really nice surgery on this. I had missed this thread, but now I’m in for the ride. Cheers, Steve- 82 replies
-
- 1
-

-
- brians eclipse
- 1995 eclipse
-
(and 2 more)
Tagged with:
-
Thank you Carl !! I will get better photos of the dash etc. when it’s all together.
-
Those are beauties! I bet they look great on your truck, it’s always nice to have a personal touch given to a daily driver. Your Taurus build was a perfect example of how cool flat paint can look.
-

64 Dodge D100 Pickup Pro Street
Steve H replied to AmericanMuscleFan's topic in WIP: Drag Racing Models
Hi Francis, it’s going to be a lean green racing machine!! I love the colours you chose, and to be honest, this truck would have looked good in just about any colour. Like you said, the anodized parts should really pop against the green. Cheers, Steve -
Hi David, awesome idea to light up the inside. I have dealt with Evan’s twice in the past and found them quick and very helpful. Everything is coming together nicely sir, and the interior lights really give it that added interest. Cheers, Steve
-
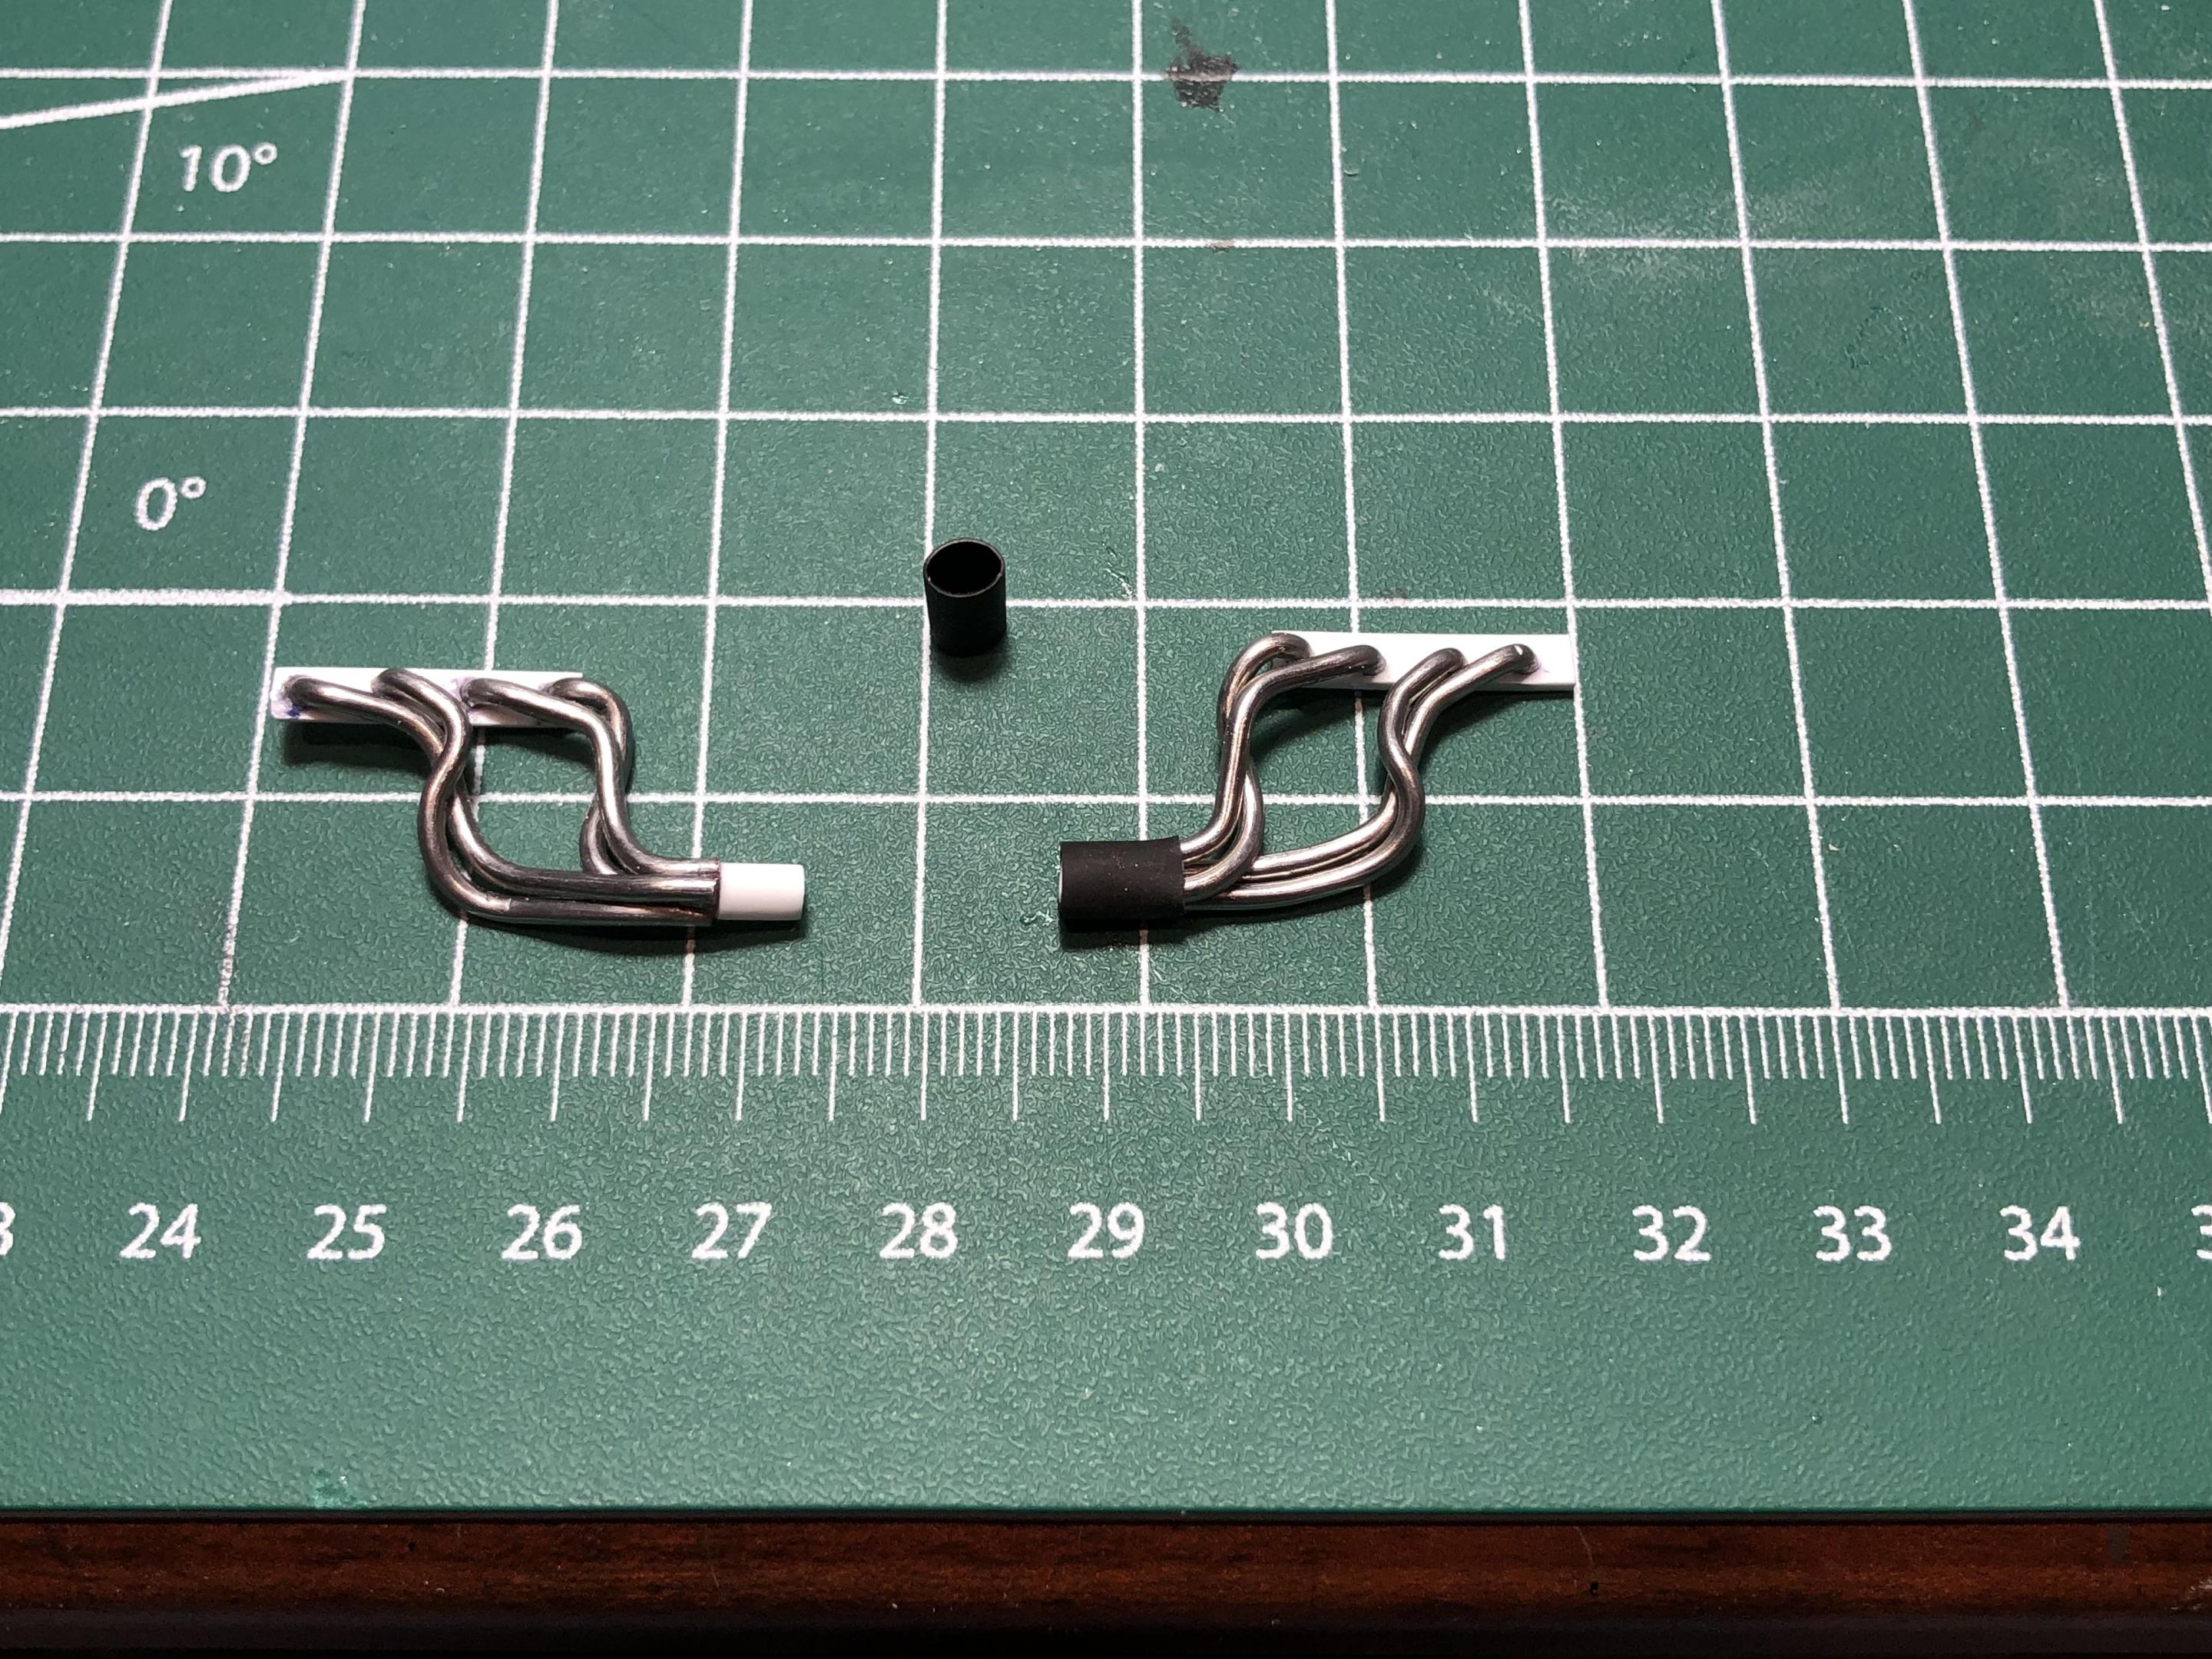
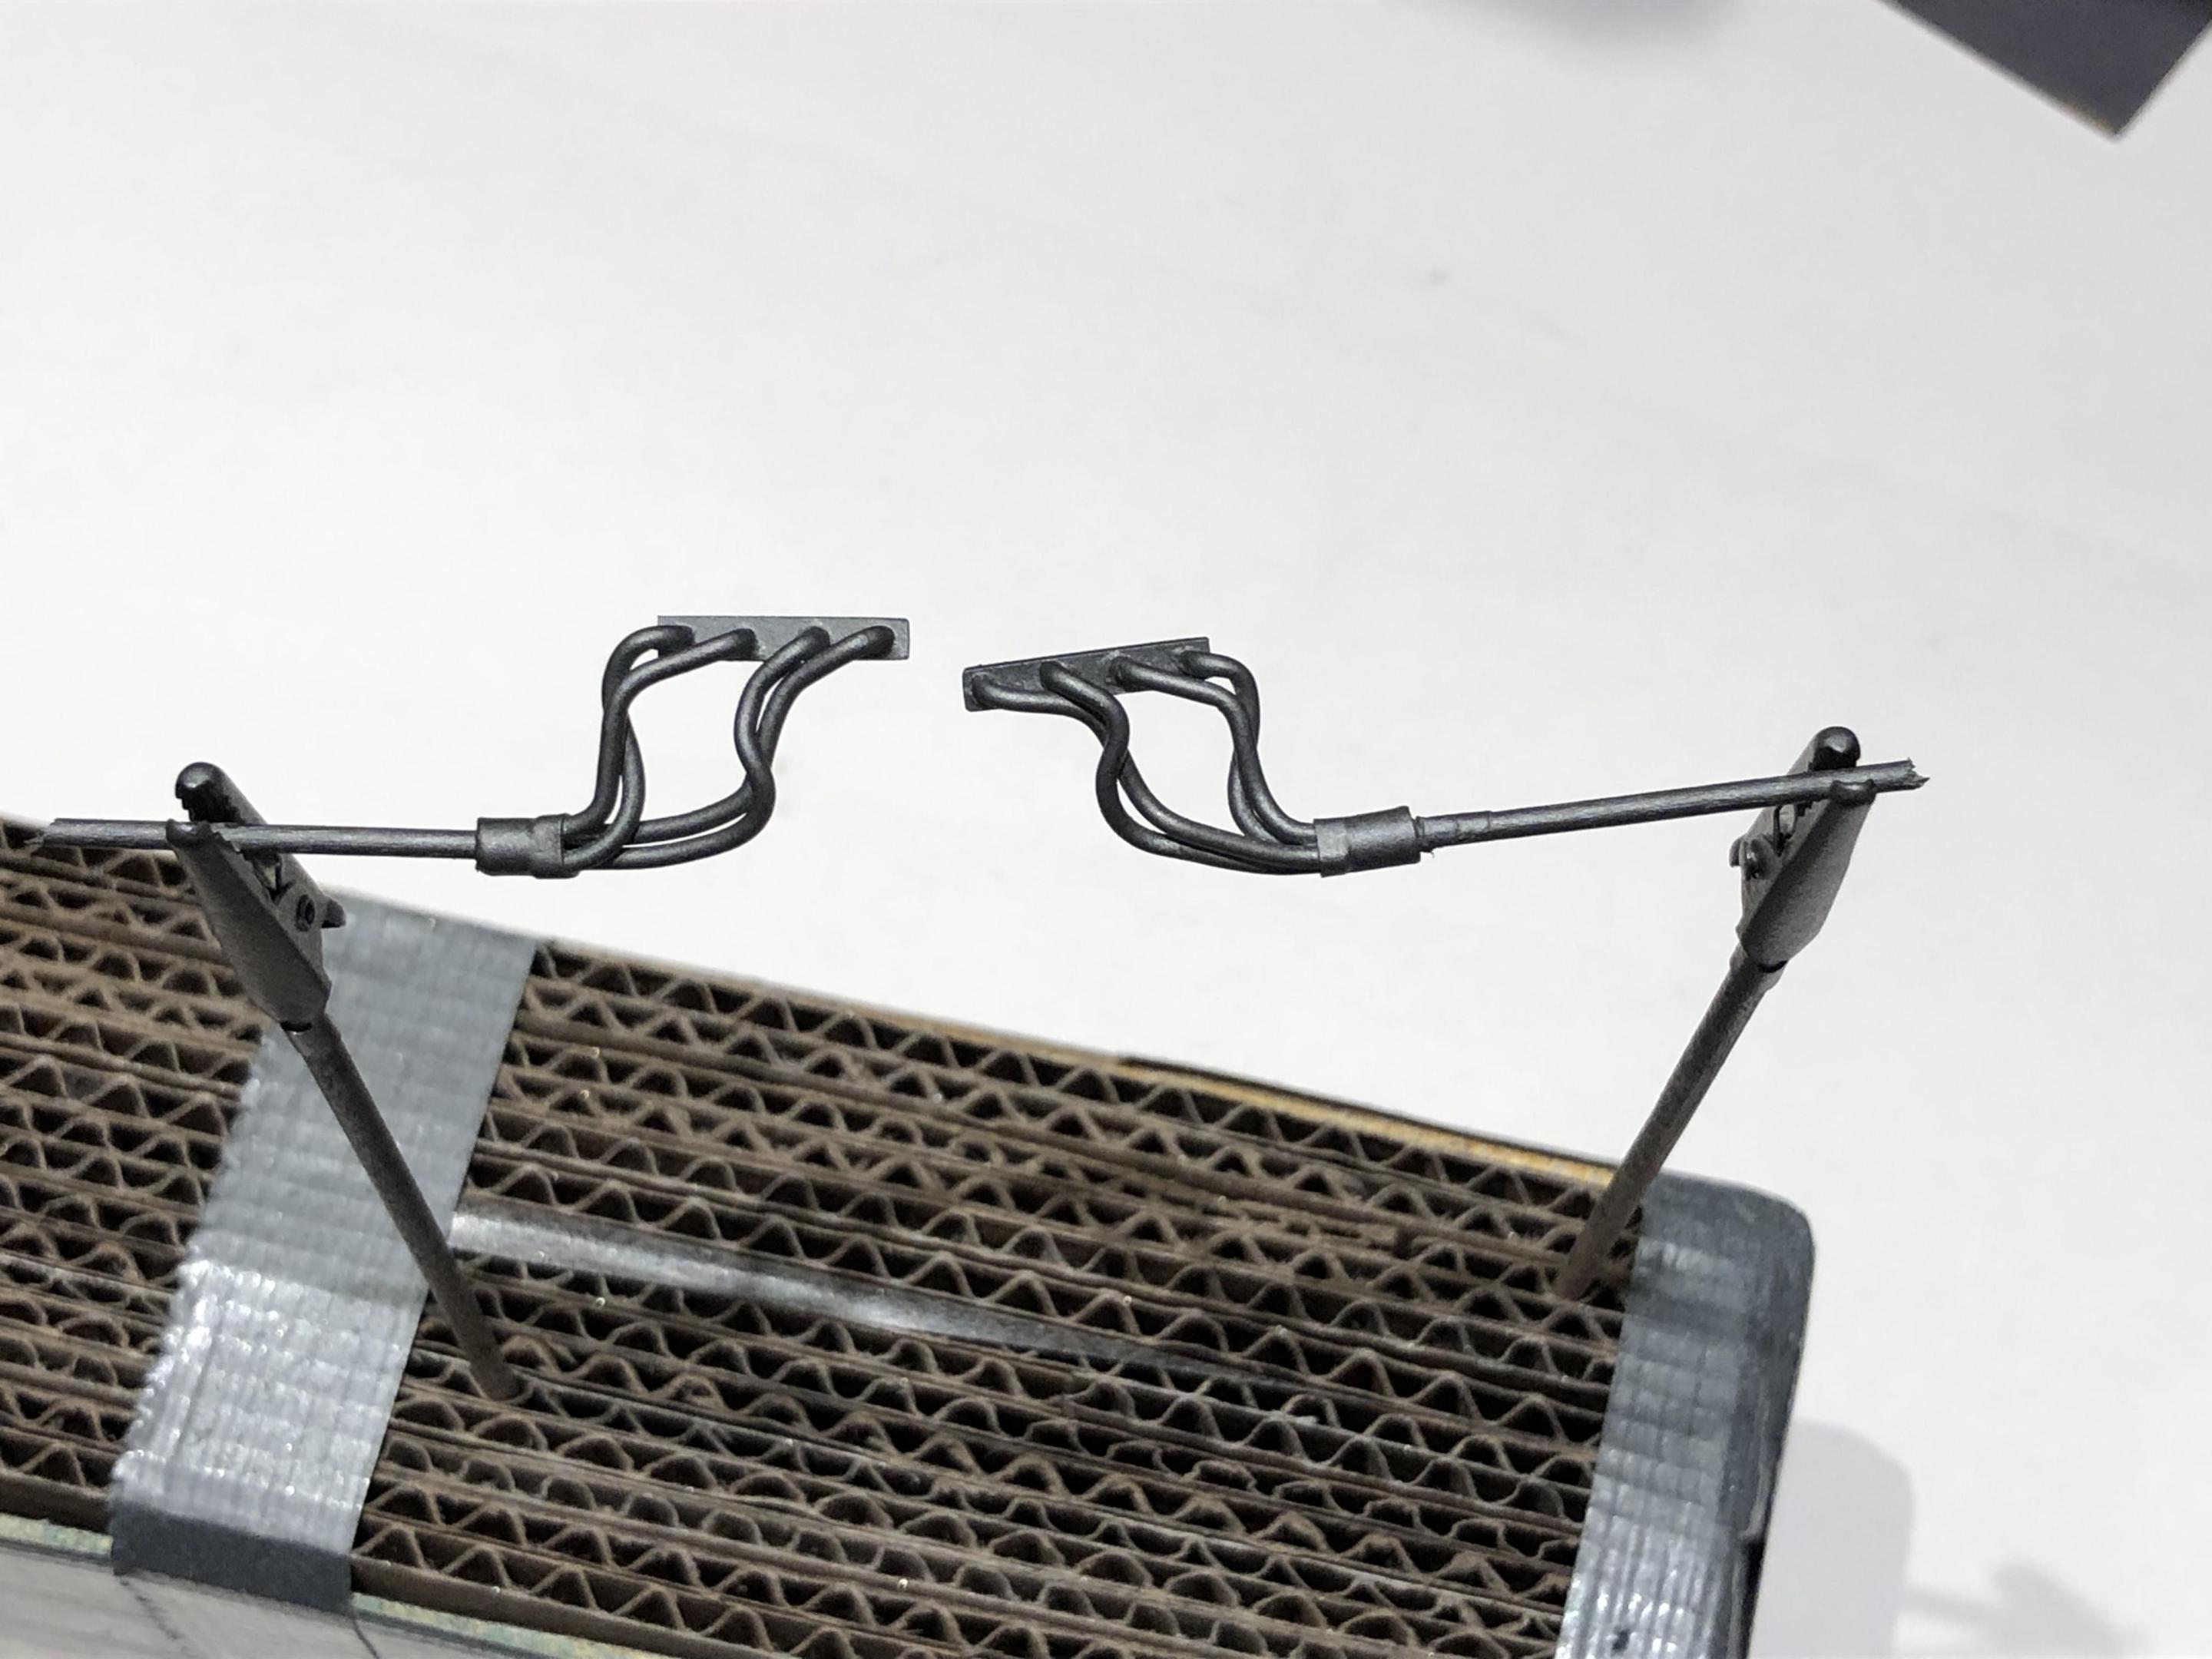
Managed a bit of desk time this evening. This is my first try at making exhaust headers. Lots to learn yet, but for a first try I’m satisfied with the finished product. Here you can see they have been cut to length, styrene rod for collector pipe, heat shrink tubing for the transition. I went back and forth on colour choice for them, decided on some old Modelmaster titanium. I know that to be “mechanically correct” all the tubes should be the same length, that wasn’t going to happen…. Maybe next time.
-
Hi Anton, yep, I was thinking, hmmmmm… “really, a CD player?” Truth be told, I still a 5 disc changer in my house and shop. Old school! It does add some interest to the interior. I appreciate your humorous poke, it’s well deserved!! Thanks for checking in sir. Roger!! I was getting worried about you, good to hear from you sir. Hope you are well my friend. Here’s a true story for you. I shot the flat clear, carried the car from my shop to my hobby room in the house, placed it on my desk, and thought to myself, “I think Roger is going to dig this paint”. Dramatic is actually a very good description, I think it will really stand out on a contest table. Thanks for the compliment on the wheels, I’m quite happy with how they turned out. They are close enough to the 1:1 car, and the bronze colour looks wicked with the flat paint on the body. Are your wheels on a model or 1:1 truck? I appreciate you checking in, take care. Hi Adam, thanks for the kind words. Man, I sure hope we can get back to some model shows/contests, I miss it. You will definitely see me and the Camaro when time allows. The colour on the 41 Chev was inspired by one of Gerry Chevalier’s builds. If I recall, it was a 49 Merc. maybe? I believe he was trying to match the colour of his wife’s hair brush! Hope to meet you in Vancouver soon. Cheers, Steve
-

'62 Ford Galaxie 500 Update! 12/23/22 Finally Done! Pic pg. 7
Steve H replied to Plowboy's topic in WIP: Model Cars
Hi Roger, great to see you back. This is going to be another one of your delicious colour combos, you have a really good eye for colour. Is it the photo, or do those wheels have a hint of bronze in them? Looks great. Cheers, Steve -
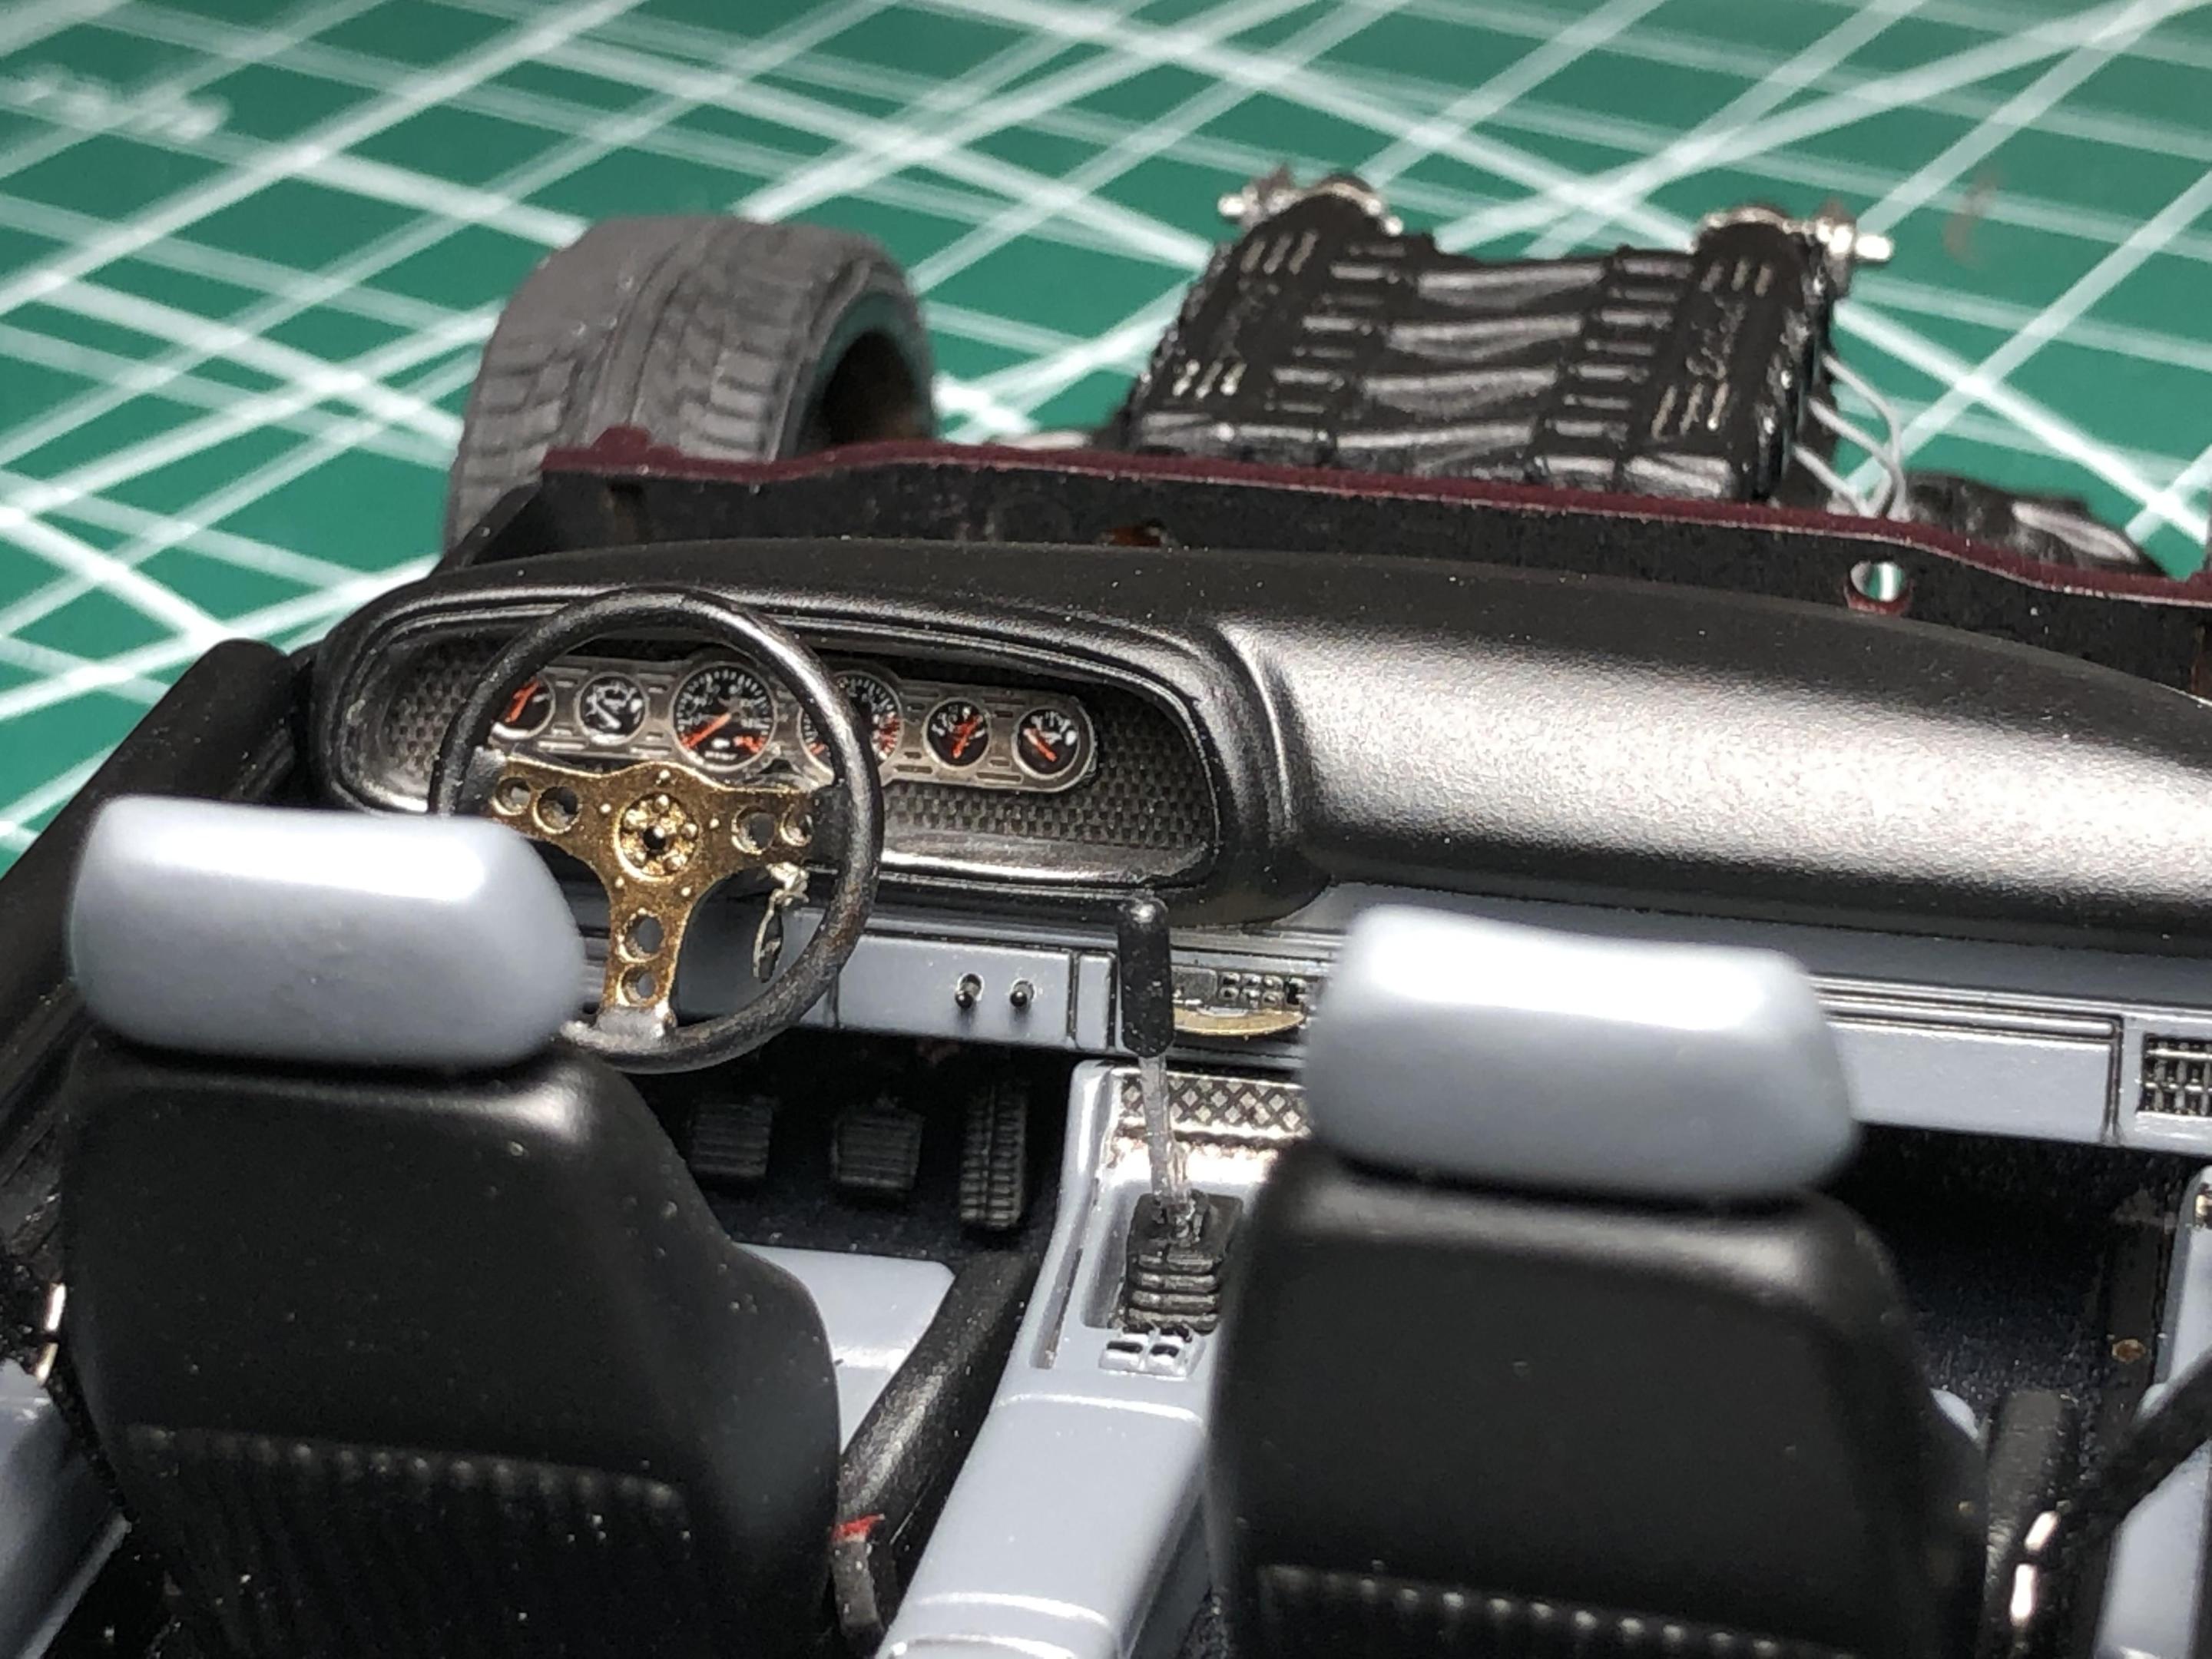
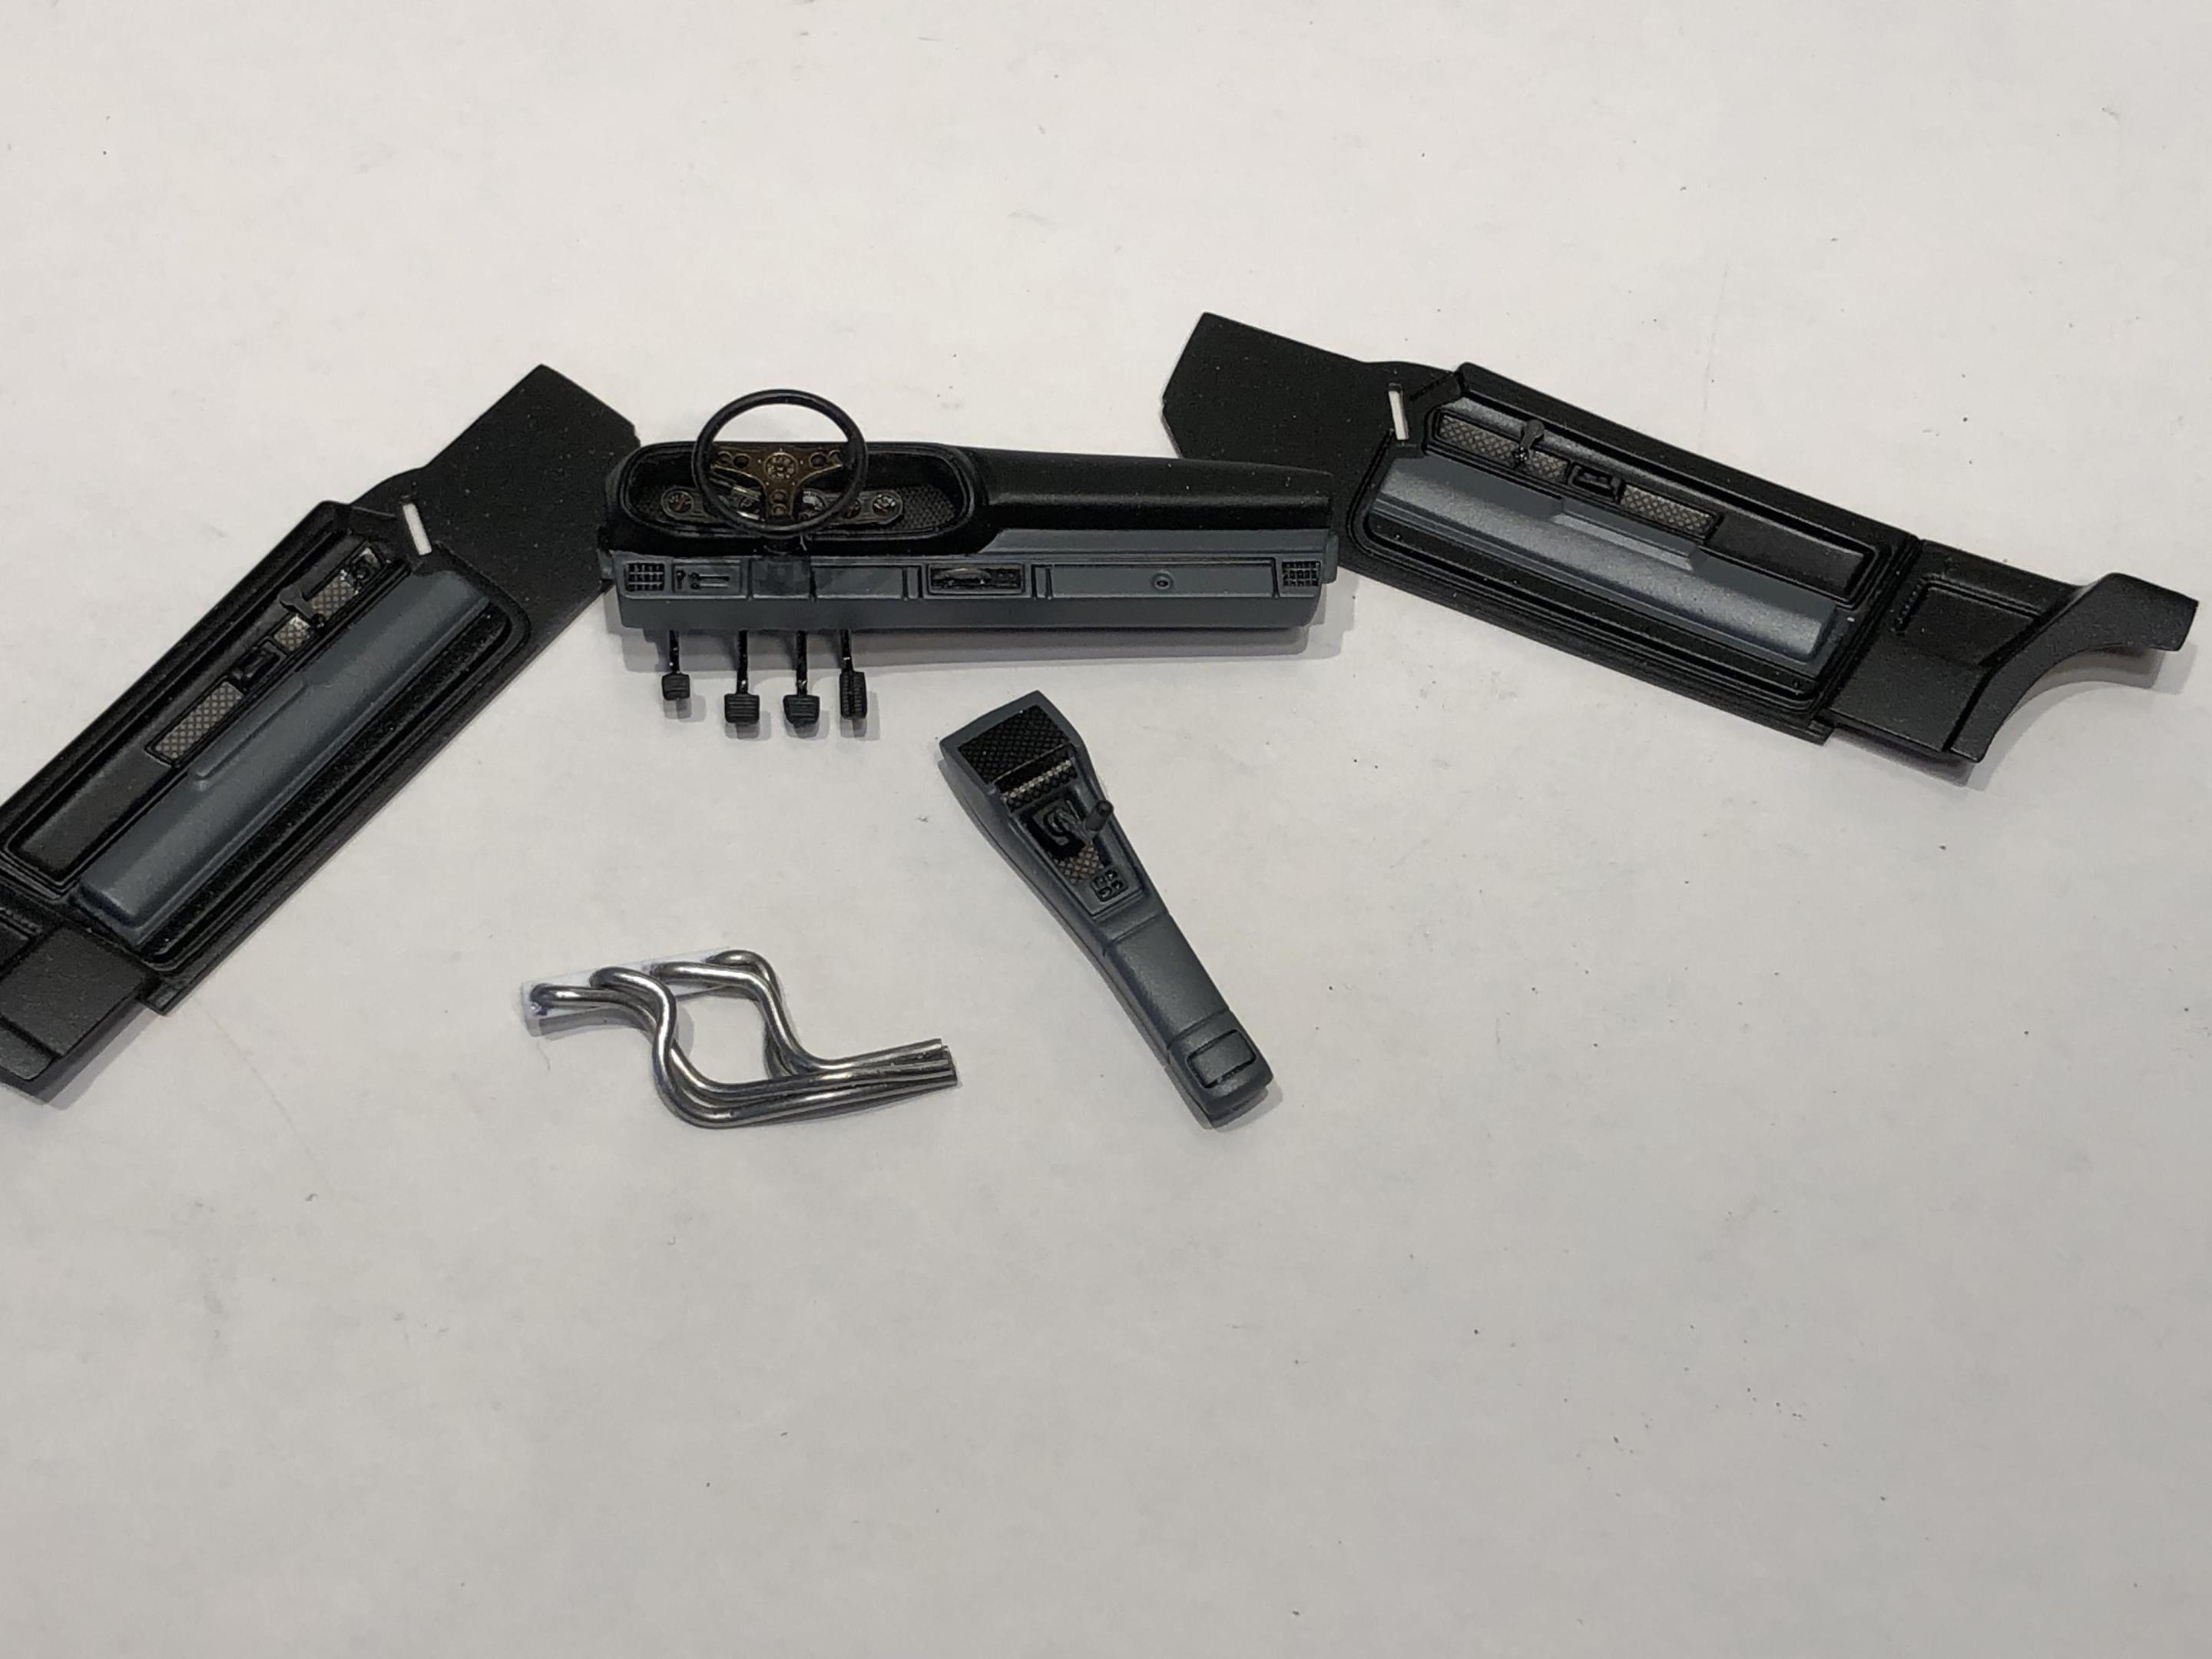
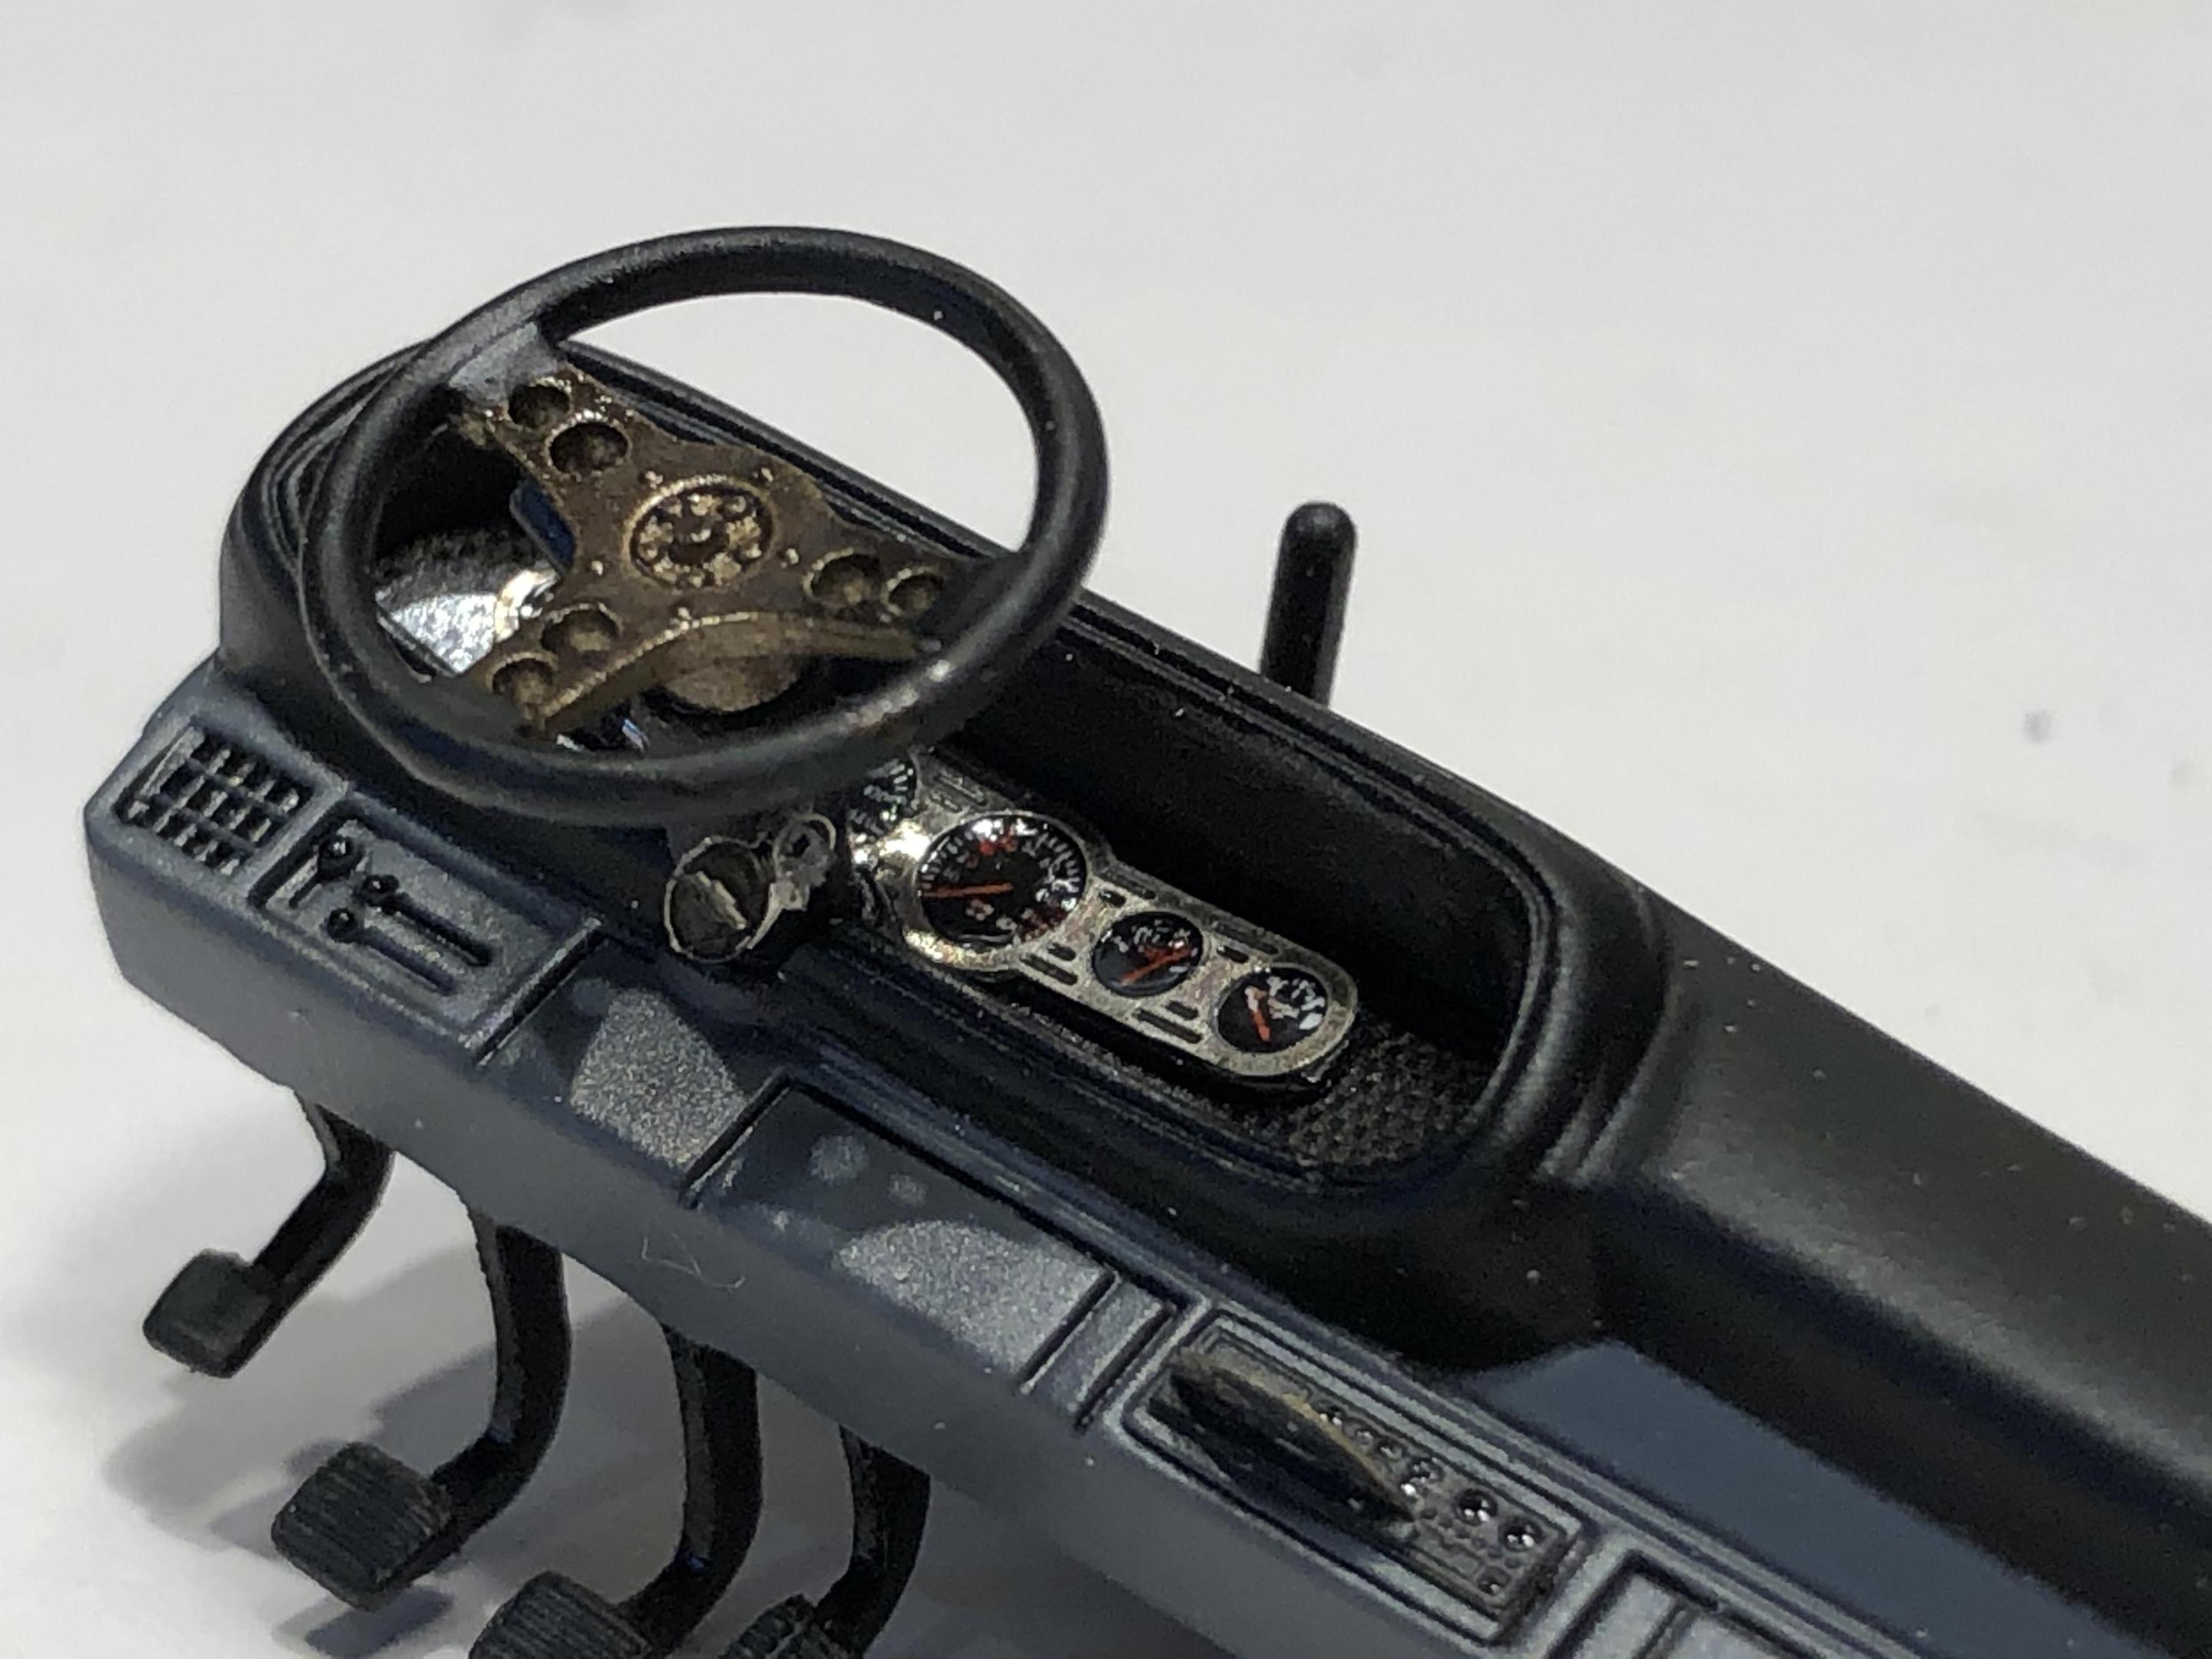
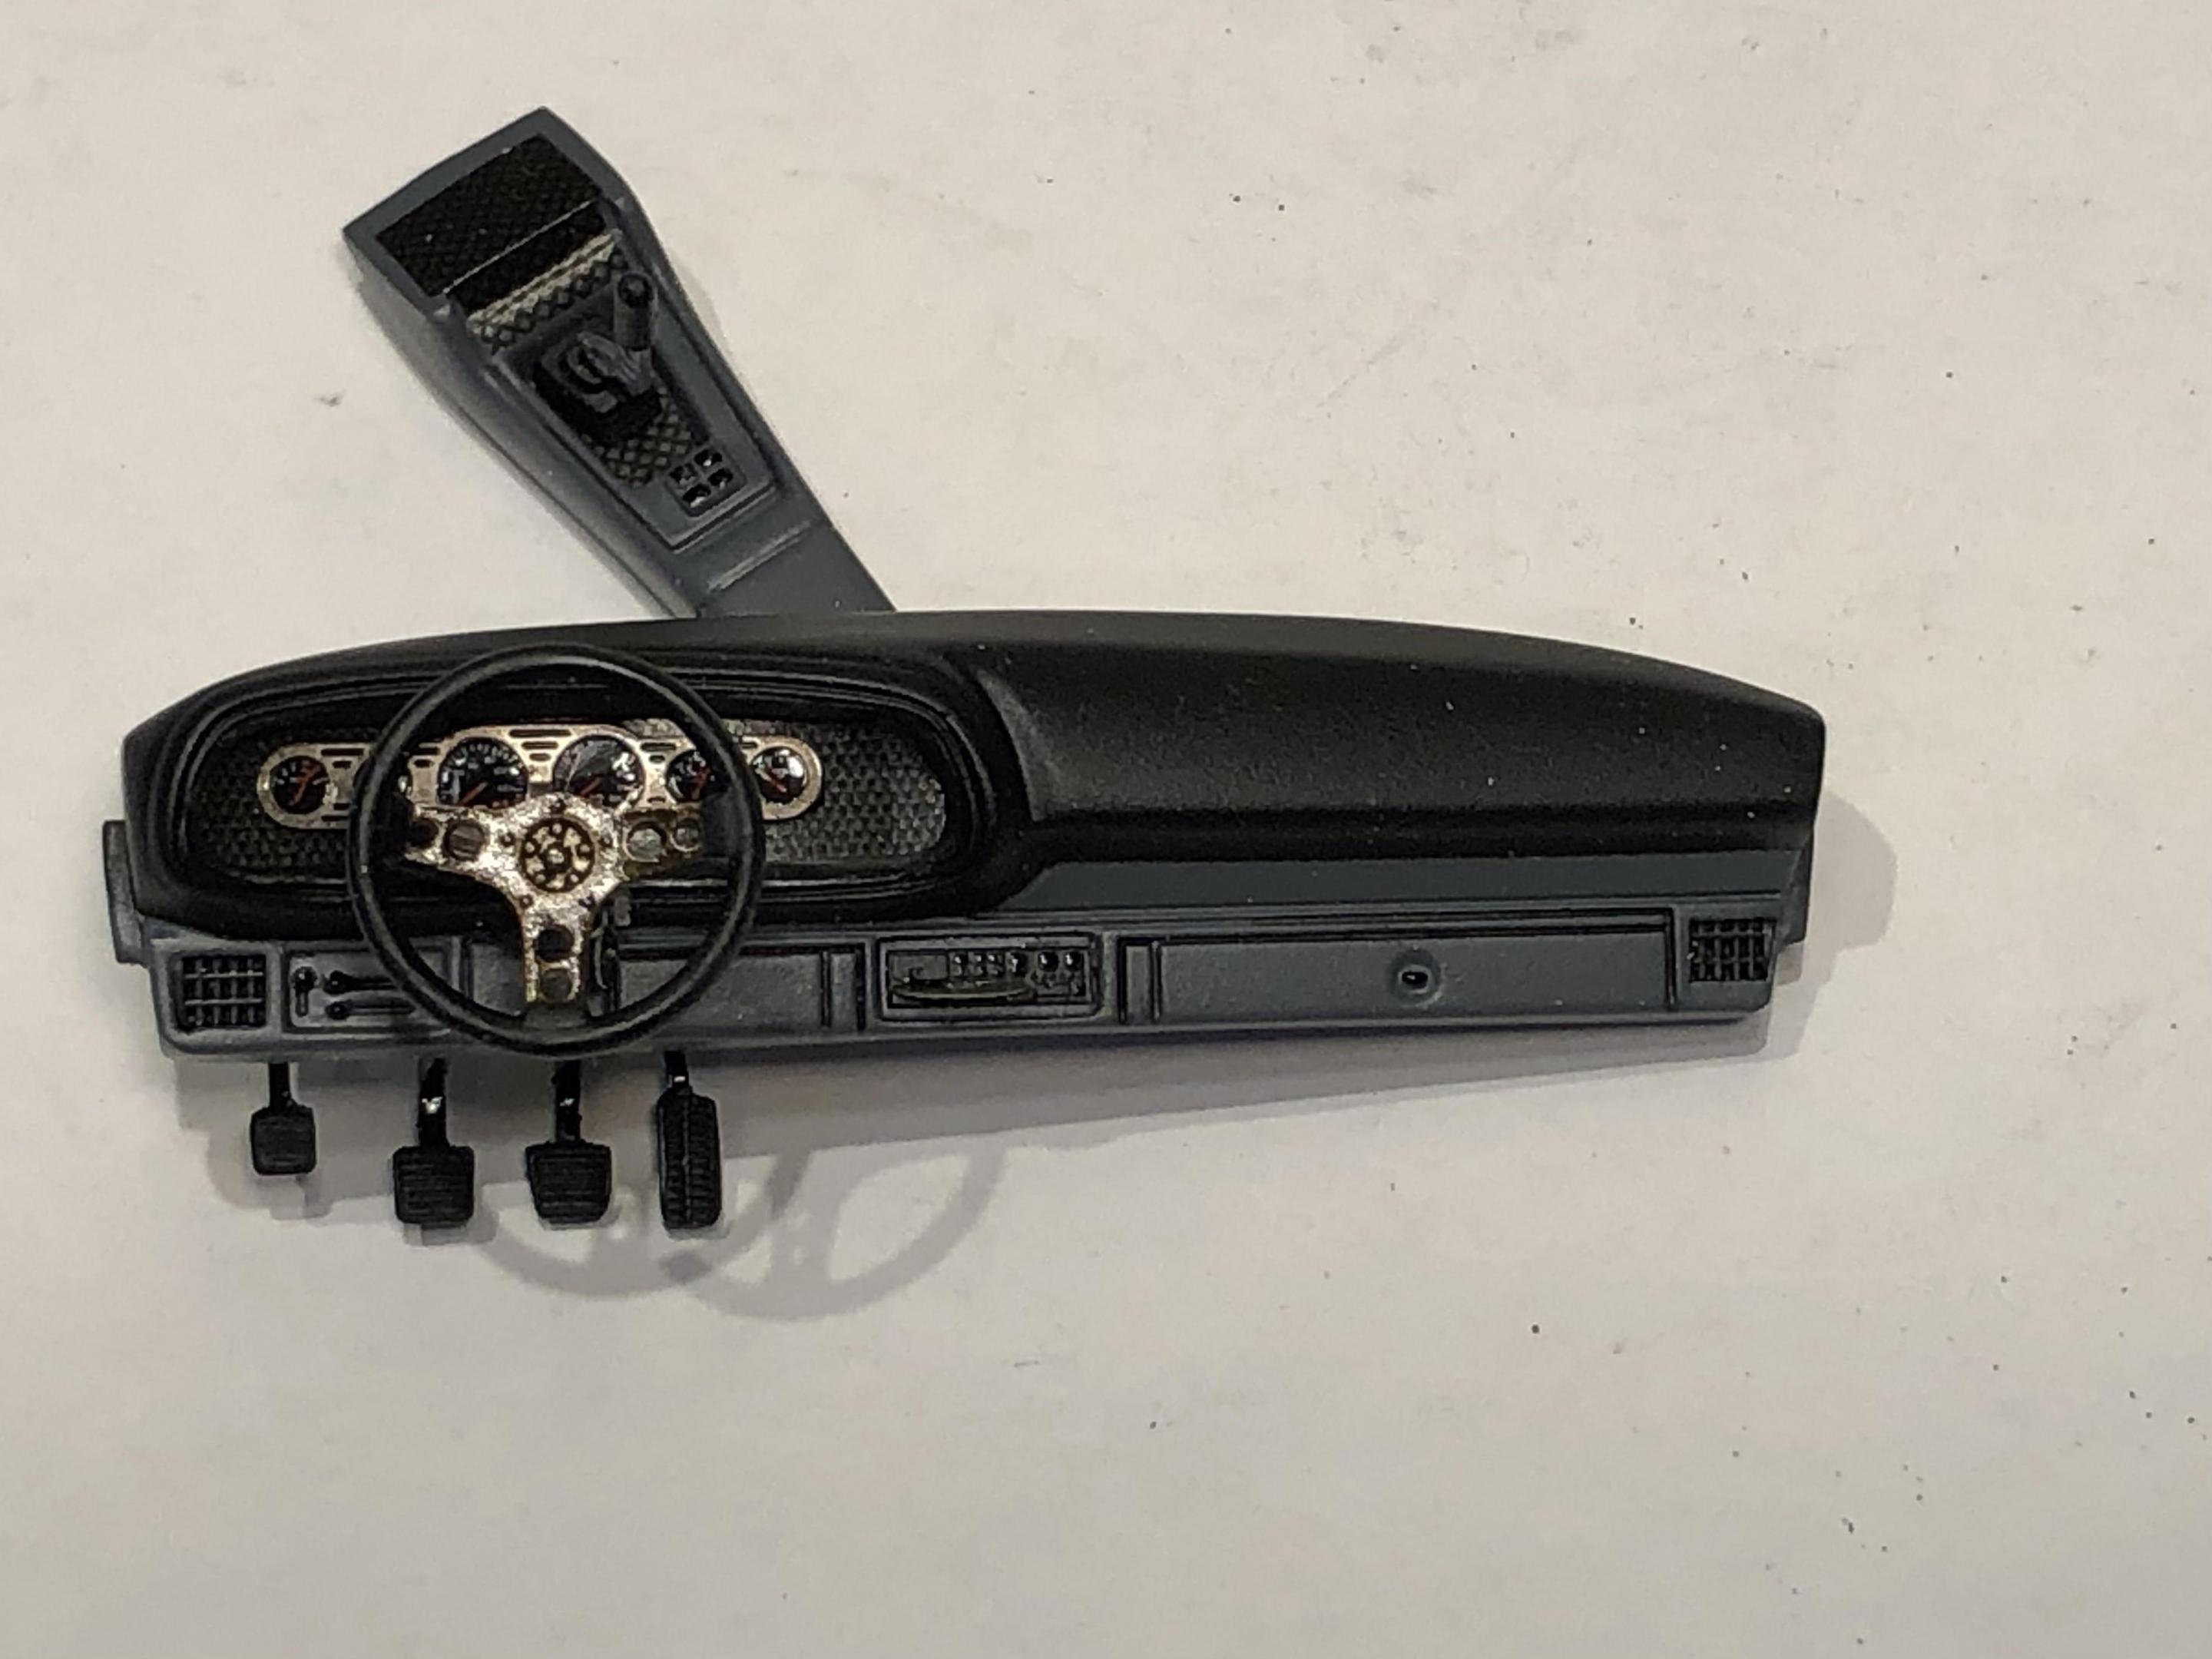
Hi guys, I’ve made a bit of progress over the last couple of days. Interior parts are pretty close now. Dash is complete, added a photo etch CD to the player, keys in the ignition, “window maker” for gauge faces. I will probably do a little more detail painting on the steering wheel. Door panels are done, carbon fibre decals, photo etch window cranks. Console has carbon fibre decals, scratch built shifter attached to the boot from the kit. I gave up trying to get a pair of headers to work. I had three that were all “close” but didn’t work for various reasons. So…. You can see I started building my own using 1.5mm solder. Still a ways to go yet, but so far I’m happy with them. I will cut them shorter and add collectors, then paint them. One of my better dashes… As always, thanks for looking and all comments welcomed.
-
Hi Greg, that is straight from a spray bomb. Most flat clears tend to be difficult to get smooth, (for me at least) as I mentioned above , this one laid down beautifully. Glad you like the finish.
-
Hi Richard, I have bought a total of 4 of the Blazer and Jimmy kits over the years. I believe the warped cap is “standard” as all 4 of mine had the same issue.


