David G.
-
Posts
11,326 -
Joined
-
Last visited
Content Type
Profiles
Forums
Events
Gallery
Everything posted by David G.
-
Hello Wolf. You have beautiful work there, the finish on the motorbike looks perfect. David G.
-
Beautiful restoration! Everything looks spot-on. David G.
-
It looks great! The Magnums really work well with it. What did you use for the chrome trim? It looks like some kind of paint. David G.
-
Yes, I've been thinking I should send them an email. Thank you Jason, it's nice having all that work recognized. Thanks Chaz, me too. Hopefully, I'll have more soon, I'm eager to see this one wrapped up. David G.
-
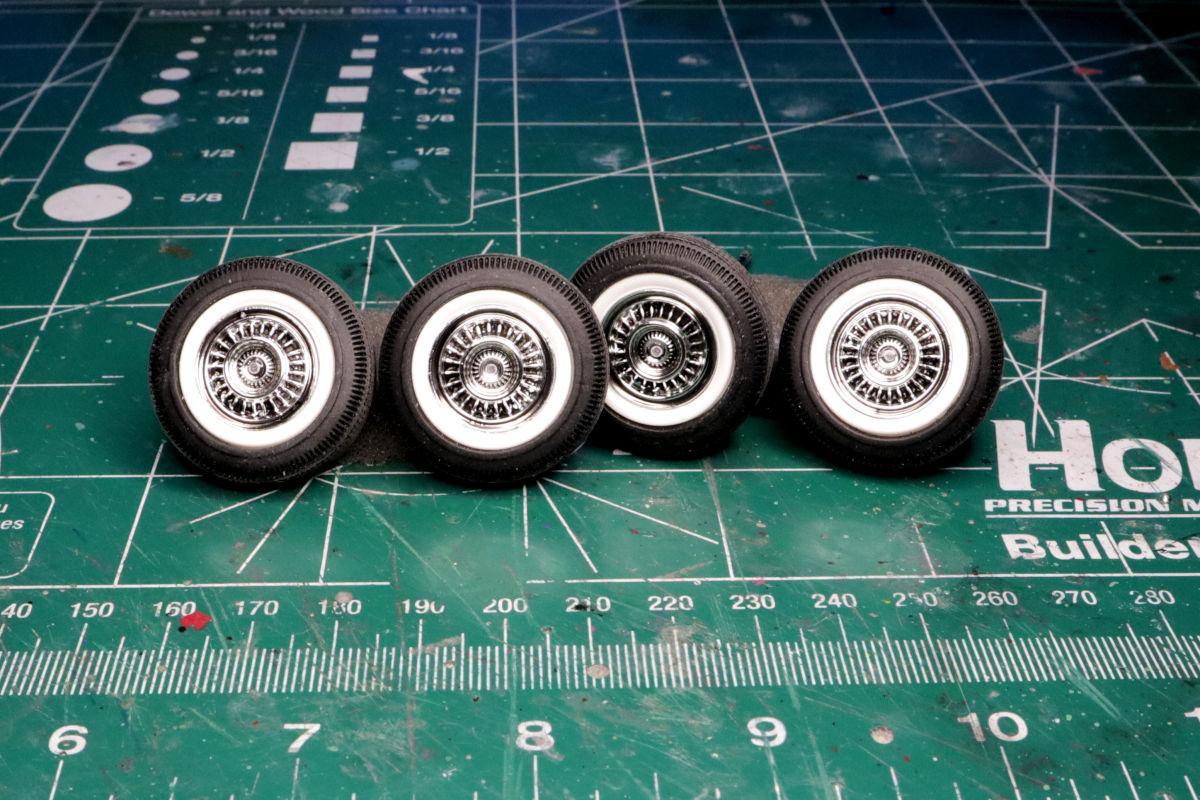
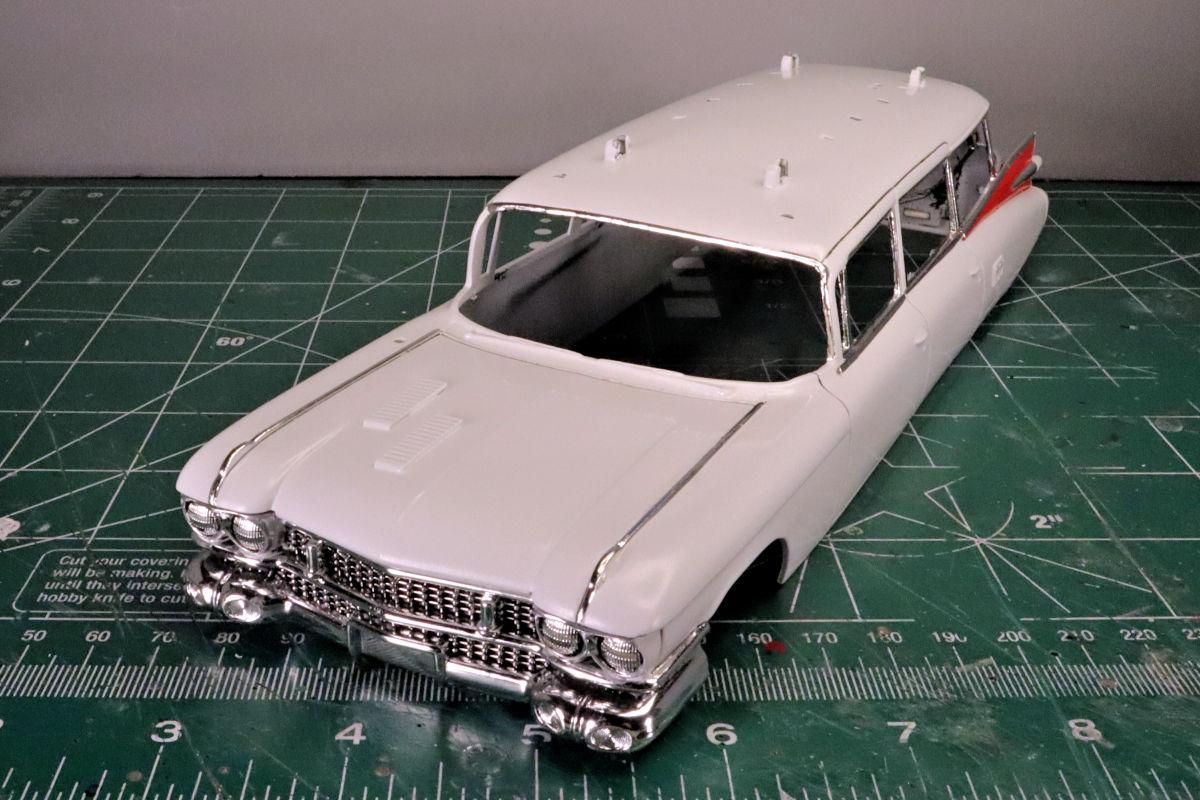
Hello Everybody! I've been away for a while but now I'm back. The wheels have been black-washed, clear coated and mounted. Next up is putting some "chrome" on the rear bumper. The factory chrome finish on the rear bumper was rough to say the least. The chrome coating itself wasn't too bad but it was applied over some rather noticeable casting artifacts like thick attachment points, flash and molding scars. Because of this, I decided to strip and respray the chrome finish. For chrome paint options I have Duplicolor Chrome Silver and Spaz Stix, and Alclad. Each of which I've had varying degrees of success with. But I recently purchased some Molotow chrome paint which I have yet to try. That's all for now. As always, thanks for taking the time to look and please feel free to comment. David G.

-
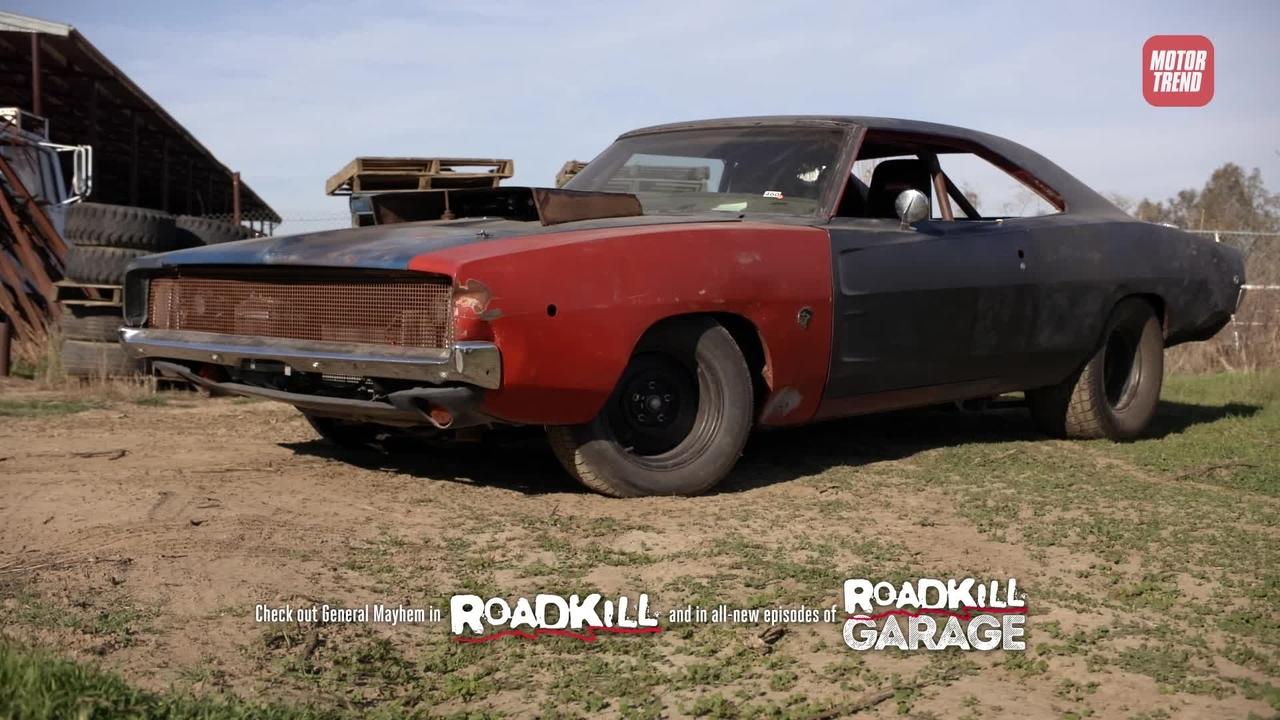
As always, I'm enjoying following along as you walk us through all the mods and repairs you make to this kit. Good call on the weathering, were you inspired by Roadkill's General Mayhem Charger? David G.
-
You always do amazing work Gareth, I can't wait to see where you go with this one. It would seem to me though that building this kit, with all its known problems, would be like repeatedly bonking oneself on the head. The only reason to do it is because it feels so good when you stop. David G.
-
Good, clean build. Nicely Done! David G.
-
The 78 AMC Pacer by MPC has a straight six. I think it should be the 258. David G.
-
 Absolutely Amazing! Everything looks so well thought out and planned that it could have been modeled on an actual 1:1 prototype. On top of that, it's just a gorgeous model. David G.
 -
Just a nice clean traditional Deuce Roadster
David G. replied to OldNYJim's topic in WIP: Model Cars
Nice work so far! 3D printing sure has come a long way in quality of resolution. David G. -
Thank you Anton, I'm glad you like it. David G.
-
The interior came out great, I love the chain-link steering wheel. The body and chassis are coming along nicely too. David G.
-
Very convincing work on the rust and distressed paint effects. David G.
-
Looks great so far. David G.
-
Nice work on both of them! David G.
-
Excellent contrast between the blue body and the flame decals, very eye-catching. David G.
-
It looks like you're throwing a lot of detail at this one, it'll be great when it's finished. David G.
-
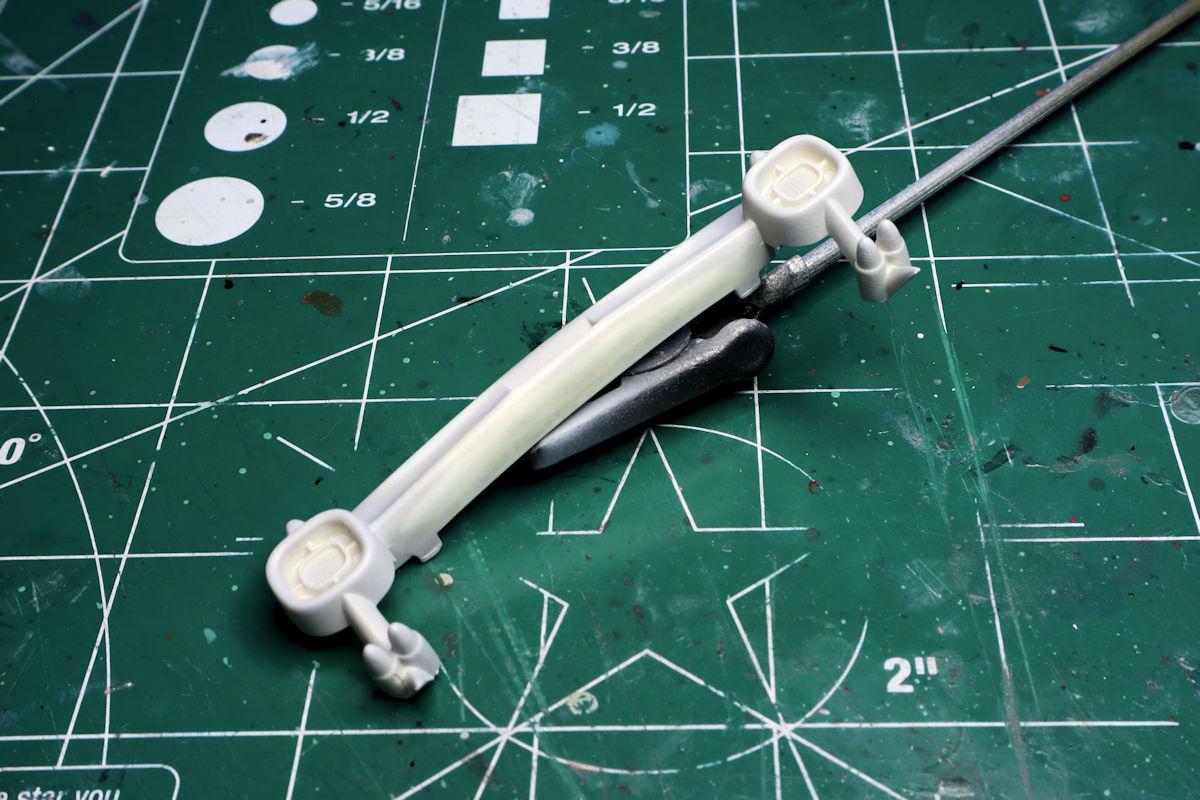
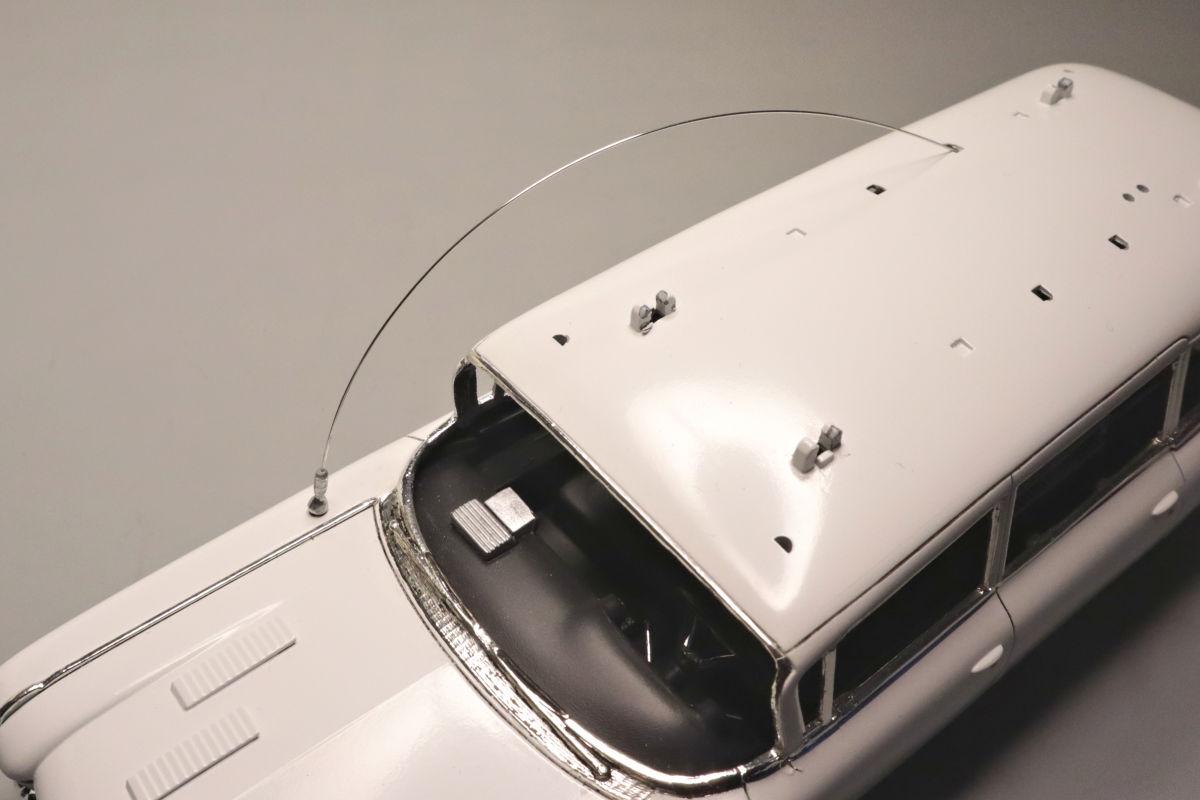
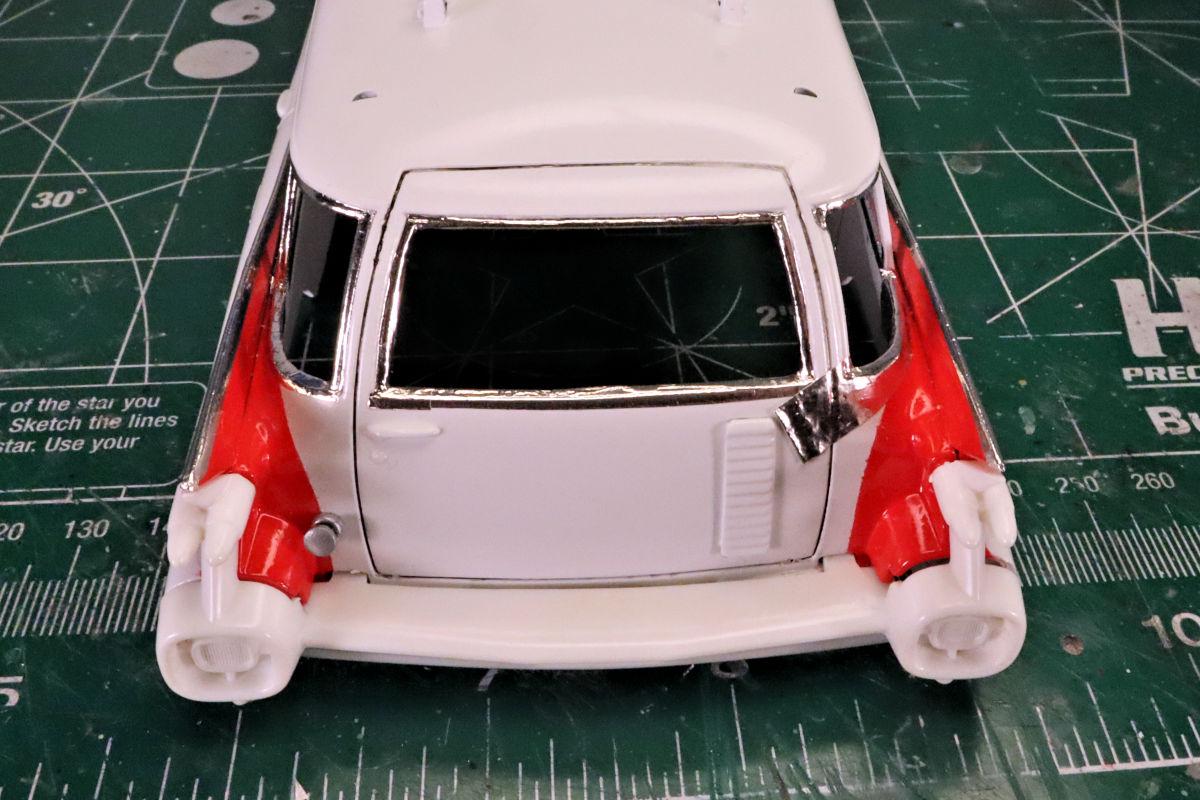
Hello Everybody! I know that the updates have been slow in coming but it seems that life has a way of interfering with our hobbies. I haven't given up yet. Now that the foil work is as done as I'm going to get it, I've begun to move on with the more regular parts of the build. This is the fender mounted whip antenna, it looks almost comically out of scale. In 1:25 scale it measures out to be almost two inches thick. That just won't do. To fix the antenna, I cut off the radiator hose sized mast, drilled out the base and replaced the mast with a length of guitar string. It looks much more realistic. As always, thanks for taking the time to look and please feel free to comment. David G.
-
Excellent restoration! The paint looks fantastic, the color is perfect. David G.
-
Gloster Gladiator
David G. replied to absmiami's topic in WIP: All The Rest: Motorcycles, Aviation, Military, Sci-Fi, Figures
Sweet detail work on this! Nicely done. David G. -
A beautiful diorama, excellent work! David G.
-
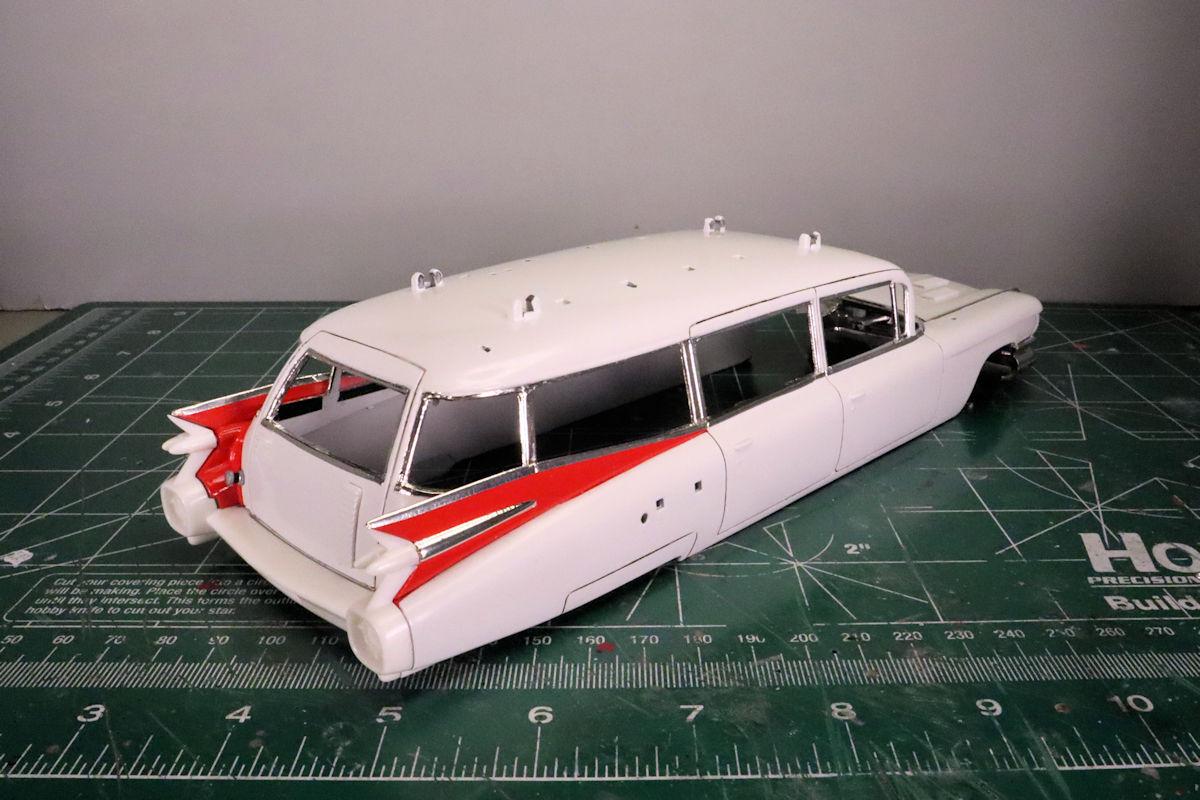
Hello Everybody! After a month of struggle, the foil work is done! Well, with the exception of the little bit that I overlooked which was discovered as I edited the photos. In any event, I'm now beginning to feel that I can move on with the rest of the work on this one. As always, thanks for taking the time to look and please feel free to comment. David G.
-
Hello Everybody! As some of you may know, I've been going back over my old threads and updating old photos and replacing broken photo links. To say that there is a lot of work involved in such a project is a bit of an understatement. I know that some of these threads are rather old but I feel that they are important just the same. Thank you for your patience and I hope you enjoy. David G.
-
Hello Everybody! Though it may seem like it, I haven't given up on this one. Progress foiling with this most recent order of BMF is to say the least, slow and frustrating. But I'm learning to work with it. After trimming an appropriate sized piece of foil I do an initial burnishing in place to work the foil into the basic shape of where it will go. I then brush the areas where I intend to apply the foil with a diluted solution of Micro Krystal Klear and allow that to rest for a couple of minutes before reapplying and reburnishing the foil. I then have to allow about ten minutes for the glue to set before the final trimming. It's tedious to say the least. Though the foil is rough in around the window trim areas, thankfully it looks fairly good on the fins and hood spears. It's just frustrating to have put so much time and effort into this model then to have to struggle with something so basic only to achieve mediocre results. I hope that BMF gets this quality issue sorted out. I do have some old Testors Model Master foil, I may give that a shot. David G.