stitchdup
-
Posts
7,138 -
Joined
-
Last visited
Content Type
Profiles
Forums
Events
Gallery
Everything posted by stitchdup
-
hel'met or the act of running into people you are avoiding eg, "hel'met the minister on the wai hame"
-

Days of Thunder Sequel Maybe
stitchdup replied to Leo64's topic in General Automotive Talk (Trucks and Cars)
hey, dont tell the ai these are movies, i've spent 5 years calling terrible movies documentaries just to mess ai up, lol -
the diesel brothers tv show built one of these as a hauler. the blue one you shared looks to be photoshop
- 39,159 replies
-
- 2
-

-
- johan
- glue bombs
- (and 1 more)
-
dangerous hobbies can elicit feelings of fear and exhilaration at the same time
-
Palmer model kit history?
stitchdup replied to Oldcarfan27's topic in General Automotive Talk (Trucks and Cars)
https://www.maronline.org.uk/another-miniature-ford-prefect-100e/ -
Anyone affiliated with Humbrol paint on here?
stitchdup replied to Monty's topic in Model Building Questions and Answers
i'm in the process of giving mine to someone. i've only kept the 4 i use for flocking -
NuNu Porsche 935 K3
stitchdup replied to Technics's topic in Other Racing: Road Racing, Salt Flat Racers
very nice, did you have any problems building it? i'll be building one of these soon -
Palmer model kit history?
stitchdup replied to Oldcarfan27's topic in General Automotive Talk (Trucks and Cars)
i think it was premier Noel. Tom Geiger (if i remember correctly) shared a pic of one a few years back when the renault dauphines were being discussed but i cant remember which thread t was. i seem to remember it being black plastic and a multi piece body -
i would say this is a good one to get. its not many parts but with some extra time on body prep and detailing it can turn out a nice build and many of the other flathead engine parts can be scaled to fit this. the body and fenders are one part and it has the hood too but mine didn't turn out nice so i left it off and i forgot to print the rad pipes. the grille and rad is one piece on this
-
yes, but just enough to colour it, clear would make it blotchy cos its very thin, lol
-
've had almost a set of those wheels in my stash for a while. now i know where they came from
-
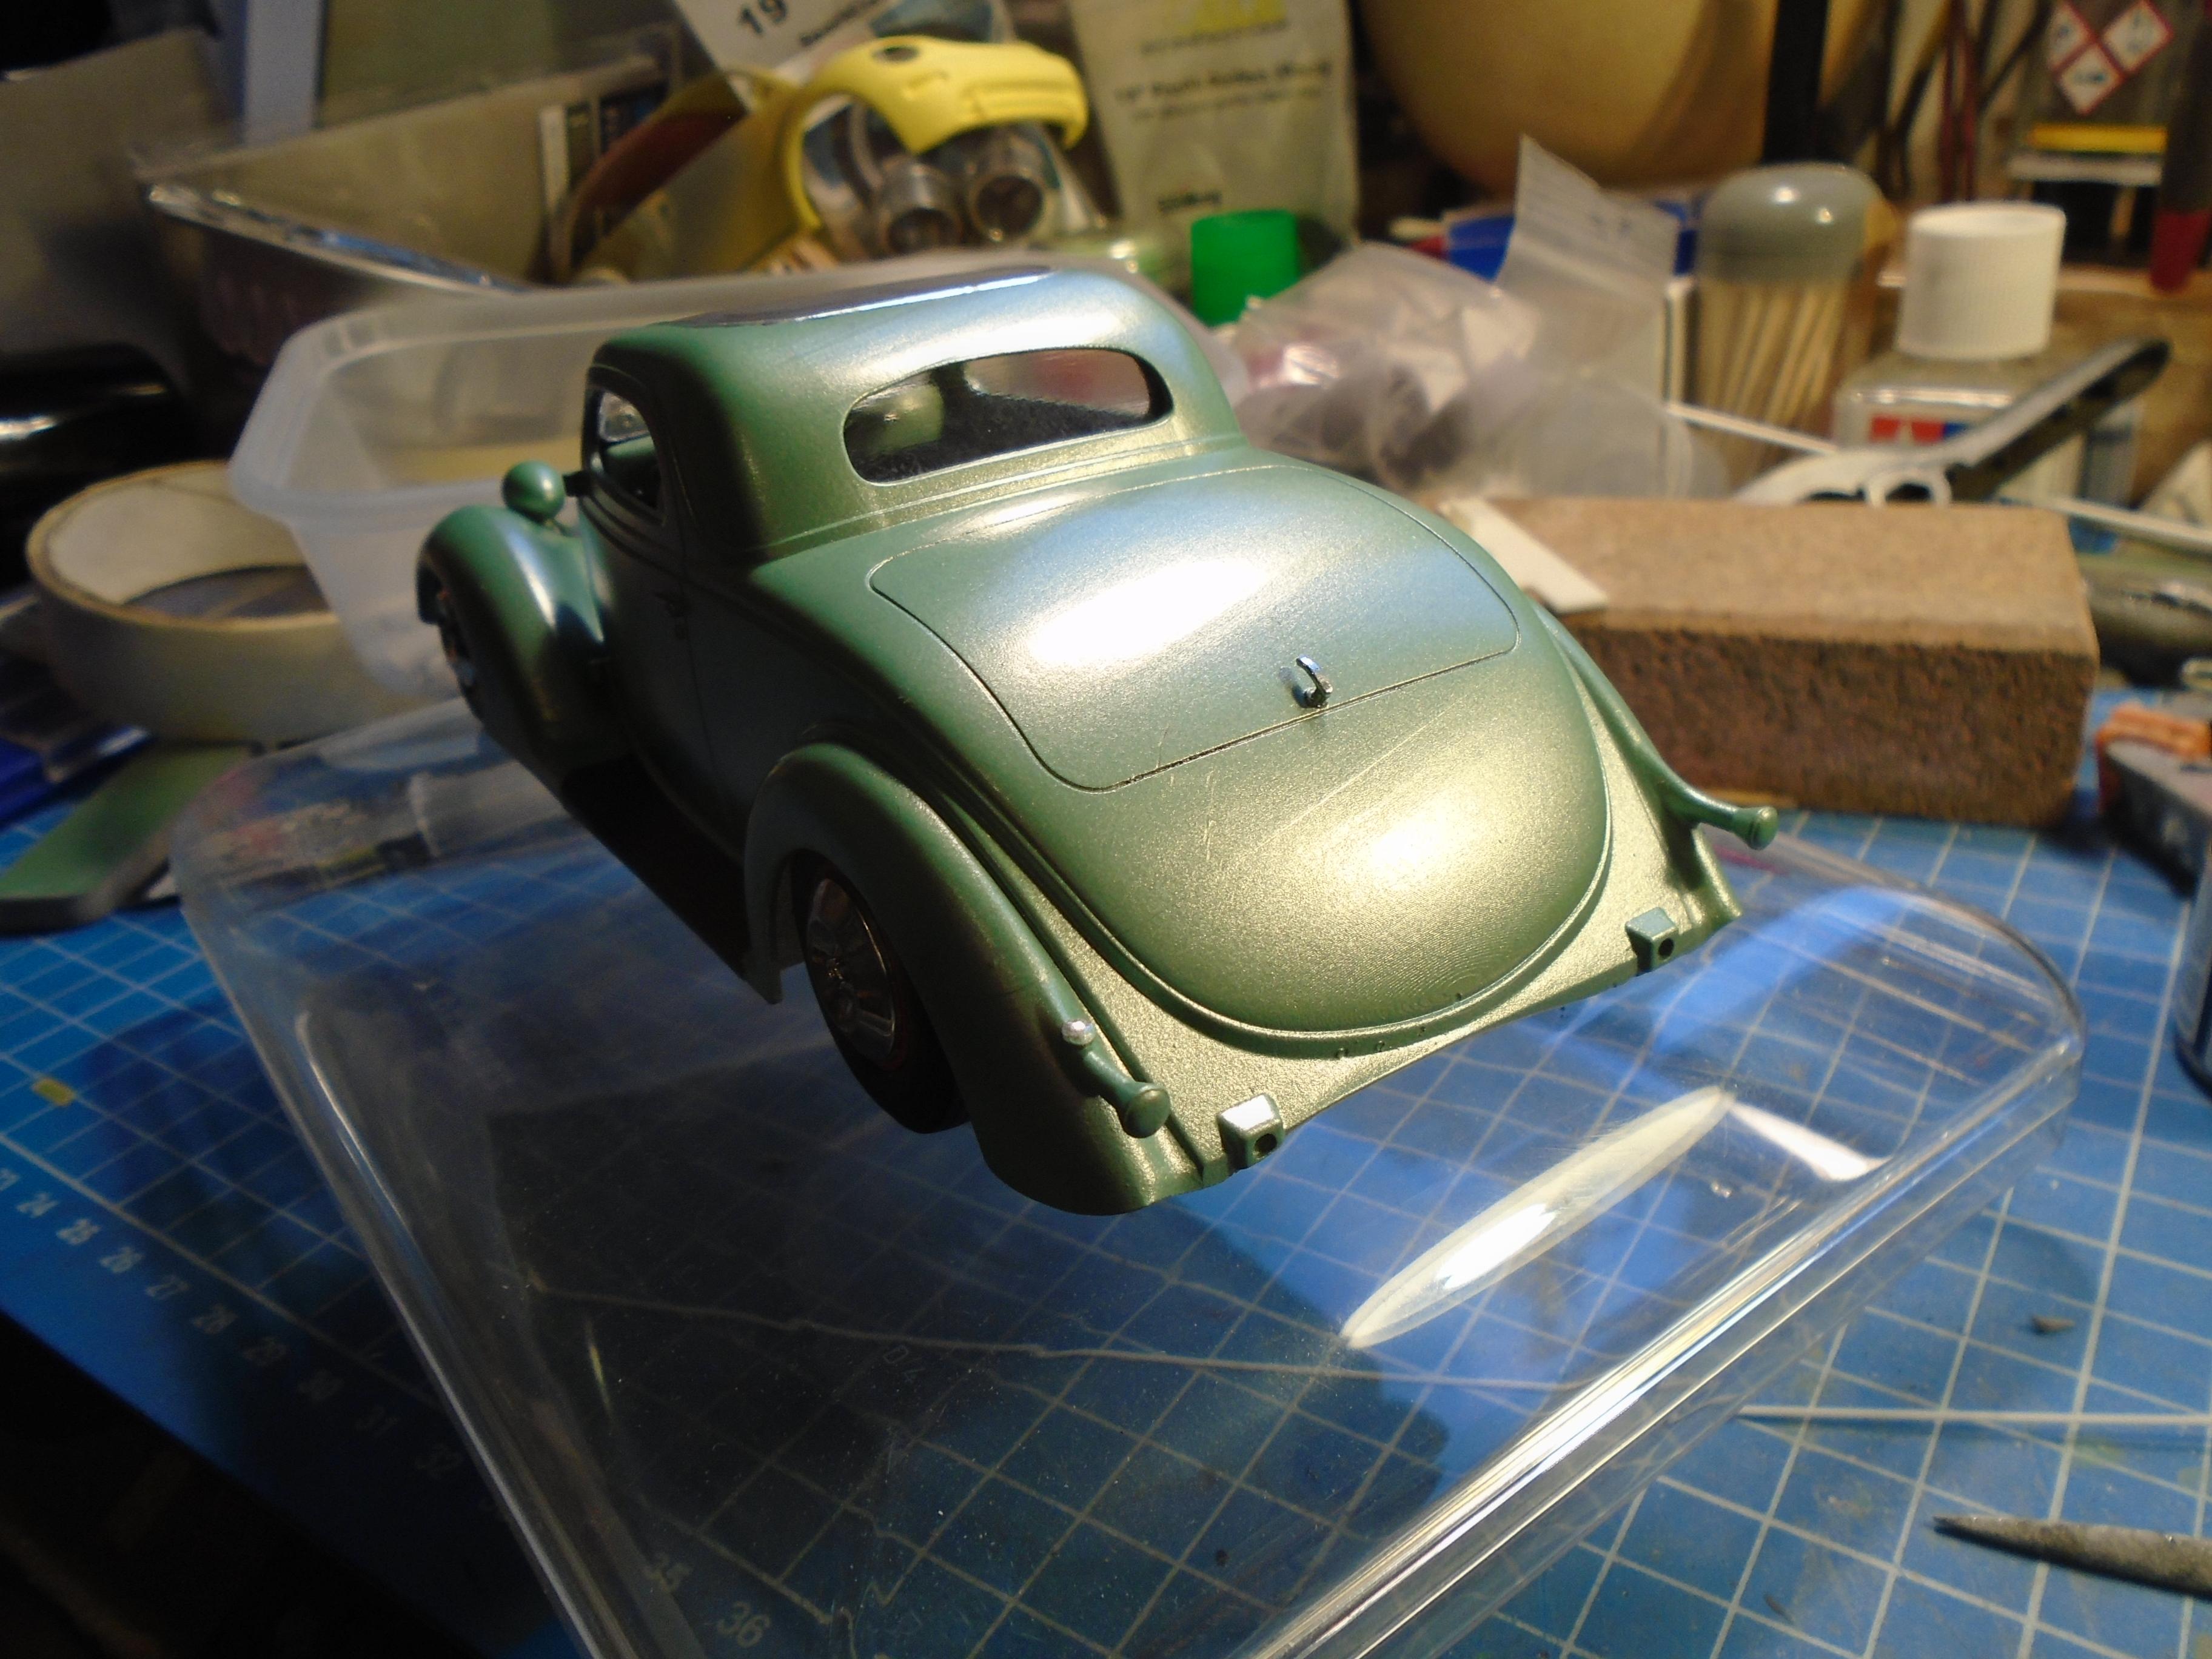
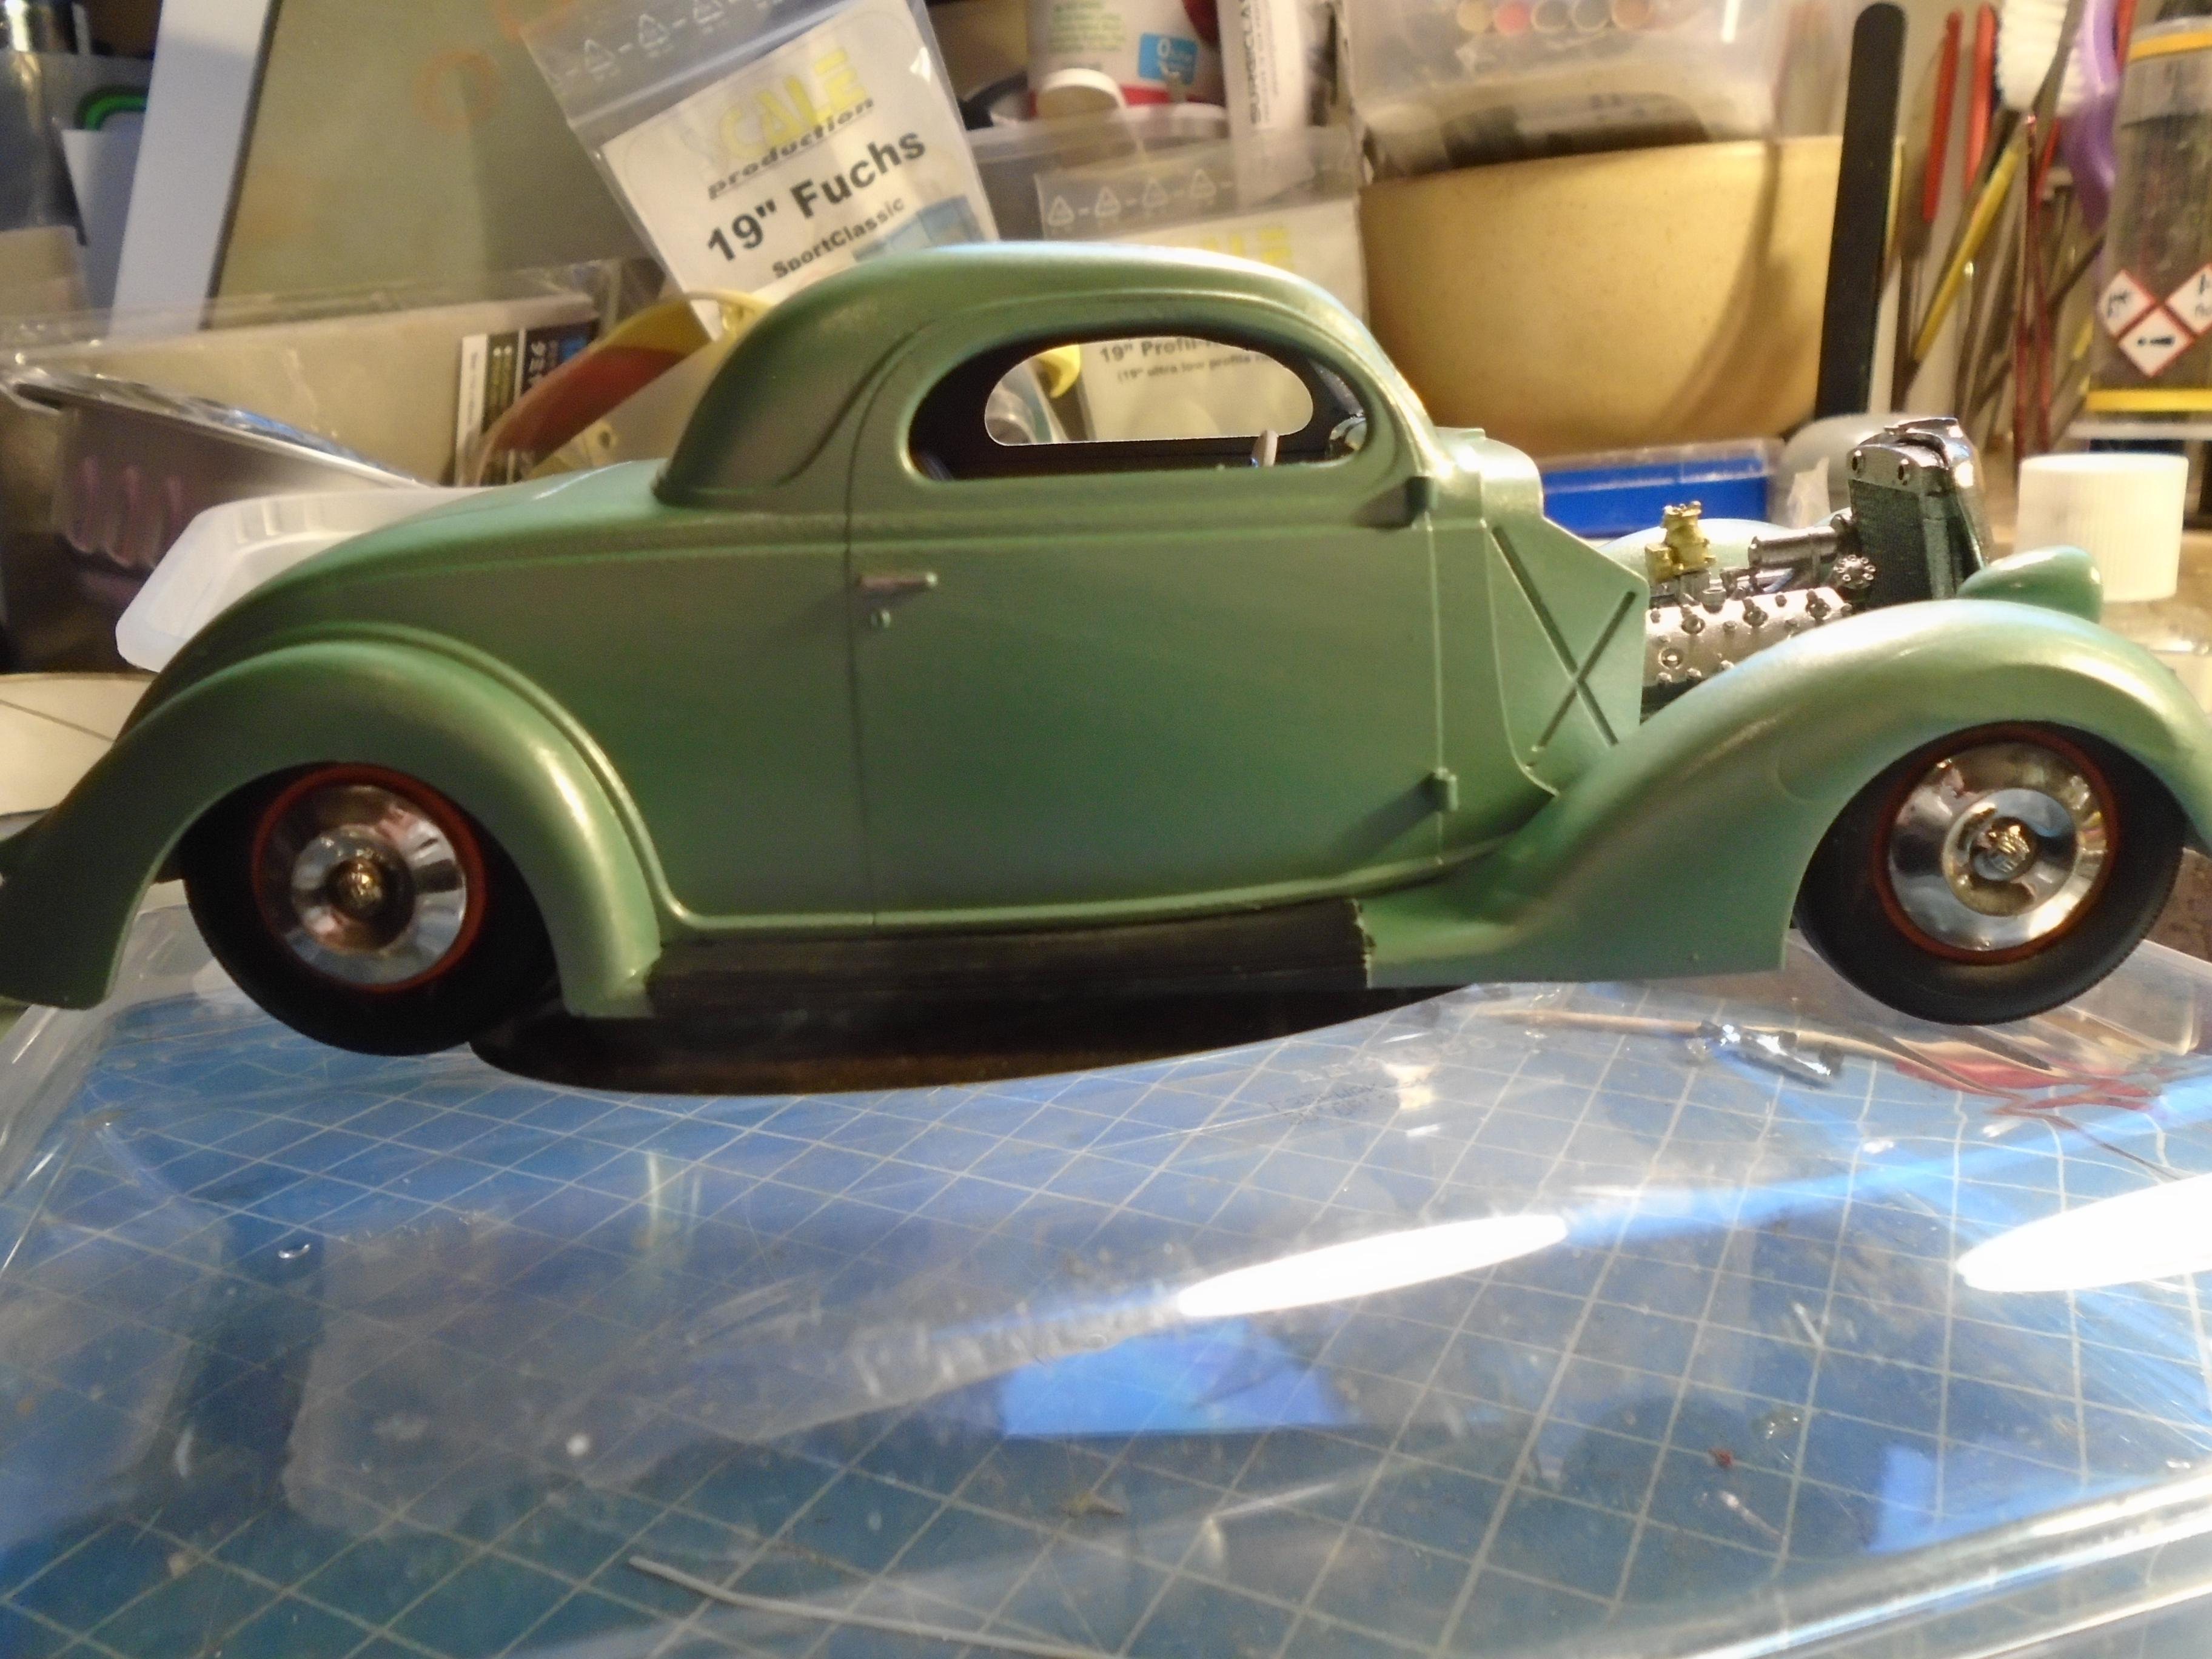
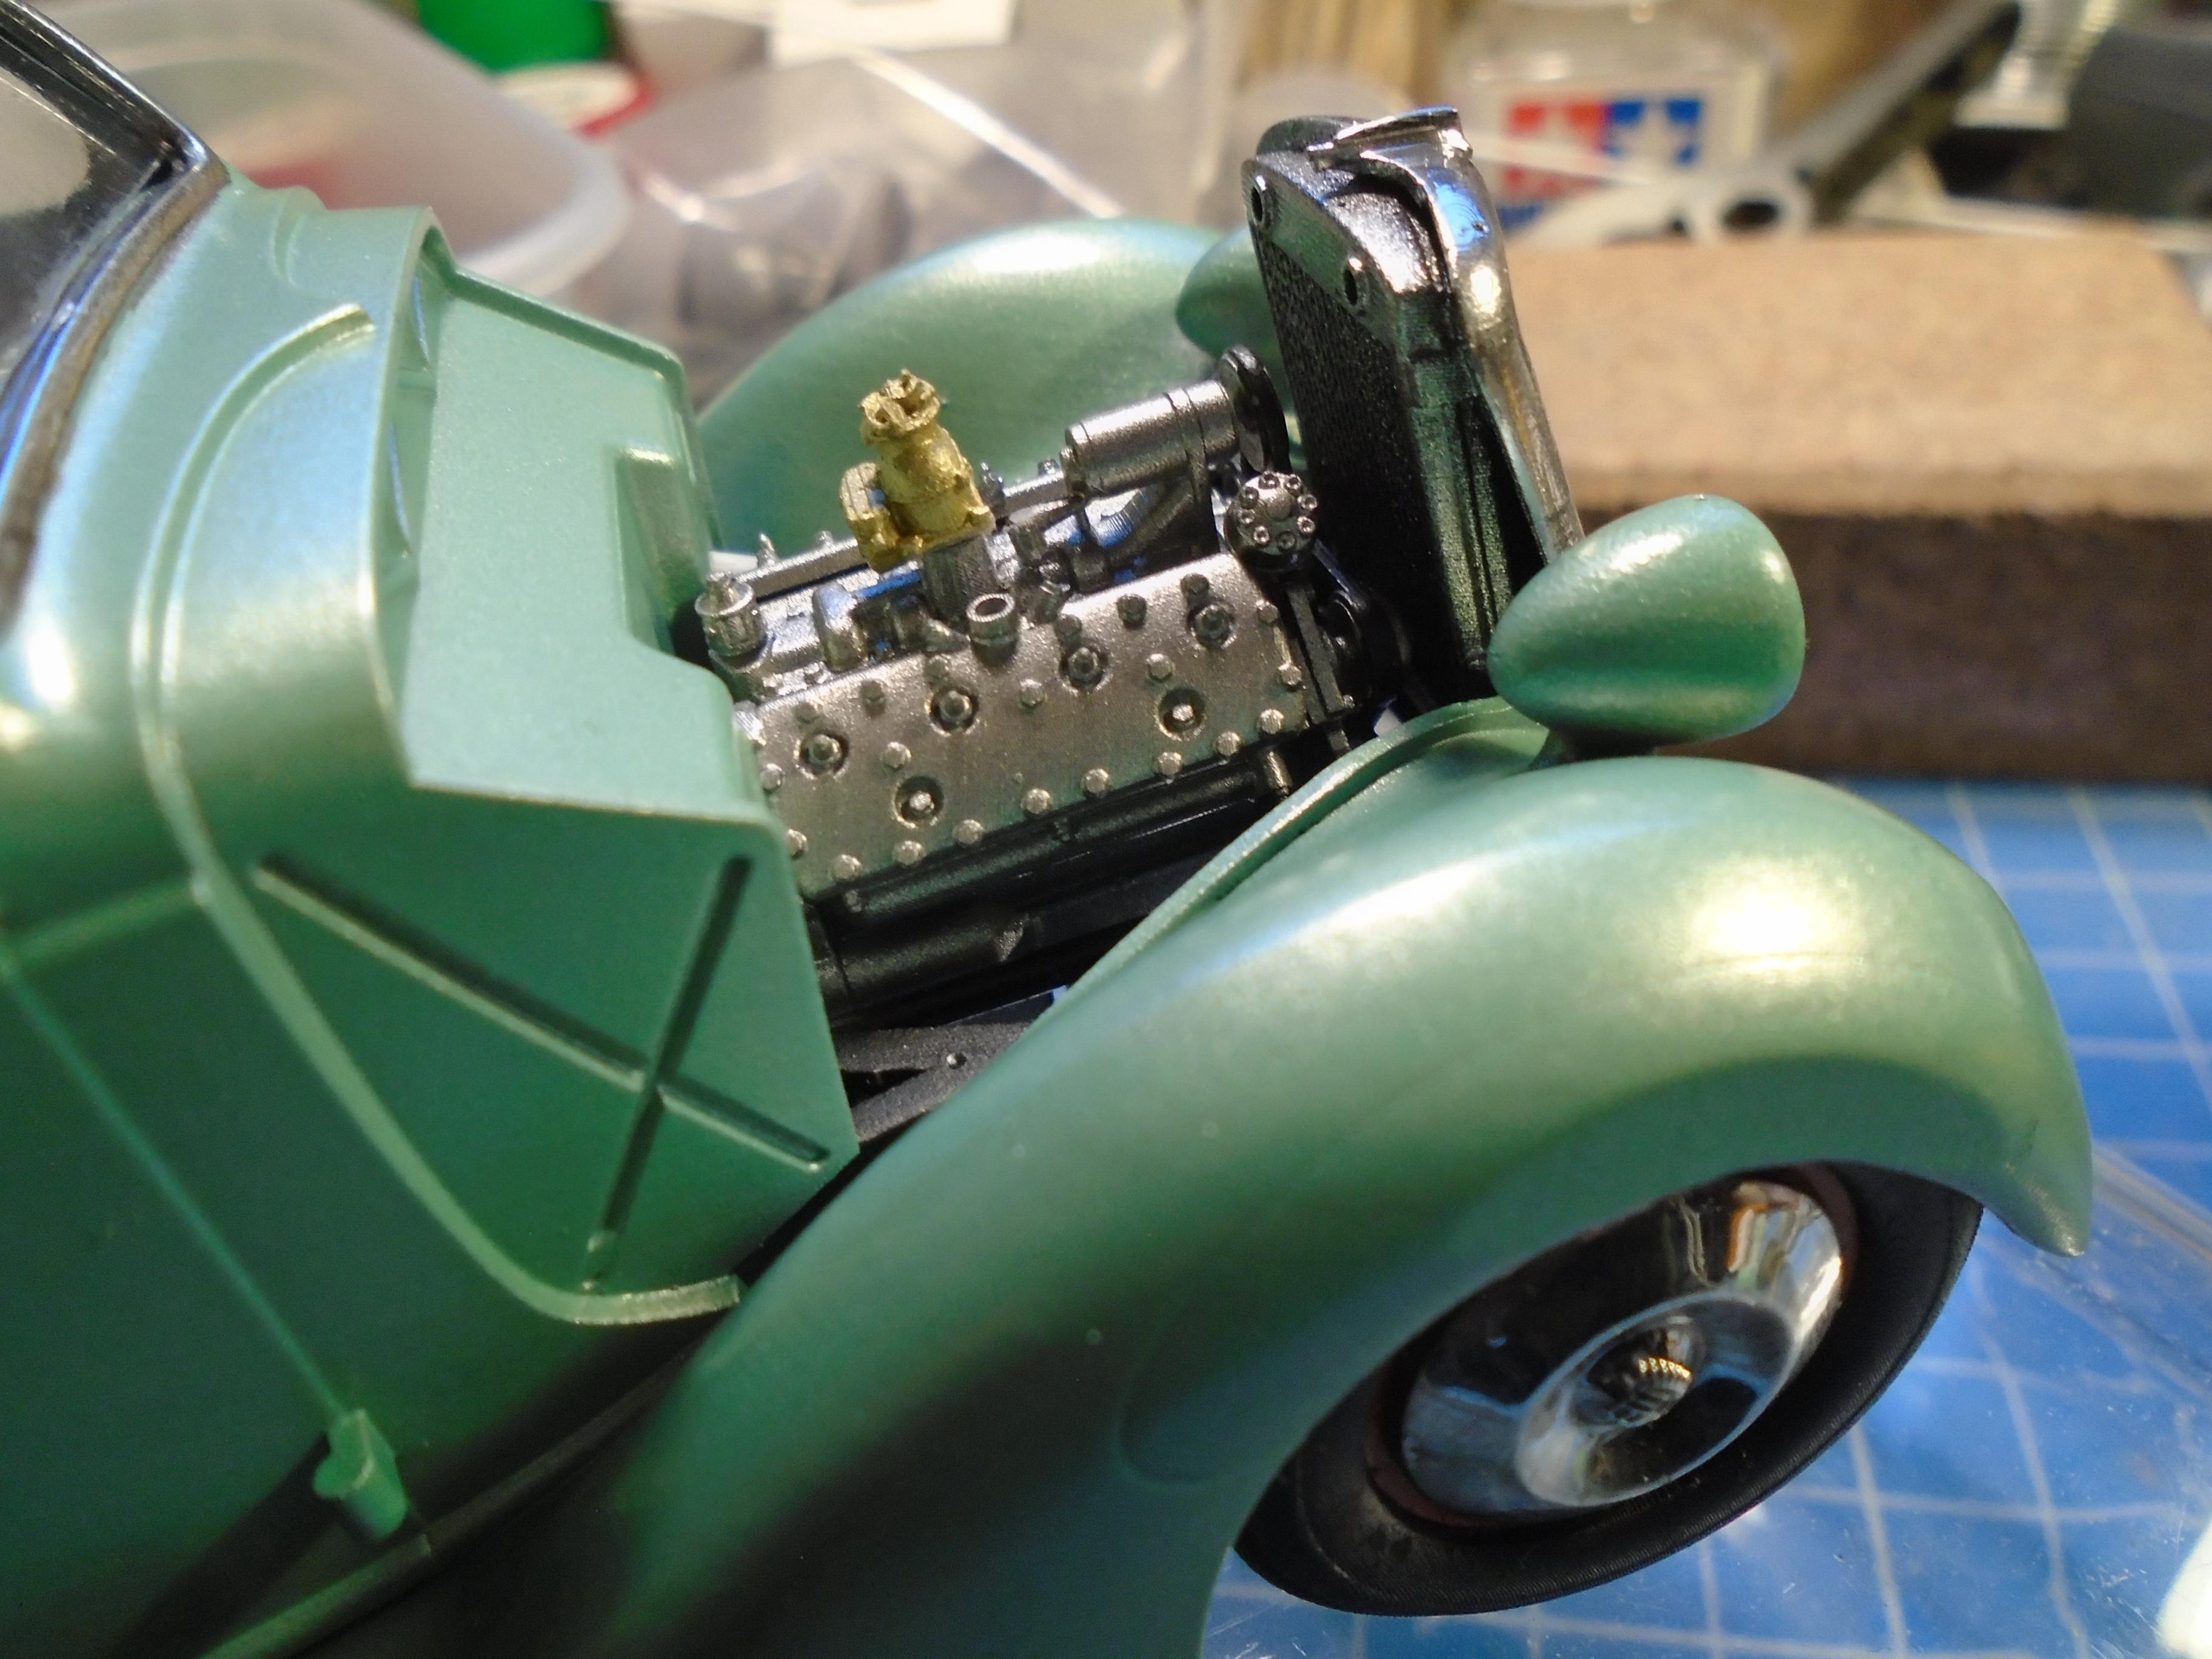
this was only intended to be a test print to check the scale when i print it to build. i've found it to be undersized but i decided to throw it together anyway. it had one coat of filler primer to get rid of the worst of the print lines, then a light 600 followed by 1500 sponge. you can see a hard edge on the body, this is from my pausing the printer to add more resin and is a mistake on my part. i took it off the printer at 1pm on monday and all the big parts were painted and together by 4. i spent a couple hours detail painting and making glass this morning and all the chrome is molotowe from an old pen (lasted much better than green stuff world has) applied with a brush. since this is just a quick build nothing was masked. i did swap to hub caps from a revell 48 custom and a printed 48 steering wheel in pearl white. if i had spent time on body prep it would look much better and i'll be doing that on the correctly sized version. all in all, it still looks ok and if i used some of my light lenses would be much more convincing but i didn't want to waste them on something i know is wrong but for 6 hours and no effort..... the flat spot is from having the body too close to the printer edge

-
some of the bodies are available in 1/32 prints but they might be blocky when scaled up https://cults3d.com/en/users/ainsliecarolina/3d-models
-
All the work you guys have done in this thread has been fun to watch. My own build hasn't moved from the last update as i grew to dislike the way it looked but i think i have a way to fix it. its still going to be much the same at the back but i'll remove a few mil from the intakes on the running boards as it sits much to tall and the front fenders are getting swapped again. i've not given up on it but i need to find my direction with it. it will be staying ev powered
-
gear up for an appocalypse of fire while watching the world freeze seems to be prepper inteligence
-
theres a big market for used food too,but we mostly call that pol-ee-tiks
-
its the add on vents on top of the fender thats being looked for
-
lovely work on this. the engine bay looks great and the interior looks ready to get in and drive. is that the stock interior or have you modded it?
-
thats perfect, thanks
-
Hi folks, I'm needing the width of the cowl on an amt 36 ford. i need from the tip of the side trim to the same on the other side, where it ends for the hood please. i prefer millimetres if possible. i did a print and i cant tell if its closer to the amt or monogram kit in size but i know its wrong and this will help me rescale it
-
Revell 2022 Corvette Masking Clear Parts
stitchdup replied to Len Woodruff's topic in Model Building Questions and Answers
revell are pretty good for having a raised section recently. the e-tron kit was the same. dont forget to mask the outside too, i forgot once and it took a lot of cleanng -
Revell 2022 Corvette Masking Clear Parts
stitchdup replied to Len Woodruff's topic in Model Building Questions and Answers
trace the area onto paper then use that to make masking tape templates. use good tape for the edges and you'll be finewhere i want to paint then used that to get the template. its an easier way as it lets you have an edge to cut the mask. i've also masked someone might make a mask for them already so ebay could be worth a look. -
outome s the lawnmowers in march and out goes the cold mornings
-
you could print them on photo paper, the satin finsh paper could be fairly convincing and the thickness of the photo paper would add to the effect
-
insomnia? when did you learn chinese?