jaymcminn
-
Posts
1,755 -
Joined
-
Last visited
Content Type
Profiles
Forums
Events
Gallery
Everything posted by jaymcminn
-

Anyone Order From This COmpany Before
jaymcminn replied to oldcarfan's topic in General Automotive Talk (Trucks and Cars)
They're not as intuitive or as easy to shop as HLJ, which is oriented more toward Western customers, but I've ordered from Hobby Search a lot (as well as reviewing instructions and sprue pics for potential purchases) and never had a problem. I've gotten some screaming deals from them. -
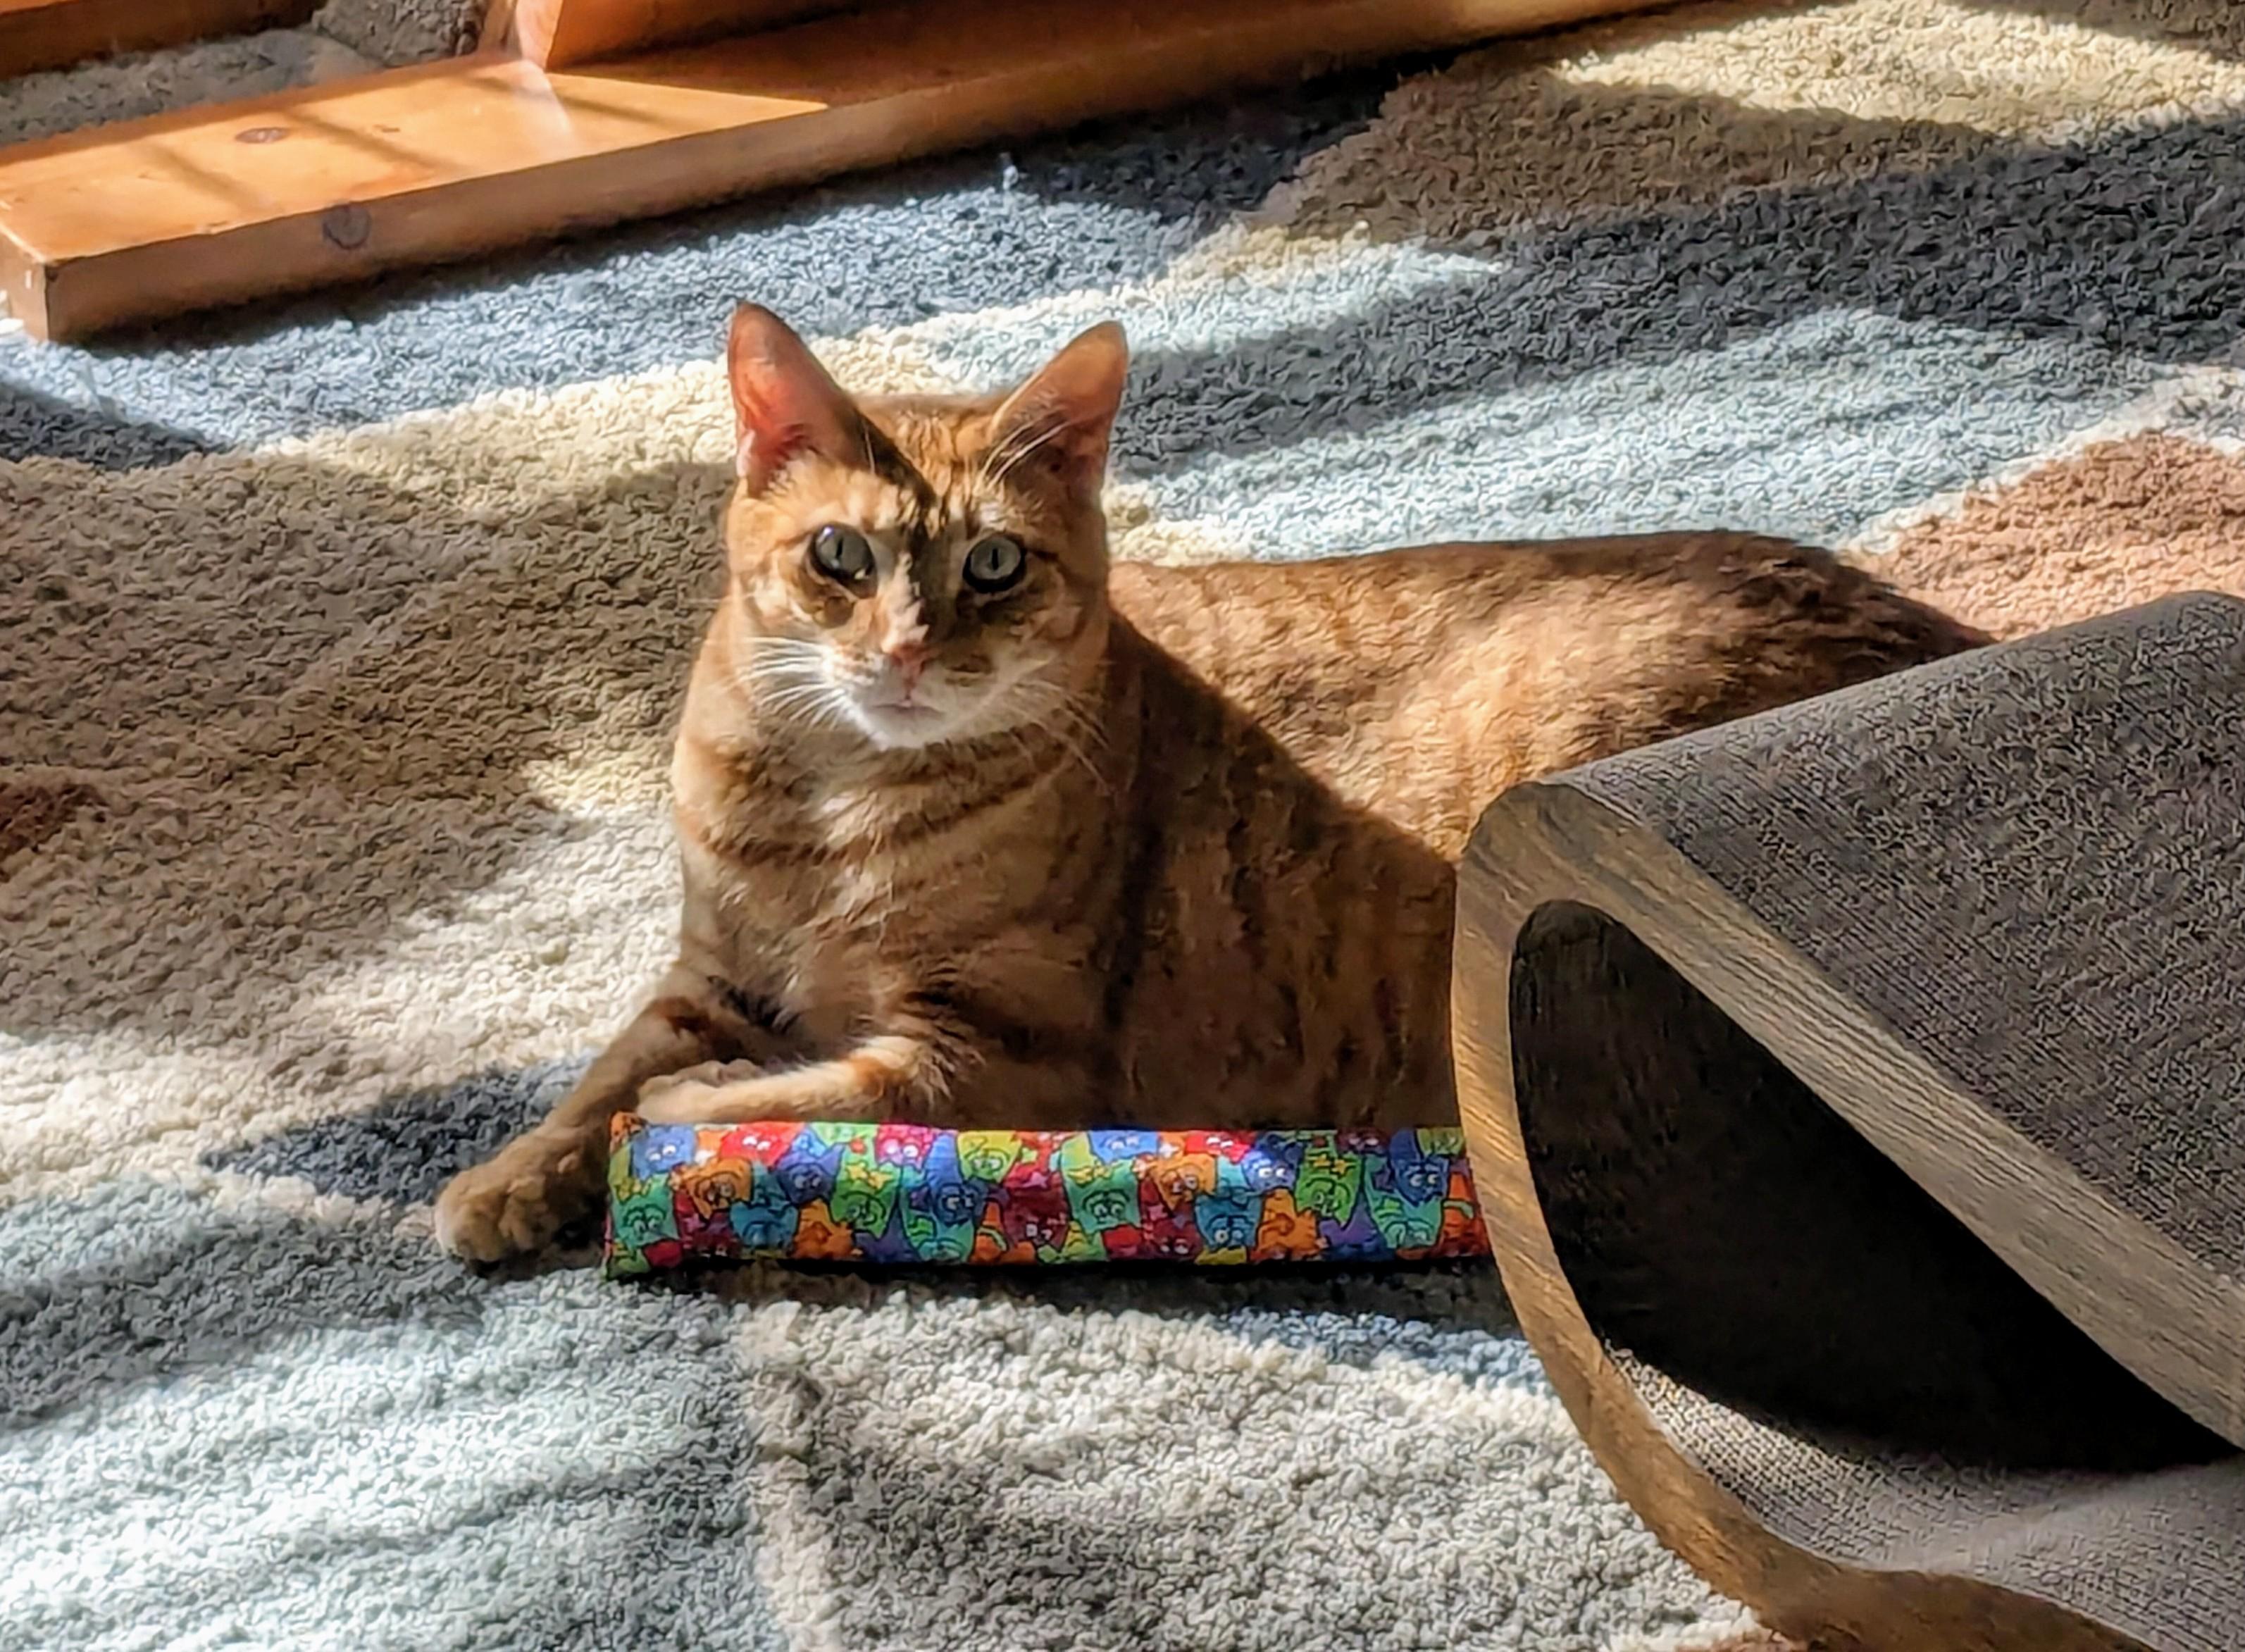
Haiku for a Ginger Cat Tawny tiger basks Sunlight slants through open blinds It's belly rub time.

-
Ugh. I dodged that bullet until last February. It was really unpleasant, but the worst was over by about the 4th day. At least the photos are cute!
-
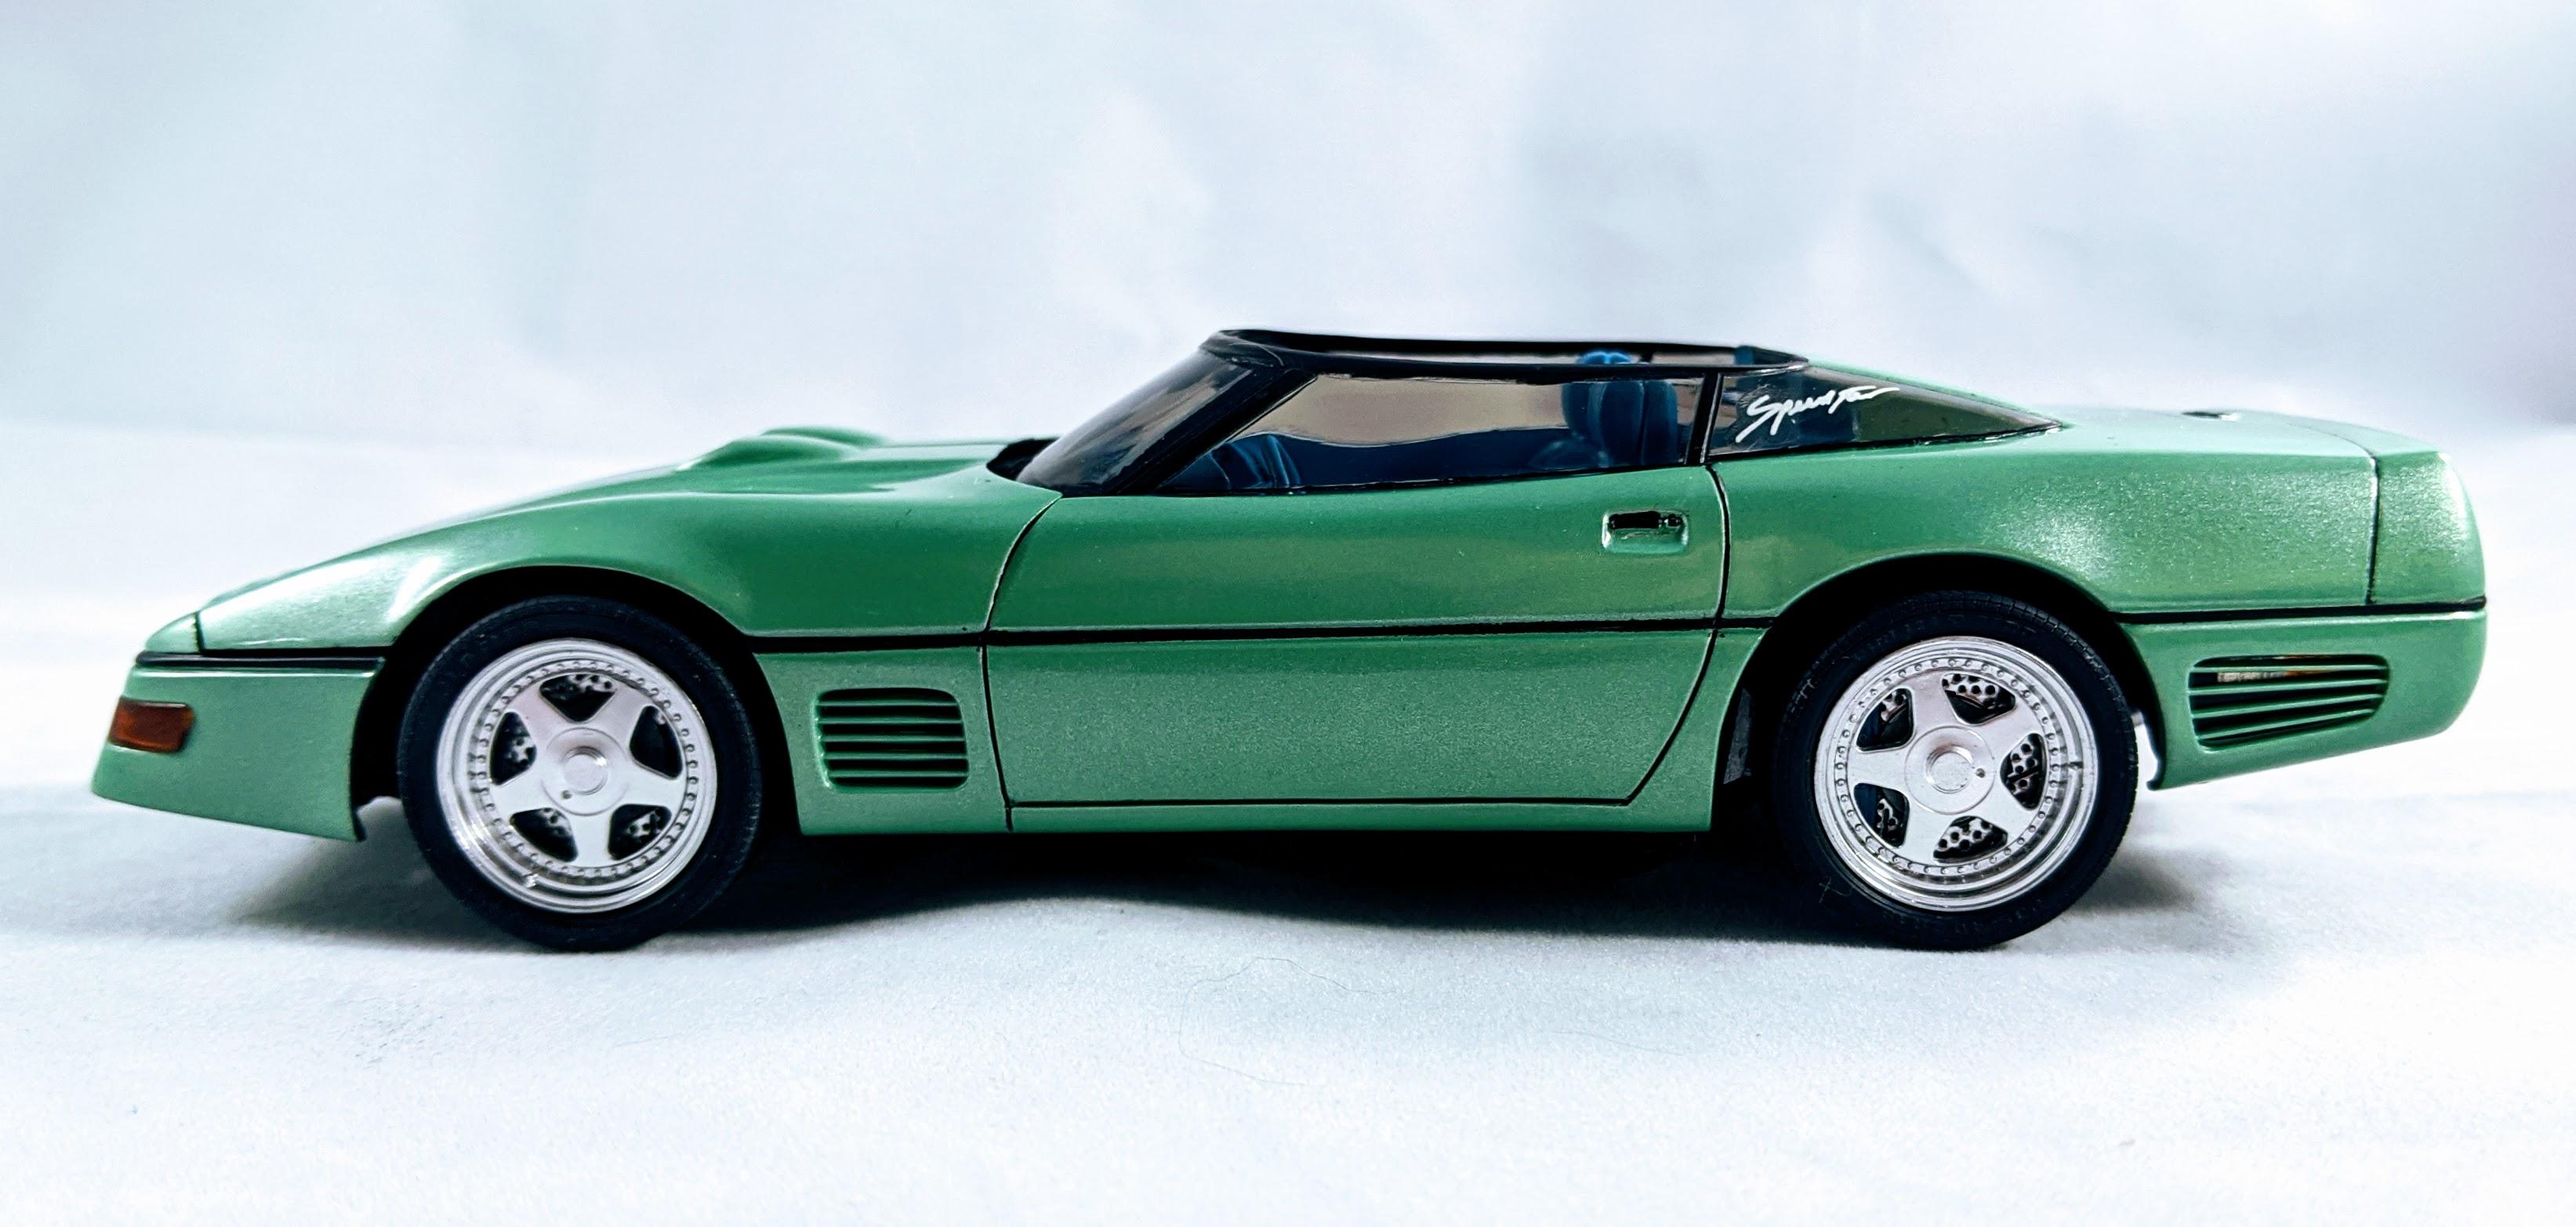
Best of both worlds right here...
-
Box Stock Contest Rules
jaymcminn replied to hemilover's topic in General Automotive Talk (Trucks and Cars)
-
Just received 3 sets of these. The detail is staggering, so much better than any photo etched wheel could manage. I'd love to see a slightly deeper set with Michelin XWX tires for Ferrari 275s and 365 Daytonas!
-
Bandit posing on his new favorite chair.
-
Your most difficult kits
jaymcminn replied to T-Ray's topic in General Automotive Talk (Trucks and Cars)
Well, "most difficult" can be taken many ways. If you're talking about "most difficult to build correctly due to awful fitment and poor engineering choices" that would definitely be a tie between two early 90s Monogram kits... the Callaway Corvette Speedster and the Lotus Esprit 300. Both featured decent-to-impressive detail and great proportions but were let down by monster-truck stance and abysmal parts fit. I wrestled them into submission and wound up with two builds I'm proud of. In terms of actual difficulty, that was probably Italeri's reissue of the old 1/12 Protar Fiat Mefistofele racing car. It's a complicated kit originally engineered in metal back in the 70s. The drive chains assembly consists of layering 4 trees of plastic parts on top of each other and heat-welding each individual link! To that I added real wood, real leather, metal, plastic rivets to replace the molded-in ones, etc. This became my favorite build of all time. The kit itself was challenging but straightforward, and adding an extra level of difficulty to it brought it to the next level.
-
Great work so far! If you're not familiar with carbon fiber decals they can definitely be a challenge. Micro Set and Micro Sol decal solution and a hair dryer can be a big help. Apply Micro Set to the surface of the part, then slide the decal into position. Blot with a paper towel and apply low heat with the hair dryer. The heat will help the decal conform to the surface. If that doesn't work, apply Micro Sol over the decal. Micro Sol will soften the decal and cause it to wrinkle. As it dries it will settle down and conform to the surface. The hair dryer can also come in handy at this stage to speed drying and help the decal settle down. Whatever you do, resist the urge to blot the decal after applying Micro Sol. You can easily tear or ruin the softened decal.
-
The Italeri 1/12 Bugatti Type 35B will be shipping soon.
jaymcminn replied to LDO's topic in Car Kit News & Reviews
A couple of emails to Italeri's spare parts department and 15€ will get you a spare wheel and tire. I just received mine last week and got it painted and installed, which makes the model finally feel complete, see the below pic. Agreed it should have been included in the first place, but the Williams 1929 Monaco winner (#12 BRG car) ran with the empty spare tire carrier and that's what Italeri is replicating. I'm sure, based on the Monza rerelease of the Alfa 8c, that they will be issuing a fenders-and-lights version at some point, which I will build as a shiny restored version.
-
Fujimi Ferrari 250gto
jaymcminn replied to Pierre Rivard's topic in WIP: Other Racing: Road Racing, Land Speed Racers
I've got 3 sets of these on the way from Jason as we speak. They look really great. Excellent work on that engine! -
I've used the Tamiya Panel Liner quite a bit, and the solvent is pretty aggressive for acrylic undercoats. A shot of clear lacquer will help to protect the finish. Since you already use Vallejo's excellent Metal Colors, have you thought about trying their washes? The washes are designed to dry slowly which permits them to be manipulated over the drying period for a variety of effects. Even when dry, they can be removed from highlights with water or a mild alcohol solution and a craft swab. The 1/12 Bugatti engine below was done entirely with Vallejo Metal Colors and washes...
-
Someone call the ASPCA, the human is mopping the floor and I'm NOT happy!
-
Best lamborghini countach kit
jaymcminn replied to randx0's topic in General Automotive Talk (Trucks and Cars)
The Aoshima kit looks at least as good as the Fujimi (better, in my opinion) when built and goes together with surprisingly little drama. It's thoughtfully designed to sidestep many of the assembly challenges presented by the Countach's unique shape, such as the rocker panels being separate parts that fit perfectly so you don't have that moment of terror when you have to force the body over the chassis. The downside is that the engine detail isn't quite at Fujimi's level, but it still looks great when built. Both Fujimi and Aoshima have produced early LP400 kits. -
Safety in the 50's
jaymcminn replied to TarheelRick's topic in General Automotive Talk (Trucks and Cars)
Who needs safety when you have a sweet mustache. -
Making it extra ironic when you order it online and USPS loses it.
-
Very impressive work, especially given the starting point. Beautiful!
-
The model car mob
jaymcminn replied to Chuckyg1's topic in General Automotive Talk (Trucks and Cars)
Ooof, I've been on a couple of aircraft sites lately because I'm working on the Tamiya 1/32 Spitfire IX. I haven't built an airplane kit since before the internet was really a thing. Although I have some "rivet counter" tendencies in my car model builds, I was bemused by some of the discussions going on over there about every minute detail. My Spit will (hopefully) look good, but I'm not going to drive myself nuts poring over grainy 80-year-old photos trying to determine if the interior of the landing gear door is painted aluminium or the underside color! I swear, I'll never again roll my eyes at an impassioned discussion on this site over spark plug firing order. -
What song(s) make you wish for an open road and no speed limit?
jaymcminn replied to Jantrix's topic in The Off-Topic Lounge
A recent favorite... Aussie band The Beths' "Expert in a Dying Field". An old favorite... The obscure NY band The Damnwells' "Accidental Man". -
My recipe, tinkered with over many years. Brown 2lb lean ground beef and one diced large yellow onion. Add 2 jalapenos, 2 red chili peppers and 2 poblano chilis (all seeded and cored) finely chopped in the food processor. Next add 4 tablespoons chili powder, a tablespoon of cumin, and 1/2 teaspoon of cayenne pepper (optional). Saute for a minute or so. Add a can of fire-roasted tomatoes, a small can of tomato sauce and a bottle of beer... preferably a little dark and not too hoppy. I like Bell's Amber Ale. Add salt to taste and let the chili simmer, uncovered, for an hour or so, stirring periodically. Add a can of black beans and a can of kidney beans rinsed and drained (also optional) and let simmer for another 15 minutes.
-
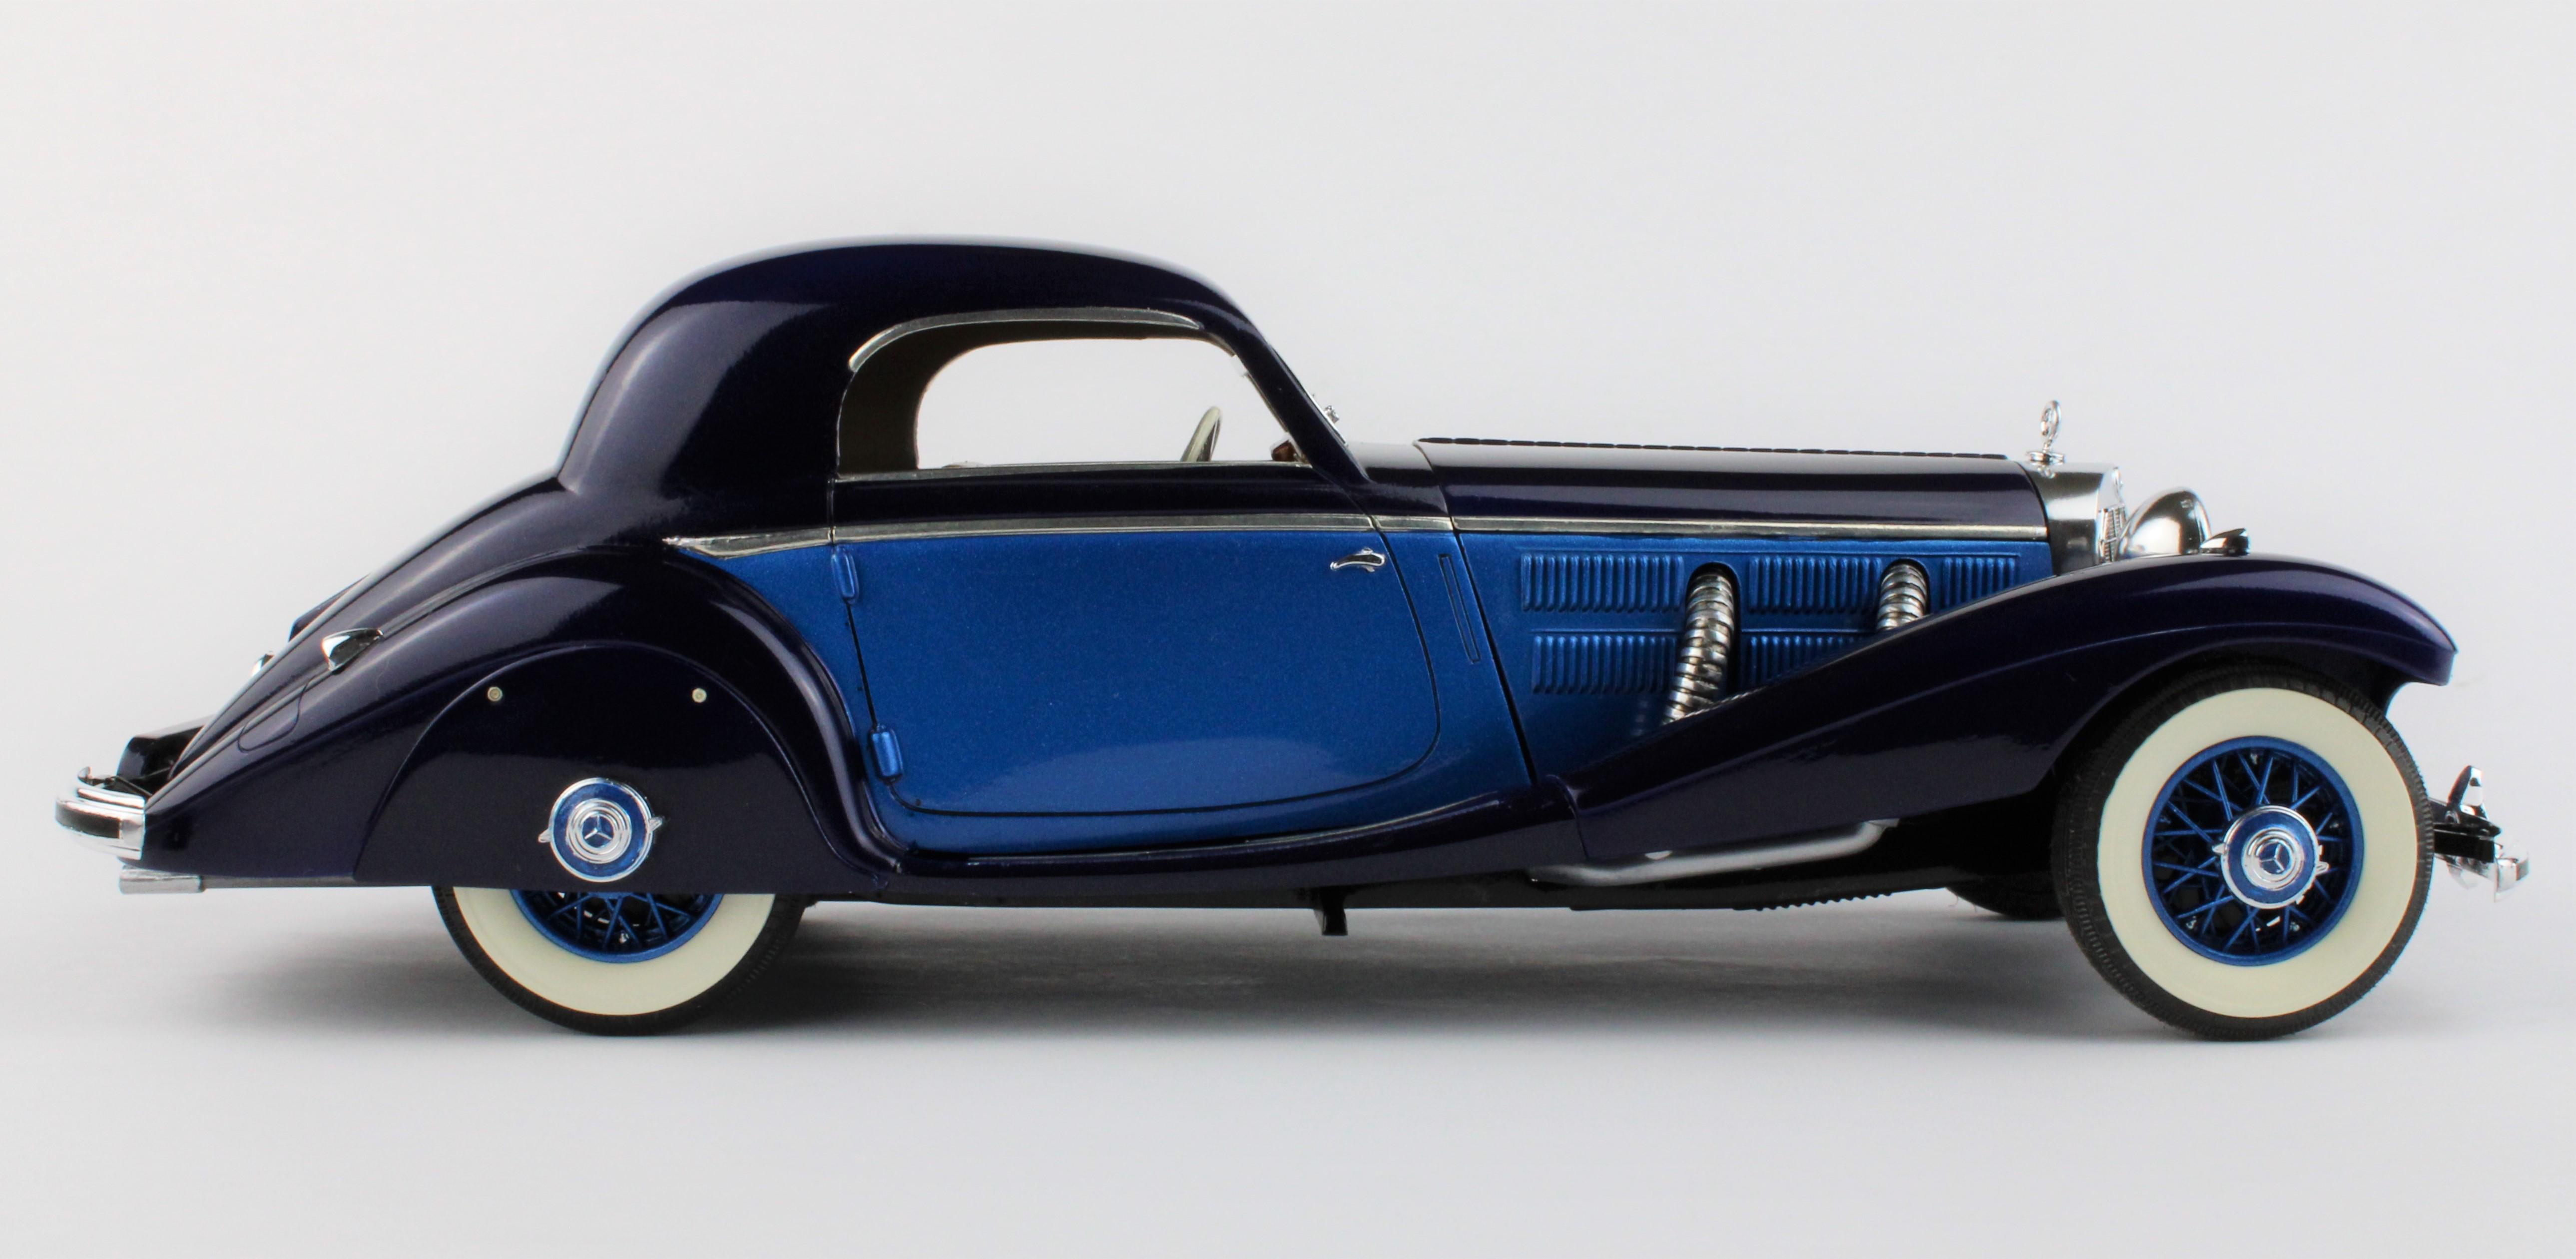
Only one so far... the Mercedes 500k Roadster.
-
Sprayng Molotow chrome; anyone here ever done it?
jaymcminn replied to Roadrunner's topic in Tips, Tricks, and Tutorials
Molotow airbrushes very well without thinning. It can be handled lightly after several days drying time. The results are excellent. The radiator shell, headlamps and exhausts on the Mercedes below as well as the bumpers on the Ferrari were airbrushed Molotow. Molotow does have its limits... it's not as durable as kit chrome and doesn't like to be overcoated or handled much. On the plus side it doesn't require any special prep other than a perfectly smooth surface.
-
The grits on the Micro-Mesh system do not directly correspond with standard sandpaper grits. They use a proprietary scale. MM 3200 is more or less comparable to 1500 grit sandpaper. I start with the highest grit (least abrasive) possible to level out the surface... usually 6000 but I'll go down to 4000 if it isn't getting the job done. It's more elbow grease but you avoid the potential for the sort of deep scratches you're seeing here. Go up through the 12000 grit, which is the perfect starting point for Meguiars Ultimate compound and polish. I would stay away from microfiber cloths for final polishing as well. Microfiber is TERRIBLE for holding onto old abrasives, random bits of grit, etc. and doesn't like to release this stuff even after washing. Old t-shirts are okay, but they need to be all cotton (polyester fibers are abrasive) and clean. Even then I'd be leery. My fabric store cotton flannel costs about $4/yard and a yard lasts me for a year or more.
-
What is your prep/primer process like? It's possible that these scratches are a result of scratching in the plastic or primer from block sanding. They'll tend to show up after the top coats have cured and shrunk down. Do these scratches show up regardless of whether you use polishing cloths or not? If it's only when you use polishing cloths then make sure you alternate directions when you go up a grit to help eliminate the scratches. Make sure you're using plenty of water with a drop of dish soap for lubrication. You might also be starting at a more coarse grit than necessary, scratches from 3200 grit can be tough to get out. Finally, what are you using to apply your compound/wax? Do you reuse the applicator cloths? I buy cotton flannel by the yard at the fabric store and cut off a fresh piece for each polishing step, discarding them after one use. Micro-abrasives can embed themselves into applicator cloth and are difficult to wash out.
-
I'm betting the bases on the '39 Chevy and the car in the background (black/white swirly base) were hydrodipped. The paint on the models is definitely conventionally applied.