89AKurt
-
Posts
8,426 -
Joined
-
Last visited
Content Type
Profiles
Forums
Events
Gallery
Everything posted by 89AKurt
-
on her blouse
-
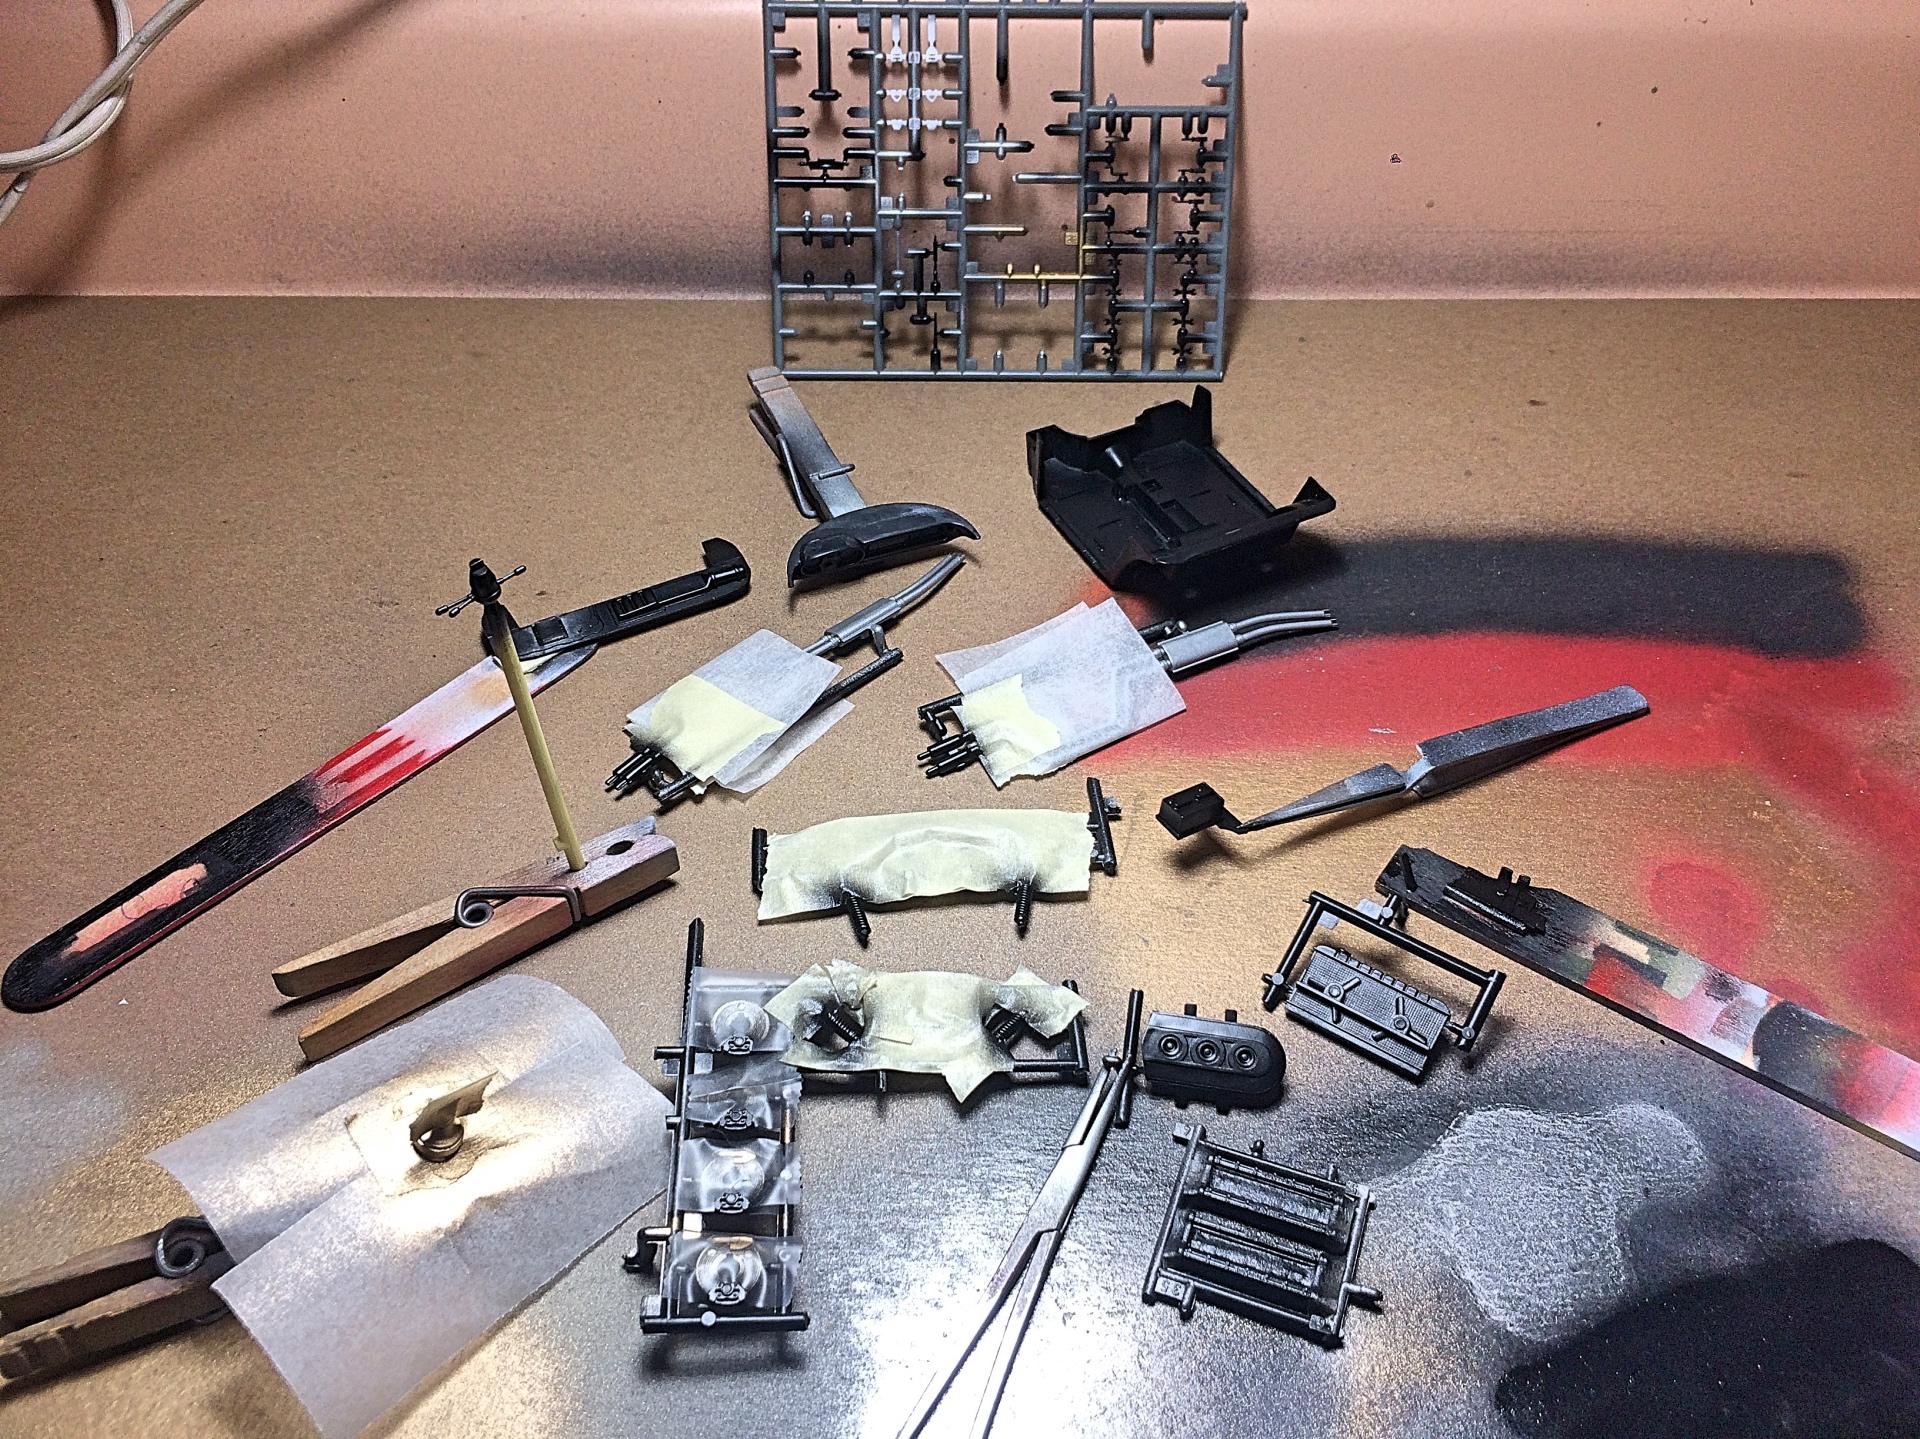
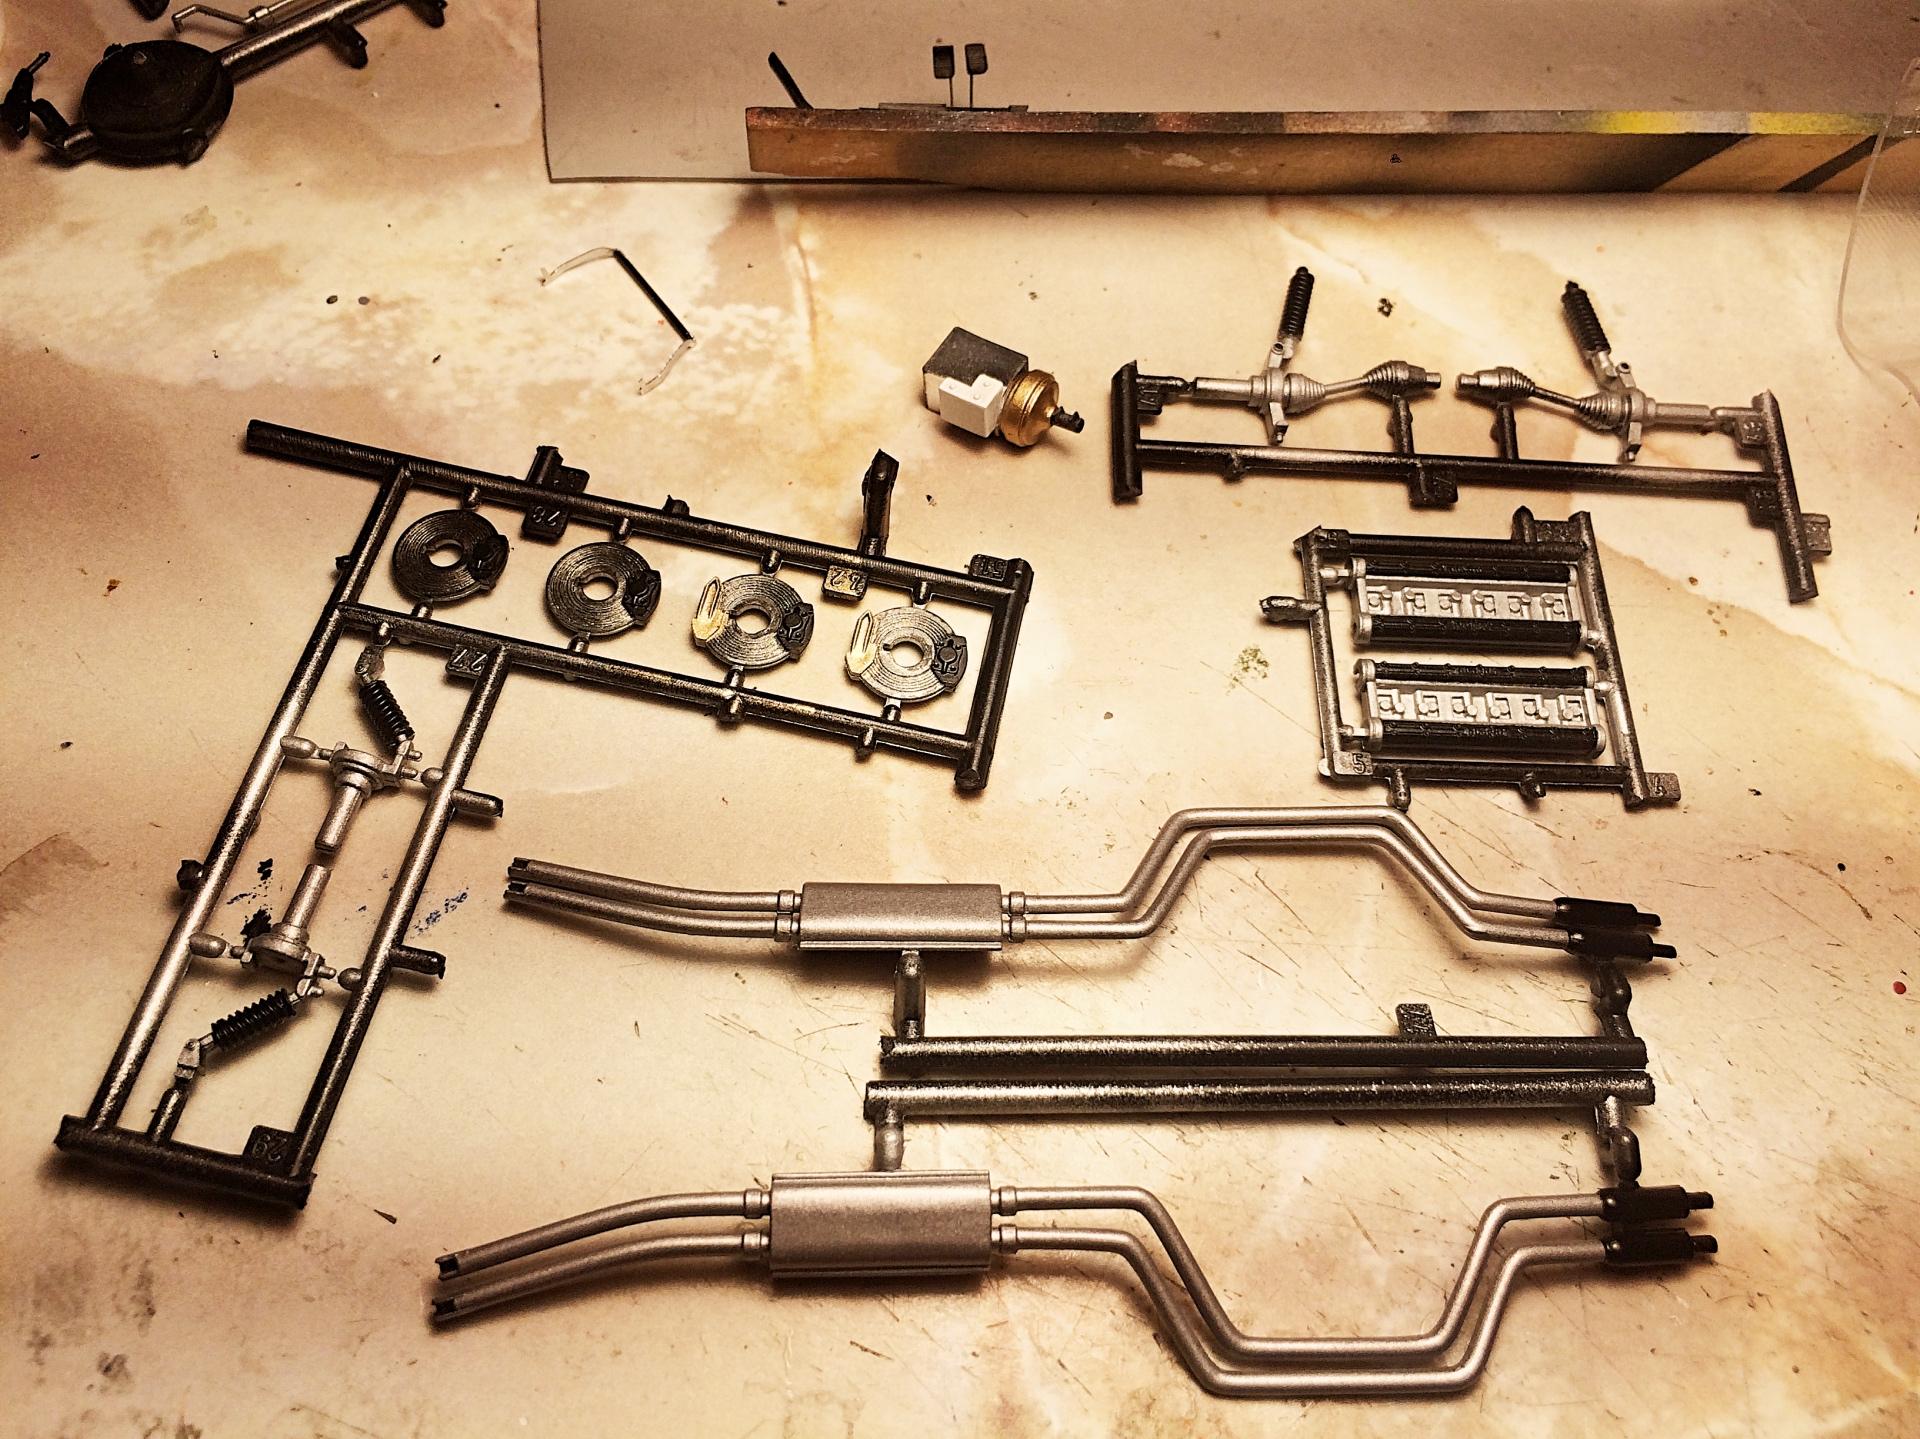
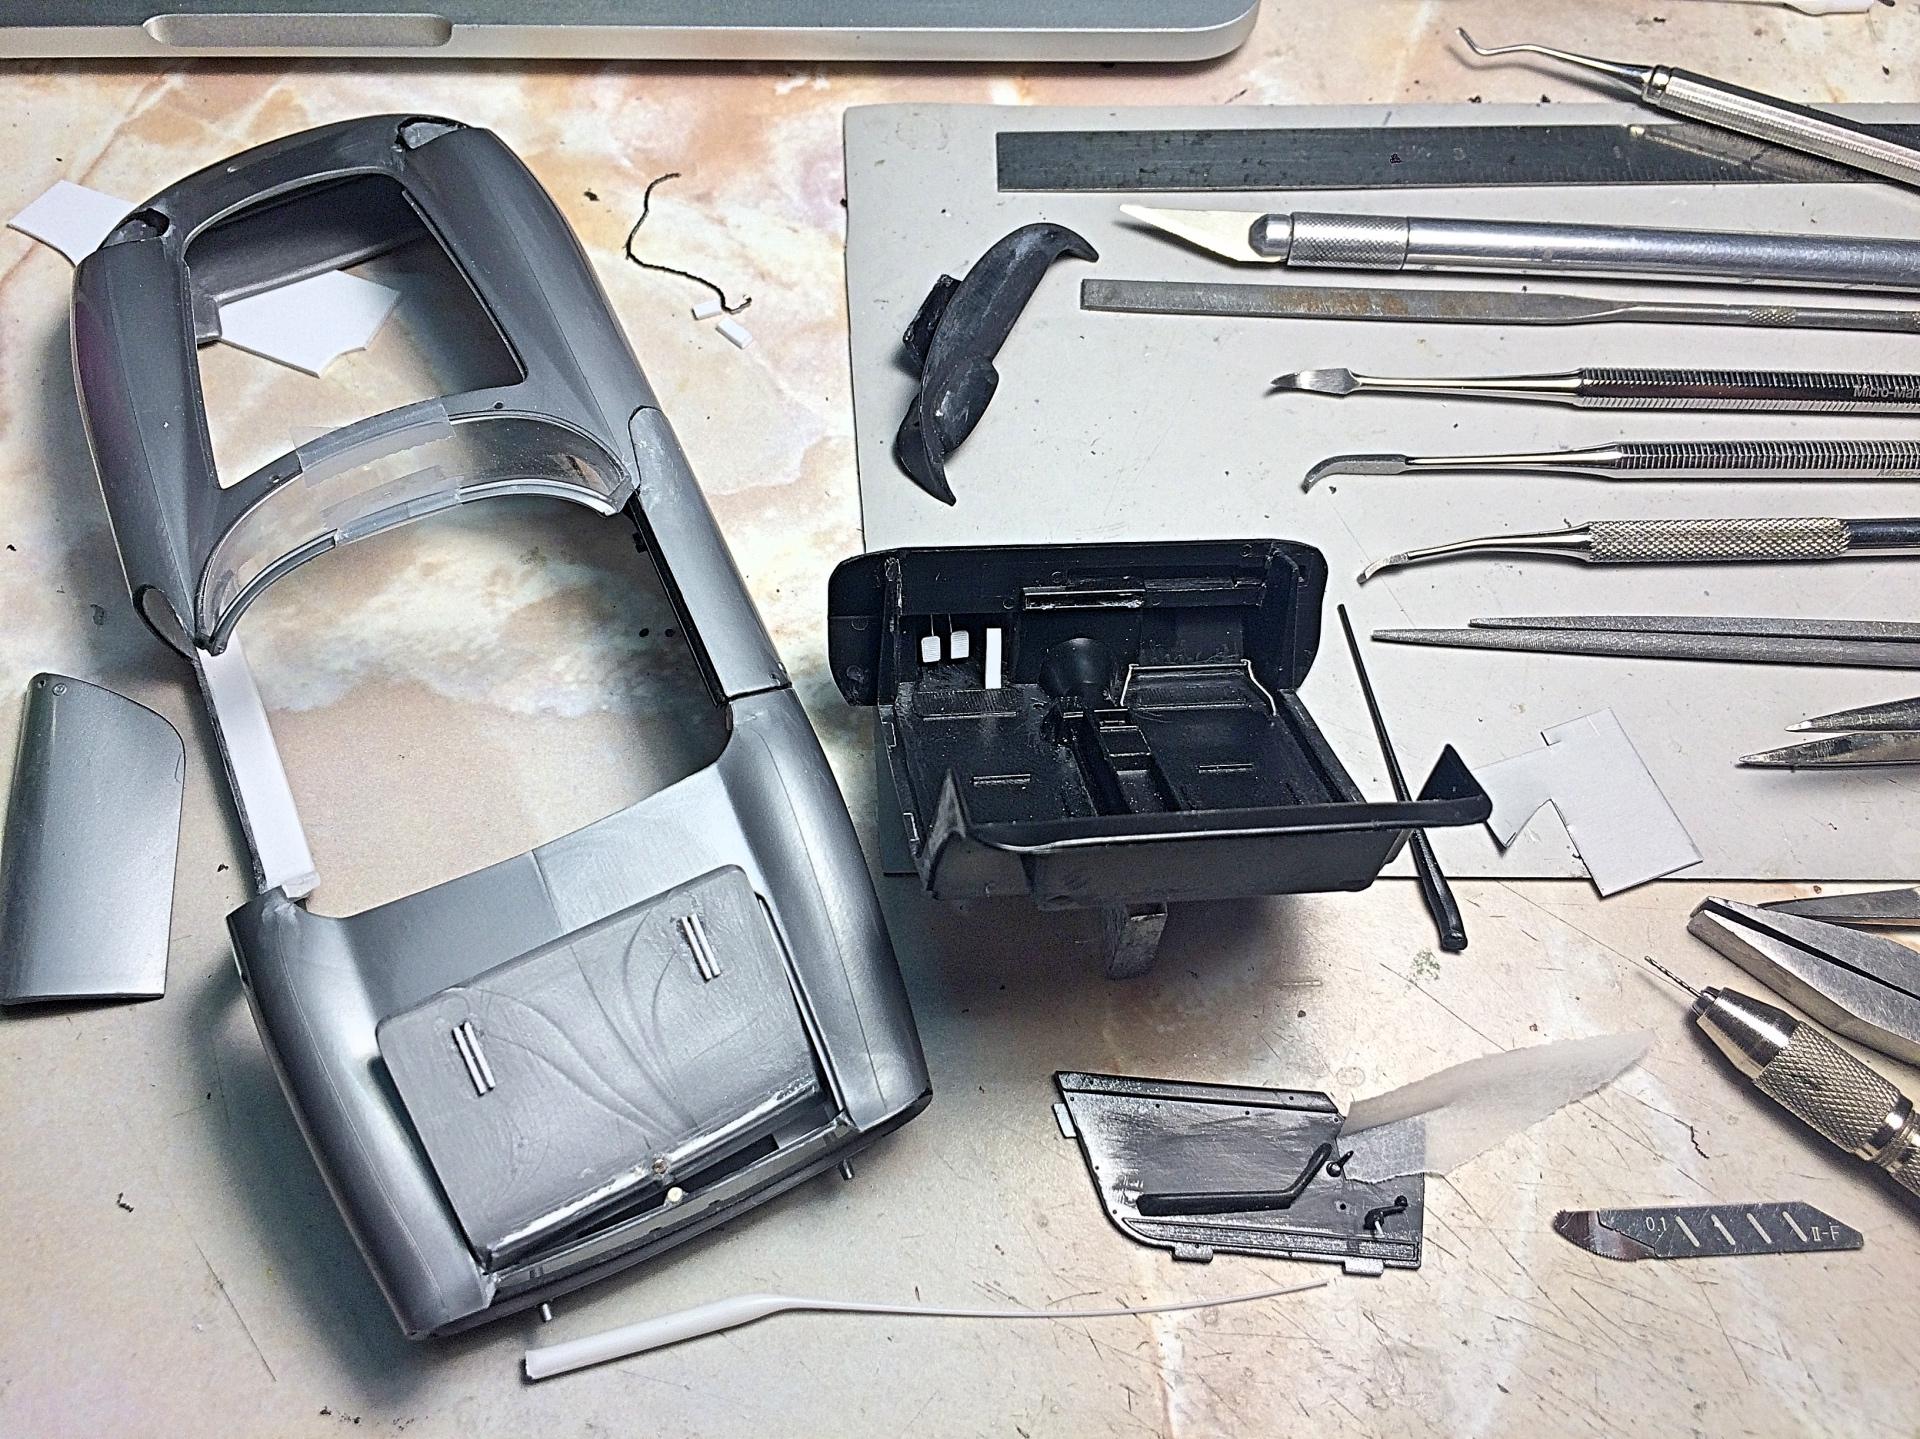
Thank you, consider it a trade. ? Wanted to get some of the parts painted, been plugging away slowly, so I wouldn't get permanent fingerprints. The brake disks were painted with Alclad steel, I really like that paint. Masked with Scotch tape, then airbrushed gold, then black. I don't really believe the instructions, with "metallic black" for the valve covers, air filter, springs, and exhaust tips. I know the real car valve covers are crinkle flat black, so painted semi-gloss black, then low pressure dribble sprayed flat black, then when I did the springs with a mixture of s-g black with drops of steel did more dribble spray. Will judge later when everything is assembled. Started on painting the tools from the Fujimi Daytona kit that I did last century.

-
when PhotoShop can
-
Always had a soft spot for those! VW had an ad campaign, bring in the 'coupon' and get a no pressure test drive. Had a '77 Honda Civic CVCC at the time. I still remember the exhaust note, and acceleration. Later I traded another of my cars for a '91 Jetta GLi, which was fun, until the timing chain broke. Nice job on these. Now I want to find a kit. ?
-
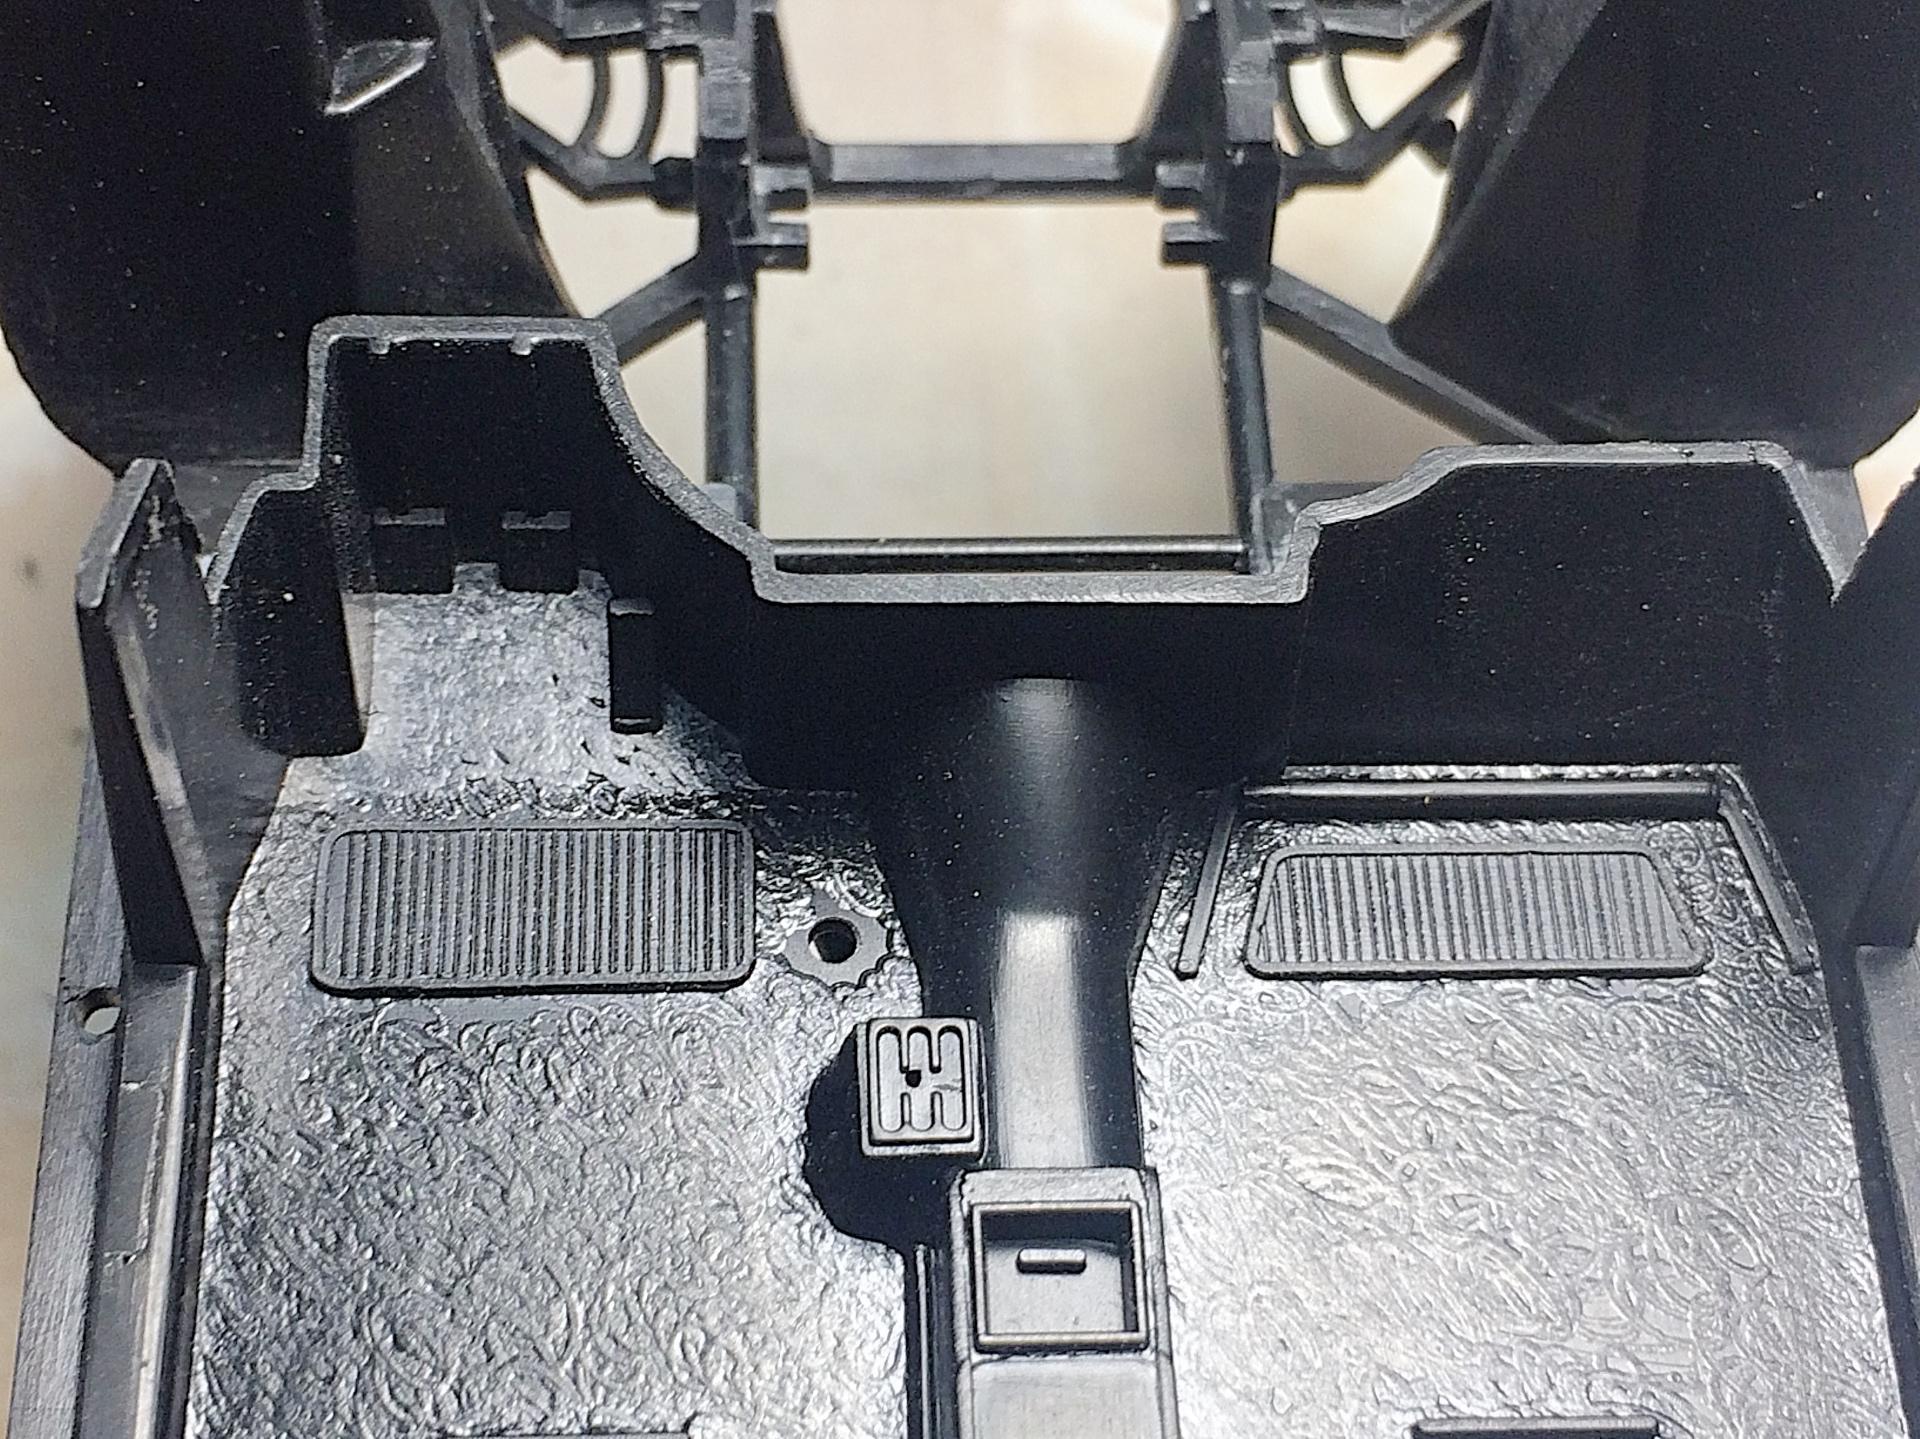
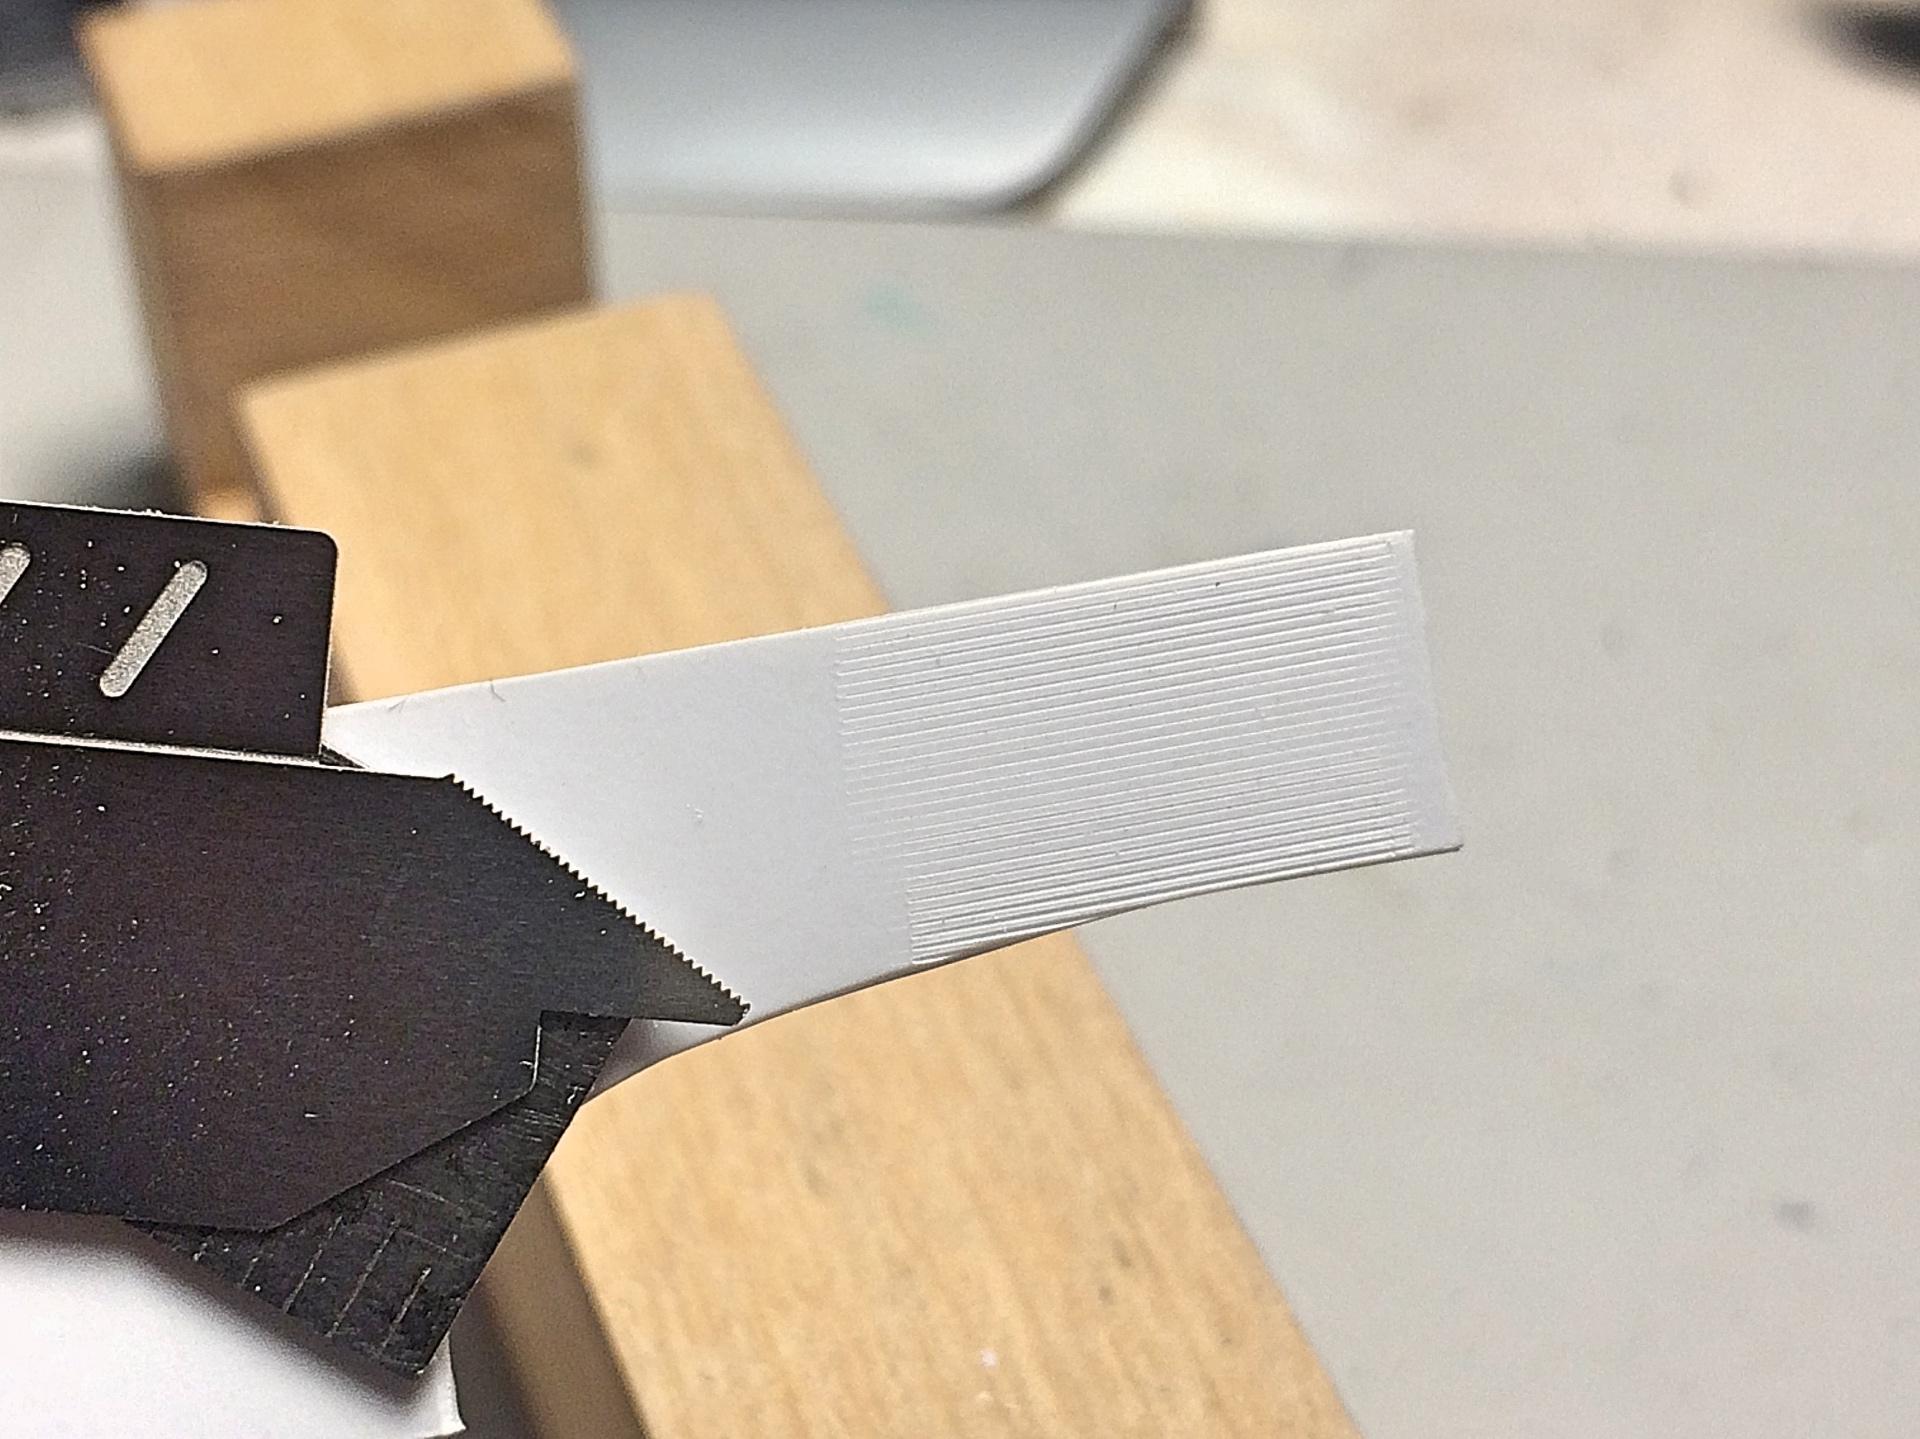
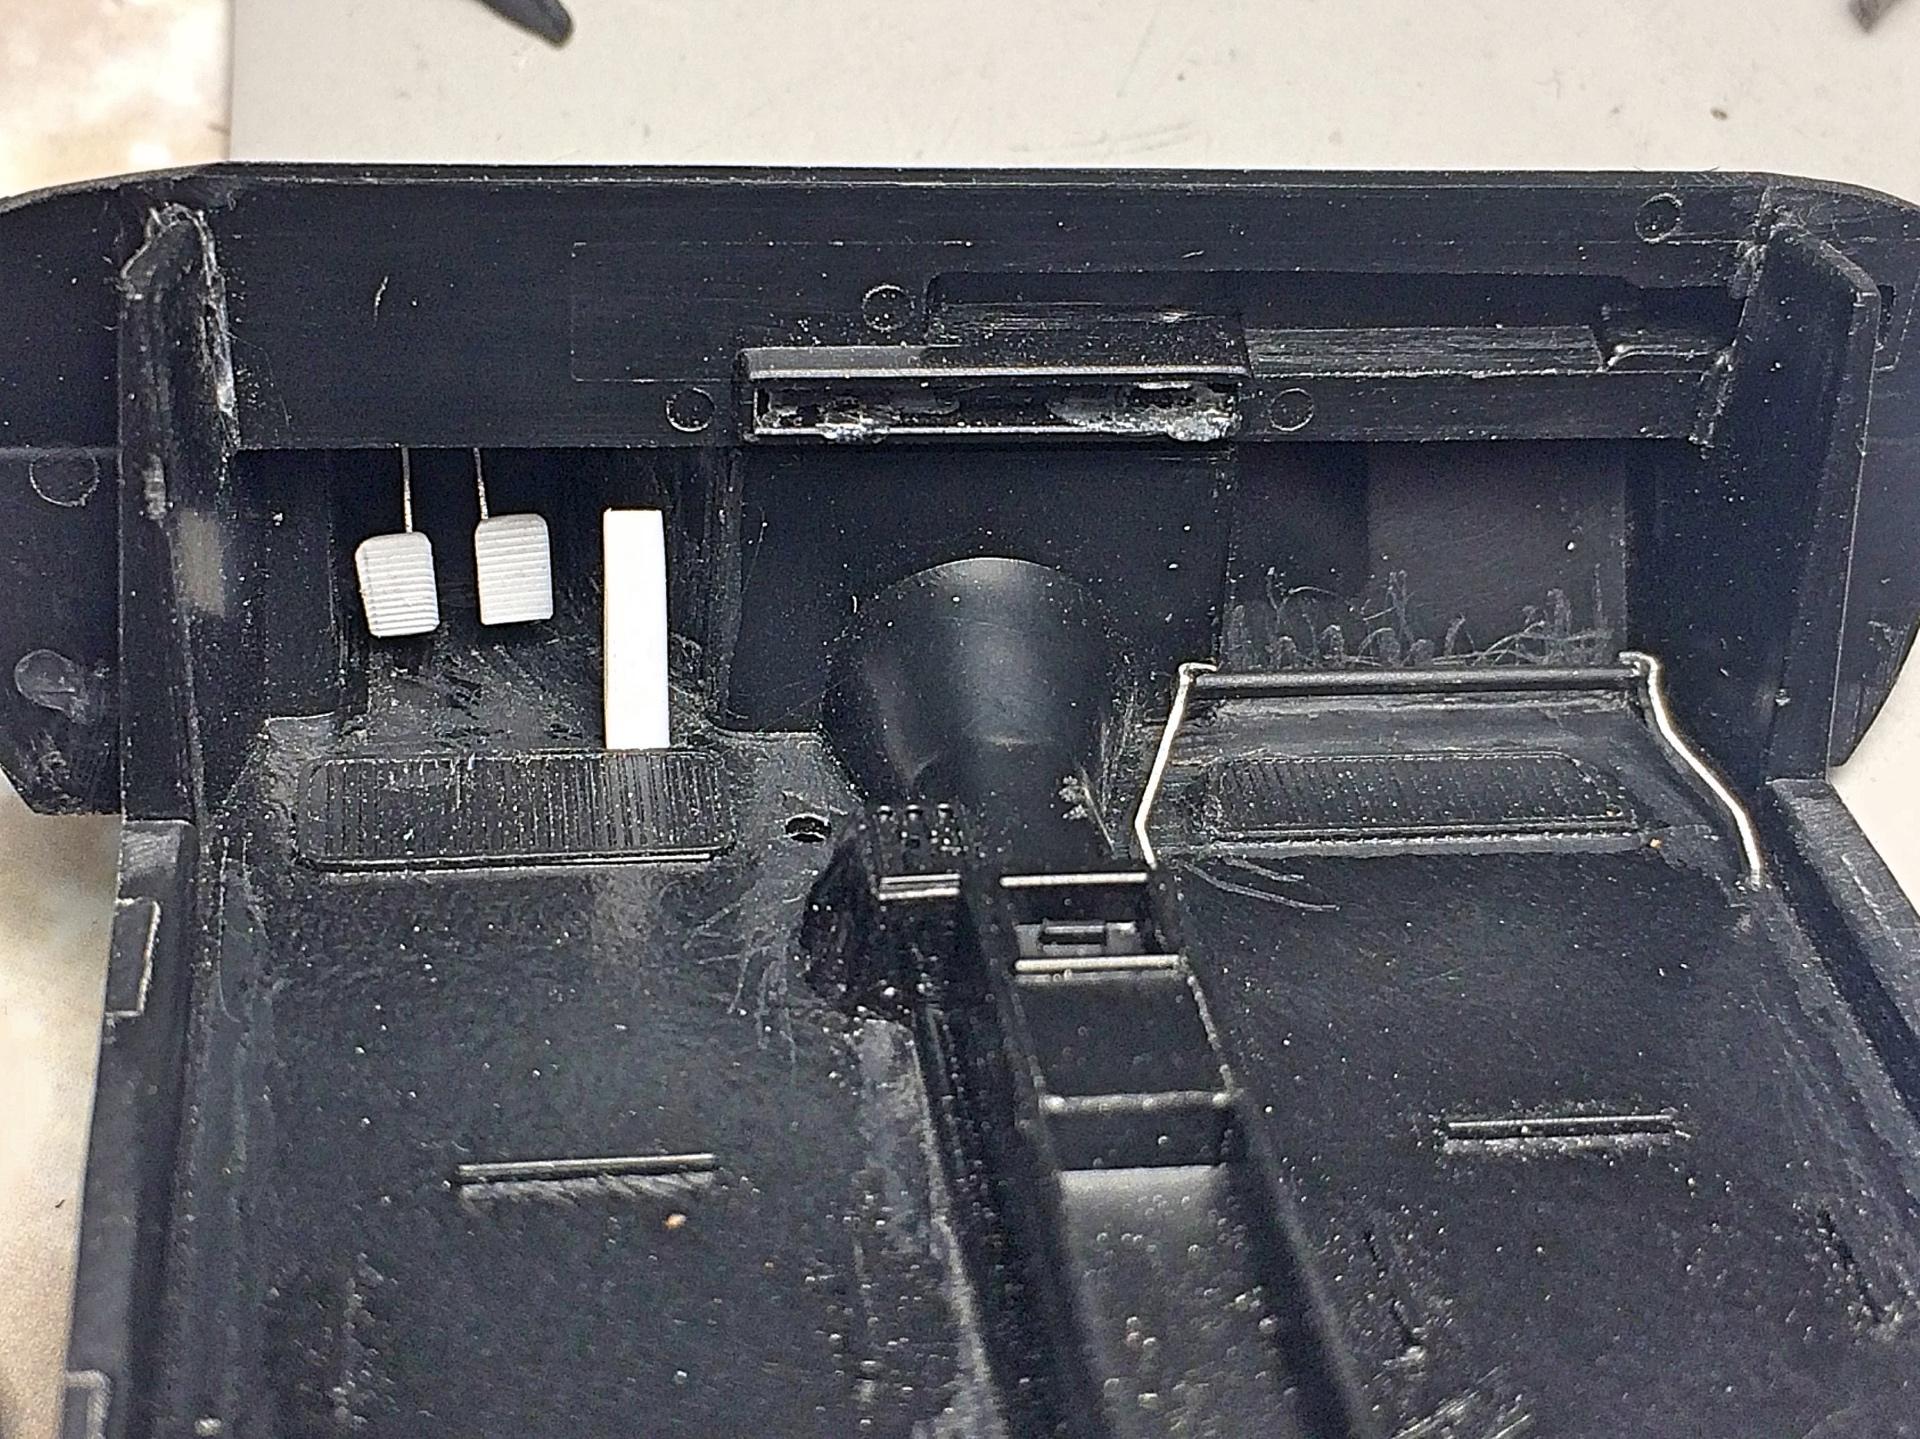
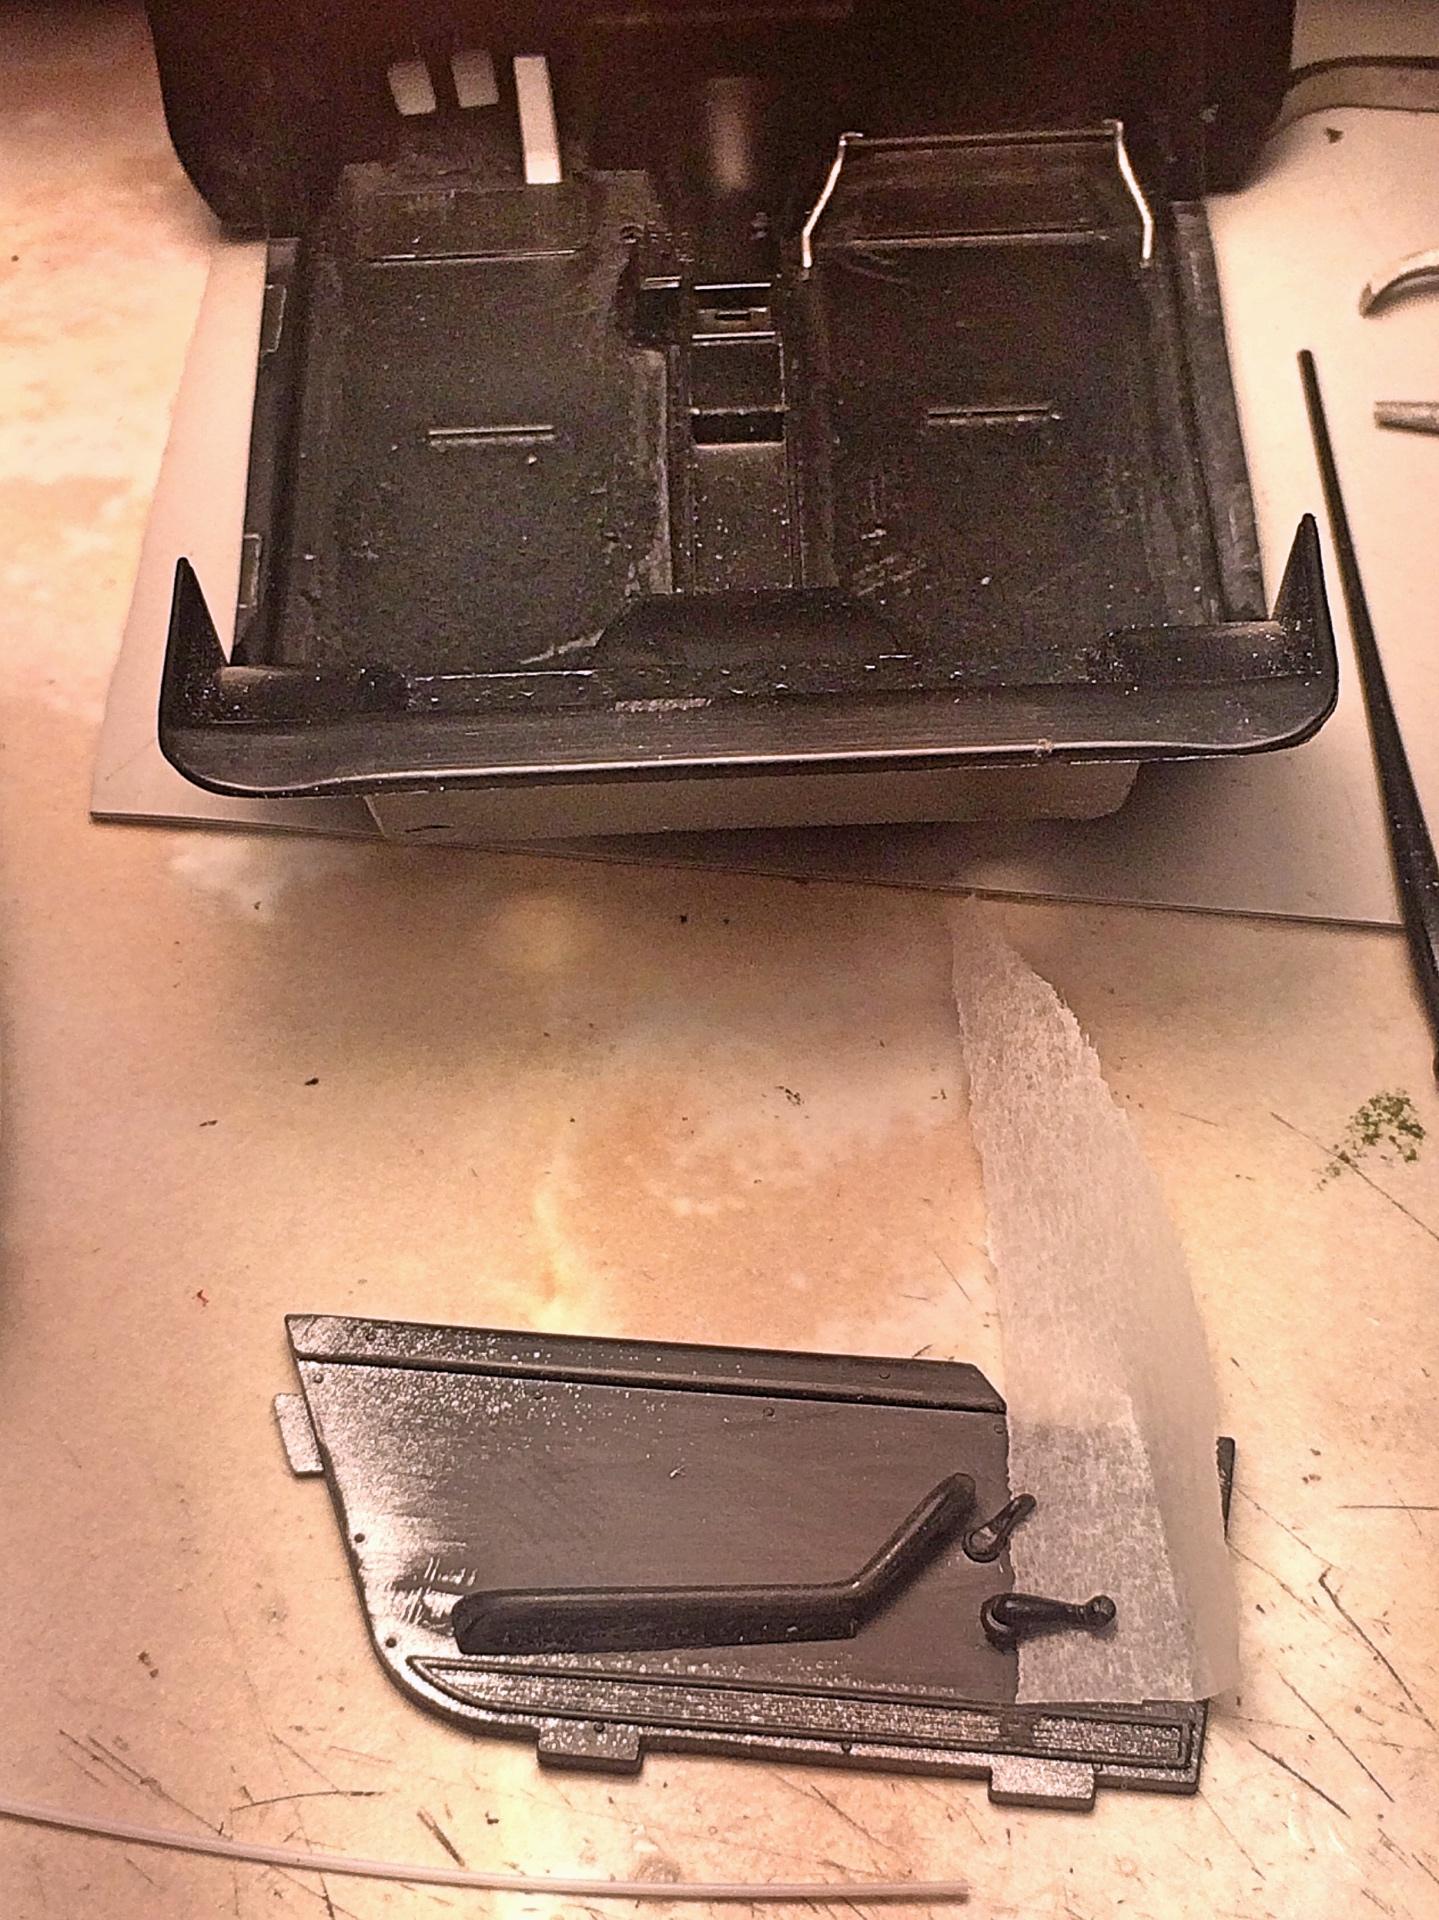
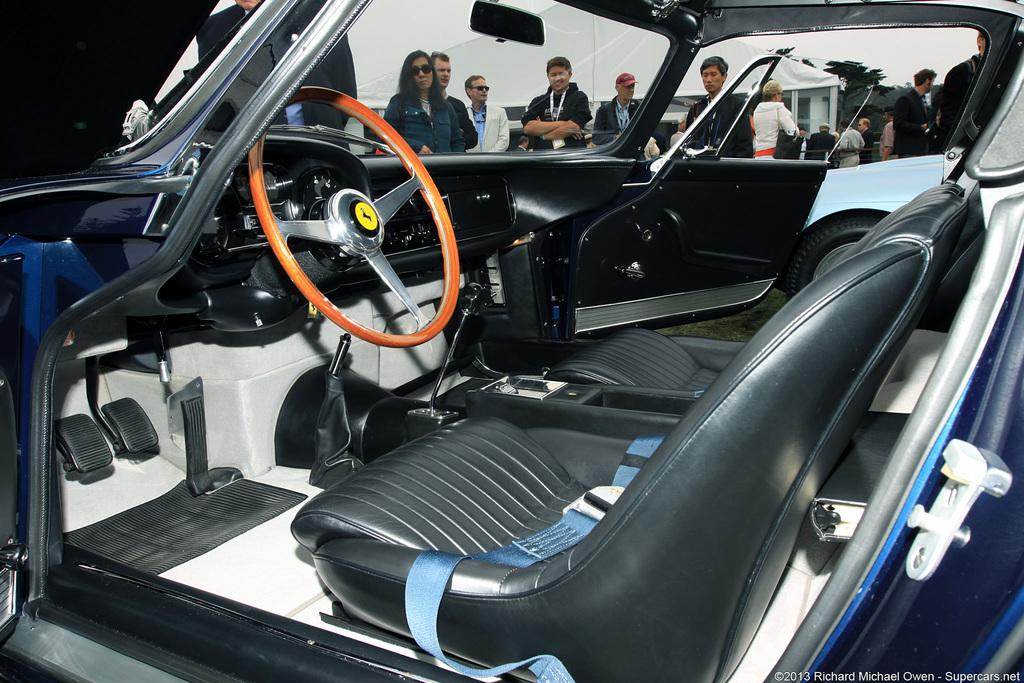
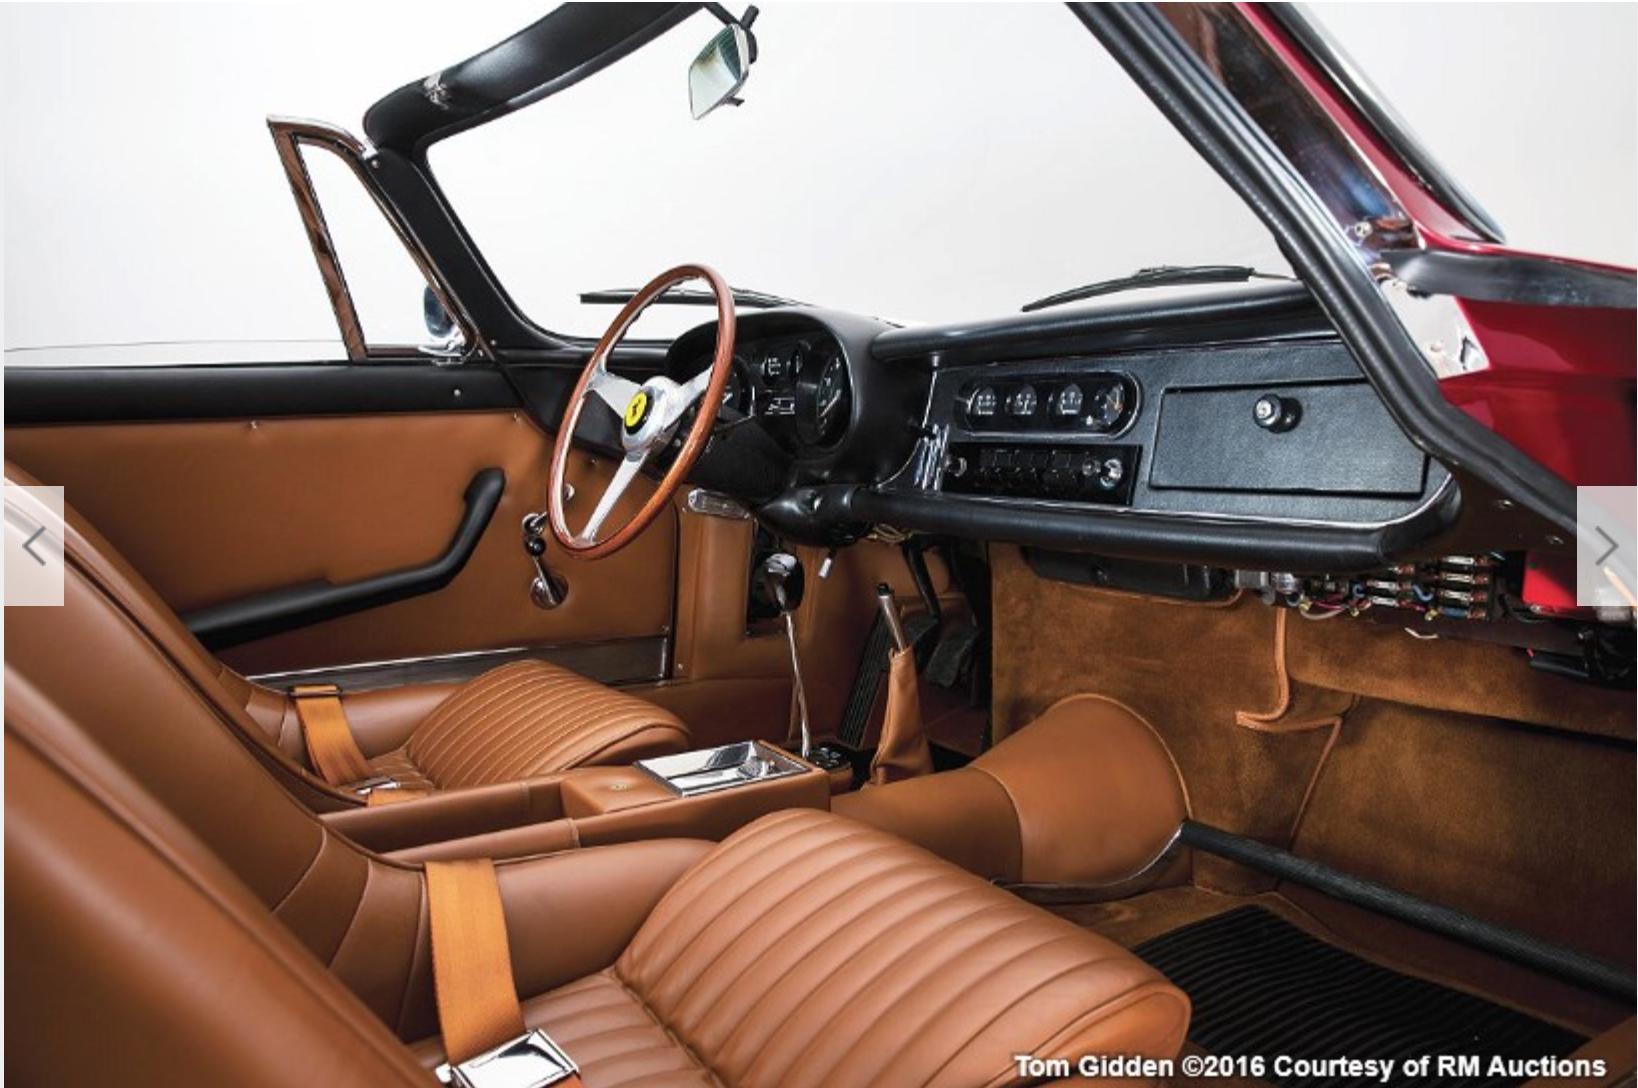
Not yet, be patient master. Worked on two pet peeve things, molded on pedals (at least it has pedals!) and window cranks. First thing was to remove the pedals, started with the Dremel, then used some new tools that are scrapers, so glad I discovered those! Before: Sheet styrene, photo-etch Tamiya saw, steel ruler and used the caliper handle for a guide, scraped grooves. I try to take pictures of the tools used. Temporary glued in with Tacky glue, not only the pedals but the foot rest thing, like what is with that anyway? Window crank, carefully cut off, almost lost it when it practically broke off! I just sawed under the latch handle. Decided not to make a working trunk latch, used two tiny magnets. I searched for, took screenshots, and am going to print info plates, such as serial number, firing order, oil, air filter for the engine bay. Then I have to do the drivers door.
-
That nail polish on the Bimmer? Nice selection and variety, the Tyrell wannabe is veddy interesting.
-
First off, define "grass". ? A golf course has different grades of grass. You want a natural random grass. It's the wrong time of year to look around outside, but I hit the jackpot one year at the right time and found an awesome selection. To be convincing, buying railroad grass will look fake. My 2 cents.
-
I will PM you.
-
mixed with yeast
-
You beat me to it! ? DITTO!
-
Come heck or flash floods, I'll be there! I know someone who will get a swap table.
-
with knappy rollers
-
Rats, thought I still had the seats from the '87 Honda, *poof*. I do have these Ferrari 360 Modena seats, which I used part of a headrest for scratch-building the Mongrel. It would take some work to remove both, and make separate headrests, and add backs.
-
that look painted
-
Perfection takes time. ? You should try a beater just for fun.
-
made from trash
-
made with straws
-
Amazing work on all. Really like the license plate. ?
-
Sweet muscle car collection, well done!
-
IMHO it looks better than many cars nowadays. The show car was really cool, they tamed it down. After seeing the new Star Wars, I see a similarity between Ben's helmet and the Camry grill. ? Anyway, look forward to seeing one built.
-
I went to the Dark Side, had an '03, and this '06 MINI Cooper. Got tired of having to go to Snottsdale stealership and pay for gold-plated BMW parts. Saw my MINI in town later with a tarp over it, asked what happened, the engine needed major work. My 2016 Honda Civic is boring, nobody says anything about it, has the CVT with puny 1.5 L turbo, but gets an average of 33MPG, and goes plenty fast. But I'll never get a model of it. ? Look for seats and tires.......
-
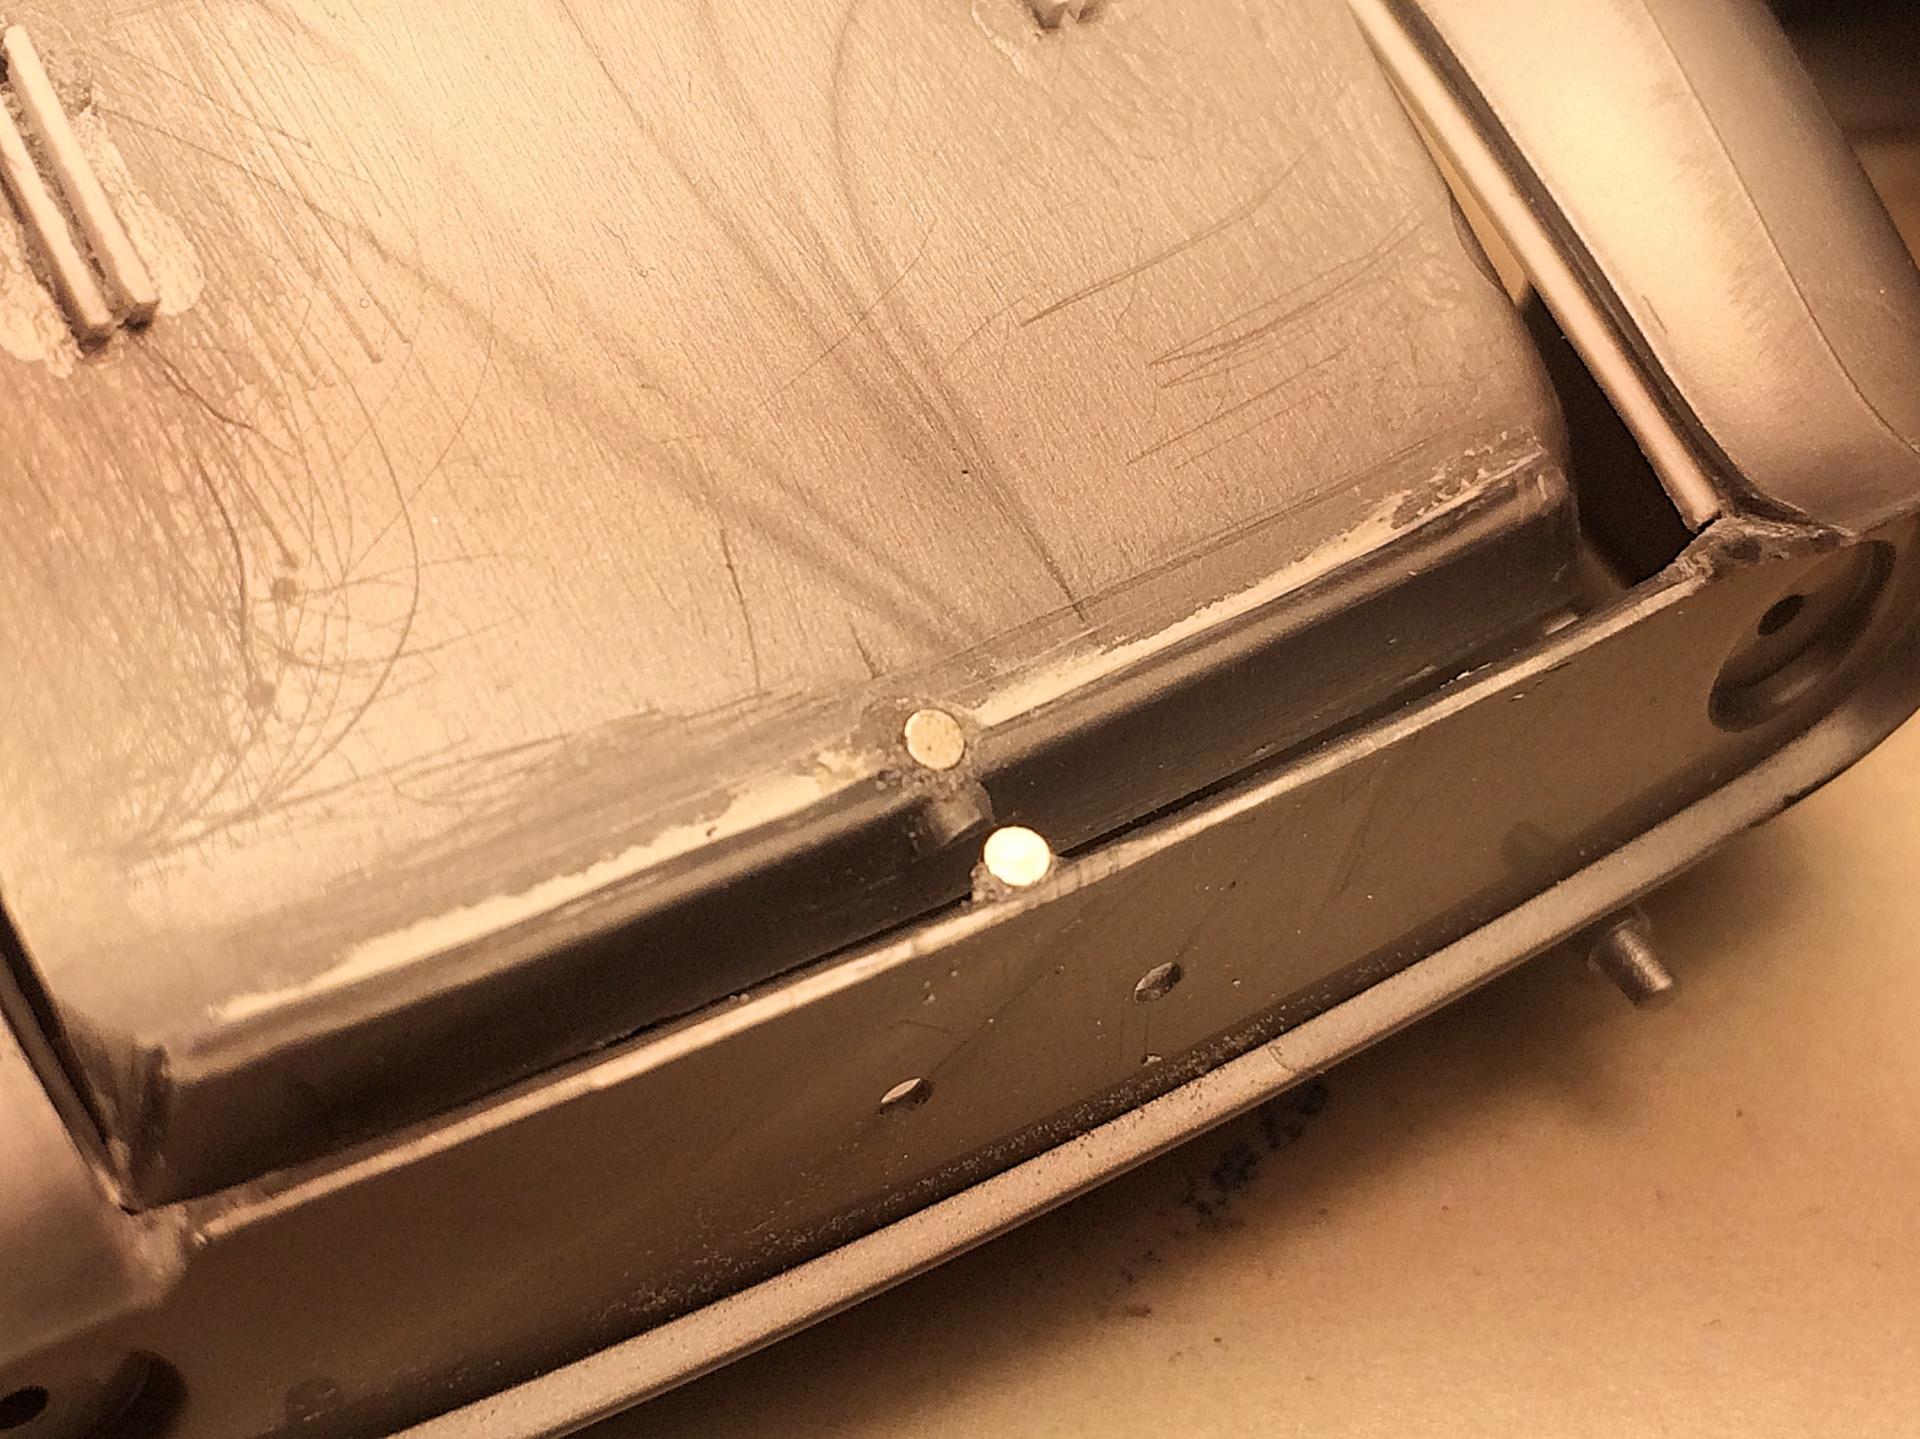
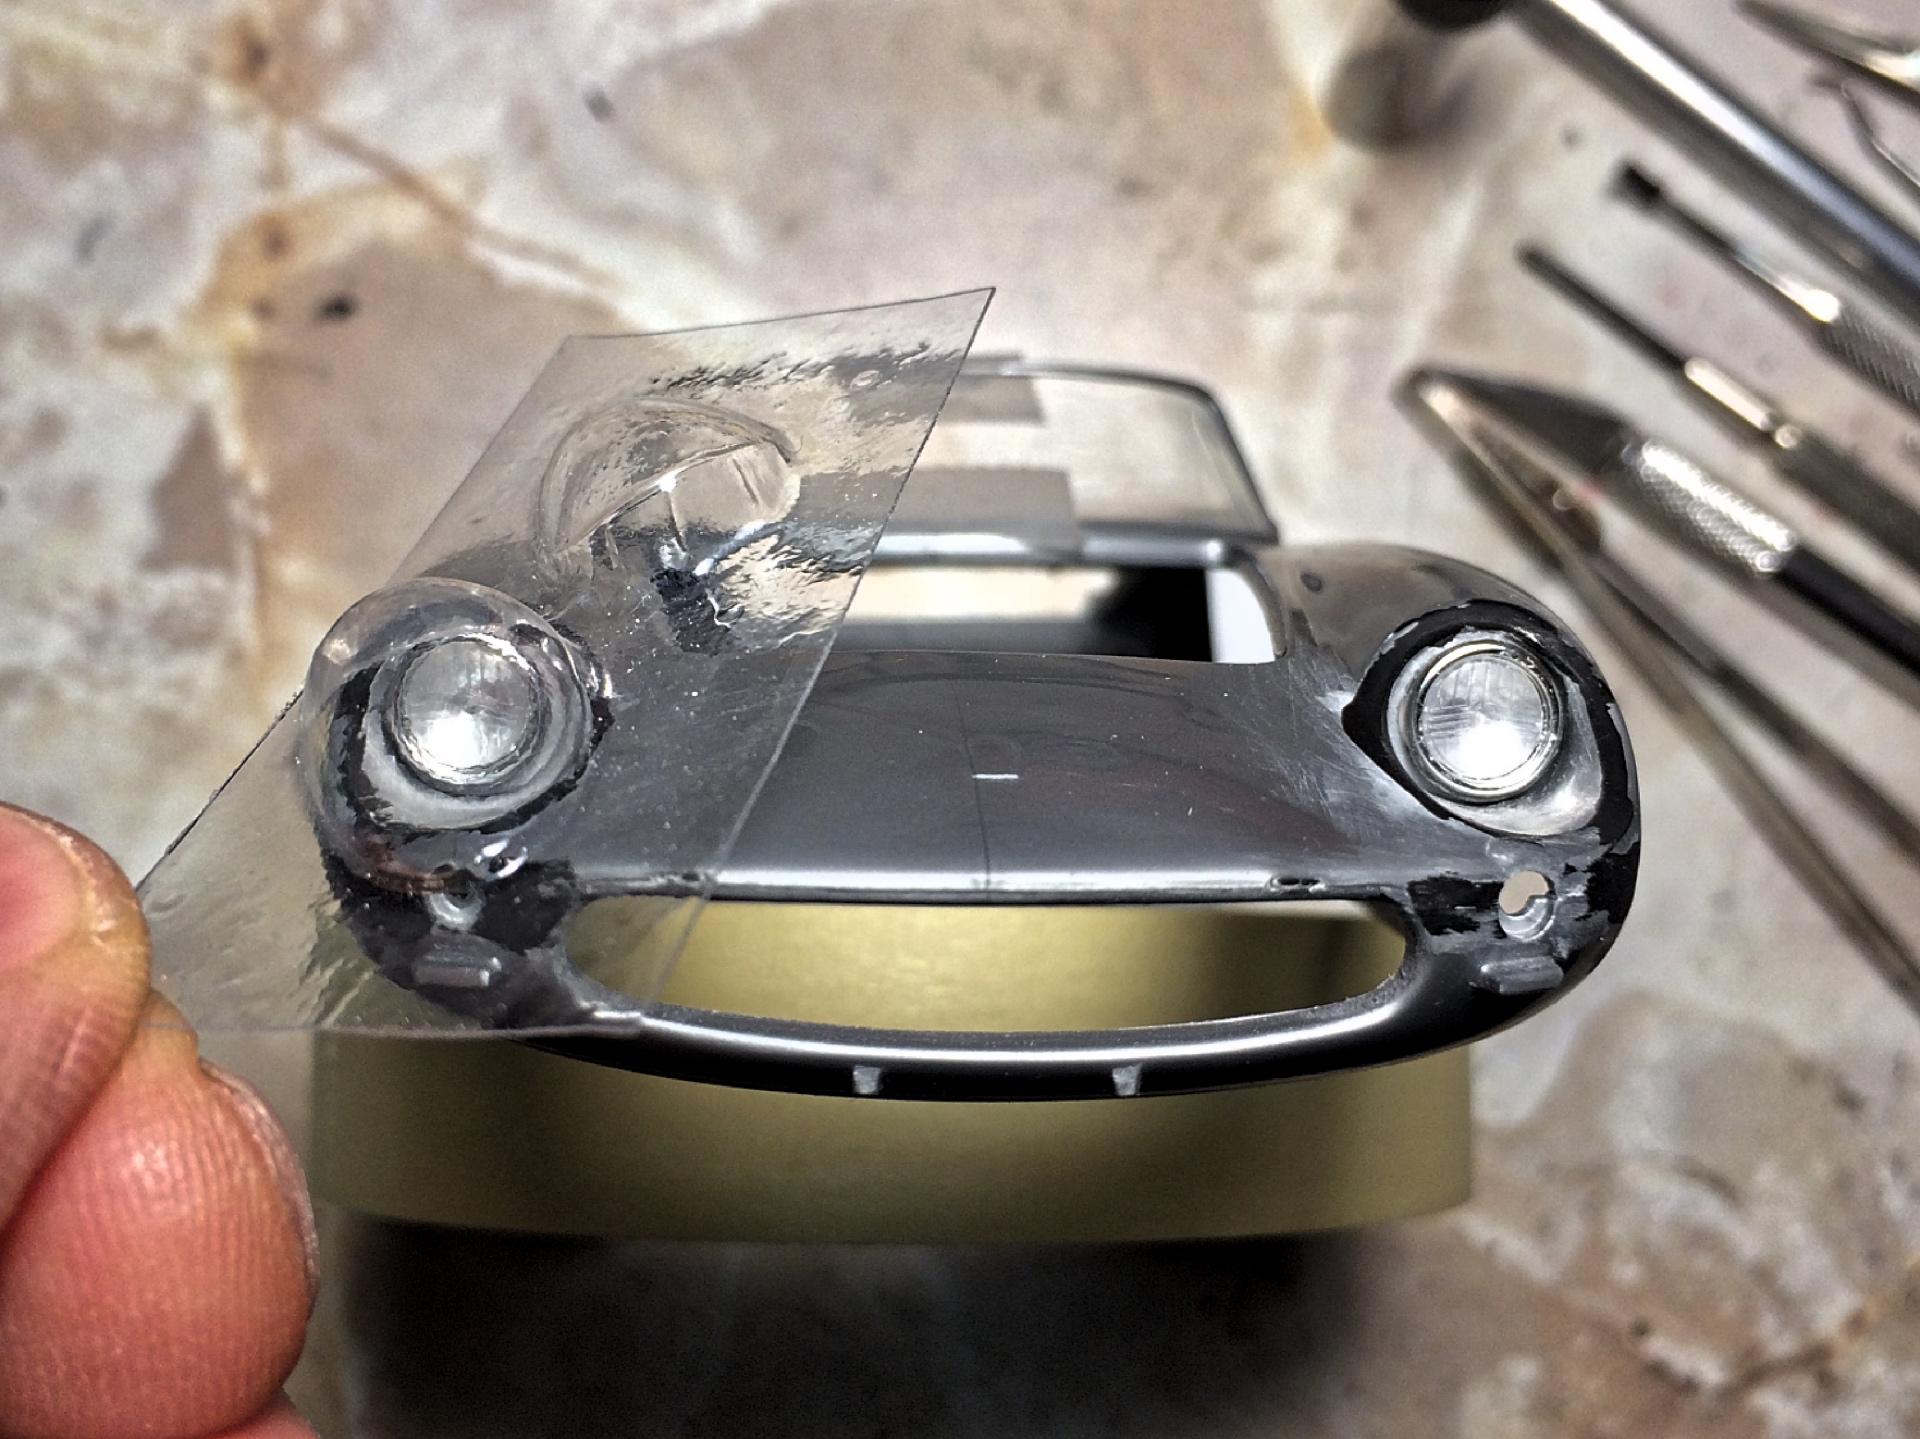
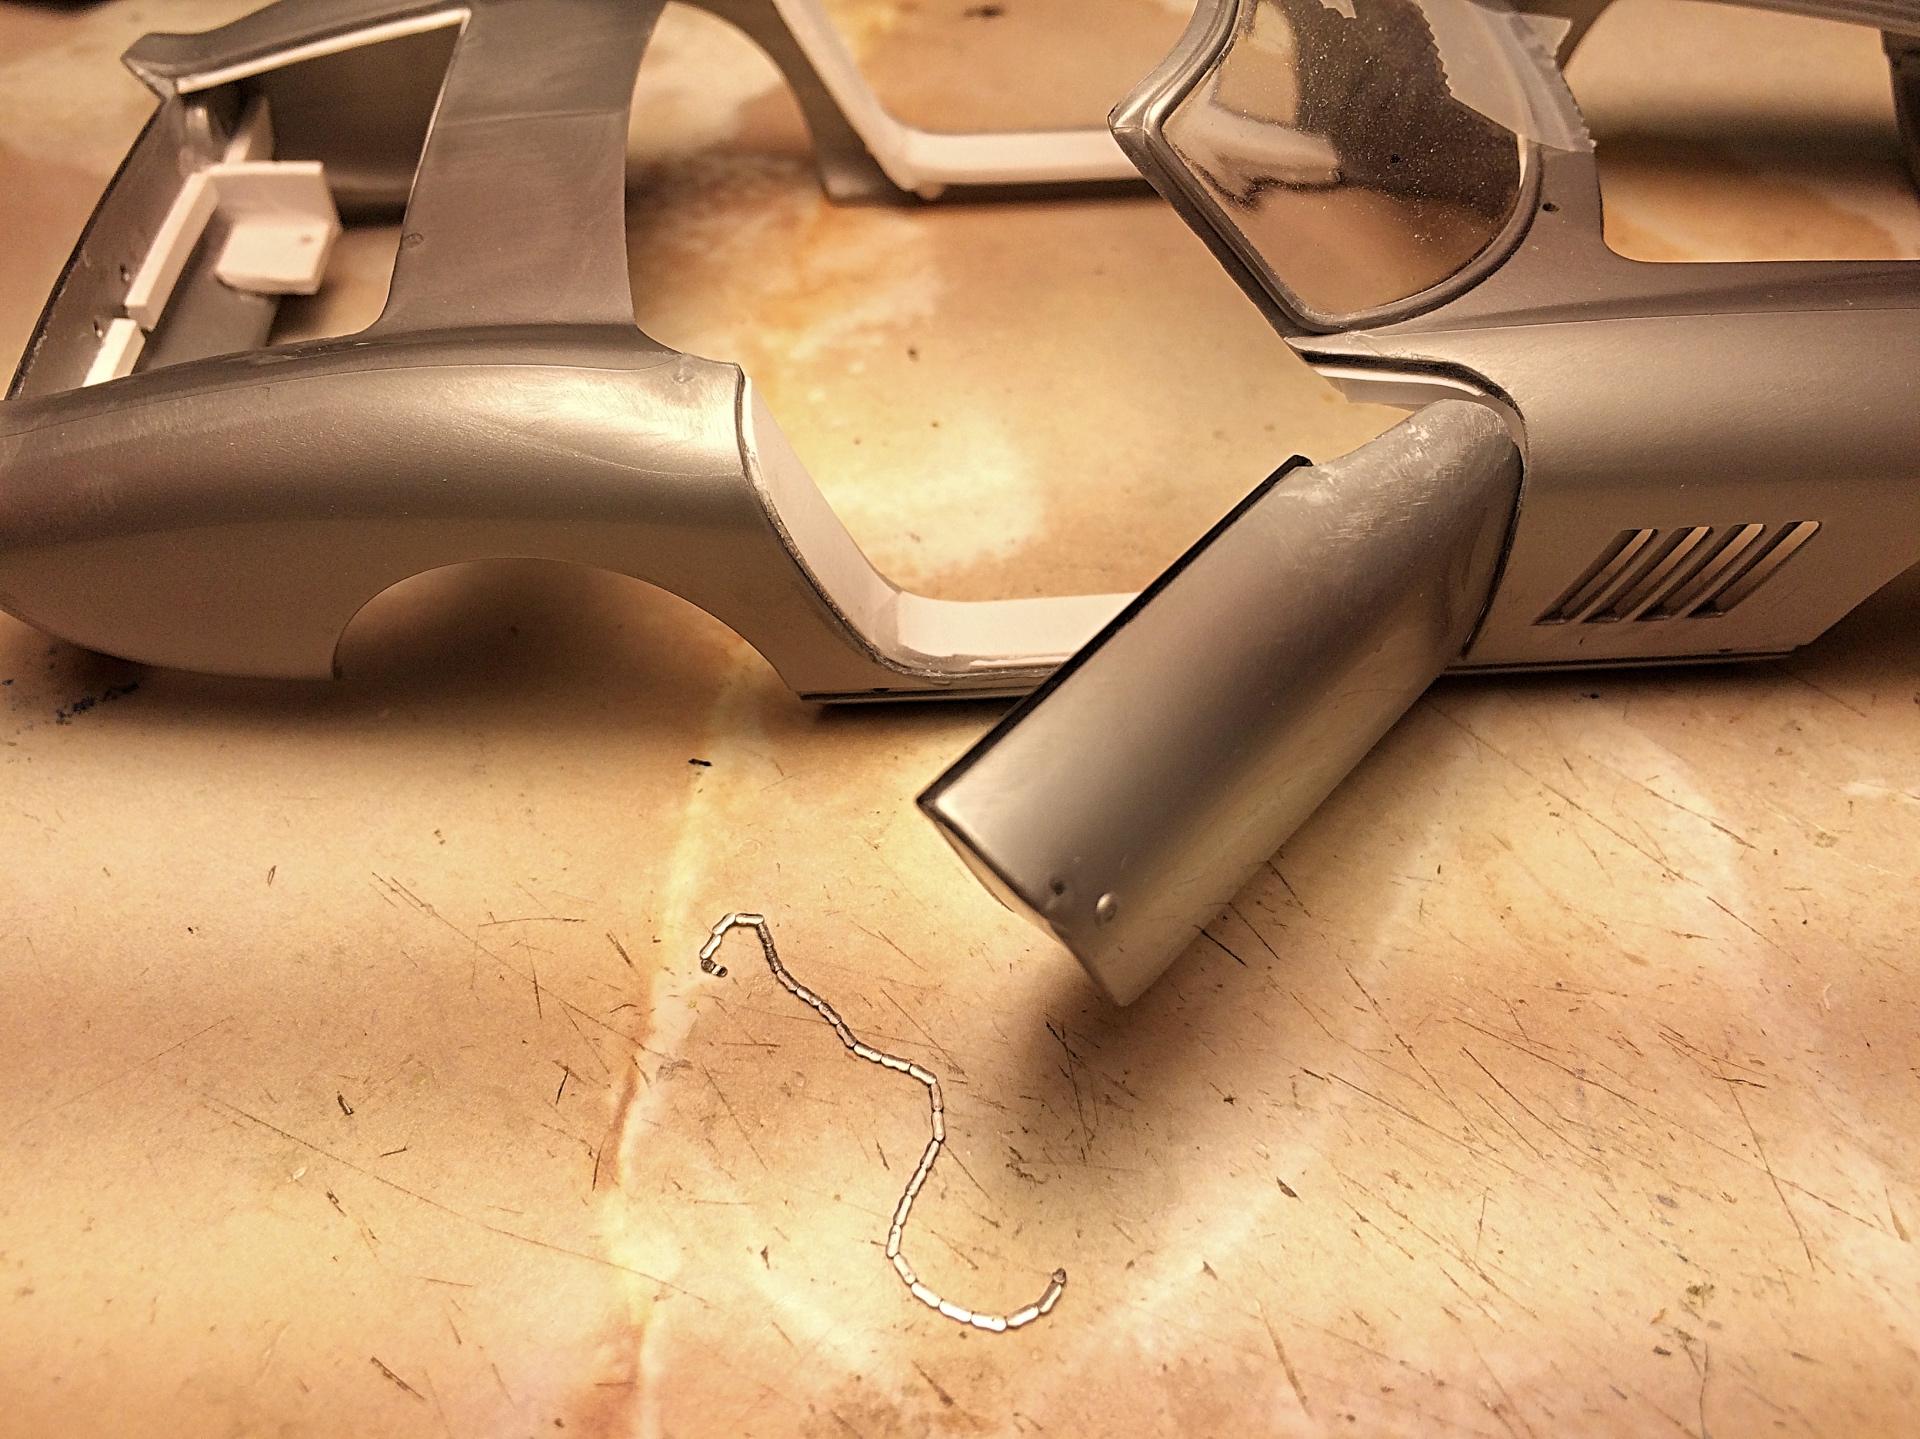
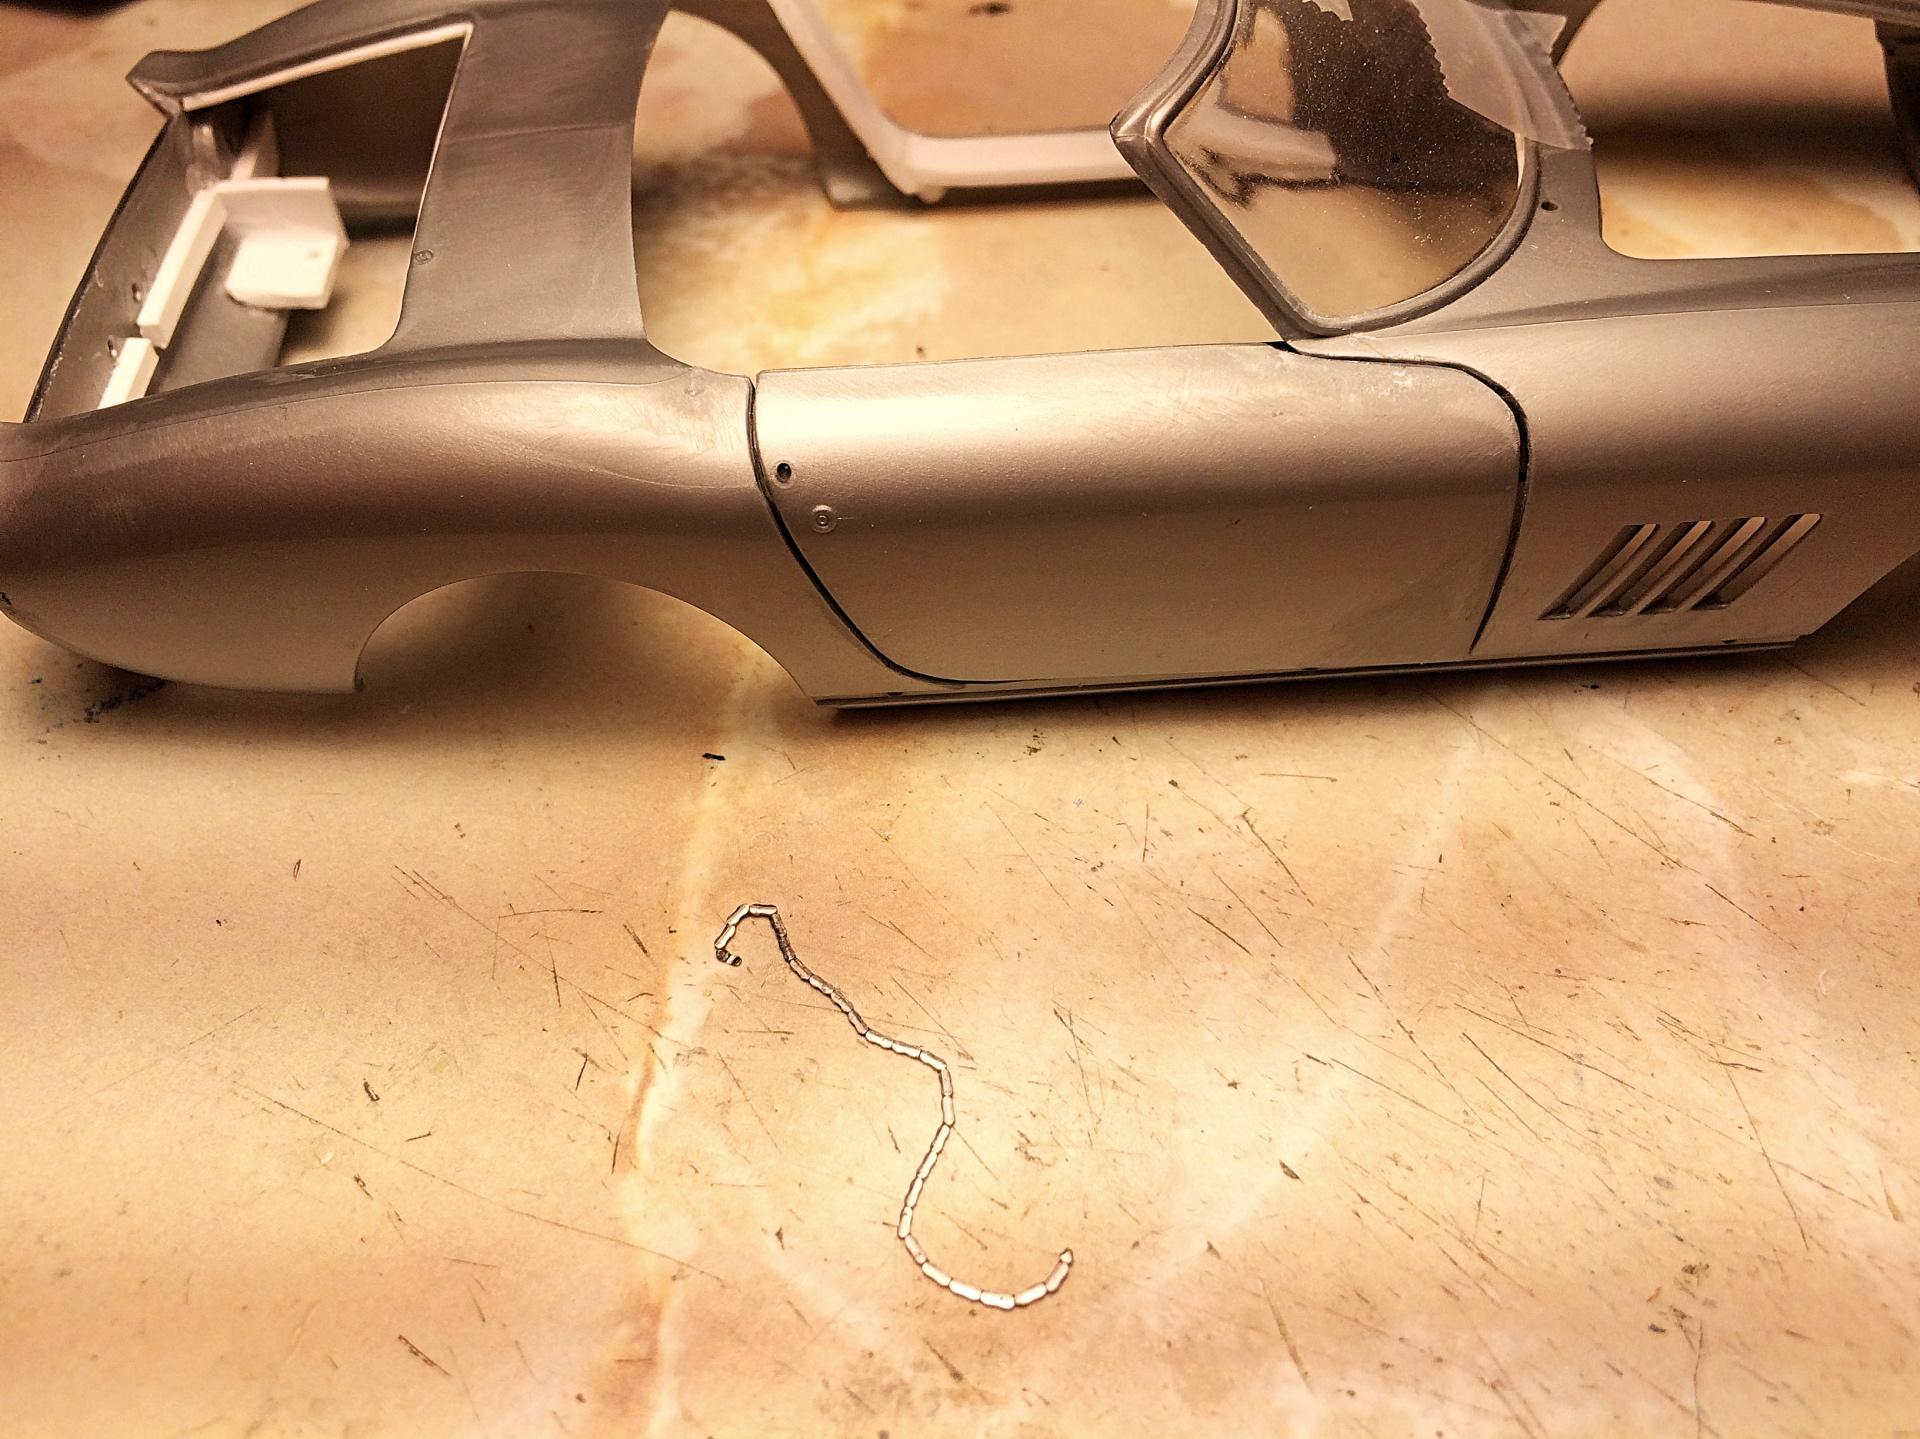
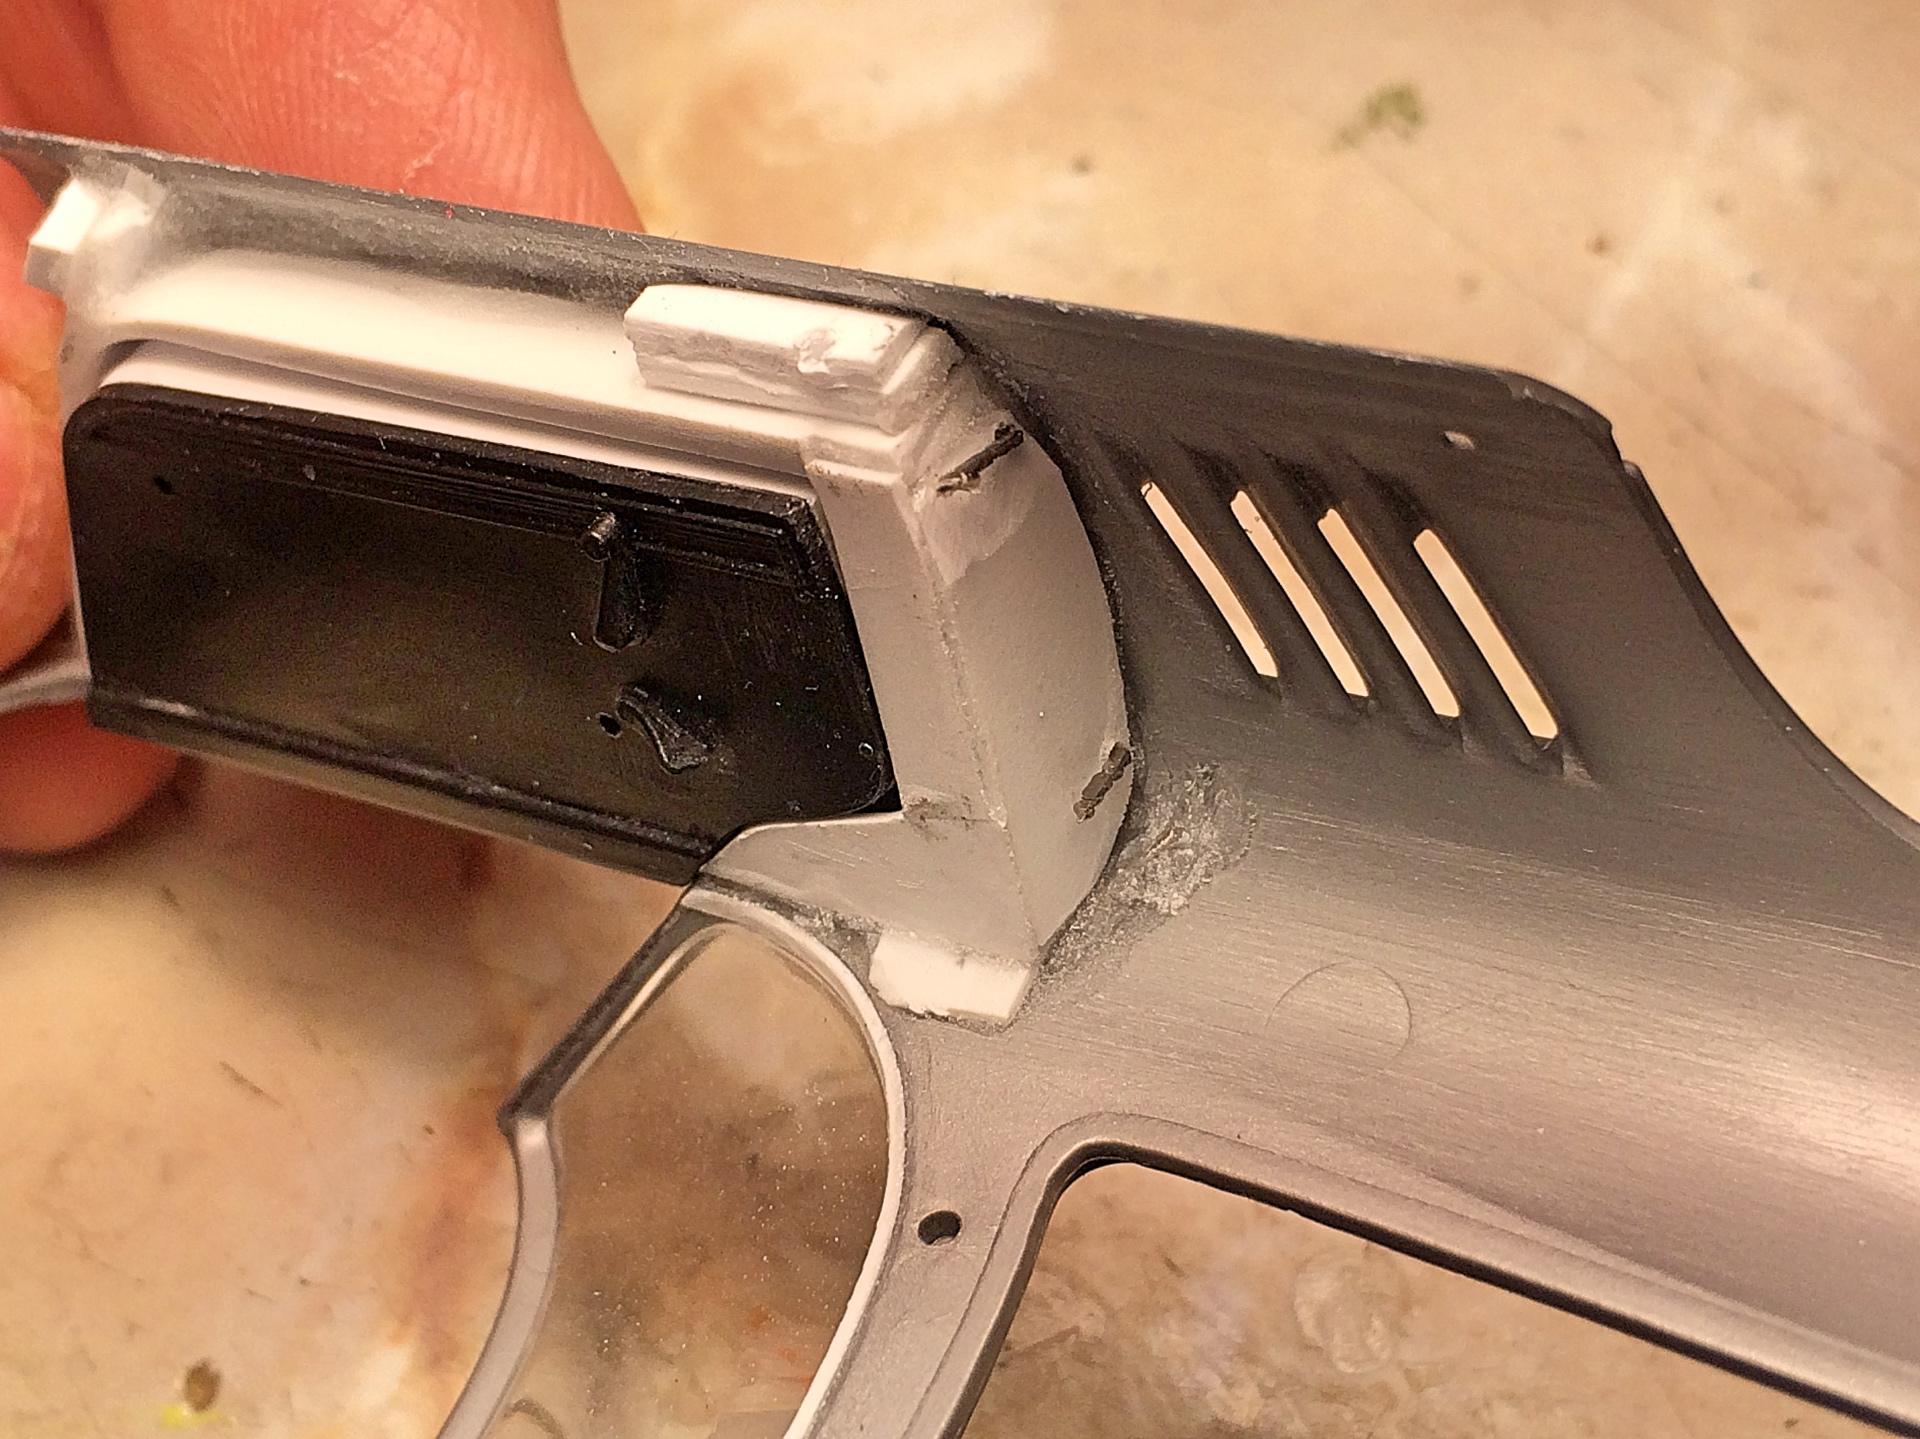
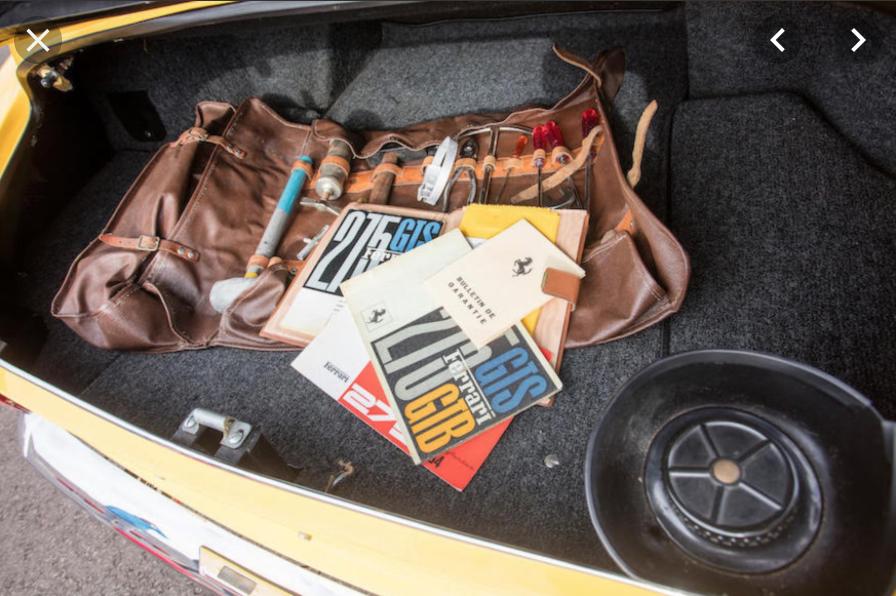
Got the other headlight done. Took about an hour, amazing I ever finish a model. ? Testing with the vacuum-formed cover, not magnifying glass distortion, but wish it wasn't so bumpy. Made one door hinge. After looking at photos of the real car, saw there is no lip along the front, removed what I glued in there. Next was drilling holes for the fusee chain (100 year old pocket watch part). The door panel and jamb is a tight fit, and deep, I didn't want any binding, so thought the chain would give some slop. Open: Closed, good, it stays closed. PITA to get the chain in the holes, trick is to pull tight. Temporarily glued in with Testors, should come out, re-drill the holes. Really have to look to see they aren't realistic. I also don't care how the chain folds up when the door is closed, seems like this worked. ? Since I opened the trunk, I now *have to* make a tool kit, and manual. Will use lead-like wine bottle foil, have most of the tools from the Fujimi kit. When I make the license plate, will also print this to scale. So I'm getting done this month. ?
-
Appreciate that! Thank you! Oh great, nothing like more pressure (that's a pun with vacuum), glad you are getting something out of this. Thank you. I'm aiming for this month.
-
? Thank you! Thank you. Rally cars are fun because THEY SHOULD BE DIRTY!!!!!!