NOBLNG
-
Posts
10,236 -
Joined
-
Last visited
Content Type
Profiles
Forums
Events
Gallery
Everything posted by NOBLNG
-
It be spiffy Zippi! Say that three times fast!?
-
You might not notice the hole, but you would notice the oil stain on your shelf after it’s too late to do anything about it.?
-
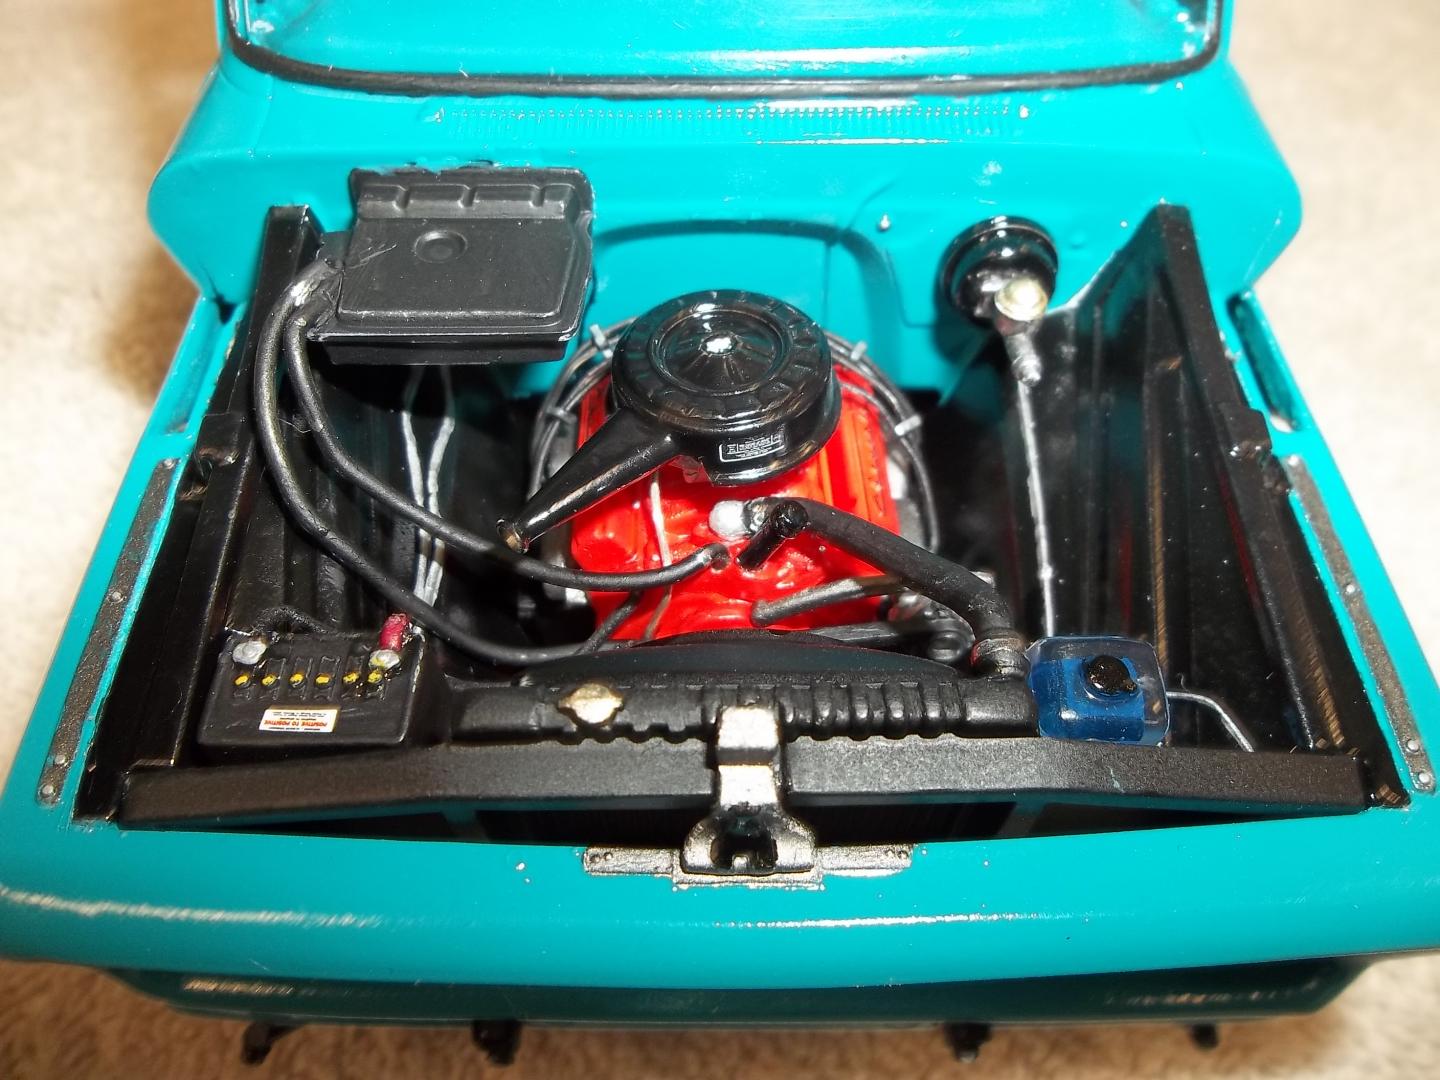
I too think the ‘55-‘57 Chevys all have near perfect styling from the factory. I love that paint job! Can’t wait to see it with the foil on. Looks great so far. ?
-

1/16 vw bus
NOBLNG replied to Charlie B's topic in Model Trucks: Pickups, Vans, SUVs, Light Commercial
That is a really great weathering job. But how did she manage to keep all her hubcaps?? -
Check out some of his other amazing builds here: http://www.modelcarsmag.com/forums/topic/157842-my-fleet-of-jet-cars/?tab=comments#comment-2337536
-
Nicely done!?
-
1957 Pontiac Bonneville "Safari Wagon" - PHANTOM
NOBLNG replied to carbuilder1950's topic in Model Cars
Fantastic work on that wagon David! I’m not real big on Bling, but I gotta say, it looks great on that unit!? Did you pin the joints as well as CA and filler? -
Wow Dax! Your imagination never ceases to amaze me, and your skills to turn it into plastic are fantastic.??You really should make or get someone to make a sci-fi movie with these a la heavy metal.??
-
That is a hilarious clip, and they could play it because my dentist has TVs mounted on the ceiling above every chair. But I puked when they tried that stuff on me.? Too bad, cause I think I would have liked it???
-
You could buy another one, photocopy the receipt...then return it?
-
Just trying to be helpful...shipping costs can be outrageous on single items.? It’s what keeps me from buying models on e-bay.?
-
White glue Super glue Super glue accelerator Super glue debonder Sanding sticks Sprue cutter Budget brushes Hobby knife Tweezers Assorted sandpaper Model cement Filler putty Paint set Masking tape Thinner Scissors Decal tweezers Toothpicks Clothespins Rubber bands Spray paint Respirator mask ?
-
I have a good dentist now, but I never went to a dentist for many years because of a childhood experience. I was getting a tooth pulled. The dentist froze it, a while later he poked it a bit and asked me if I could feel it. I said mmm...a little bit. He said “you mean no!” and proceeded to extract it. I let out a painful yelp, and he then gave it another shot of freezing before continuing.?
-
Nope! I haven’t actually done a decent cleanup on my bench to verify 100% that they’re gone...but I’m 98% sure.? Ooh, I hate it when that happens. Thankfully I am retired and don’t have to go to work anymore.?
-
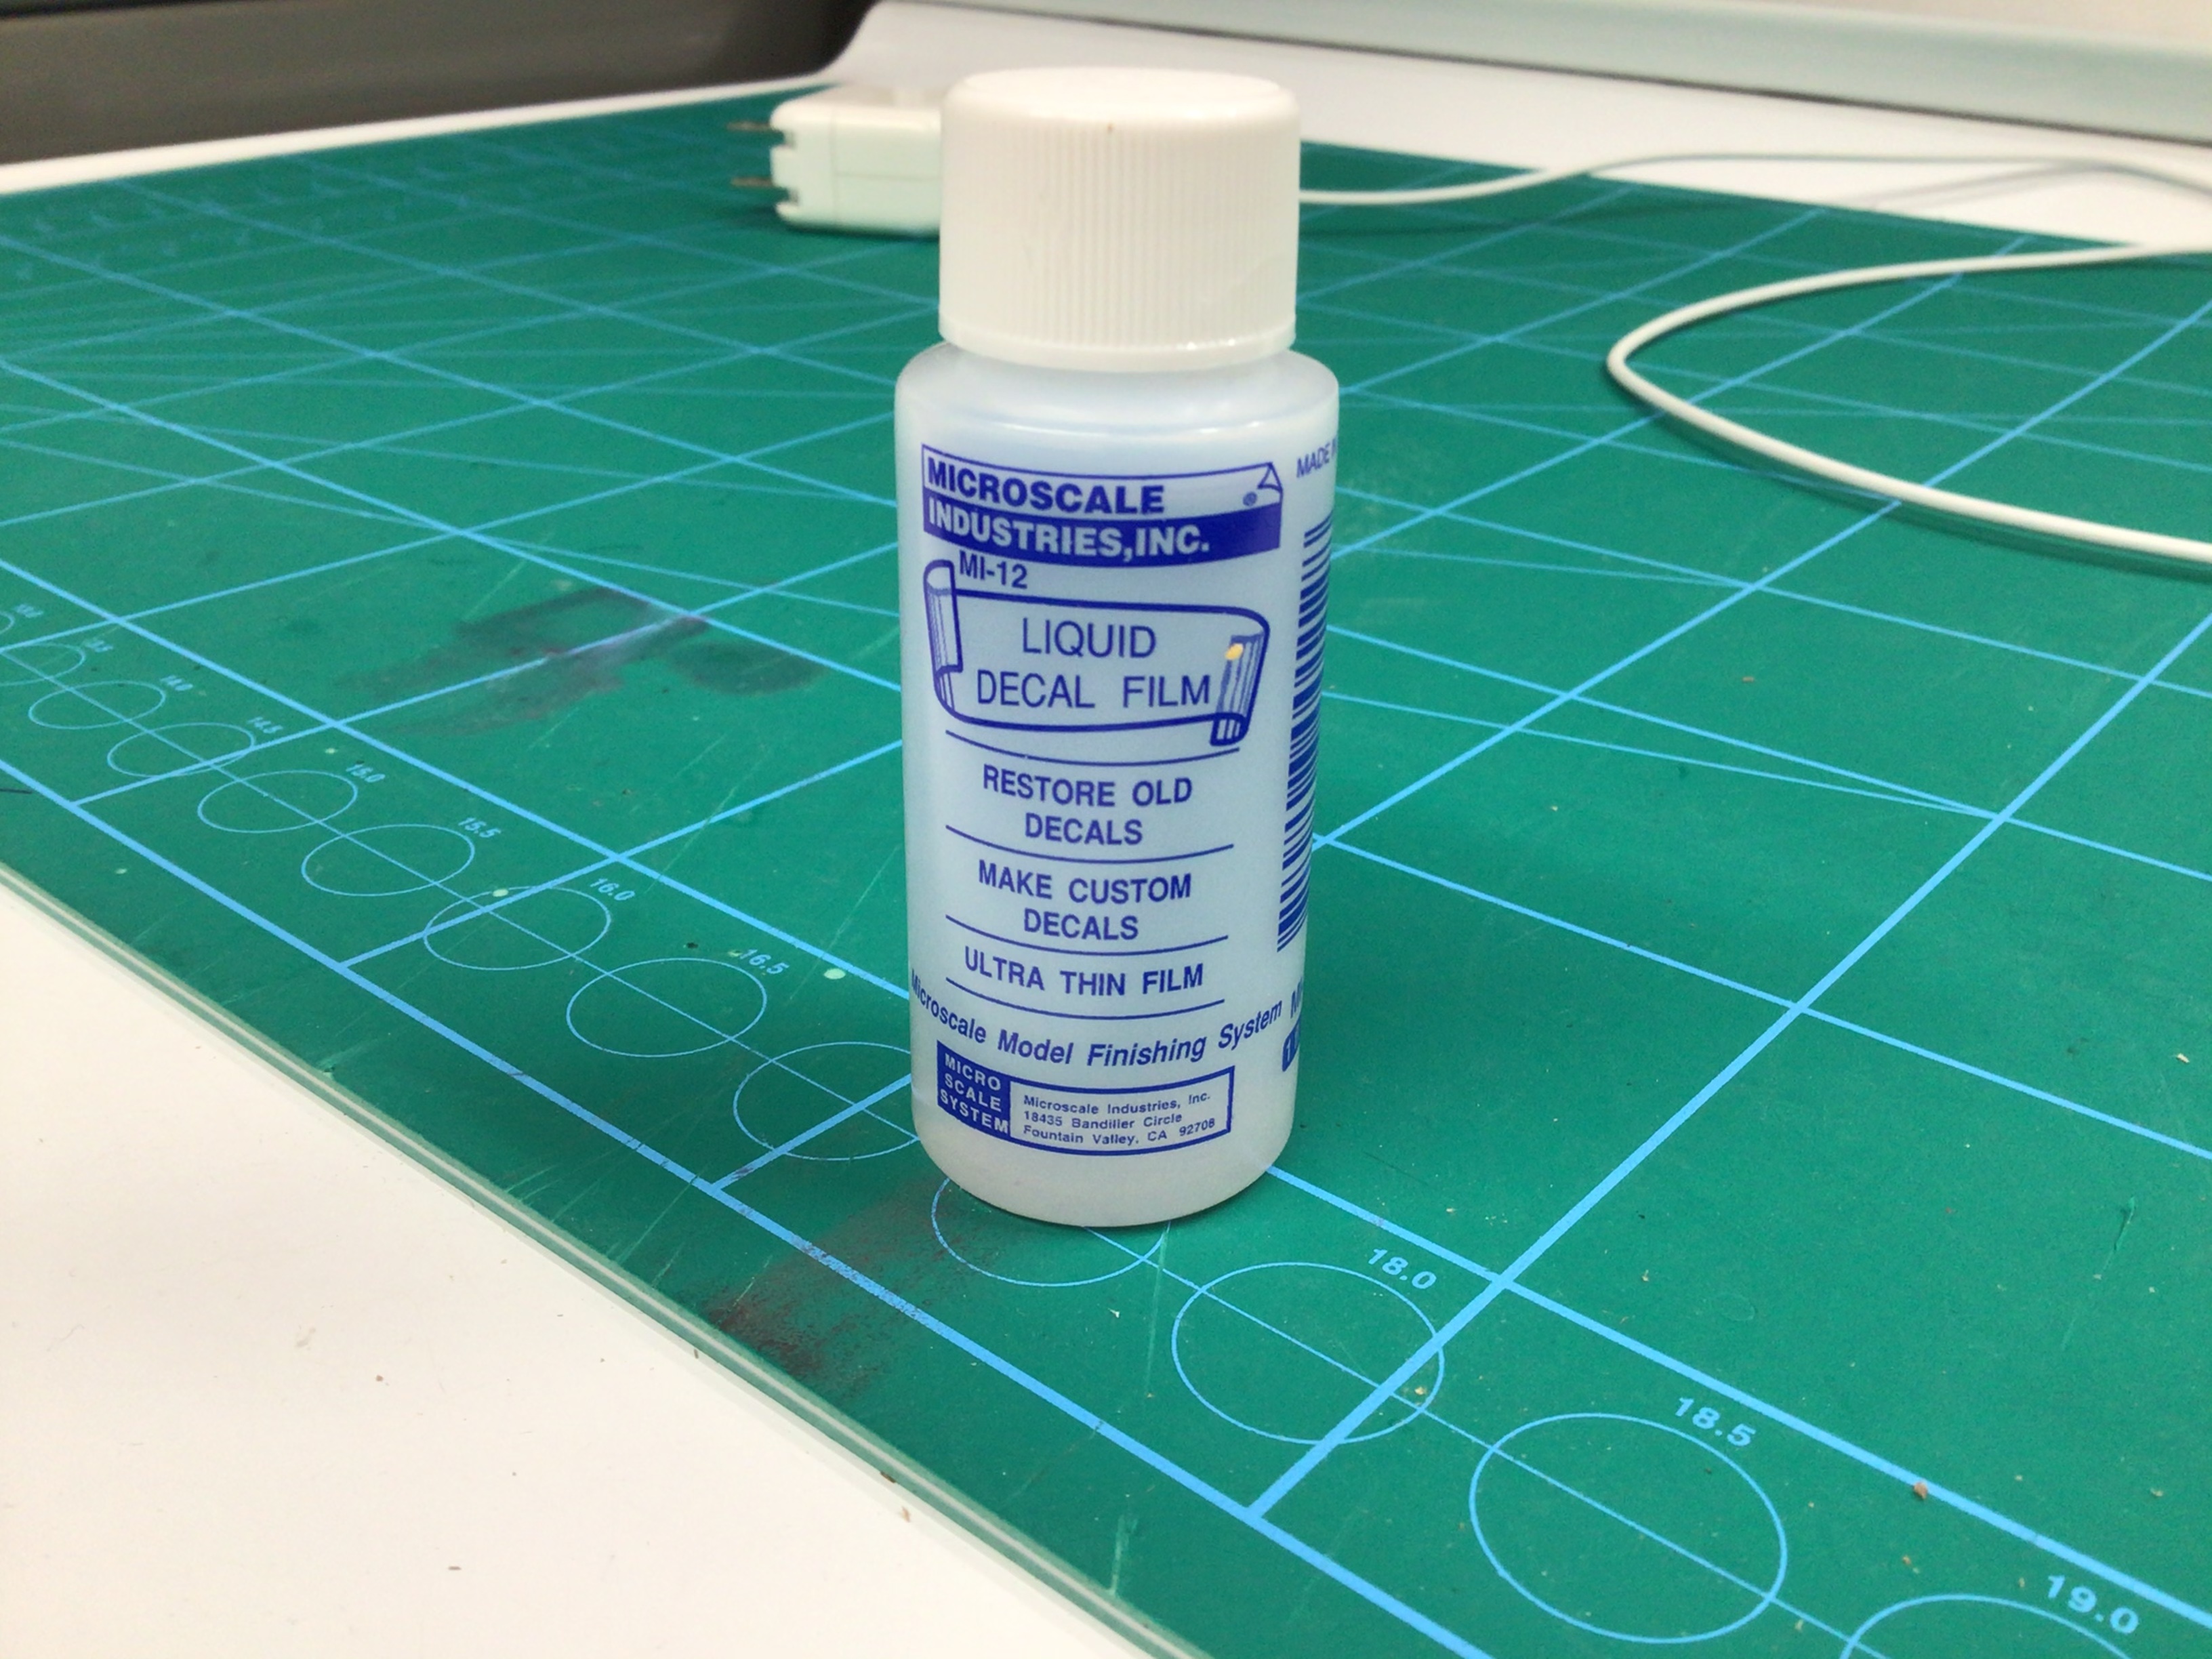
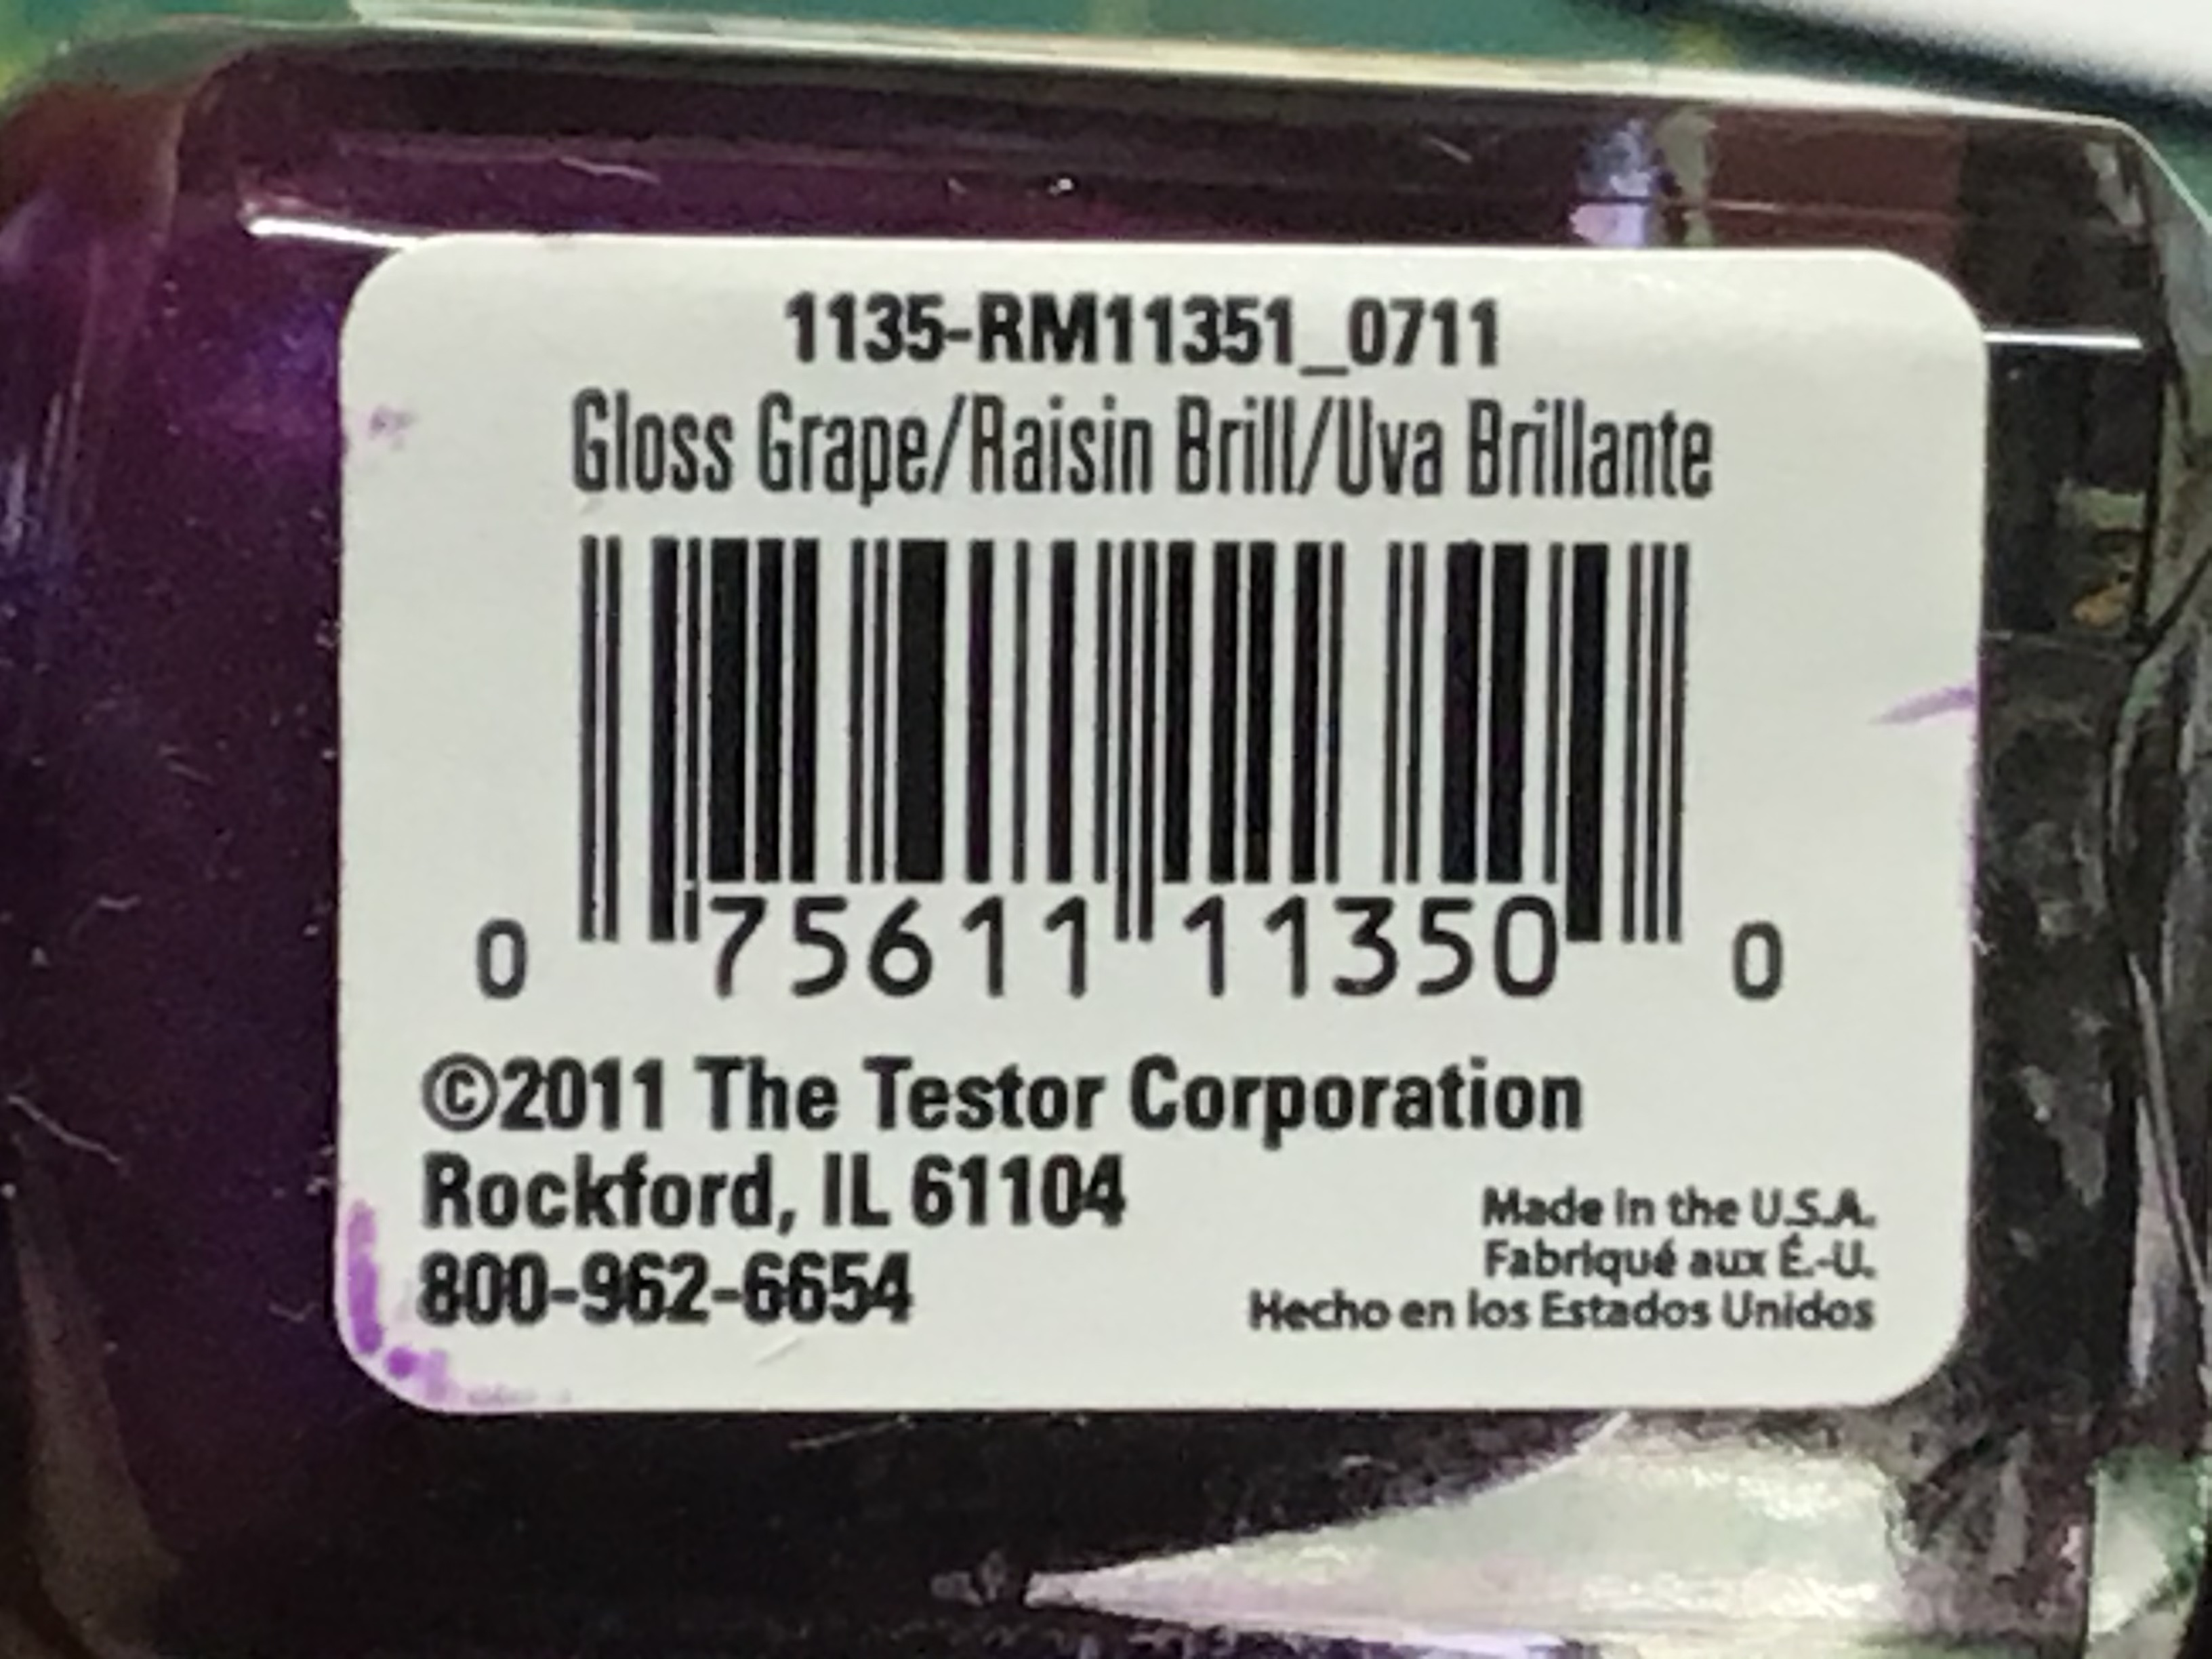
I think this is the stuff you want. I’m not sure how well it works though. I used it once on some really old decals and they were still brittle.

-
What...she couldn’t fix it with a dab of super glue??
-
What did you screw-up today??
NOBLNG replied to TransAmMike's topic in General Automotive Talk (Trucks and Cars)
Nope!☹️ -
I made these from .045” mechanics wire then painted them.
-
Looks good. And foil does not like to stick to flat paint! I
-
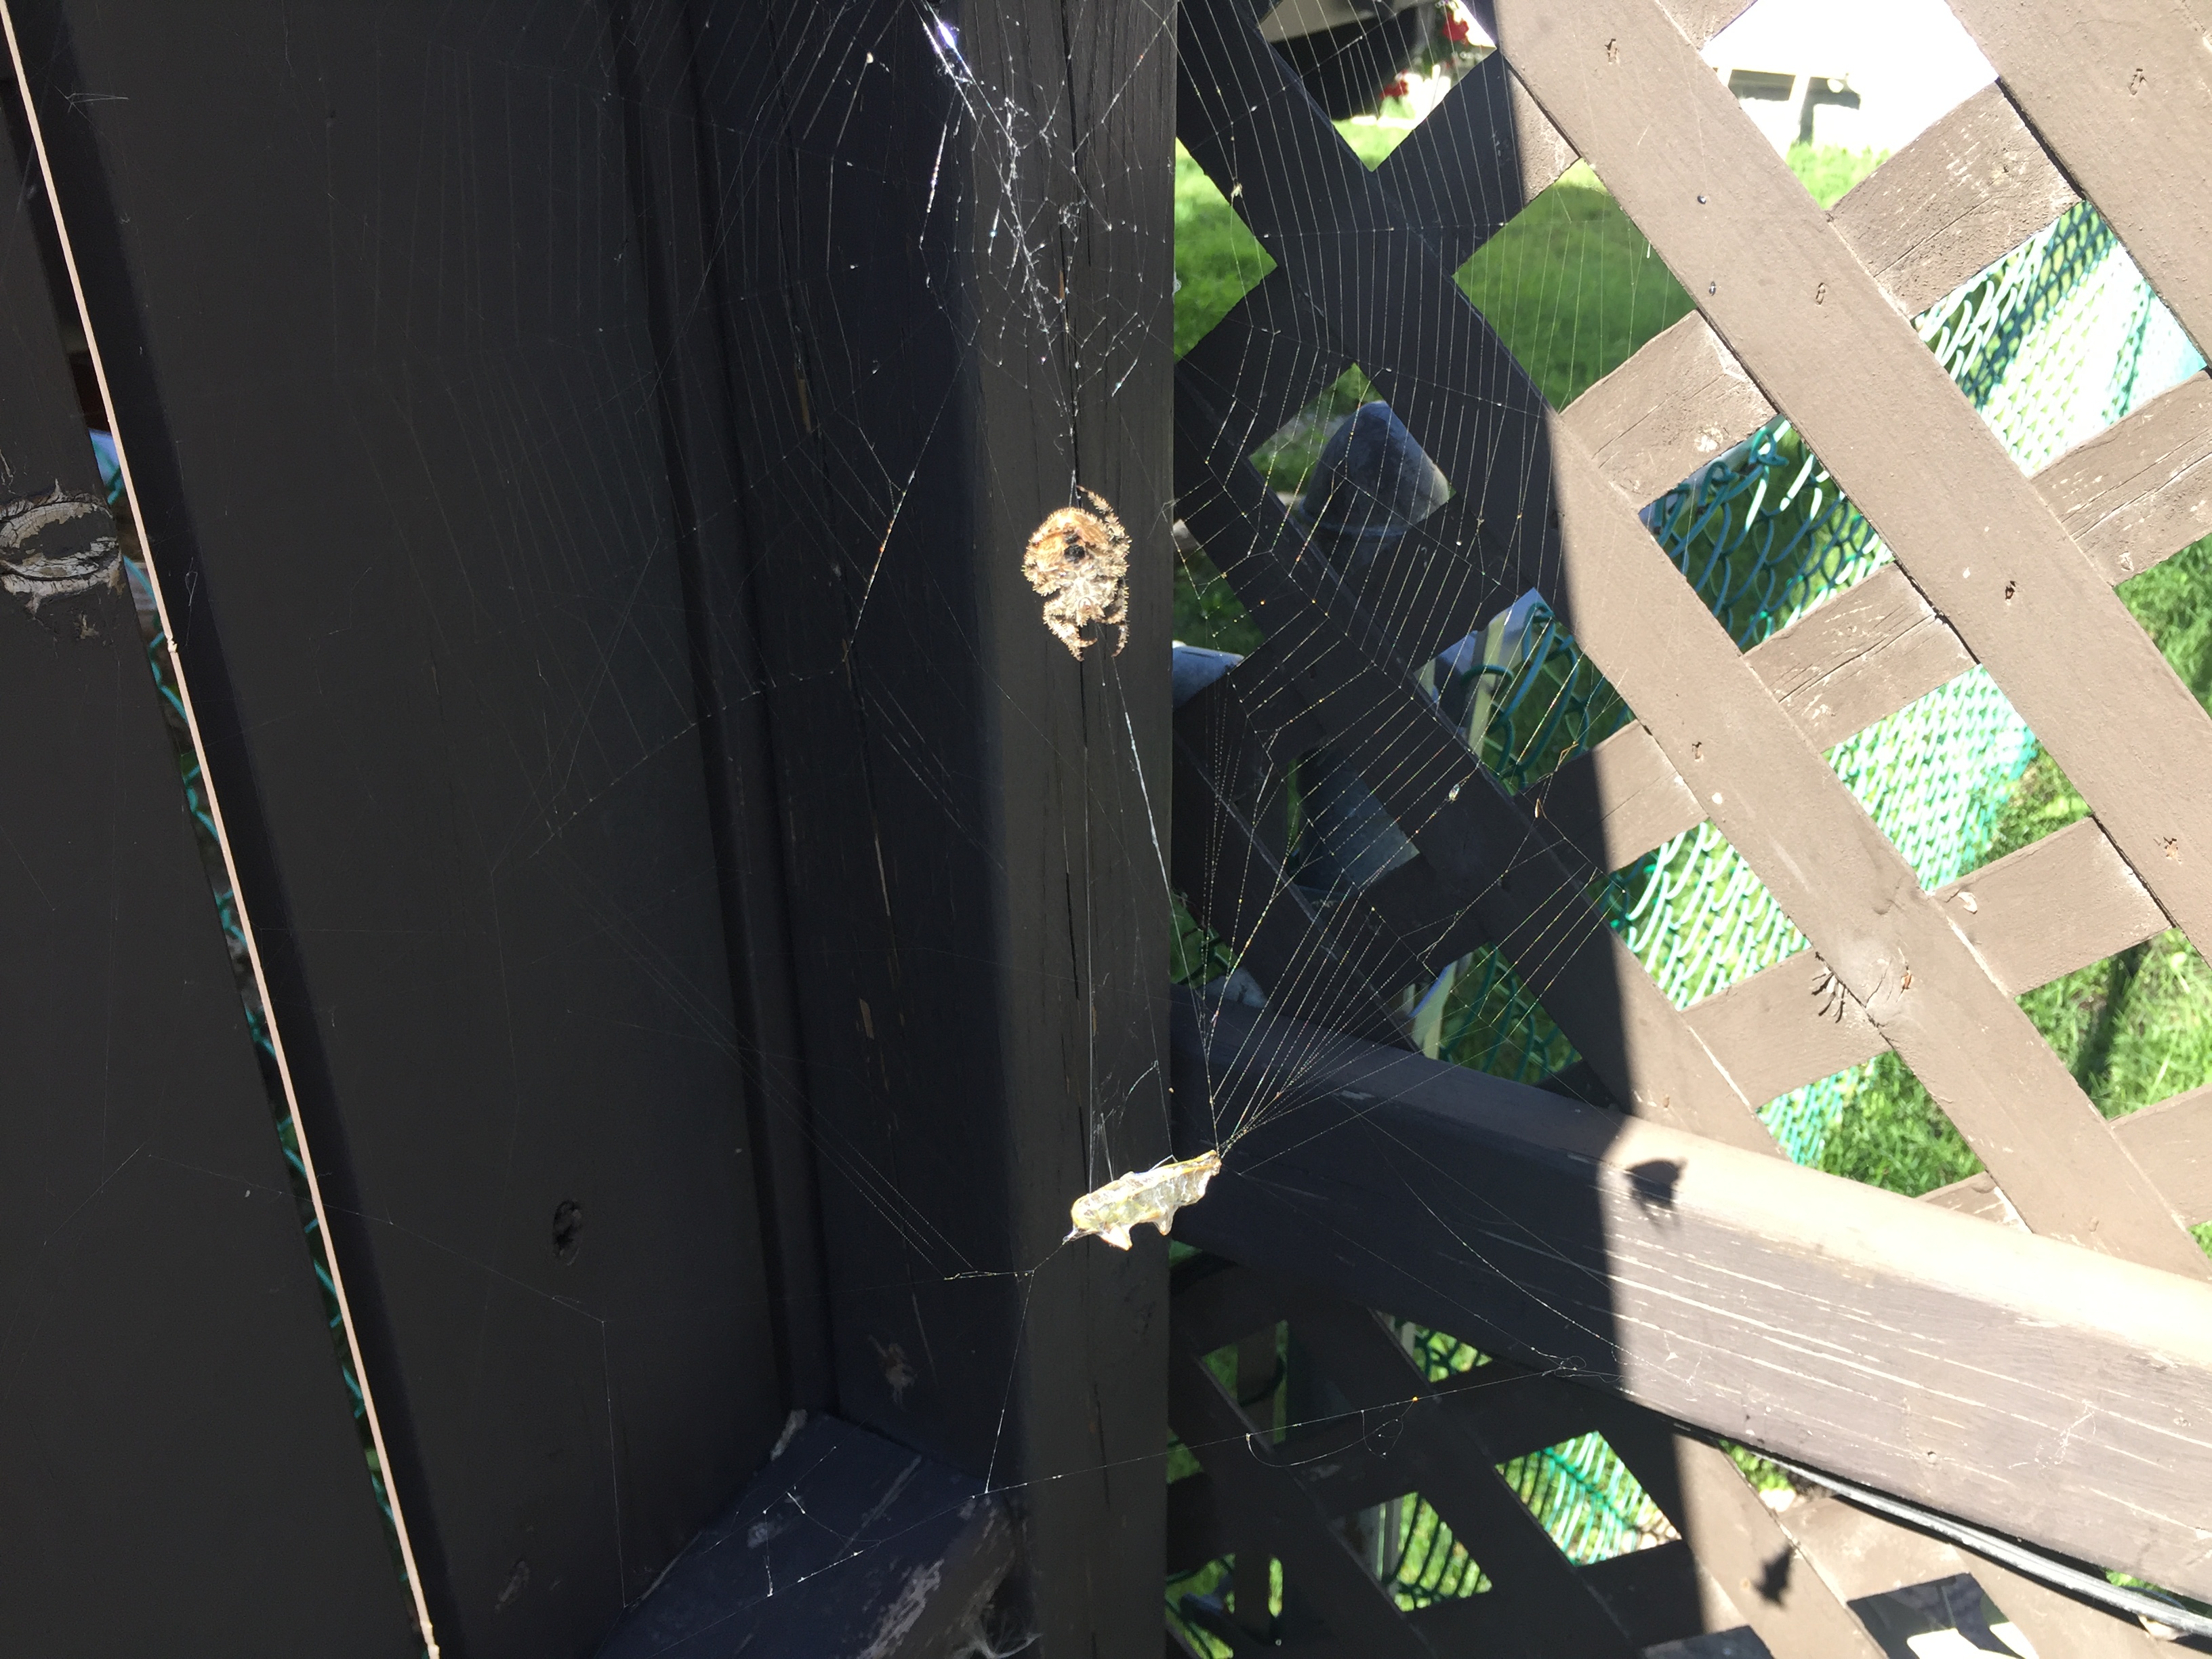
I like spiders...don’t like ants! Spiders eat all sorts of pests. I fed this guy this grasshopper I caught.
-
What did you screw-up today??
NOBLNG replied to TransAmMike's topic in General Automotive Talk (Trucks and Cars)
It is nice!
-
Tips for cutting clear plastic
NOBLNG replied to bh1701's topic in Model Building Questions and Answers
-
Divide the actual 1:1 size by 24. Any soft wire will work. Solid wire is harder to form, but will hold it’s shape.
-
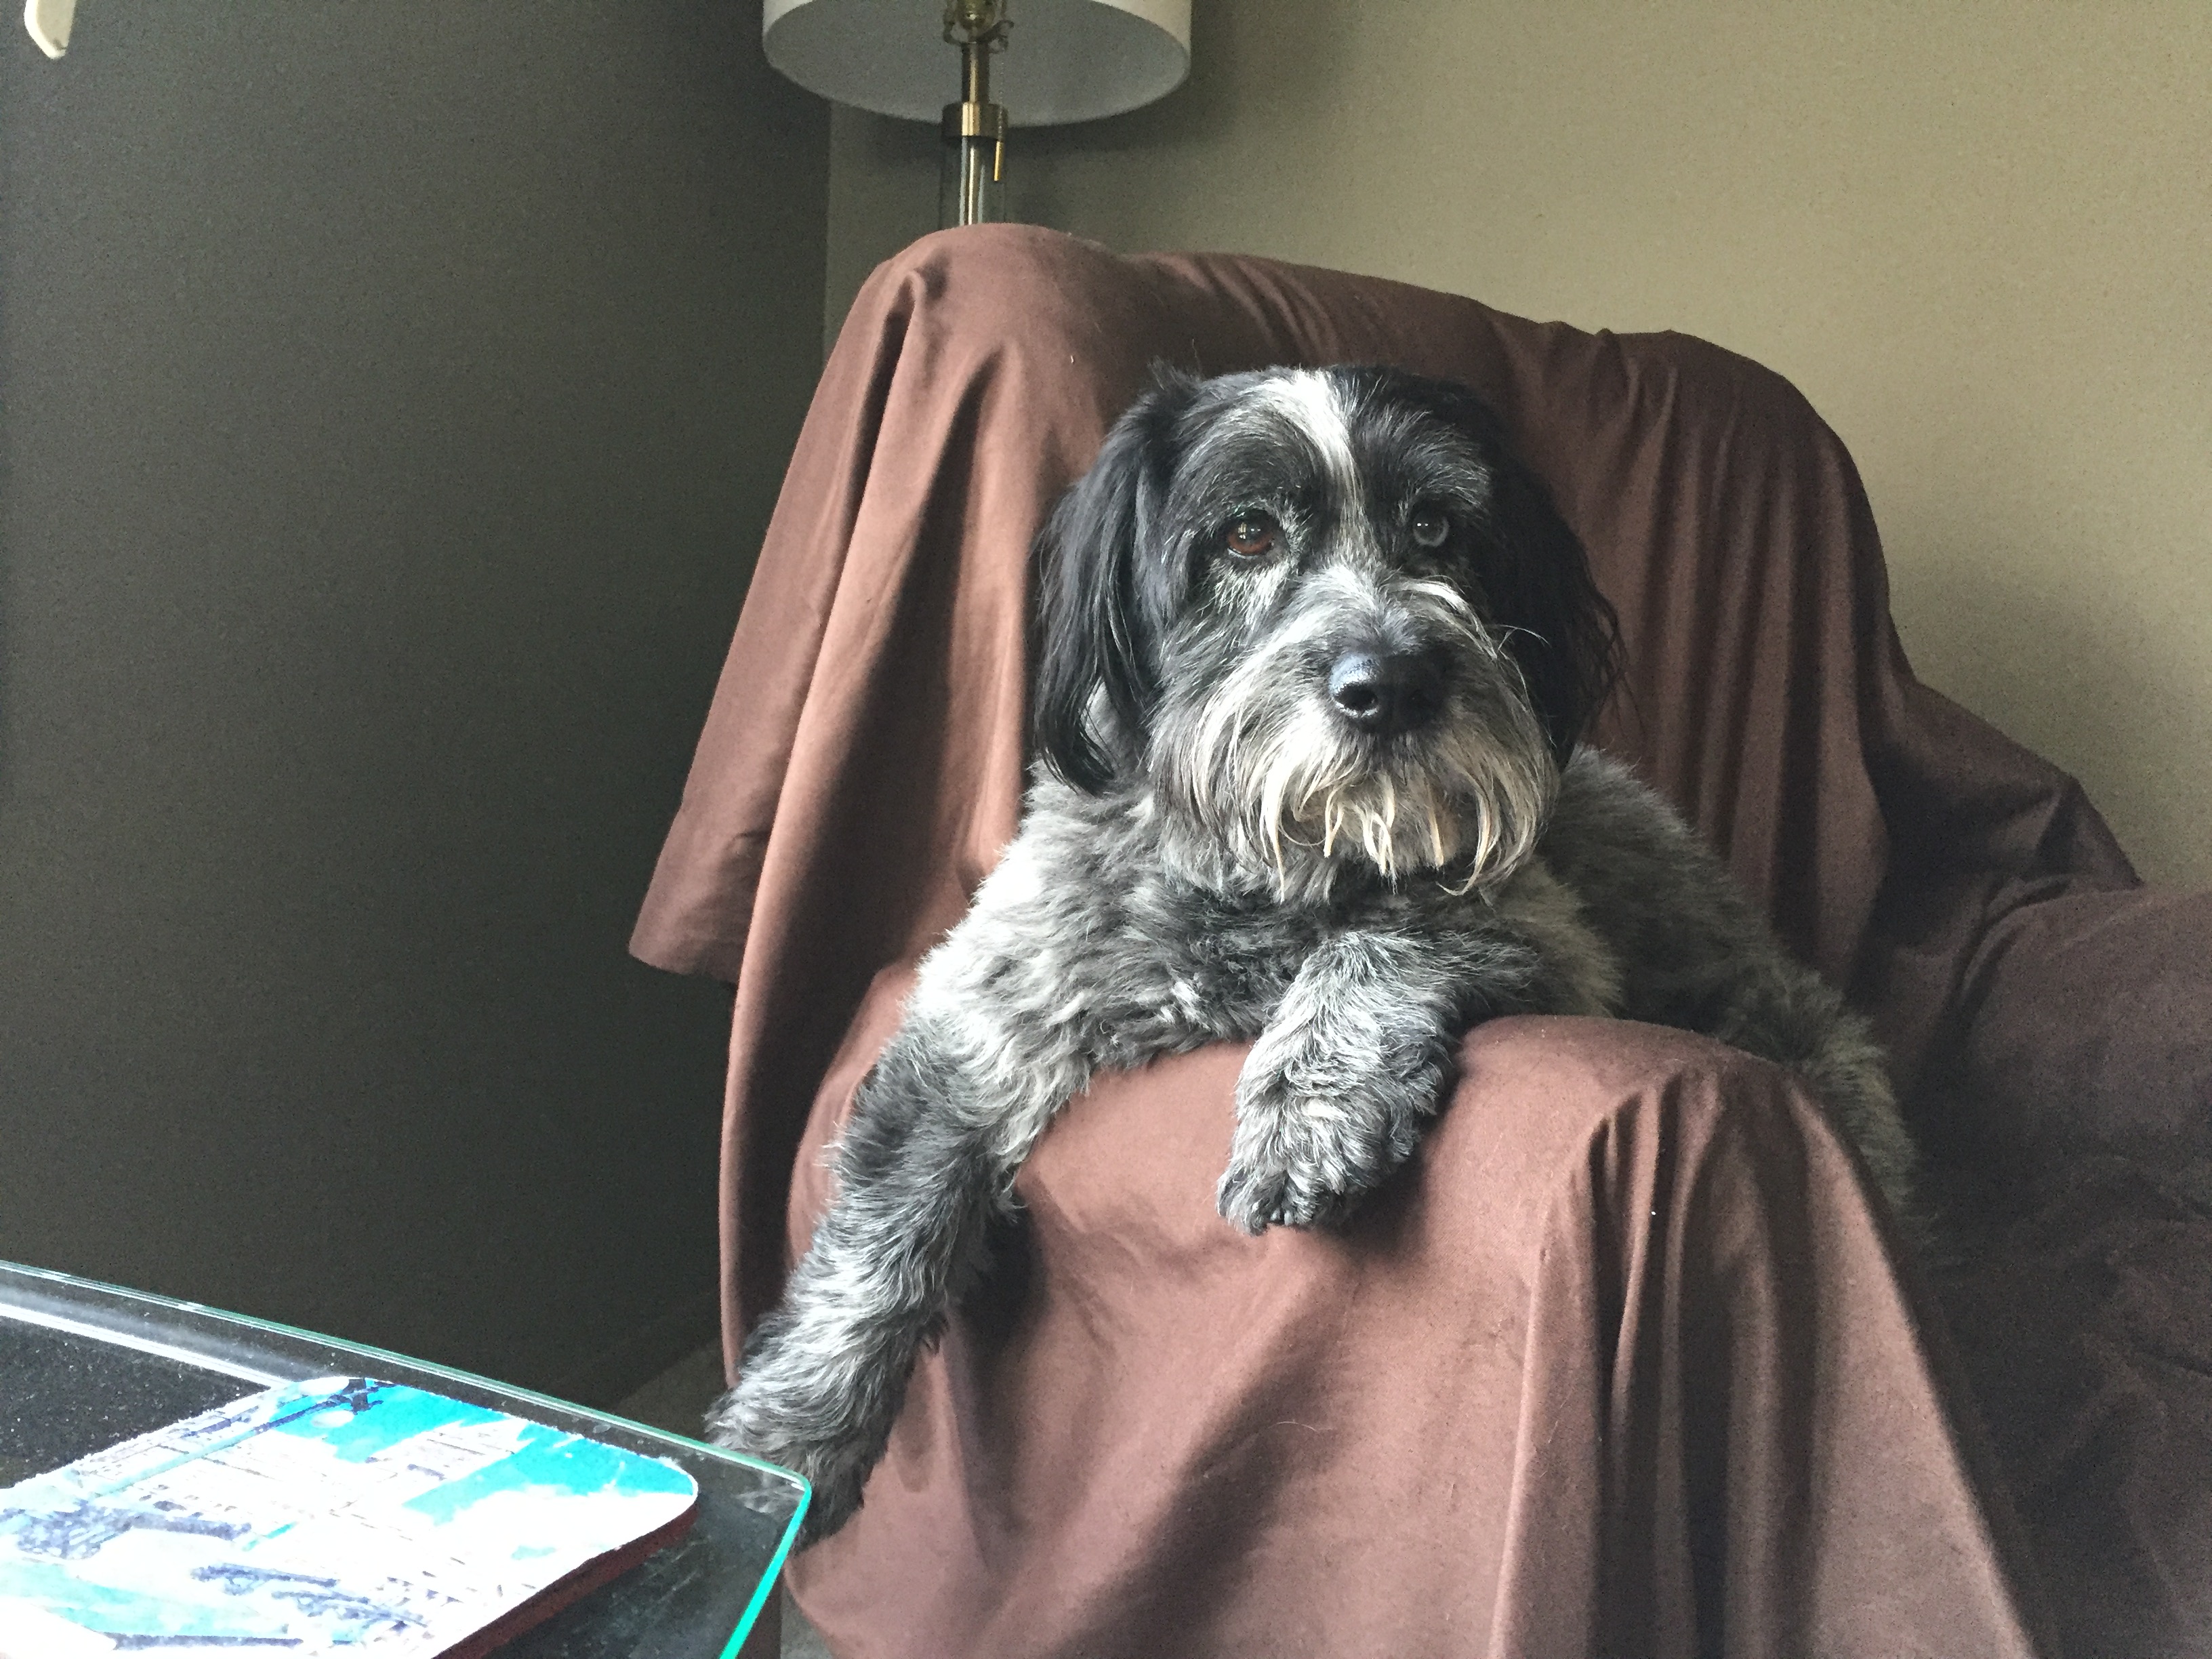
Sadly we lost this guy a couple years ago. He was a rescue and the most stubborn dog we ever had, but he made us laugh. Never-ending ball of energy. We had a game where we would chase him around the house and he would run full tilt. Then we figured out that we could just stand in one spot and growl at him as he went past. He would do this even after a really long walk. When he was bored and wanted out, he would park himself in front of the TV and stare at us! Miss him!
-
Back into wrecking models for dioramas
NOBLNG replied to Shambles's topic in Tips, Tricks, and Tutorials
Pretty realistic looking! I have a couple that I feel like doing that to.?