David G.
-
Posts
11,326 -
Joined
-
Last visited
Content Type
Profiles
Forums
Events
Gallery
Everything posted by David G.
-
Like the title says, I'm looking for an aftermarket source for 1:25 / 1:24 side view and rear view mirrors. Three of the last four kits I built included no side view mirrors (AMT, I'm looking at you. :D) and one had no rear view mirror. Needless to say, my parts-box supply is dwindling quickly. I have done a bit of searching both online and within this forum with little success. So if anyone knows of a good source for side view and rear view mirrors in 1:25 / 1:24 scale, I would be grateful for any information you could offer. Thank You, David G.
-

Dodge Caravan minitruck style
David G. replied to Jared Roach's topic in Model Trucks: Pickups, Vans, SUVs, Light Commercial
A great way to bring interest to an otherwise mundane vehicle. Well played sir, well played! David G. -
Revell ‘41 Chevy Pickup
David G. replied to NOBLNG's topic in Model Trucks: Pickups, Vans, SUVs, Light Commercial
Excellent work, great color combination, solid build, everything just looks spot-on. David G. -
Beautifully done Snake! Well worth the effort. David G.
-
Looks like a great replica! I love your idea about modeling the fiberglass texture on the body shell, it really adds to the realism. I wish I'd thought of that when I built mine. David G.
-
Your interior work is very convincing. I especially like your weathering on the exposed chassis in the rear passenger area. I've known for quite some time about the use of foil for simulating damaged body panels and I've always wanted to try it. One of my main concerns was the structural integrity of the work after completion, your use of CA and styrene strips is a great response to that concern. Thanks for sharing it. I'm absolutely going to give this technique a try. After all, as the saying goes: "Nothing looks more like metal than metal." David G.
-
Smoooooth and Deadly! David G.
-
Wow! That's a beautiful example of what can be done with this kit. David G.
-
1971 Cadillac Eldorado Convertible., lost on route 66 ;)
David G. replied to Jeffcad's topic in Model Cars
Nicely Done! David G. -
That's an excellent solution to the vent problem! Nicely done. David G.
-
Well Done! Love the paintwork. David G.
-
Fiat 131 Abarth
David G. replied to afx's topic in WIP: Other Racing: Road Racing, Land Speed Racers
The dashboard looks great! David G. -
Somehow I missed this one but I'm glad I found it. Impressive work so far... as always. I'll be watching with great interest. David G.
-
Another GT40 MKI on the table
David G. replied to vamach1's topic in WIP: Other Racing: Road Racing, Land Speed Racers
Impressive work so far, everything looks great! David G. -
Wow! There are just too many great ideas going on with this one. David G.
-
Nicely Done! David G.
-
Hello again Dave! David G.
-
It seems to me that they've always been there in some form or another. In the 70's we had Shogun Warriors action figures, they were about 2 feet tall. Most of them had little plastic missiles that could be shot from spring-loaded launchers. Many also had a detachable body part that act as a scout or escape vehicle. In the eighties, I remember seeing updated 5 or 6 inch die cast versions. Shogun Warriors, Transformers and Gundam, there definitely seems to be a connection. David G.

-
Cool color combination! David G.
-
Nicely Done! David G.
-
Thank you Ricky. I like most of the T-Bird designs but the '71 and '64 are probably my favorites. Thank you Carl. David G.
-
*Scratch-Build* Obscure Romanian hatchback - Dacia Nova 1/18
David G. replied to mihaita10bani's topic in WIP: Model Cars
You seem to be off to a good start. David G. -
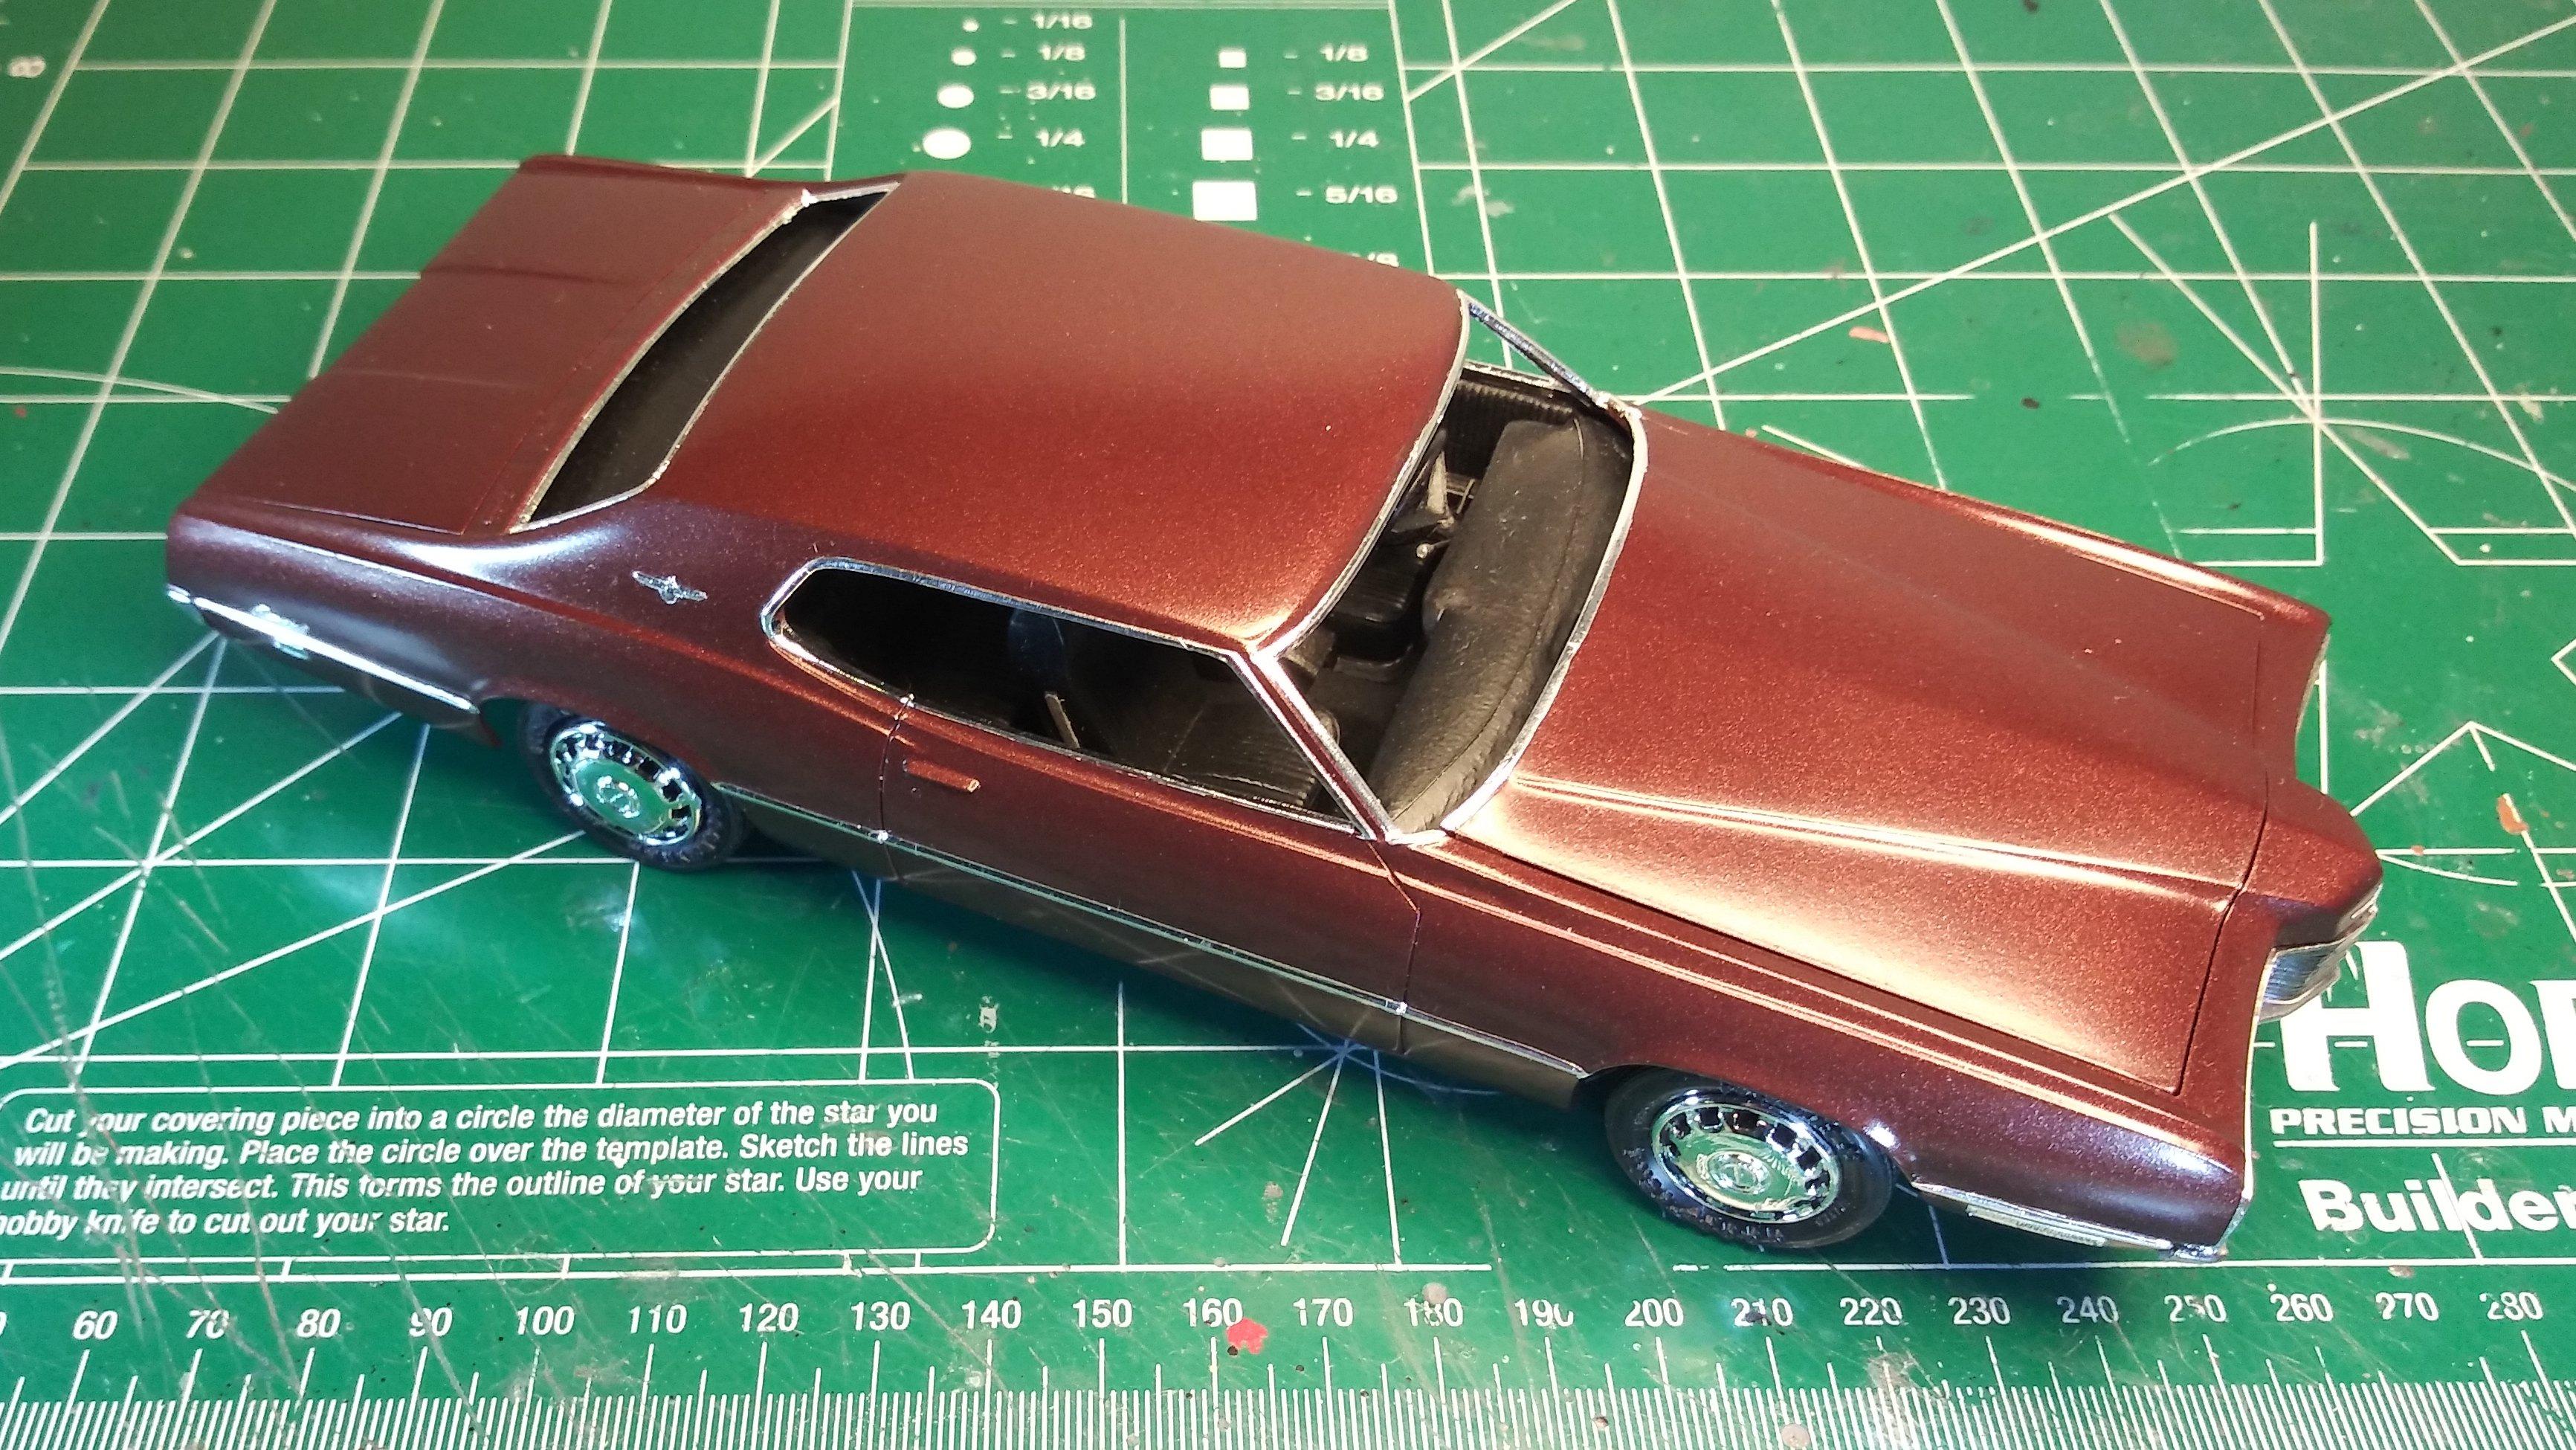
Now that I'm done with the Luftwagen, it's time to get back to the T-Bird. I managed to get the trim and badges foiled. It's not much of an update but there it is. As always, thanks for taking the time to look and please feel free to comment. David G.
-
1935 LaSalle convertible coupe-a 3d printed model
David G. replied to my66s55's topic in WIP: Model Cars
Impressive work so far! David G. -
Excellent color choice, beautifully built. David G.