Bills72sj
-
Posts
4,583 -
Joined
-
Last visited
Content Type
Profiles
Forums
Events
Gallery
Everything posted by Bills72sj
-
You should make resin copies of your bumper and valence. I would pay $15-20 to get results like that.
-
Awesome job on well... EVERYTHING!!!!
-
 I missed the start of this build but shall follow it now. I have built the T600 and the Canepa both. One got the kit chrome grille. The other one got "corrected".
-
ford drag team transporter
Bills72sj replied to Jack L's topic in Model Building Questions and Answers
Any pics? Was it actually offered in a kit? -
Dodge Cabover
Bills72sj replied to Repstock's topic in WIP: Model Trucks: Big Rigs and Heavy Equipment
Congratz on a completed and unique build. -
Wow! You have done some really nice work with all of those classics. Especially great on the emblems. ?
-
Following, I built one of these in copper and another one in silver for a slot car hobbyist.
-
2023 BRGB Movin' On Kenworth
Bills72sj replied to leafsprings's topic in Model Trucks: Big Rigs and Heavy Equipment
You did a great job! I think this kit was one of my very 1st semis I built as a teen in the 70's. (I was getting bored with the low parts count cars at the time.) -
Be careful, these get out of hand pretty quickly. I blew WAY over my original $100 budget because it was so much fun.
-
A couple hot rod Jeep CJ-5s
Bills72sj replied to Chuck Most's topic in Model Trucks: Pickups, Vans, SUVs, Light Commercial
Very creative work on those two. Just like real rat rods. -
I have been slowly tinkering with this long term project in between tasks on other builds. I am finally nearly done. It is in the shop getting front brakes.
-
I found one pic at the end of of thread. He nailed it.
-
What is the best glue for glass/clear surfaces?
Bills72sj replied to AlbertS's topic in Tips, Tricks, and Tutorials
Hmmm... -
400 models lost! OUCH!!!!!!
-
Well done! ?
-
An ambitious and enterprising builder could actually build replicas of either or both of these teams.
-
The model car mob
Bills72sj replied to Chuckyg1's topic in General Automotive Talk (Trucks and Cars)
I am ALMOST in that category. My stash is always growing faster than my building. However, I DO actually build around 4-5 a year. Just not as fast as I would like. (Especially since I have become my own worst Rivet Counter...) I also have to consciously avoid Squirrel behavior due to limited WIP storage space. -
Very classy ride. Love the color and skirts. ?
-
Well done. ?
-
Thanks, Carl. ?
-
Back before I had a dedicated work bench, I used to use a Formica countertop sink cutout scrap as a mobile base. The 3/4" particle board gives it some heft. I have noticed the dust phenomenon in photos as well. I have taken to dusting my finished builds in my paint booth prior to pics... Assuming I remember.
-
Any Tips On Using Inkjet Decal Paper?
Bills72sj replied to oldcarfan's topic in Model Building Questions and Answers
I too have made lots of inkjet decals. 1st with Testors paper and then with aftermarket paper off ebay. If I set my print quality to "normal" the prints are a bit light in coverage. If I set my print quality to "best" then the color saturation is quite acceptable. The only exception is if I use "best" for black only decals, I get the beading you are getting. A word of advise, let the ink dry 24 hours before attempting to clear them. Hit them too soon and the ink may run. I learned that on some red printed decals that made the white background pink. Testors Decal Bonder (9200?) works fantastic as a clear overcoat. Unfortunately, it is no longer available. I think it is an enamel glosscoat. I have yet to experiment with substitutes.
-
Missing part: How can I replace it?
Bills72sj replied to conchan's topic in Model Building Questions and Answers
I made my shifters from hat pins. If you dip the head in thickened black paint, you could simulate the vertically extended knob. As for the boot, I would use silly putty or an equivalent and paint it too.
-
Thank you, Donato. ? Thank you, David. ? Thank you, Kevin.?
-
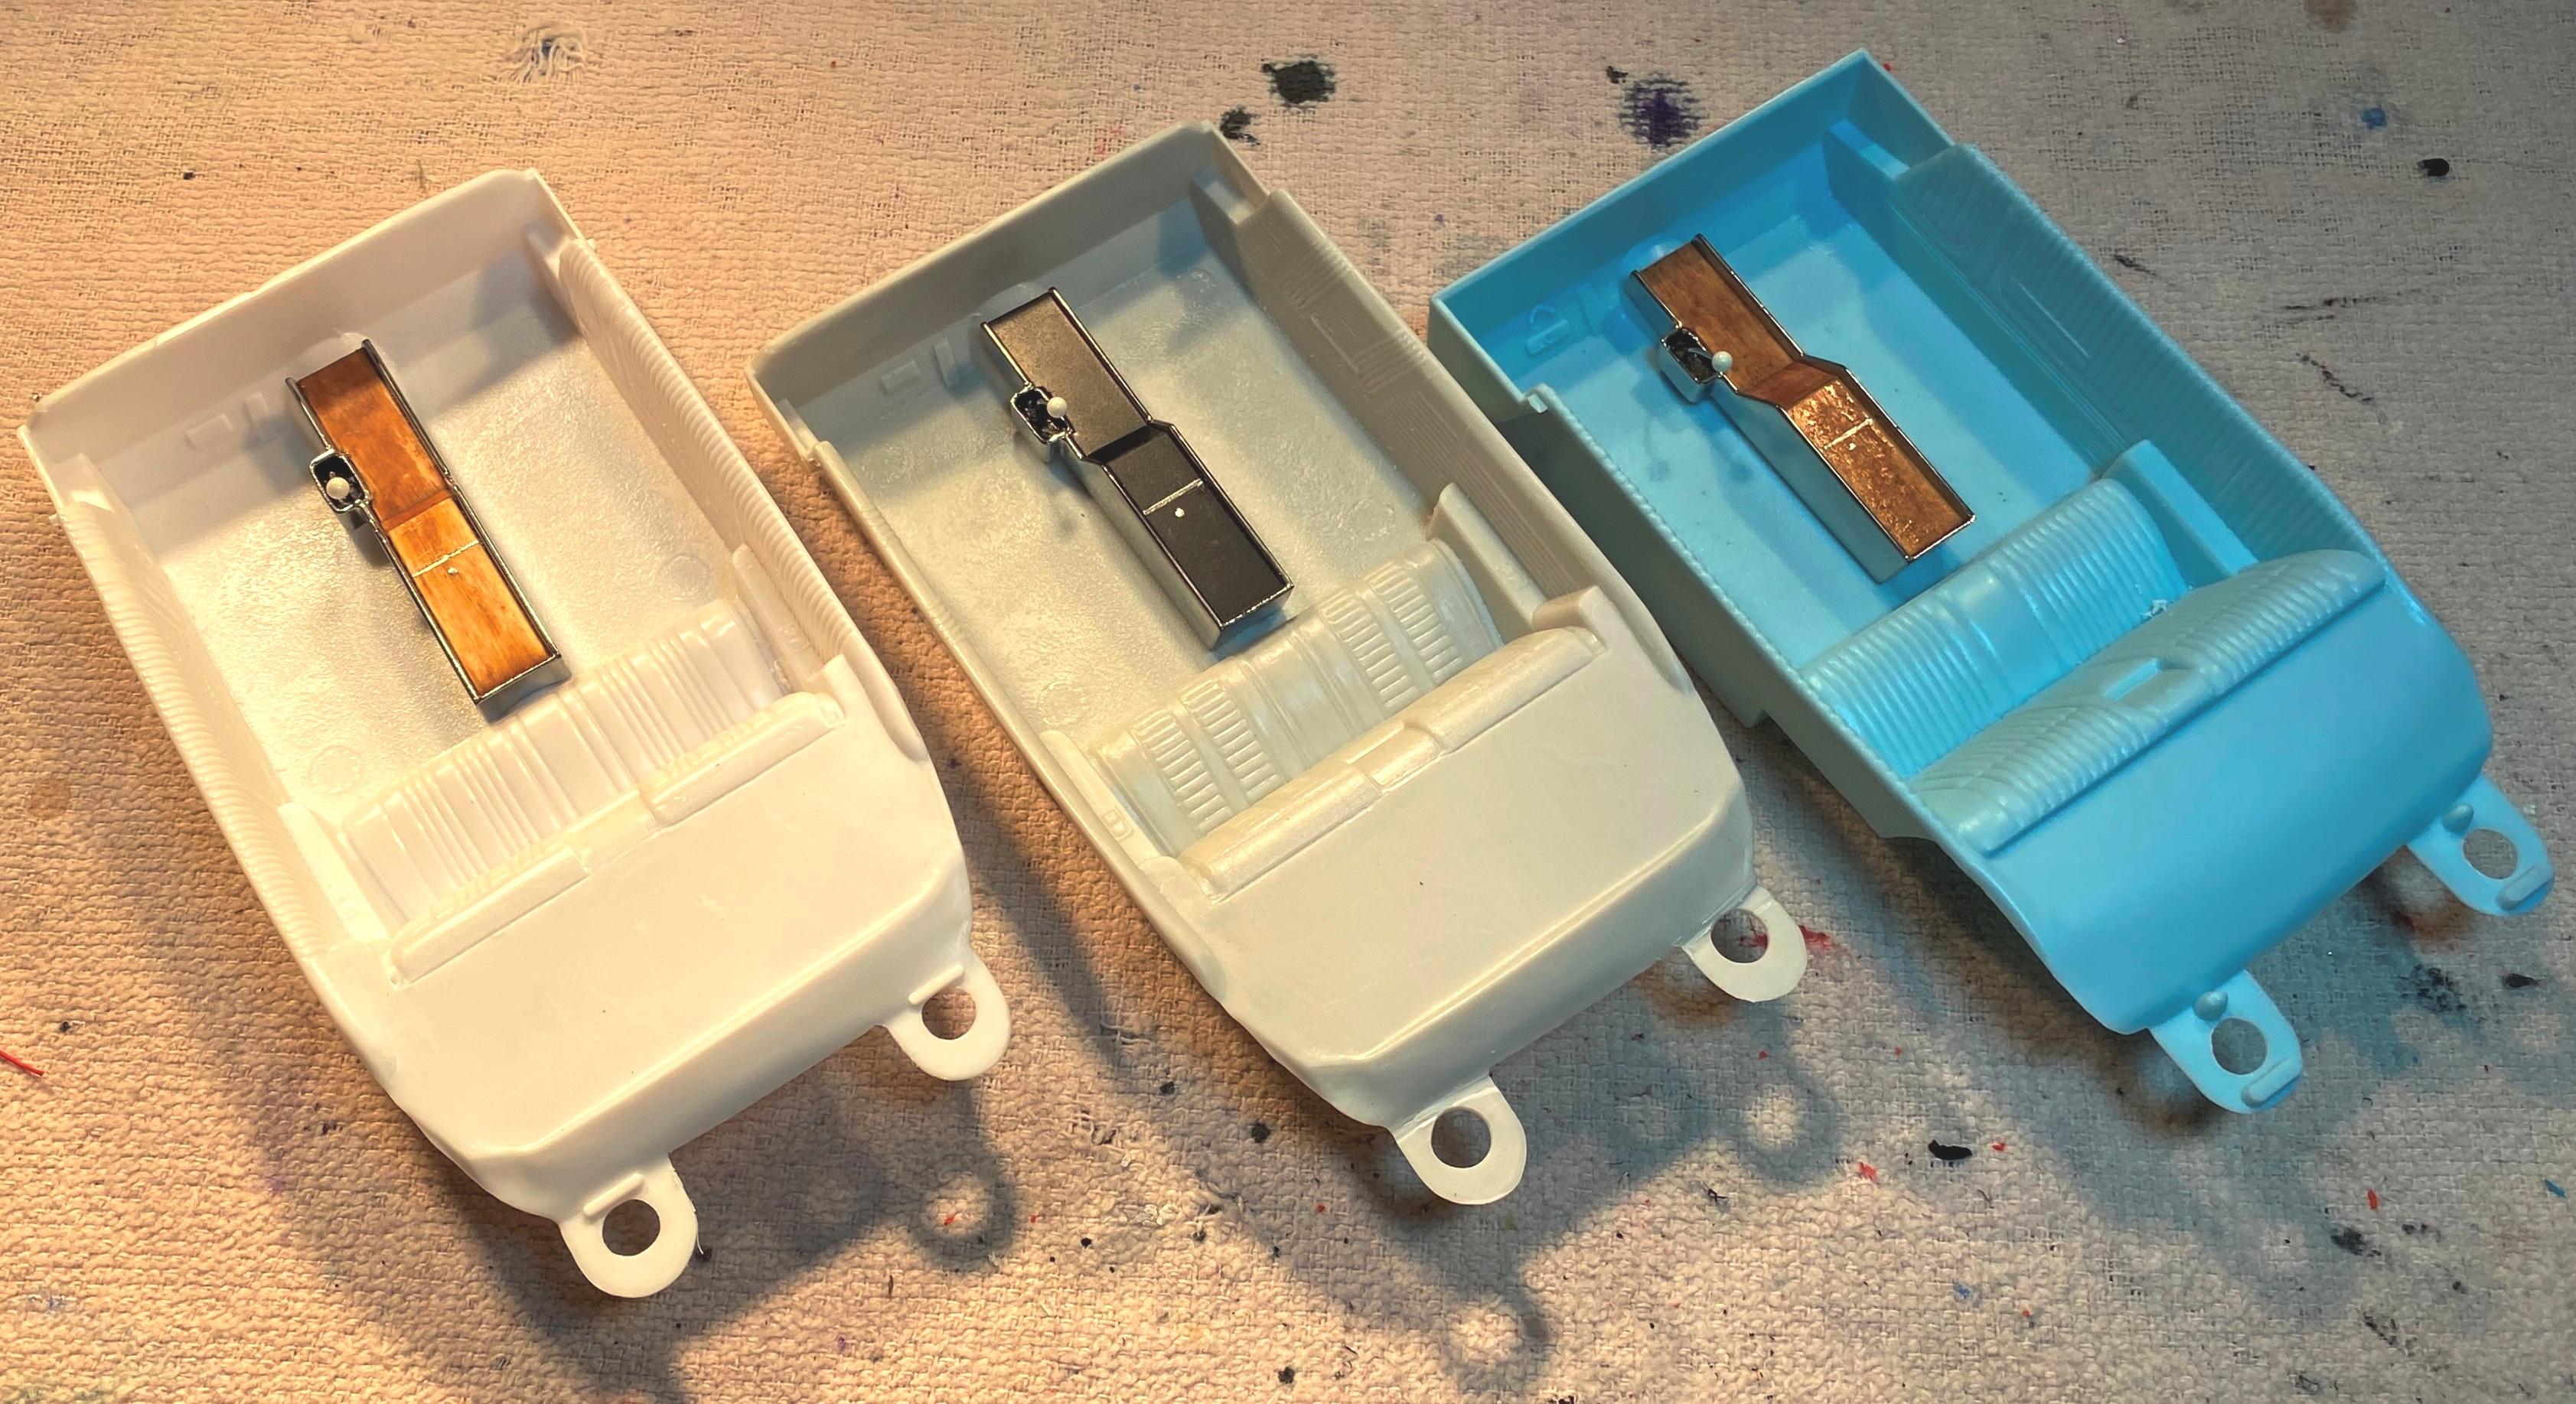
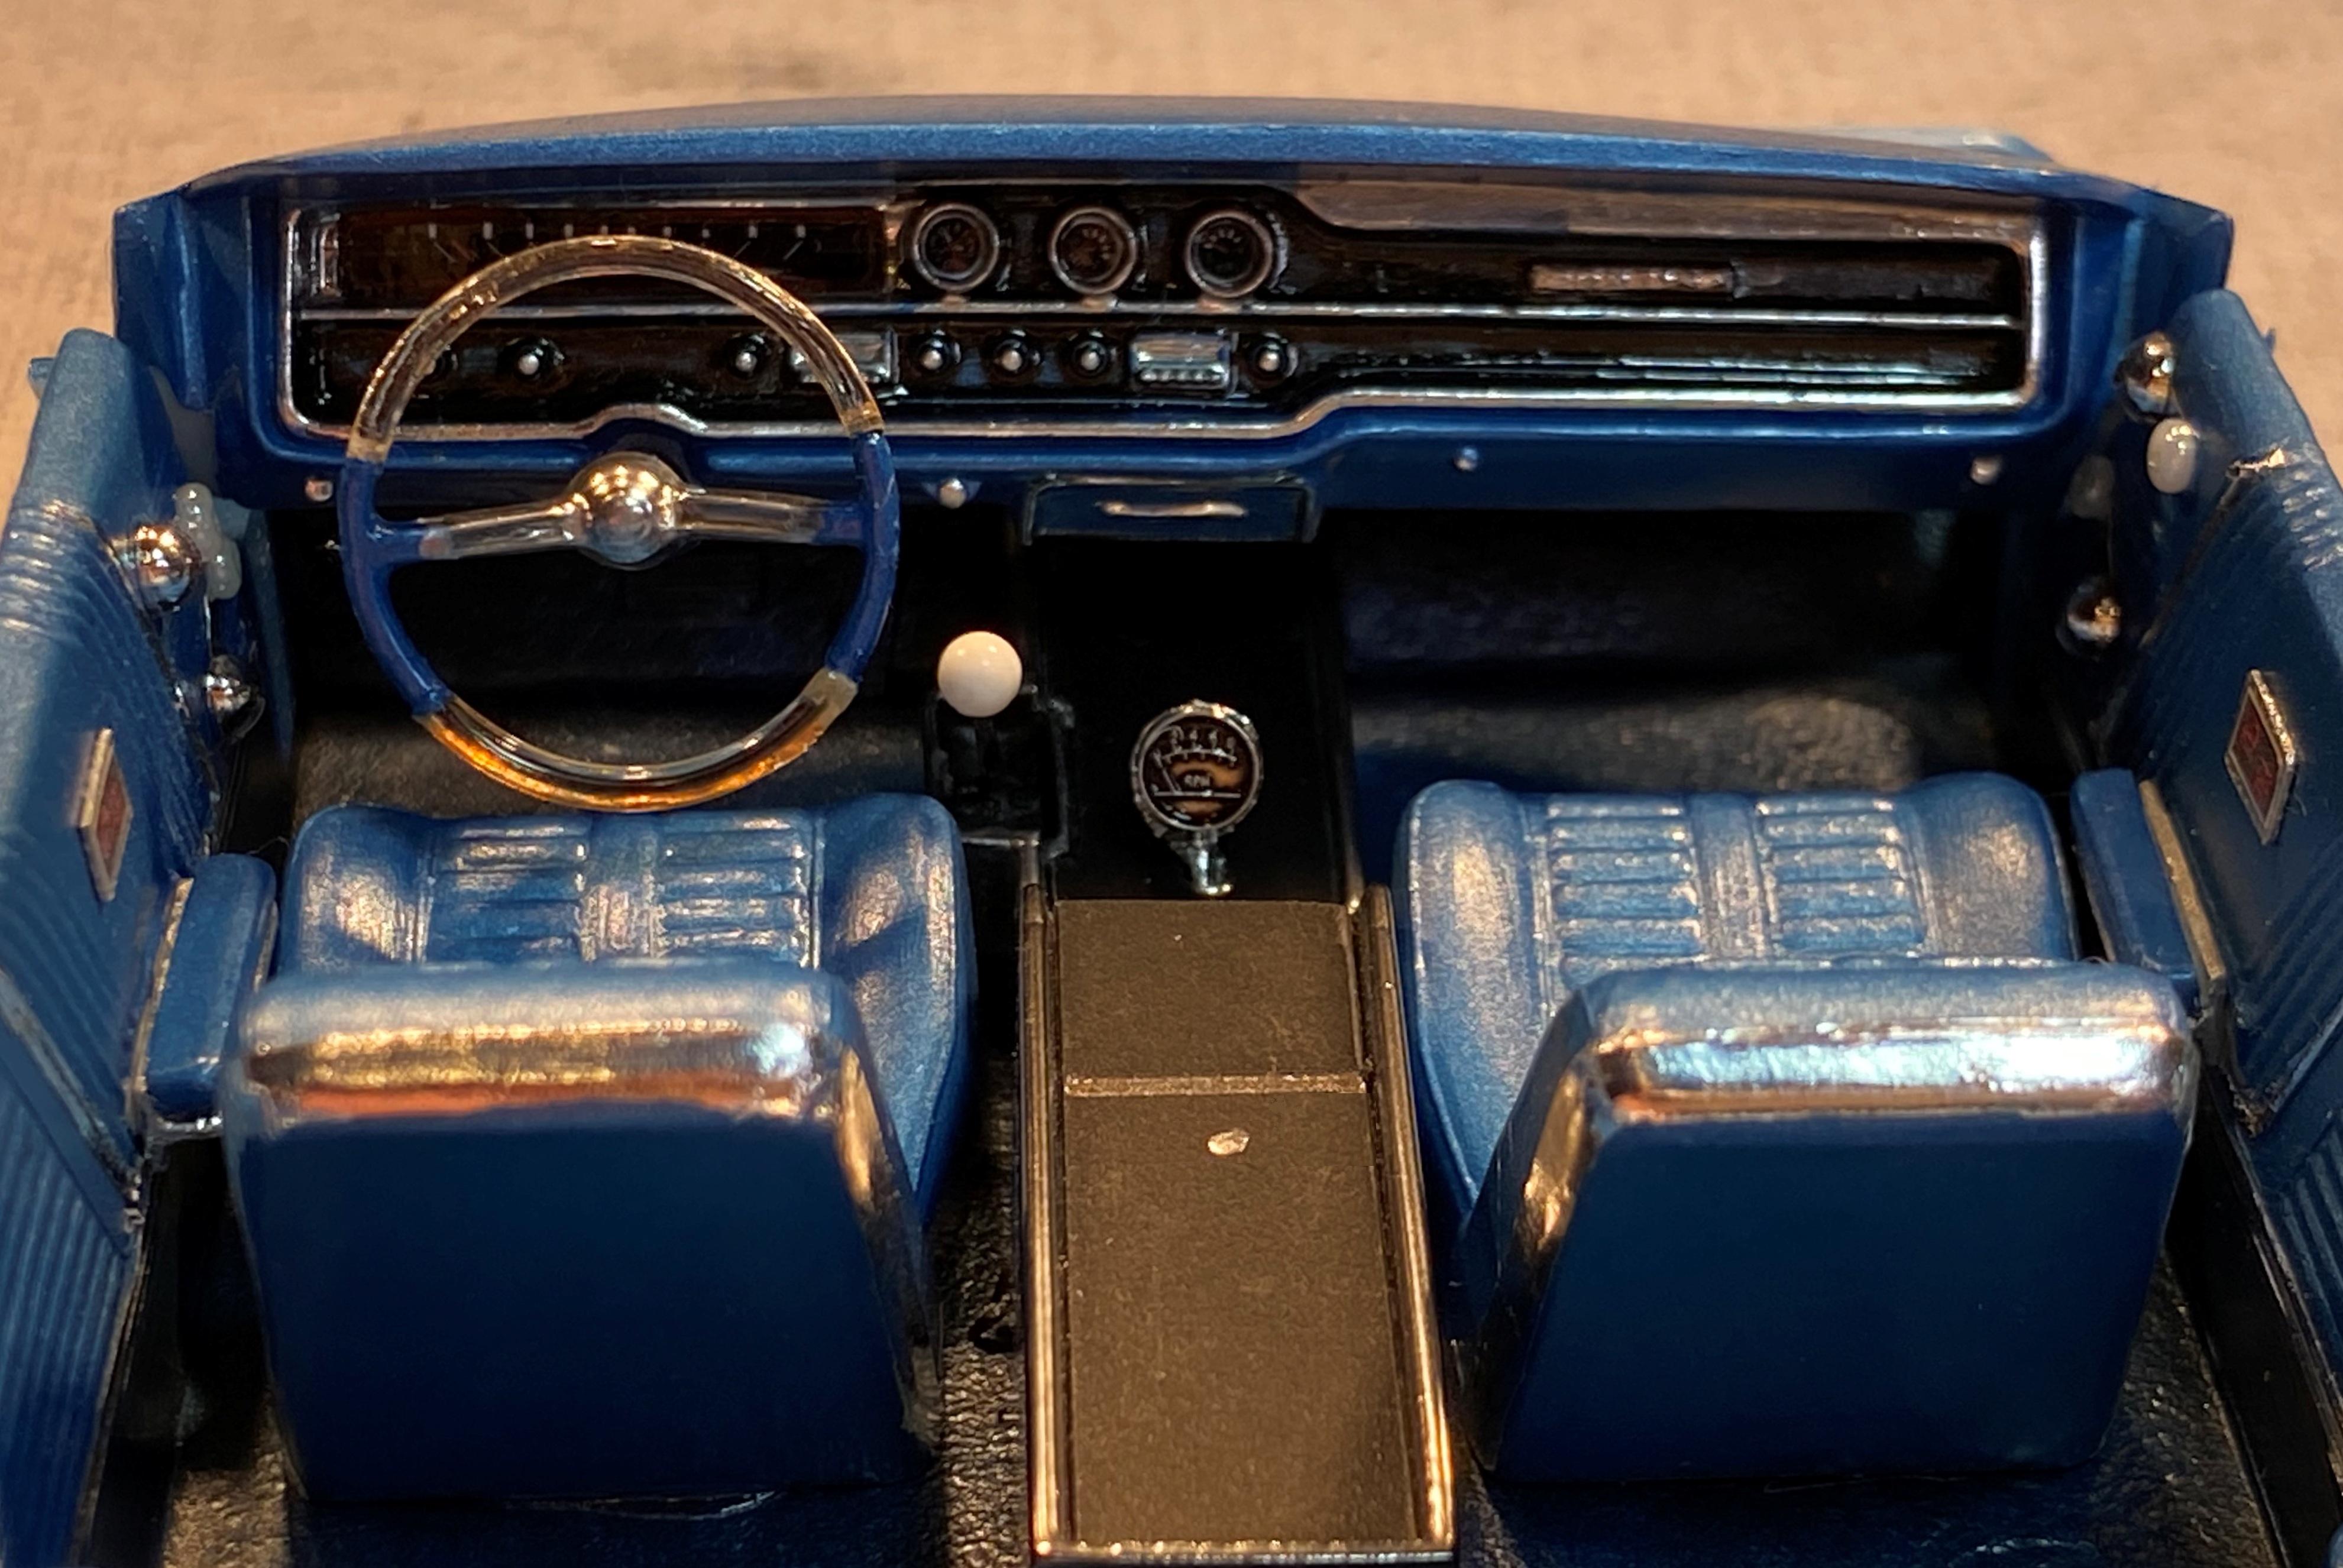
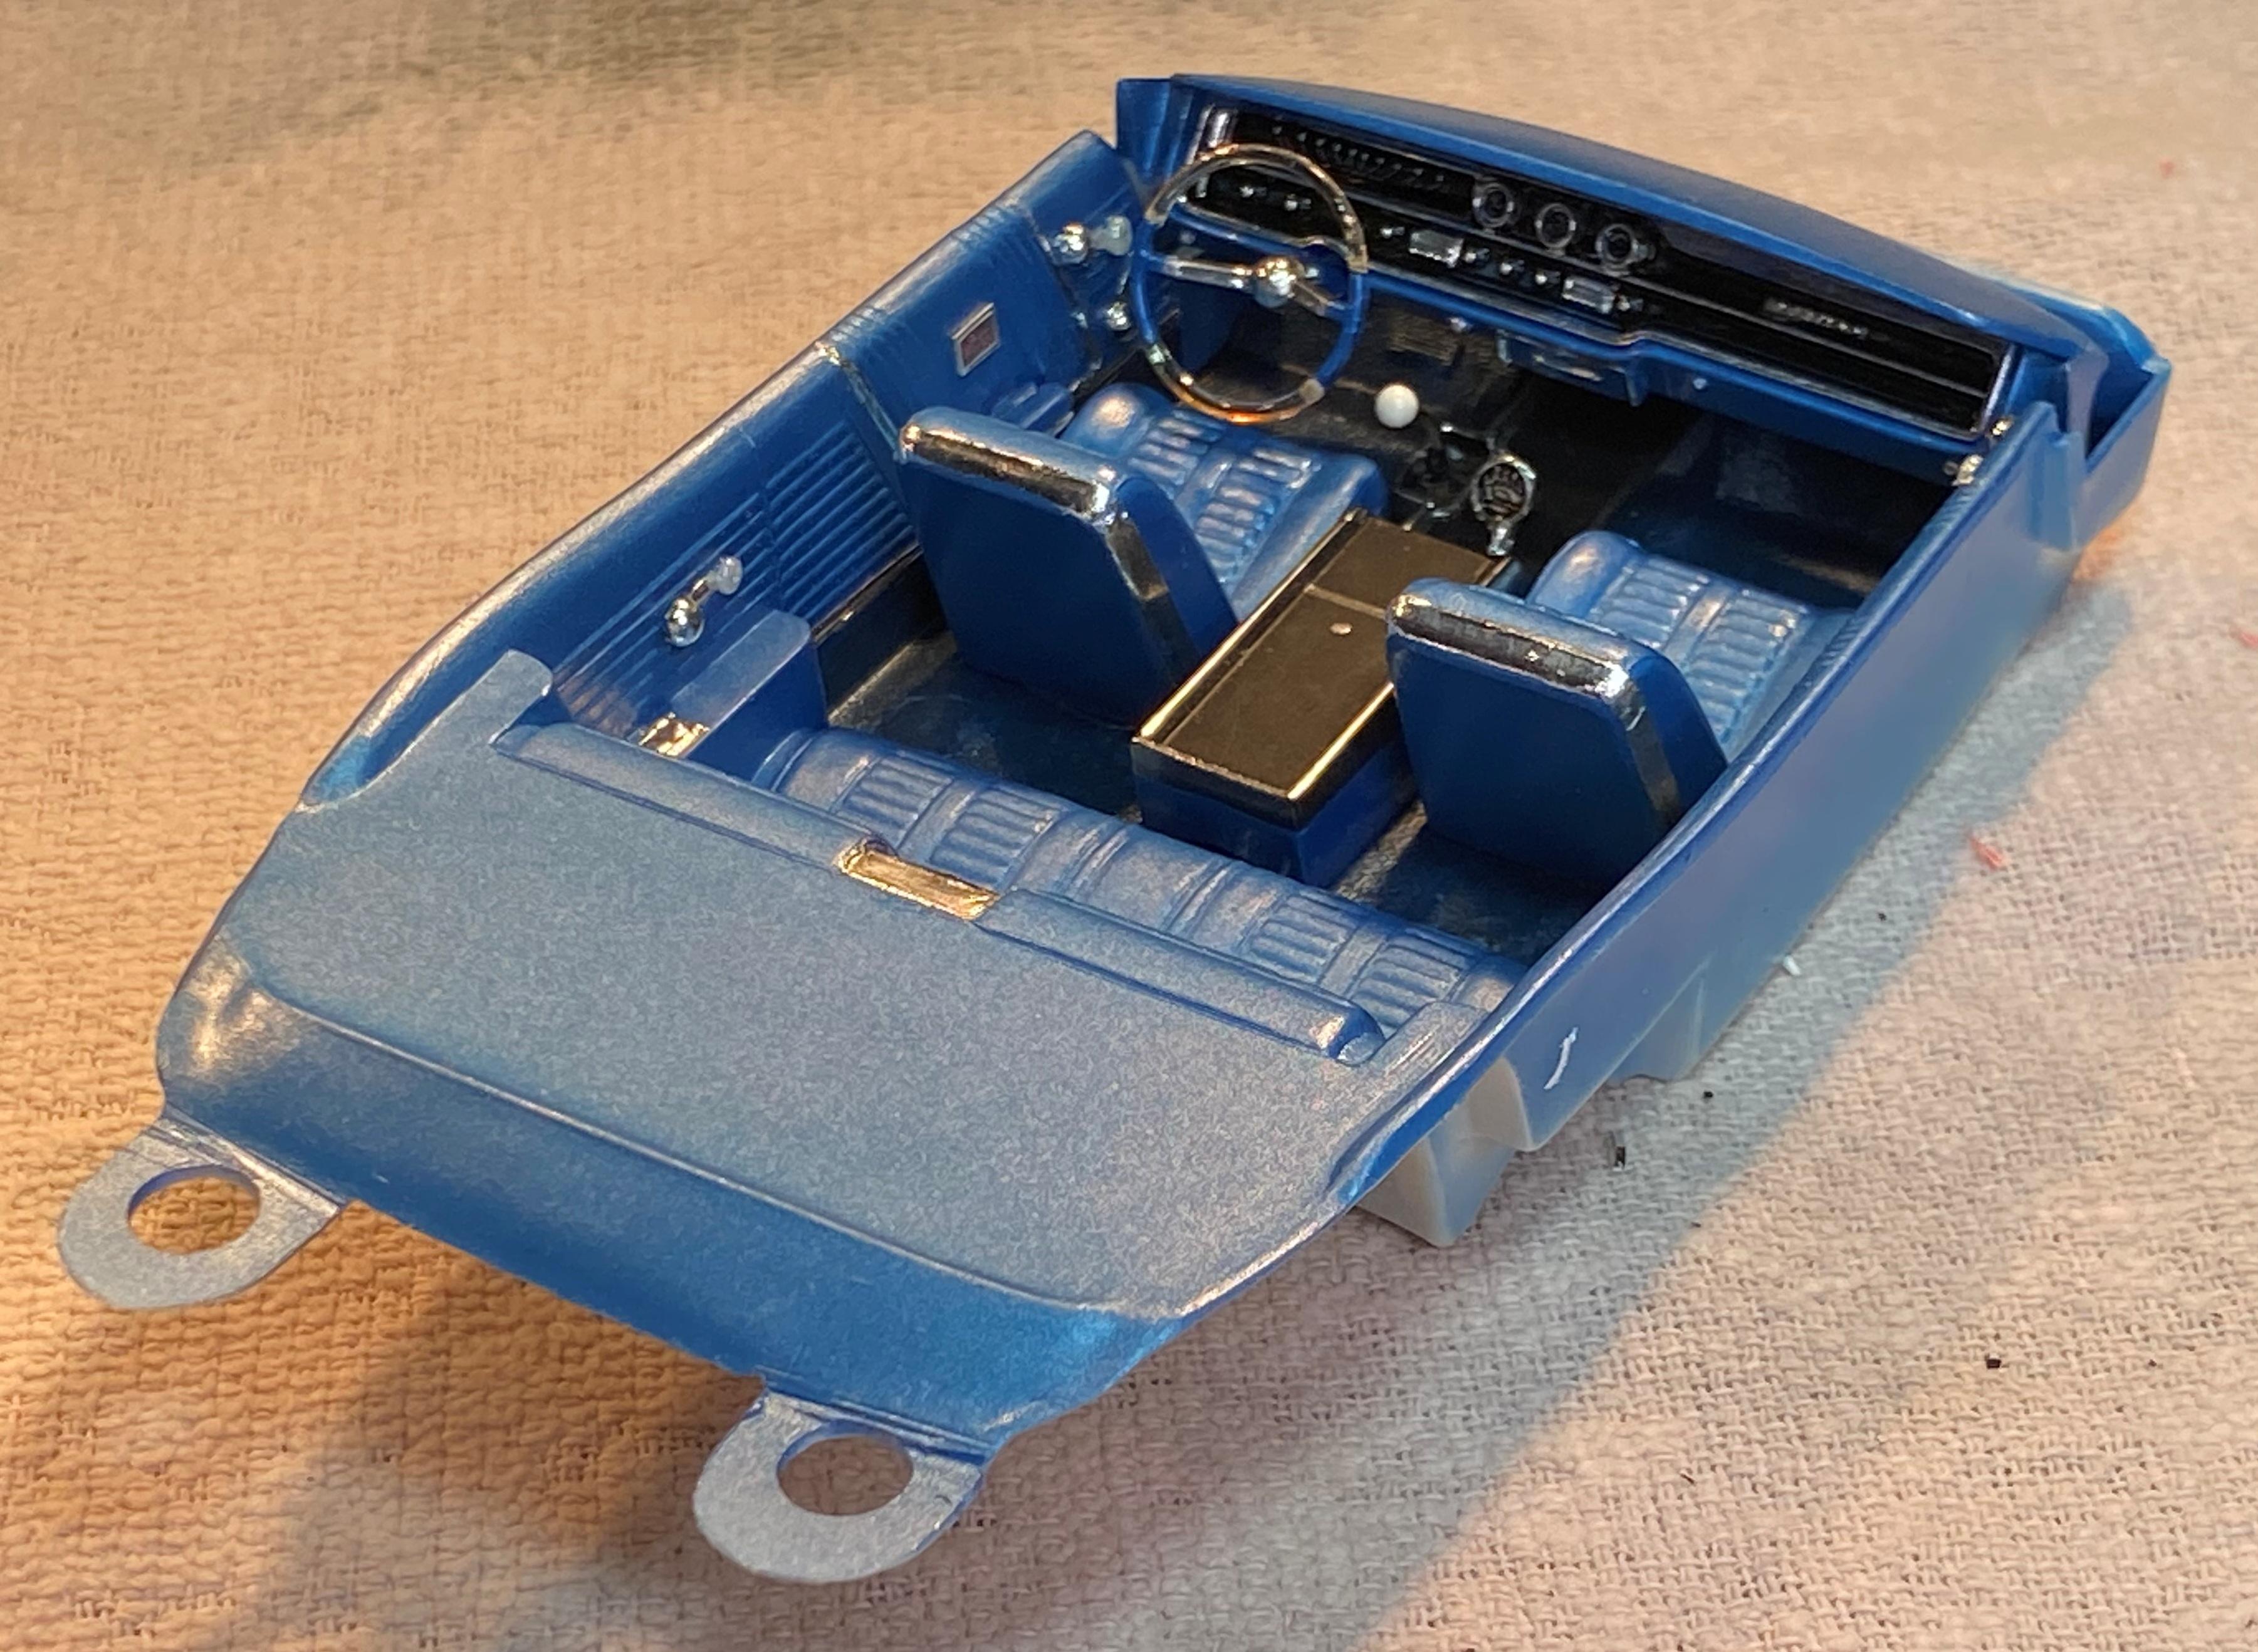
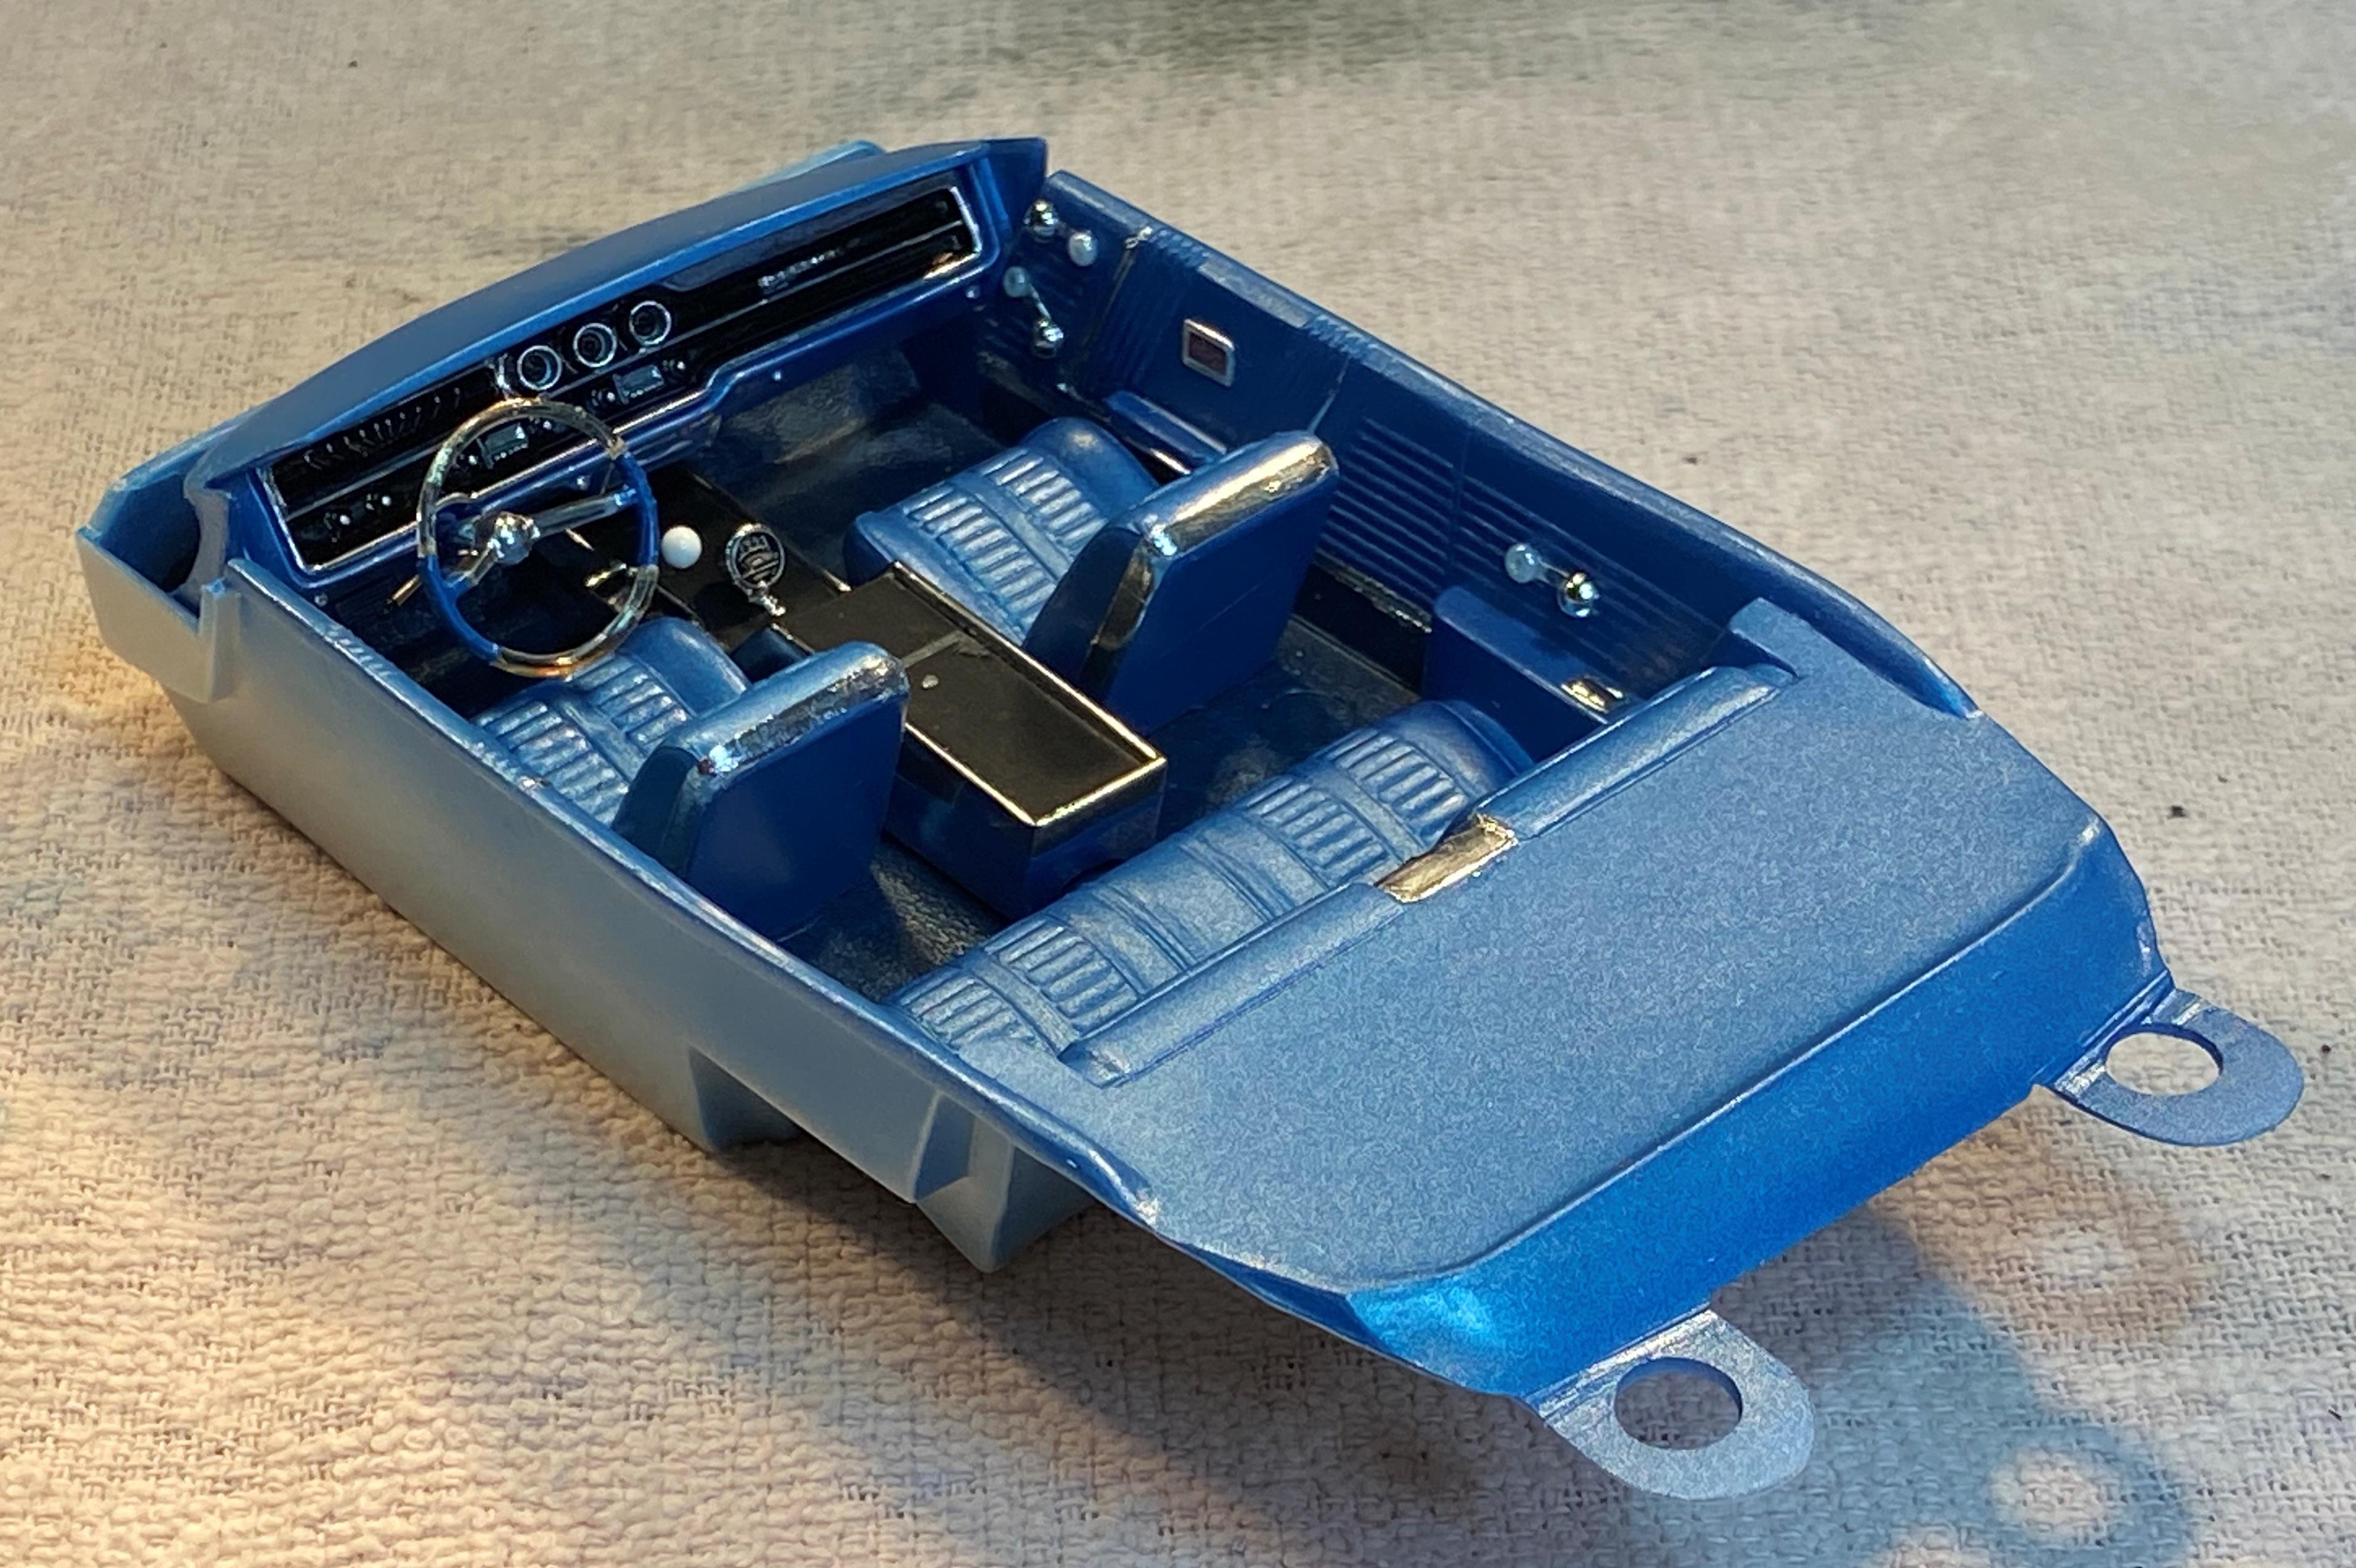
I have been plugging away on my batch build Pontiac interiors. I now have the 3rd one done. Since the 2+2 is a lower line car, the dash and console are blacked out instead of wood grain. I used the same method on the window cranks as the the Bonneville. The arm rests and console are scratch built. The gauges and speedometer are decals from the 65 Bonneville kit. The steering wheel is 5 parts and includes tinted clear portions and a turn signal stalk. I even made 2+2 emblem decals for the door panels.