Bills72sj
-
Posts
4,583 -
Joined
-
Last visited
Content Type
Profiles
Forums
Events
Gallery
Everything posted by Bills72sj
-
When I pulled up the page, there was a delay before the pics came up. Once it did, an involuntary "Wow" came out of my mouth. That color is eye popping. I love it!
-
Ditto, I hope and pray for a quick and full recovery. I love seeing the results of his Snakefu on a regular basis.
-
Very pretty 'Vette. That color looks like it would be a good option for a Brewster Green 73 Trans Am.
-
Nice job on the weathering. The driver must be pretty dang good to not have let his competitors dent up the bumpers or bodywork.
-
Beautiful color combo on your Nova. On your decals, put a drop of Dawn dish soap in your dish of warm decal water. It will let you slide them around quite awhile to obtain perfect alignment.
-
Nice collection of Chargers. Well done.
-
Very nice indeed!
-
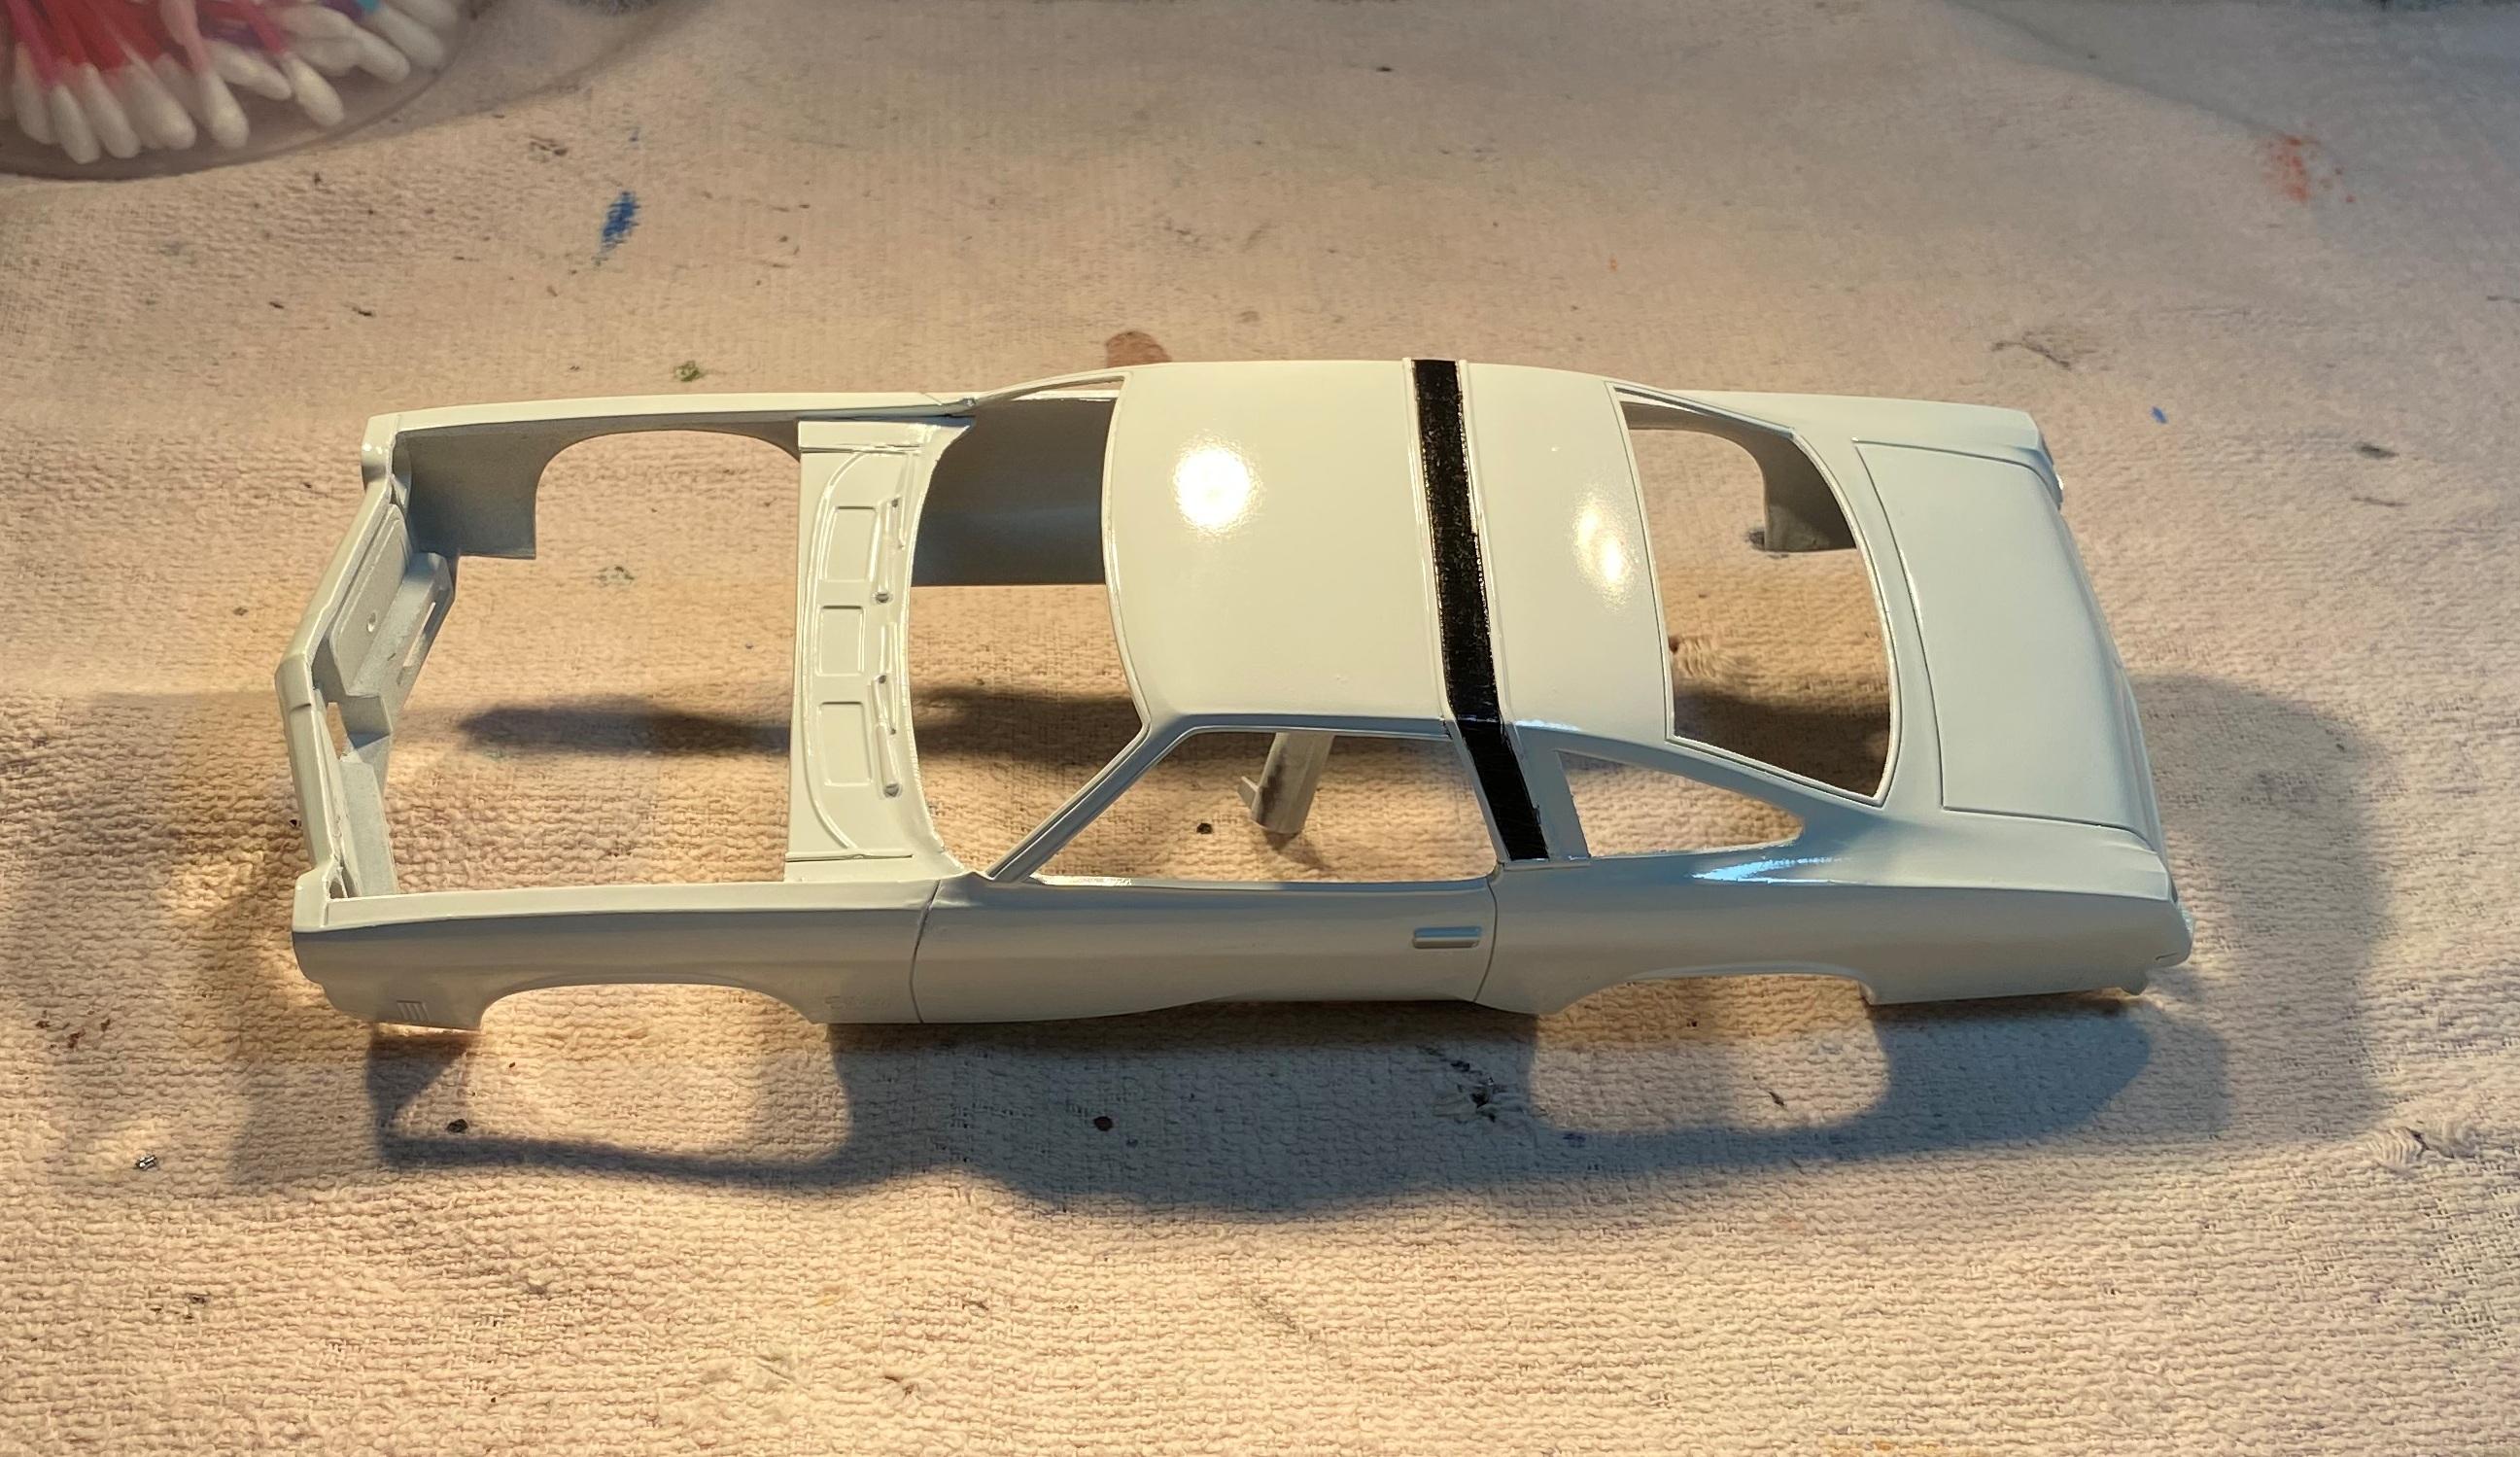
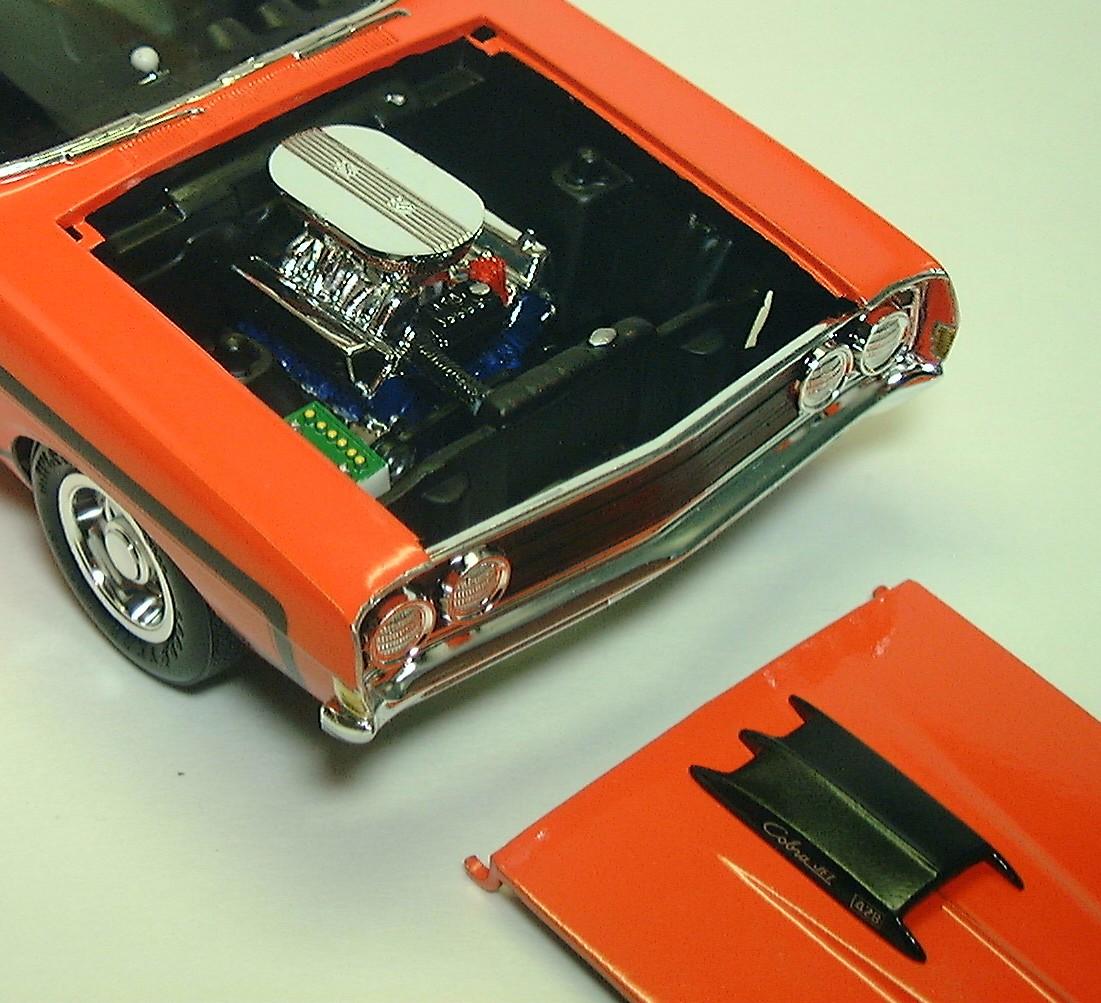
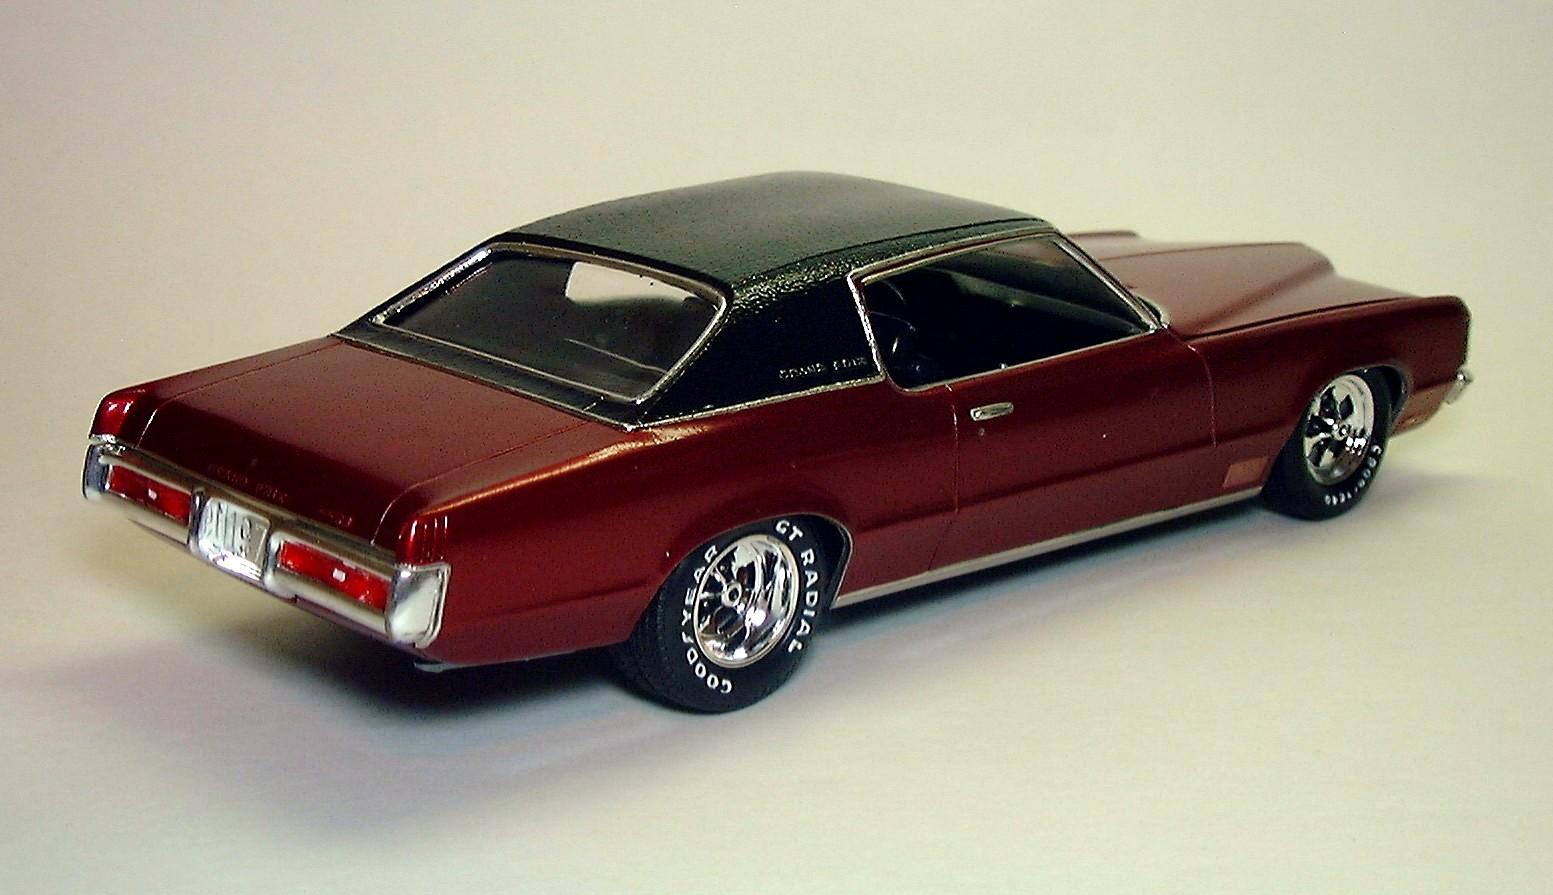
Got all the body mods done and painted in decanted Testors white enamel awhile back. Masked and painted the landau bar. Looks much better than just a decal would. Next step BMF.

-
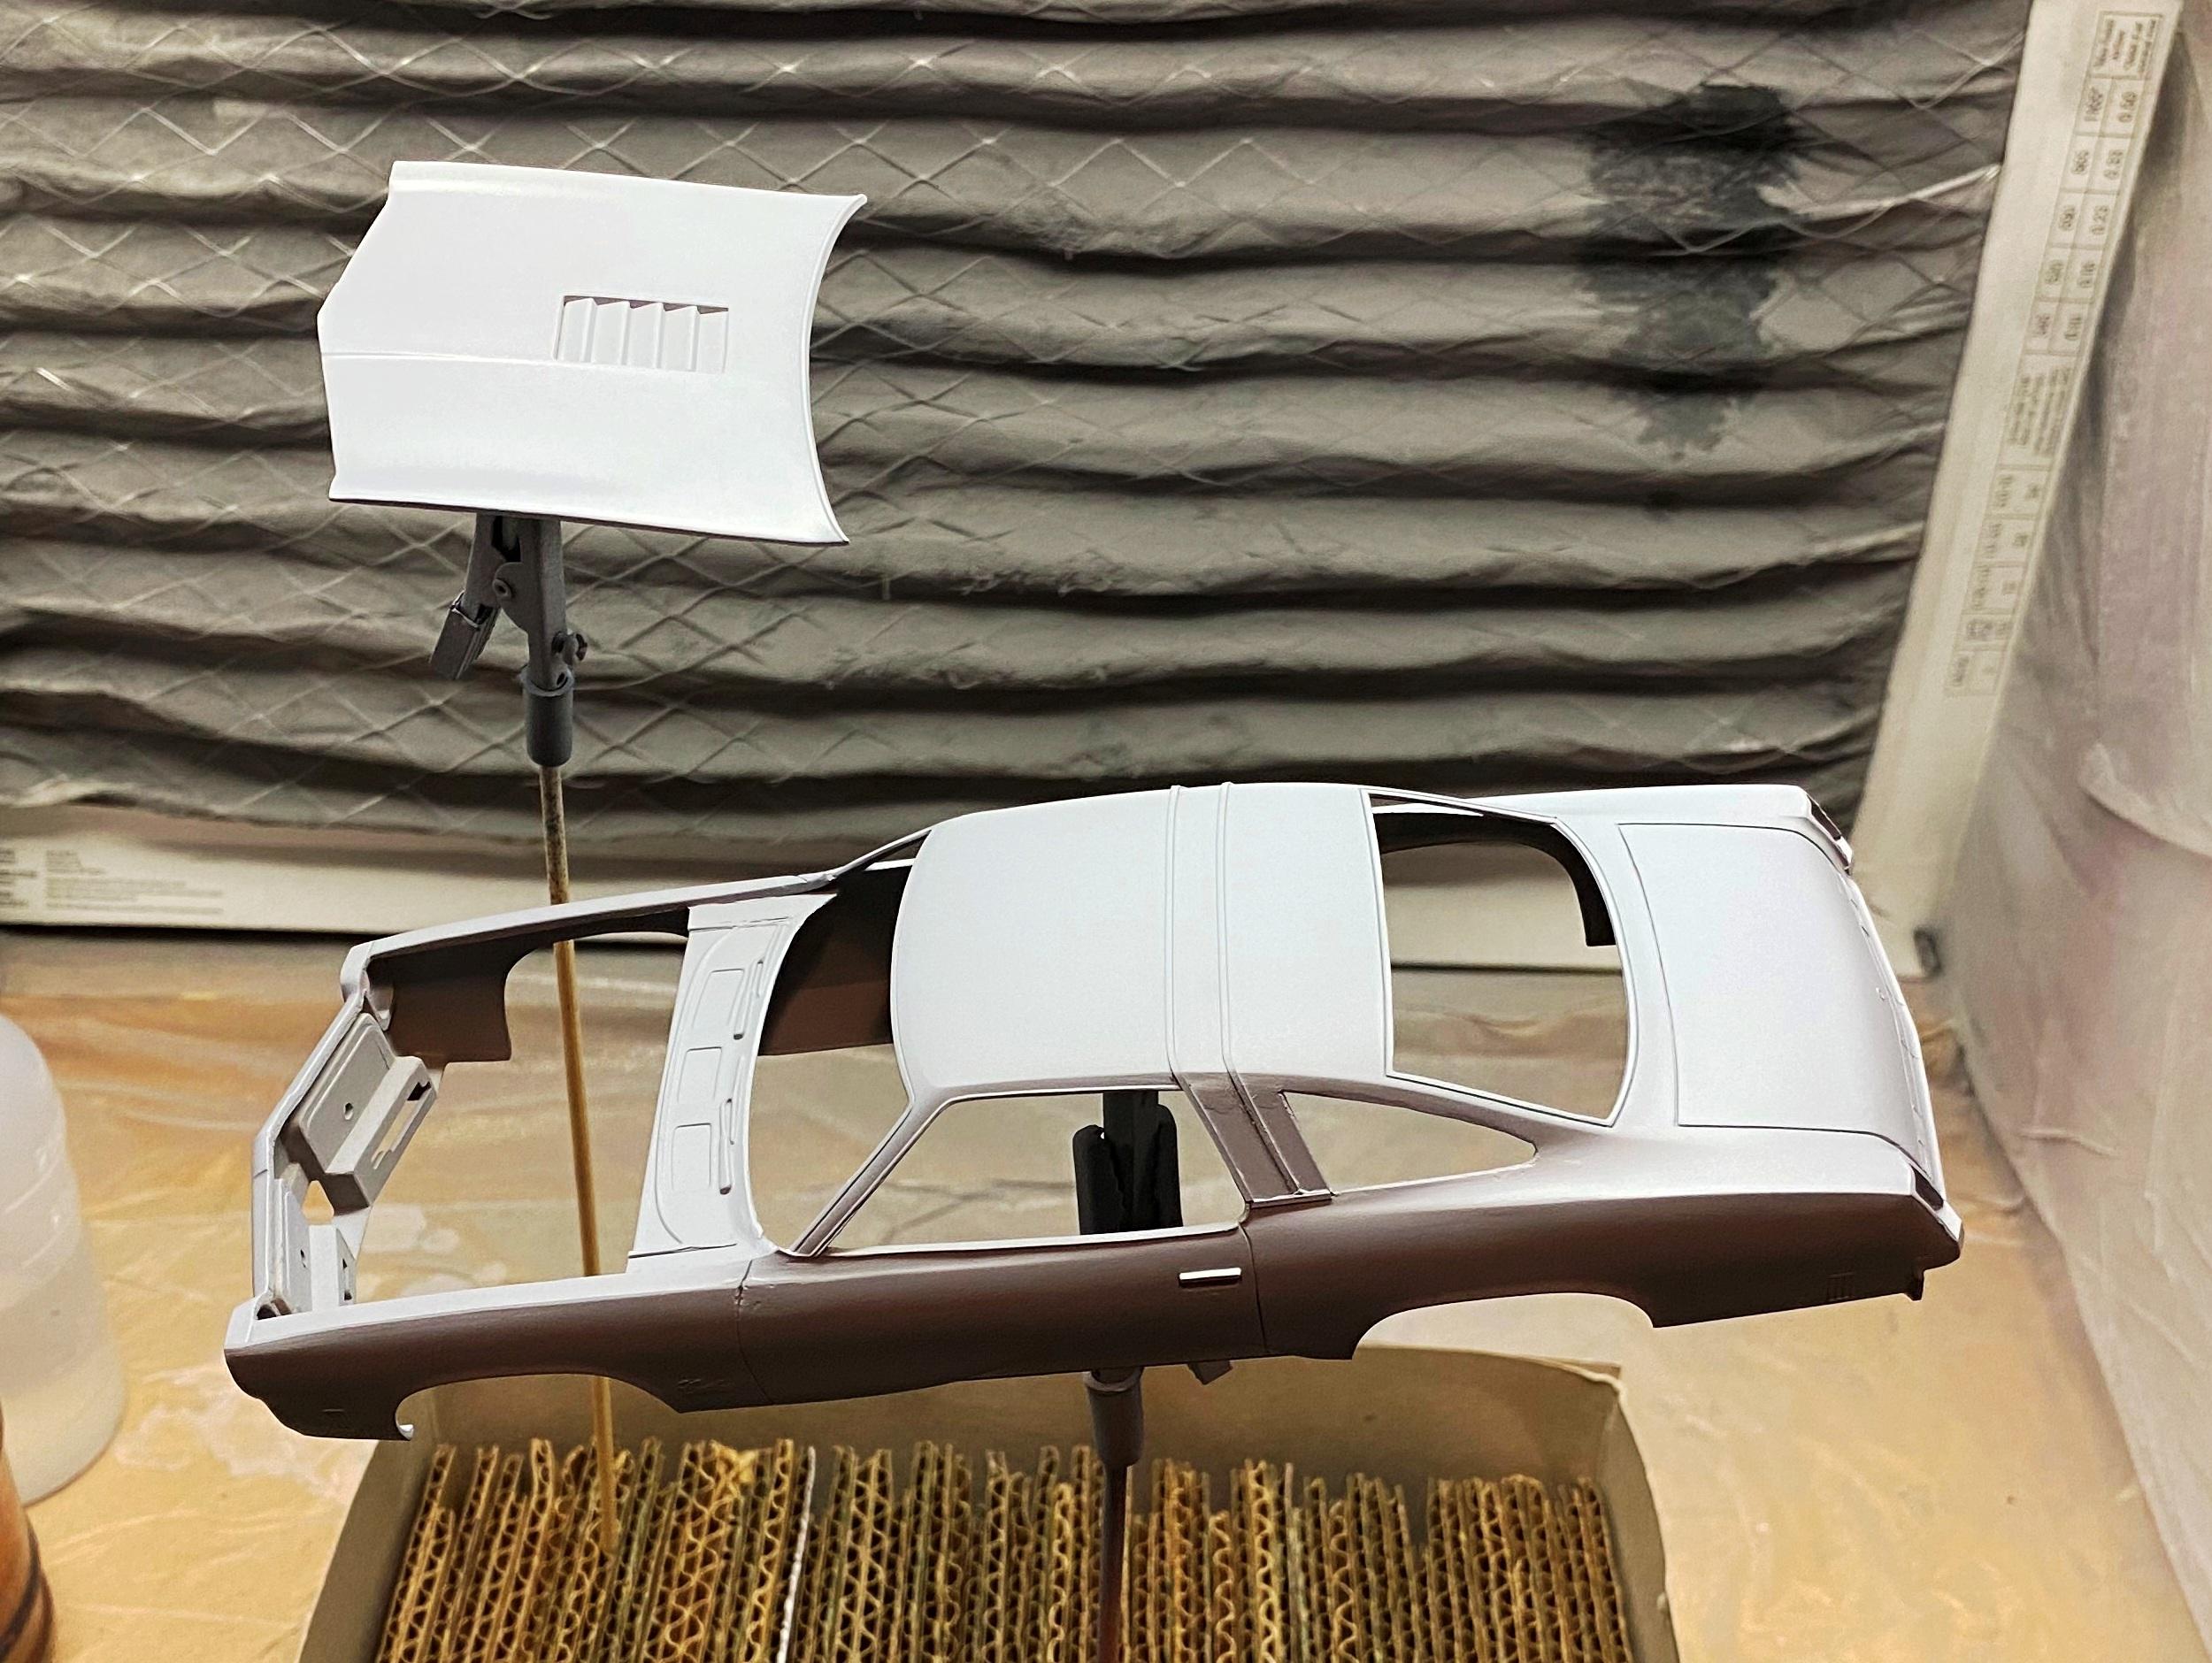
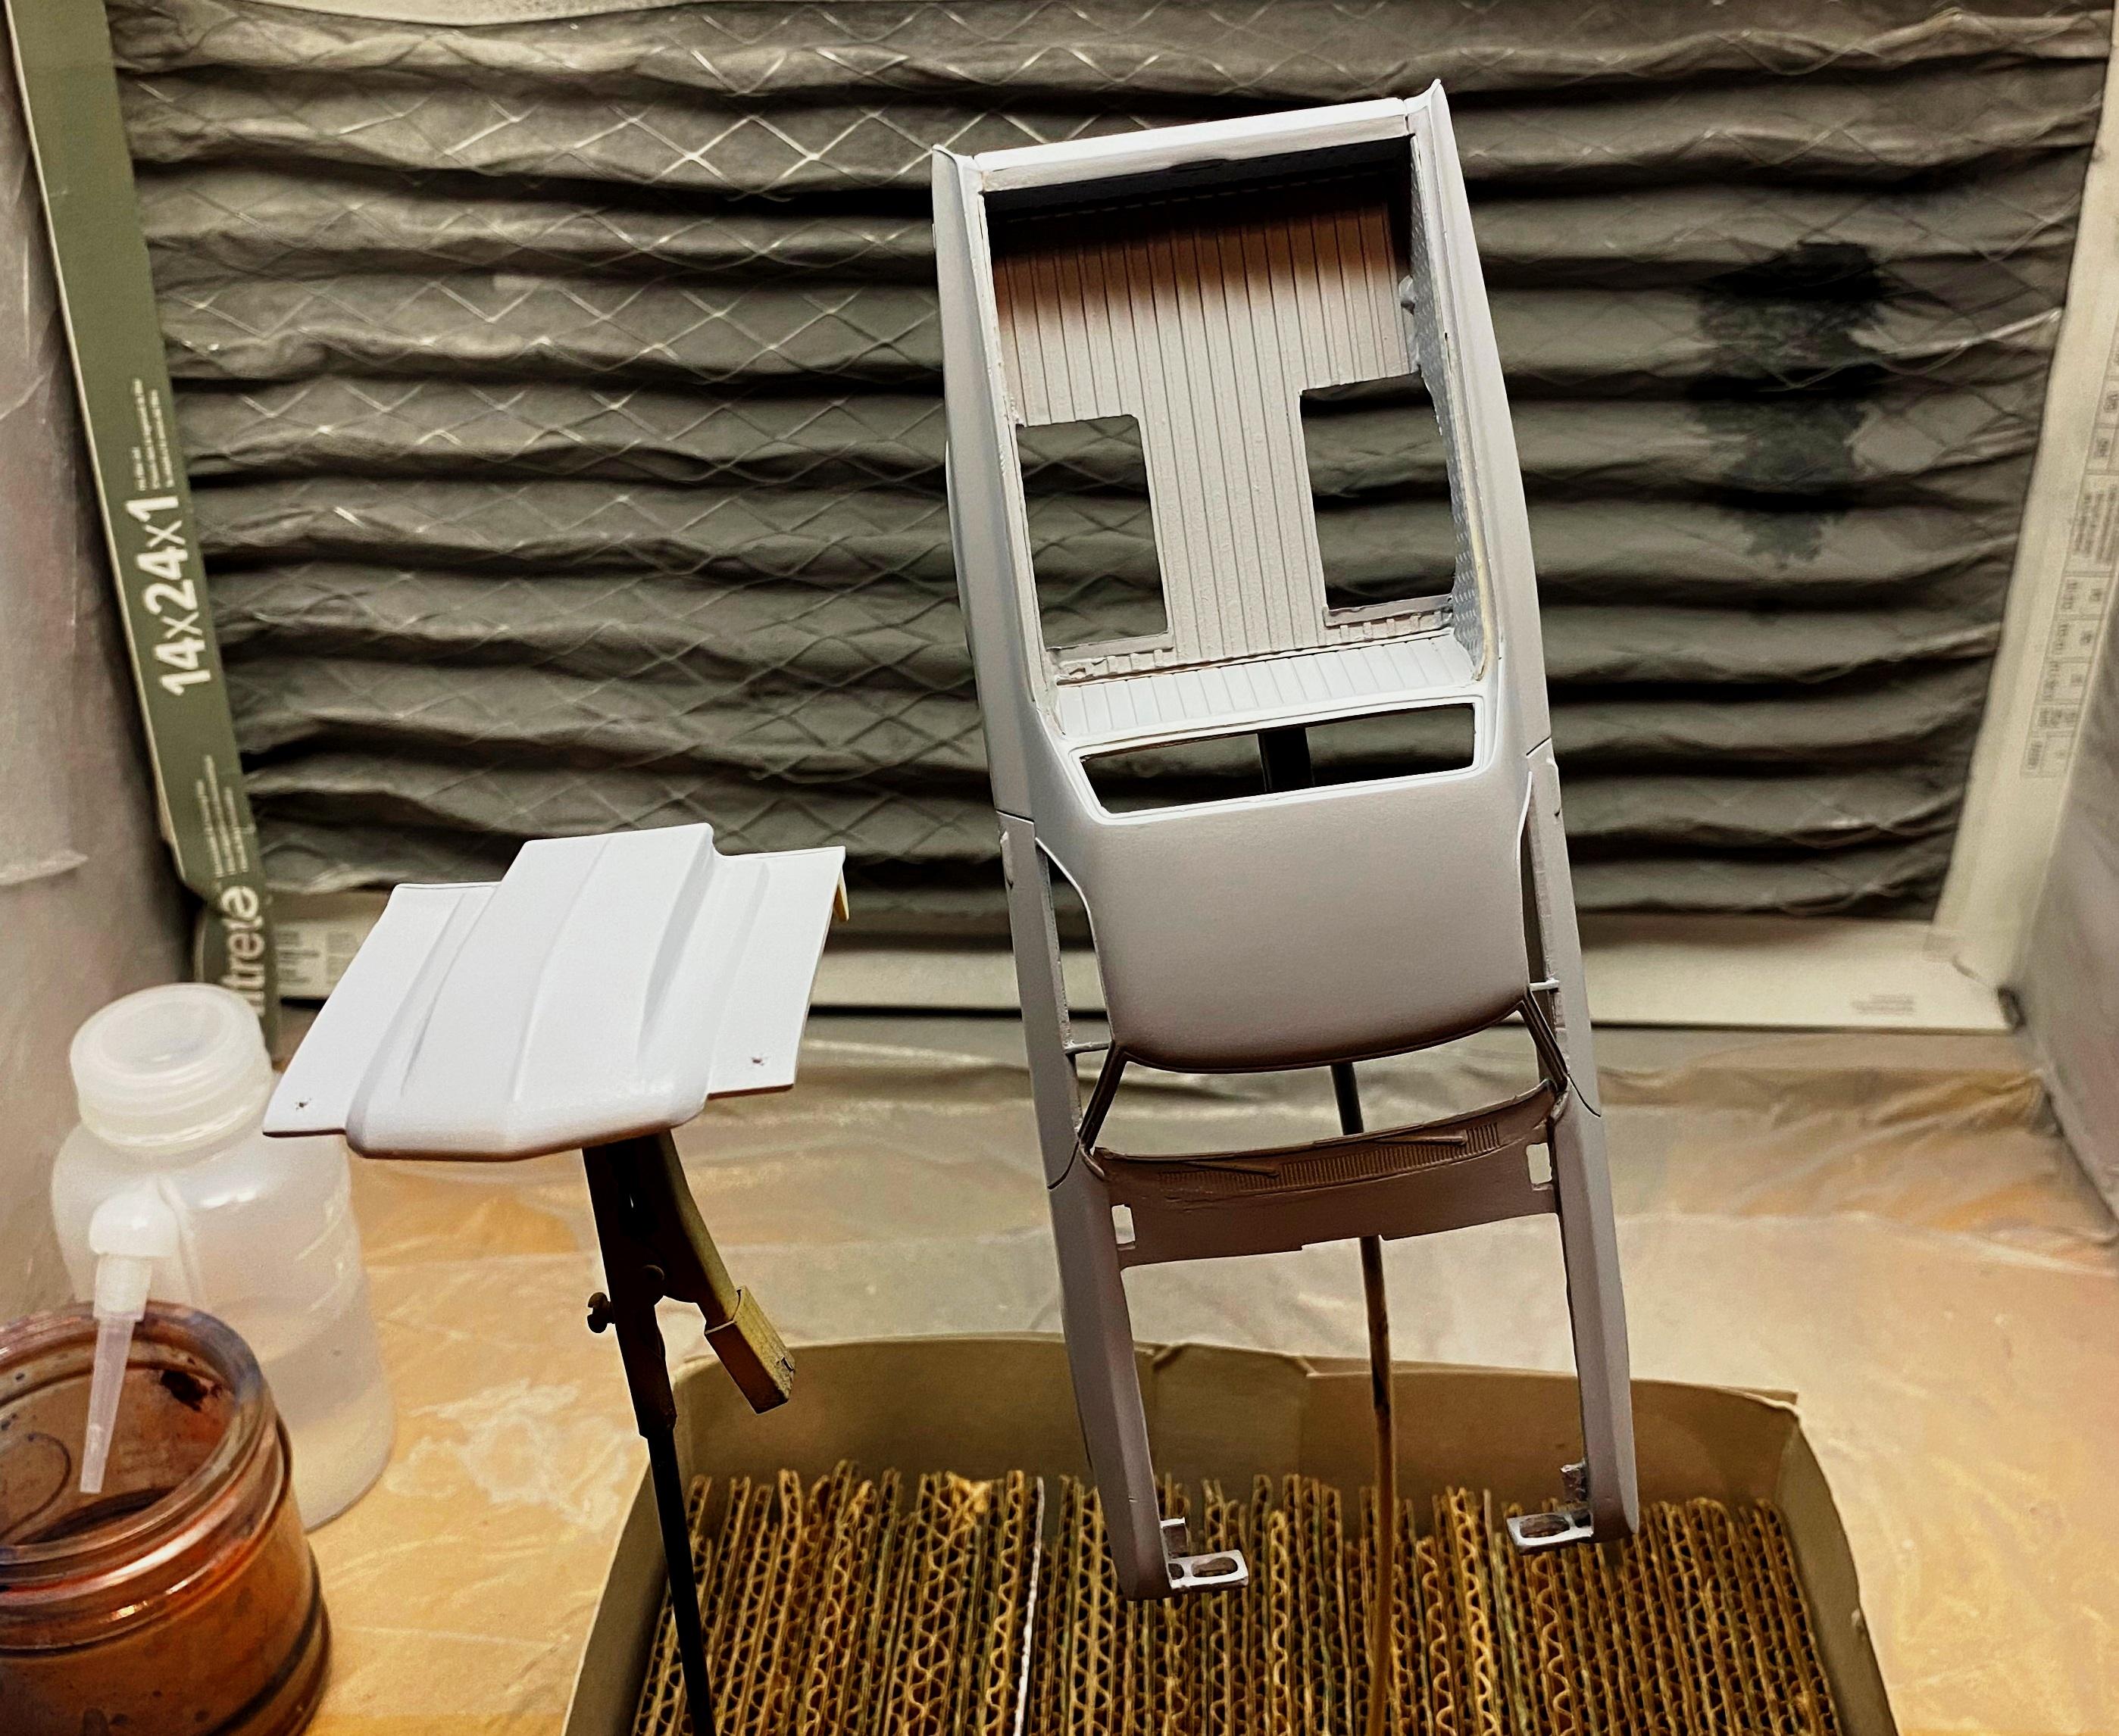
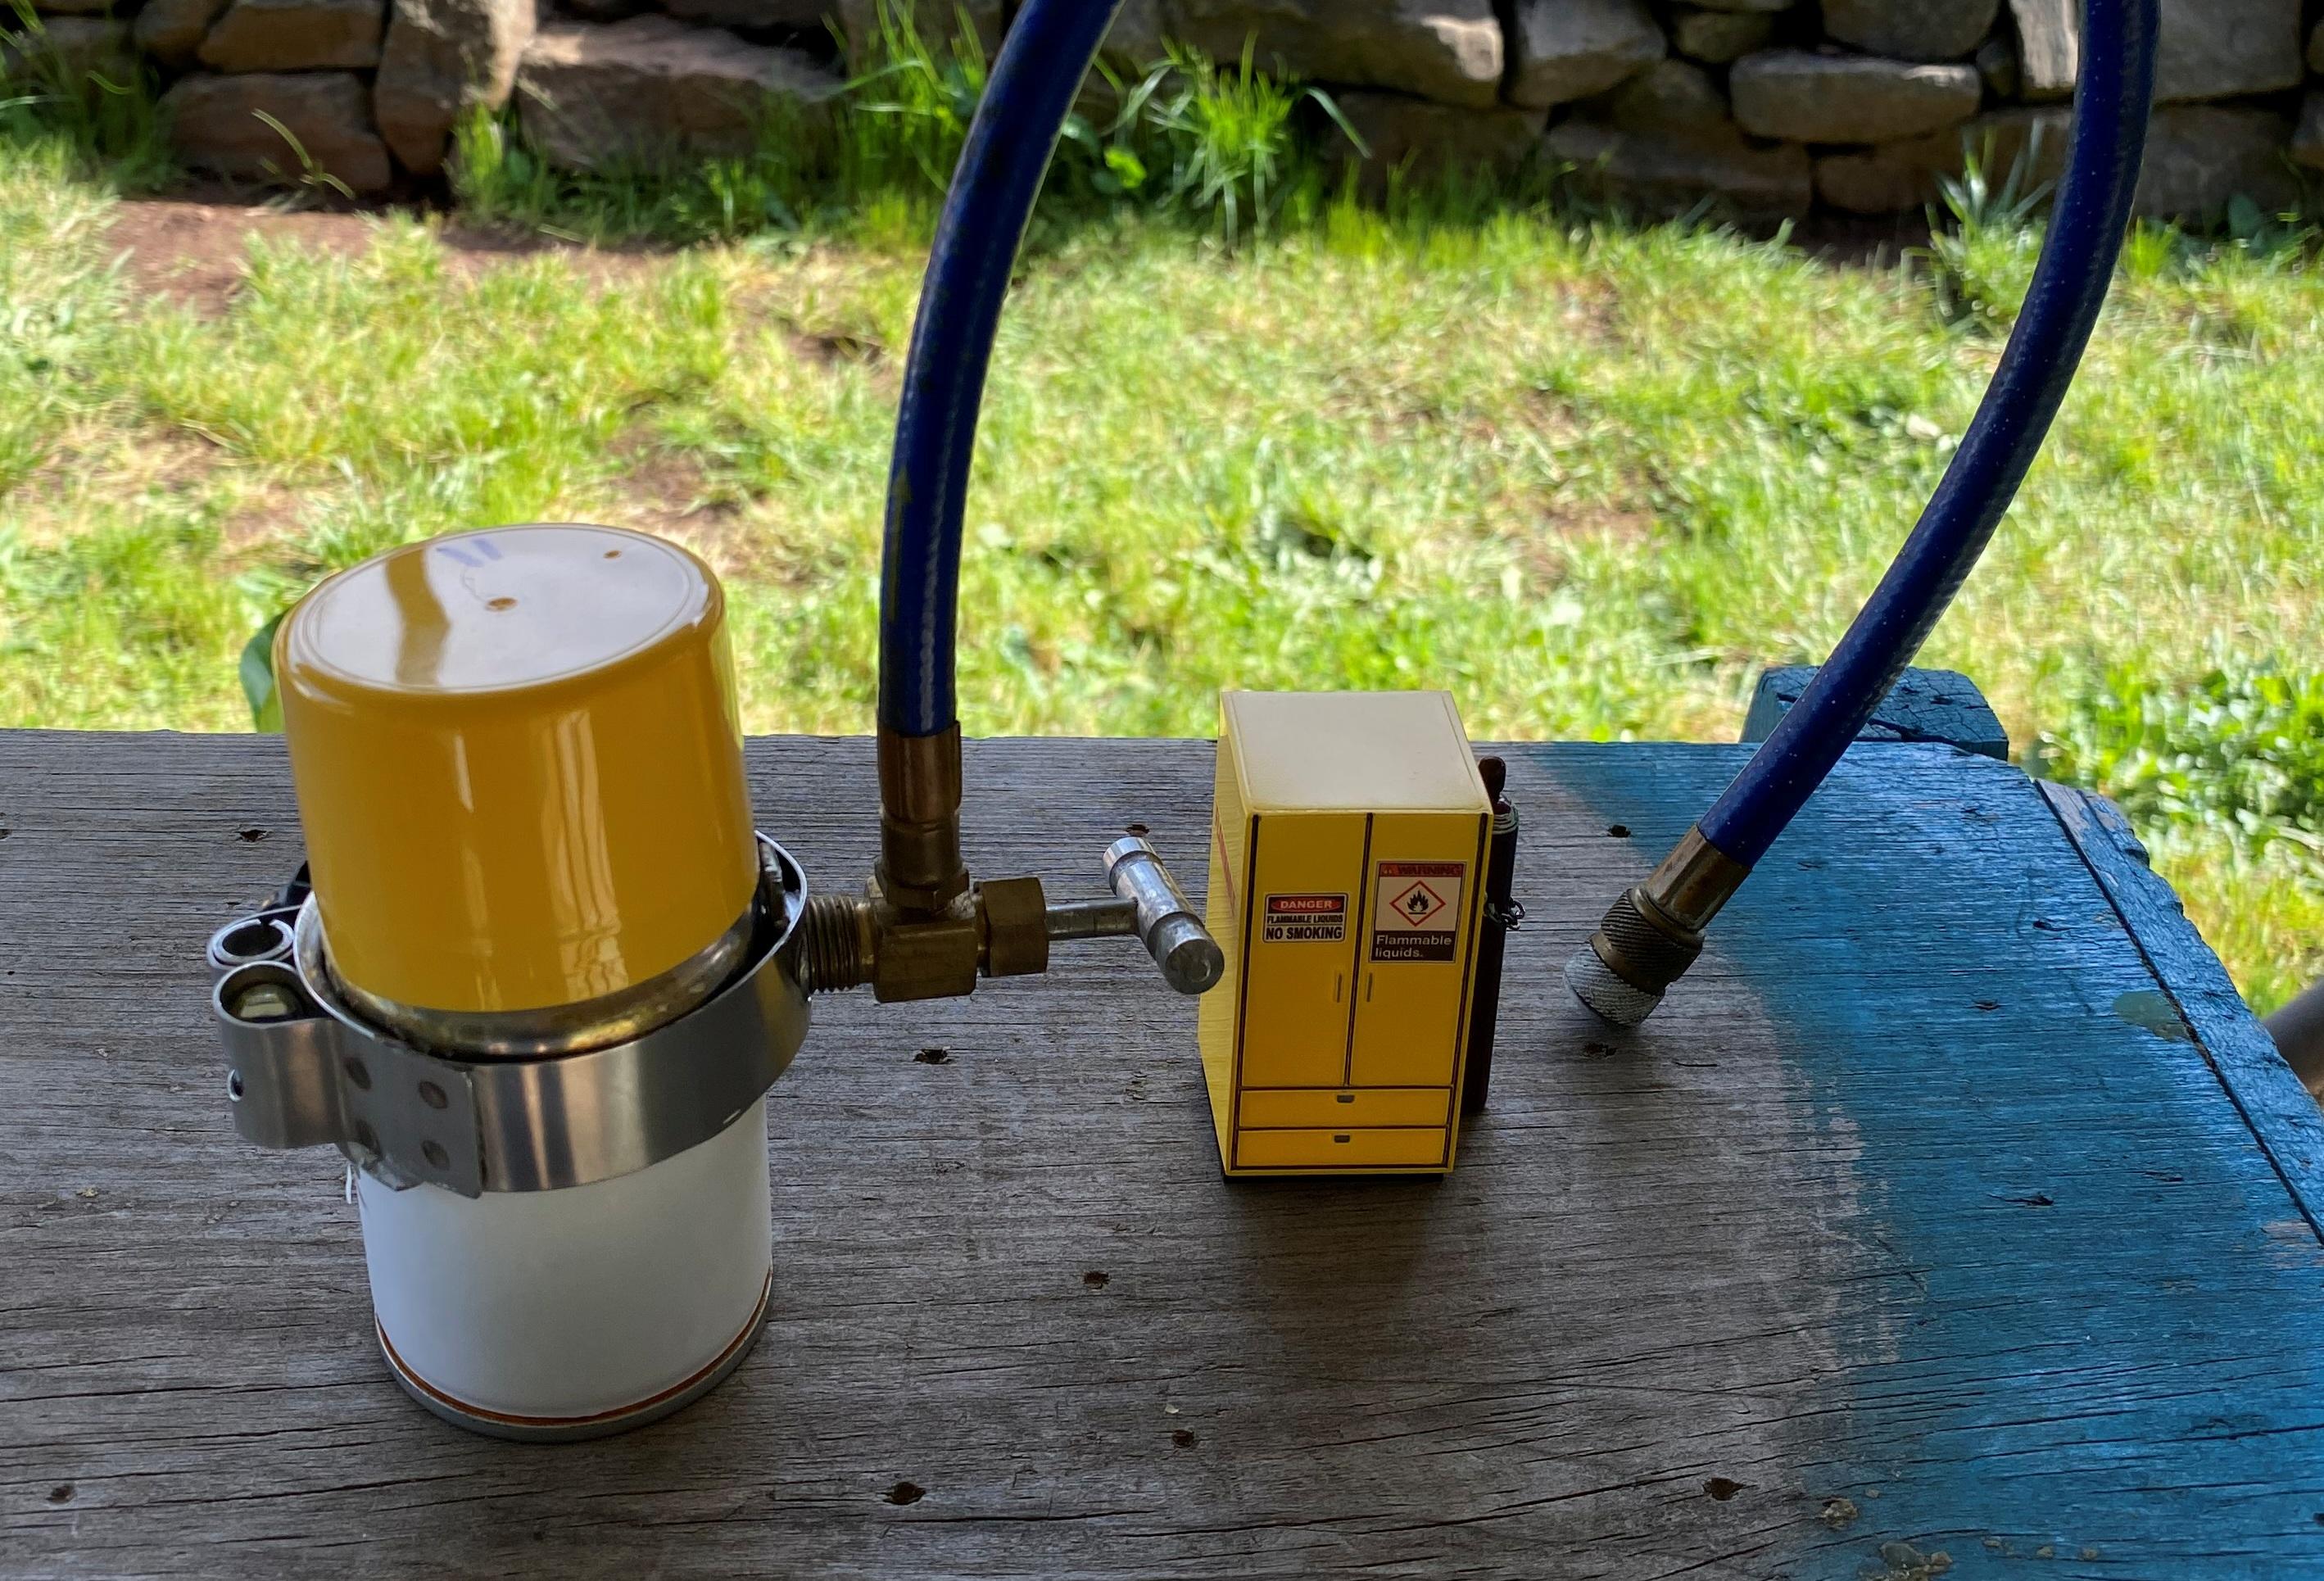
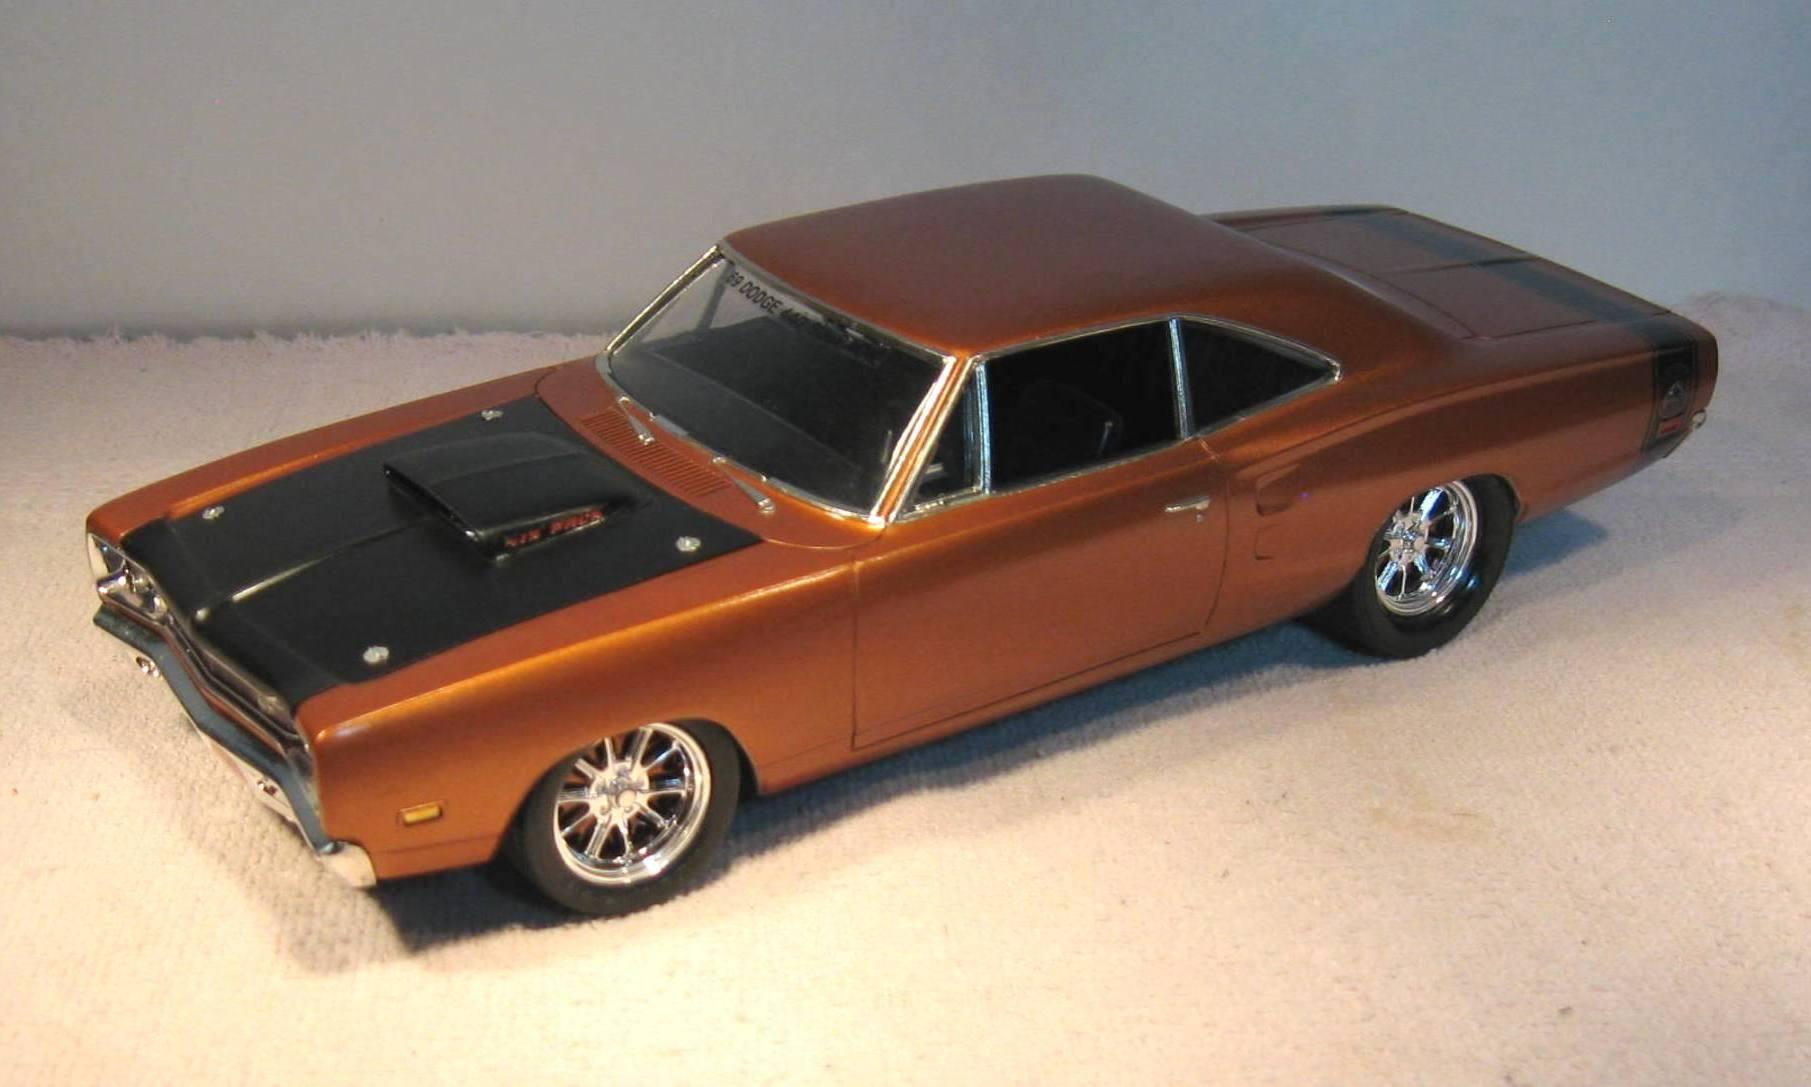
Did enough bodywork to finally call the primer done. Just set up my decanter rig to vent my choice of yellow paint. I will need to wait for lower humidity before I paint it.
-
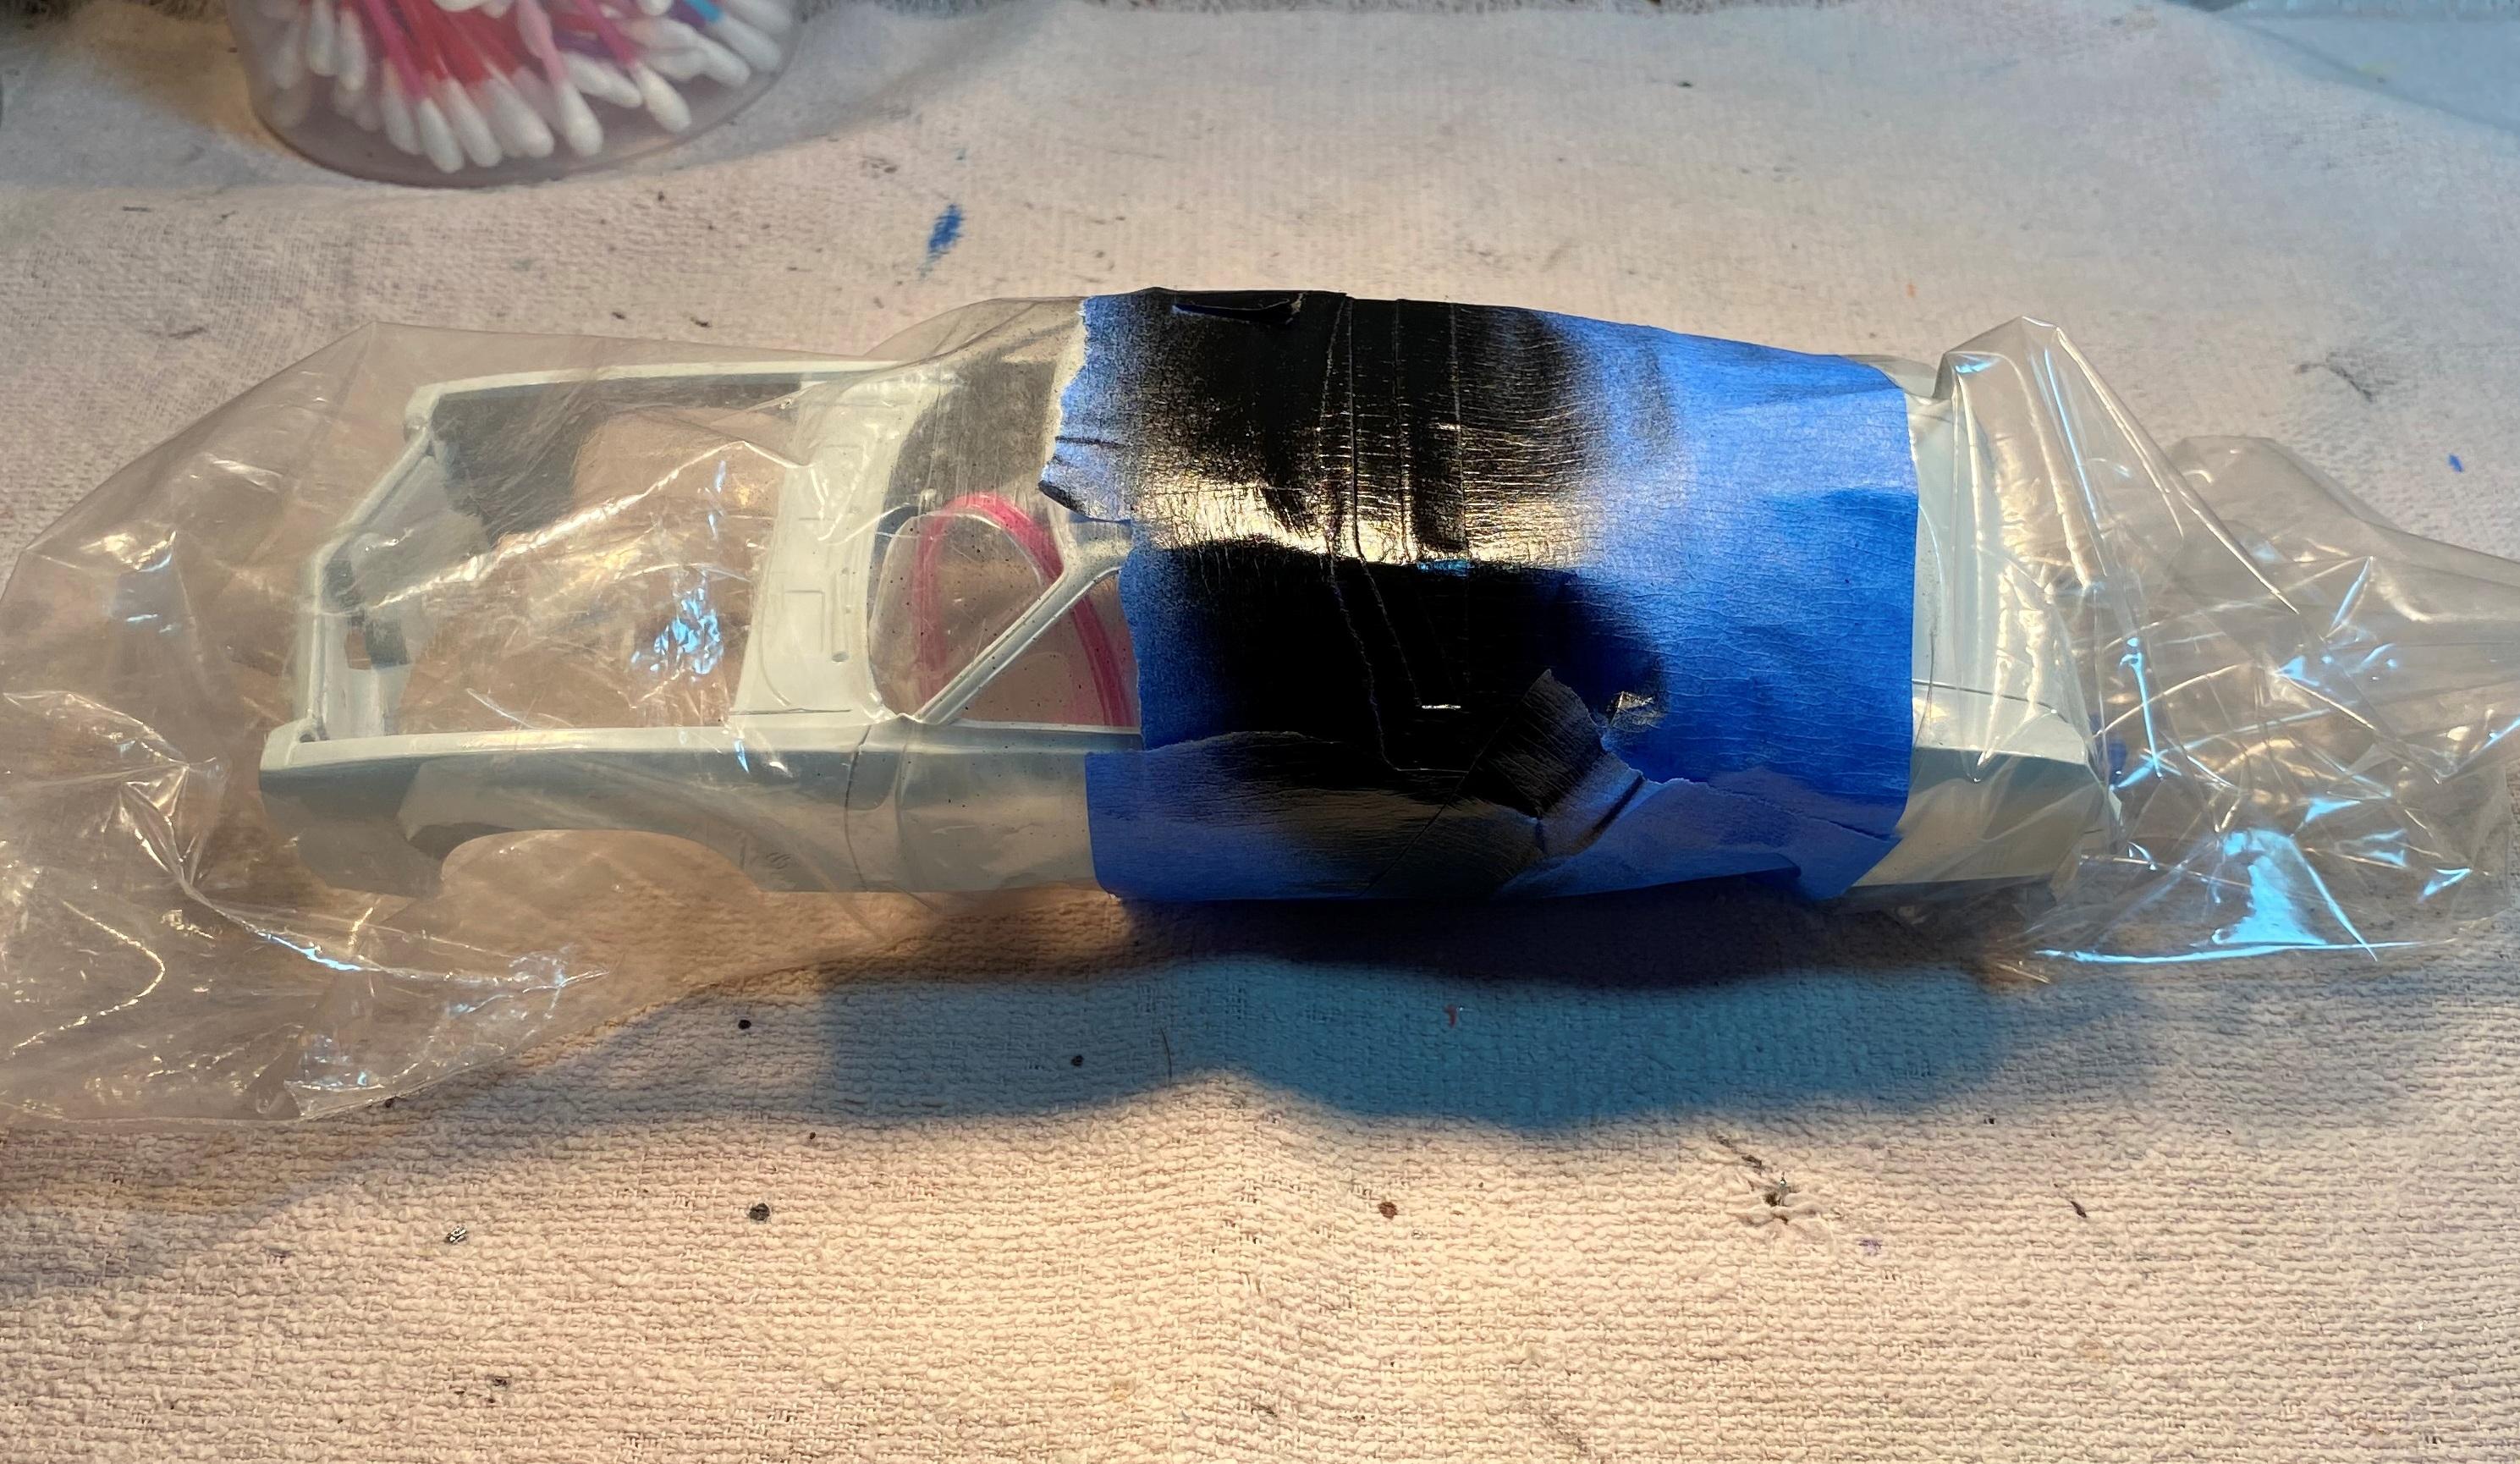
On to paint. I thinned the dark blue paint I decanted over a year ago 50/50 with lacquer thinner. At first, I was going horribly! It sprayed out very rough and looked like it was crazing the white enamel underneath. I was starting to get frustrated with what looked like another paint failure. After I ran out of paint in the cup, I added less thinner. On the 3rd batch I was down to 75/25%. I said "the heck with it" and laid it on really heavy while avoiding runs. Surprisingly, it started to level out and gloss. I got some dust in the hood and some lint on the roof but it looks doubtful I will have to repaint. (Though I have not removed the masking yet). The color blue in the pics looks a little more vibrant than the real thing because of the fluorescent lighting in my paint booth. I think I am finally over the hump with this one.
-
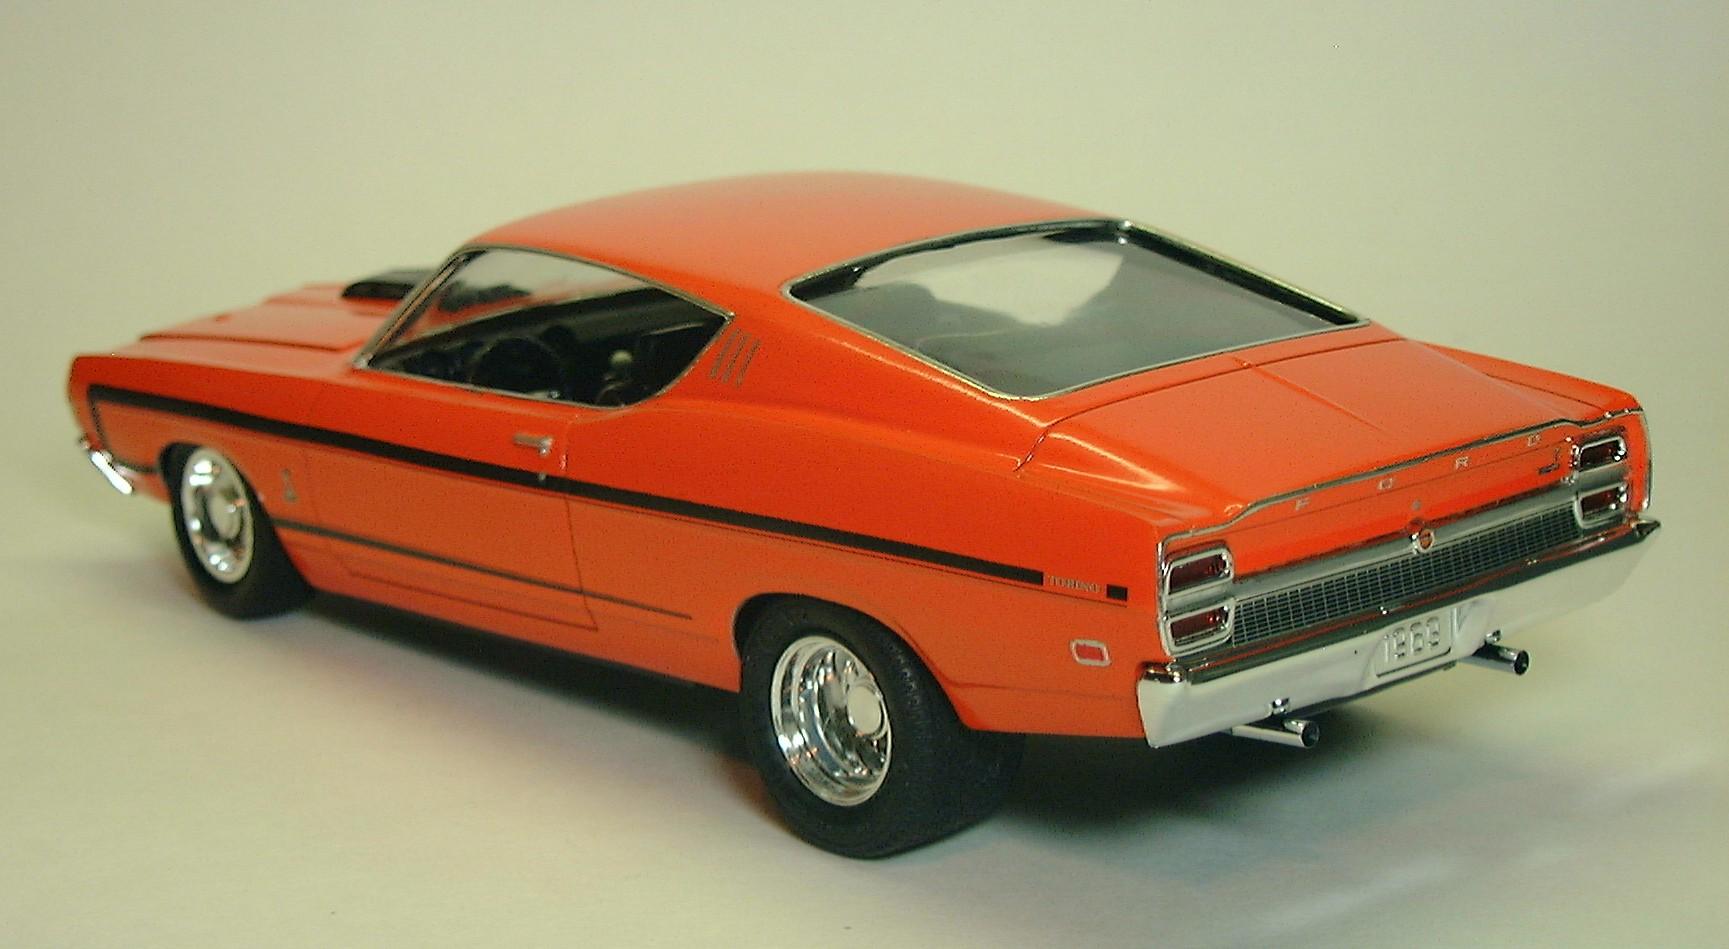
Nice subtle stripe job. I built one of these years ago to replicate my neighbor's Torino fastback when I was in Jr High. I managed to get the two 4bbls under the hood.
-
I was in the Navy in the 80's. I got to visit 6 or 7 times. Usually Pearl Harbor. Maui once. Nice place to visit. Could not afford to live there.
-
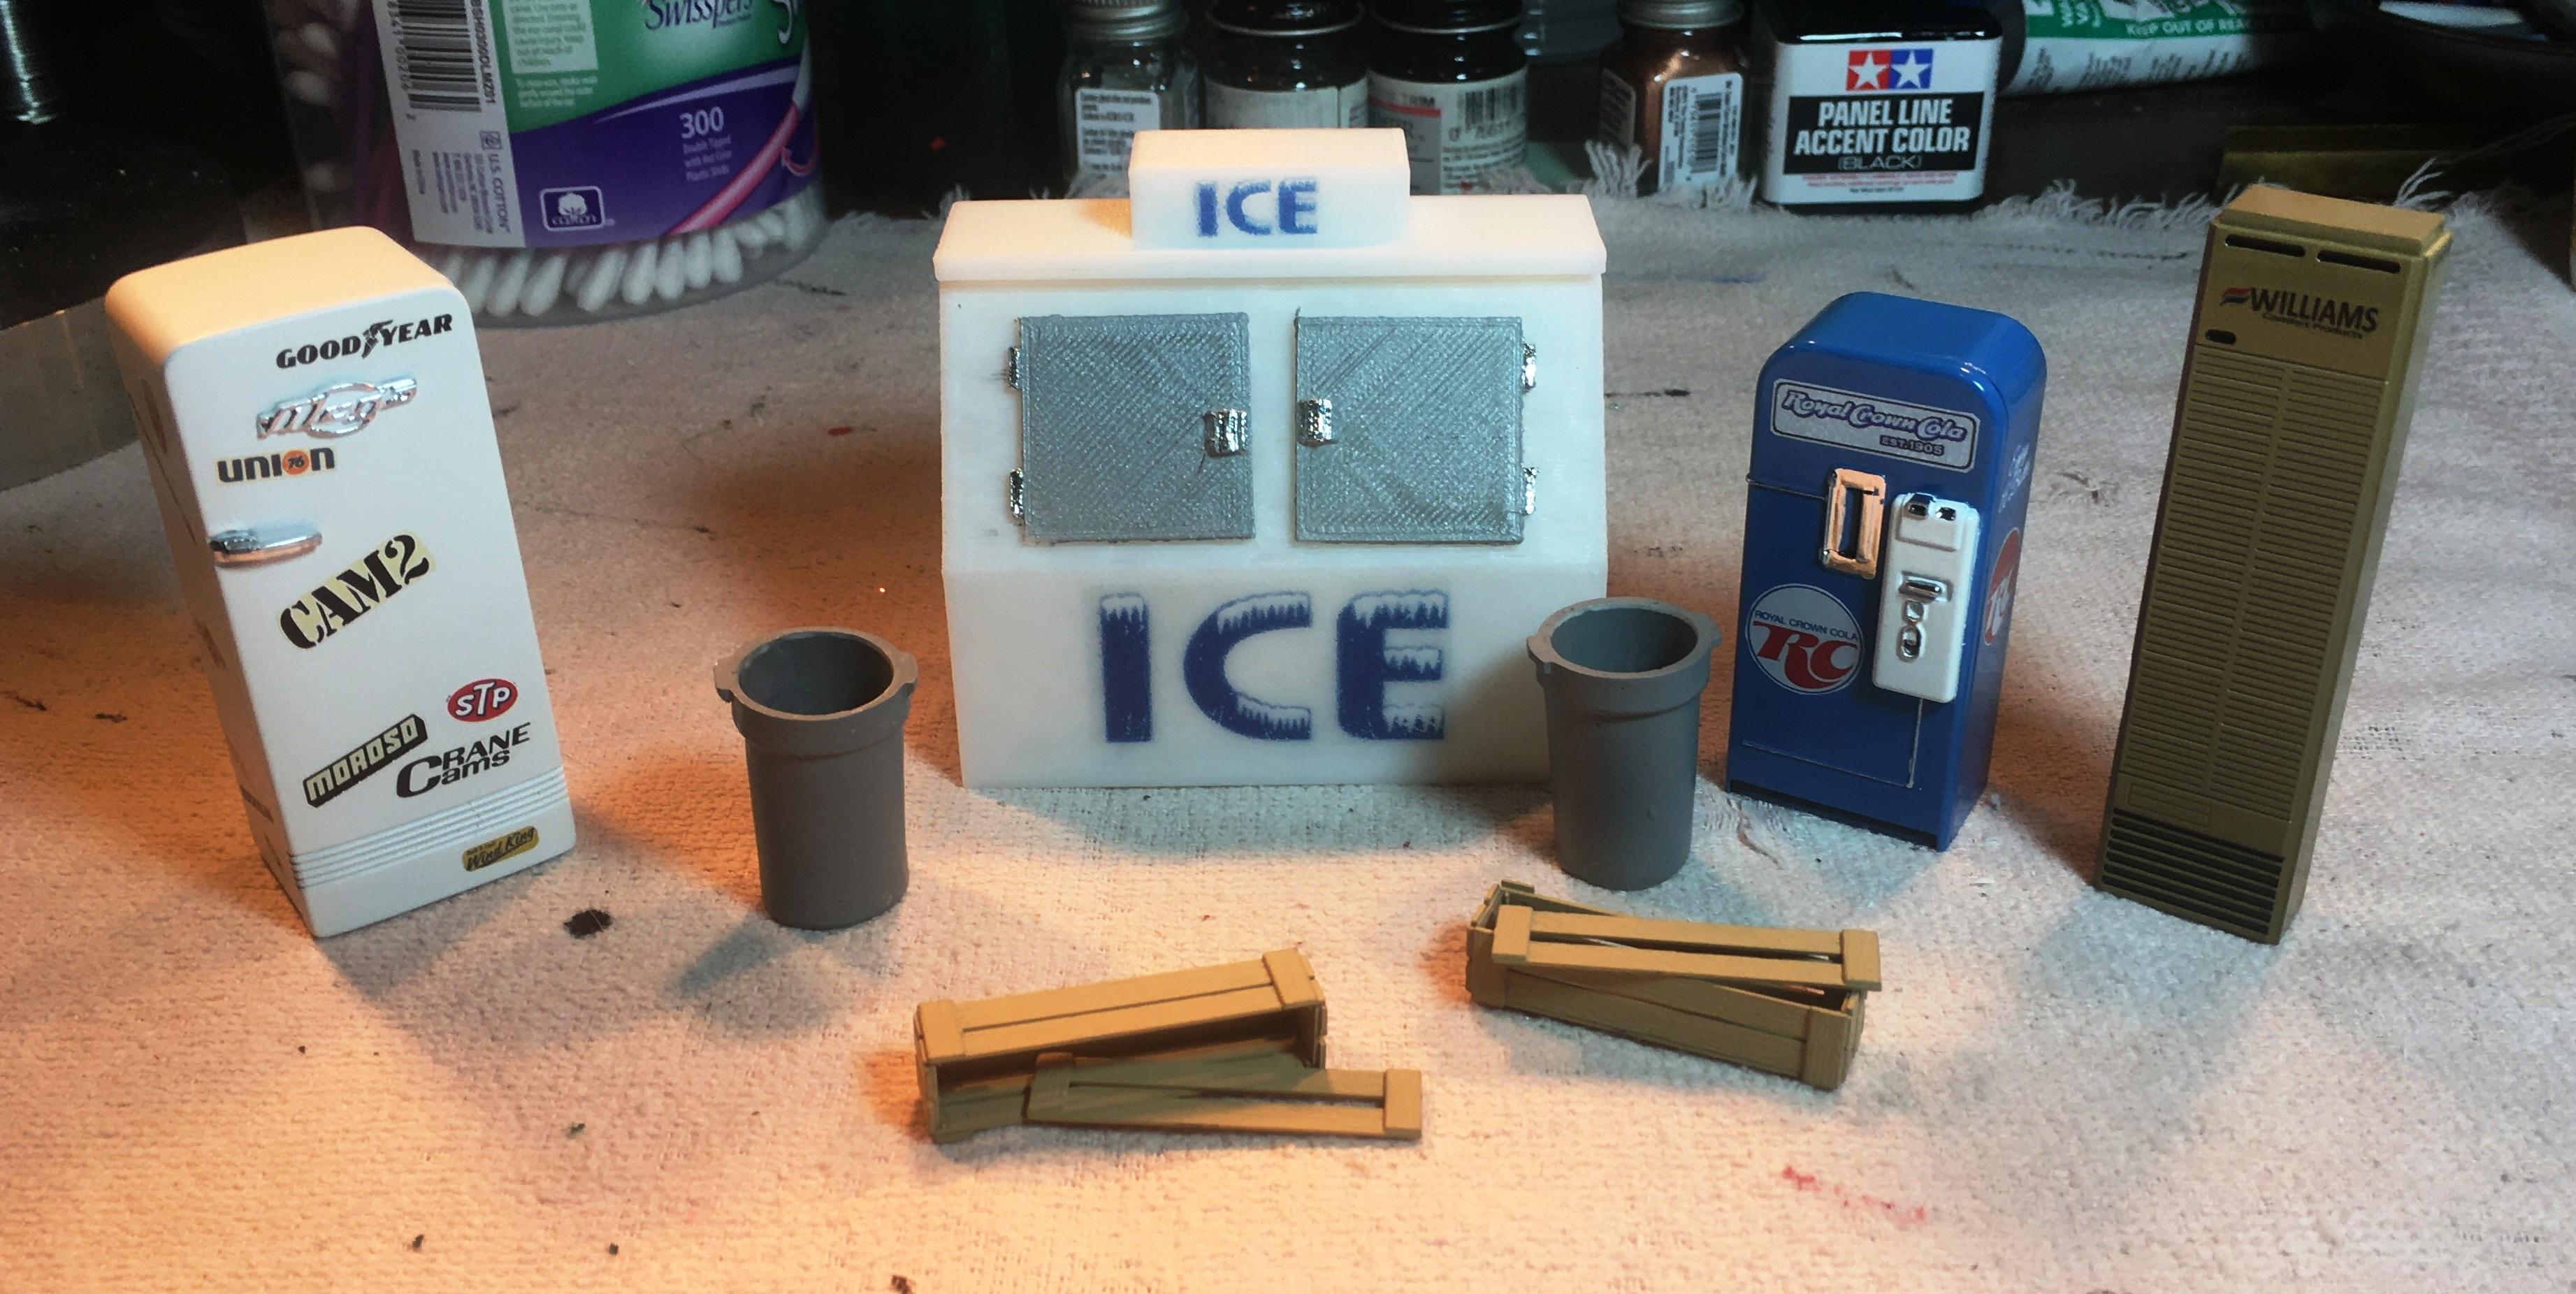
 Nice work on the box. It makes me inspired to build an RC Cola truck to deliver product to my soda machine.
-
Whte Western Star Tow truck
Bills72sj replied to Oldmopars's topic in WIP: Model Trucks: Big Rigs and Heavy Equipment
Cool build. Following. -
Spray Booth Filter Replacement
Bills72sj replied to Zippi's topic in Model Building Questions and Answers
That is the size filter I use. I started with a 4 fan plate from a paging transmitter (remember pagers?). I got a 16x25x1 air filter and built a scratch built booth around it. http://www.modelcarsmag.com/forums/topic/147357-variable-speed-custom-paint-booth-built-in-2-full-days/#comment-2164394 -
Thank you for sharing. I finished a 67 GT bracket racer last year. I have been struggling to finish a 67 Shelby. I finally got body color on it this evening. I went with dark Blue (non-metallic). Congratz on getting yours finished.
-
Very nice build of a rarely seen subject. Thanks for sharing.
-
I love Keystone Klassics. I have actually owned two sets of them on my 1:1 cars. One set was the rare gold version.
-
Nice Chevelles. I have built a resin '68 and an old 69. I am sorry I didn't catch you before you paid for the mirrors. I never put them I my models because eventually the disappear leaving just glue spots. I would have gladly handed of a spare pair to ya. http://www.modelcarsmag.com/forums/topic/146961-resin-1968-chevelle-ss-396/#comment-2157961 http://www.modelcarsmag.com/forums/topic/147105-1969-yenko-sc-chevelle-427/#comment-2160260
-
Has anyone seen these wheels?
Bills72sj replied to hedotwo's topic in Model Building Questions and Answers
I likely have some in my stash. PM me if you are up for some trading. -
I would definitely grab those two at that price in spite of already having them.
-
Very nice. ? Who knew "Burnt sand" could be so shiny. lol
-
Very nice. I like it.
-
Help matching this color of gold
Bills72sj replied to Redisetta's topic in Model Building Questions and Answers
Is this color close enough?
-
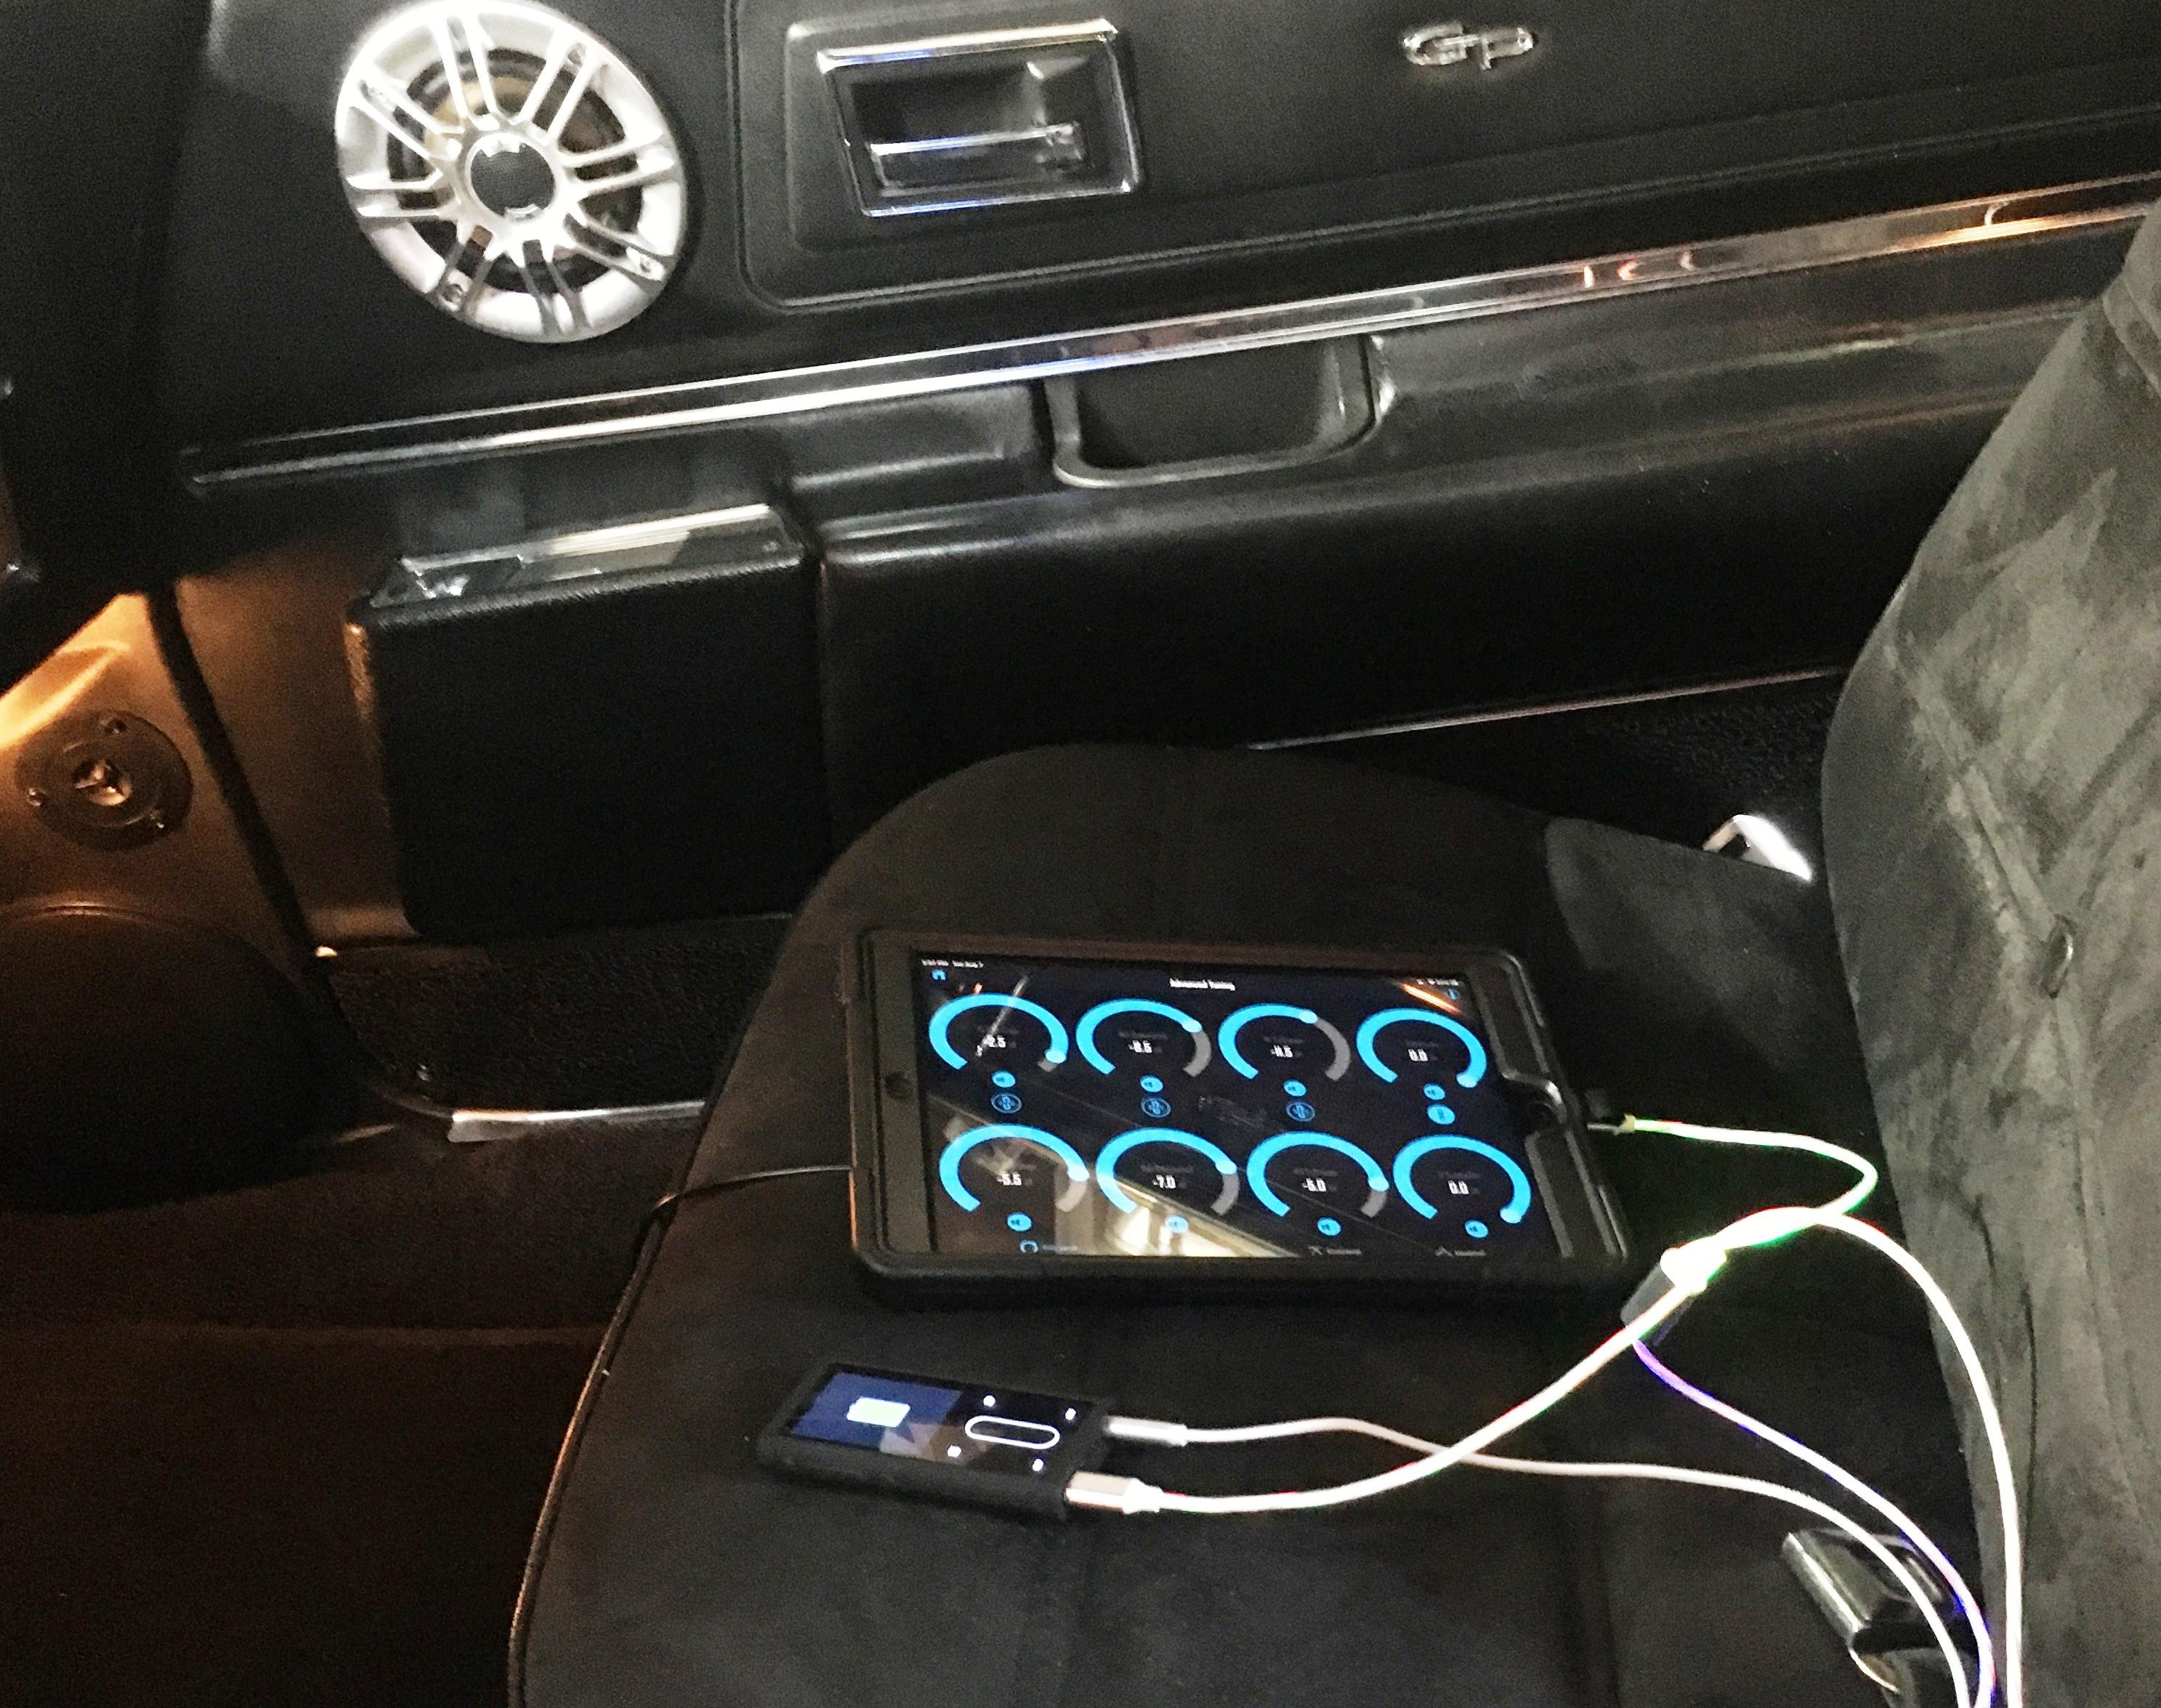
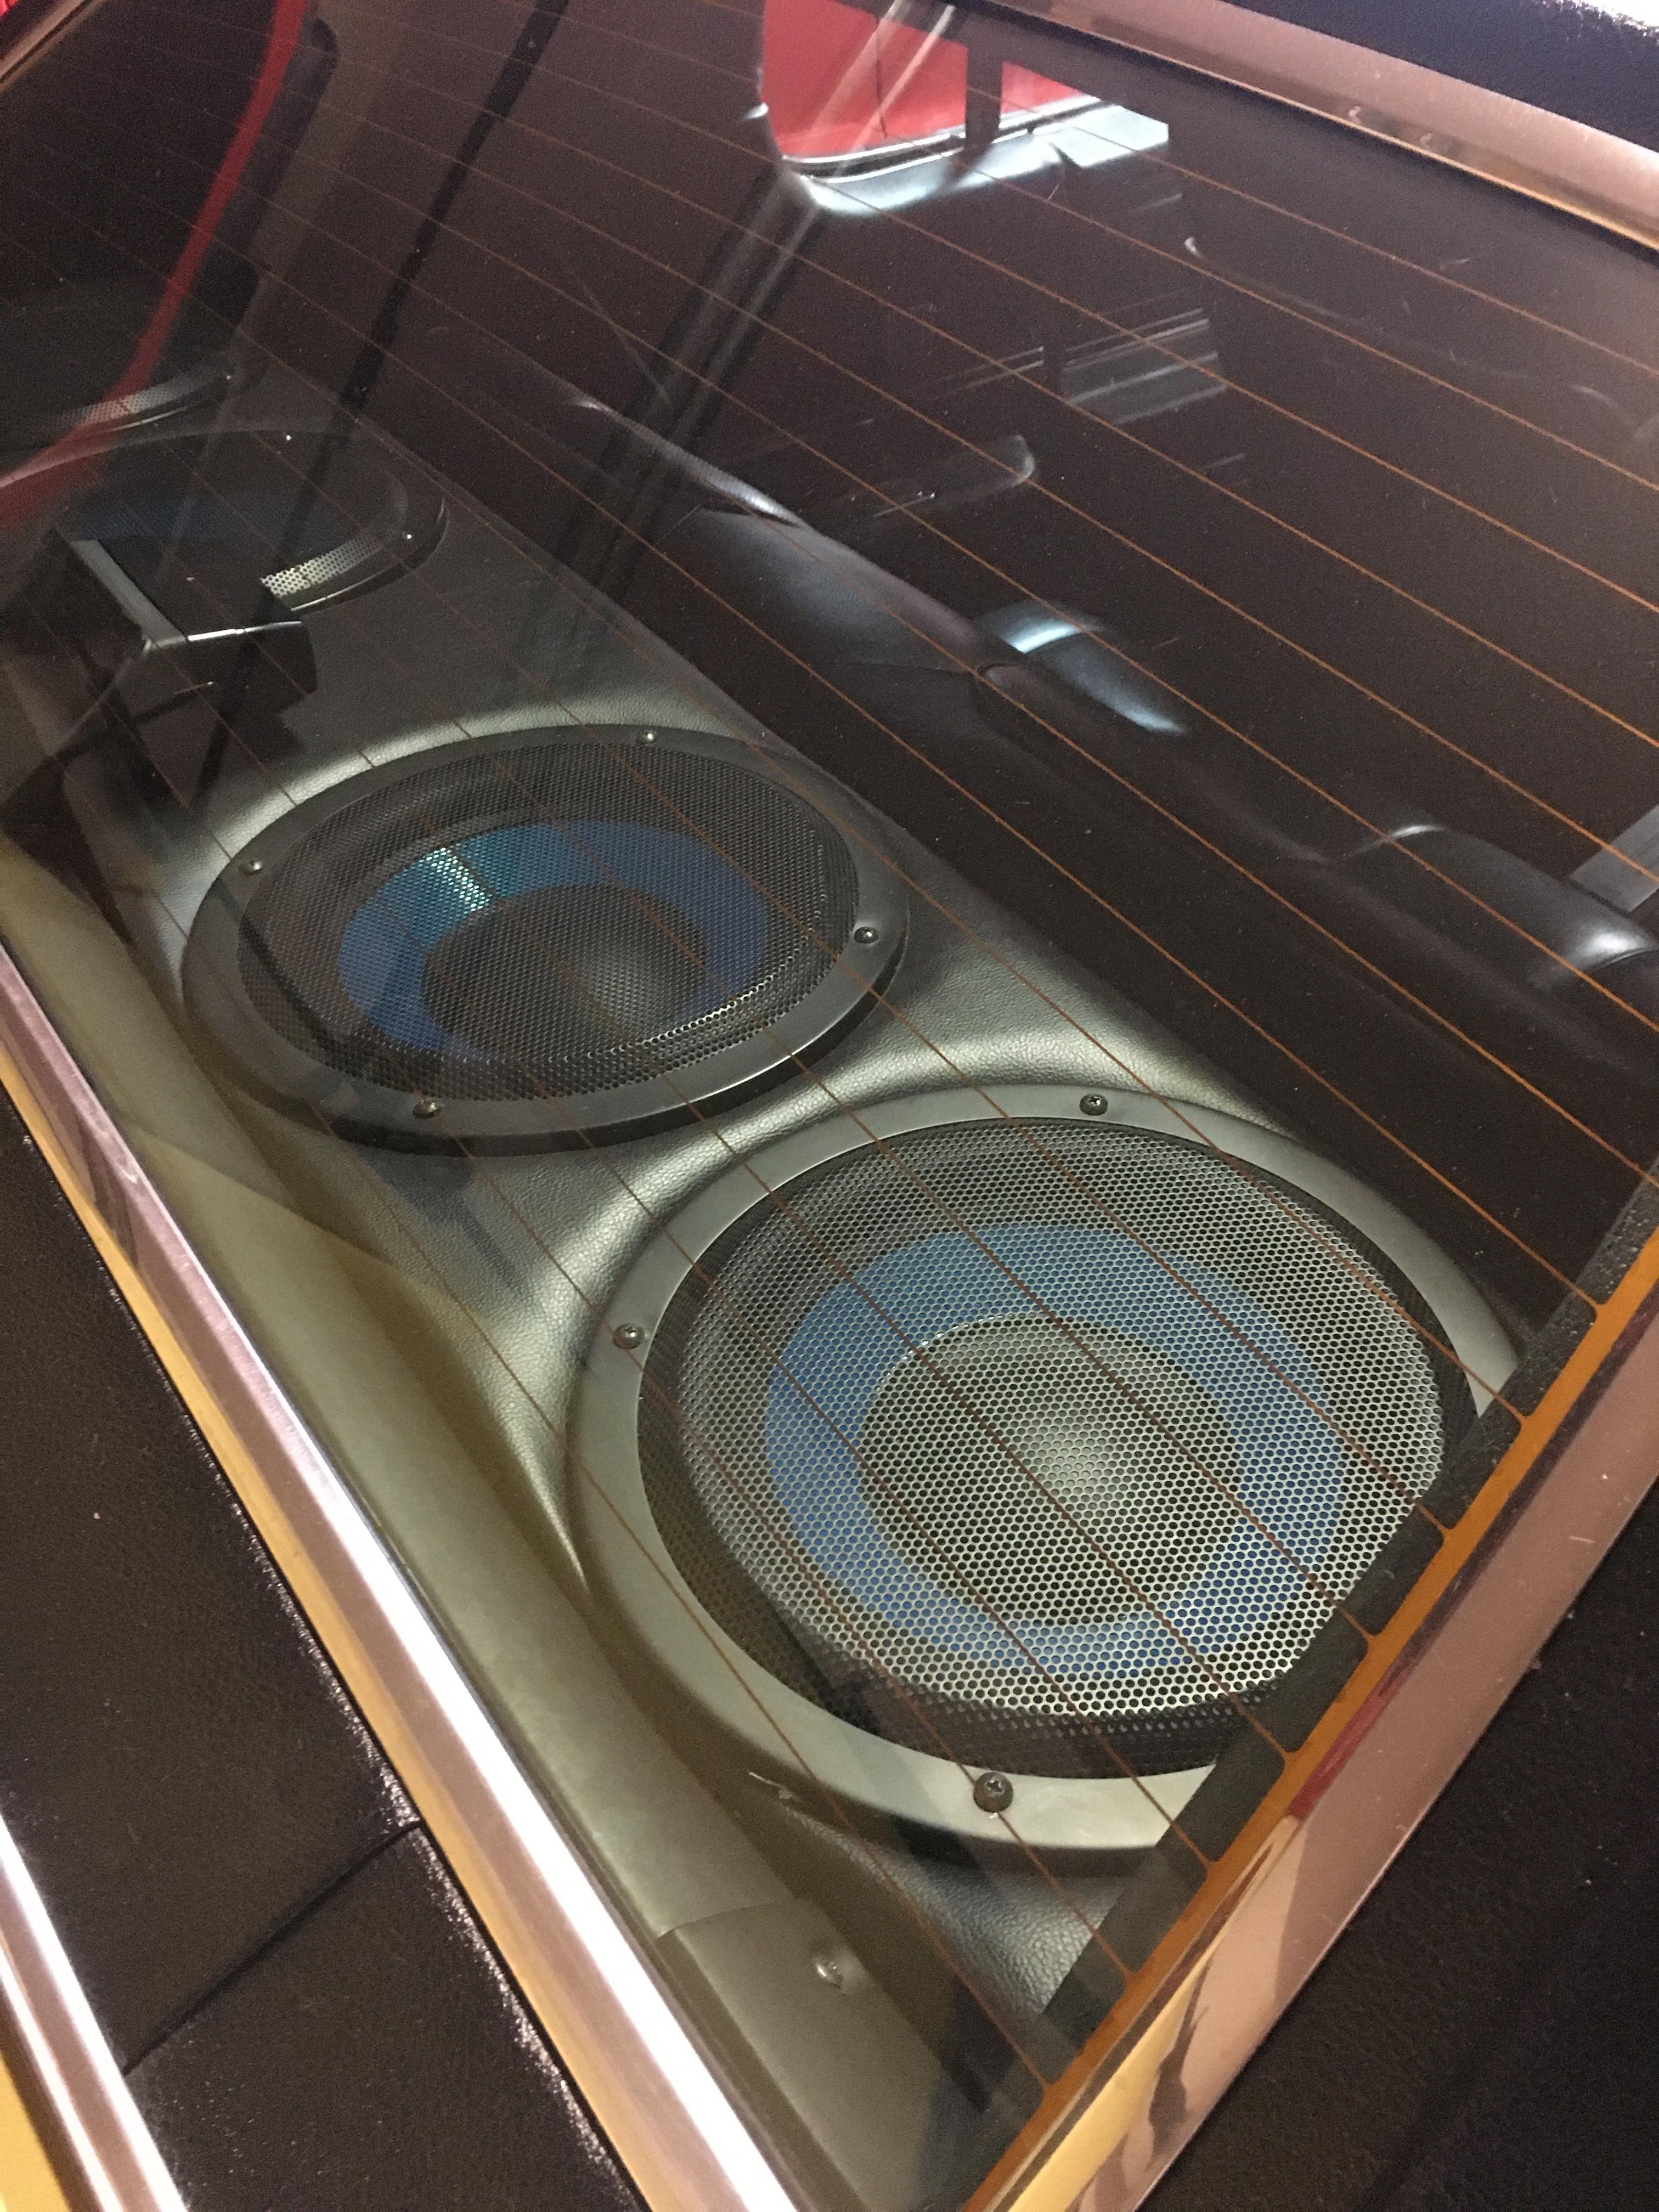
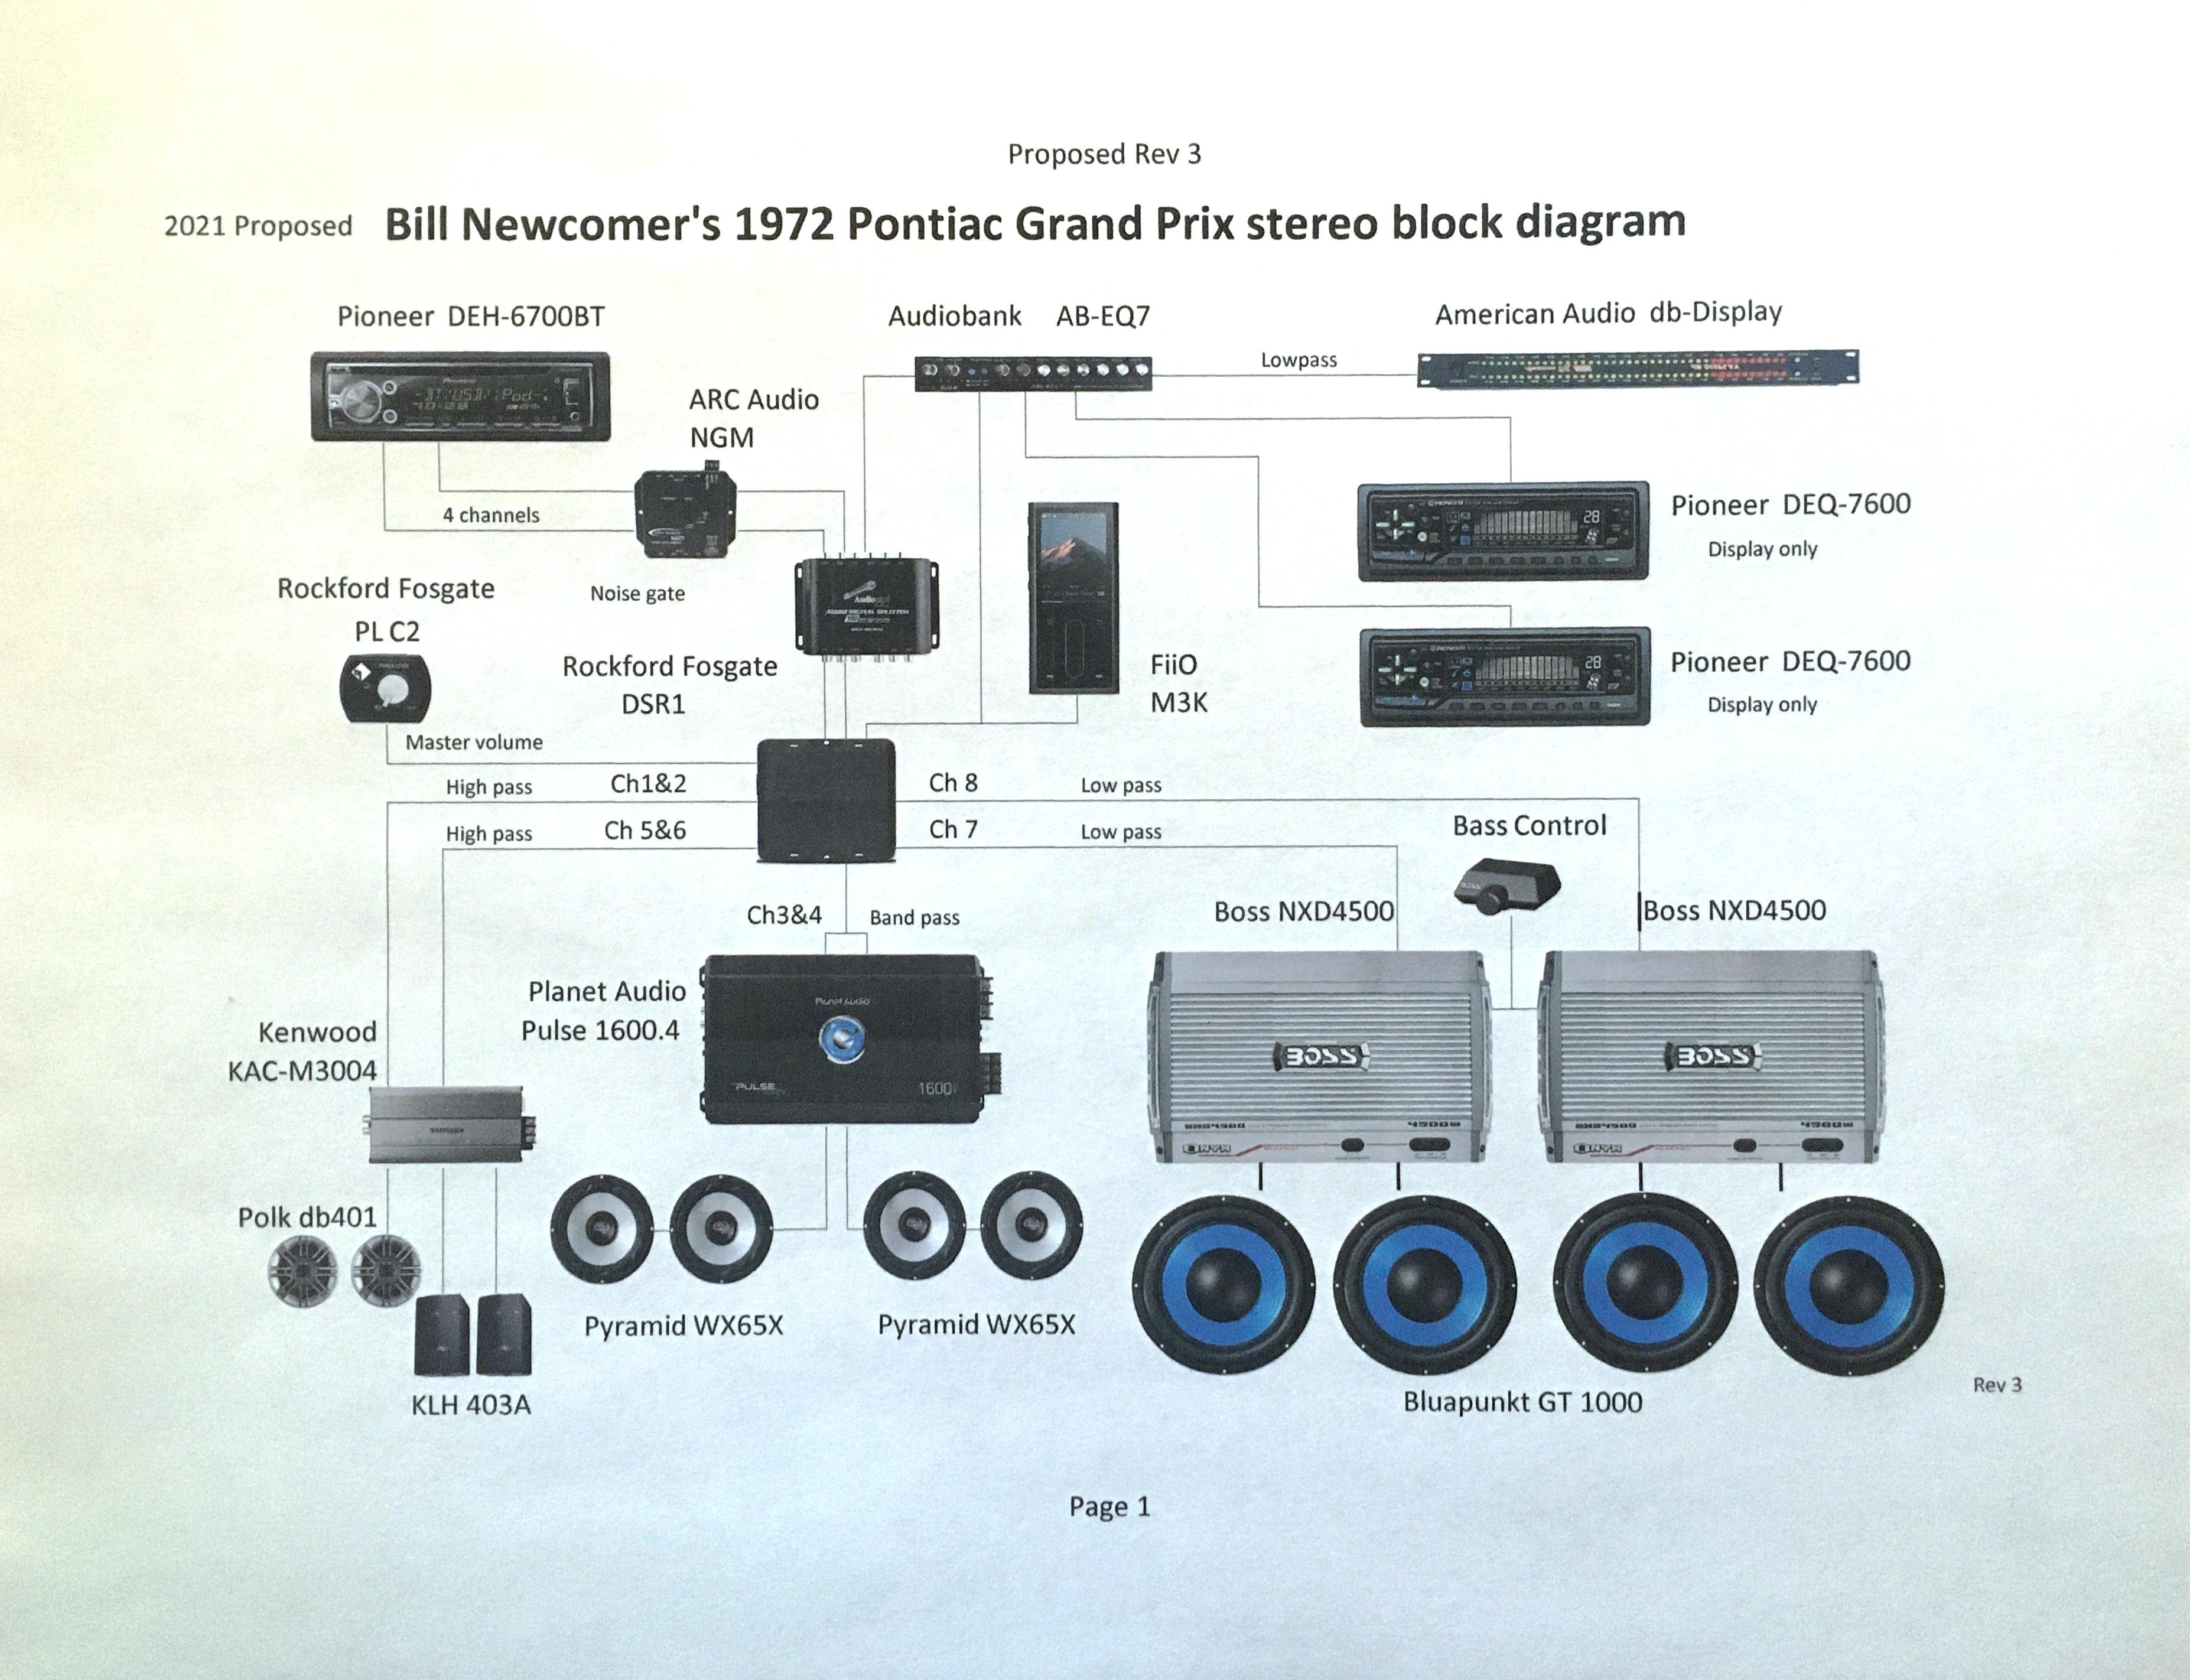
While I am 61, my guilty pleasure is female pop from 2000 and on. Especially if the engineer utilizes a sub-octavizer. I have a killer 12 speaker stereo in my StreetMachine for the express purpose of listening to it LOUD! JoJo, Allie X and and a few select Taylor Swift tracks. Some others are Tove Lo, Ariana Grande and Dua Lipa. In fact I plan on going out for a 3 hour jam session this evening.