David G.
-
Posts
11,326 -
Joined
-
Last visited
Content Type
Profiles
Forums
Events
Gallery
Everything posted by David G.
-

Revell Fast and Furious Dom's 1970 Charger.
David G. replied to Dragonhawk1066's topic in Model Cars
The paint looks perfect! Everything else looks great too, love the under hood detail. David G. -
Beautiful hotrod roadster! Clean and classy all around. David G.
-
Sweet lowrider! Excellent paint and striping. Is the lace paint or a decal? David G.
-
Nice work. Those decals must have been a real challenge. David G.
-
Excellent work! One of my all-time favorite cars. David G.
-
Beautiful work on all three, museum quality! David G.
-
The Bat Cave (Post your Batman themed builds)
David G. replied to David G.'s topic in Community Builds
Very Cool Ray! I agree with @Lunajammer It fits right in with the Sixties era Batman. Robin: "To the Batmobile?" Batman: "Not tonight Chum, we'll take the Bat-Cobra. I feel the need to do the Batusi." The size difference between the Keaton-Mobiles is astounding, it's almost like the difference between 1:25 and 1:32. I have one of the Moebius Batman vs Superman Batmobiles in my stash along with a Green Strawberry PE kit that I ordered for it. I haven't started it yet because I find it a bit intimidating. It is on the short list though. Yours looks great! What paint did you use for it? David G. -
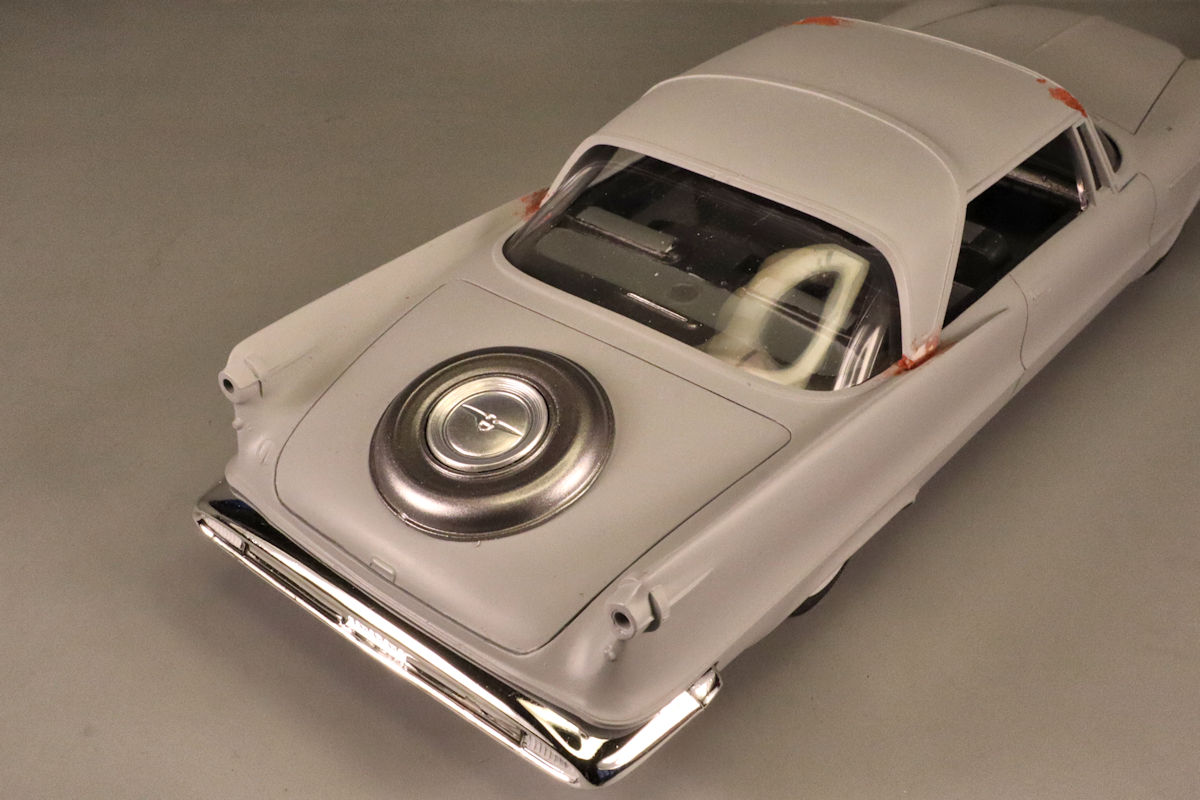
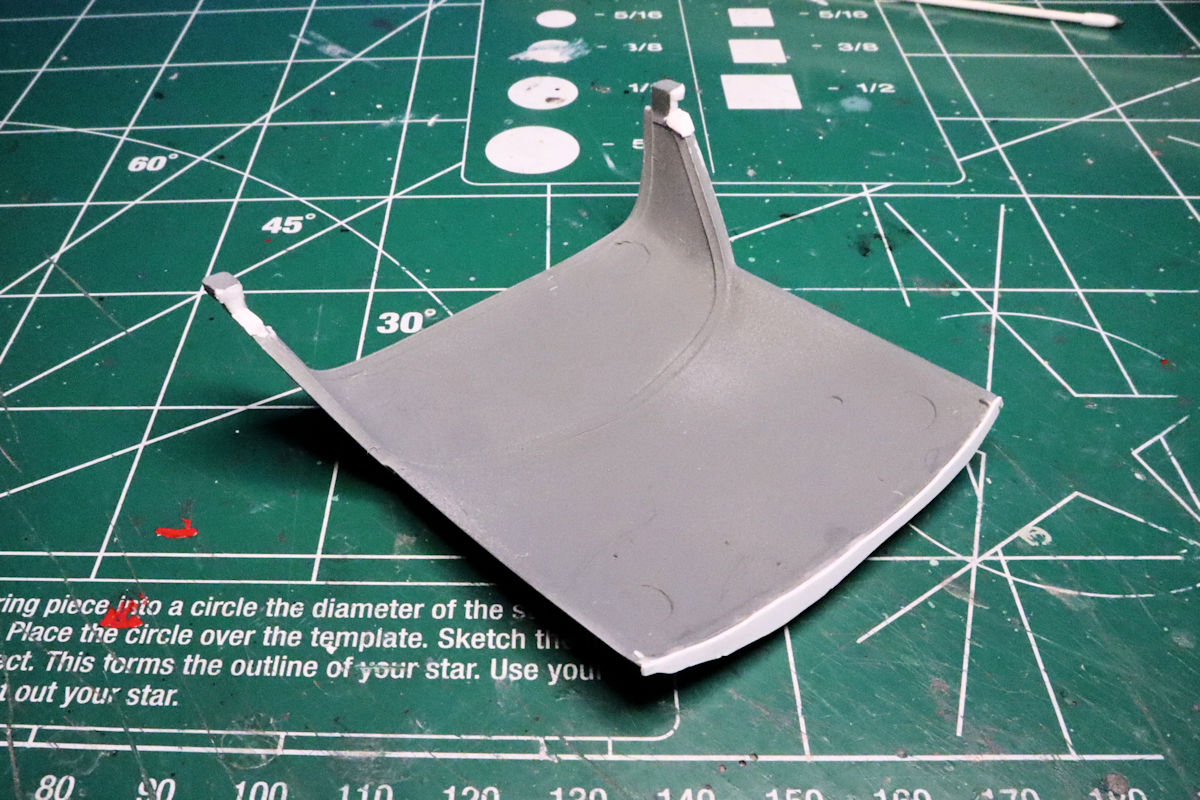
Hello Everyone! By this point with most of my builds I would have done a color test shot. I usually do this with the hood but this model is a curbside and the hood is cast as part of the body so I just didn't think of it until now. The next best option is the continental piece for the decklid, so here it is. The main body will be Tamiya TS-42 Light Gunmetal and the landau will be Tamiya TS-40 Metallic Black. I still haven't decided if I'm going to paint the roof or the landau black as I've seen it both ways and I can't decide which I like better. As always, thanks for taking the time to look. David G.

-
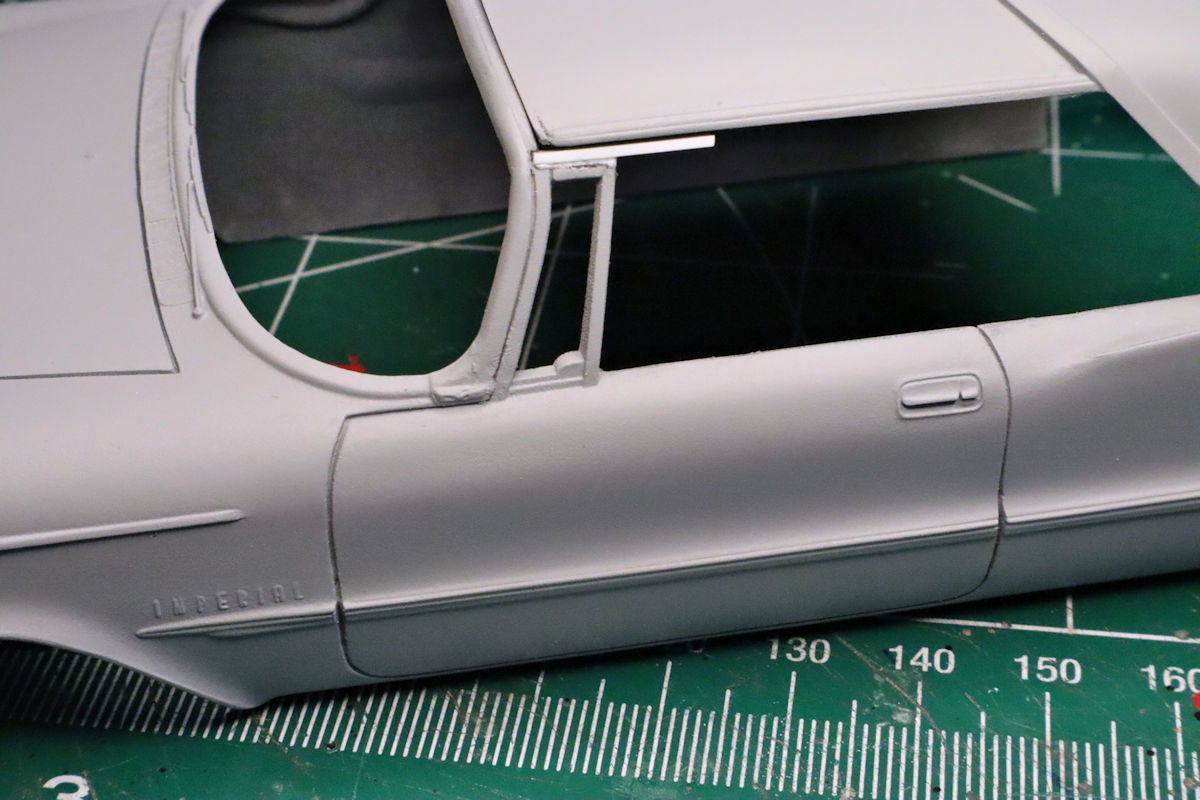
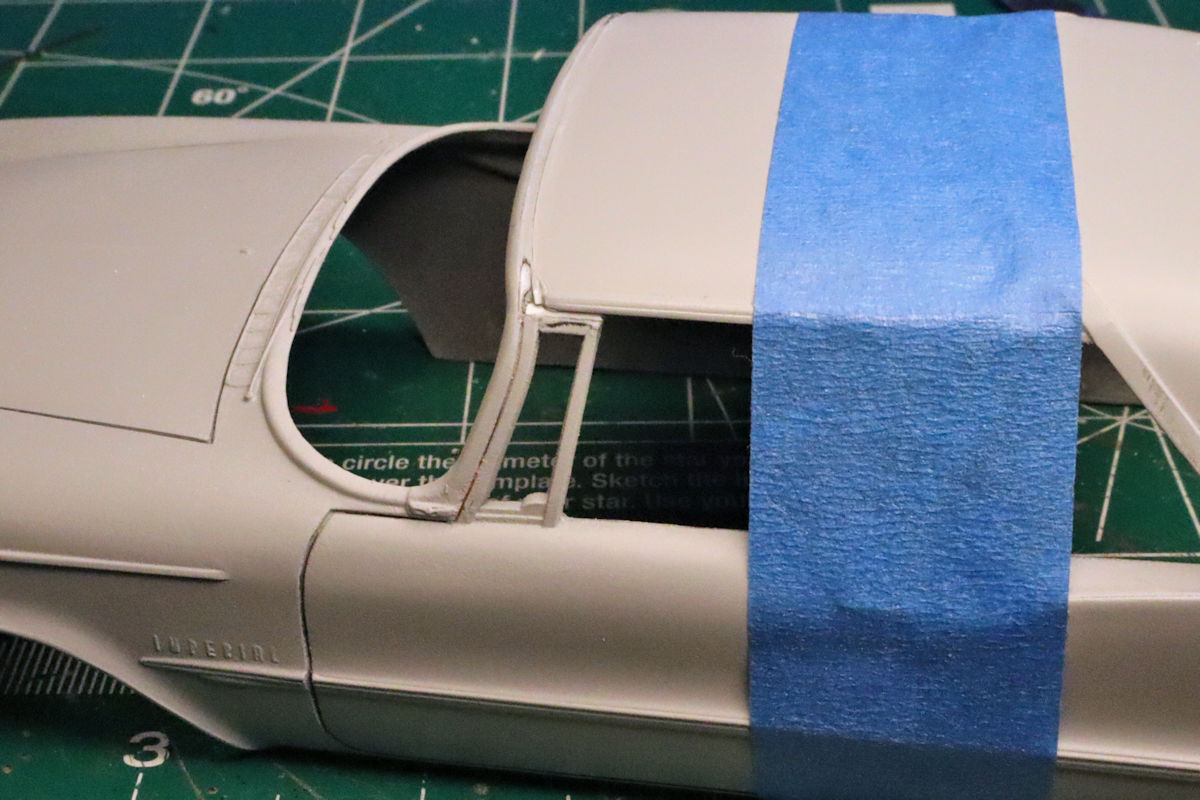
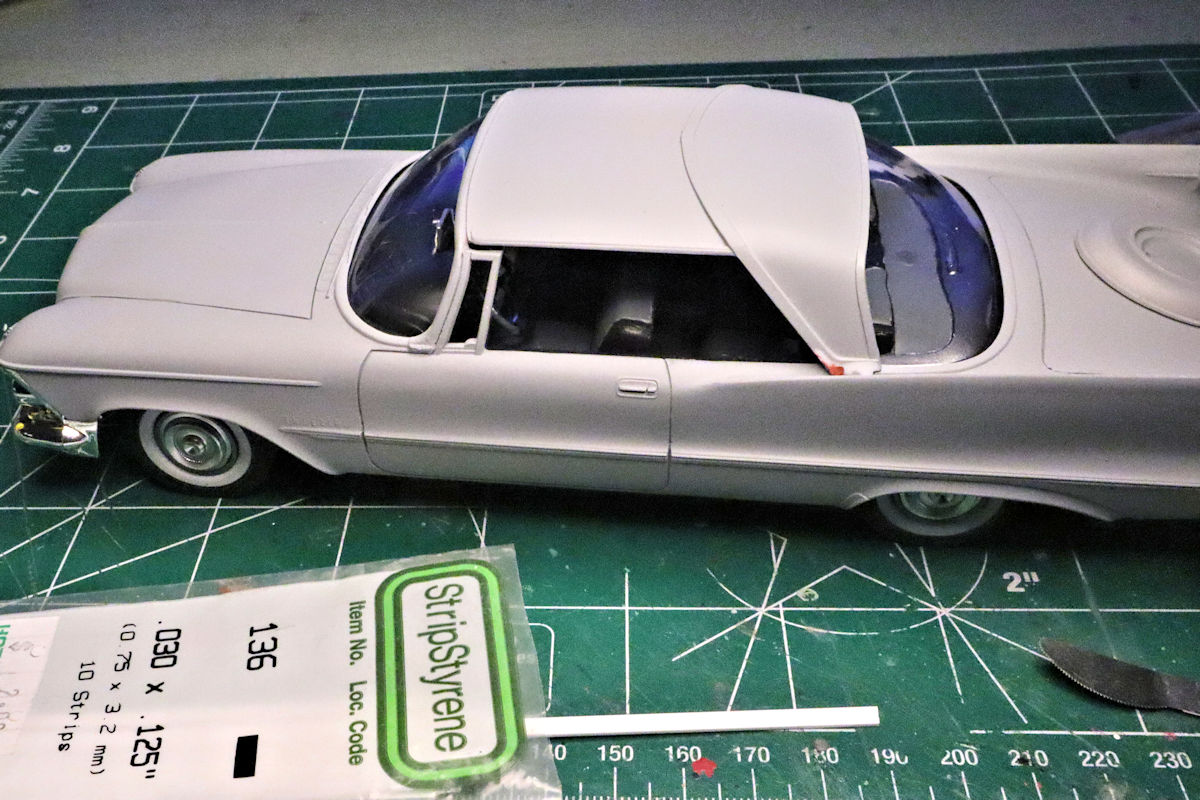
Thank you Gareth. I was puzzled over why AMT cast the spotlight holes on the outside rather than the inside like all the other holes that were cast into the body. Especially in an area so rich with detail. Thanks Joe. I always try to do good work. It doesn't always work out that way, but most times it does. Thank You. It's flush at the joint along the header area, I even got a little adhesive "squeeze out" when I pressed the parts together. That's the largest and most visible area of that assembly and I pretty much achieved the fit I wanted for it. I felt that if I tried to do much more with the fit at the corners it might cause problems with the fit at the header. I've messed up my share of projects by overworking them, as the saying goes- "All art is knowing when to stop." and that's the point at which I stopped. The fit on the corners is a little rough but the areas are small enough that I feel I can easily use putty to back-fill and smooth them over. I also need to find a way to continue the drip rail trim so it mates with the trim around the windshield. I'm planning on using strips of styrene for this too which should help to hide any imperfections in those places. Thanks for taking the time to share your advice David, I truly appreciate any and all tips and pointers as they've helped me out more times than I can count. Regards, David G.
-
Excellent work so far, the wheels and brakes look great. For the gap? I would just add a styrene strip of appropriate thickness to the inside of the opening in the body. David G.
-
Excellent model, everything looks spot-on! What's the approximate scale? On a side note... When I first saw these characters in the movie, I immediately thought that it looked like they were wearing space suits designed for Skeses. David G.
-
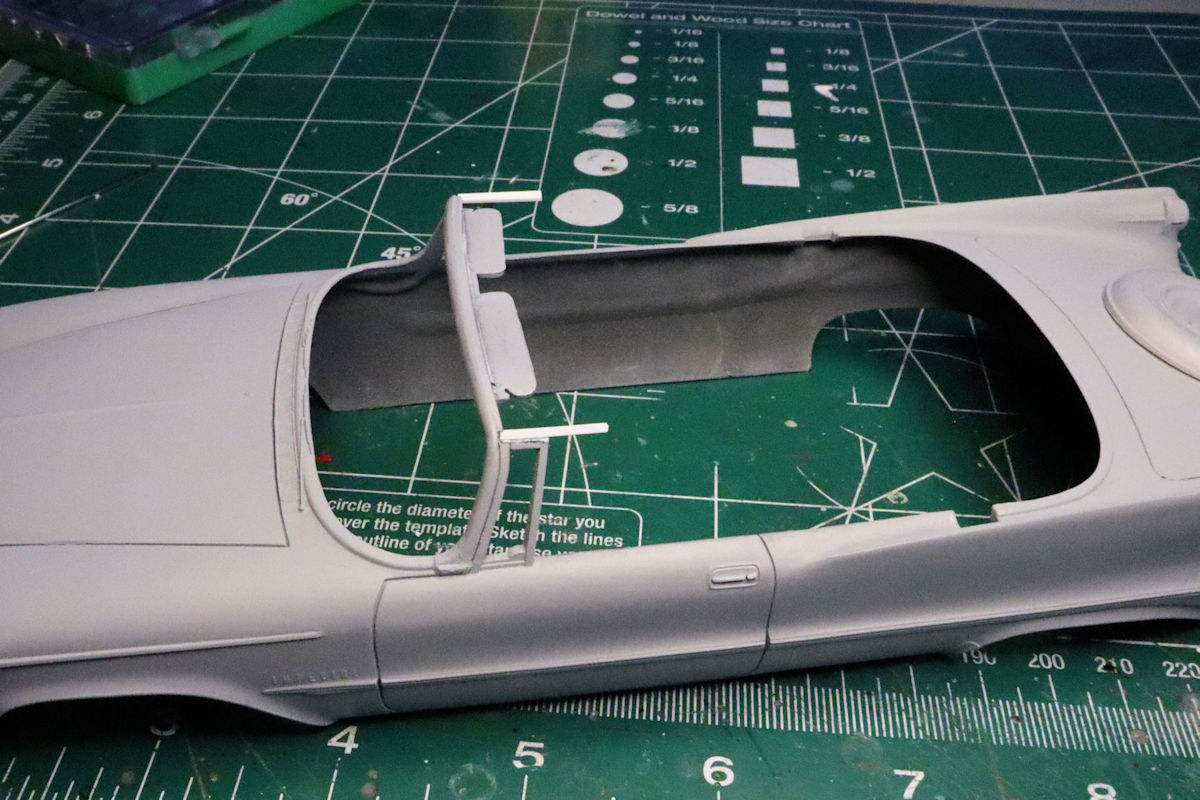
Hello Everybody! The next task is fitting the roof to the body. First I added some styrene to the lead edge of the roof to fill the small gap there. Then I added some styrene to redefine and sharpen the lines of the lower ends of the rear pillars where they mount to the body. After cleaning up and smoothing these areas, it was time for a test fit. Though a more positive and stable fit for the roof was created by the addition of the material, this also shifted the gaps to the areas just above the wing vents. Not a bad thing. Time for more styrene! The stock I had on hand was the correct thickness but twice as wide as I needed so I cut my length then split the piece down the center. I used Tamiya extra thin cement to glue the strips to the tops of the wing vents. I also made a small relief cut in the areas just behind the windshield frame to allow the strips to abut against the frame hopefully allowing for a smoother transition at the juncture. I put the whole mess together for another test fit. It looks like this should address most of the alignment issues. After allowing the strips to cure for a few hours, I trimmed and shaped them. The next step is permanent installation of the roof. There will, of course be more filling and adjusting required but all the contact points are smooth and even and that's a good place to start. As always, thanks for taking the time to look and please feel free to comment. David G.
-
I cant wait to see how you work that in. David G.
-
Nicely done. David G.
-
Possibly the only Supernatural, "Supernatural" Impala
David G. replied to Beans's topic in WIP: Model Cars
Nice work on this one, it was fun watching you pull all the little details together. Thanks for taking the time to share it. David G. -
Well worth the effort! David G.
-
That axle dropped nicely, looks great! David G.
-
Yes, these are much better than the second option but not quite as "lowrider" as the first. These have a great late Eighties, early Nineties custom vibe. David G.
-
Wow! I'm glad I found this WIP. The detail work on your engine is excellent. The interior is a knock-out with the color combination and detailing. Great work so far. David G.
-
Nice details you've added. I've always enjoyed the irony of using a $20 set of vice grips to replace a $6 window crank! Nice touch. Great choice of colors too. David G.
-
Absolutely beautiful! David G.
-
Yeah, that would be do-able. It would take two full kits and a little hack-n-slash but the body lines are fairly straight so it wouldn't be too bad. The version that came up in my mind's eye had a little less C-pillar and a little more see-through. One would also have to add B and C pillars because the kit is a hardtop. And then there's the interior.... ? Thank you Rich. David G.
-
Maybe a bit of positive camber would raise the ground clearance? I seem to remember seeing that back in the day too. After all, the only thing you need between the K-member and the road is daylight. David G.
-
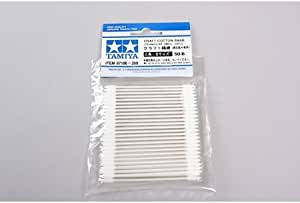
Looks great so far! I have tried foiling larger trim pieces prior to painting with some bit of success. The way I did it was to remove the paint from the trim after each coat with a Tamiya pointed micro swab lightly moistened with lacquer thinner. That way you can work down into the recesses a bit to remove the paint. It's a lot of work and I was only able to achieve results that were fair at best. The main issue I had was that the paint line along the trim sometimes got messy looking, probably from uneven removal of the various coats and interaction with the thinner. Regards, David G.
-
The paint looks great! Nice interior detail too. David G.