Plowboy
-
Posts
3,434 -
Joined
-
Last visited
Content Type
Profiles
Forums
Events
Gallery
Everything posted by Plowboy
-
Who doesn't love a mock-up? Let's see yours!
Plowboy replied to Belairconvertable's topic in WIP: Model Cars

-
Pretty sure everything is the same except for the Shelby specific parts. I have the Shelby. But, have never built it.
-
MPC '82 Chevy Step 4X4
Plowboy replied to Plowboy's topic in WIP: Model Trucks: Pickups, Vans, SUVs, Light Commercial
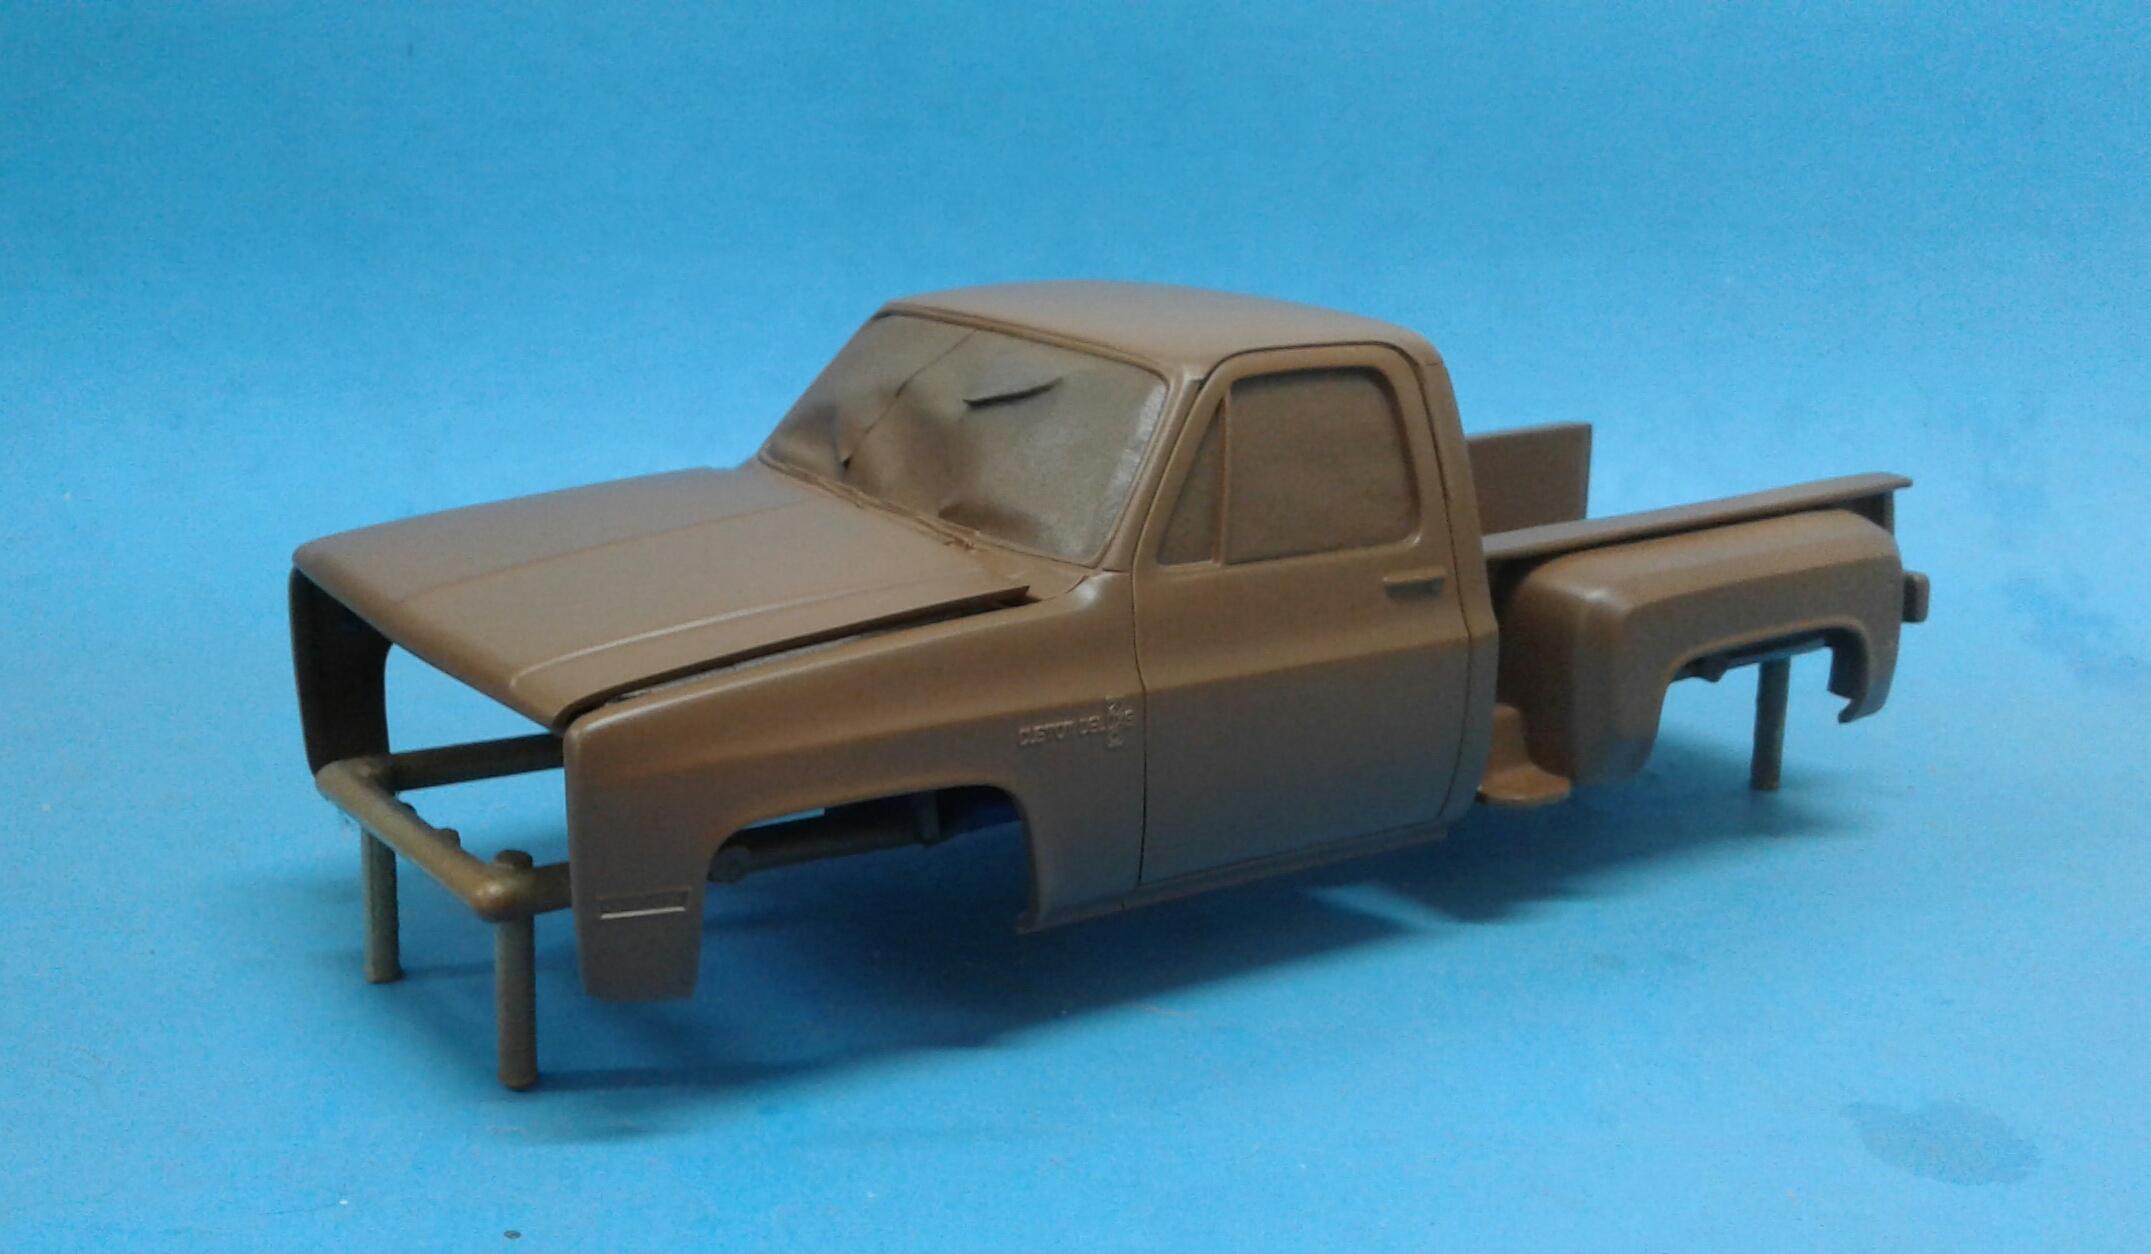
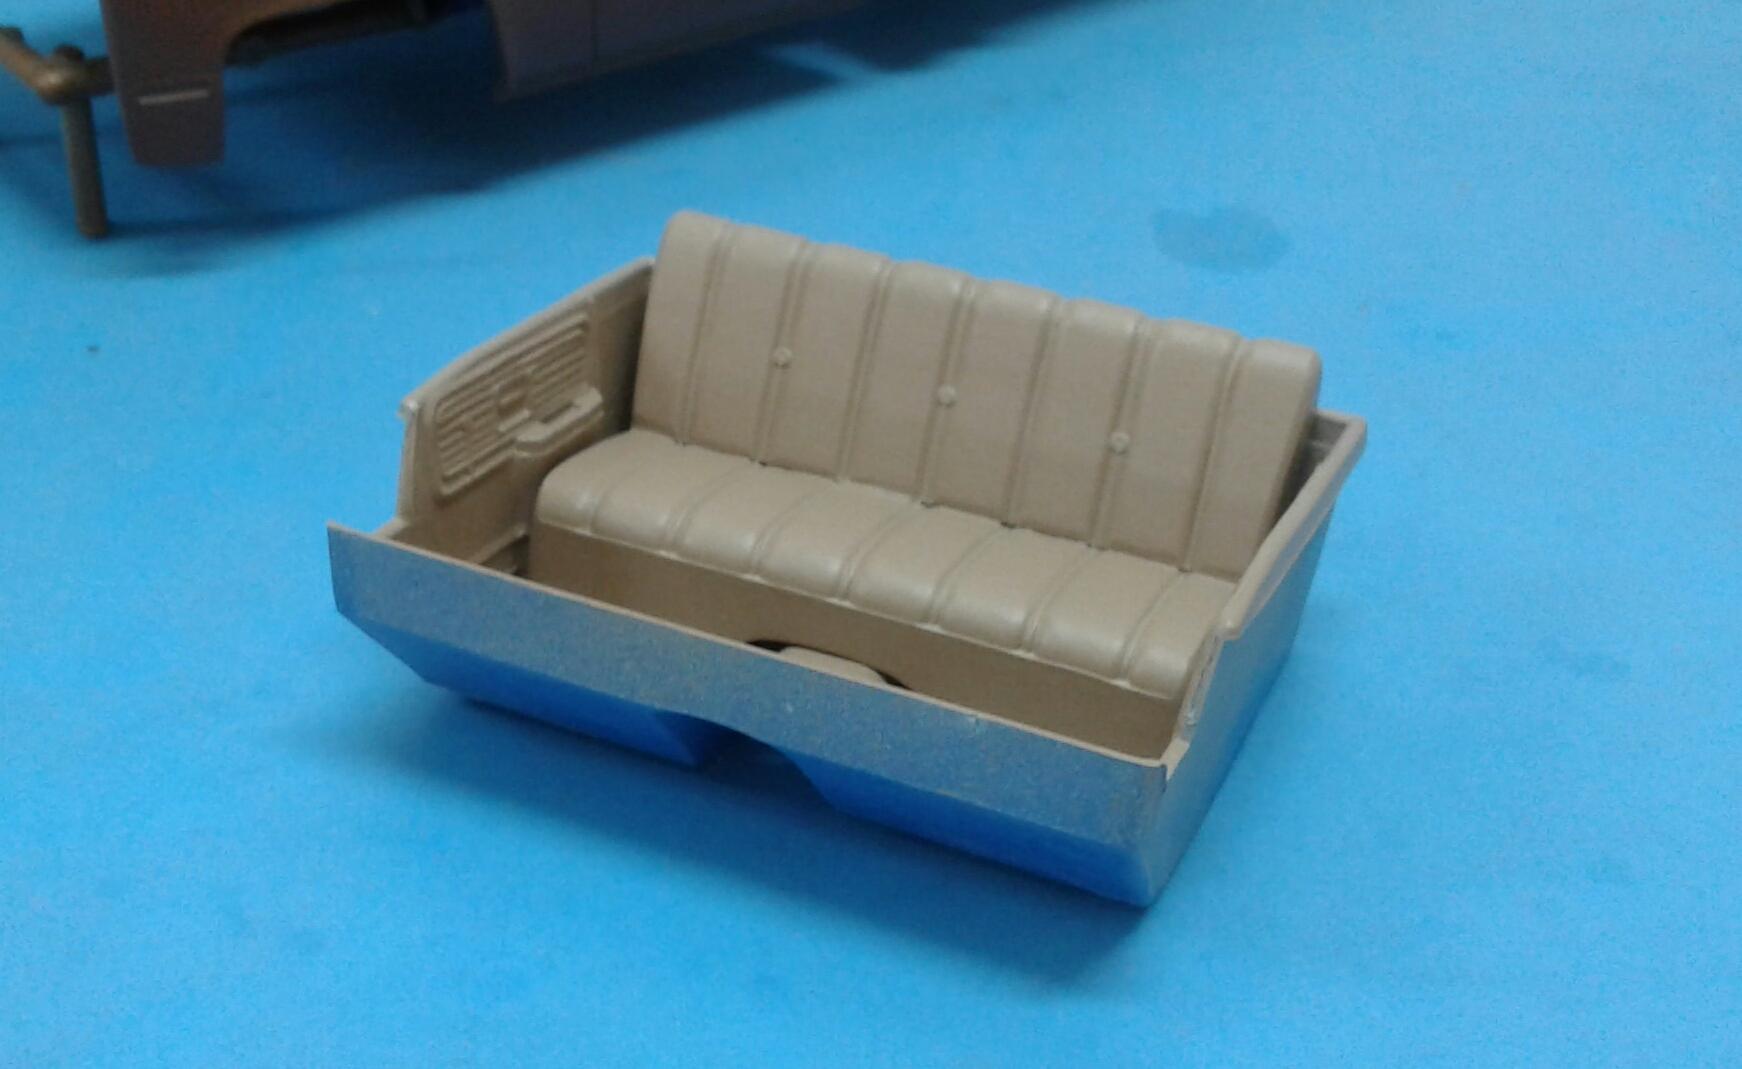
Thanx guys! I got the old Chevy in some color now! The body is Tamiya Red Brown. The interior is Tamiya Light Sand. Every time I paint a stepside or flareside, I remember why I don't like painting them! So many nooks and crannies to try to paint! I'm thinking this model will just get a good coat of clear and done. No way I want to polish out the bed! I'll foil the badge on the fender, shoot another coat of paint and then the clear.
-
So am I! Mark really has an envious touch when it comes to weathering! They always look just right!
-
Is a base coat needed for a metallic top coat?
Plowboy replied to conchan's topic in Model Building Questions and Answers
Exactly. I wouldn't use a base coat under black metallic. I don't see how it would make a difference or help coverage. No harm in doing it. But, no advantage either. -
1932 ford roadster oem style top
Plowboy replied to R. Thorne's topic in Model Building Questions and Answers
I think it would be best to modify the stock top. Looks like all it needs is material added to the sides. The top from the '36 isn't a good fit at all. The front of the top where it meets the windshield frame is the right width. Where it joins the body at the rear is the problem as it's several mms too wide. Just guessing, it looks like six or seven. -
One of the best examples of this kit I've ever seen! Nice work Tom!
-
59 Chevrolet El-Camino
Plowboy replied to Cool Hand's topic in Model Trucks: Pickups, Vans, SUVs, Light Commercial
That is sharp as a tack! The black and red just go so well together! I started one of these years ago with a similar plan. But, didn’t get very far. This makes me want to dig it out! -
gasser inspired 72 GMC Stepside
Plowboy replied to bogger44's topic in Model Trucks: Pickups, Vans, SUVs, Light Commercial
I'm not a fan of gassers. But, that's a cool looking old truck Tony! Don't think I've ever seen a '72 GMC done as a gasser before. Nice work! -
Looks nice Keith! You must have a steady hand to be able to do the trim with a Sharpie. I would have made a mess! Nice work!
-
That's a nice looking El Camino Oliver! I really like the color and wheels! Nice work!
-
Exactly. At one time, people thought their horse and buggies were more reliable.
-
1932 ford roadster oem style top
Plowboy replied to R. Thorne's topic in Model Building Questions and Answers
Check with Dennis Lacy. He's a member here. I'm pretty sure he mastered an up-top for the roadster. Can't remember if it was for the '29 or '32. -
Pro touring 70 1/2 Camaro (Dutchboys 2015 SEMA tribute)
Plowboy replied to Steve H's topic in Model Cars
That is a wicked looking Camaro Steve! It has the whole package going for it: wheels/tires, stance and the paint! It's weird how some colors can have a more dramatic impact with a dull or satin finish and this color pulls it off perfectly! Well done! -
Very well built little MGB Trevor! Everything is nice and tidy just like it should be! Great work!
-
Thanx Steve!
-
Maybe I missed it. But, has Round2 ever announced the movie car?
-
This was my thoughts on this kit seven years ago. I did finish my '67 to '66 conversion. I also converted it to a sedan and used the seats from the Monogram kit. If I had it to do over, I think I would use the Lindberg grille, bumper (sans bumper guards) and splash pan. The El Camino hood has a an upwards peak in the center that leaves a substantial gap between the hood trim and grille. Since Revell is coming out with the old Monogram '66, I may give Gene's method a try.
-
MPC '82 Chevy Step 4X4
Plowboy replied to Plowboy's topic in WIP: Model Trucks: Pickups, Vans, SUVs, Light Commercial
That makes sense Mike! The first one I recall is the '79. I can now understand why it is the way it is. Still, it would have been nice if they had fixed it. I think I'll scribe in a gas door on the right side and call it good. -
No Monogram or Revell kit. Just the AMT and MPC kits. Hoppersbazaar on ebay does a resin copy. But, at $18 plus shipping, it's a bit pricey.
-
Check ebay for a resin or original '69 grille and convert the current AMT '72. That or pay a lot of money for an original.
-
A prime example of what's wrong with a lot of mechanics/workers today. Instead of doing the job he's being paid to do, he's running around with a cell phone in his hand making a video. Imagine how much more work he could accomplish if he was able to use both hands.
-
making coil springs, which wire?
Plowboy replied to fiatboy's topic in Model Building Questions and Answers
An easy way to get the coils evenly spaced is to wrap it around an appropriately sized screw. -
MPC '82 Chevy Step 4X4
Plowboy replied to Plowboy's topic in WIP: Model Trucks: Pickups, Vans, SUVs, Light Commercial
Thanx for the feedback guys! It took a while. But, I finally got the old Chevy in primer! The first coat showed that I still had some work to do on the cab. The roof had a dip with a ridge around it the shape of the sunroof. So, that had to be filled and sanded again. Both cab corners just below the belt line had to be fixed. The left side had a dip that needed to be filled. The right side had a hump that needed to be sanded down. I also got the engine, transmission and transfer case in primer. Just have to get the rest of it primered and ready for paint. I'm kinda thinking silver for the body and blue for the interior. But, not sure.
-
I use a dental pick that I modified into a scribing tool.