David G.
-
Posts
11,326 -
Joined
-
Last visited
Content Type
Profiles
Forums
Events
Gallery
Everything posted by David G.
-
Neat idea for the headliner. David G.
-
Great looking paint and assembly, nice engine bay detail, Excellent work! David G.
-
Thank you Chaz. David G.
-
Very convincing weathering and distressing. The whole diorama has a great feel to it, nice use of clutter and surface texture. David G.
-

Revell Land Rover
David G. replied to shoopdog's topic in Model Trucks: Pickups, Vans, SUVs, Light Commercial
That looks great! Nice details and paintwork. I have one of these in my stash, I can't wait to crack into it. David G. -
Revell ‘37 Ford Pickup
David G. replied to NOBLNG's topic in WIP: Model Trucks: Pickups, Vans, SUVs, Light Commercial
That came out really nice. Good idea for attaching the chains. David G. -
Great looking paint, nice work with the custom bits. David G.
-
Nicely Done! David G.
-
Revell 2017 Ford GT LeMans
David G. replied to shoopdog's topic in Other Racing: Road Racing, Salt Flat Racers
Holy cow! There's a lot of well done detail work on that chassis it's almost a shame to have to cover it up with the body. Of course, the body is fantastic in its own right. I can imagine all the intricate masking work for the paint colors. Not to mention the decals ? Absolutely fabulous work all around. David G. -
40 Dodge pick-up
David G. replied to Pat Minarick's topic in Model Trucks: Pickups, Vans, SUVs, Light Commercial
Beautiful work on the patina! David G. -
Moebius Ford
David G. replied to JET.'s topic in Model Trucks: Pickups, Vans, SUVs, Light Commercial
Very convincing weathering and rust effects! The added details really put the cherry on top of it. David G. -
1958 Chevrolet Sedan Delivery
David G. replied to Smitty's topic in Model Trucks: Pickups, Vans, SUVs, Light Commercial
A beautifully done factory stock build! David G. -
Nice work! All the little details you added do make a difference. David G.
-
Nicely Done! Good call on the color combination. David G.
-
Fred´s Ford in light frost
David G. replied to kjohan's topic in Stock Cars (NASCAR, Super Stock, Late Model, etc.)
Nicely Done! David G. -
Beautiful color and paintwork, detailing is spectacular! David G.
-
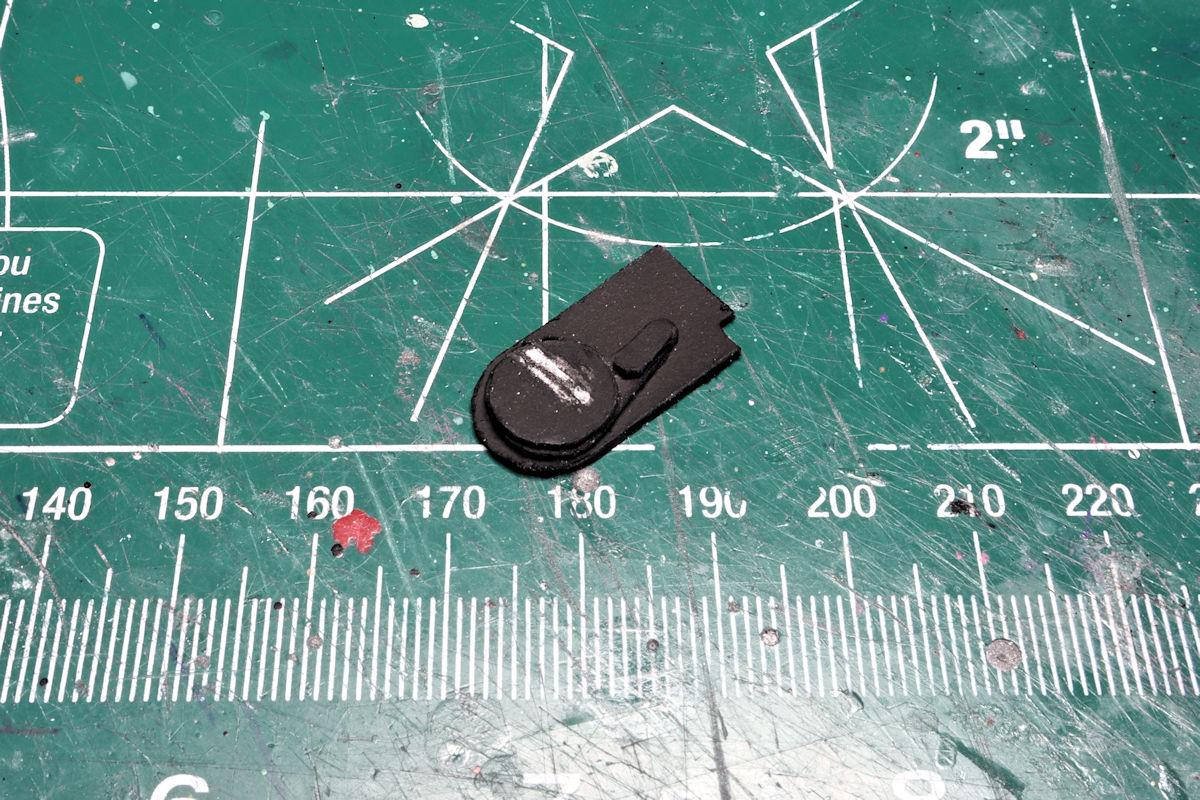
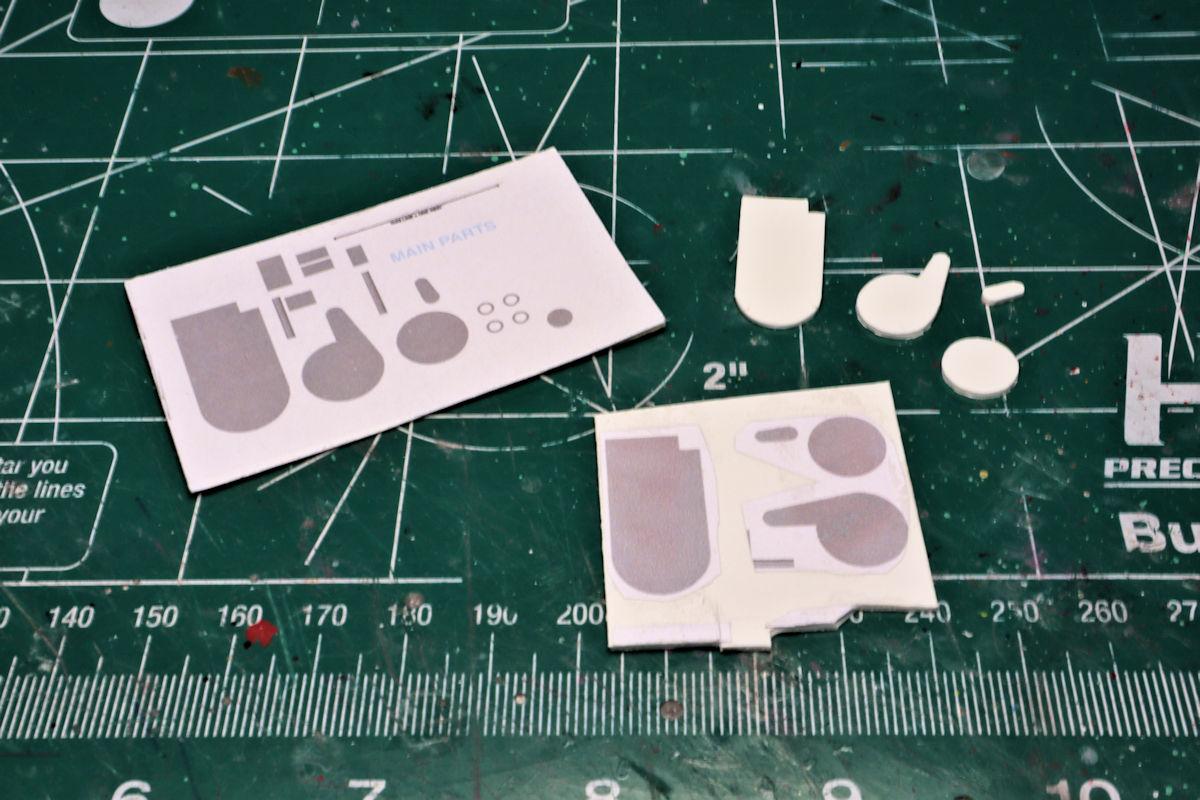
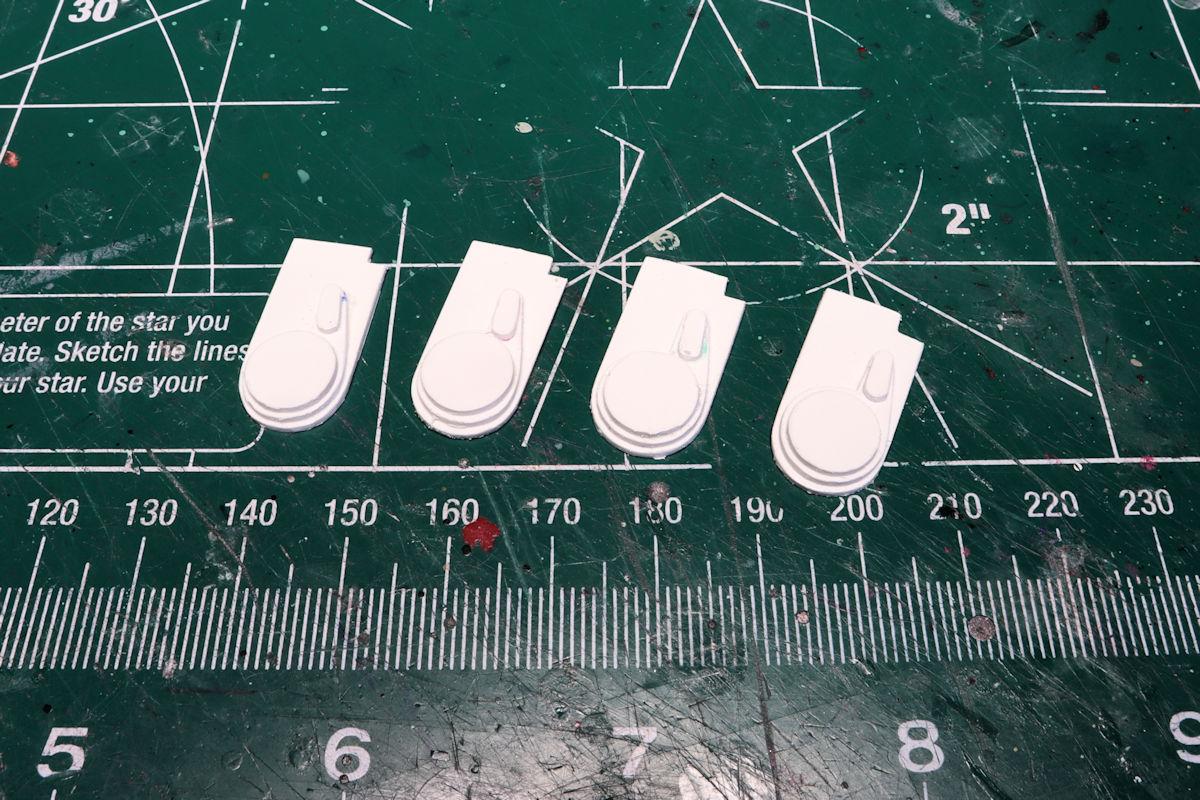
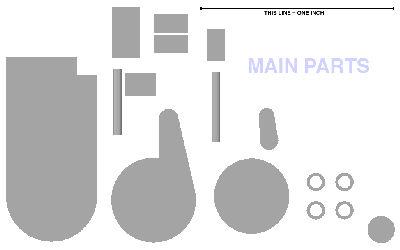
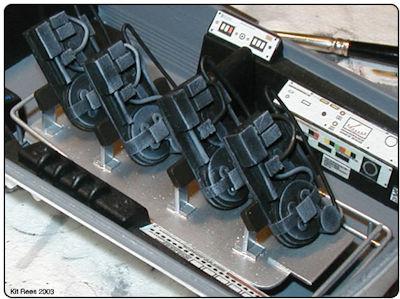
Hello Everybody! I decided that I want to add Proton Packs. After all, they're almost as iconic as the car itself. Even though seeing interior detail will be a little difficult after assembly, I feel that the model just wouldn't be complete without them. After some searching, I found a very workable pattern at Starship Modeler: http://www.starshipmodeler.com/rv/kr_pax.htm As a practice run I first made one example using card stock. I also wanted to see if card stock would be a suitable material to use for making these. It's not. I then printed out four patterns in scale and using canopy glue, affixed them directly to some scrap sheet styrene approximately 1mm thick. I gave the glue a day to dry and started cutting and filing. After a few building sessions, here is the result. Now I have to make up the ancillaries and attach them and do a little detail painting. Then I'll start on building the racks and gurney. That's all for now. As always, thanks for taking the time to look and please feel free to comment. David G.

-
Check to make sure your vent is not clogged. A lack of air movement could cause the lint screen to plug. Also try rubbing a dryer sheet on the lint screen, that may help by adding a soap-like coating to the screen.. Good luck, David G.
-
You gave this kit more than it ever deserved Gareth. Well Done! David G.
-
Excellent finish and detail, great color scheme. Nicely Done! David G.
-
I remember following the WIP on this build showing all the time and attention you put into each and every part. The end results are well worth the effort... Absolutely Fabulous! David G.
-
So many added touches Gareth, all of them very well done. You've made this kit more than it was ever intended to be. David G.
-
AMT '65 Impala box art custom built with Revell kit
David G. replied to Can-Con's topic in WIP: Model Cars
Good call on the interior, the customized stock setup looks great. Excellent paint repair on the roof as well. David G. -
Nice set of roadsters! David G.